
Articles
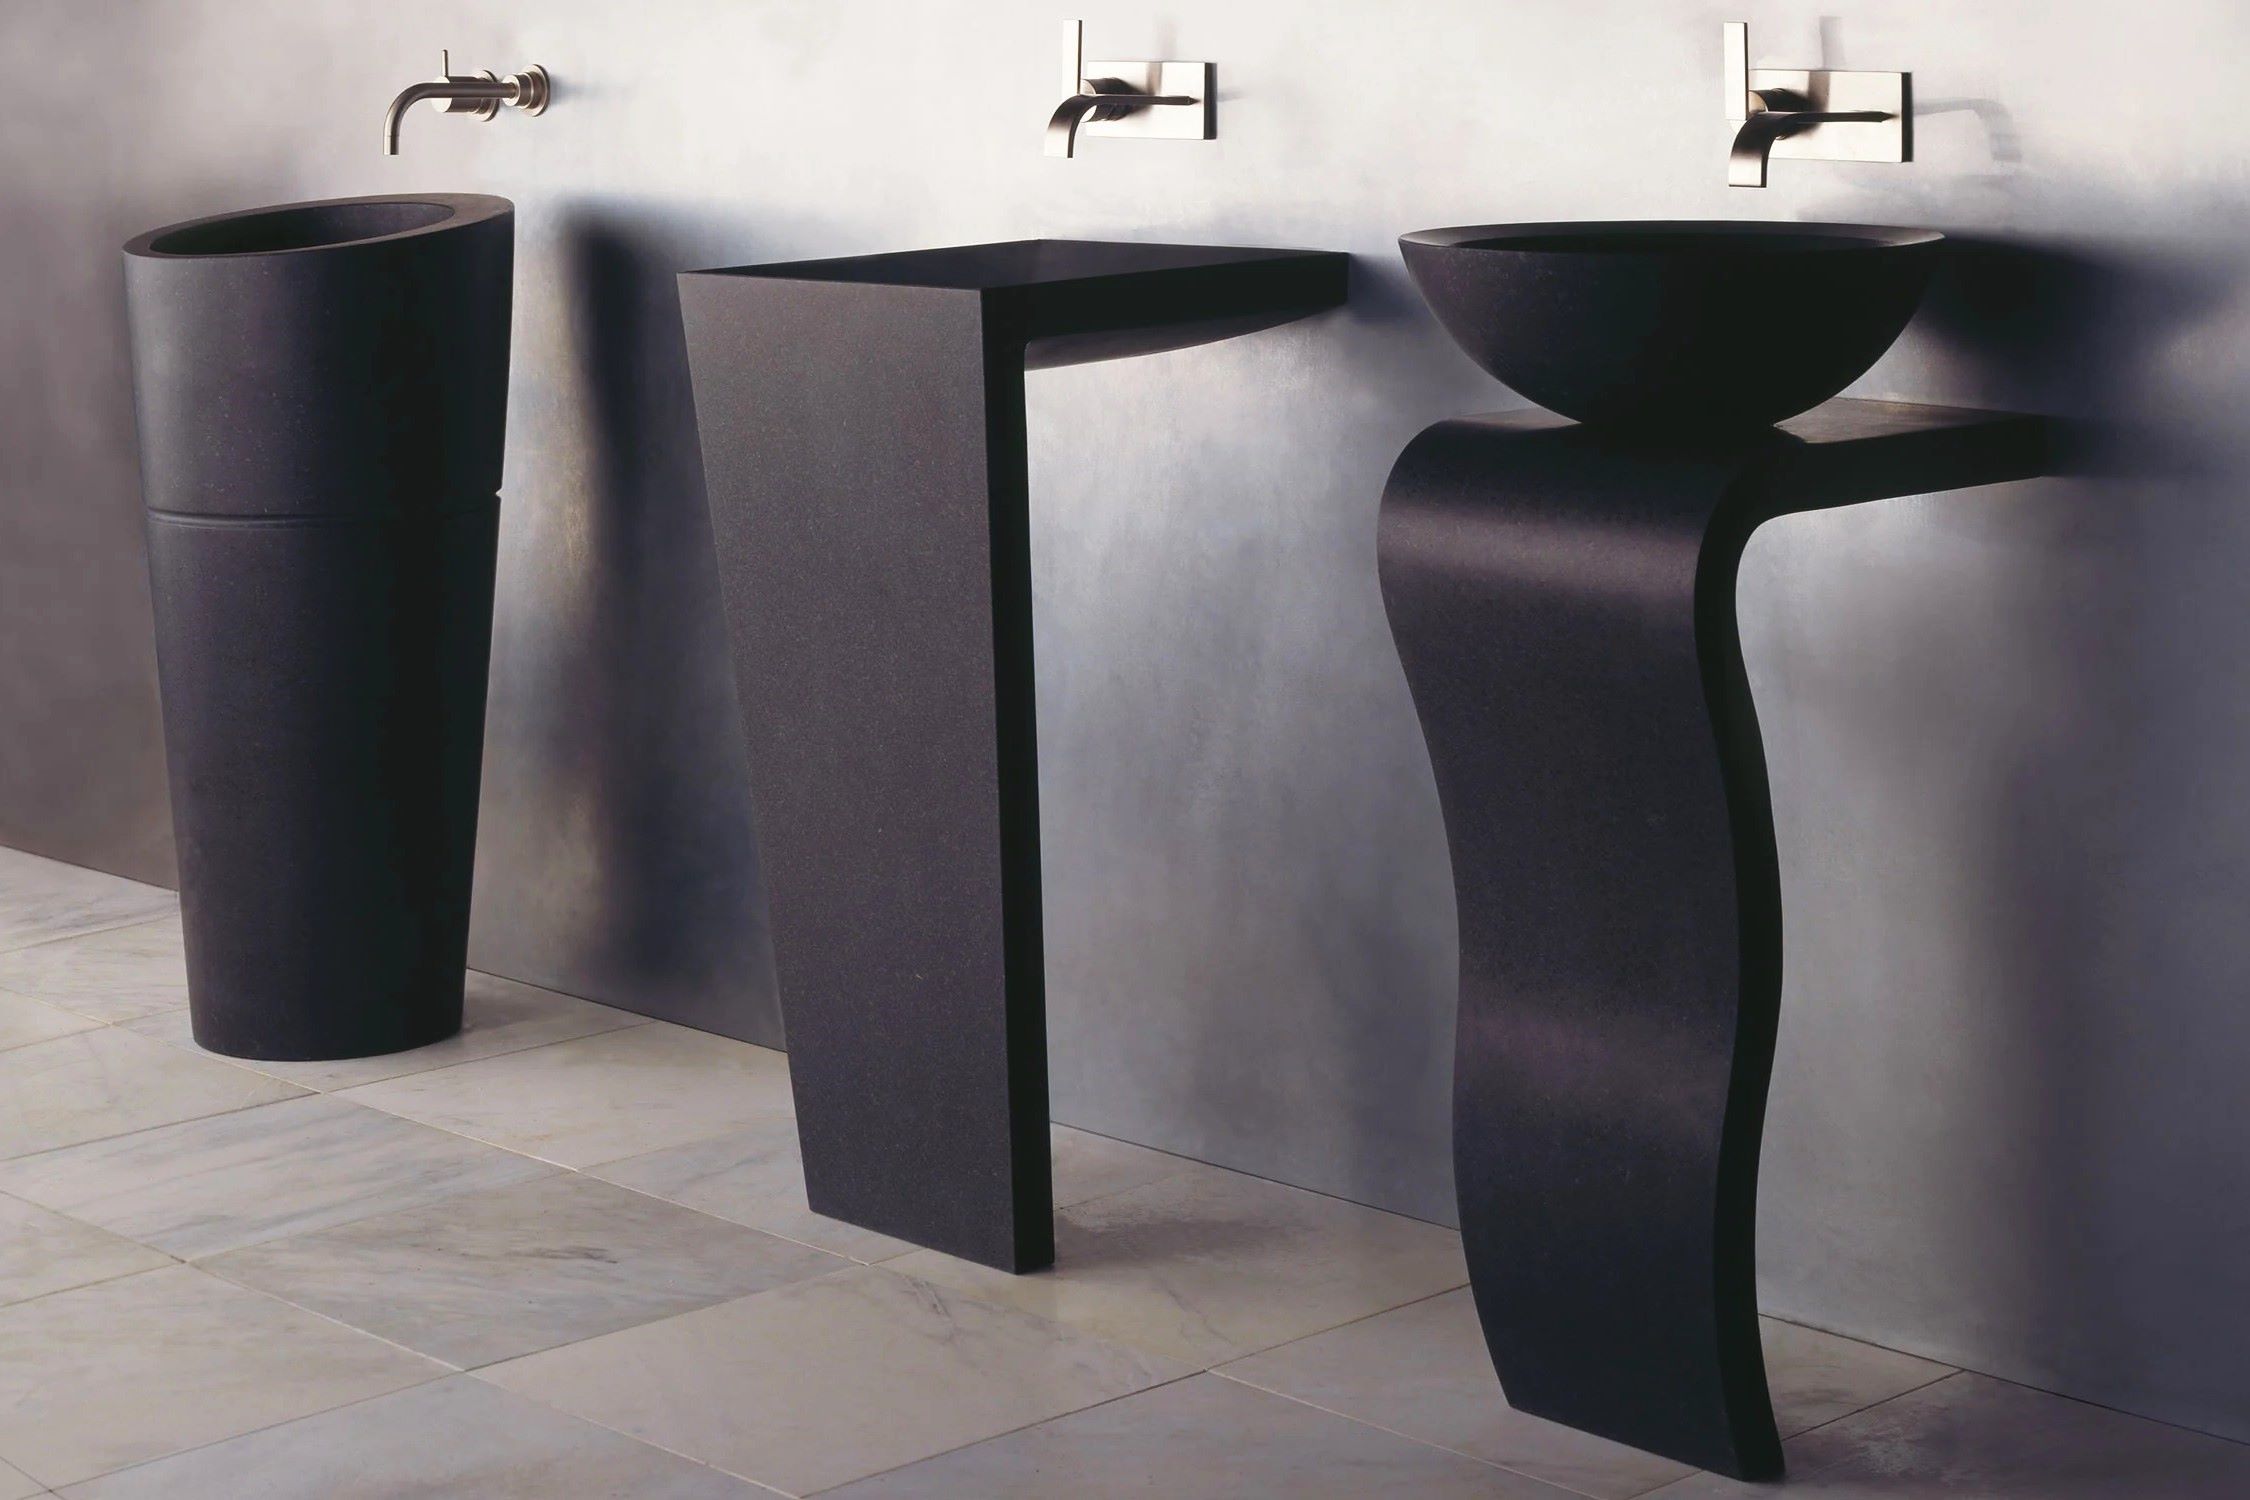
How To Replace Pedestal Sink With Vanity
Modified: October 31, 2024
Learn how to replace a pedestal sink with a vanity and upgrade the look of your bathroom with our informative articles.
(Many of the links in this article redirect to a specific reviewed product. Your purchase of these products through affiliate links helps to generate commission for Storables.com, at no extra cost. Learn more)
Introduction
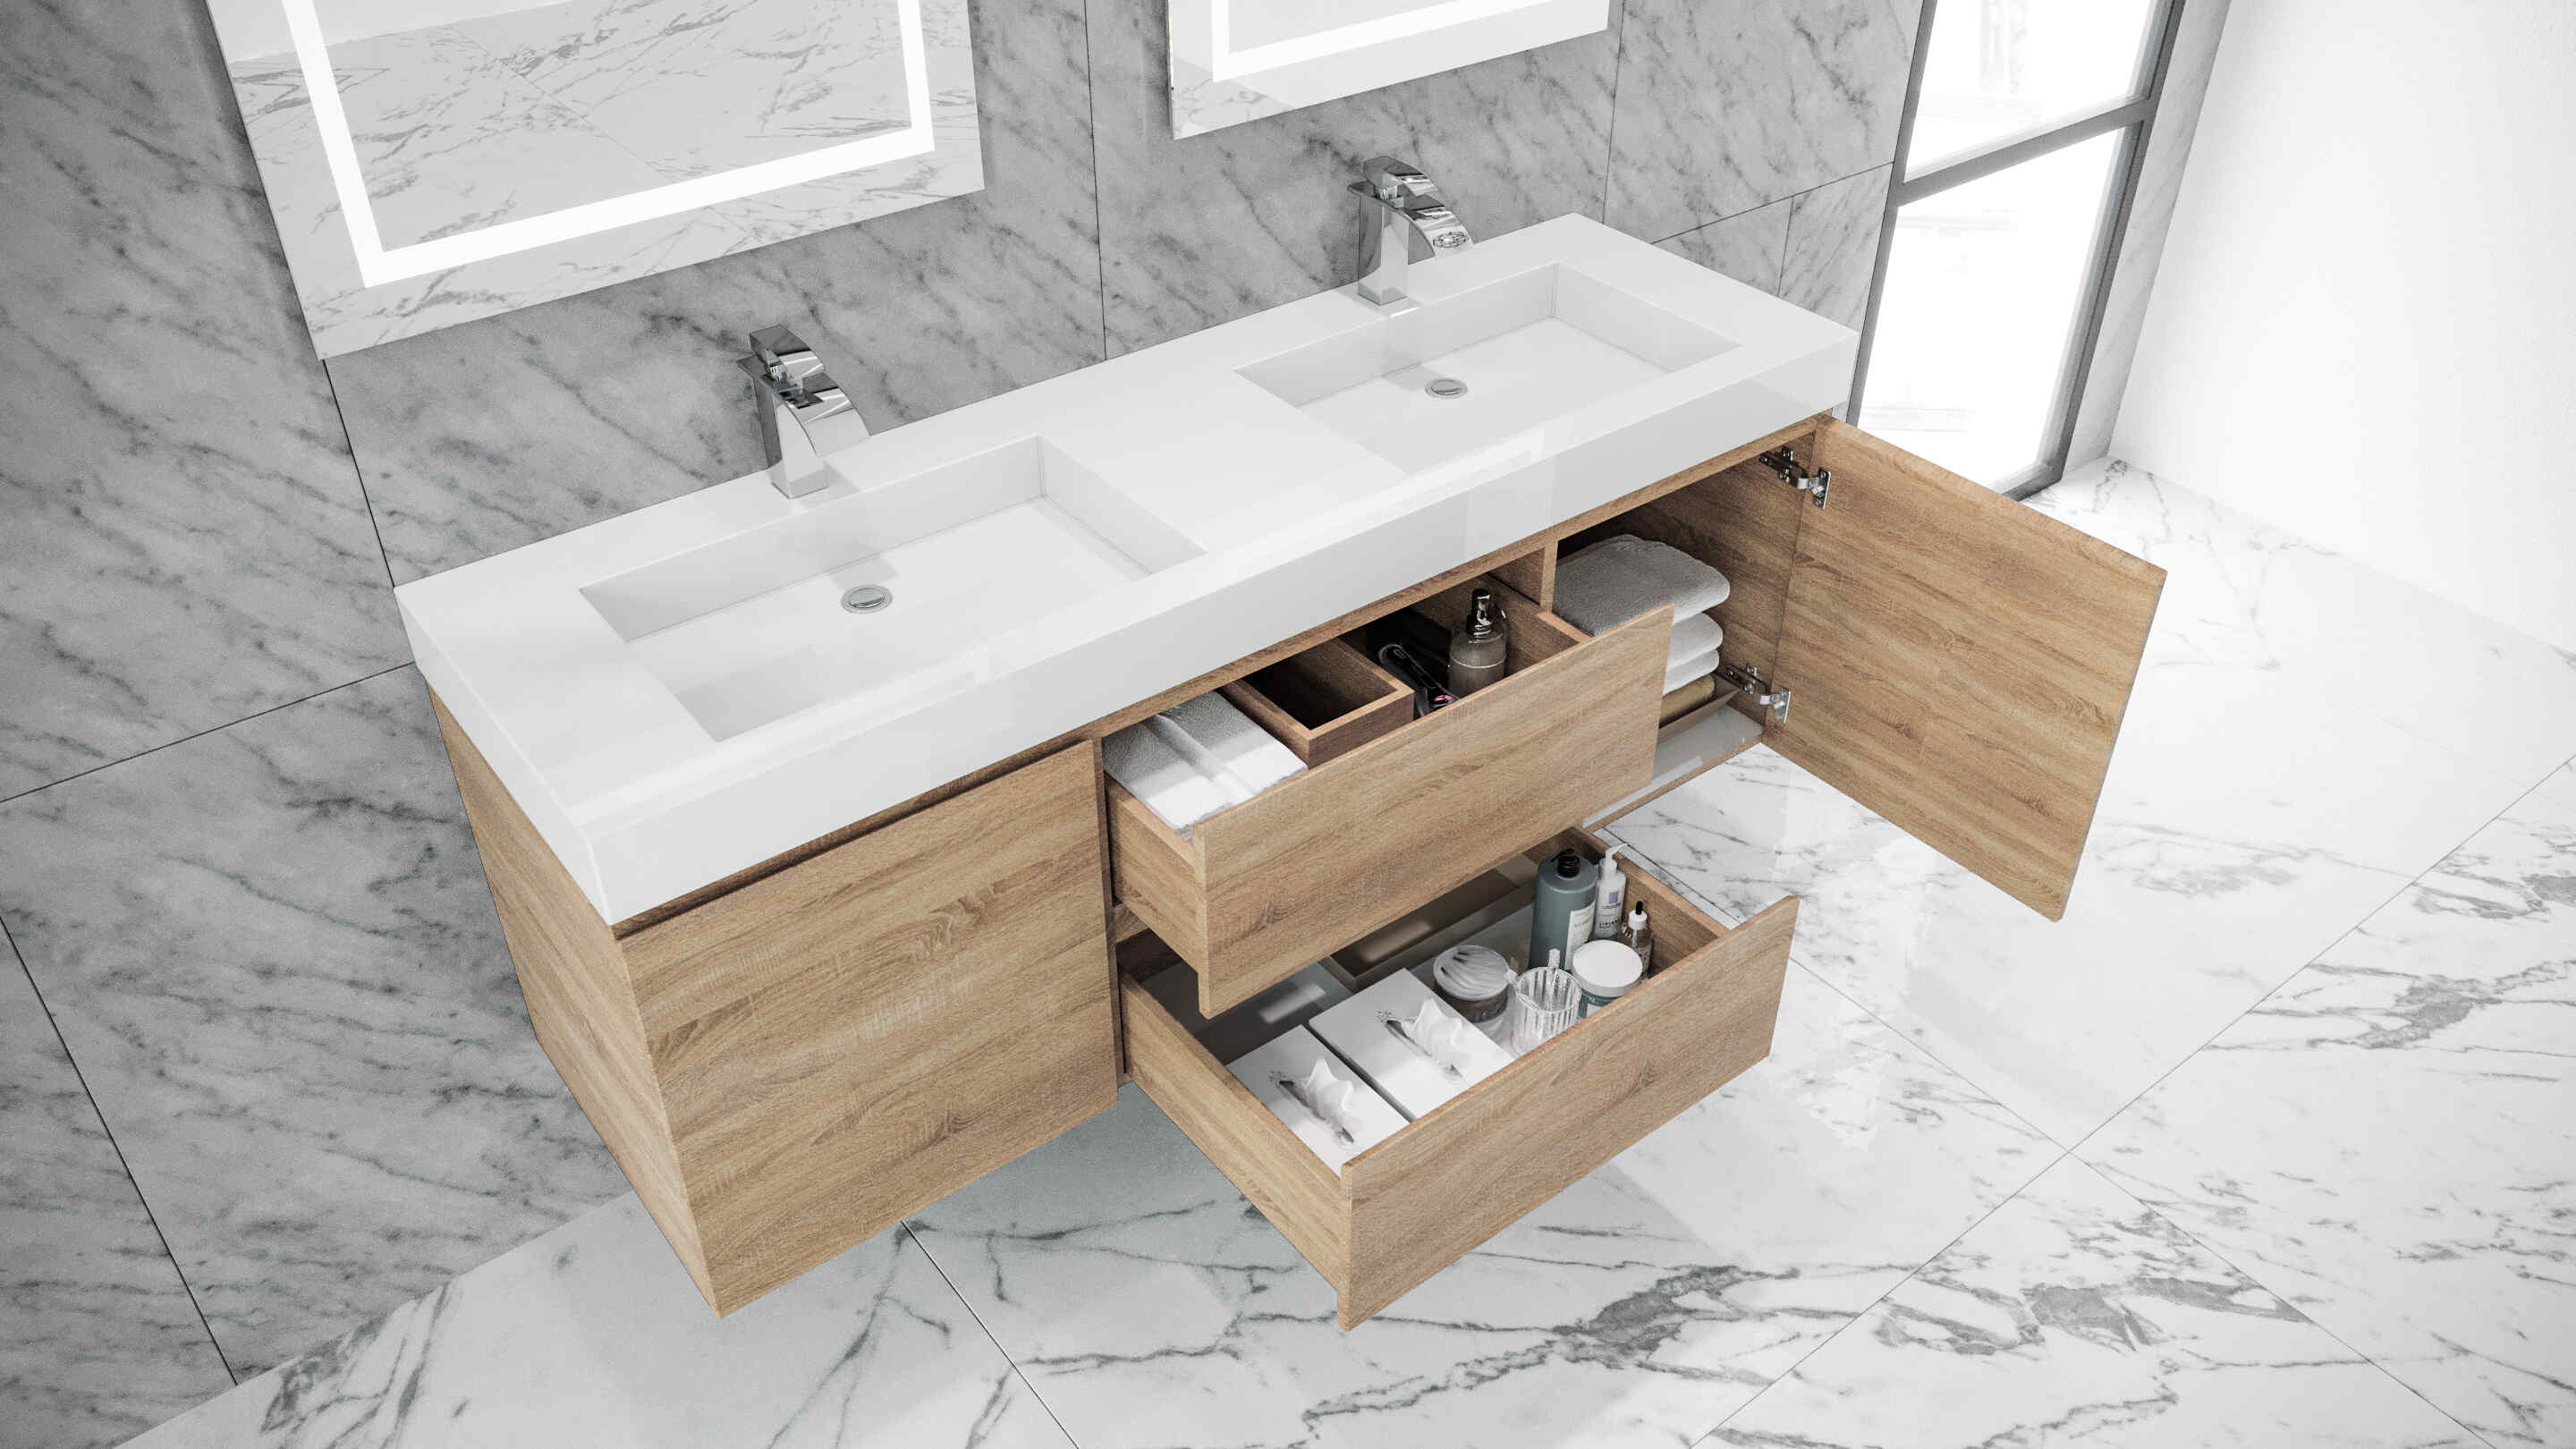
If you’re looking to update your bathroom and give it a fresh new look, replacing a pedestal sink with a vanity can make a significant impact. Not only does a vanity offer more storage space, but it also adds a touch of elegance and functionality to your bathroom. While it may seem like a daunting task, with the right tools and a step-by-step approach, you can easily replace your pedestal sink with a vanity.
In this article, we will guide you through the process of replacing your pedestal sink with a vanity. We will provide detailed instructions and tips, ensuring that your project is smooth and successful. So, let’s get started!
Key Takeaways:
- Replacing a pedestal sink with a vanity can be a daunting task, but with the right tools and step-by-step approach, it’s achievable. From disconnecting the plumbing to adding finishing touches, this guide ensures a successful and elegant bathroom transformation.
- Proper preparation, careful installation, and thorough clean-up are crucial for a seamless vanity replacement. By following this comprehensive guide, you can enjoy a functional, visually appealing, and professionally installed vanity in your bathroom.
Read more: How To Make A Vanity Around A Pedestal Sink
Step 1: Gather the necessary tools and materials
Before you begin the process of replacing your pedestal sink with a vanity, it’s important to gather all the necessary tools and materials. This will ensure that you have everything you need and save you from any unnecessary trips to the hardware store midway through the project.
Here are the essential tools and materials you will need:
- Adjustable wrench
- Pliers
- Hacksaw or reciprocating saw
- Measuring tape
- Screwdriver
- Level
- Utility knife
- Bucket
- Plumber’s putty
- Silicone caulk
- New vanity cabinet
- New vanity top with sink
- Shutoff valves
- Supply lines
- Drain kit
By having all of these items on hand, you’ll be well-prepared to tackle each step of the process without delay.
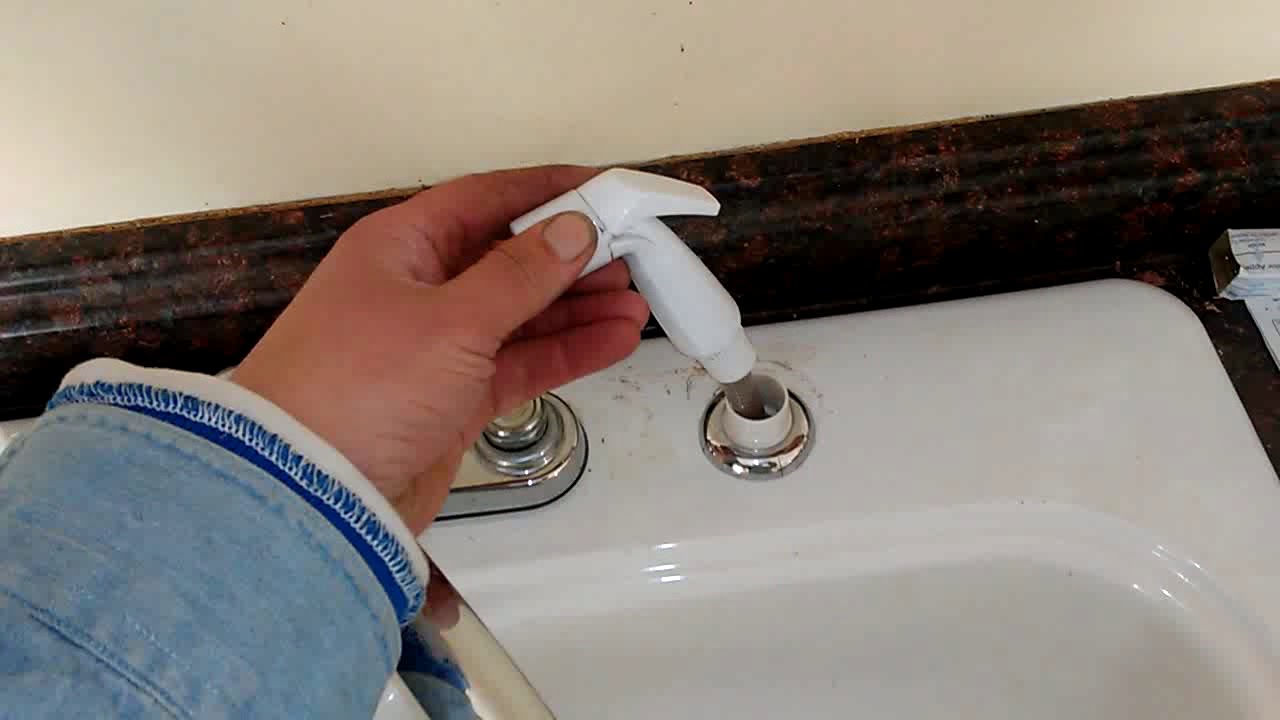
Step 2: Turn off the water supply and disconnect the plumbing
Before you can remove the pedestal sink, you need to turn off the water supply and disconnect the plumbing. This step is crucial to ensure that no water leaks or damage occurs during the installation process.
Here’s how to turn off the water supply and disconnect the plumbing:
- Locate the shutoff valves underneath the sink. These are usually located on the wall behind the pedestal sink or under the floor.
- Turn the shutoff valves clockwise until they are fully closed.
- Once the water supply is shut off, place a bucket underneath the sink to catch any remaining water in the pipes.
- Using an adjustable wrench or pliers, disconnect the supply lines by unscrewing the nuts that connect them to the shutoff valves.
- Next, disconnect the P-trap by loosening the slip nuts that hold it in place. Be prepared for some water to spill out when you remove the P-trap, so have your bucket handy.
- Finally, remove any additional plumbing connections, such as the drain stopper and pop-up assembly, if applicable.
Once all the plumbing connections are disconnected, you’re ready to move on to the next step of removing the pedestal sink.
Step 3: Remove the pedestal sink
Now that the plumbing has been disconnected, it’s time to remove the pedestal sink. Removing the sink requires careful maneuvering to avoid any damage to the surrounding walls or flooring.
Follow these steps to safely remove the pedestal sink:
- Start by unscrewing any mounting brackets or screws that secure the sink to the wall. You may need a screwdriver or a wrench, depending on the type of hardware used.
- Once the mounting brackets are removed, carefully lift the sink off the pedestal. It’s a good idea to have someone assist you to ensure that the sink is stable while moving it.
- Set the sink aside in a safe location, as you may need it later to measure for the new vanity top.
- With the sink removed, you can now detach the pedestal from the floor. Look for any bolts or screws holding the pedestal in place and remove them.
- Gently wiggle the pedestal to loosen it from the floor. If it seems stuck, you may need to use a putty knife or utility knife to cut through any caulk or adhesive holding it down.
- Once the pedestal is free, carefully lift it off the floor and set it aside.
At this point, your pedestal sink should be completely removed, leaving you with an open space for the installation of the new vanity. Ensure that the area is clean and free of any debris before proceeding to the next step.
Step 4: Prepare the area for the vanity installation
With the pedestal sink removed, it’s time to prepare the area for the installation of the new vanity. This step involves ensuring that the space is suitable for the new cabinet and making any necessary adjustments.
Follow these steps to prepare the area for the vanity installation:
- Measure the space where the pedestal sink used to be. Note the dimensions of the area, including the width, depth, and height, as these measurements will help you choose the right-sized vanity cabinet.
- Inspect the floor for any damage or unevenness. If there are any issues, such as cracks or gaps, you may need to repair or level the floor before proceeding.
- Check the wall for any imperfections, such as holes or unevenness. Use spackle or joint compound to fill in any holes and sand down any rough areas to create a smooth surface.
- If the wall behind the sink is tiled, decide whether you want to keep the tiles or remove them to create a clean surface for the vanity. If you choose to remove the tiles, carefully chip away at the grout and gently pry them off the wall.
- Clean the area thoroughly, removing any debris, dust, or residue left behind from the pedestal sink removal.
- Once the area is clean and prepared, you’re ready to move on to the next step of installing the vanity cabinet.
By taking the time to properly prepare the area, you’ll ensure a smooth and seamless installation of your new vanity. Now that everything is ready, let’s move on to installing the vanity cabinet.
Step 5: Install the vanity cabinet
Now that the area is prepared, it’s time to install the new vanity cabinet. This step involves securing the cabinet to the wall and ensuring that it is level and stable.
Follow these steps to install the vanity cabinet:
- Position the vanity cabinet in the desired location, aligning it with the plumbing connections.
- Use a level to ensure that the cabinet is straight and adjust it as needed.
- Mark the location of the mounting holes on the back of the cabinet using a pencil or pen.
- Set the cabinet aside and locate the wall studs. Use a stud finder or tap along the wall to find the stud locations.
- Mark the stud locations on the wall using a pencil or pen.
- Pre-drill pilot holes into the marked stud locations to make it easier to secure the cabinet.
- Have a helper hold the cabinet in place while you secure it to the wall using screws or mounting brackets.
- Check again with the level to ensure that the cabinet is perfectly level.
- Make any necessary adjustments to the position or level of the cabinet.
- Tighten the screws or mounting brackets to secure the cabinet firmly to the wall.
By properly installing the vanity cabinet, you’ll ensure that it is securely attached to the wall and will provide a stable foundation for the sink and countertop. With the vanity cabinet securely in place, you’re ready to move on to the next step of connecting the plumbing.
Before replacing a pedestal sink with a vanity, measure the space to ensure the new vanity will fit. Turn off the water supply and disconnect the plumbing before removing the old sink. Make sure to properly secure the new vanity in place and reconnect the plumbing.
Step 6: Connect the plumbing to the new vanity
With the vanity cabinet installed, it’s time to connect the plumbing to the new vanity. This step involves reconnecting the supply lines and drain pipes, ensuring proper water flow and drainage.
Follow these steps to connect the plumbing to the new vanity:
- Begin by installing new shutoff valves onto the existing water supply pipes. These valves will allow you to control the water flow to the vanity.
- Attach the supply lines to the shutoff valves, making sure to tighten the nuts securely.
- If your vanity has a pre-cut hole for the sink drain, insert the drain assembly into the hole and secure it from underneath with the provided hardware.
- If your vanity does not have a pre-cut hole, follow the manufacturer’s instructions to cut a hole for the sink drain in the back of the vanity.
- Apply plumber’s putty around the rim of the sink drain opening and insert the drain flange into the hole.
- From underneath the vanity, tighten the retaining nut onto the drain flange to secure it in place.
- Connect the P-trap to the sink drain tailpiece and the wall drain outlet, making sure to tighten the slip nuts securely.
- Check all connections for any leaks by turning on the water supply and carefully inspecting the plumbing connections.
- If you notice any leaks, tighten the connections further or reapply plumber’s putty or silicone caulk as necessary.
By properly connecting the plumbing, you’ll ensure that your new vanity has a functioning water supply and drainage system. Once the plumbing is connected and leak-free, you’re ready to move on to the next step of installing the new vanity top and sink.
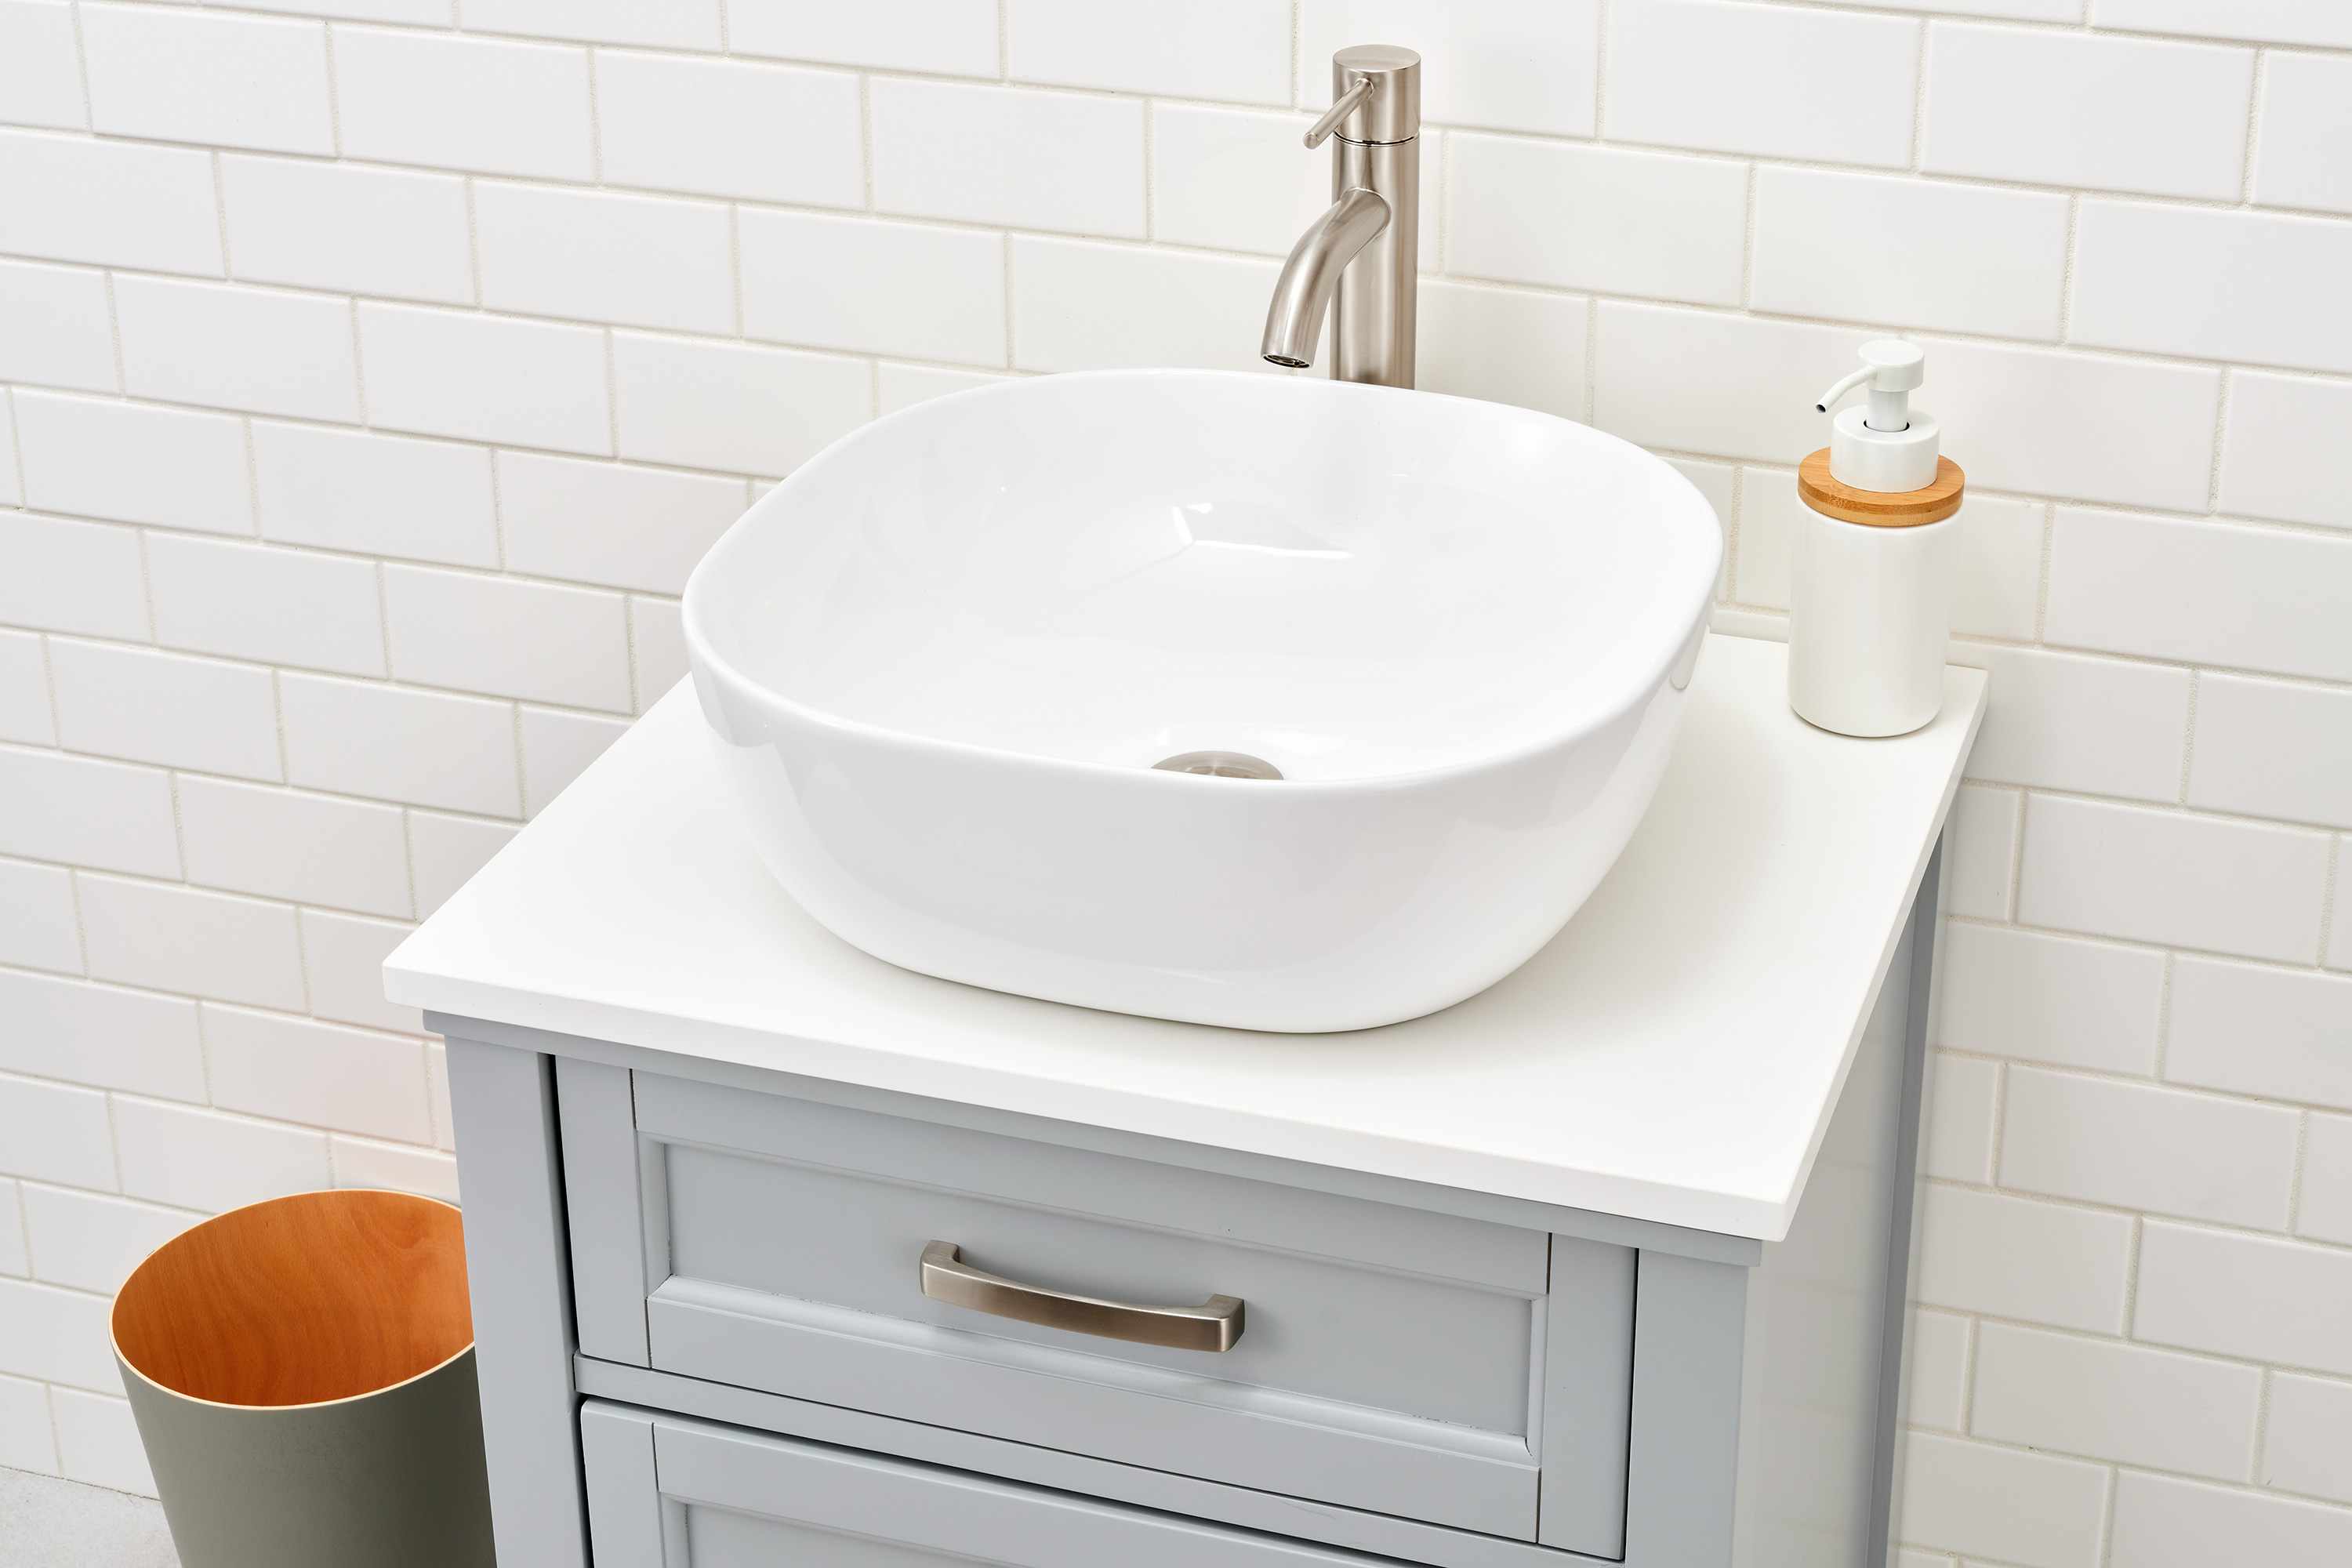
Step 7: Install the new vanity top and sink
Now that the plumbing is connected, it’s time to install the new vanity top and sink. This step involves carefully positioning the vanity top and attaching it securely to the vanity cabinet.
Follow these steps to install the new vanity top and sink:
- Place the new vanity top onto the vanity cabinet, ensuring that it is properly aligned and centered.
- If the vanity top comes with pre-drilled holes for the sink, insert the sink into the holes and ensure it sits flush with the vanity top.
- If the vanity top does not have pre-drilled holes, follow the manufacturer’s instructions to cut the holes for the sink.
- Apply a thin bead of silicone caulk along the edge of the vanity cabinet, ensuring complete coverage.
- Carefully lower the vanity top onto the cabinet, pressing it down firmly to ensure a secure bond with the caulk.
- Use a level to ensure that the vanity top is even and level.
- If necessary, adjust the position of the vanity top to achieve a perfect fit.
- Allow the silicone caulk to dry and cure according to the manufacturer’s instructions. This will ensure a watertight seal between the vanity top and cabinet.
By properly installing the new vanity top and sink, you’ll ensure a seamless and professional-looking finish to your bathroom vanity. Once the vanity top is securely in place, you’re ready to move on to the next step of securing the vanity to the wall.
Step 8: Secure the vanity to the wall
Securing the vanity to the wall is an essential step to ensure stability and prevent any accidents or damage. By anchoring the vanity securely, you can be confident that it will remain firmly in place over time.
Follow these steps to secure the vanity to the wall:
- Locate the wall studs behind the vanity cabinet.
- Mark the stud locations on the back of the vanity using a pencil or pen.
- Using a drill and appropriate screws, attach the vanity cabinet to the wall at the marked stud locations.
- Ensure that the screws are long enough to penetrate the studs, providing a secure anchor for the vanity.
- Check again with a level to ensure that the vanity is still level after securing it to the wall.
- Make any necessary adjustments to ensure that the vanity remains perfectly level and aligned.
- Tighten the screws securely, but be careful not to overtighten and damage the vanity or the wall.
By properly securing the vanity to the wall, you ensure that it remains steady and prevents any potential accidents or movement. With the vanity securely in place, you’re moving closer to completing your project.
Read more: How To Remove A Pedestal Sink
Step 9: Reconnect the water supply and check for leaks
With the vanity fully installed and secured, it’s time to reconnect the water supply and check for any potential leaks. This step ensures that your new vanity is ready for use and functioning as intended.
Follow these steps to reconnect the water supply and check for leaks:
- Turn on the shutoff valves underneath the sink to restore the water supply to the vanity.
- Check the supply lines and connections for any leaks. Look for any water drips or moisture around the connections.
- If you notice any leaks, tighten the connections further or apply plumber’s tape or sealant to create a watertight seal.
- Once you are confident that the water supply connections are leak-free, turn on the faucet and check for any leaks around the sink drain and faucet handles.
- Inspect the P-trap connections and drain pipe for any leaks or drainage issues.
- If you discover any leaks, tighten the connections or apply plumber’s tape or sealant as necessary.
- Run the water for a few minutes to ensure that the plumbing is functioning properly and there are no hidden leaks.
- Double-check all connections and retest for leaks, making sure to address any issues immediately.
By taking the time to reconnect the water supply and check for leaks, you can ensure that your new vanity is fully functional and free from any plumbing issues. Once you have verified that everything is leak-free, you’re almost done with your vanity replacement project.
Step 10: Finishing touches and clean up
With the major steps of your vanity replacement project complete, it’s time to focus on the finishing touches and clean up. This final step will bring your project to a close and leave your bathroom looking refreshed and polished.
Follow these steps to add the finishing touches and complete the clean up:
- Attach any additional accessories or hardware to the vanity, such as drawer pulls or knobs, according to the manufacturer’s instructions.
- Clean the vanity top, sink, and surrounding area with mild cleanser or soap and water.
- Wipe down any residue or caulk from the installation process, ensuring a clean and polished look.
- Inspect the area around the vanity for any debris or dust and use a vacuum or broom to clean it up.
- If necessary, touch up the paint on the walls or trim around the vanity to create a seamless and fresh appearance.
- Test all the drawers and cabinet doors to make sure they open and close smoothly.
- Place any bathroom essentials or decorations back on or inside the vanity, arranging them in a way that is organized and aesthetically pleasing.
- Stand back, admire your completed vanity replacement, and enjoy your newly transformed bathroom space!
By taking care of the finishing touches and cleaning up, you will have a fully functional and visually appealing bathroom vanity that adds value and style to your home. With your project complete, you can now enjoy the convenience and beauty of your new vanity for years to come.
Conclusion
Replacing a pedestal sink with a vanity can have a significant impact on the look and functionality of your bathroom. By following the step-by-step guide outlined in this article, you can successfully complete this project and achieve a professional-level result.
Throughout the process, it’s important to gather all the necessary tools and materials, turn off the water supply, disconnect the plumbing, remove the pedestal sink, and prepare the area for the new vanity installation. Installing the vanity cabinet, connecting the plumbing, and securing the vanity to the wall are essential steps that ensure stability and proper functionality.
With careful attention to detail, you can install the new vanity top and sink, reconnect the water supply, and check for any leaks. Finally, adding the finishing touches and completing the clean-up will leave your bathroom looking polished and refreshed.
Remember, taking the time to plan, properly measure, and ensure a level installation will result in a seamless and professional-looking vanity replacement. Don’t hesitate to seek assistance or consult with a professional if you encounter any challenges along the way.
By following this comprehensive guide, you can transform your bathroom and enjoy the added storage and elegance of a vanity. Get ready to enjoy a more functional and aesthetically pleasing space that reflects your personal style and enhances your daily routines.
Ready to take your DIY skills further? After mastering the vanity replacement, you might wonder about overall timing for sprucing up your entire bathroom. Our guide on how long bathroom renovations typically last offers practical insights for efficient planning. Next, why not tackle another essential upgrade? Our step-by-step instructions on sink faucet installation will ensure you handle this task with confidence, completing your bathroom's new look.
Frequently Asked Questions about How To Replace Pedestal Sink With Vanity
Was this page helpful?
At Storables.com, we guarantee accurate and reliable information. Our content, validated by Expert Board Contributors, is crafted following stringent Editorial Policies. We're committed to providing you with well-researched, expert-backed insights for all your informational needs.


0 thoughts on “How To Replace Pedestal Sink With Vanity”