Articles
How To Replace Sink Strainer
Modified: August 16, 2024
Learn how to replace a sink strainer with our helpful articles. Get step-by-step instructions and expert tips to easily complete the task.
(Many of the links in this article redirect to a specific reviewed product. Your purchase of these products through affiliate links helps to generate commission for Storables.com, at no extra cost. Learn more)
Introduction
Replacing a sink strainer is essential when you notice leaks or a deteriorated strainer that affects the functionality of your sink. A sink strainer is a crucial component that prevents solid debris from clogging your drain and causing plumbing issues. Whether you are a seasoned DIY enthusiast or a novice, replacing a sink strainer can be a straightforward task if you have the right tools and follow the right steps.
In this article, we will guide you through the process of replacing a sink strainer efficiently. By the end of this article, you will have the knowledge and confidence to tackle this project on your own. So, let’s gather our tools and materials and get started on refreshing your sink’s strainer.
Key Takeaways:
- DIY Sink Strainer Replacement
Save time and money by following our step-by-step guide to replace your sink strainer. Enjoy a functional sink with improved drainage and prevent costly plumbing issues. - Essential Maintenance for Healthy Plumbing
Regularly inspect and replace your sink strainer to maintain a healthy plumbing system. Prevent clogs and ensure a smooth water flow for everyday convenience.
Read also: 9 Amazing Sink Drain Strainer for 2025
Tools and Materials Needed
Before diving into the process of replacing a sink strainer, it’s important to ensure that you have the necessary tools and materials on hand. Here’s a list of what you’ll need:
- Adjustable pliers
- Plumber’s putty
- Screwdriver
- Bucket or container
- Towel or rag
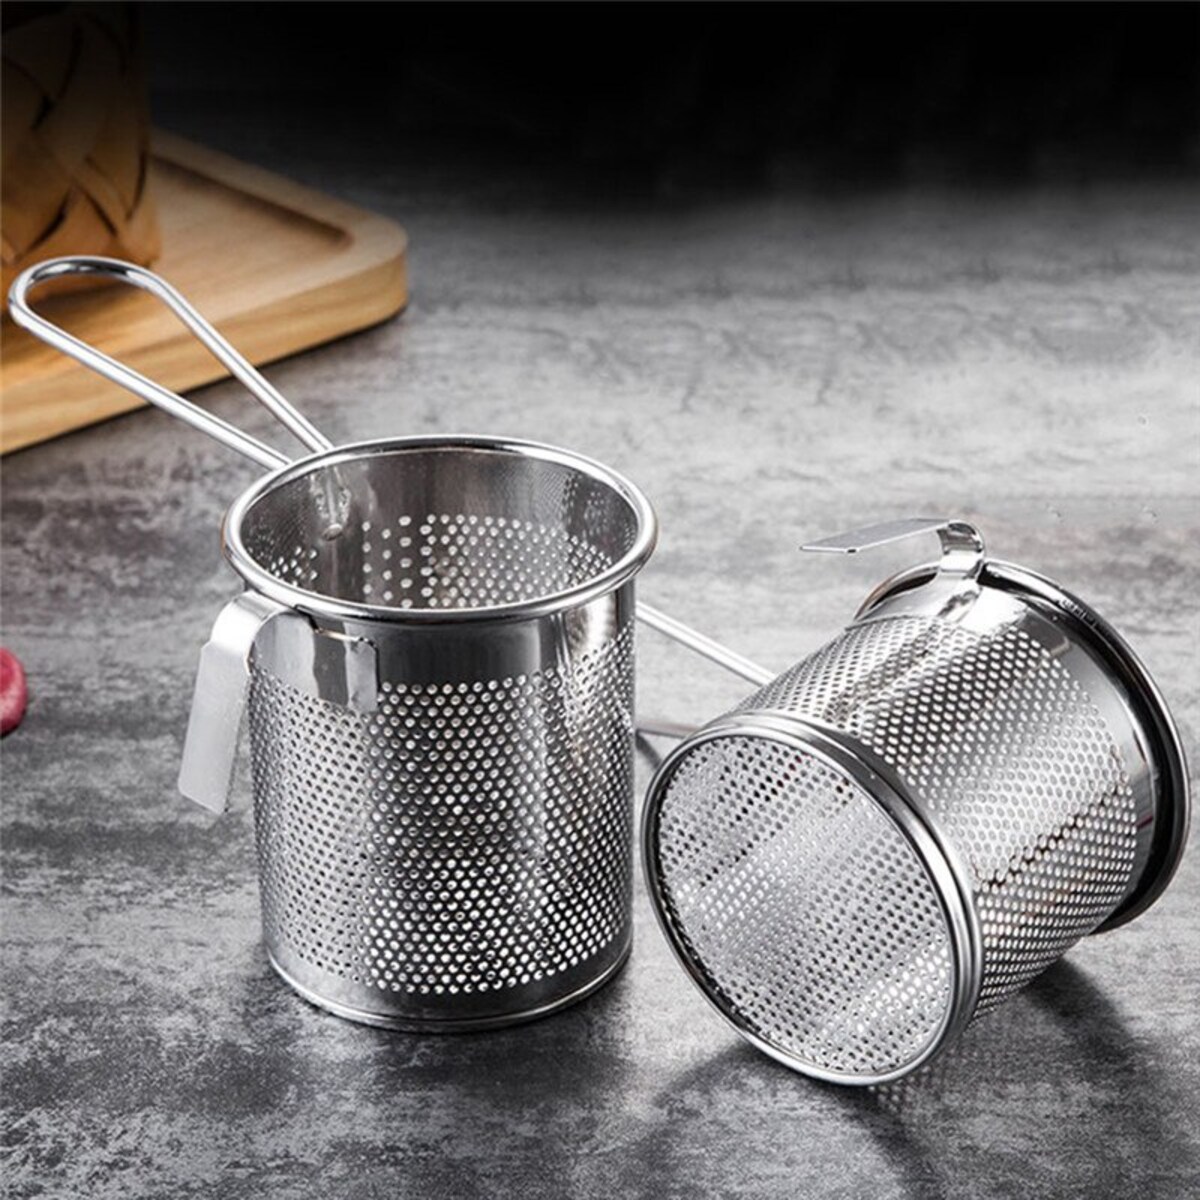
- Replacement sink strainer
These tools and materials will help you remove the old sink strainer and install the new one properly. Make sure to gather everything before starting the process to avoid any delays or interruptions.
Step 1: Remove the Old Sink Strainer
The first step in replacing a sink strainer is to remove the old one. Follow these steps to do it correctly:
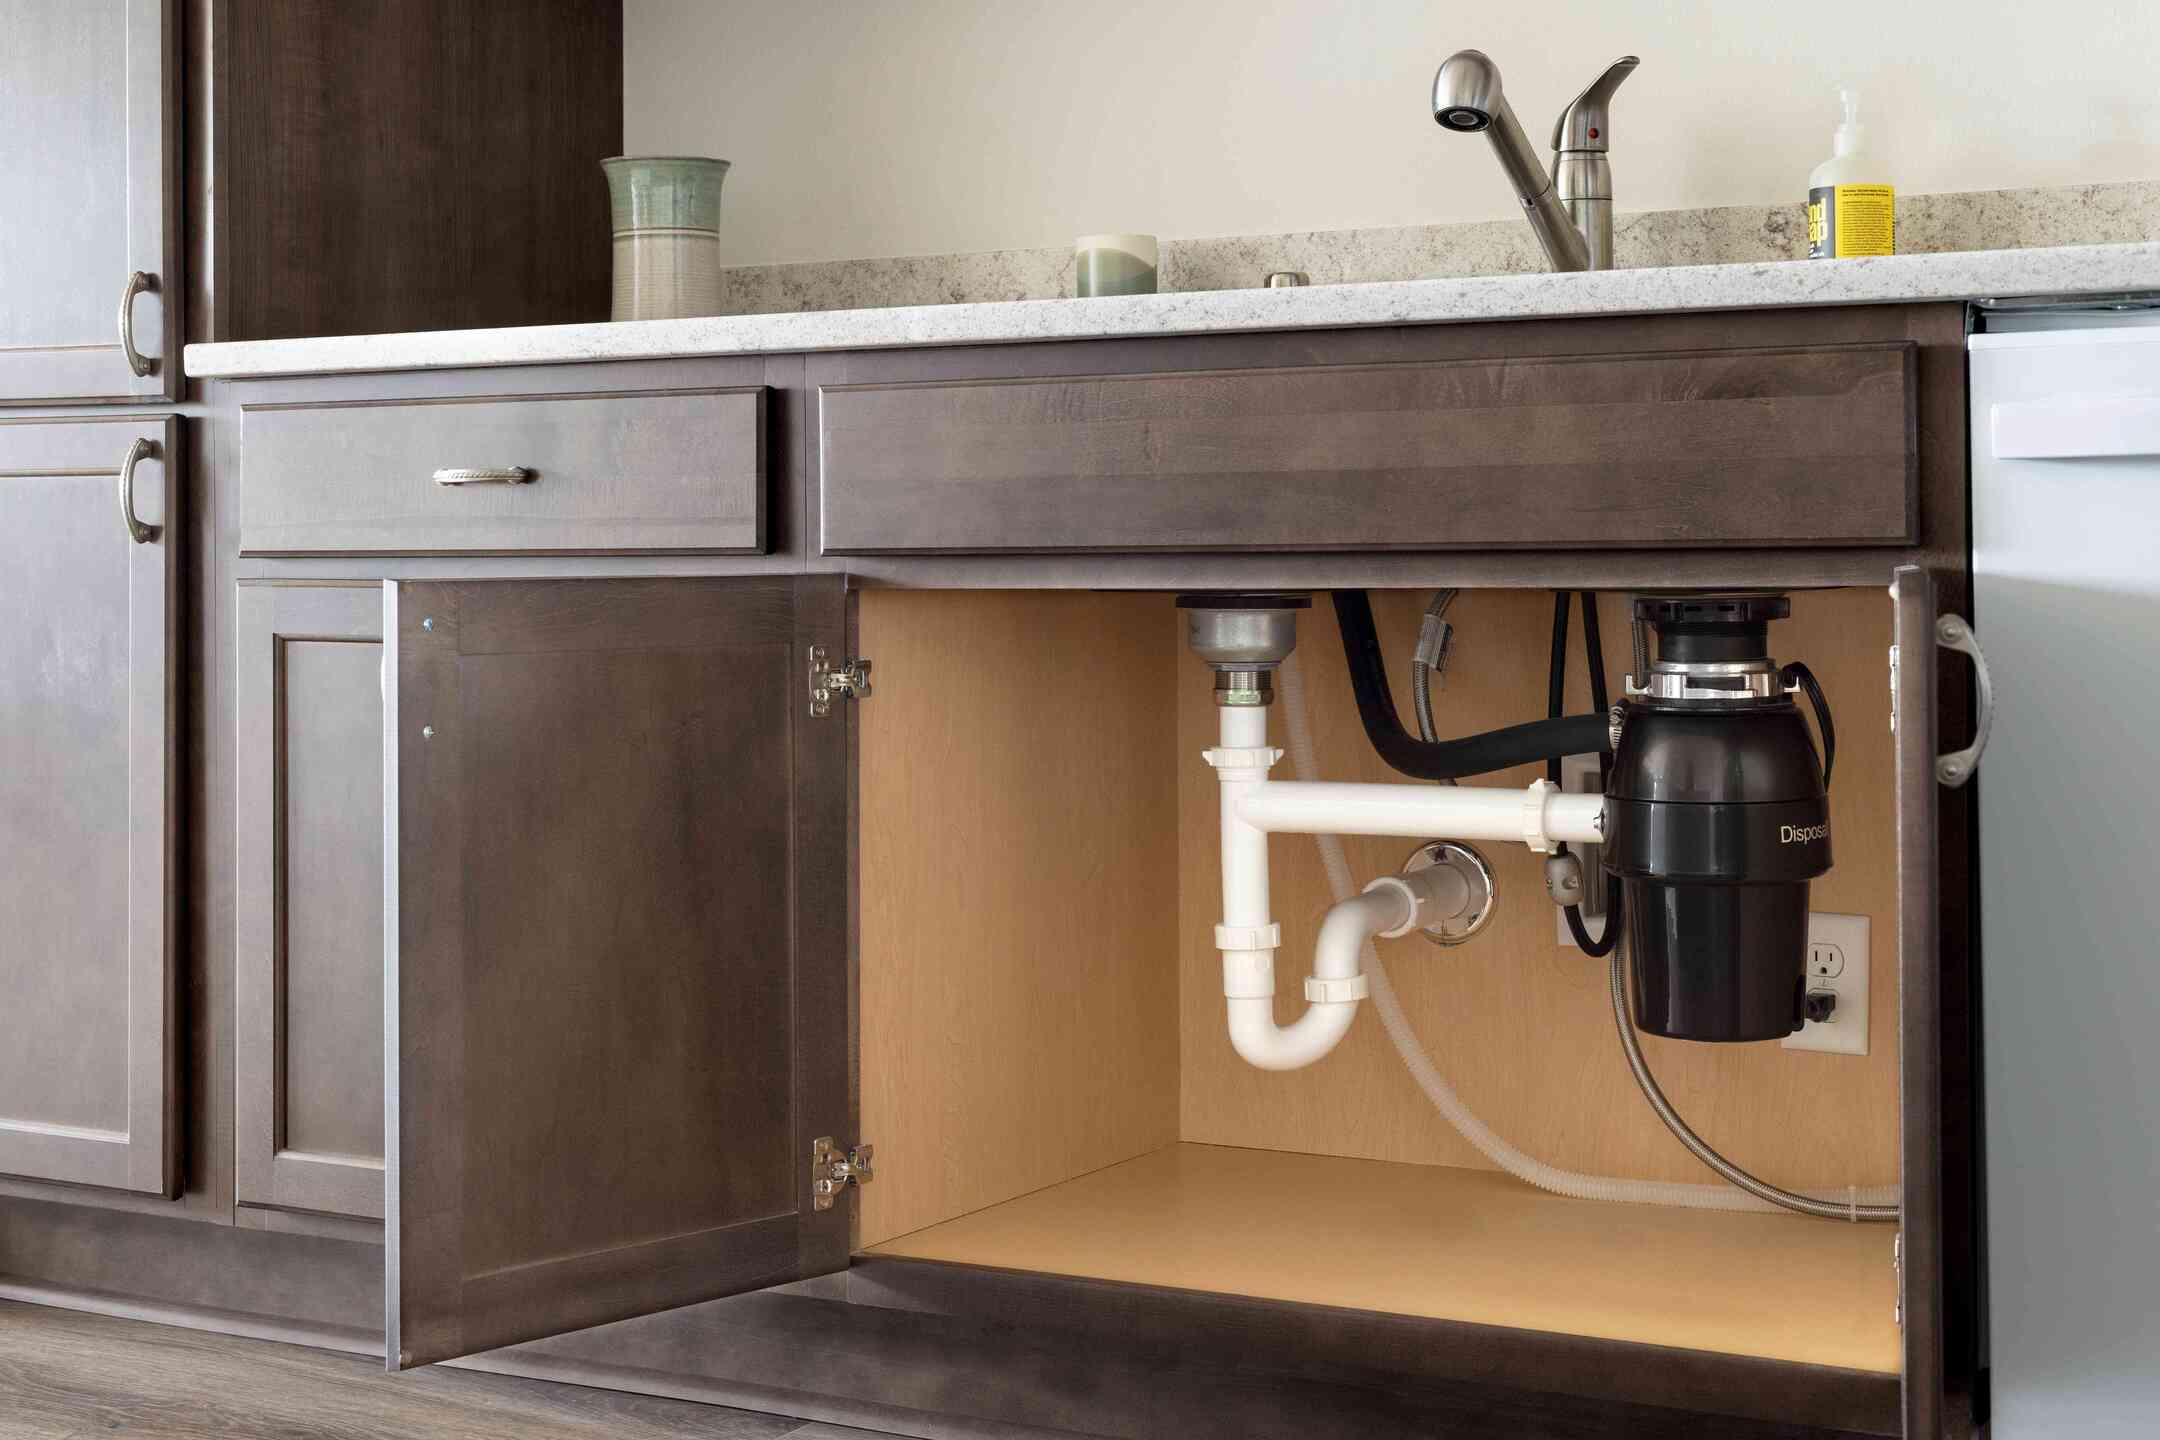
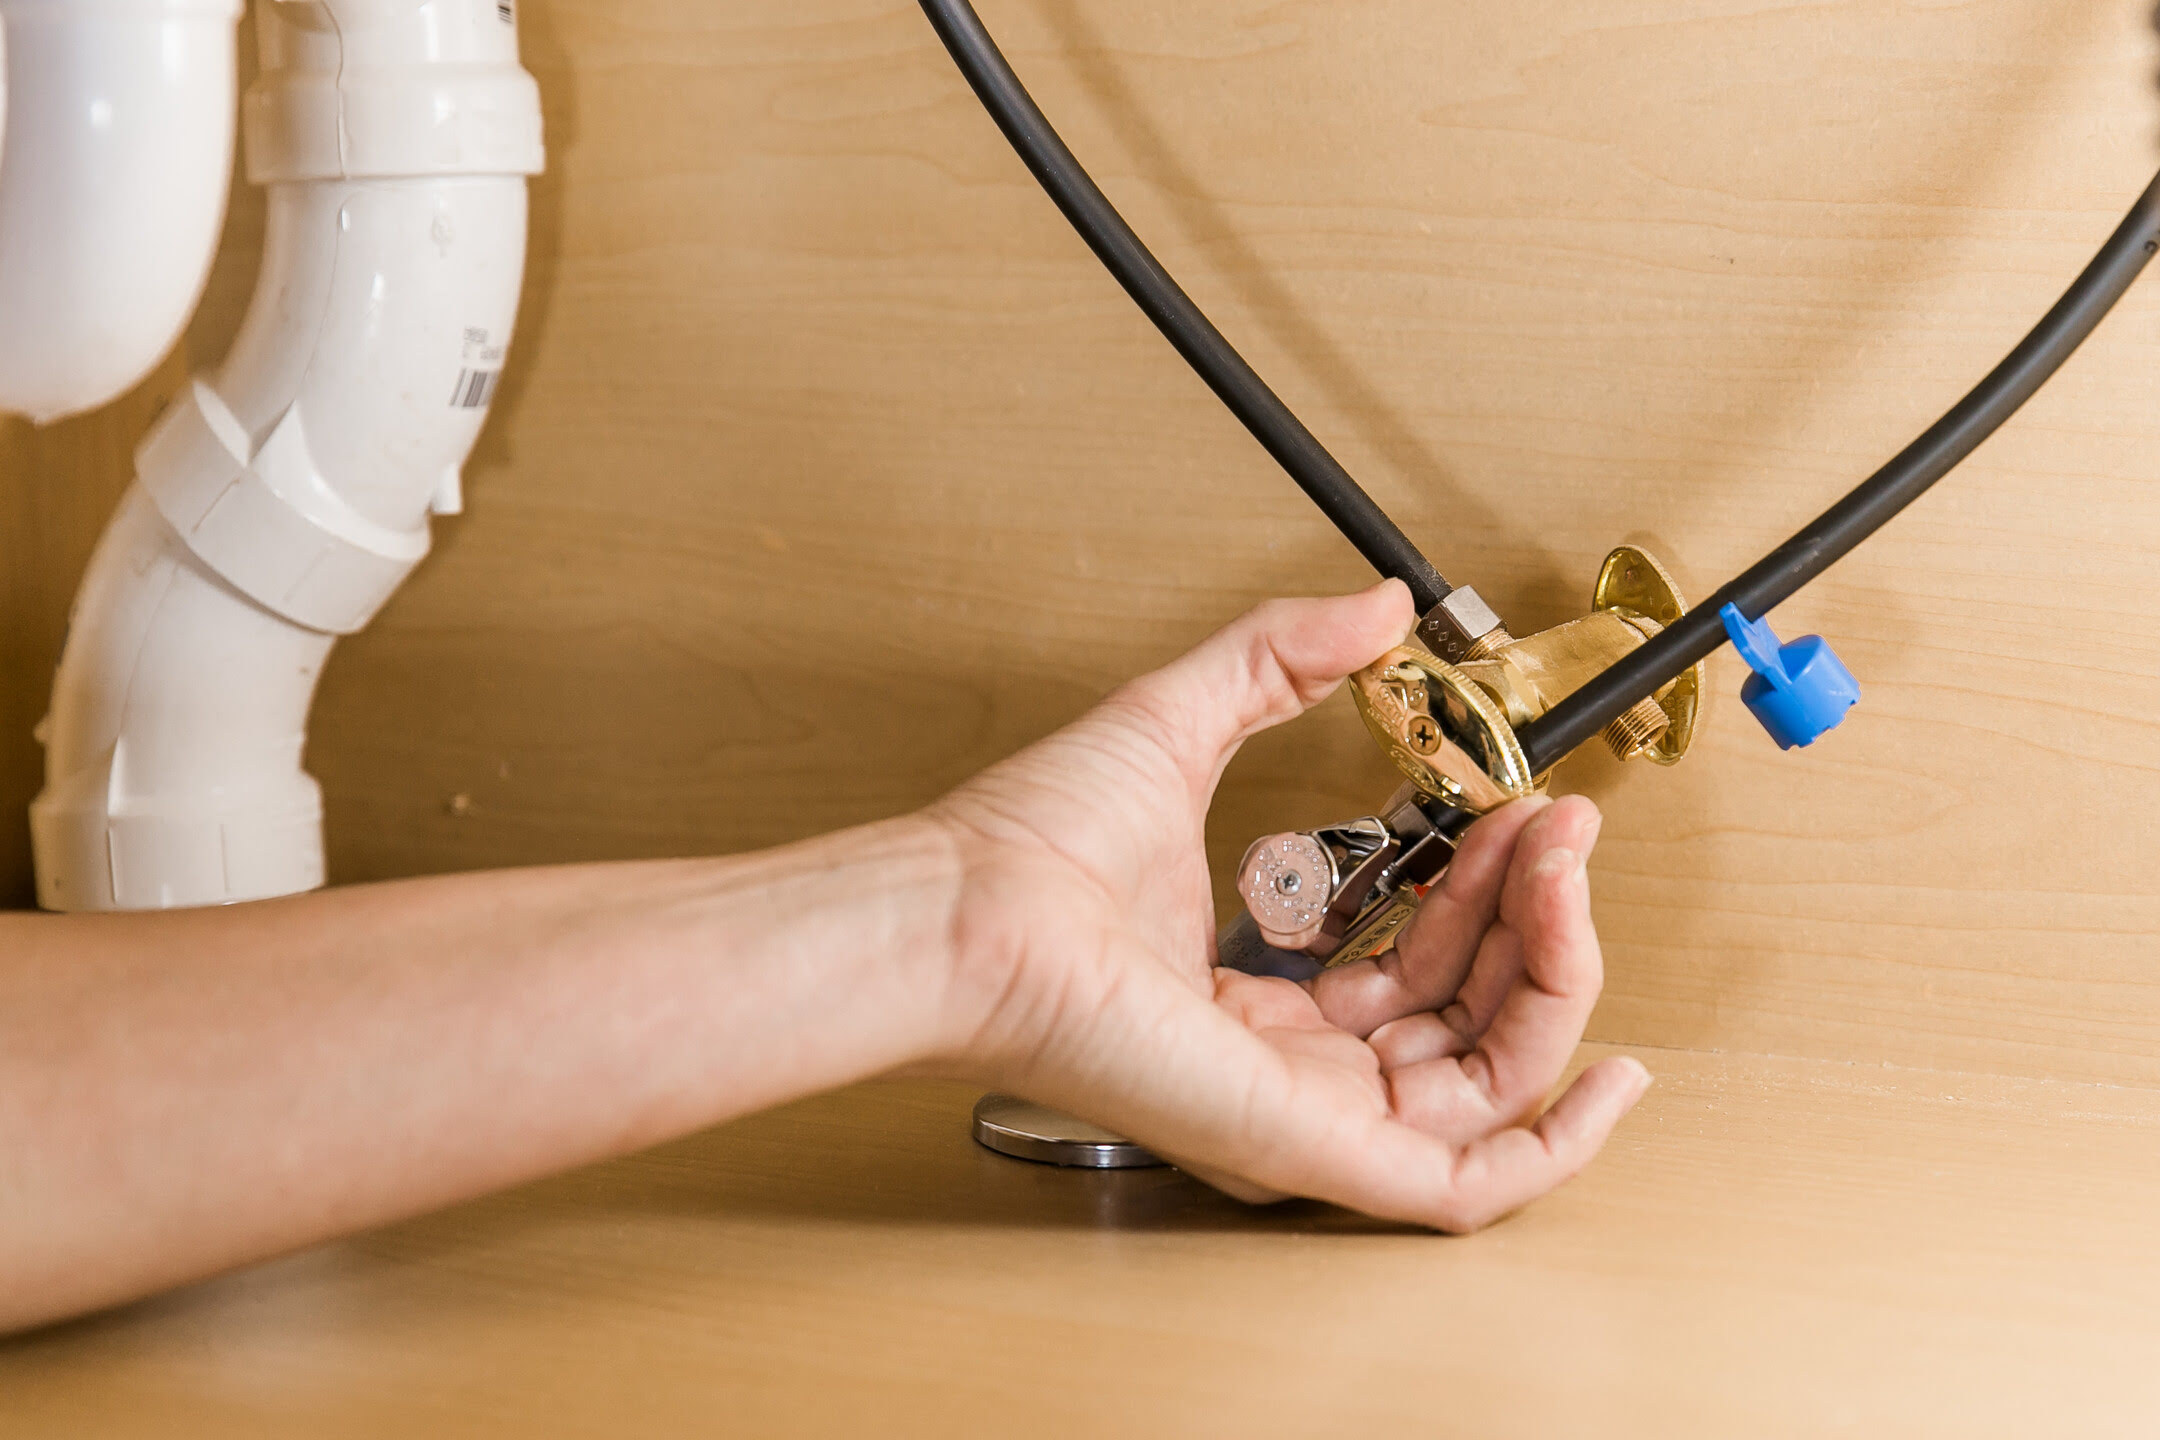
- Start by turning off the water supply to the sink. Look for the shut-off valves under the sink and turn them clockwise to close.
- Place a bucket or container underneath the sink to catch any water that may spill out during the process.
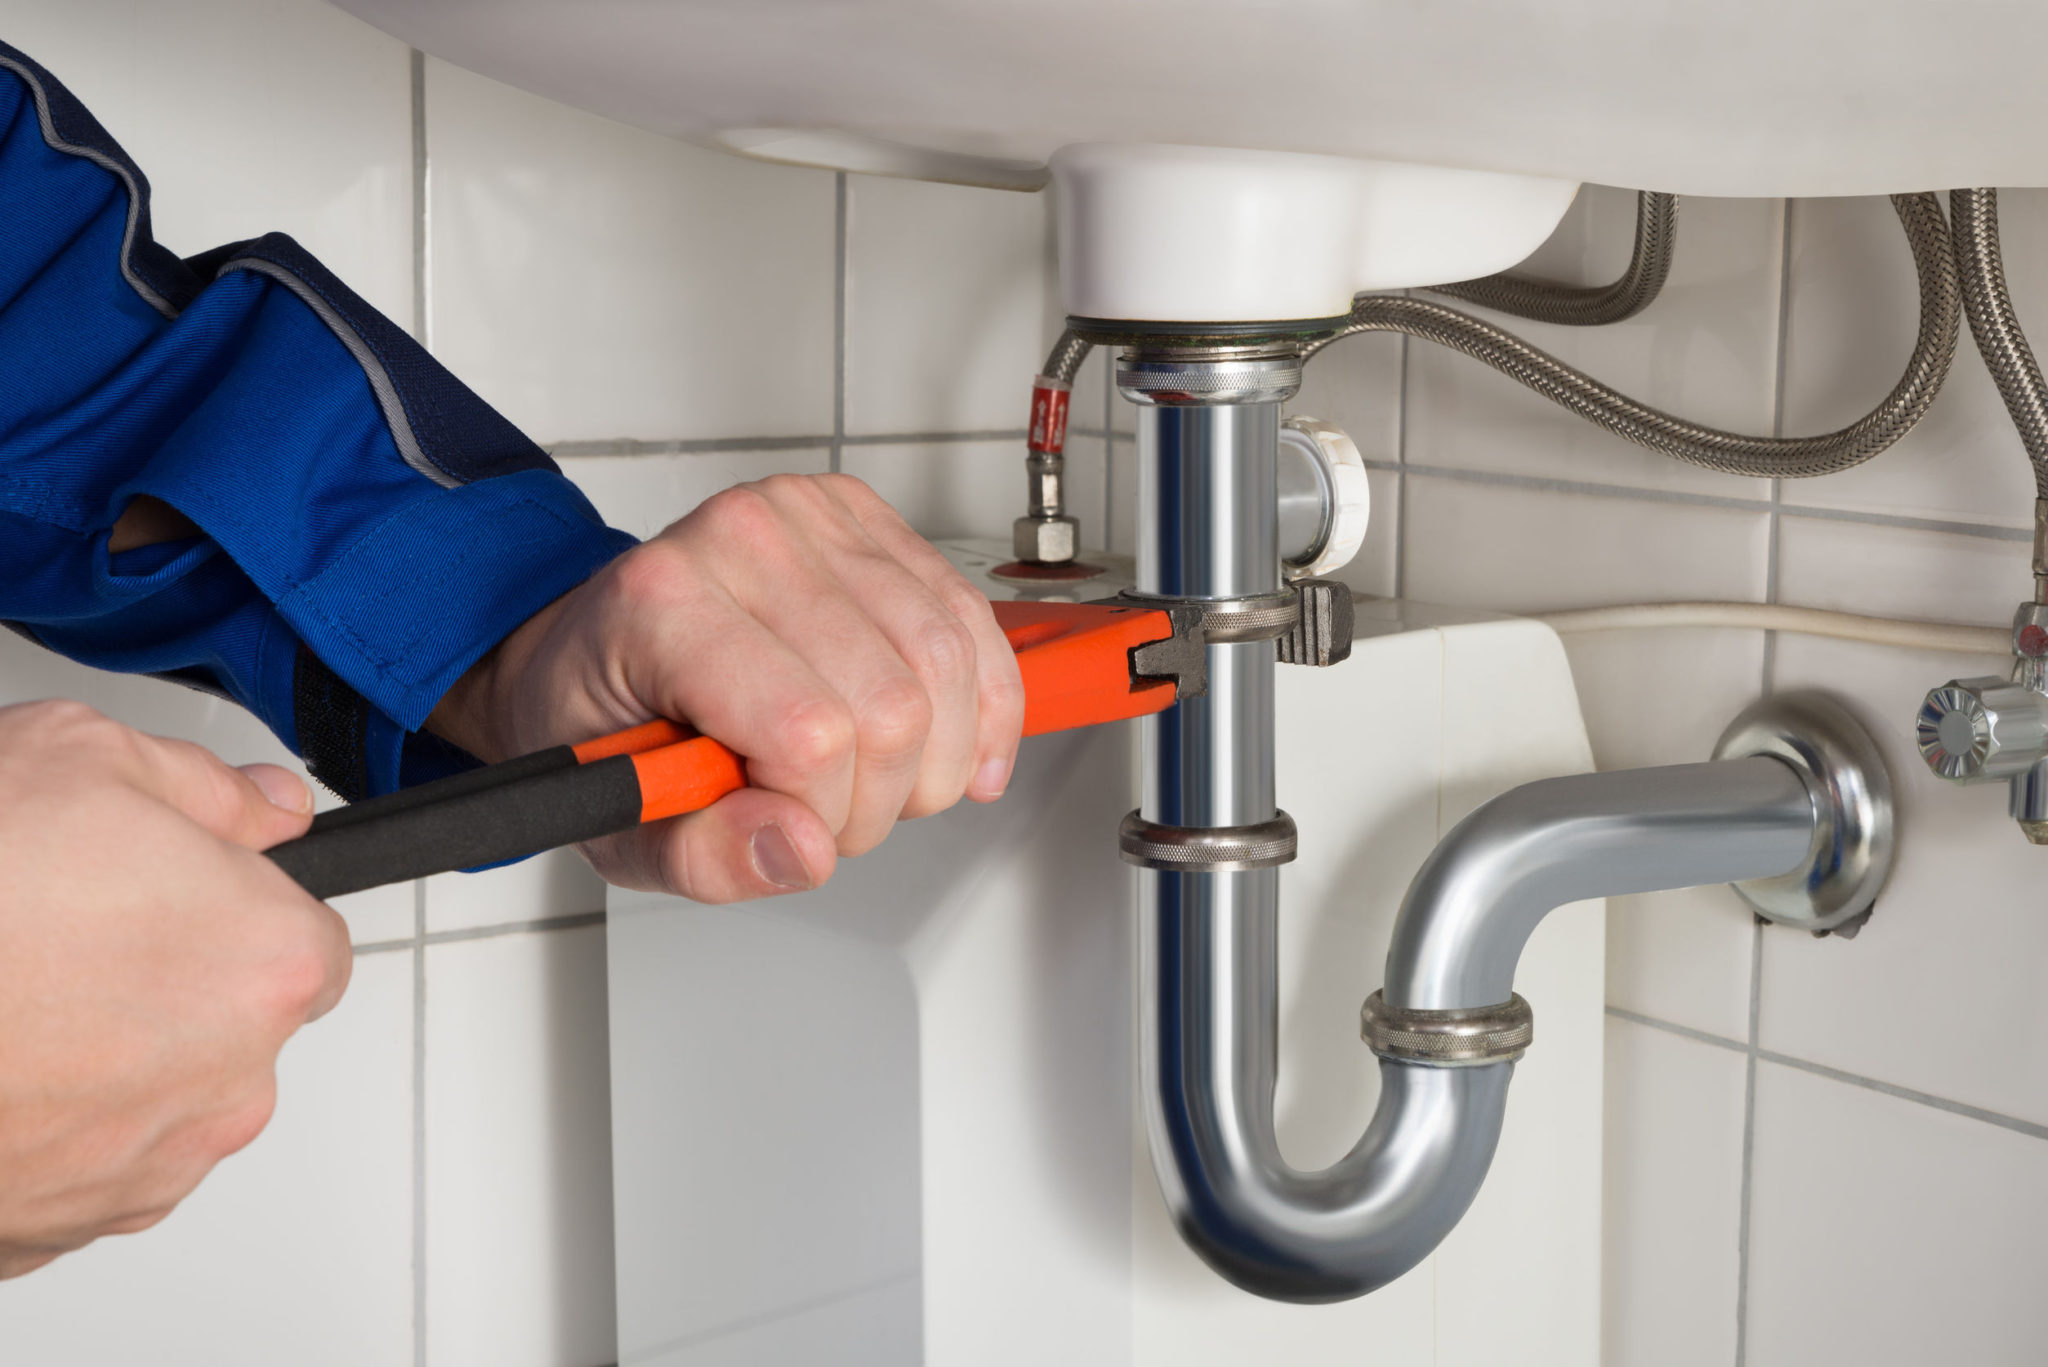
- Using your adjustable pliers, locate the locknut underneath the sink and loosen it by turning it counterclockwise. You may need to apply some force, as it could be tightly secured.
- Once the locknut is loose, you can remove it by hand. Be cautious of any water that may drain out as you remove it.
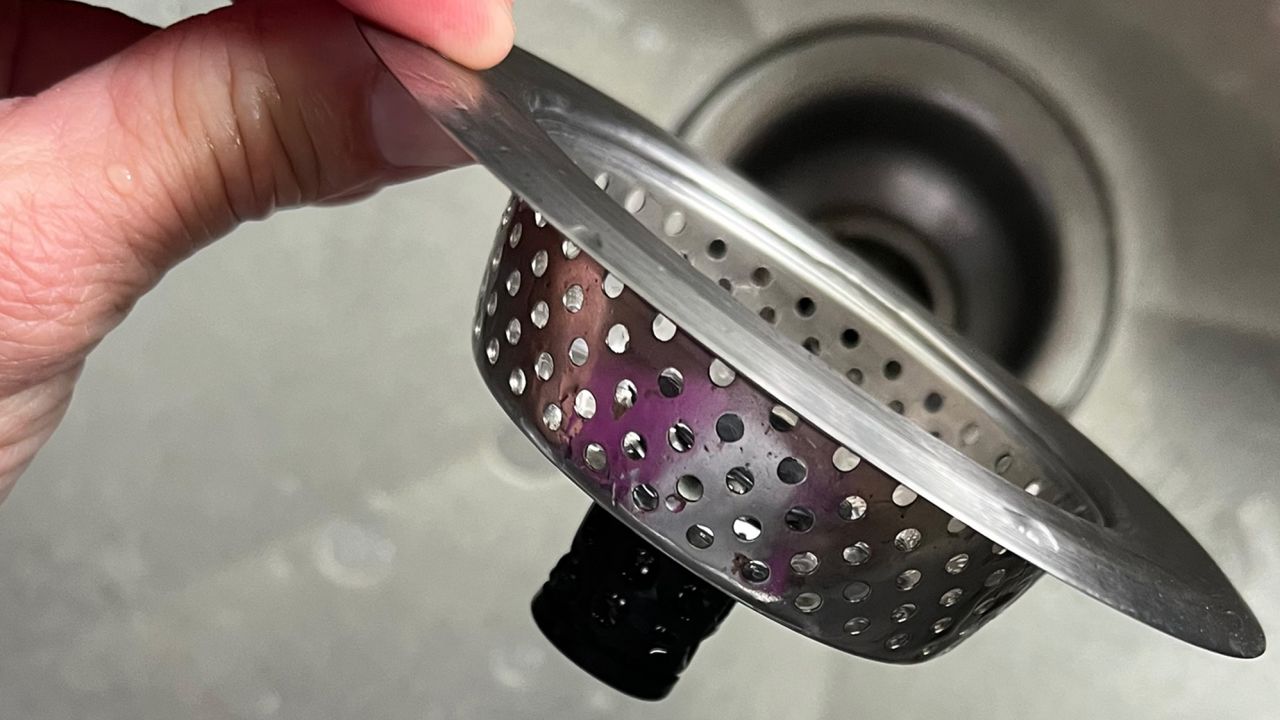
- Now, you can easily lift the old sink strainer out of the sink. If it is stubborn, you can gently tap it with the handle of your screwdriver to loosen it.
- Inspect the sink area and the drainpipe for any debris or buildup. Clean them thoroughly with a towel or rag to ensure a clean surface for the new sink strainer.
By following these steps, you will successfully remove the old sink strainer and prepare the sink for the installation of the new one. Proceed to the next step to learn how to clean the sink area before installing the new sink strainer.
Step 2: Clean the Sink Area
After removing the old sink strainer, it is crucial to clean the sink area thoroughly. This step ensures a clean and proper installation of the new sink strainer. Follow these steps to clean the sink area effectively:
- Use a towel or rag to wipe away any debris or residue around the sink drain.
- If there is any mineral buildup or stubborn stains, you can use a mild cleanser or vinegar solution and a soft brush to gently scrub the area.
- Rinse the sink area thoroughly with water to remove any cleaning solution or residue.
- Dry the sink area completely before proceeding with the installation to ensure a proper seal and prevent any potential leaks.
Cleaning the sink area is an essential step in the sink strainer replacement process. It not only creates a clean and hygienic environment but also ensures a tight seal between the sink and the new strainer. Once the sink area is clean and dry, you are ready to move on to the next step: applying plumbing putty.
Step 3: Apply Plumbing Putty
Applying plumbing putty is necessary to create a watertight seal between the sink and the new sink strainer. Follow these steps to apply plumbing putty correctly:
- Take a small amount of plumber’s putty and roll it between your hands to create a uniform and pliable strip.
- Place the putty around the underside of the new sink strainer’s lip.
- Position the sink strainer with the putty onto the sink drain, making sure it fits snugly.
- Once the sink strainer is in place, press it down firmly to spread the putty evenly and create a tight seal.
- Remove any excess putty from around the sink strainer using a rag or your fingers.
Plumbing putty is a flexible and durable material that helps prevent water leaks around the sink strainer. It is essential to apply it correctly to ensure a proper seal. With the plumbing putty applied, you are ready to move on to the next step: installing the new sink strainer.
When replacing a sink strainer, be sure to turn off the water supply and place a bucket underneath to catch any remaining water. Use a wrench to loosen the locknut and remove the old strainer before installing the new one. Apply plumber’s putty to create a watertight seal.
Read also: 12 Best Kitchen Sink Drain Strainer for 2025
Step 4: Install the New Sink Strainer
Now that you have prepared the sink by cleaning it and applying plumbing putty, it’s time to install the new sink strainer. Follow these steps to properly install the new strainer:
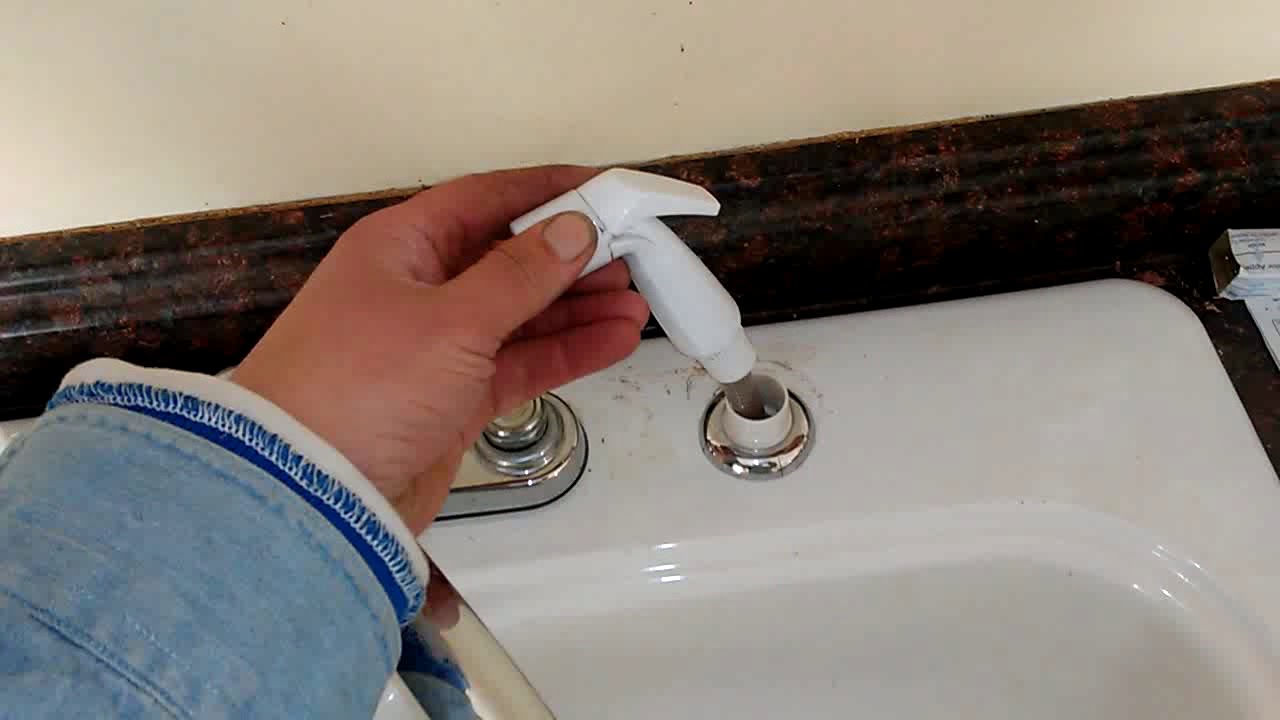
- Take the new sink strainer and align it with the sink drain opening. Make sure it fits snugly and sits evenly on the sink surface.
- Once you have aligned the sink strainer, insert the tailpiece into the drainpipe underneath the sink.
- Ensure that the tailpiece is fully inserted into the drainpipe and is secure.
- Hold the sink strainer in place while you tighten the locknut underneath the sink. Use your adjustable pliers to turn the locknut clockwise to secure the sink strainer. Be careful not to overtighten, as it may cause damage to the sink or the strainer.
By following these steps, you will successfully install the new sink strainer and ensure a secure and watertight connection. With the sink strainer installed, proceed to the next step to tighten the locknut and complete the installation process.
Step 5: Tighten the Locknut
Once you have installed the new sink strainer, it is important to tighten the locknut to secure it in place and prevent any potential leaks. Follow these steps to properly tighten the locknut:
- Locate the locknut underneath the sink, directly below the sink strainer.
- Using your adjustable pliers, grip the locknut firmly.
- Slowly turn the locknut clockwise to tighten it. Apply enough pressure to ensure a snug fit, but be cautious not to overtighten and risk damaging the sink or the strainer.
- Continue to tighten the locknut until the sink strainer is securely held in place.
Tightening the locknut is crucial to create a tight seal and prevent any water leaks. Take your time while tightening the locknut and ensure that the sink strainer is securely fastened. Once you have tightened the locknut, proceed to the final step to check for any leaks and ensure proper installation.
Step 6: Check for Leaks
After completing the installation and tightening of the new sink strainer, it is important to check for any potential leaks to ensure a successful replacement. Follow these steps to check for leaks and ensure proper installation:
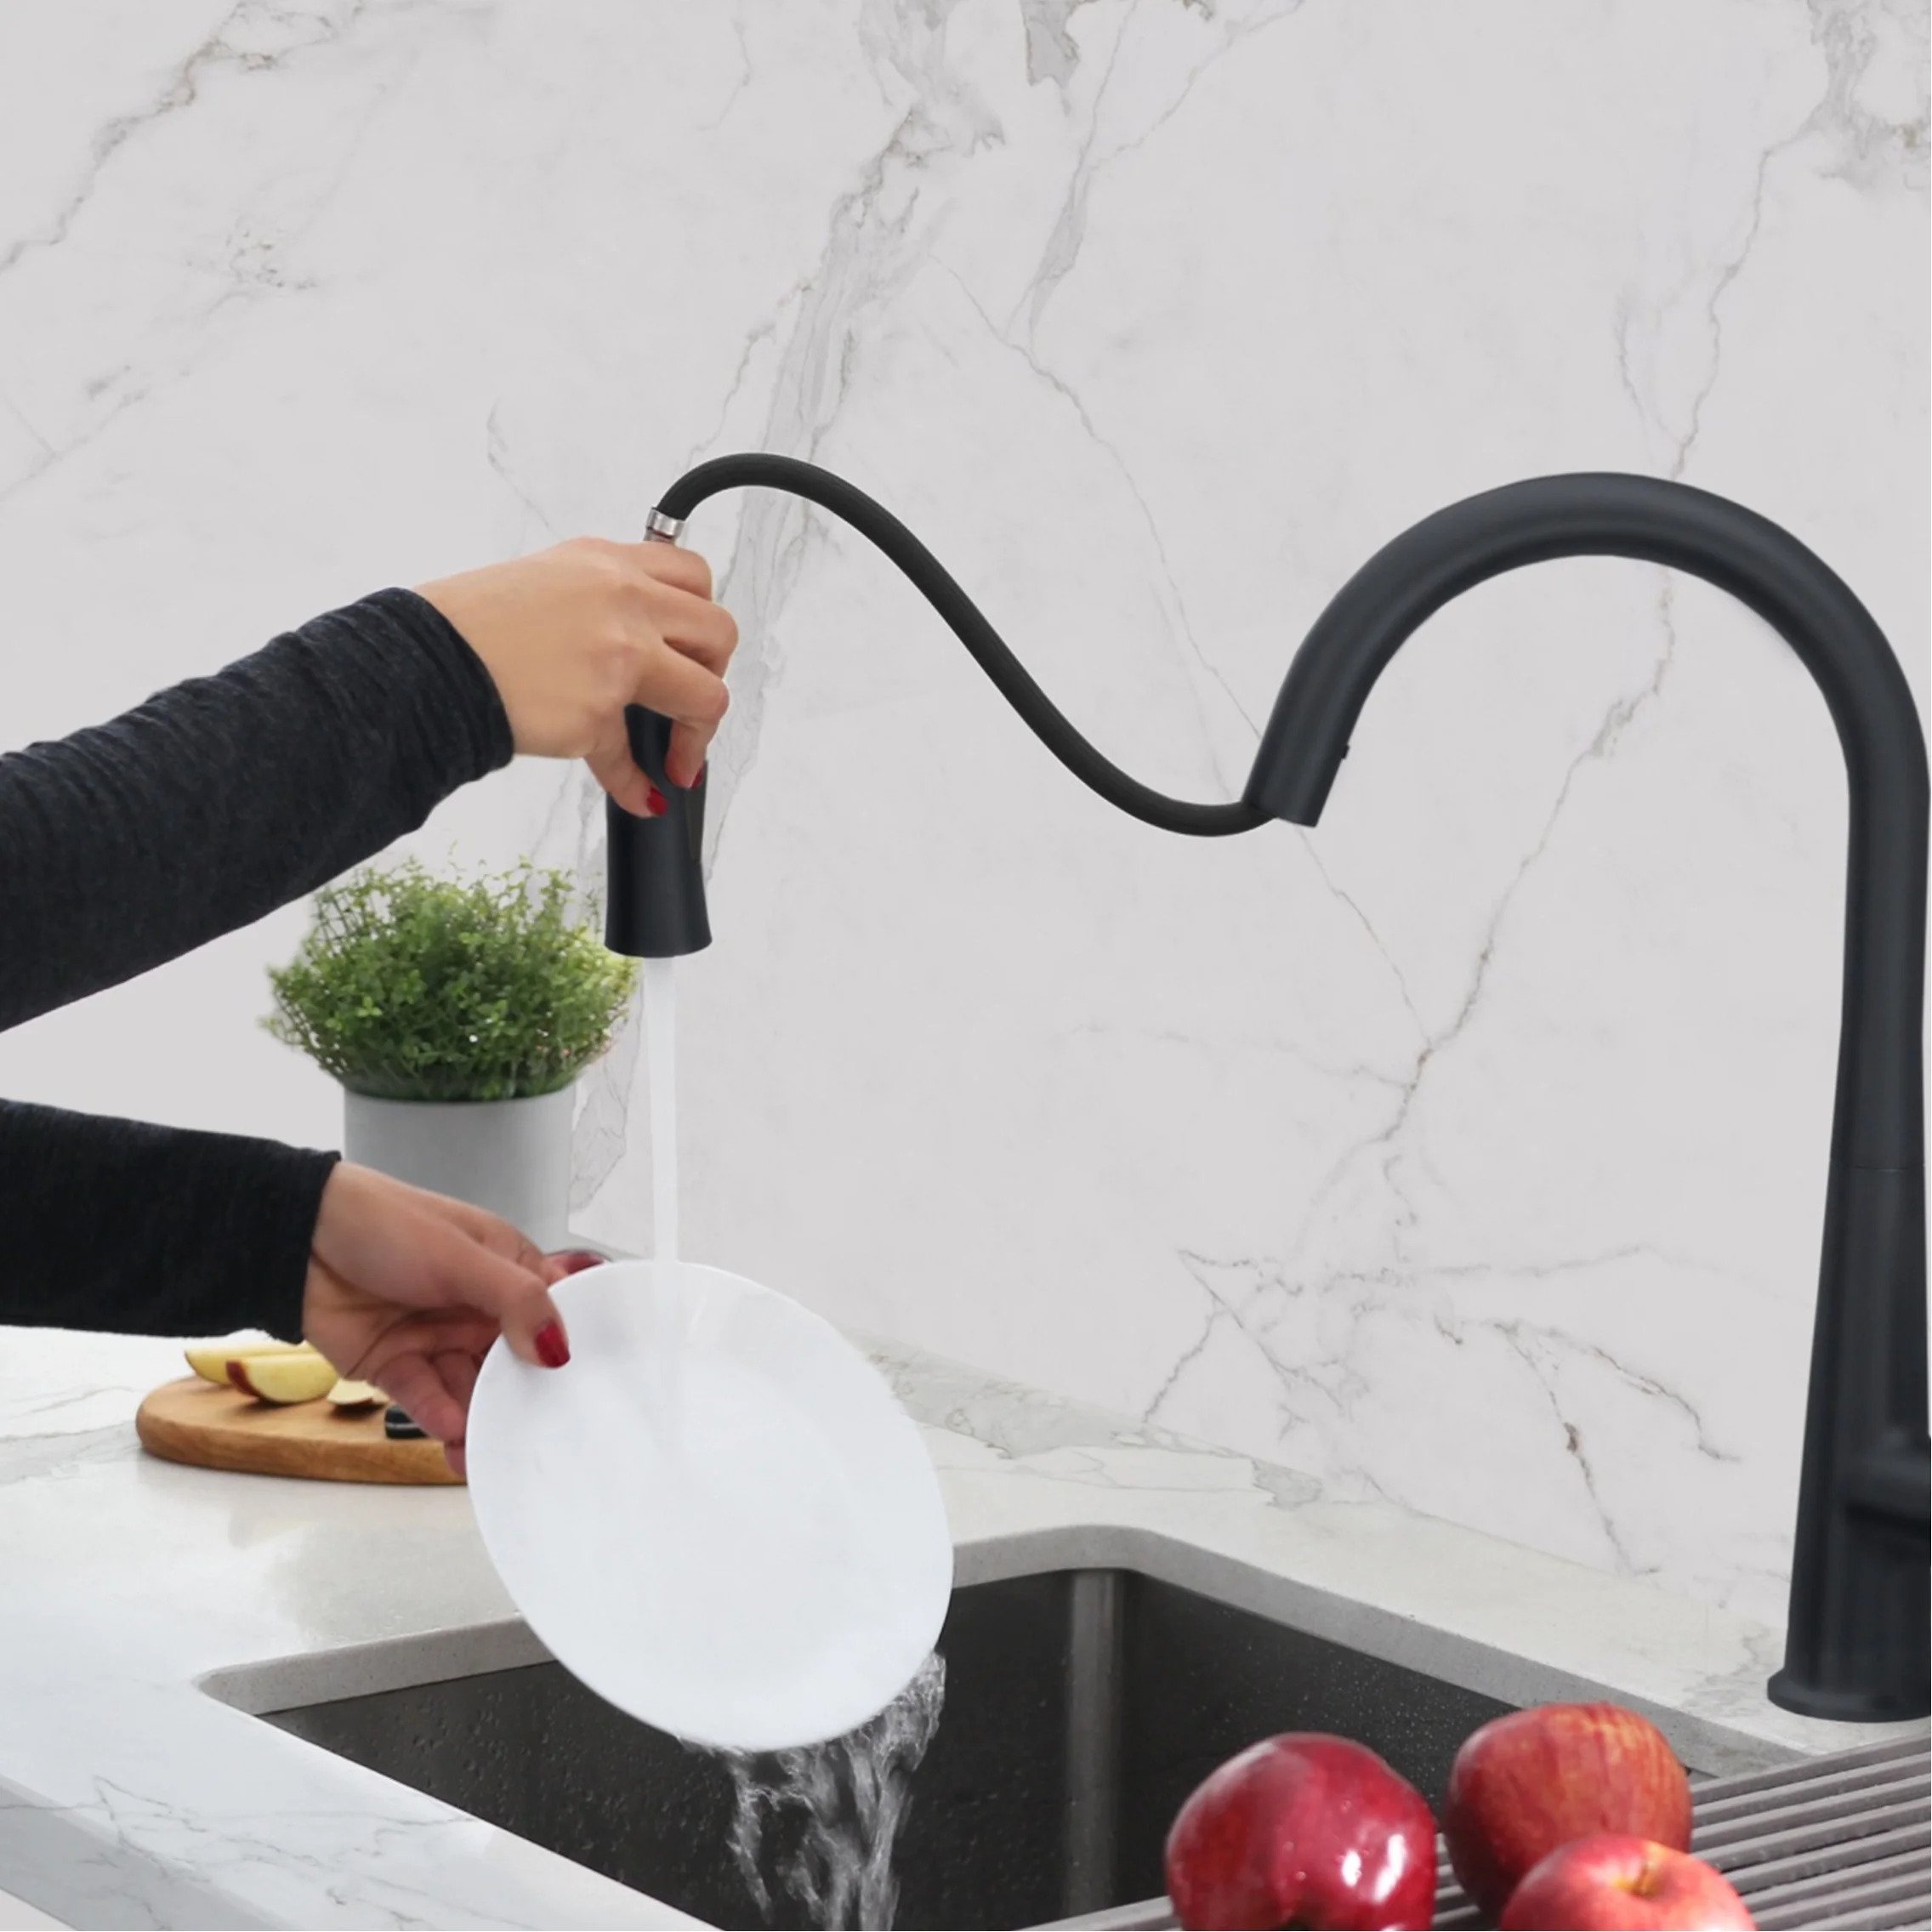
- Turn the water supply back on and let the water flow into the sink.
- Observe the area around the sink strainer and the drainpipe for any signs of leakage.
- If you notice any leaks, tighten the locknut further to ensure a tighter seal.
- Continue to monitor the area for a few minutes to ensure that there are no ongoing leaks.
It is essential to check for leaks to avoid any potential water damage or plumbing issues. If you encounter any persistent leaks, you may need to disassemble the sink strainer and inspect the components for any damage or misalignment. Adjustments or additional plumbing putty may be necessary for a secure and leak-free installation. If you are unsure or encountering difficulties, it is recommended to seek professional plumbing assistance.
With the completion of step 6, you have successfully replaced the sink strainer and ensured its proper installation. Take a moment to appreciate your hard work and enjoy the improved functionality of your sink.
Conclusion
Congratulations! You have successfully replaced the sink strainer and improved the functionality of your sink. By following the steps outlined in this article, you have learned how to remove the old sink strainer, clean the sink area, apply plumbing putty, install the new sink strainer, tighten the locknut, and check for leaks. This DIY project is not only practical but also cost-effective, saving you time and money on professional plumbing services.
Remember, a properly functioning sink strainer is essential for preventing clogs and maintaining the overall health of your plumbing system. By periodically inspecting and replacing the sink strainer when needed, you can prevent plumbing issues and ensure a smooth flow of water in your sink.
If you encounter any difficulties during the process or notice persistent leaks, it is always recommended to consult a professional plumber. They have the expertise and specialized tools to troubleshoot and resolve any plumbing issues that may arise.
We hope this step-by-step guide has been informative and helpful in replacing your sink strainer. Now you can enjoy a clean and efficient sink for everyday use. Thank you for reading, and happy plumbing!
Frequently Asked Questions about How To Replace Sink Strainer
Was this page helpful?
At Storables.com, we guarantee accurate and reliable information. Our content, validated by Expert Board Contributors, is crafted following stringent Editorial Policies. We're committed to providing you with well-researched, expert-backed insights for all your informational needs.


0 thoughts on “How To Replace Sink Strainer”