Articles
How To Replace Showerhead With Bar
Modified: February 22, 2024
Learn how to easily replace your showerhead with a bar and enhance your bathing experience. Follow our step-by-step articles to get the job done effortlessly.
(Many of the links in this article redirect to a specific reviewed product. Your purchase of these products through affiliate links helps to generate commission for Storables.com, at no extra cost. Learn more)
Introduction
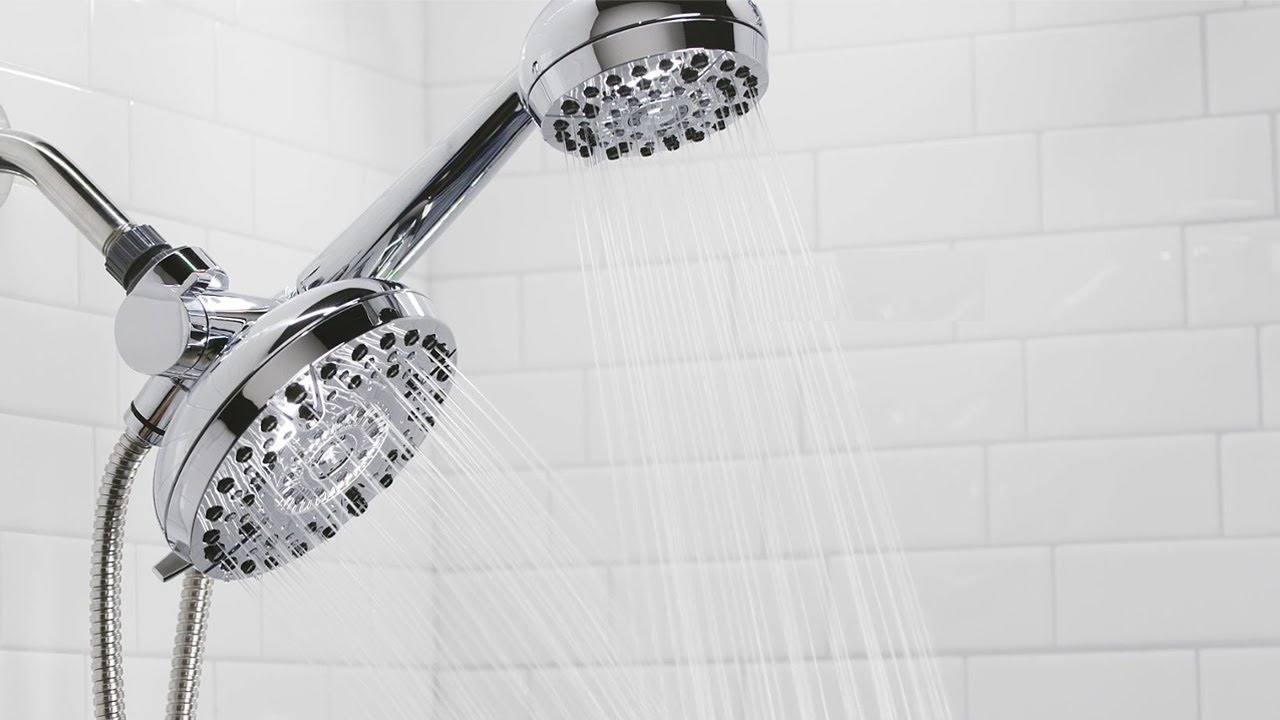
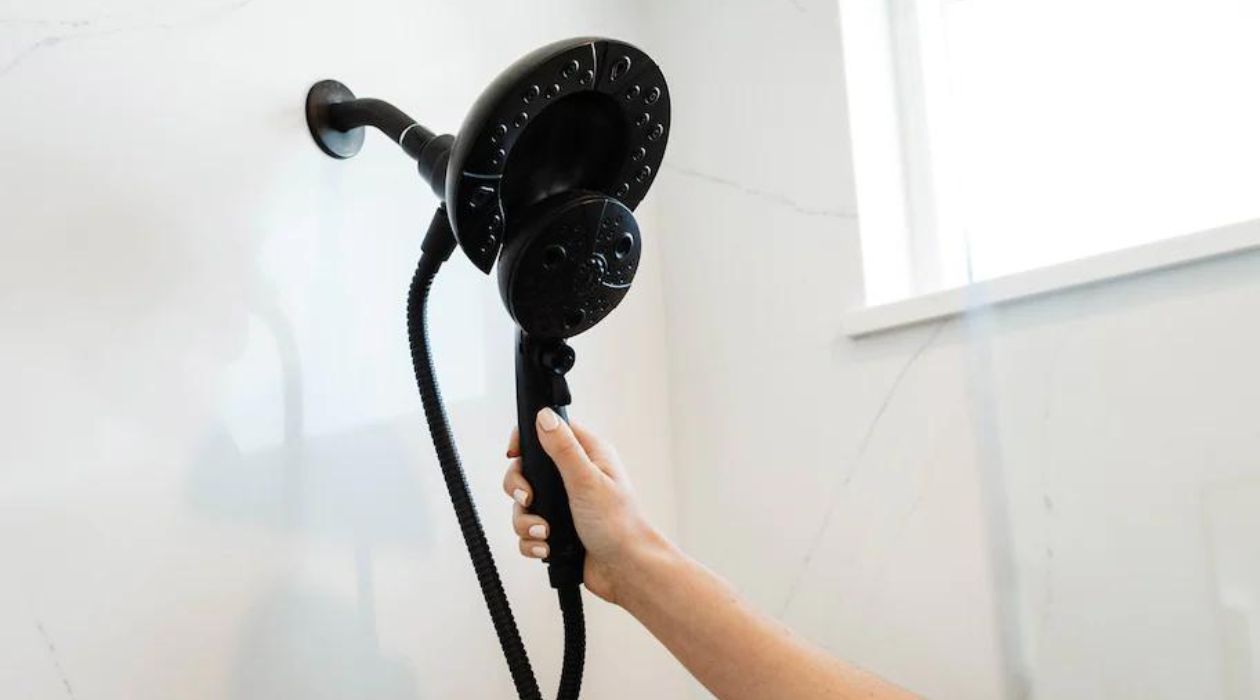
Replacing a showerhead with a bar can be a simple and effective way to upgrade your shower experience. Whether you want to enjoy the convenience of a handheld showerhead or add a touch of luxury to your bathroom, this article will guide you through the process step by step.
Before we dive into the details, let’s discuss why you might want to replace your showerhead. Perhaps your current showerhead is outdated, lacks functionality, or simply doesn’t meet your specific needs. Installing a bar with a handheld showerhead can provide more flexibility, allowing you to adjust the water flow and angle for a personalized and comfortable experience.
To replace your showerhead with a bar, you don’t need to be a plumbing expert. With a few basic tools and materials, you can complete this project in no time. This article will walk you through the process, providing clear instructions and tips along the way.
So, if you’re ready to upgrade your shower and elevate your bathing experience, let’s get started by gathering the necessary tools and materials.
Key Takeaways:
- Upgrade your shower experience by replacing your showerhead with a bar. Enjoy the flexibility and convenience of a handheld showerhead for a personalized and comfortable bathing experience.
- With basic tools and materials, you can easily install a new shower bar. Follow the step-by-step process to ensure a watertight seal and enjoy your upgraded shower system.
Tools and Materials Needed
Before you begin replacing your showerhead with a bar, make sure you have the following tools and materials on hand:
Tools:
- Adjustable wrench
- Plumber’s tape
- Screwdriver (flathead or Phillips, depending on your existing showerhead)
- Plastic putty knife (for removing old caulk, if necessary)
- Towel or rag
Materials:
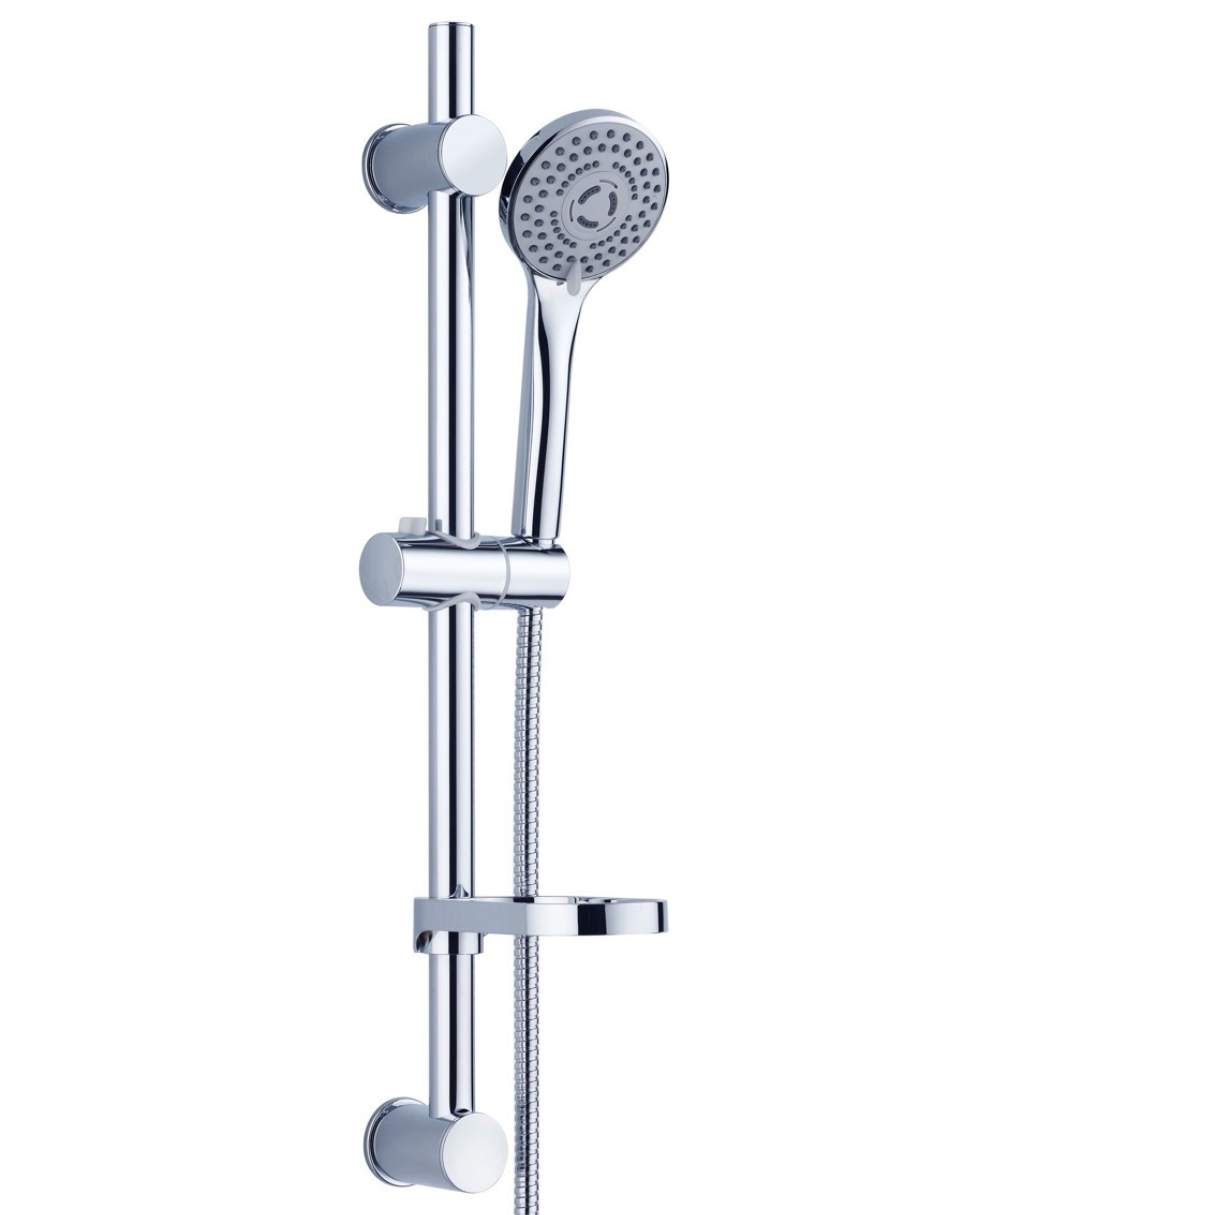
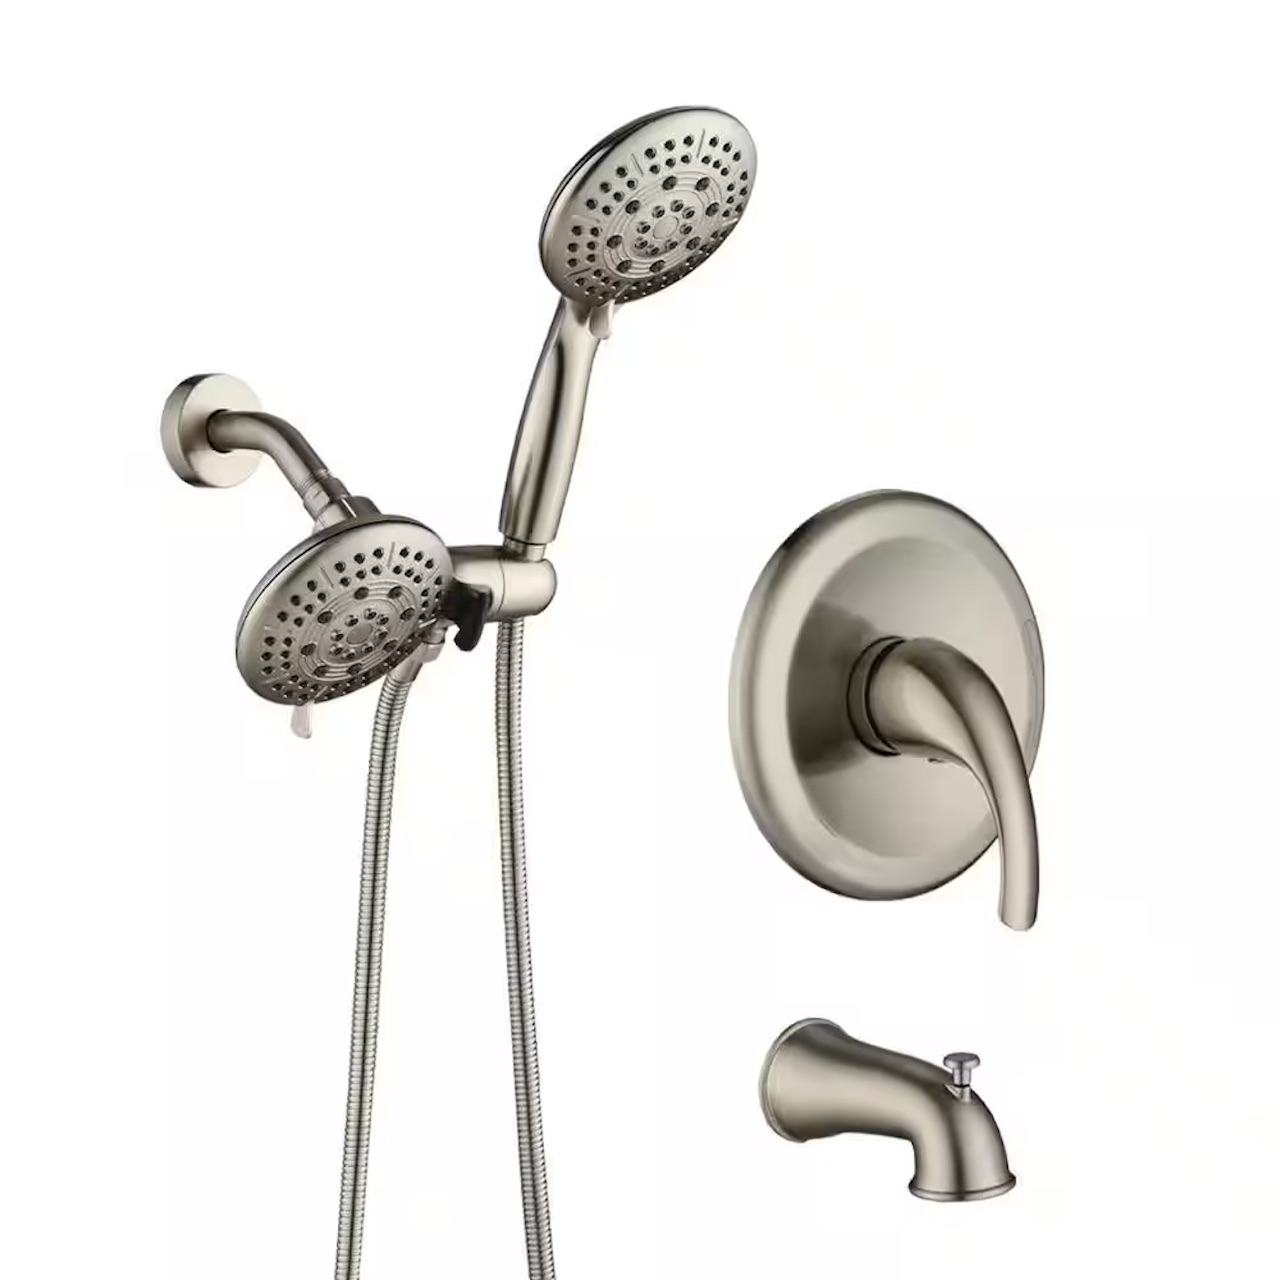
- New shower bar with handheld showerhead
- Mounting bracket
- Shower arm diverter (if not included with the bar)
- Shower hose
- Plumber’s tape
- Clean rag or sponge
- Caulk (to seal any gaps or holes, if necessary)
Make sure to gather all the necessary tools and materials before you start the installation process. This will save you time and make the process run smoothly.
Now that you have everything you need, let’s move on to the step-by-step process of replacing your showerhead with a bar.
Step 1: Turn off the water supply
The first step in replacing your showerhead with a bar is to turn off the water supply. This is an important safety measure to prevent any accidental water spraying or leaking during the installation process.
Locate the shut-off valve for your shower. It is usually located near the shower handle or in the basement or utility room. Turn the valve clockwise to shut off the water supply to the shower.
Once you have turned off the water supply, turn on the shower to drain any remaining water in the pipes. This will ensure a clean and dry installation process.
It’s always a good idea to have a towel or rag handy to catch any residual water that may come out of the showerhead or pipes when you remove the old one.
With the water supply turned off and the pipes drained, you are now ready to move on to the next step: removing the existing showerhead.
Read more: How To Replace Plastic Towel Bar
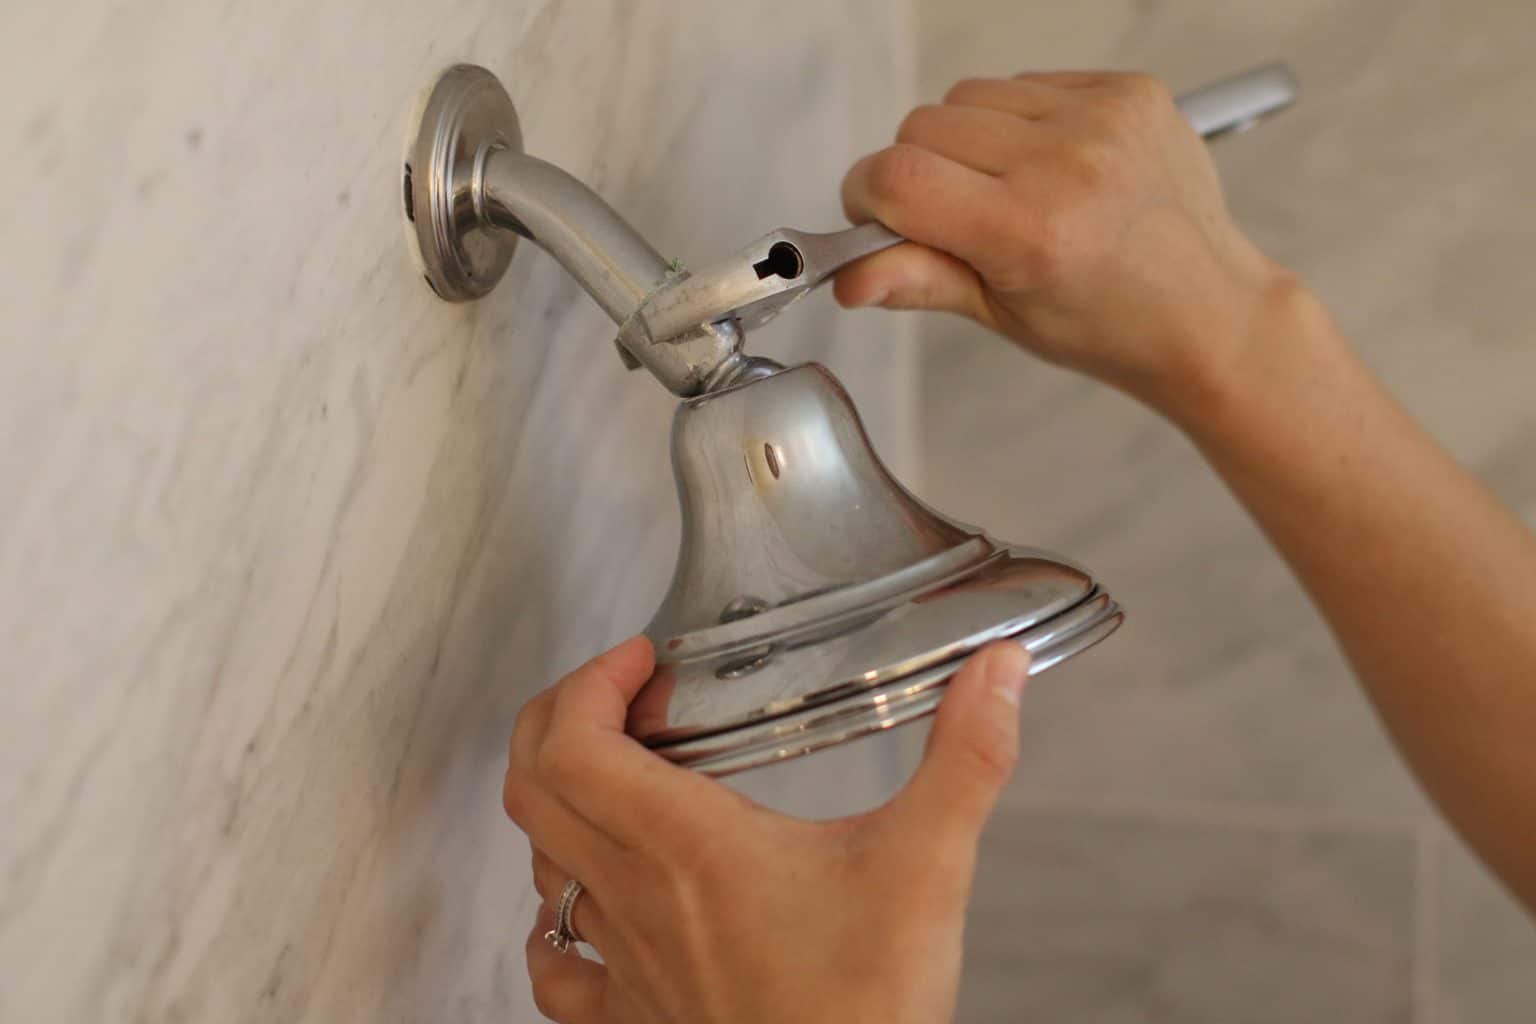
Step 2: Remove the existing showerhead
Now that the water supply is turned off, it’s time to remove the old showerhead. Follow these steps:
- Inspect the showerhead. Determine whether it’s a screw-on or a twist-off showerhead. If there is a metal nut or collar securing the showerhead to the shower arm, it is likely a screw-on type. If not, it is likely a twist-off type.
- If it is a screw-on type, use an adjustable wrench to grip the metal nut or collar. Turn it counterclockwise to loosen and remove the showerhead. Be careful not to apply too much force, as you don’t want to damage the shower arm.
- If it is a twist-off type, grip the showerhead with one hand and turn it counterclockwise to unscrew and remove it. If it’s difficult to turn, you can use a cloth or a rubber jar opener for added grip.
- Once you have loosened the showerhead, continue turning it by hand until it is completely detached from the shower arm.
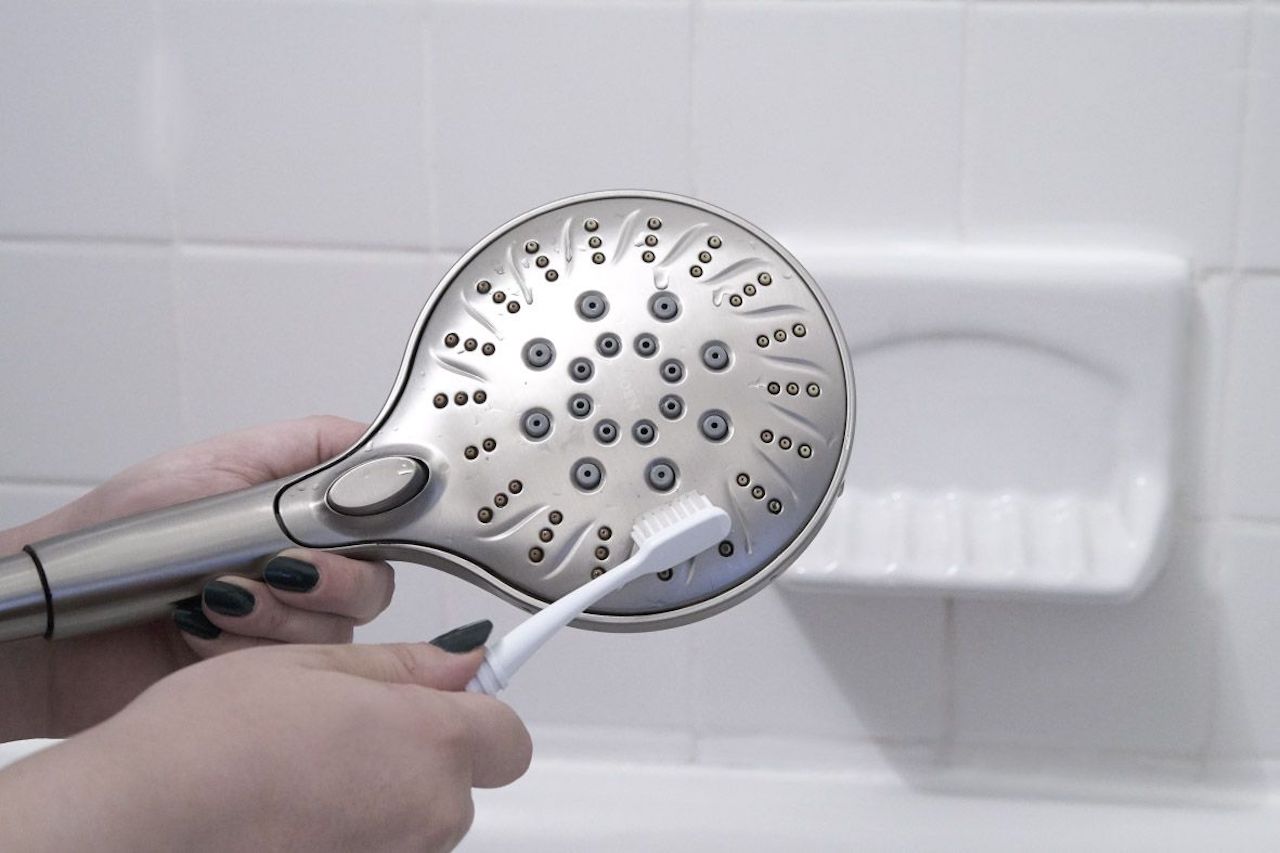
- Set aside the old showerhead and inspect the shower arm for any signs of debris or old plumber’s tape. Use a clean rag or sponge to wipe it clean.
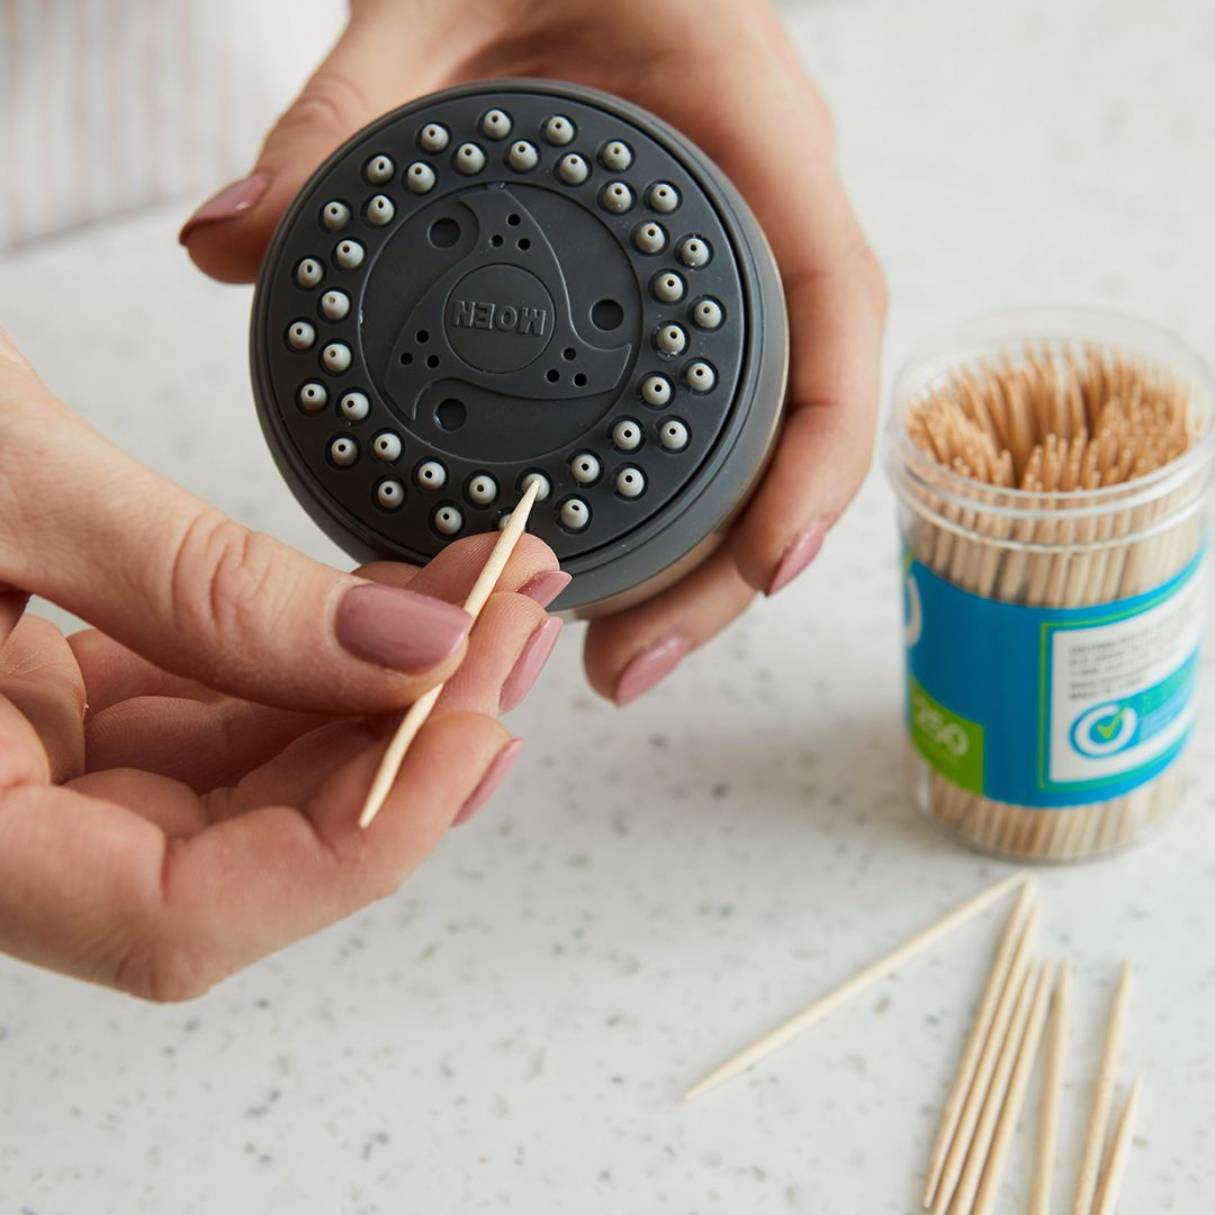
If there is any plumber’s tape remaining on the shower arm threads, remove it carefully using your fingers or a plastic putty knife. This will ensure a smooth installation of the new showerhead.
With the old showerhead removed and the shower arm cleaned, you are now ready to proceed to the next step: cleaning the shower arm.
Step 3: Clean the shower arm
Now that you have removed the old showerhead, it’s important to clean the shower arm before proceeding with the installation of the new shower bar. Follow these steps:
- Inspect the shower arm for any visible dirt, mineral deposits, or debris. This can accumulate over time and affect the proper installation and performance of the new shower bar.
- Use a clean rag or sponge to wipe down the shower arm. Be thorough and make sure to remove any dirt or grime that you find. Pay extra attention to the threads of the shower arm, as this is where the new showerhead will be attached.
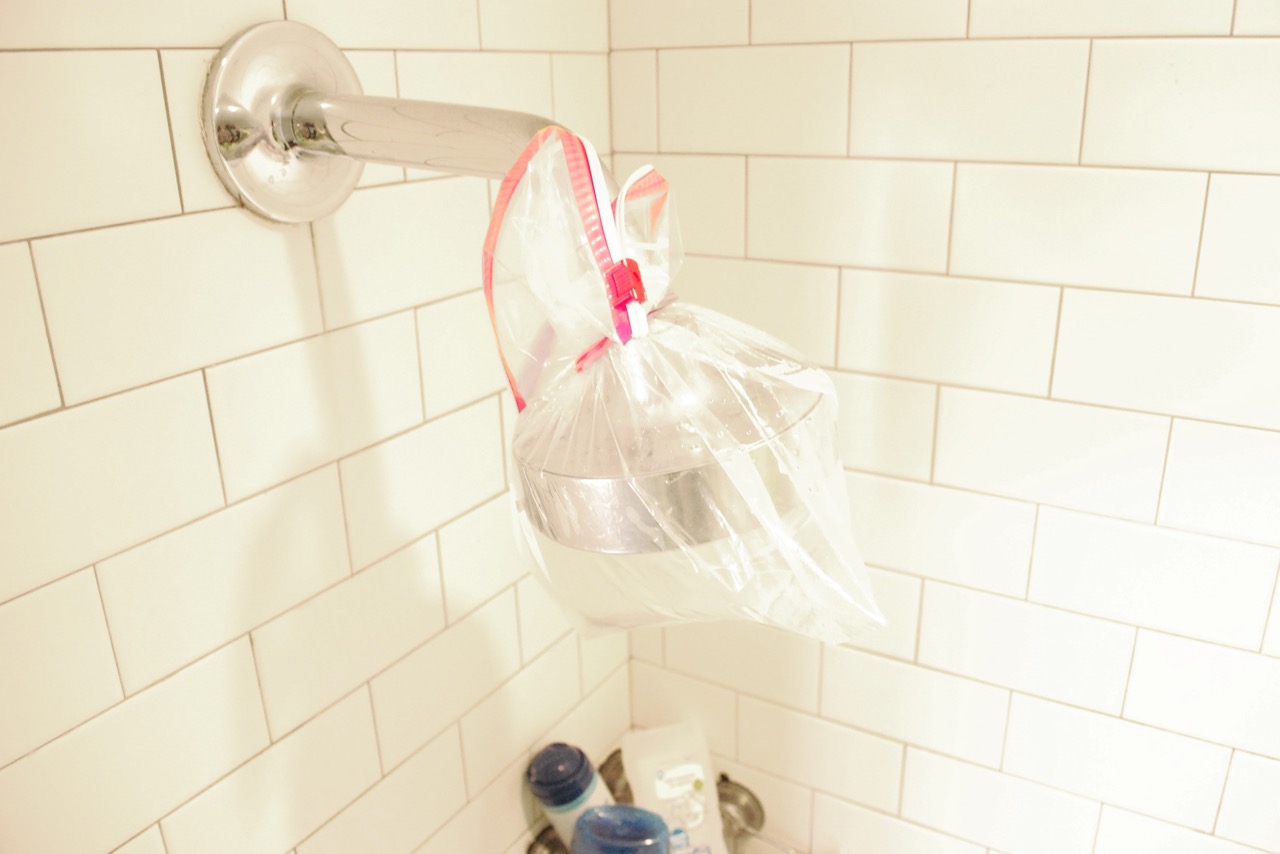
- If you notice any mineral deposits or buildup on the shower arm, you can soak a cloth in white vinegar and wrap it around the affected area. Leave it there for a few minutes to allow the vinegar to dissolve the deposits. Then, use a clean rag or sponge to wipe away the residue.
- Inspect the threads of the shower arm and ensure that they are clean and free from any debris or old plumber’s tape.
Cleaning the shower arm will help ensure a proper fit and seal for the new shower bar and prevent any issues with water flow or leakage. It only takes a few minutes but can make a big difference in the overall installation process.
With the shower arm cleaned and prepped, you are now ready to move on to the next step: installing the mounting bracket for the new shower bar.
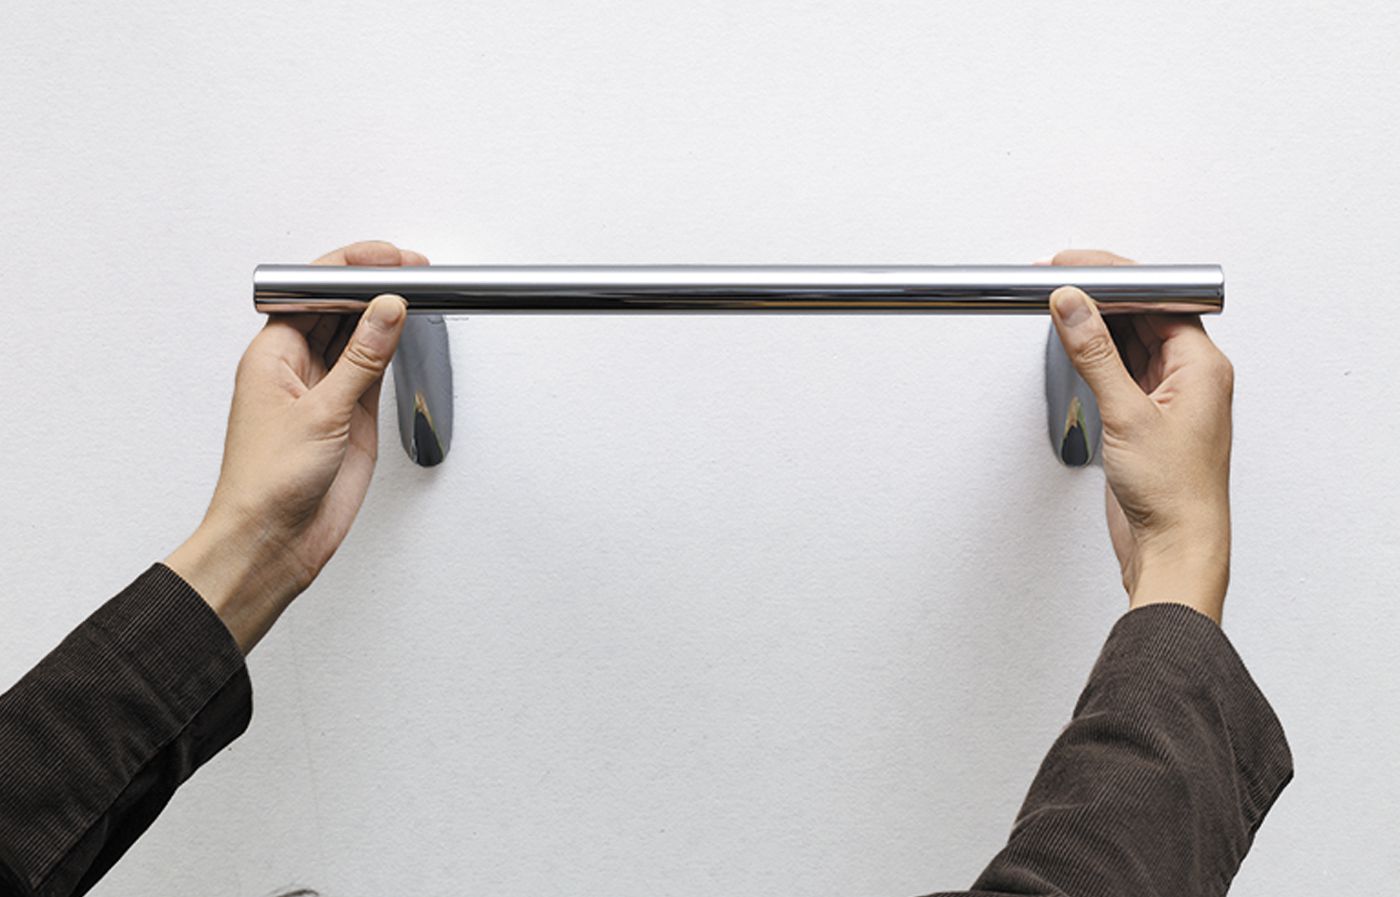
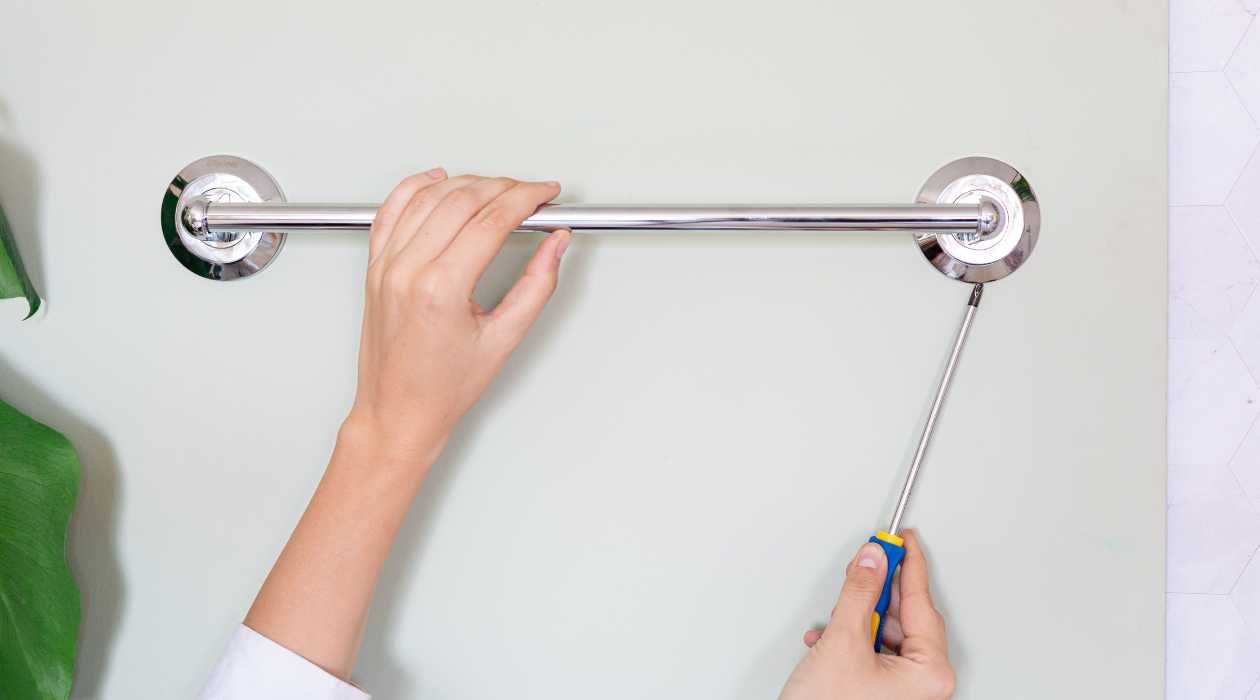
Step 4: Install the mounting bracket
Now that the shower arm is clean, it’s time to install the mounting bracket for the new shower bar. The mounting bracket serves as the anchor point for the bar and provides stability during use. Follow these steps:
- Take the mounting bracket and position it on the shower arm. The bracket should align with the threads of the shower arm.
- Hold the bracket securely with one hand and use your other hand to twist it clockwise onto the threads of the shower arm. Make sure to hand-tighten the bracket as much as possible to ensure a secure fit.
- If the bracket has screw holes, you may need to use a screwdriver to tighten the screws and secure the bracket further. Refer to the manufacturer’s instructions for specific guidelines on tightening the screws.
- Once the mounting bracket is securely installed, check for any wobbling or looseness. If needed, tighten the bracket further using a screwdriver or adjustable wrench.
Installing the mounting bracket is an important step in ensuring the stability and functionality of your new shower bar. Take your time and make sure it is securely attached before moving on to the next step.
With the mounting bracket installed, you are now ready to proceed to the next step: attaching the bar to the mounting bracket.
Step 5: Attach the bar to the mounting bracket
Now that the mounting bracket is securely installed, it’s time to attach the bar to the bracket. This step will ensure that the bar is properly positioned and held in place during use. Follow these steps:
- Take the bar and slide one end into the mounting bracket. The end should fit snugly into the bracket, and you may need to apply some force to insert it fully.
- Once the end of the bar is inserted into the mounting bracket, align the other end with the corresponding opening on the opposite side of the bracket.
- Slide the other end of the bar into the bracket, ensuring that it is securely locked in place. Give it a gentle tug to make sure it is firmly attached.
- Check for any wobbling or movement of the bar in the bracket. If necessary, adjust the position or tighten any screws or locking mechanisms, if provided by the manufacturer.
Attaching the bar to the mounting bracket is a crucial step in ensuring the stability and functionality of your new shower system. Take your time to make sure the bar is securely attached before moving on to the next step.
With the bar properly attached to the mounting bracket, you are now ready to proceed to the next step: connecting the shower hose.
When replacing a showerhead with a bar, make sure to turn off the water supply before removing the old showerhead. Use Teflon tape on the threads to prevent leaks and ensure a secure fit. Adjust the height of the bar to your preference before tightening the screws.
Read more: How To Replace A Ceramic Towel Bar
Step 6: Connect the shower hose
Now that the bar is securely attached to the mounting bracket, it’s time to connect the shower hose. This step will allow you to enjoy the flexibility and convenience of a handheld showerhead. Follow these steps:
- Take one end of the shower hose and connect it to the handheld showerhead. Twist it clockwise until it is securely in place.
- Locate the diverter valve on the bar, if it is not already attached. This valve controls the flow of water between the fixed showerhead and the handheld showerhead.
- Attach the other end of the shower hose to the diverter valve. Twist it clockwise until it is securely connected.
- Make sure all connections are tight and secure, but be careful not to over-tighten, as this can lead to damage or leaks.
Once the shower hose is connected, you can adjust the position of the handheld showerhead on the bar to your preferred height and angle. This will ensure a comfortable and personalized showering experience.
With the shower hose successfully connected, you are now ready to proceed to the next step: installing the new showerhead.
Step 7: Install the new showerhead
Now that the shower hose is connected, it’s time to install the new showerhead. This step will complete the installation process and allow you to enjoy your upgraded shower experience. Follow these steps:
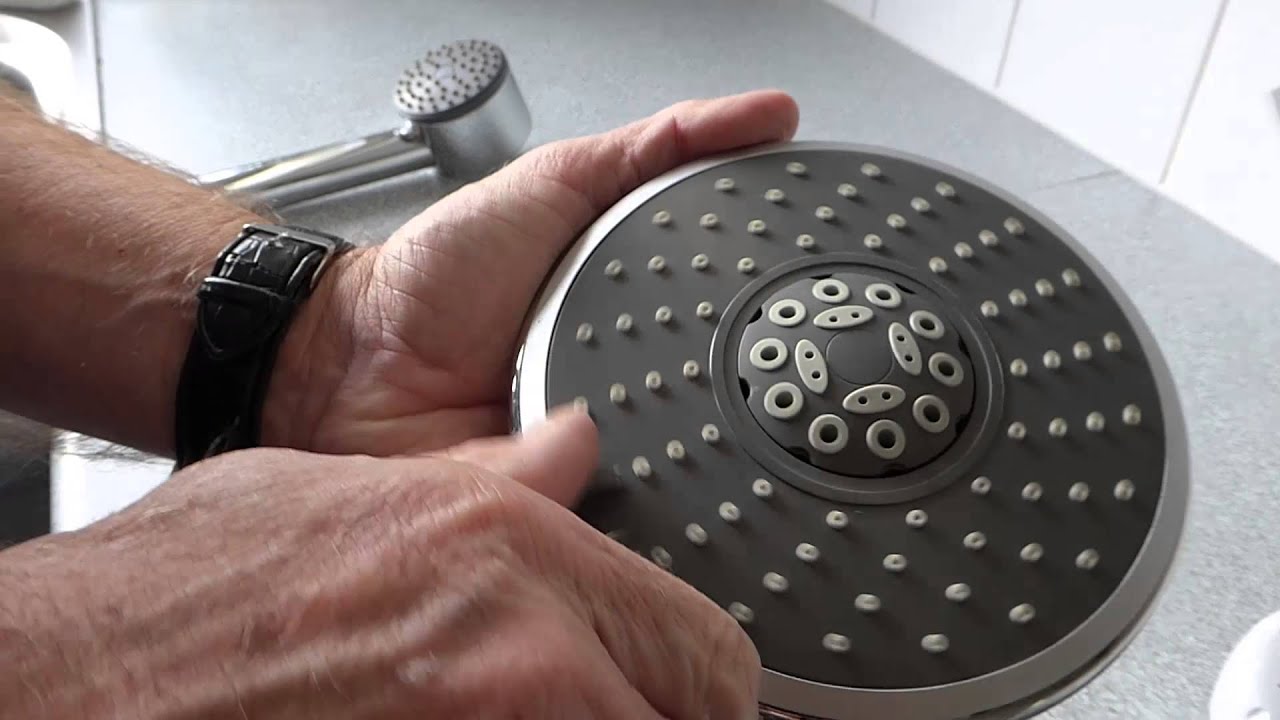
- Take the new showerhead and remove any protective coverings or packaging.
- Inspect the showerhead to locate the rubber washer or gasket. This is important for creating a tight seal and preventing water leakage.
- Place the rubber washer or gasket inside the fitting on the new showerhead. Ensure that it is properly seated and in good condition.
- With the rubber washer in place, screw the new showerhead clockwise onto the mounted shower arm. Use your hand to tighten it, making sure not to overtighten.
- If the showerhead has multiple settings or spray patterns, you can adjust them according to your preference. Refer to the manufacturer’s instructions for specific guidelines on adjusting the settings.
Once the new showerhead is securely installed, give it a gentle tug to ensure that it is properly attached and doesn’t wobble or move. This will help prevent any water leakage during use.
With the new showerhead in place, you are ready to move on to the final step: testing for leaks.
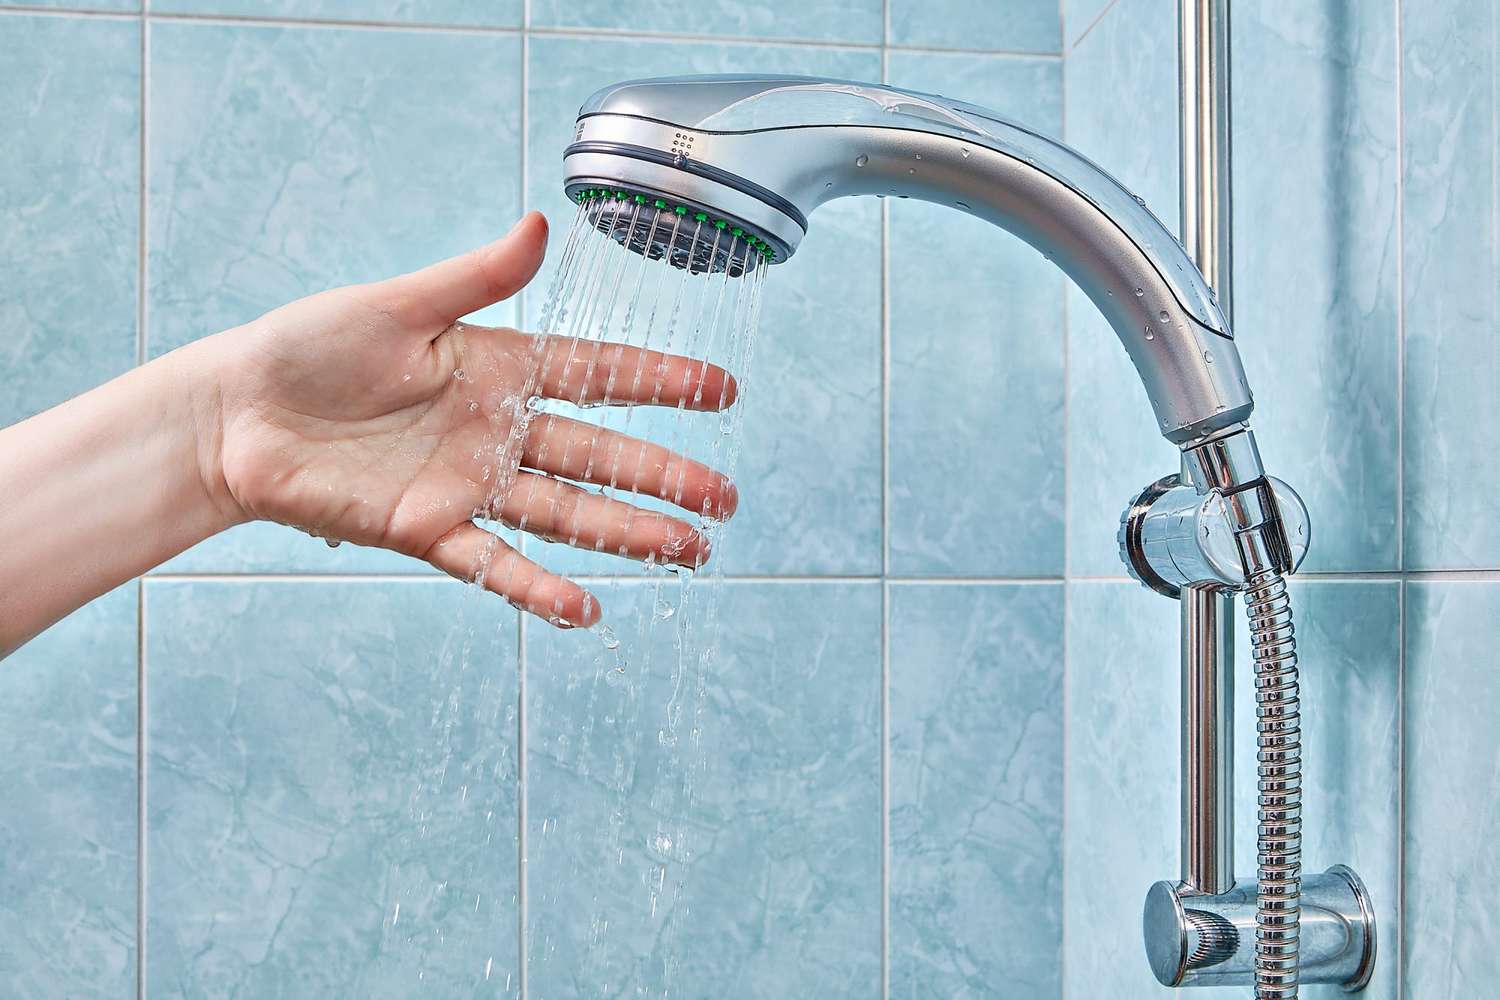
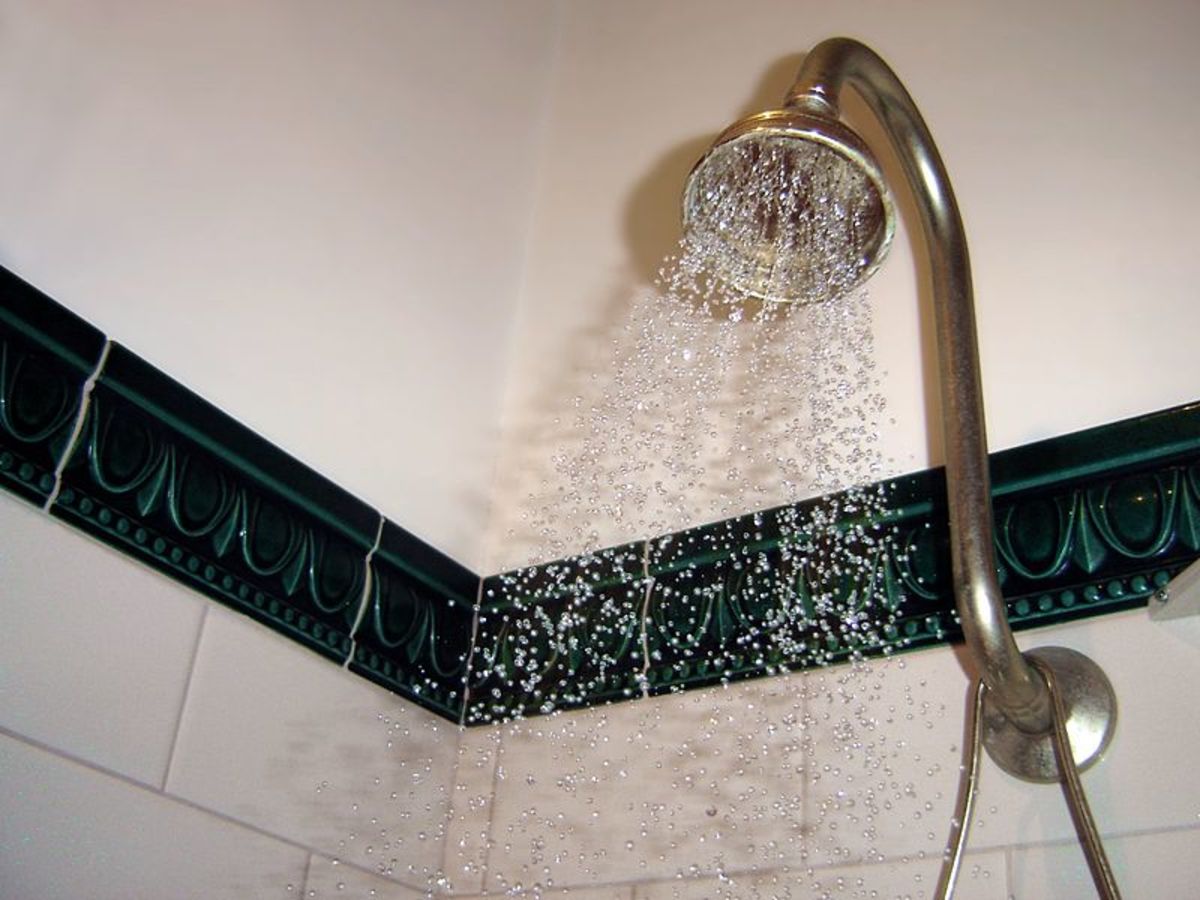
Step 8: Test for leaks
After installing the new showerhead, it’s important to test for any potential leaks before fully enjoying your upgraded shower. Follow these steps to ensure a watertight installation:
- Turn on the water supply to the shower by turning the shut-off valve counterclockwise.
- Allow the water to flow through the showerhead and check for any signs of leaks.
- Inspect the connection points, including where the showerhead meets the shower arm and where the shower hose connects to the handheld showerhead and diverter valve.
- If you notice any leaks, use an adjustable wrench or pliers to tighten the connections. Be careful not to overtighten, as this may cause damage.
- Once you have tightened any loose connections, run the water for a few minutes to ensure that the showerhead and the entire system are leak-free.
If you still notice leaks after tightening the connections, it may be necessary to disassemble the affected areas and reapply plumber’s tape. This will provide a better seal and prevent any further leakage.
Testing for leaks is a crucial final step in the installation process. It ensures that your new showerhead and bar system is functioning properly and provides a satisfying shower experience without any unwanted water wastes.
Congratulations! You have successfully replaced your showerhead with a bar and are now ready to enjoy your upgraded shower experience.
Conclusion
Replacing your showerhead with a bar can be a rewarding project that enhances your shower experience. With just a few basic tools and materials, you can upgrade to a more flexible and convenient shower system. By following the step-by-step instructions in this article, you now have the knowledge and confidence to complete the installation successfully.
We began by turning off the water supply and removing the existing showerhead, ensuring that the shower arm was clean and prepared for the new installation. Then, we installed the mounting bracket and attached the bar, connecting the shower hose and installing the new showerhead. Finally, we tested for leaks to ensure a watertight seal.
Remember to always gather the necessary tools and materials before starting the project and take your time at each step to ensure a proper installation. If you encounter any challenges or have questions during the process, consult the manufacturer’s instructions or seek professional assistance.
Now, with your new showerhead and bar system in place, you can enjoy the convenience, flexibility, and upgraded shower experience it provides. Whether you prefer a gentle rainfall effect or a targeted spray, your new shower system will provide the personalized comfort you desire.
So go ahead, step into your newly upgraded shower and indulge in your rejuvenating shower experience.
Frequently Asked Questions about How To Replace Showerhead With Bar
Was this page helpful?
At Storables.com, we guarantee accurate and reliable information. Our content, validated by Expert Board Contributors, is crafted following stringent Editorial Policies. We're committed to providing you with well-researched, expert-backed insights for all your informational needs.

0 thoughts on “How To Replace Showerhead With Bar”