
Articles
How To Replace A Faucet Aerator
Modified: August 16, 2024
Learn how to replace a faucet aerator with our step-by-step guide. Our articles provide detailed instructions to help you complete the job easily and efficiently.
(Many of the links in this article redirect to a specific reviewed product. Your purchase of these products through affiliate links helps to generate commission for Storables.com, at no extra cost. Learn more)
Introduction
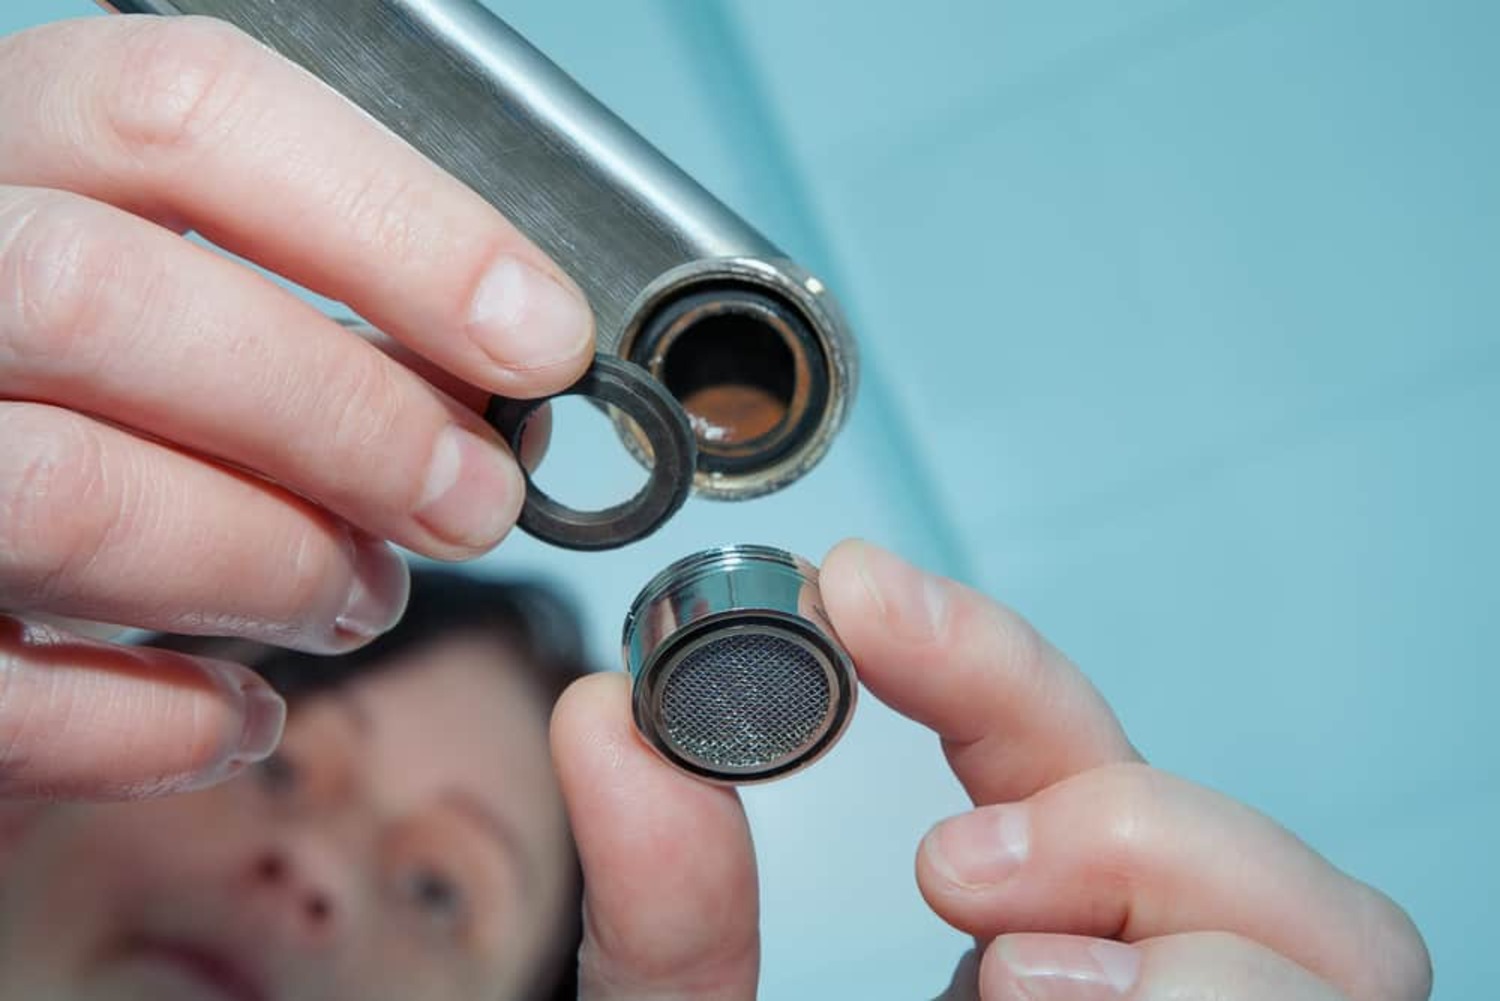
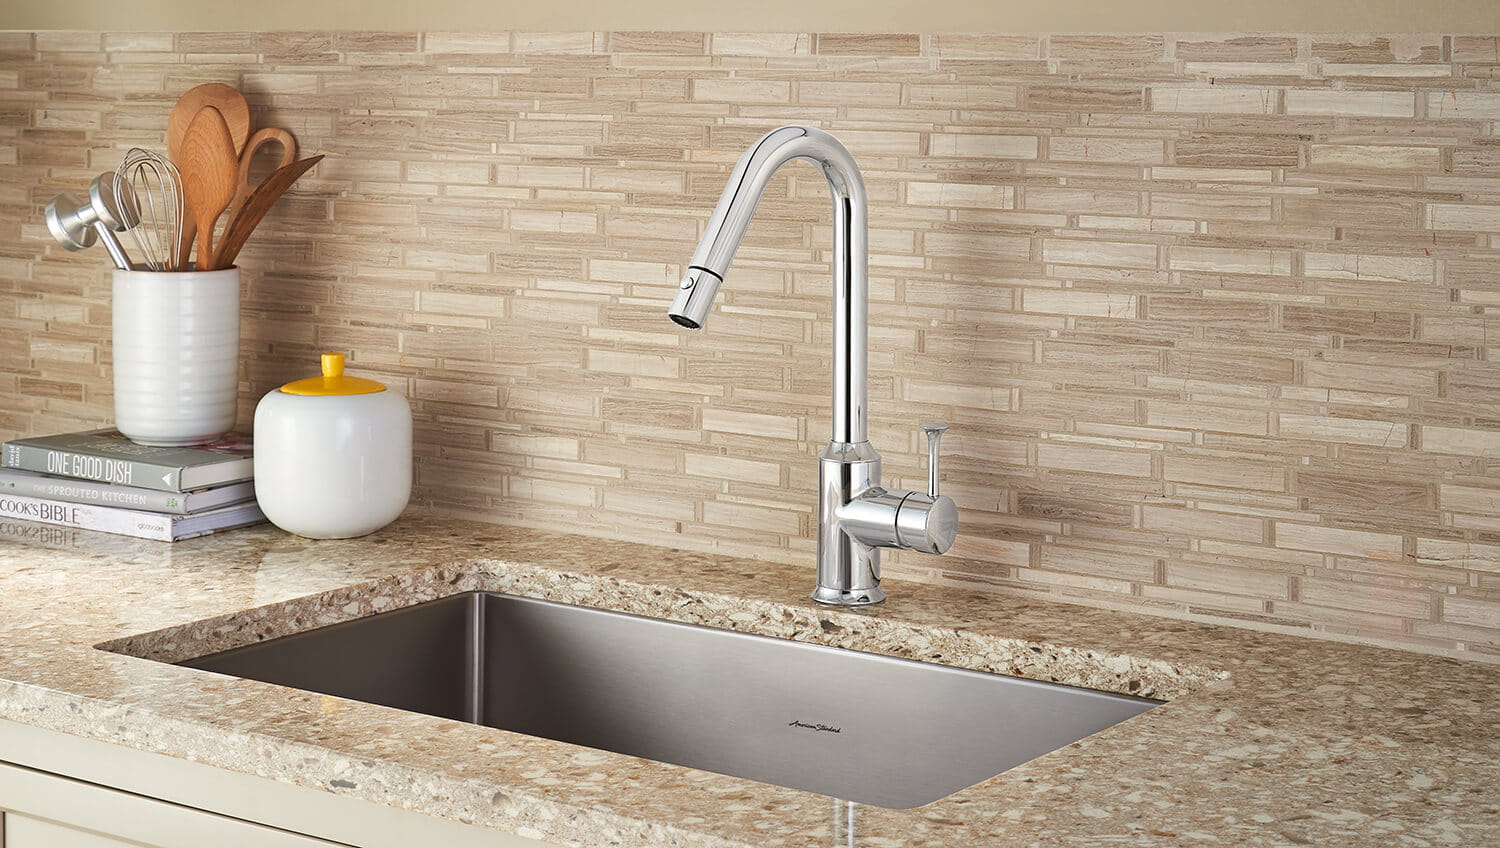
A faucet aerator is a small device that attaches to the end of the faucet spout. Its purpose is to control and regulate the flow of water, reducing splashing and conserving water. Over time, aerators can become clogged with mineral deposits or debris, causing the water flow to become irregular or restricted. If you’re experiencing issues with your faucet or want to upgrade to a more efficient aerator, replacing it is a straightforward process that you can do yourself.
In this article, we will guide you through the steps to replace a faucet aerator. We’ll cover the tools and materials you’ll need, as well as a step-by-step walkthrough of the process. By following these instructions, you’ll have a new aerator installed in no time, ensuring a smooth and efficient flow of water from your faucet.
Before we dive into the replacement process, let’s gather the necessary tools and materials.
Key Takeaways:
- Easily upgrade your faucet with a new aerator to improve water flow and conserve water. Follow simple steps, gather tools, and enjoy a DIY project with minimal expertise required.
- Ensure a smooth and efficient water flow by replacing your faucet aerator. Gather tools, clean threads, apply plumber’s tape, and test the new aerator for optimal performance.
Read more: How To Clean Aerator On Faucet
Tools and materials needed
Before you begin replacing a faucet aerator, make sure you have the following tools and materials:
- Adjustable wrench
- Pliers (optional, depending on the type of aerator)
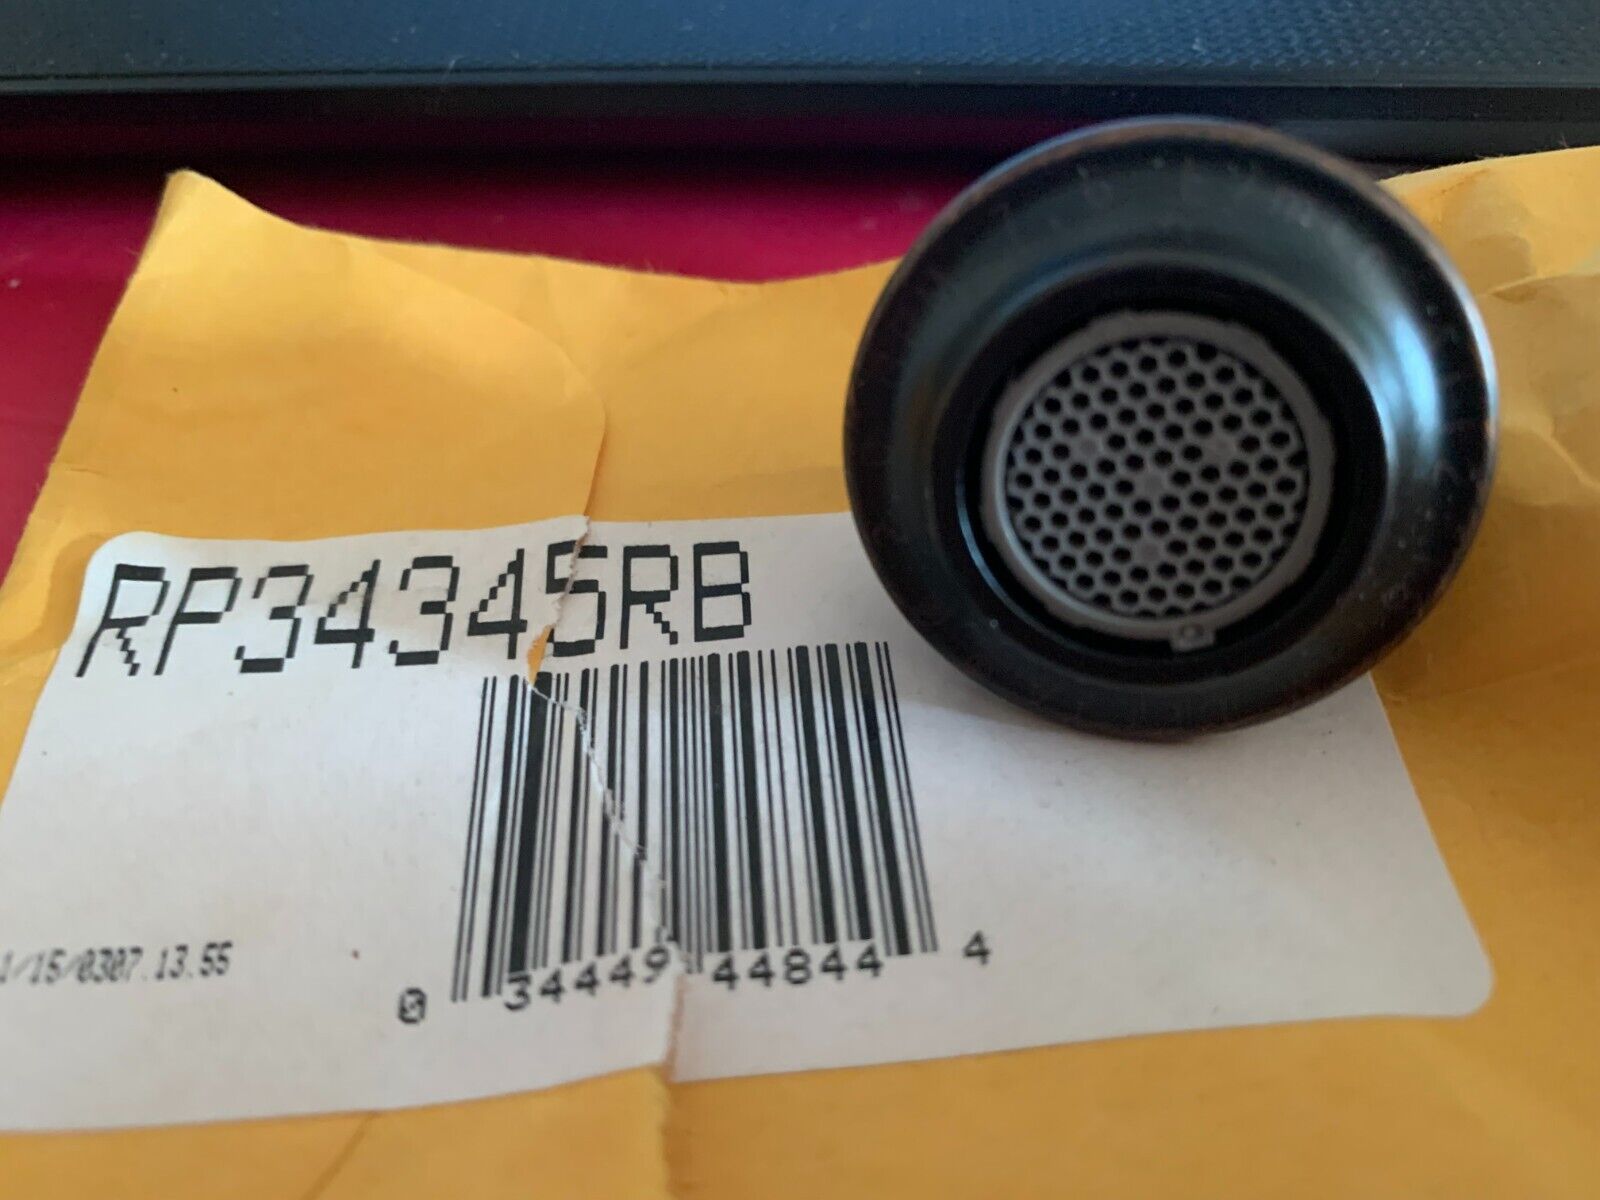
- New faucet aerator
- Plumber’s tape
- Cloth or towel
The adjustable wrench will be used to loosen and tighten the aerator. Pliers may be necessary if the aerator is difficult to remove by hand. It’s always a good idea to have a cloth or towel handy to protect your sink or counter during the replacement process.
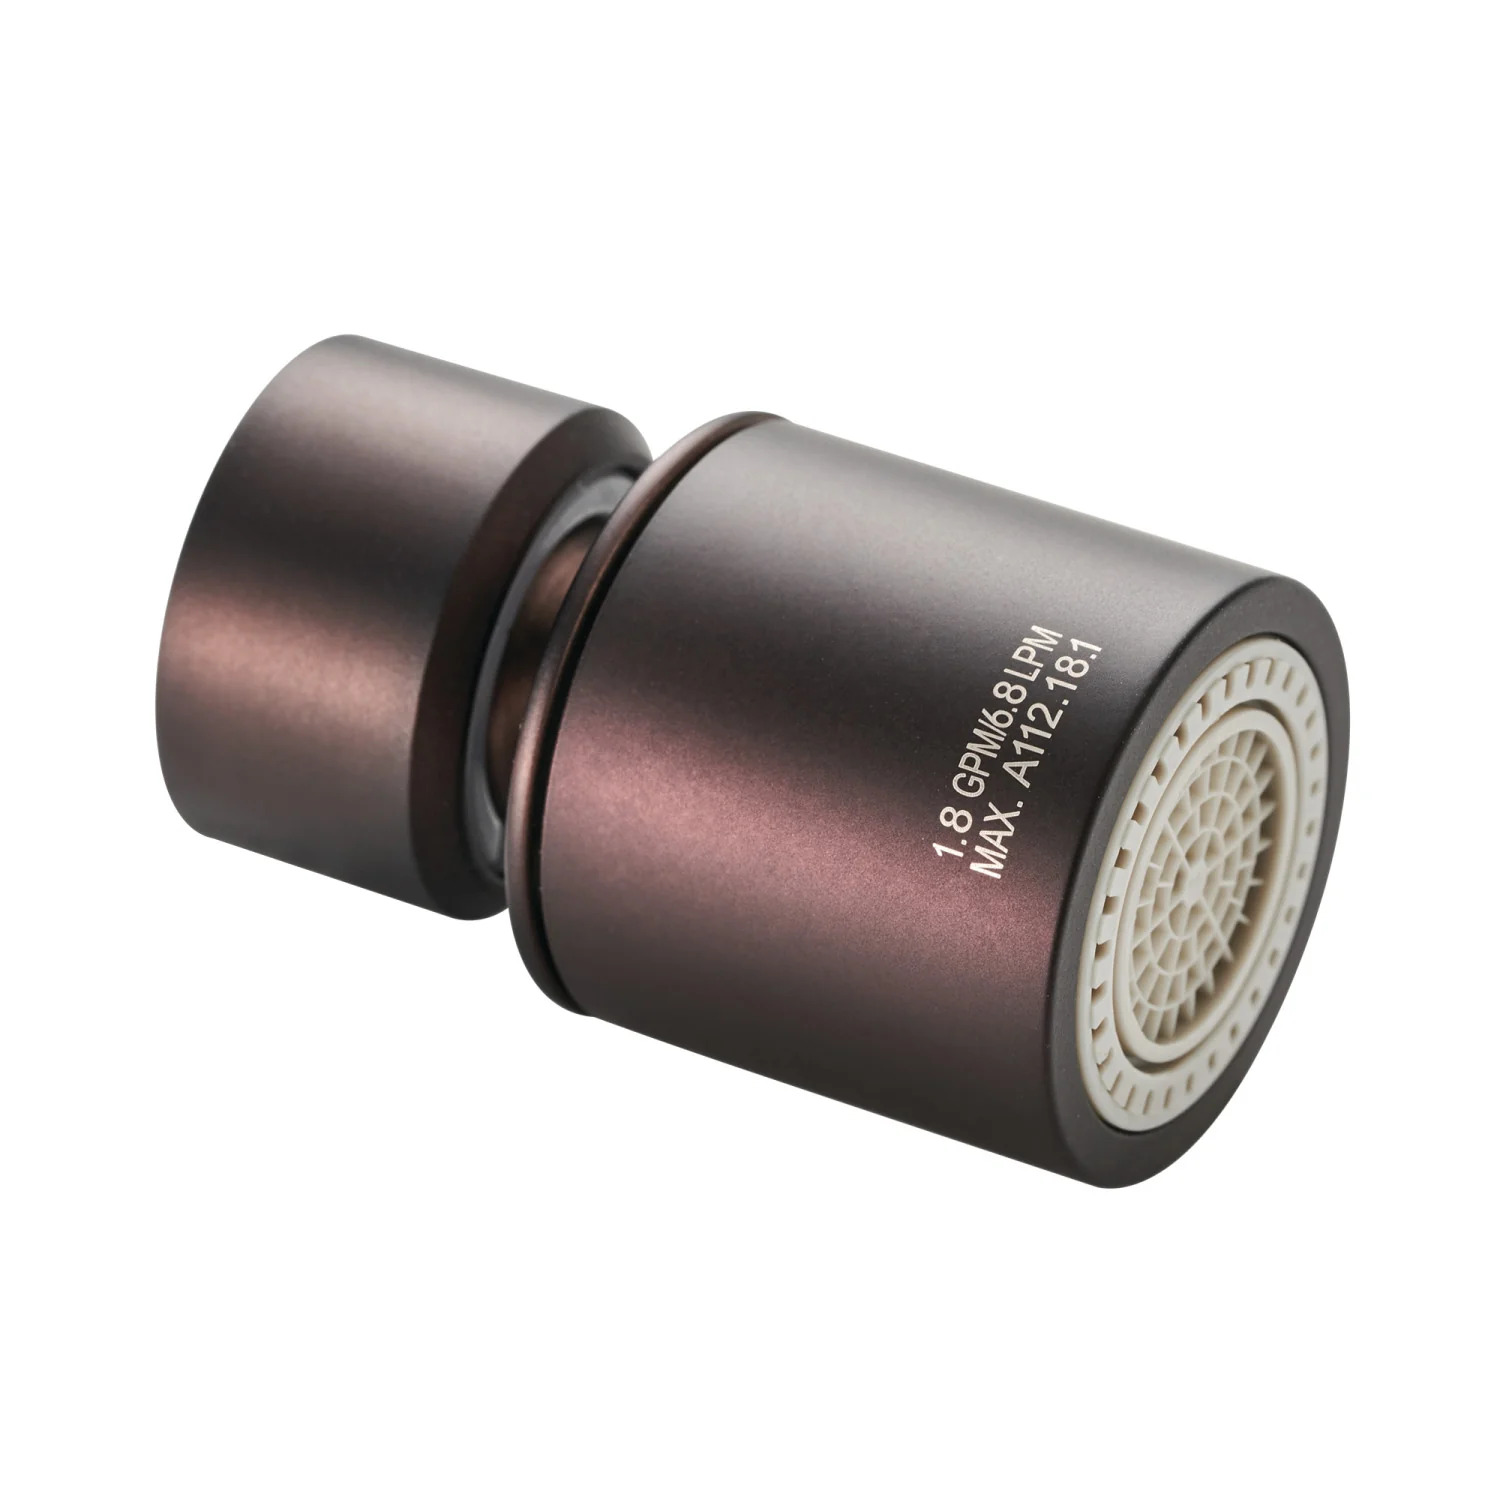
Additionally, make sure you have the correct replacement faucet aerator. Aerators come in various sizes and thread types, so it’s important to match the existing aerator or consult the manufacturer’s instructions for the appropriate replacement.
Once you have gathered all the necessary tools and materials, you’re ready to start replacing the faucet aerator. Follow along with the step-by-step instructions below.
Step 1: Shut off water supply
Before you begin any work on your faucet, it’s important to turn off the water supply. This will prevent any water from flowing while you remove and install the new aerator.
Locate the water shut-off valves under your sink. There are typically two valves – one for hot water and one for cold water. Turn both valves clockwise until they are fully closed.
If you are unable to locate the shut-off valves under your sink, you may need to shut off the main water supply to your home. This is usually done at the water meter or the main valve in your basement or utility room. Consult your home’s plumbing system or contact a professional plumber for assistance if needed.
Once the water supply is turned off, open the faucet to relieve any remaining pressure in the lines. This will also allow any water in the faucet to drain out.
With the water supply shut off and the faucet open, you’re now prepared to move on to the next step of replacing the faucet aerator.
Step 2: Remove old faucet aerator
Now that the water supply is shut off, it’s time to remove the old faucet aerator. The method of removal can vary depending on the type of aerator you have.
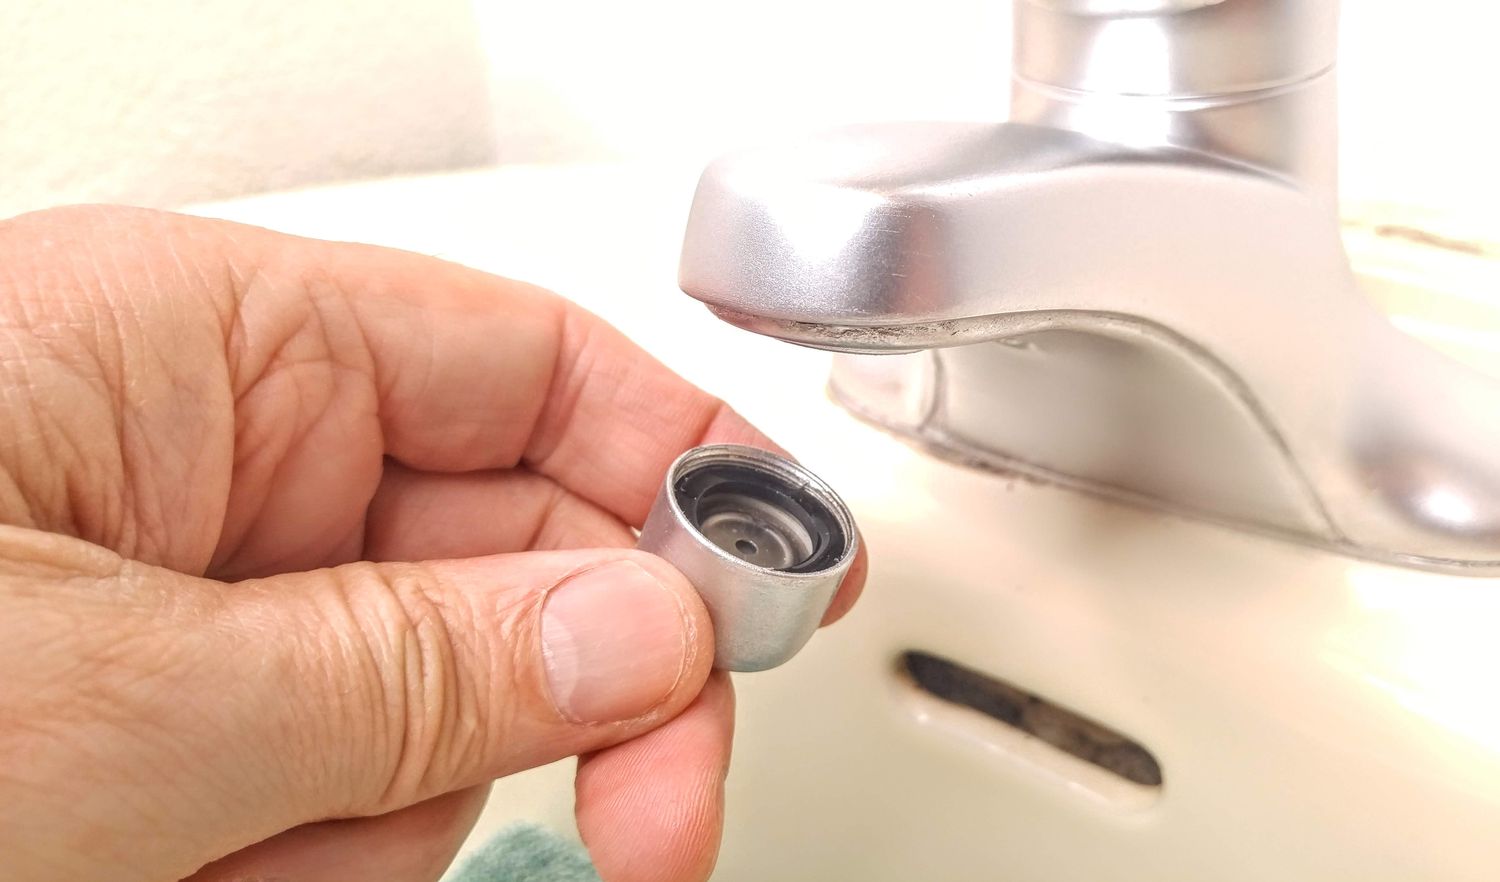
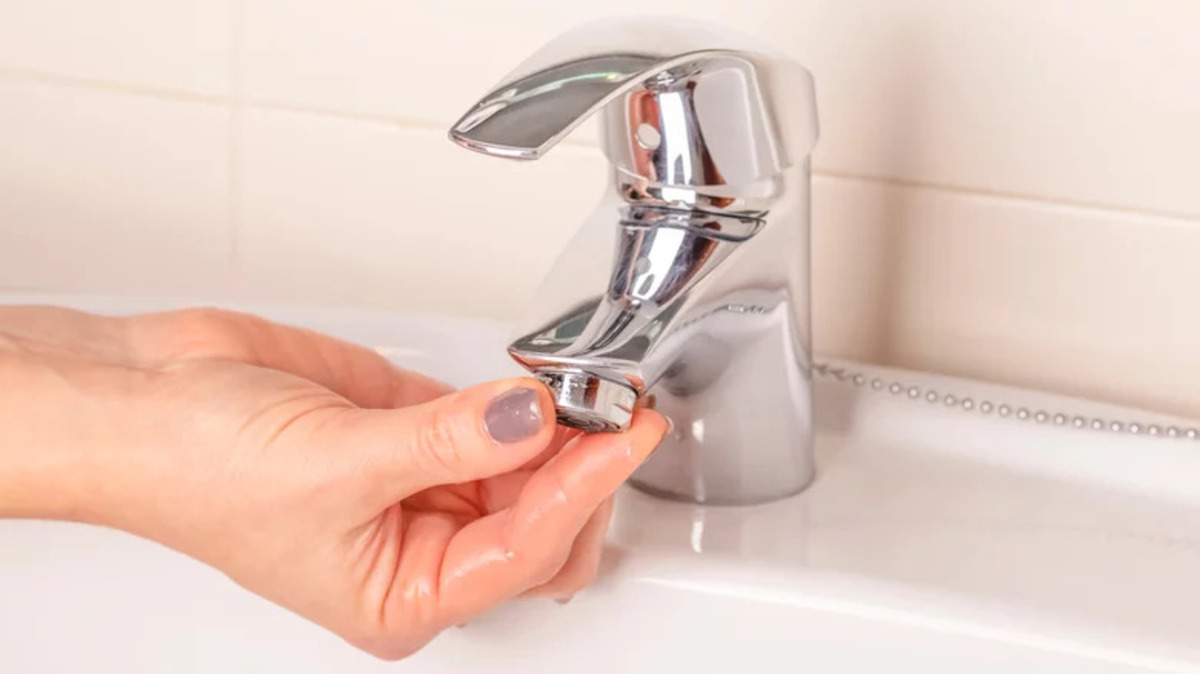
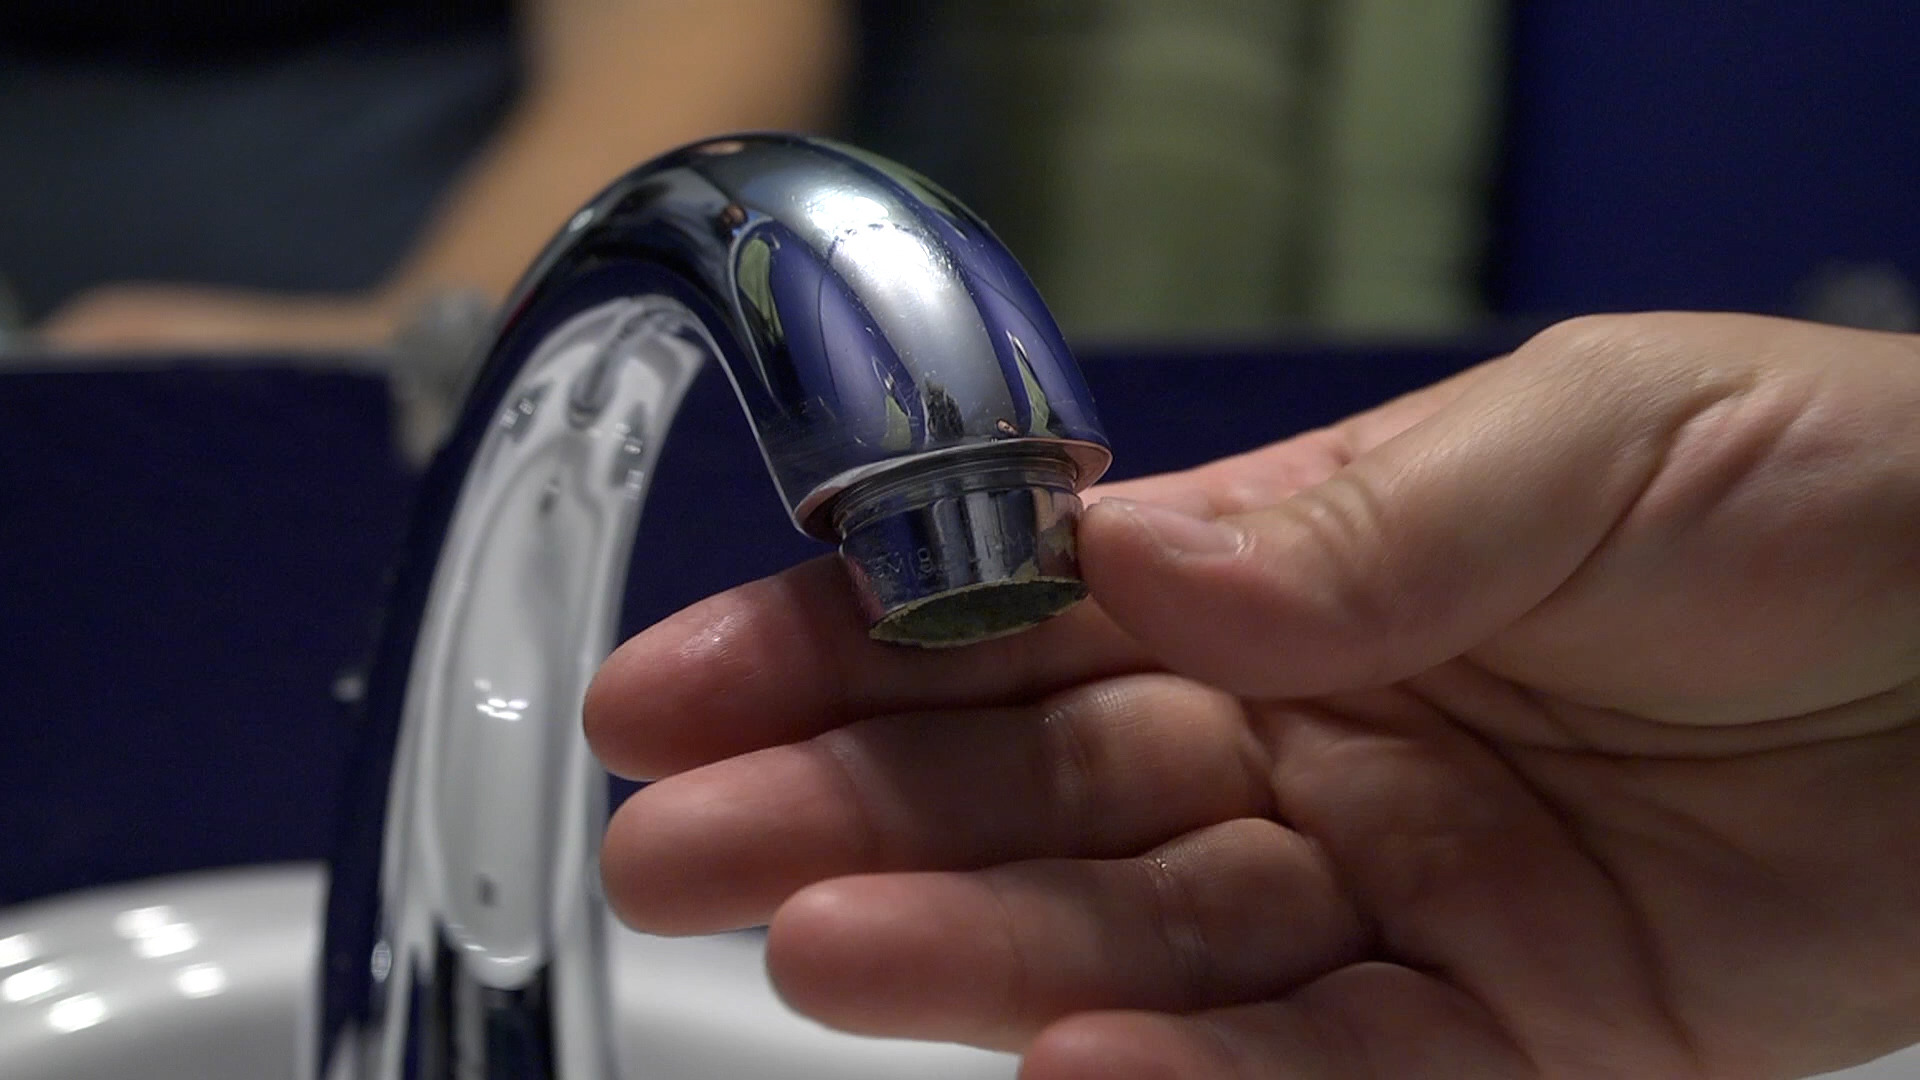
Start by inspecting the aerator. If you see visible ridges or grooves around the edges, it is likely a screw-on aerator. In this case, you can simply unscrew it by hand in a counterclockwise direction.
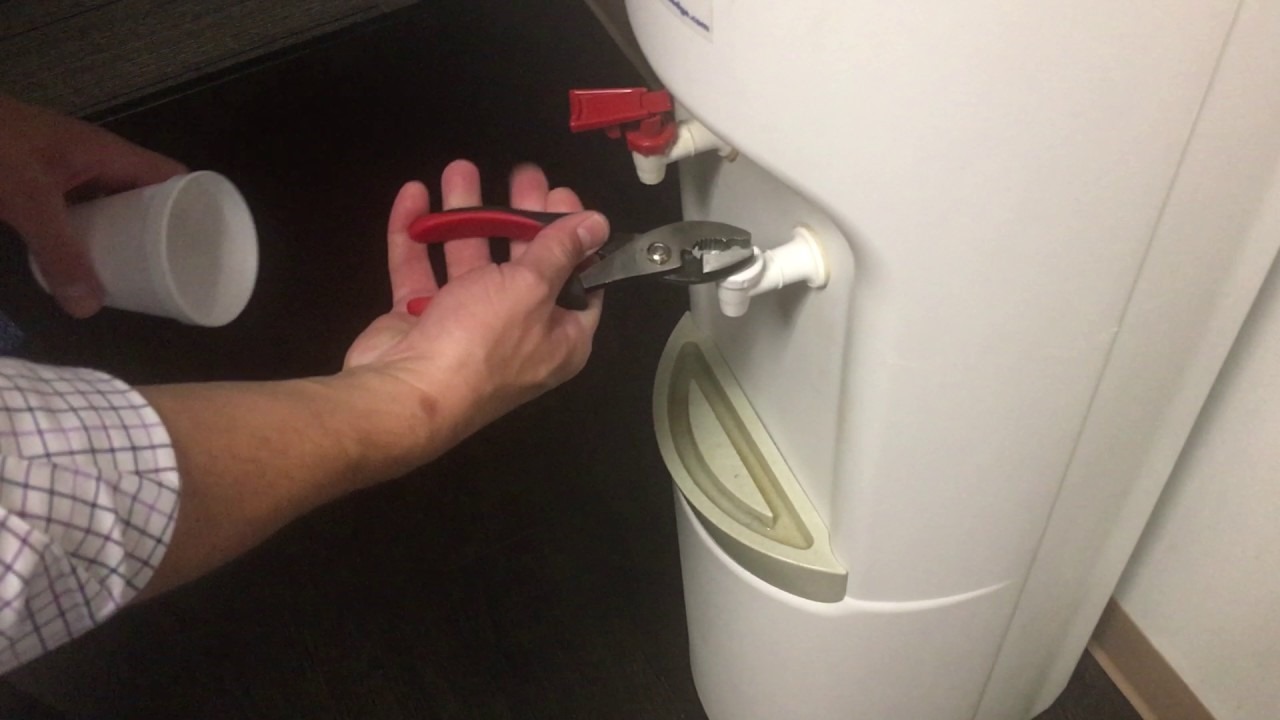
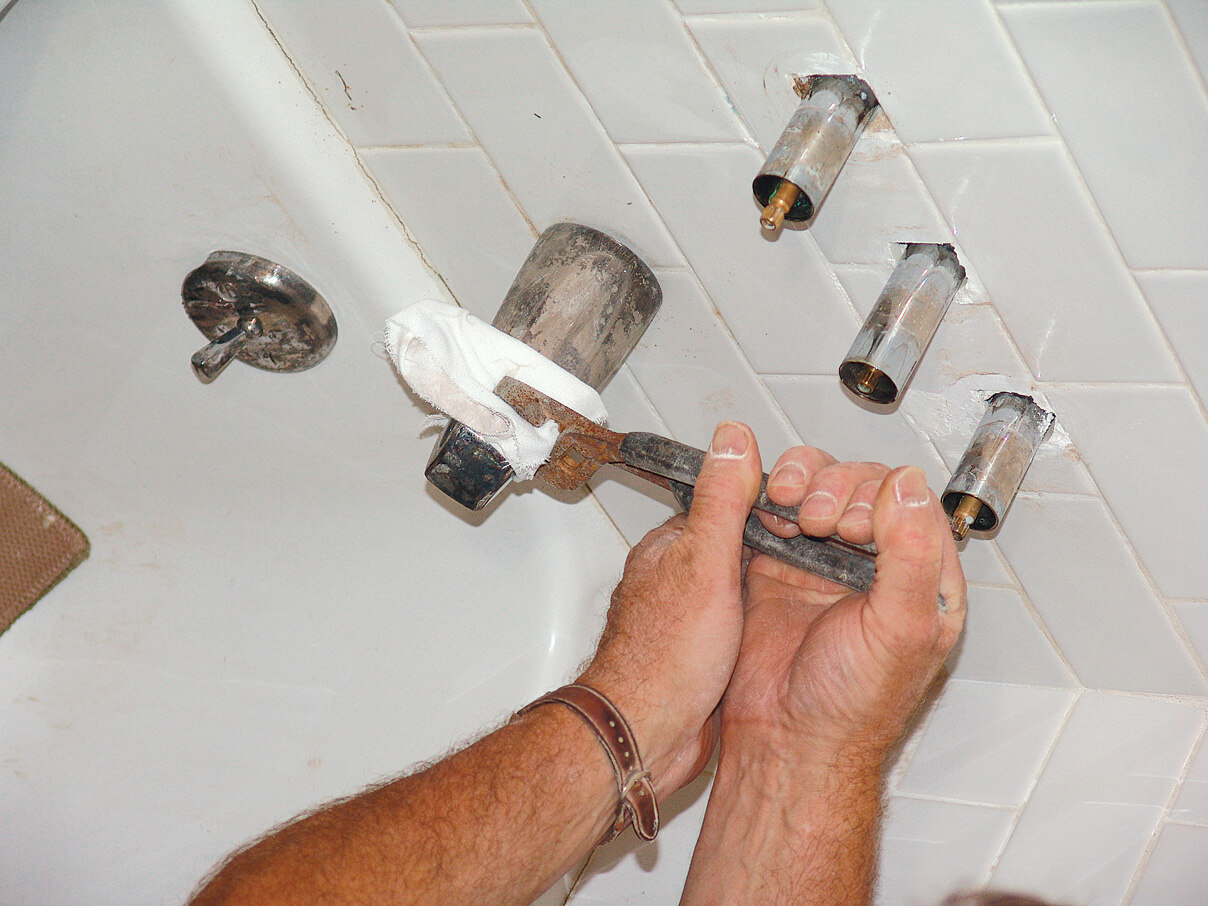
If your aerator does not have visible ridges or grooves, it may be a push-on or a cache aerator. For push-on aerators, grip the aerator firmly with your hand and pull it straight out. If it feels stuck, you can use a pair of pliers with a cloth or tape wrapped around the jaws to protect the aerator’s finish.
Cache aerators have special keys or tools designed to fit into the aerator and loosen it. These tools are specific to the brand or model of the faucet. Refer to the manufacturer’s instructions or contact the faucet manufacturer to obtain the correct tool for your aerator.
Once the aerator is loosened or removed, inspect it for any debris or mineral deposits that may have accumulated. Clean it thoroughly with water or vinegar to ensure optimal performance.
With the old aerator removed and cleaned, you’re ready to move on to the next step of cleaning the aerator threads.
Step 3: Clean aerator threads
After removing the old aerator, it’s essential to clean the aerator threads before installing the new one. This will ensure a proper and secure fit.
Take a close look at the threads on the faucet spout. If there is any debris or mineral buildup, use a soft brush or toothbrush to gently scrub the threads. You can also soak the aerator in vinegar for a few minutes to loosen any stubborn deposits.
Rinse the aerator thoroughly with water to remove any residue. Inspect the threads again to ensure they are clean and free from any obstructions.
In some cases, the aerator may have a separate screen or filter inside. If this is the case, carefully remove the screen or filter and clean it as well.
Once everything is cleaned and dry, you’re ready to move on to the next step of applying plumber’s tape.
When replacing a faucet aerator, be sure to turn off the water supply to the faucet before unscrewing the old aerator. This will prevent any water from spraying out and making a mess.
Read more: What Is A Faucet Aerator
Step 4: Apply plumber’s tape
Before installing the new faucet aerator, it’s a good idea to apply plumber’s tape to the threads. Plumber’s tape, also known as Teflon tape, helps create a watertight seal and prevents leaks.
Start by ensuring the threads on the faucet spout are dry. Plumber’s tape adheres best to clean, dry surfaces.
Take the roll of plumber’s tape and unwind a few inches. Hold the end of the tape against the base of the faucet spout threads and wrap it in a clockwise direction. Be sure to overlap the tape slightly with each rotation, covering the entire thread surface. Continue wrapping until the threads are fully covered.
Once the threads are wrapped, use your finger to press and smooth the tape against the threads. This will help secure the tape in place and ensure a tight seal.
Note: Be cautious not to wrap too much plumber’s tape, as it can interfere with the aerator’s installation. A couple of layers of tape should be sufficient.
With the plumber’s tape applied, you’re now ready to install the new faucet aerator. Move on to the next step for detailed instructions.
Step 5: Install new faucet aerator
With the plumber’s tape in place, it’s time to install the new faucet aerator. Make sure you have the correct replacement aerator that matches the size and thread type of your faucet.
Hold the new aerator with the threads facing the faucet spout. Carefully align the aerator with the threads and begin twisting it on in a clockwise direction. Start by hand to ensure a proper fit.
If the aerator becomes difficult to tighten by hand, you can use an adjustable wrench to snugly tighten it. However, be cautious not to overtighten, as this can cause damage to the aerator or the faucet.
Continue tightening until the aerator is securely in place and aligned properly.
If your faucet has multiple spray patterns or water flow modes, make sure to adjust the aerator accordingly to your desired setting.
At this point, the new aerator should be installed and ready for testing.
Step 6: Test the aerator
Once the new faucet aerator is installed, it’s important to test it to ensure everything is functioning properly.
Start by turning on the water supply. Slowly open the faucet valves to allow water to flow through the aerator.
Observe the water flow and check for any issues, such as leaks or irregular water patterns. If you notice any leaks, use an adjustable wrench to tighten the aerator slightly. Be careful not to overtighten.
Pay attention to the water flow itself. The aerator should regulate the flow and minimize any splashing or uneven dispersal of water.
If the water flow is not satisfactory, it may be due to debris or mineral buildup inside the new aerator. In this case, remove the aerator and clean it thoroughly. Reinstall it and test again.
Once you are satisfied with the water flow and there are no leaks, congratulations! You have successfully replaced your faucet aerator.
Remember to periodically clean and maintain the aerator to ensure its optimal performance in the long run.
By following these steps and being mindful of proper maintenance, you can enjoy a properly functioning faucet with a clean and efficient aerator.
Conclusion
Replacing a faucet aerator is a simple and straightforward process that can help improve the functionality and efficiency of your faucet. By following the steps outlined in this article, you can easily replace the aerator and ensure a smooth and consistent water flow.
Remember to gather the necessary tools and materials before starting, such as an adjustable wrench, pliers (if needed), a new faucet aerator, plumber’s tape, and a cloth or towel. These items will make the process much smoother and more efficient.
Throughout the process, be mindful of cleaning the aerator threads and applying plumber’s tape to create a tight seal. Both of these steps are crucial in preventing leaks and ensuring a secure fit.
Finally, take the time to test the new aerator for any leaks or irregular water flow. If you notice any issues, make the necessary adjustments or clean the aerator before reinstalling it.
By replacing your faucet aerator, you can enjoy a more efficient water flow, reduced splashing, and potentially save water and energy. Plus, the process is relatively quick and requires minimal tools and expertise.
Now that you have the knowledge and steps to replace a faucet aerator, you can confidently tackle this DIY project whenever needed. So go ahead, give your faucet an upgrade, and enjoy the benefits of a properly functioning aerator.
Frequently Asked Questions about How To Replace A Faucet Aerator
Was this page helpful?
At Storables.com, we guarantee accurate and reliable information. Our content, validated by Expert Board Contributors, is crafted following stringent Editorial Policies. We're committed to providing you with well-researched, expert-backed insights for all your informational needs.

0 thoughts on “How To Replace A Faucet Aerator”