Articles
How To Replace A Kitchen Sink Faucet
Modified: October 28, 2024
Learn how to replace a kitchen sink faucet with our informative articles. Upgrade your kitchen and improve functionality with our expert tips and guidance.
(Many of the links in this article redirect to a specific reviewed product. Your purchase of these products through affiliate links helps to generate commission for Storables.com, at no extra cost. Learn more)
Introduction
Replacing a kitchen sink faucet can be a daunting task, but with the right tools and a step-by-step guide, you can accomplish it with ease. Whether you’re upgrading your kitchen or simply replacing a worn-out faucet, this guide will walk you through the process, ensuring a successful installation.
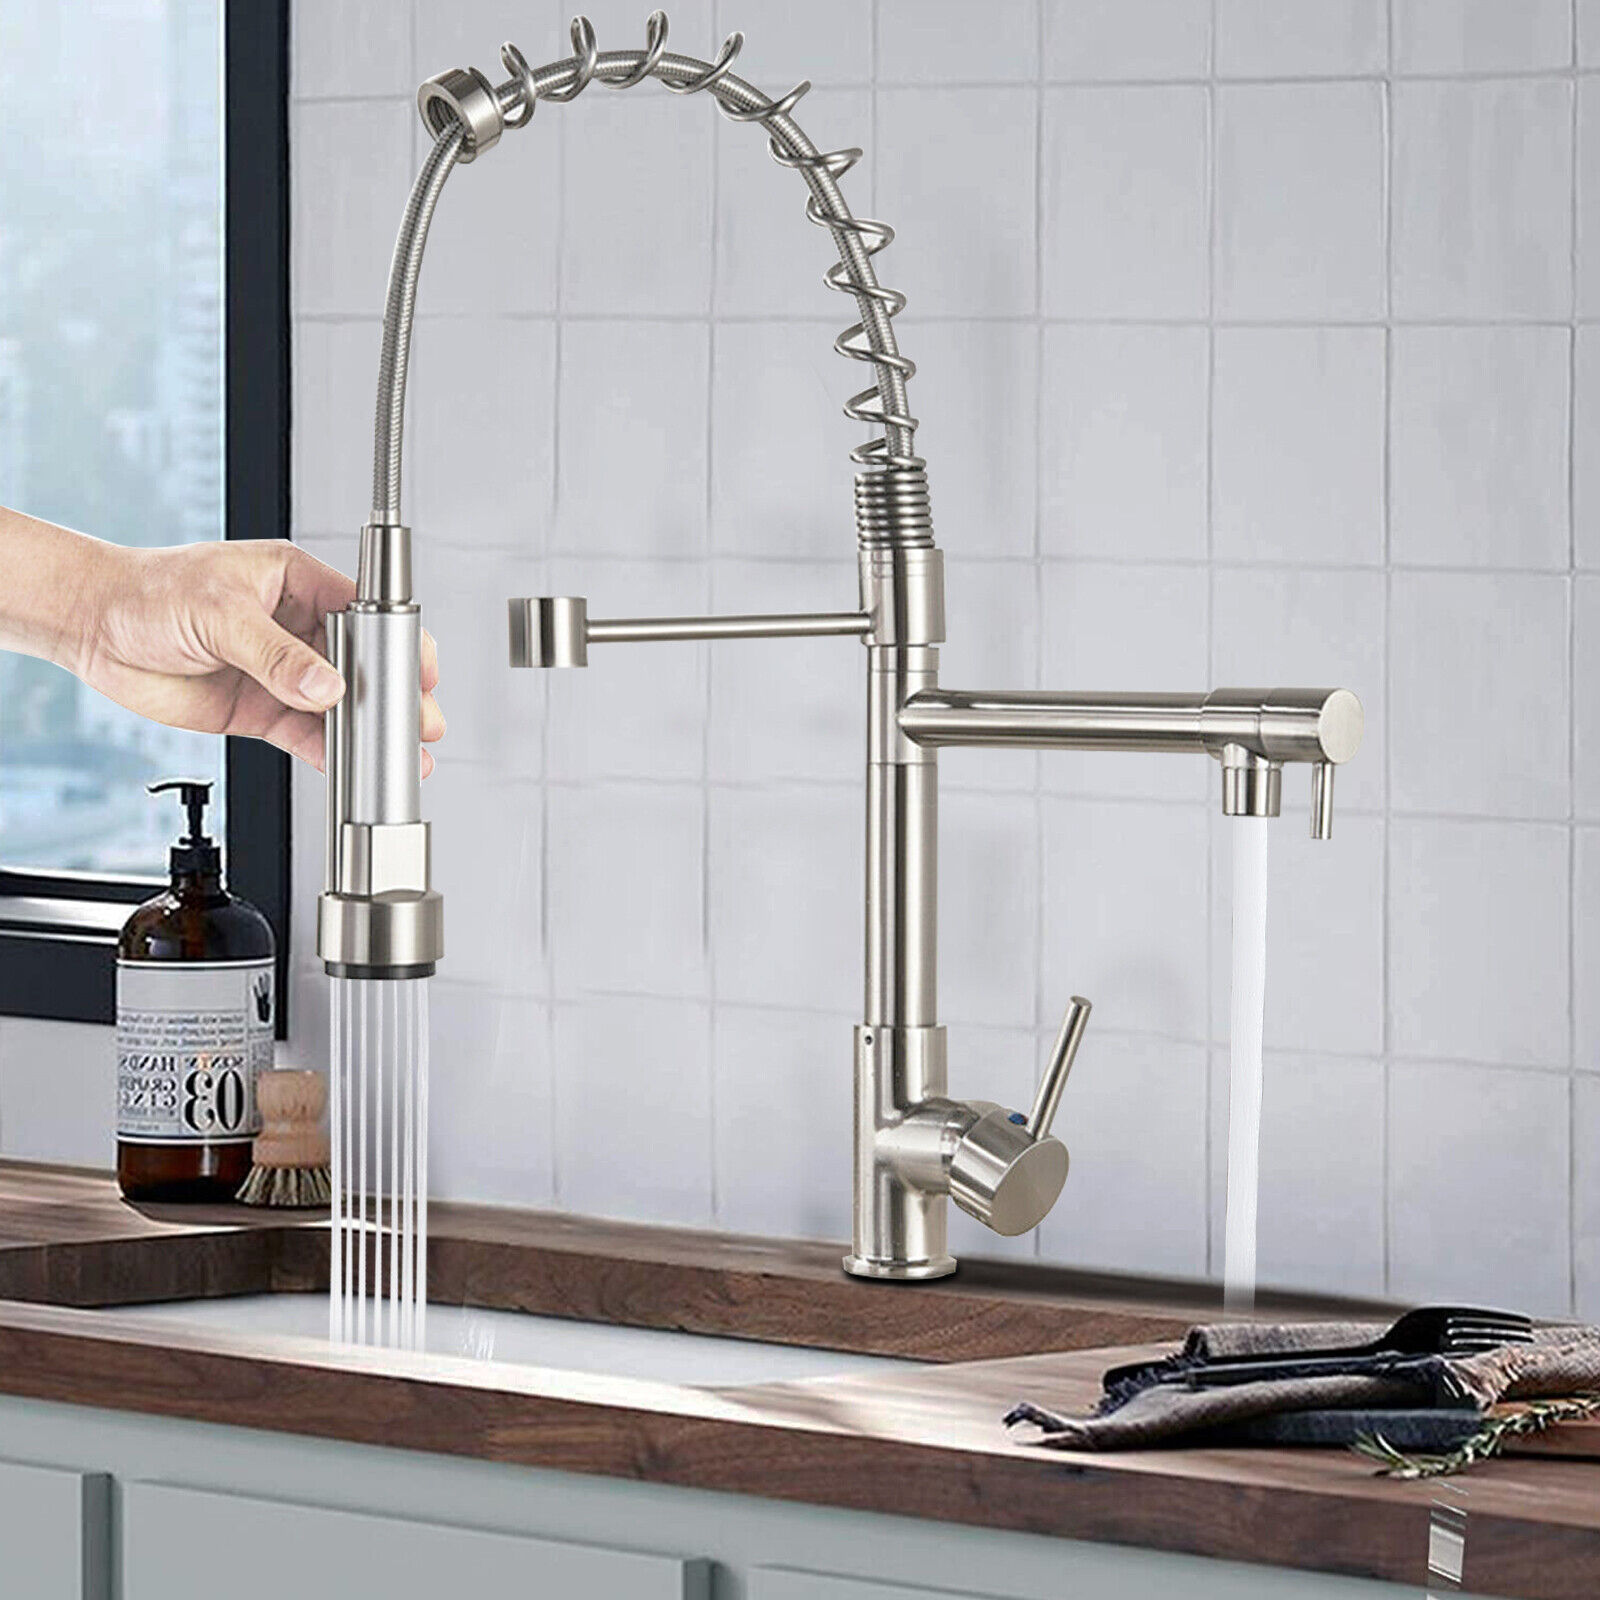
Your kitchen sink faucet is not only a functional component but also a design element that can enhance the overall aesthetics of your kitchen. Over time, faucets can become worn, corroded, or start leaking. Replacing it not only improves the functionality of your kitchen but also gives it a fresh, updated look.
Before you begin the installation, it’s important to gather all the necessary tools and materials. Having everything on hand will help streamline the process and prevent any delays. Additionally, make sure to turn off the water supply before starting any work to avoid any water damage or flooding.
In this comprehensive guide, we will take you through each step of replacing a kitchen sink faucet, from gathering the necessary tools to testing the new faucet. By following these steps, you’ll be able to successfully replace your kitchen sink faucet and enjoy a fully functional and visually appealing upgrade.
So let’s dive in and learn how to replace a kitchen sink faucet!
Key Takeaways:
- Upgrade your kitchen with ease by following a step-by-step guide to replace a kitchen sink faucet. Gather the right tools, turn off the water supply, and enjoy a functional and visually appealing upgrade.
- Properly prepare and install the new faucet, connect the water supply lines, and test for leaks to ensure a successful replacement. Regular maintenance keeps your faucet in optimal condition for a refreshed kitchen look.
Read more: How To Replace Sink Faucet
Step 1: Gather necessary tools and materials
Before you begin the process of replacing a kitchen sink faucet, it’s important to gather all the necessary tools and materials. Having everything you need on hand will make the installation process smoother and more efficient. Here’s a list of the tools and materials you’ll need:
- Adjustable wrench
- Basin wrench
- Slip joint pliers
- Phillips head screwdriver
- Plumber’s tape
- New sink faucet
- Silicone caulk
- Towels or rags
- Bucket or container
Having the right tools will greatly facilitate the removal of the old faucet and the installation of the new one. The adjustable wrench and basin wrench are essential for loosening and tightening the nuts and bolts. The slip joint pliers will come in handy for disconnecting the water supply lines, while the Phillips head screwdriver will be needed to remove any screws holding the old faucet in place.
Plumber’s tape is an important material to have on hand as it helps create a watertight seal between the different components of the faucet. Make sure you have a roll of plumber’s tape readily available before you start the installation process.
Of course, the most important material you’ll need is the new sink faucet itself. Take your time to research and choose a faucet that fits your style and preferences. Measure the size and configuration of your sink to ensure a proper fit.
Lastly, having some towels or rags on hand will help to catch any water drips during the installation process. Additionally, having a bucket or container nearby can be useful for collecting any excess water that may come out when disconnecting the old faucet.
By gathering all the necessary tools and materials before you start the installation process, you’ll be well-prepared and ready to tackle the job. This will make the process smoother and more efficient, allowing you to complete the replacement of your kitchen sink faucet with confidence.
Step 2: Turn off the water supply
Before you begin removing the old kitchen sink faucet, it’s crucial to turn off the water supply. This step is essential to prevent any potential water damage or flooding during the replacement process. Here’s how to turn off the water supply:
- Locate the shut-off valves: The shut-off valves are typically located underneath the sink. They are usually small, round valves with handles. The hot water valve is usually on the left side, while the cold water valve is on the right side.
- Turn off the shut-off valves: Rotate the handles of both the hot and cold water shut-off valves clockwise until they are fully closed. This will shut off the water supply to the faucet.
- Test the water supply: To make sure the water supply is completely turned off, turn on the faucet handles to release any remaining water pressure. If no water comes out, then the shut-off valves have been successfully closed.
It’s important to note that some sinks may not have individual shut-off valves. If this is the case, you may need to turn off the main water supply to your home. Locate the main water shut-off valve, which is typically located near the water meter or in the basement, and turn it off.
Turning off the water supply is a crucial step that ensures your safety and prevents any potential water-related accidents during the faucet replacement. By following these steps, you’ll be able to confidently move on to the next stages of the installation process.
Step 3: Disconnect the old faucet
Once you’ve turned off the water supply, it’s time to disconnect the old kitchen sink faucet. Properly detaching the old faucet will allow for a smooth removal process. Follow these steps to disconnect the old faucet:
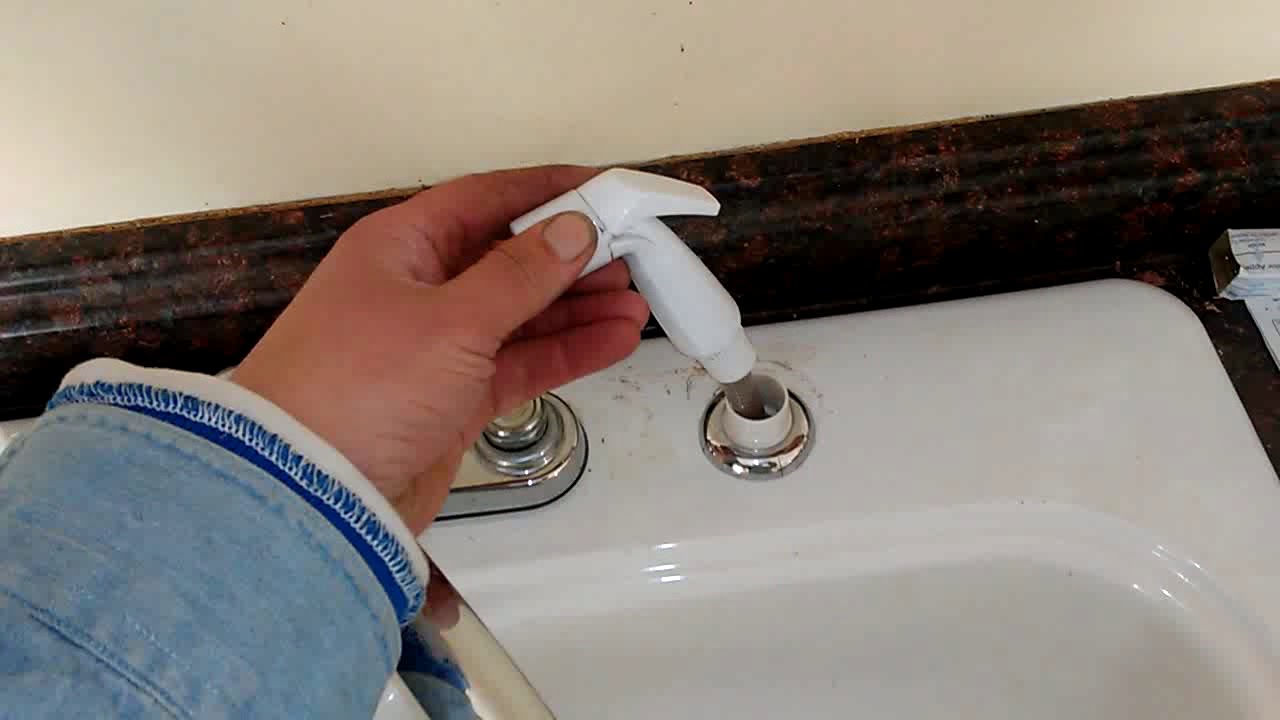
- Remove any decorative caps or handles: Some faucets have decorative caps or handles covering the screws. Use a flathead screwdriver to carefully pry off these caps and remove any screws underneath.
- Disconnect the supply lines: Use slip joint pliers or an adjustable wrench to loosen and disconnect the supply lines from the faucet. Turn them counterclockwise to loosen and remove them. Place a towel or rag under the supply lines to catch any remaining water.
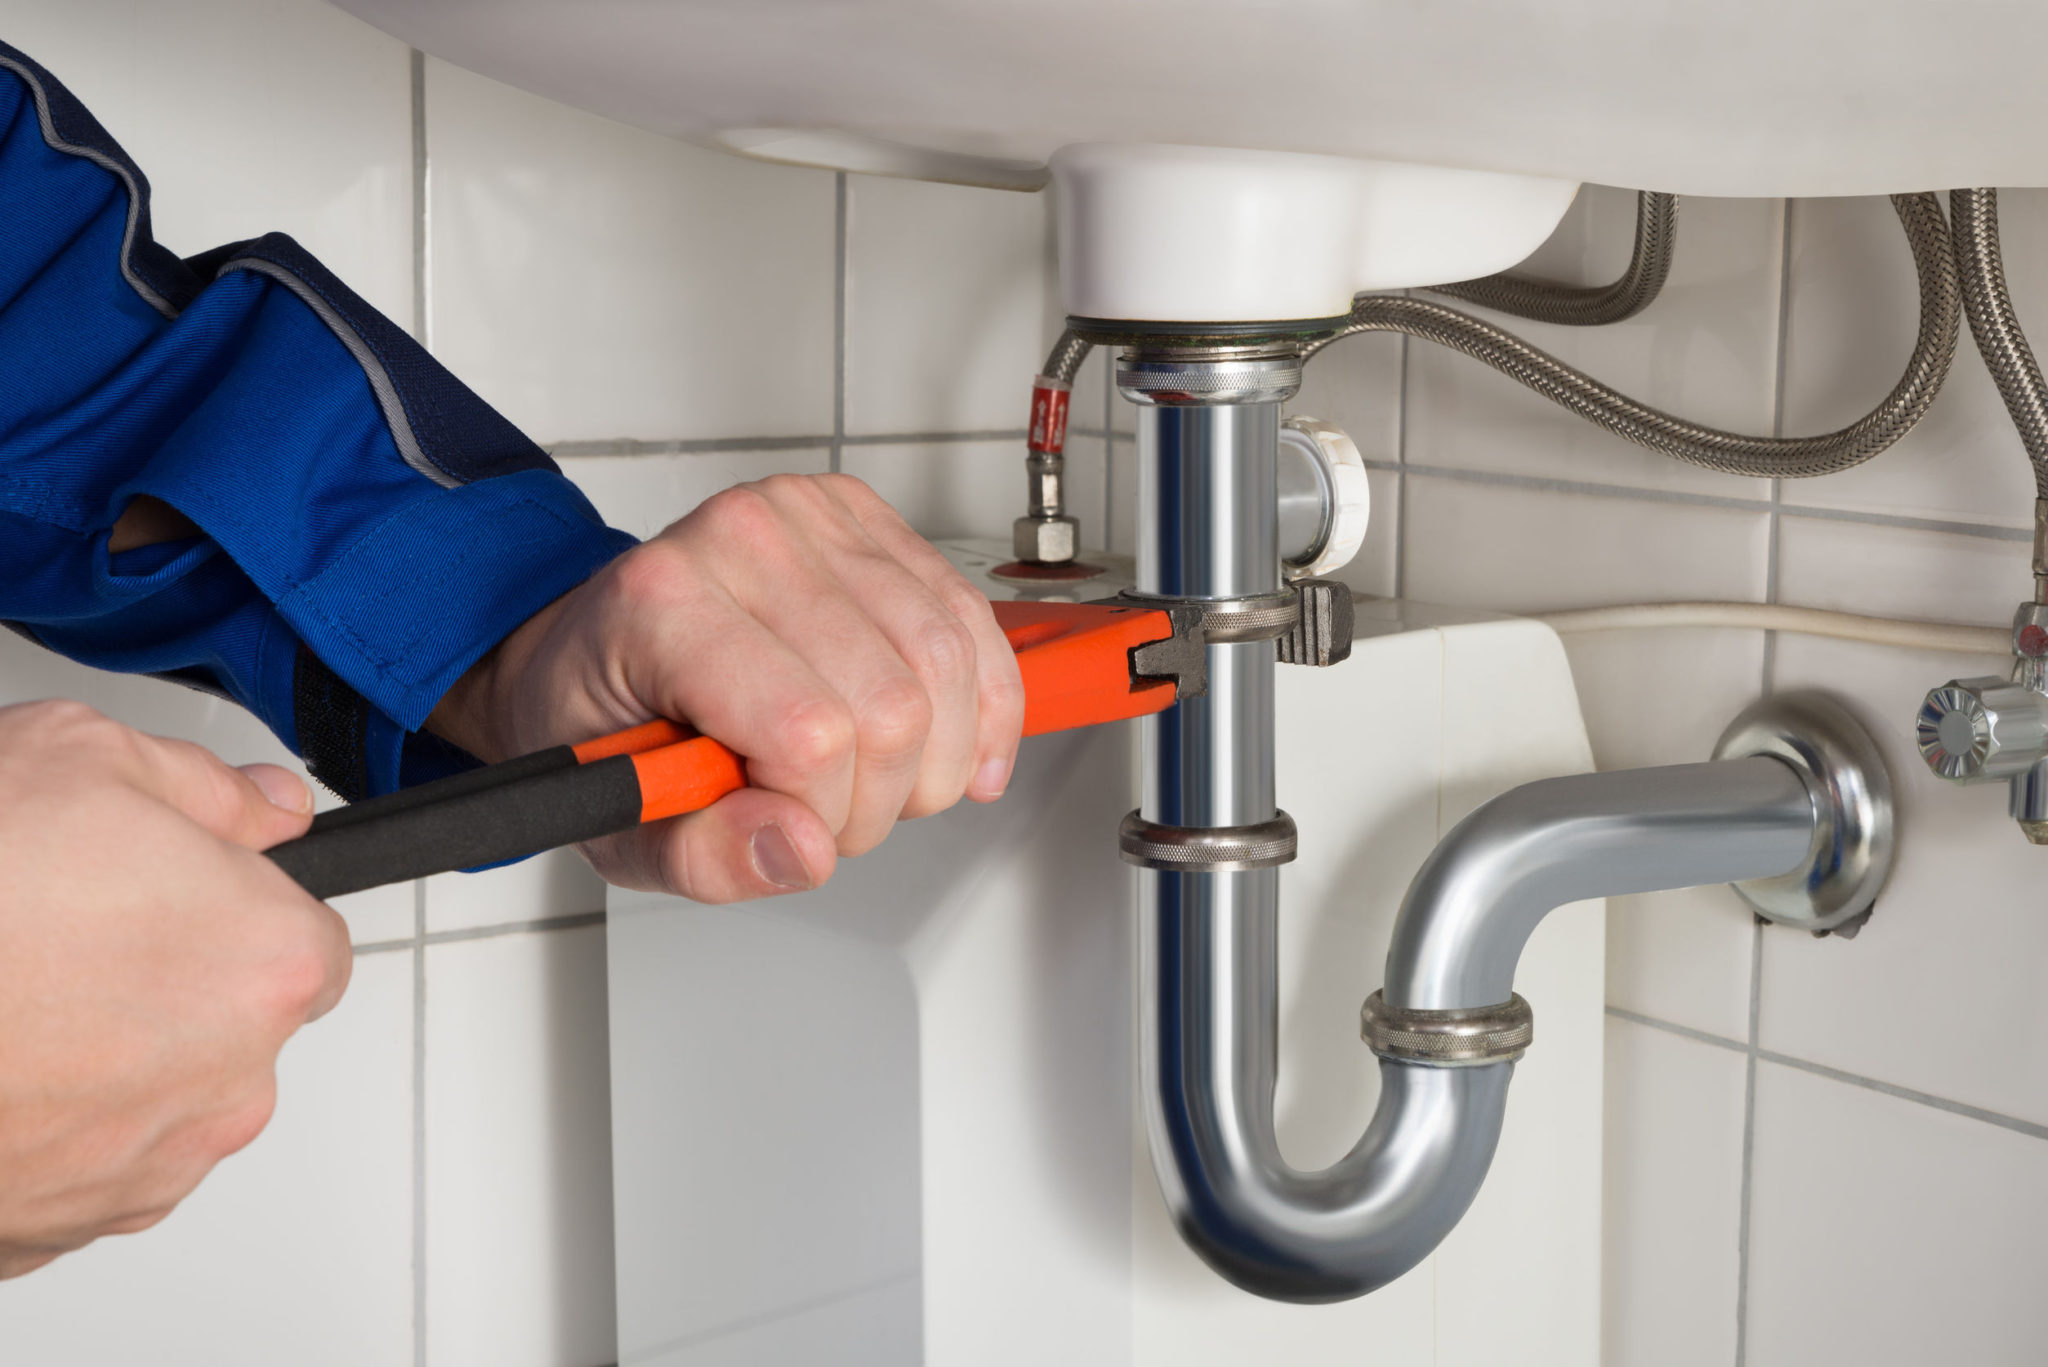
- Disconnect the mounting nuts or bolts: Underneath the sink, locate the mounting nuts or bolts that secure the faucet in place. Use a basin wrench or an adjustable wrench to loosen and remove them. Turn them counterclockwise to loosen and unscrew them.
- Remove the old faucet: Once the mounting nuts or bolts are removed, gently lift the old faucet out of the sink. Be cautious of any remaining water that may have collected in the faucet body.
While disconnecting the old faucet, take note of any sealant or caulk that may be present. Carefully scrape away any old caulk or sealant to ensure a clean surface for the installation of the new faucet.
Throughout the process of disconnecting the old faucet, it’s important to be mindful of your surroundings. Use caution when removing screws and nuts, as dropping them can cause damage to your sink or create delays in the installation process.
By following these steps, you’ll be able to successfully disconnect the old kitchen sink faucet and prepare for the next stage: installing the new faucet.
Step 4: Prepare the new faucet
Now that you have successfully disconnected the old faucet, it’s time to prepare the new one for installation. Properly preparing the new faucet ensures a smooth and efficient installation process. Follow these steps to prepare the new faucet:
- Read the manufacturer’s instructions: Before you begin, carefully read the manufacturer’s instructions that came with your new faucet. Different faucets have varying installation processes, so it’s important to familiarize yourself with the specific requirements of your model.
- Apply plumber’s tape: Take a roll of plumber’s tape and wrap it clockwise around the threads of the faucet’s tailpiece. Plumber’s tape helps create a watertight seal, preventing any leaks at the connection points.
- Position the gasket and mounting hardware: Place the gasket provided with the new faucet onto the sink’s surface, aligning it with the mounting holes. Insert the mounting hardware from underneath the sink and tighten it with a basin wrench or adjustable wrench. Ensure that the faucet is properly aligned and secure.
- Attach any additional components: Depending on your faucet model, you may need to attach additional components such as a sprayer, soap dispenser, or side handle. Follow the manufacturer’s instructions to properly install these components, ensuring they are securely attached.
- Check for any additional sealant requirements: Some faucets may require the use of additional sealant or silicone caulk for a proper installation. If instructed by the manufacturer, apply a thin bead of silicone caulk around the base of the faucet to create a watertight seal.
By carefully preparing the new faucet and following the manufacturer’s instructions, you ensure that the installation process will be successful and the faucet will function properly.
Before moving on to the next step, it’s important to double-check that all the necessary components and accessories are properly secured to the faucet. This will help prevent any potential issues during the installation process.
Now that the new faucet is prepared, you’re ready to move on to the next step: installing the new faucet into your kitchen sink.
When replacing a kitchen sink faucet, be sure to turn off the water supply before starting the installation. This will prevent any leaks or water damage during the process.
Read more: How Much To Replace Bathroom Faucet
Step 5: Install the new faucet
With the new faucet prepared, it’s time to install it into your kitchen sink. Proper installation ensures that the faucet functions correctly and securely. Follow these steps to install the new faucet:
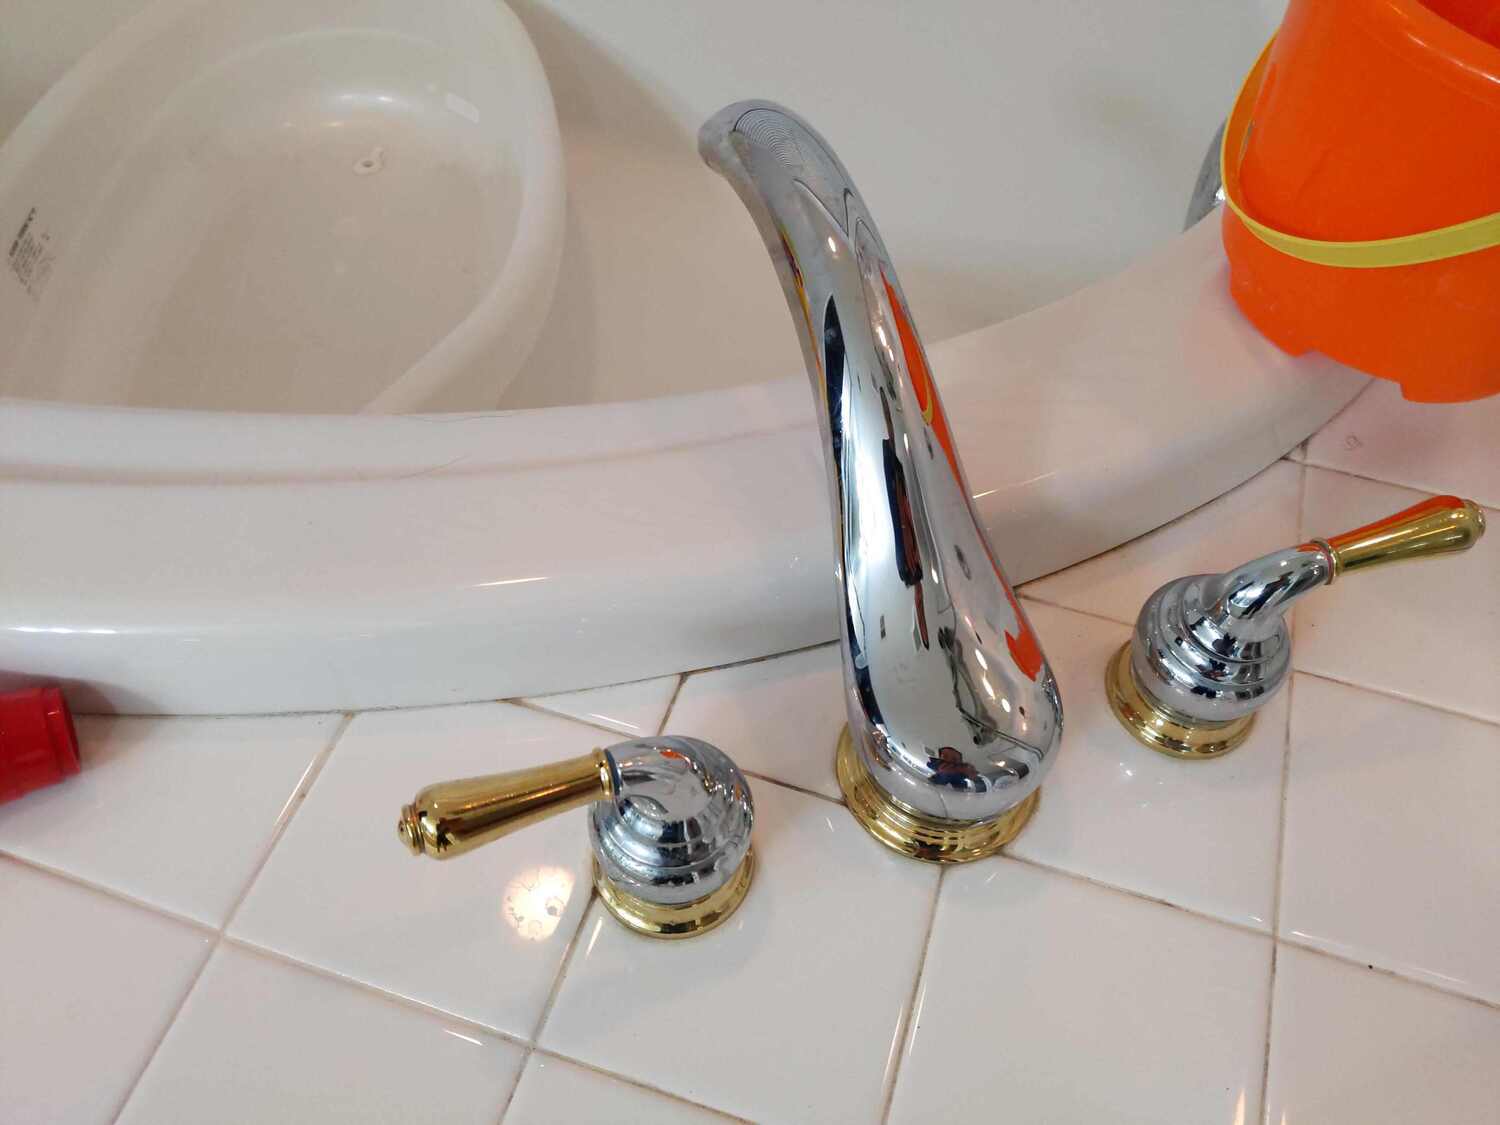
- Lower the new faucet into the mounting holes: Carefully lower the new faucet into the mounting holes on the sink. Ensure that the faucet is properly aligned and centered.
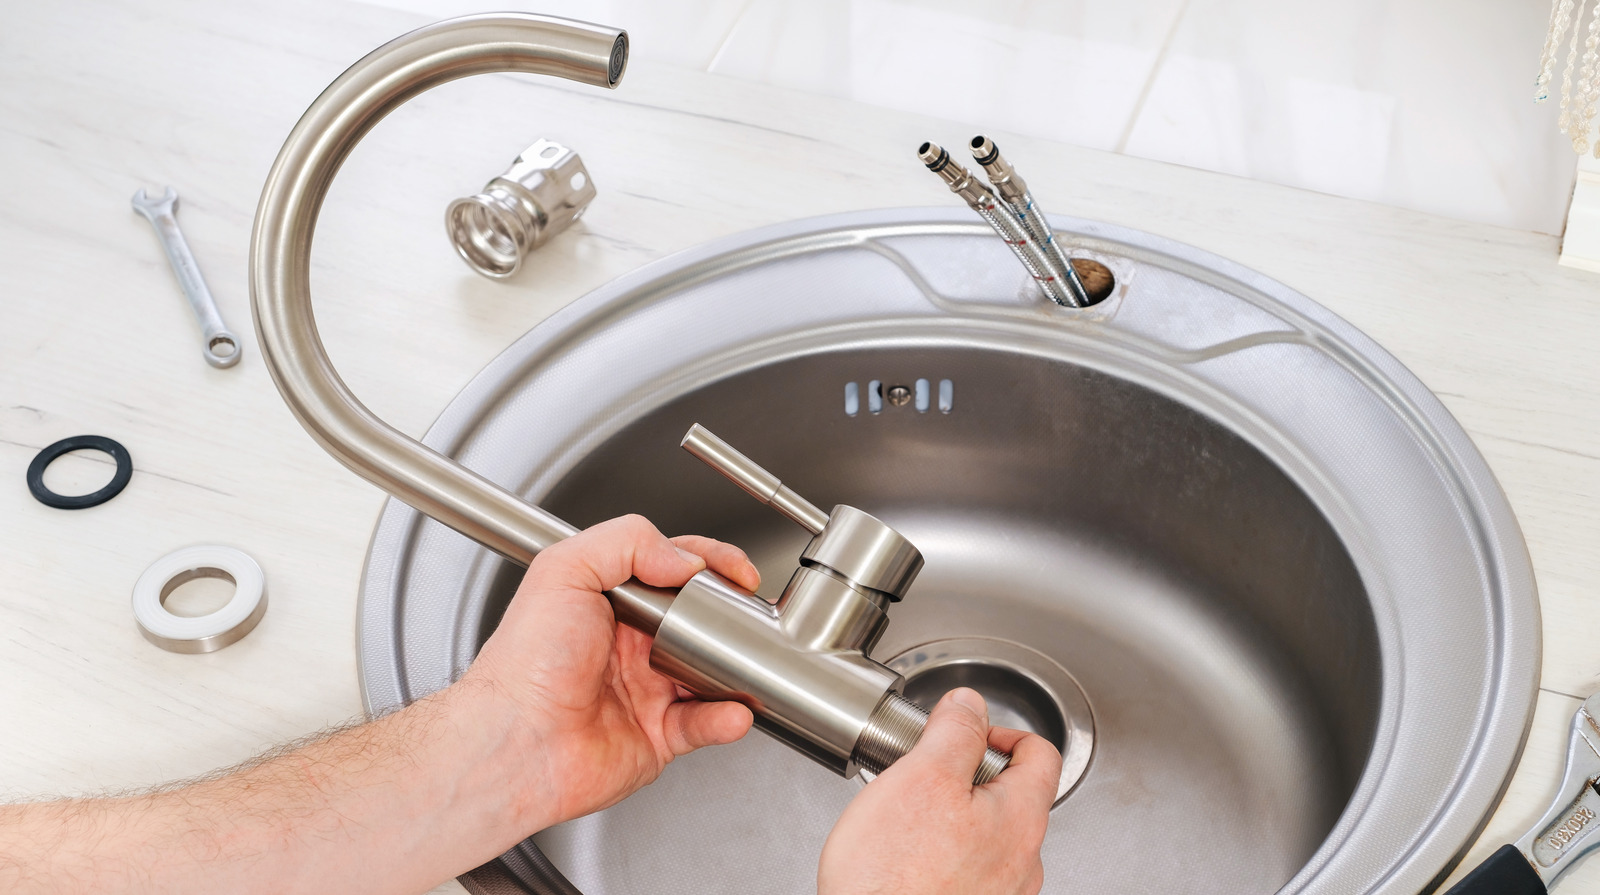
- Tighten the mounting hardware: From underneath the sink, use a basin wrench or an adjustable wrench to tighten the mounting hardware. Turn it clockwise to secure the faucet in place. Take care not to overtighten, as it can damage the mounting hardware or the sink.
- Connect the supply lines: Attach the supply lines to the corresponding hot and cold water shut-off valves underneath the sink. Use slip joint pliers or an adjustable wrench to tighten them securely. Use caution not to overtighten, as it can cause damage or leaks.
- Secure any additional components: If your new faucet has additional components such as a sprayer or soap dispenser, follow the manufacturer’s instructions to securely attach and connect them to the faucet.
Throughout the installation process, check for any leaks. Turn on the faucet and inspect the connections for any signs of water leakage. If you notice any leaks, tighten the connections further or reevaluate the placement of the components.
It’s important to note that different faucets may have varying installation methods. Always refer to the manufacturer’s instructions for specific guidance on installing your particular faucet model.
Once the new faucet is securely installed and there are no signs of leaks, you’re ready to move on to the next step: connecting the water supply lines.
Step 6: Connect the water supply lines
With the new faucet securely installed, it’s time to connect the water supply lines. Properly connecting the supply lines ensures a steady flow of water to the faucet. Follow these steps to connect the water supply lines:
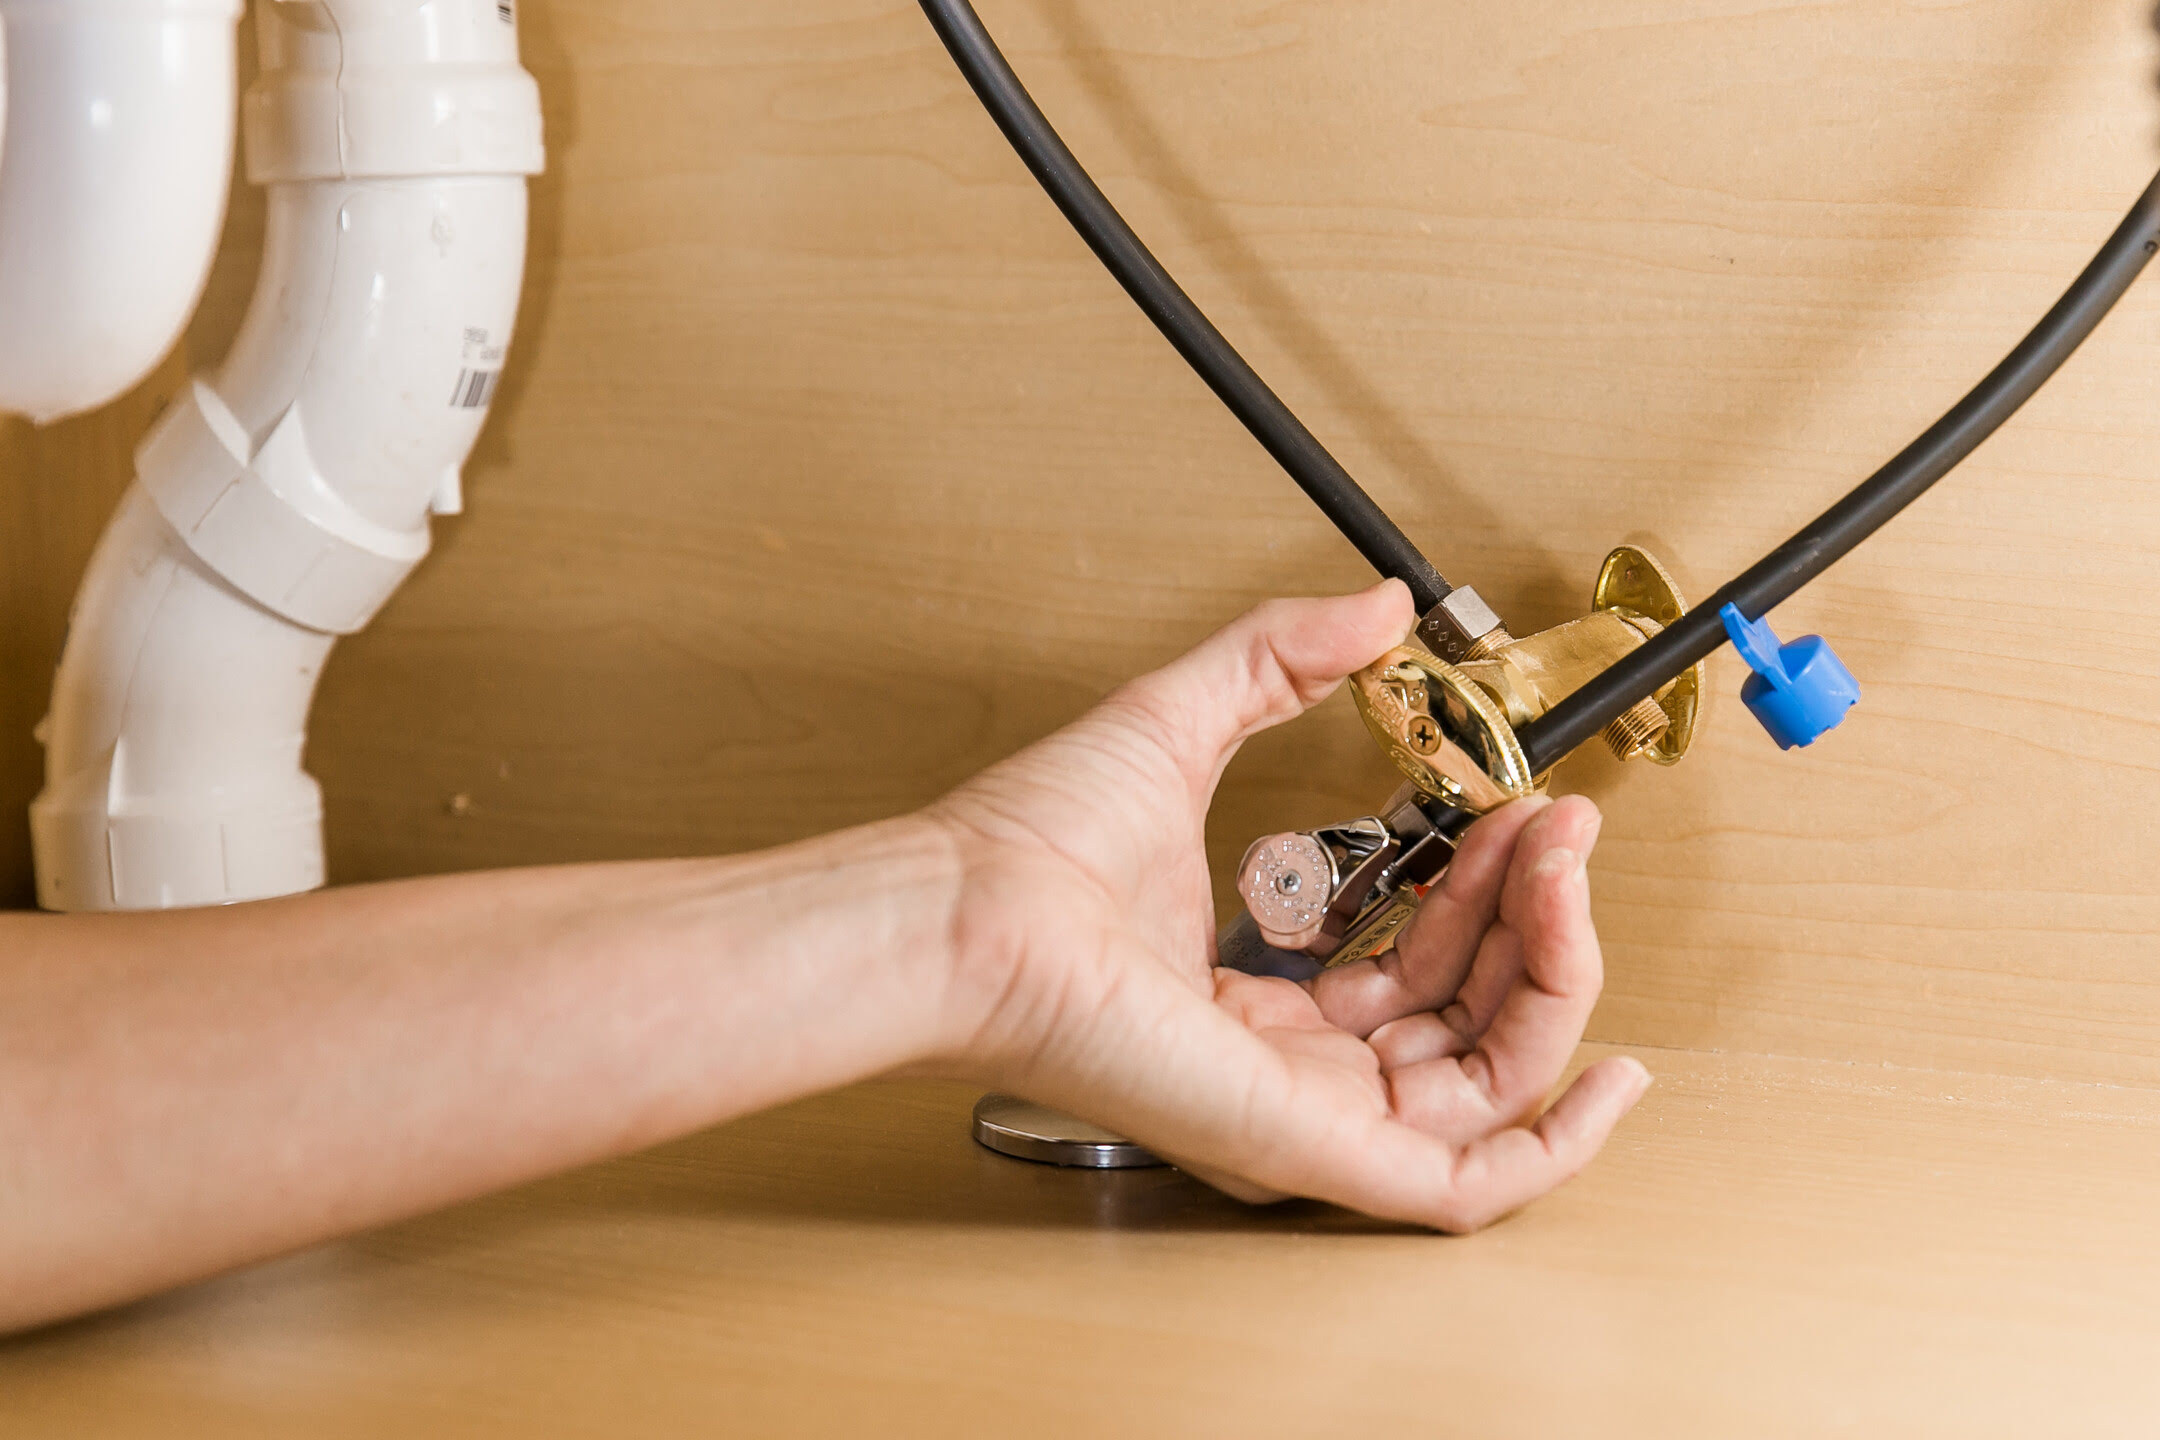
- Locate the supply line connections: The hot and cold water supply line connections are typically located underneath the sink. They are connected to the shut-off valves.
- Attach the supply lines: Take the supply lines connected to the new faucet and attach them to the corresponding hot and cold water shut-off valves. Ensure that the connections are tight and secure to prevent any leaks.
- Tighten the connections: Use slip joint pliers or an adjustable wrench to tighten the connections further. Be careful not to overtighten, as it can damage the connections or cause leaks.
- Turn on the water supply: Slowly turn on the water supply by opening the shut-off valves. Check for any leaks around the supply line connections. If you notice any leaks, tighten the connections further or reposition the supply lines.
It’s essential to check for leaks after connecting the water supply lines. Even a small leak can lead to water damage over time. Ensure that all connections are secure and tight, and there are no signs of water leakage.
If you have a sprayer or any other additional components, follow the manufacturer’s instructions to connect them to the appropriate water supply lines. Ensure that all connections are secure and functional.
Once the water supply lines are connected and there are no signs of leaks, you’re ready to move on to the next step: testing the new faucet.
Step 7: Test the new faucet
After successfully connecting the water supply lines, it’s crucial to test the new faucet to ensure it’s functioning correctly. Testing the faucet allows you to identify any issues or leaks and make any necessary adjustments. Follow these steps to test the new faucet:
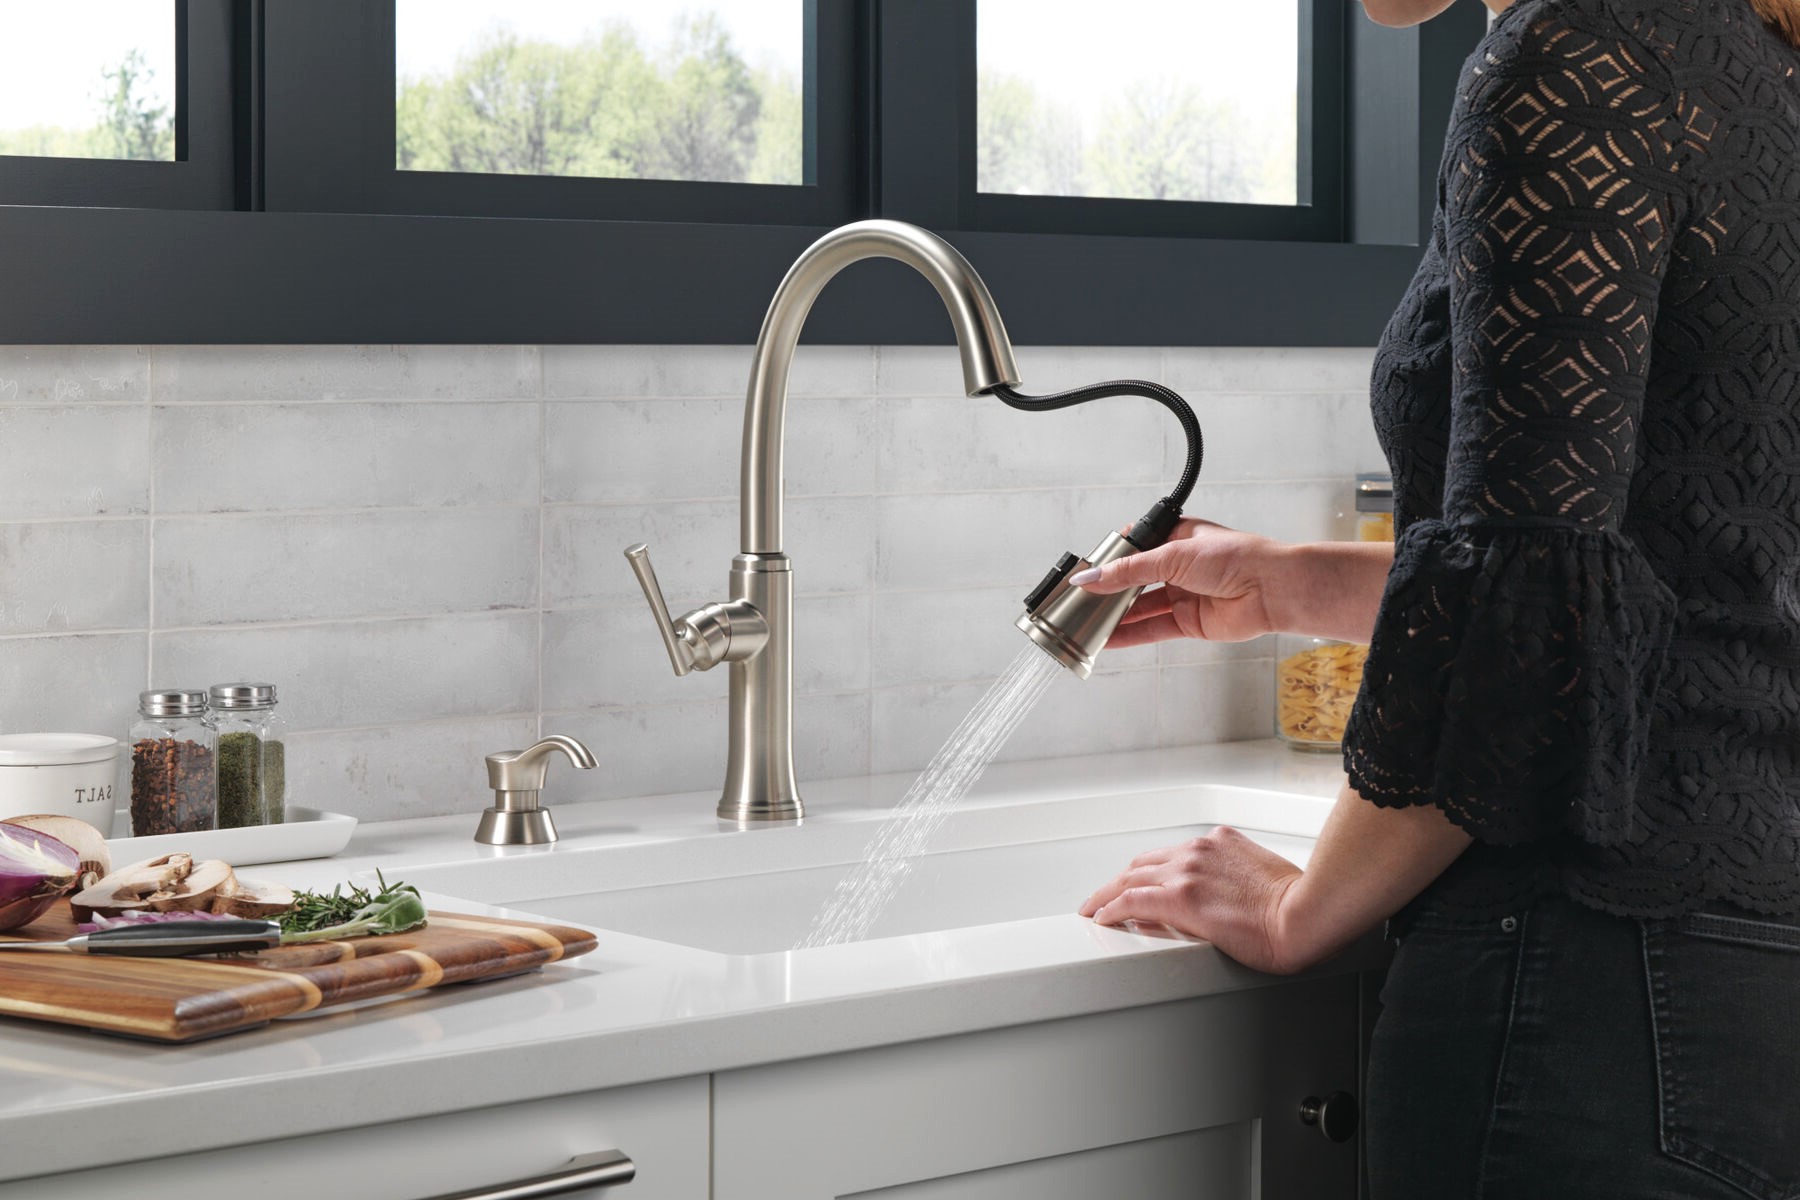
- Turn on the hot and cold water handles: Slowly turn on the hot and cold water handles to allow water to flow through the new faucet. Check for any irregularities, such as low water pressure or sputtering.
- Inspect for leaks: While the water is running, closely inspect the connections and areas around the faucet for any signs of water leakage. Use a towel or rag to catch any water that may drip during this testing phase.
- Check the water pressure: Take note of the water pressure coming from the faucet. Ensure that both the hot and cold water handles have equal water pressure. If there are any issues with the water pressure, you may need to adjust the shut-off valves or seek professional assistance.
- Test all components: If your new faucet has additional components such as a sprayer or soap dispenser, ensure that they are working properly. Test each component to ensure they are functioning as intended.
If you encounter any issues or notice leaks during the testing phase, promptly address them. Tighten any loose connections and reposition any components if needed. If the issues persist, you may need to seek professional help or consult the manufacturer for troubleshooting assistance.
It’s important to thoroughly test the new faucet to ensure its optimal functionality. By addressing any issues early on, you can prevent further complications and enjoy a fully functional kitchen sink faucet.
Once you’ve tested and confirmed that the new faucet is working properly without any leaks or issues, you’re ready to move on to the final step: cleaning up and additional maintenance tips.
Step 8: Clean up and maintenance tips
After successfully installing and testing your new kitchen sink faucet, it’s time to clean up and learn some maintenance tips to keep it in optimal condition. Follow these steps for cleaning up and maintaining your faucet:
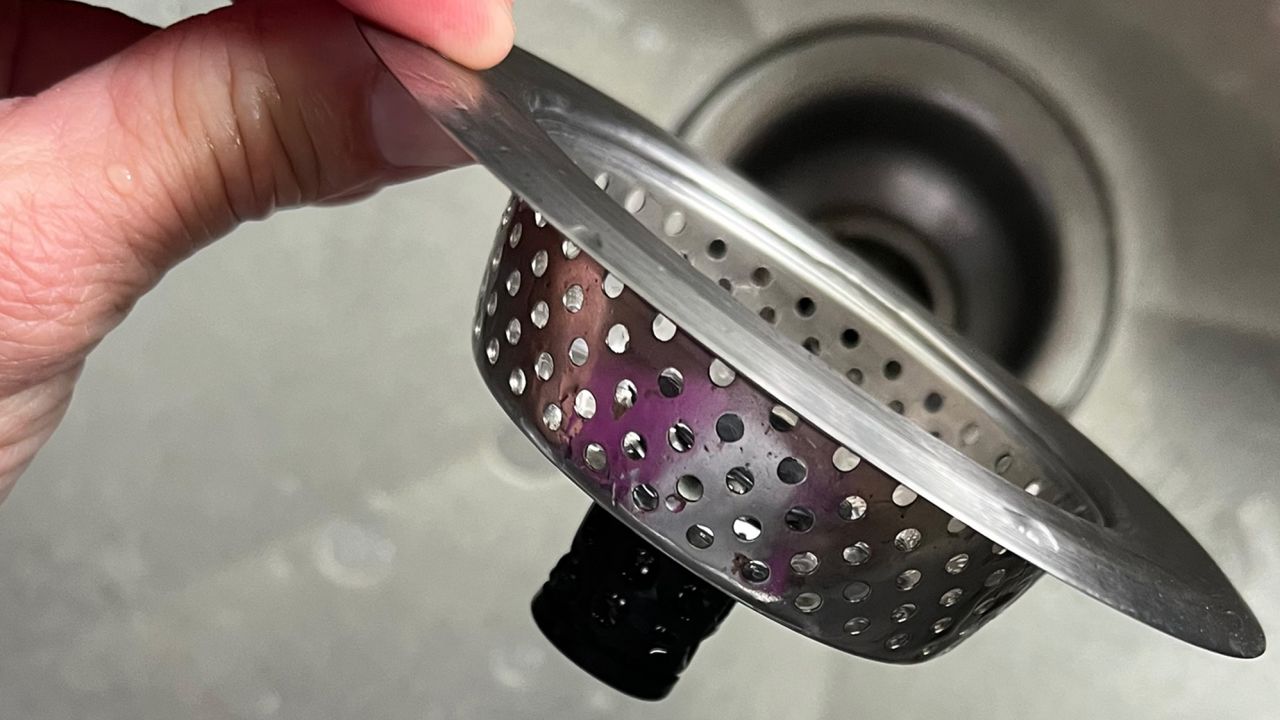
- Clean up any debris: Remove any towels, rags, or containers used during the installation process. Clean up any water spills or debris around the sink area.
- Wipe down the faucet: Use a damp cloth or sponge to wipe down the entire faucet, removing any fingerprints or dirt that may have accumulated during the installation process. Dry the faucet thoroughly with a clean, dry cloth to prevent water spots.
- Maintain regular cleaning: Regularly clean your faucet to prevent the buildup of grime and mineral deposits. Use mild soap and water with a soft cloth to gently clean the faucet. Avoid abrasive cleaners or scrub brushes, as they can damage the faucet’s finish.
- Prevent water spots: To prevent water spots, wipe down the faucet after each use with a clean, dry cloth. This will help maintain the shine and appearance of the faucet.
- Check for leaks: Periodically inspect the faucet and connections for any signs of leaks. If you notice any leaks, promptly address them by tightening the connections or seeking professional assistance if needed.
- Replace worn-out parts: Over time, certain parts of the faucet, such as washers or O-rings, may wear out. If you experience any leaks or issues with the faucet, consider replacing these worn-out parts to ensure proper functionality.
By keeping your kitchen sink faucet clean and properly maintained, you can extend its lifespan and keep it functioning smoothly. Regular inspections and timely repairs prevent any potential water damage or costly repairs in the future.
Now that you’ve completed the installation, testing, and maintenance steps, you can enjoy your new kitchen sink faucet. Sit back, relax, and appreciate the functionality and visual appeal it brings to your kitchen!
Remember, if you ever feel unsure or overwhelmed during the installation process, it’s always best to consult a professional plumber for guidance and assistance.
Conclusion
Replacing a kitchen sink faucet may seem like a daunting task, but with the right tools, materials, and step-by-step guidance, it can be a manageable and rewarding DIY project. By following the steps outlined in this comprehensive guide, you can successfully replace your kitchen sink faucet and enjoy a functional and visually appealing upgrade.
Throughout the process, it’s important to gather all the necessary tools and materials, turn off the water supply, disconnect the old faucet, and prepare the new one for installation. Installing the new faucet requires careful alignment, securing of mounting hardware, and proper connection of water supply lines.
After the installation, it’s essential to test the new faucet for proper functionality and inspect for any leaks. Regular maintenance, such as cleaning and checking for worn-out parts, helps to keep your faucet in optimal condition and prevent future issues.
Remember, if you ever feel unsure or encounter any challenges during the installation process, it’s wise to consult a professional plumber for assistance. They have the expertise and experience to ensure a successful installation and address any unforeseen complications.
With a new kitchen sink faucet installed, you can enjoy improved functionality, enhanced aesthetics, and a refreshed look in your kitchen. So, don’t hesitate to embark on this project and give your kitchen a well-deserved upgrade!
Frequently Asked Questions about How To Replace A Kitchen Sink Faucet
Was this page helpful?
At Storables.com, we guarantee accurate and reliable information. Our content, validated by Expert Board Contributors, is crafted following stringent Editorial Policies. We're committed to providing you with well-researched, expert-backed insights for all your informational needs.


0 thoughts on “How To Replace A Kitchen Sink Faucet”