Articles
How To Replace A Porch Roof
Modified: August 22, 2024
Learn how to replace a porch roof with our informative articles. Gain valuable knowledge and tips on tackling this home improvement project.
(Many of the links in this article redirect to a specific reviewed product. Your purchase of these products through affiliate links helps to generate commission for Storables.com, at no extra cost. Learn more)
Introduction
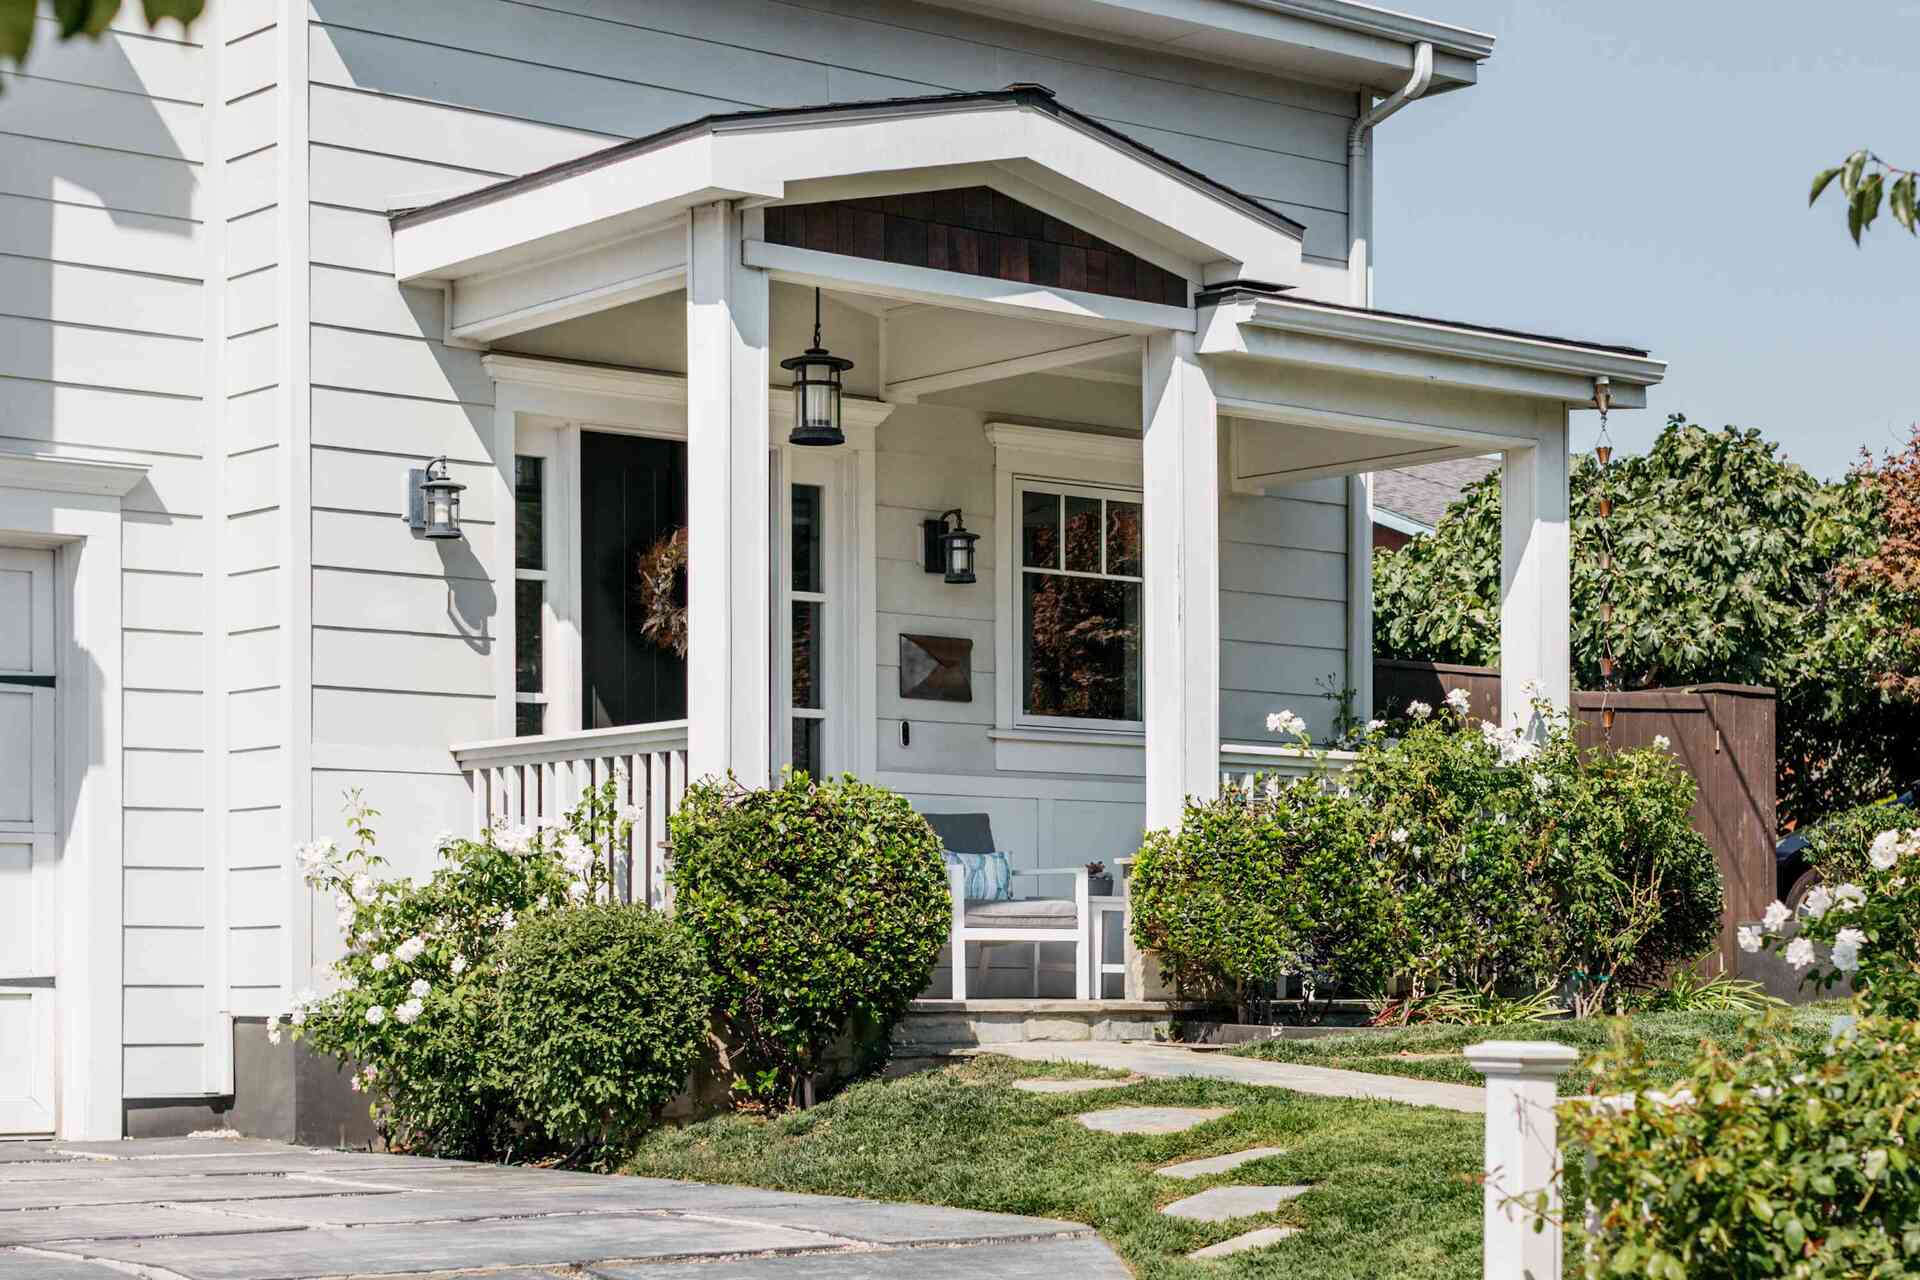
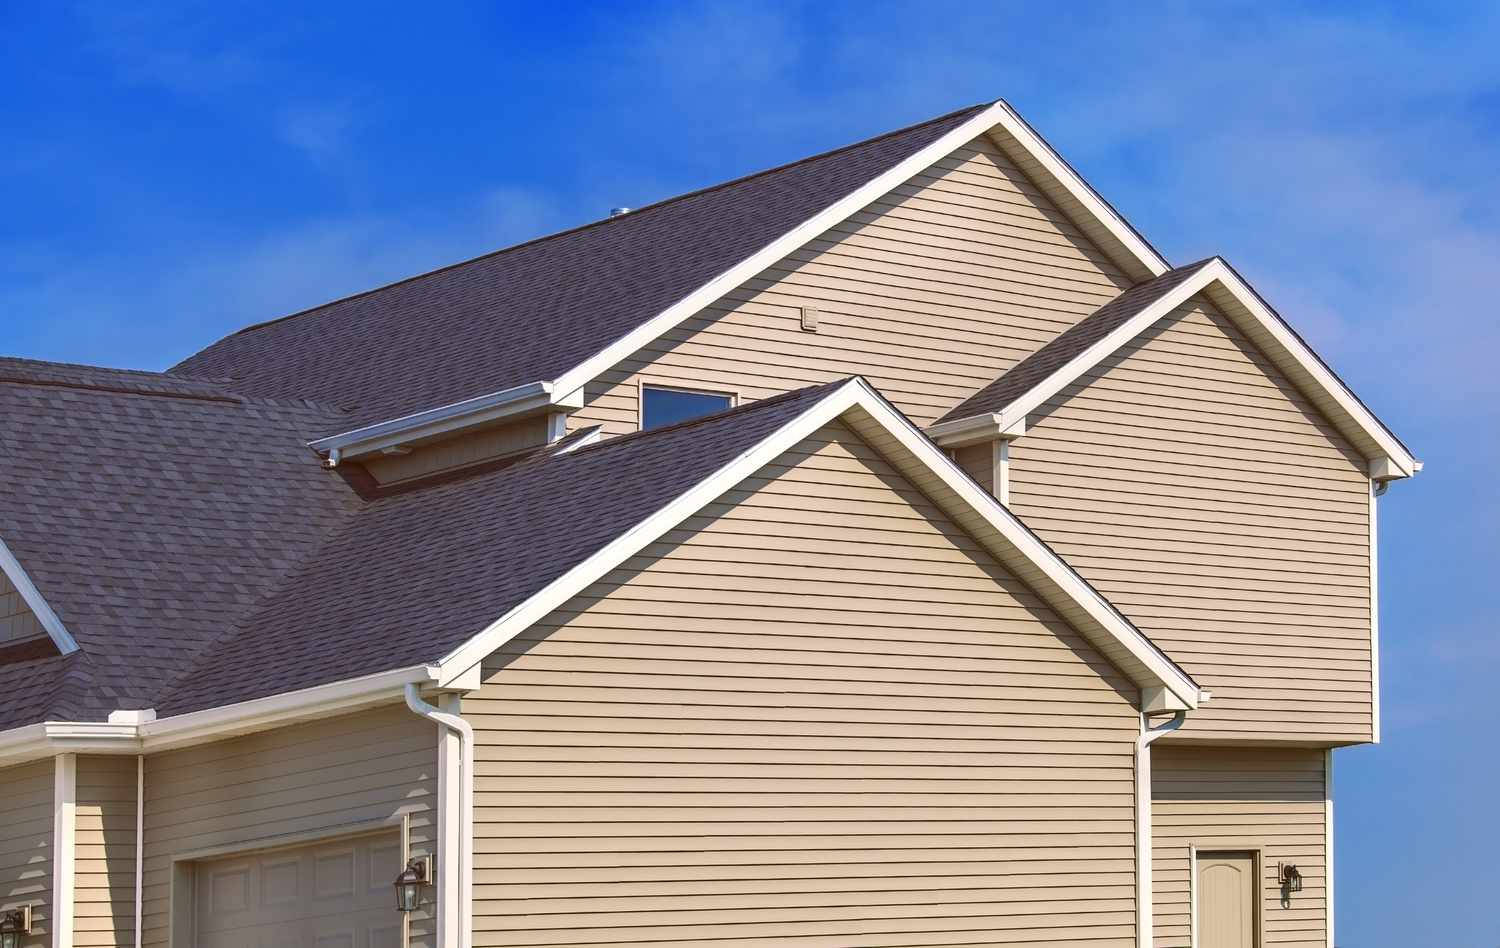
Welcome to our comprehensive guide on how to replace a porch roof. Over time, porch roofs can deteriorate due to exposure to the elements, causing leaks and compromising the overall integrity of your porch. Replacing your porch roof not only improves its functionality but also enhances the aesthetic appeal of your outdoor space. Whether you are a seasoned DIY enthusiast or a beginner, this step-by-step guide will provide you with the knowledge and confidence to successfully replace your porch roof.
Before we dive into the details, it’s essential to mention that safety should always be your top priority when undertaking any roofing project. Make sure to use appropriate personal protective equipment (PPE), such as goggles, gloves, and a construction-grade helmet. Additionally, consider enlisting the help of a professional if you are uncomfortable working at heights or if your porch roof replacement requires extensive structural repairs.
Now, let’s get started on this exciting journey of replacing your porch roof!
Key Takeaways:
- Prioritize safety, proper preparation, and attention to detail when replacing a porch roof. From clearing the work area to installing new materials, each step contributes to a successful and visually appealing outcome.
- Replacing a porch roof is a manageable project with the right knowledge and preparation. By following the comprehensive guide, you can enhance the functionality, durability, and aesthetic appeal of your outdoor space.
Read more: How To Frame Porch Roof
Step 1: Prepare the Work Area
Before you begin the process of replacing your porch roof, it’s crucial to ensure that the work area is properly prepared. Taking the time to set up the work area correctly will make the entire project more efficient and safe.
Here are the steps to prepare the work area:
- Clear the porch: Remove any furniture, potted plants, or other items from the porch to create a clean, open space for the roof replacement. You don’t want anything obstructing your work or potentially getting damaged during the process.
- Protect surrounding areas: If there are any windows, doors, or delicate landscaping near the porch, cover them with protective materials like drop cloths or plastic sheets. This will prevent any debris or materials from causing damage during the roof replacement.
- Set up ladders and scaffolding: Depending on the size of your porch and the accessibility of the roof, you’ll need to set up ladders or scaffolding to safely reach the working area. Ensure that the ladders or scaffolding are set up on stable ground and are secured properly.
- Observe safety precautions: As mentioned earlier, safety is paramount. Make sure to wear appropriate safety gear, including a hard hat, safety goggles, work gloves, and non-slip footwear. If you’re planning to use power tools, familiarize yourself with their safe operation and take necessary precautions.
By properly preparing the work area, you’ll create a safer and more organized environment for the porch roof replacement. This will help you work efficiently and reduce the risk of any accidents or damage occurring during the process.
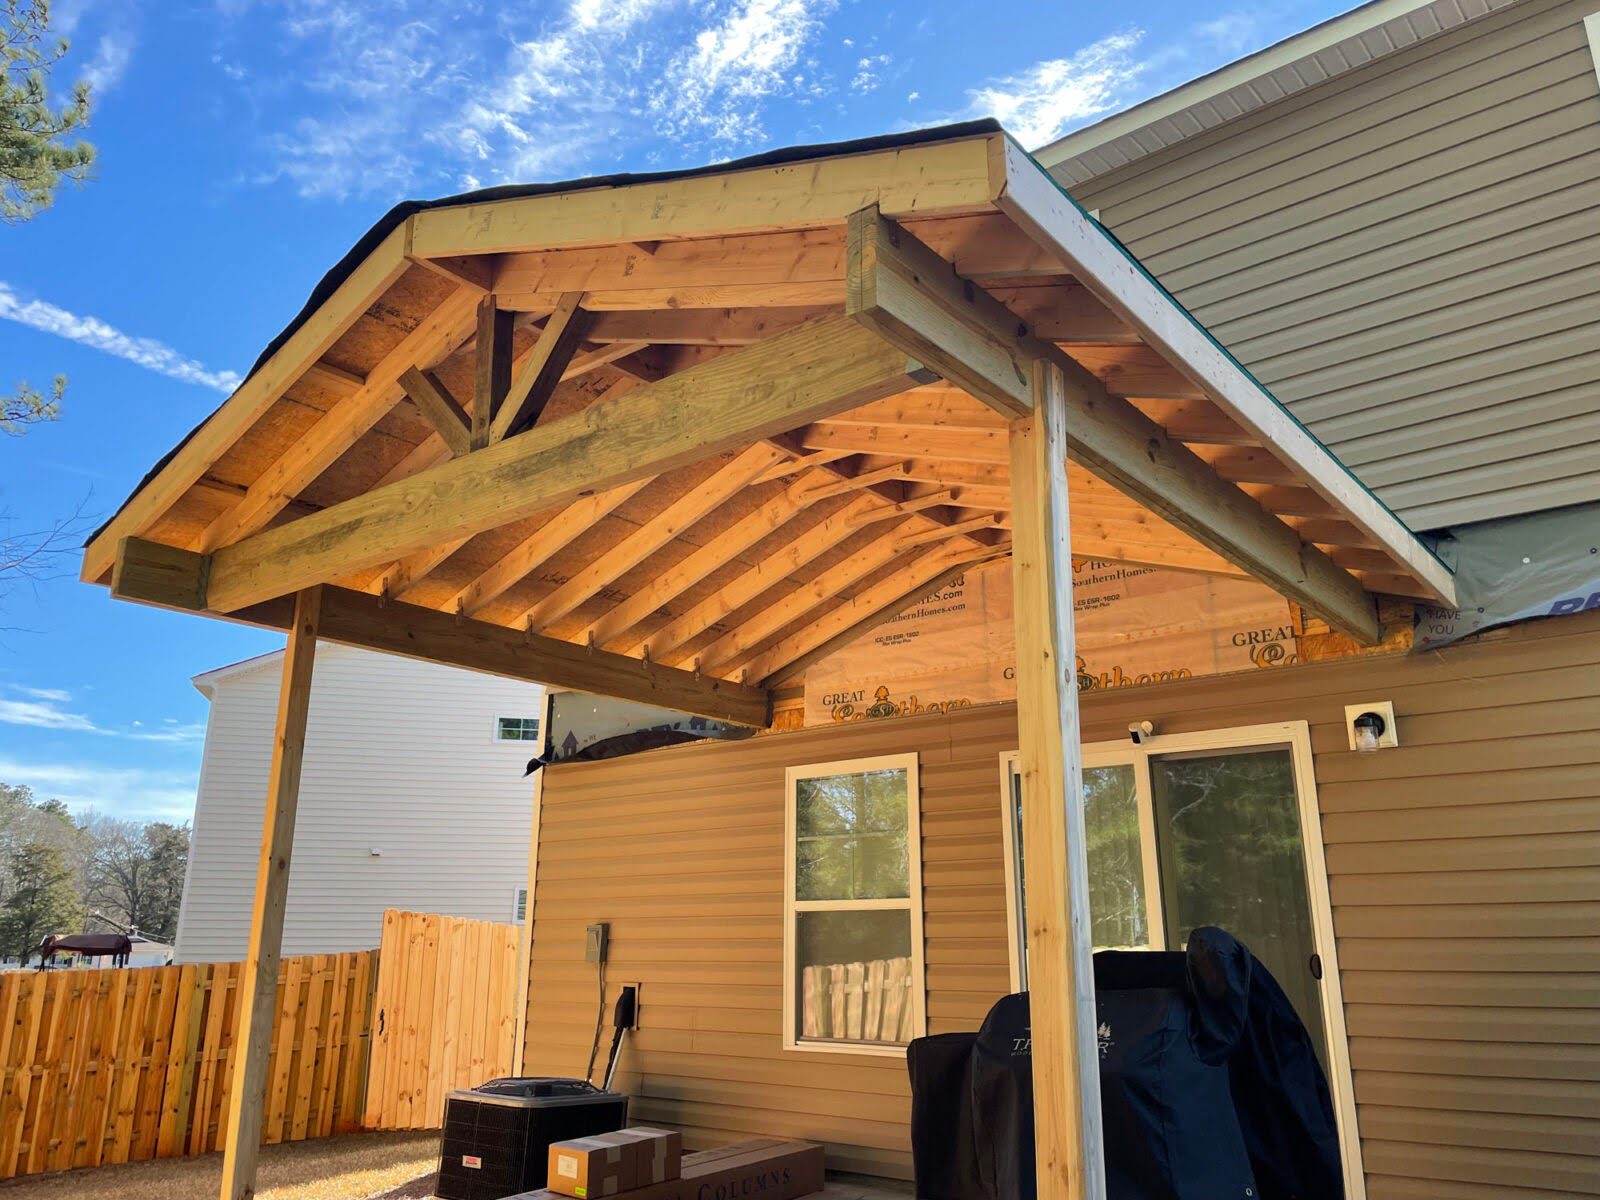
Step 2: Remove the Old Porch Roof
Now that your work area is prepared, it’s time to tackle the removal of the old porch roof. This step involves carefully taking apart the existing roofing materials and ensuring a clean slate for the installation of the new roof.
Here’s how to remove the old porch roof:
- Begin with the shingles: Starting at the topmost point of the roof, use a roofing shovel or pry bar to carefully lift and remove the shingles. Work your way down the roof, taking care to remove any nails or staples that may be holding the shingles in place. Dispose of the old shingles responsibly.
- Remove the underlayment: Once the shingles have been removed, you’ll typically find a layer of underlayment, such as roofing felt or synthetic material. Use a utility knife or a roofing scraper to cut and remove the underlayment, exposing the bare roof deck.
- Inspect for any damage: As you remove the old porch roof, take the opportunity to inspect the roof deck for any signs of damage or deterioration. Look for rot, sagging, or weakened areas. If you notice any issues, make note of them for repair or replacement later in the process.
- Remove flashing and trim: Next, focus on removing any flashing or trim pieces that were installed along the edges or penetrations of the old roof. Use a pry bar or a similar tool to carefully detach these elements and set them aside for later assessment.
- Clear away debris: Throughout the removal process, be sure to keep the work area clean by periodically sweeping or removing any debris and discarded roofing materials. This will help maintain a safe working environment and prevent any potential damage to the porch or surroundings.
Removing the old porch roof may require some effort and patience, but it’s a crucial step in ensuring a successful replacement. By taking your time and being careful during this phase, you’ll set the stage for a smooth installation of the new roof.
Step 3: Inspect and Repair the Roof Deck
After removing the old porch roof, it’s essential to thoroughly inspect the roof deck for any damage or issues that need to be addressed before proceeding with the installation of the new roof. This step ensures that the foundation of your porch roof is solid and will provide a secure base for the new materials.
Follow these steps to inspect and repair the roof deck:
- Check for rot or decay: Carefully examine the entire roof deck for any signs of rot or decay. Pay close attention to areas where water may have accumulated or where the old roofing materials were compromised. If you spot any rot or decay, it’s crucial to address it before proceeding. Remove any compromised sections of the roof deck and replace them with new, sturdy materials.
- Inspect for structural issues: Look for any signs of sagging or weakened areas in the roof deck. These issues can compromise the stability and integrity of the porch roof. If you detect any structural problems, consult with a professional to determine the best course of action for repair or reinforcement.
- Secure loose or damaged sections: Tighten any loose sections of the roof deck using appropriate fasteners, such as nails or screws. Replace any damaged sections that are beyond repair. Make sure that the roof deck surface is stable, level, and free of any protruding nails or screws that could interfere with the installation of the new roofing materials.
- Address ventilation and insulation: While inspecting the roof deck, consider the ventilation and insulation of your porch area. Proper ventilation helps prevent moisture buildup and prolongs the lifespan of the new roof. Ensure that the ventilation system is in good condition, and if needed, install or replace vents. Additionally, assess the insulation to ensure it meets current energy efficiency standards.
By thoroughly inspecting and repairing the roof deck, you will ensure that the foundation of your porch roof is strong and durable. This step is crucial for the longevity and performance of the new roof, so take the time to address any issues before moving on to the next steps.
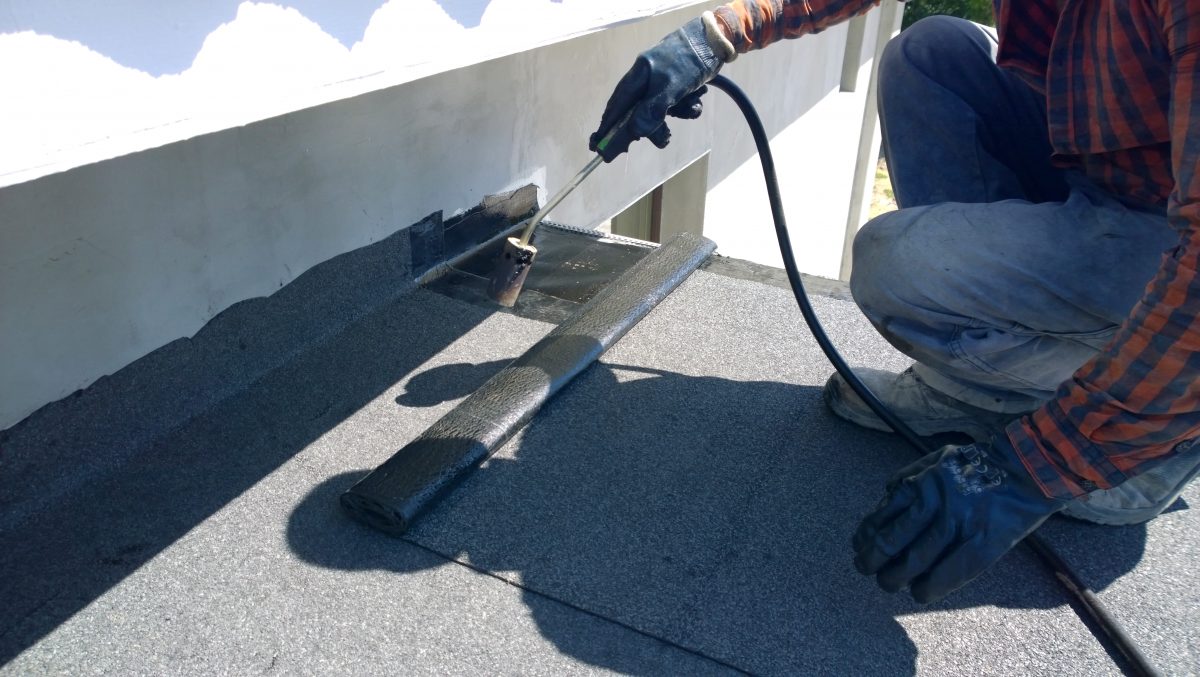
Step 4: Install New Flashing
Flashings play a crucial role in preventing water from penetrating the vulnerable areas of your porch roof, such as joints, valleys, and transitions. As part of the roof replacement process, it is important to install new flashings to ensure proper waterproofing and protect your porch from potential leaks.
Follow these steps to install new flashings:
- Measure and cut the flashing material: Start by measuring the lengths of the areas where flashing is needed, such as along roof edges, chimneys, and vents. Use a sheet metal cutter or tin snips to cut the flashing material to the appropriate size. Remember to add a few inches to each end to account for overlapping.
- Clean the surface: Before installing the new flashing, make sure the surface is clean and free from any debris or old caulking. Use a wire brush or a scraper to remove any remnants of the previous flashing or sealants.
- Apply roofing cement: Apply a layer of roofing cement to the surface where the flashing will be installed. This will help create a secure bond and provide additional waterproofing. Use a putty knife or trowel to evenly spread the cement along the designated areas.
- Secure the flashing: Position the flashing over the designated area and press it firmly onto the roofing cement. Use roofing nails or screws to secure the flashing in place. Be sure to properly space the fasteners to ensure the flashing remains secure and tight against the roof deck.
- Overlap the flashing: When installing multiple sections of flashing, be sure to overlap them properly. This will create a continuous barrier against water infiltration. For horizontal flashing, overlap each section by at least 4 inches. For vertical flashing, overlap by at least 6 inches.
- Seal the joints: To further enhance the waterproofing, seal the joints and edges of the flashing with roofing sealant or caulking. This will ensure no water can seep through any potential gaps or openings.
- Inspect and test: Once all the flashings are installed, take the time to inspect the area for any gaps, unevenness, or loose sections. Test the flashing by spraying water on the roof, observing if it properly channels the water away from vulnerable areas and into the gutter system.
Properly installing new flashings is crucial for the long-term protection of your porch roof. By taking the time to ensure the flashings are correctly installed and sealed, you can minimize the risk of leakage and water damage to your porch and home.
When replacing a porch roof, make sure to properly measure and cut the new roofing materials to ensure a precise fit and prevent any water leakage.
Read more: How To Extend Porch Roof
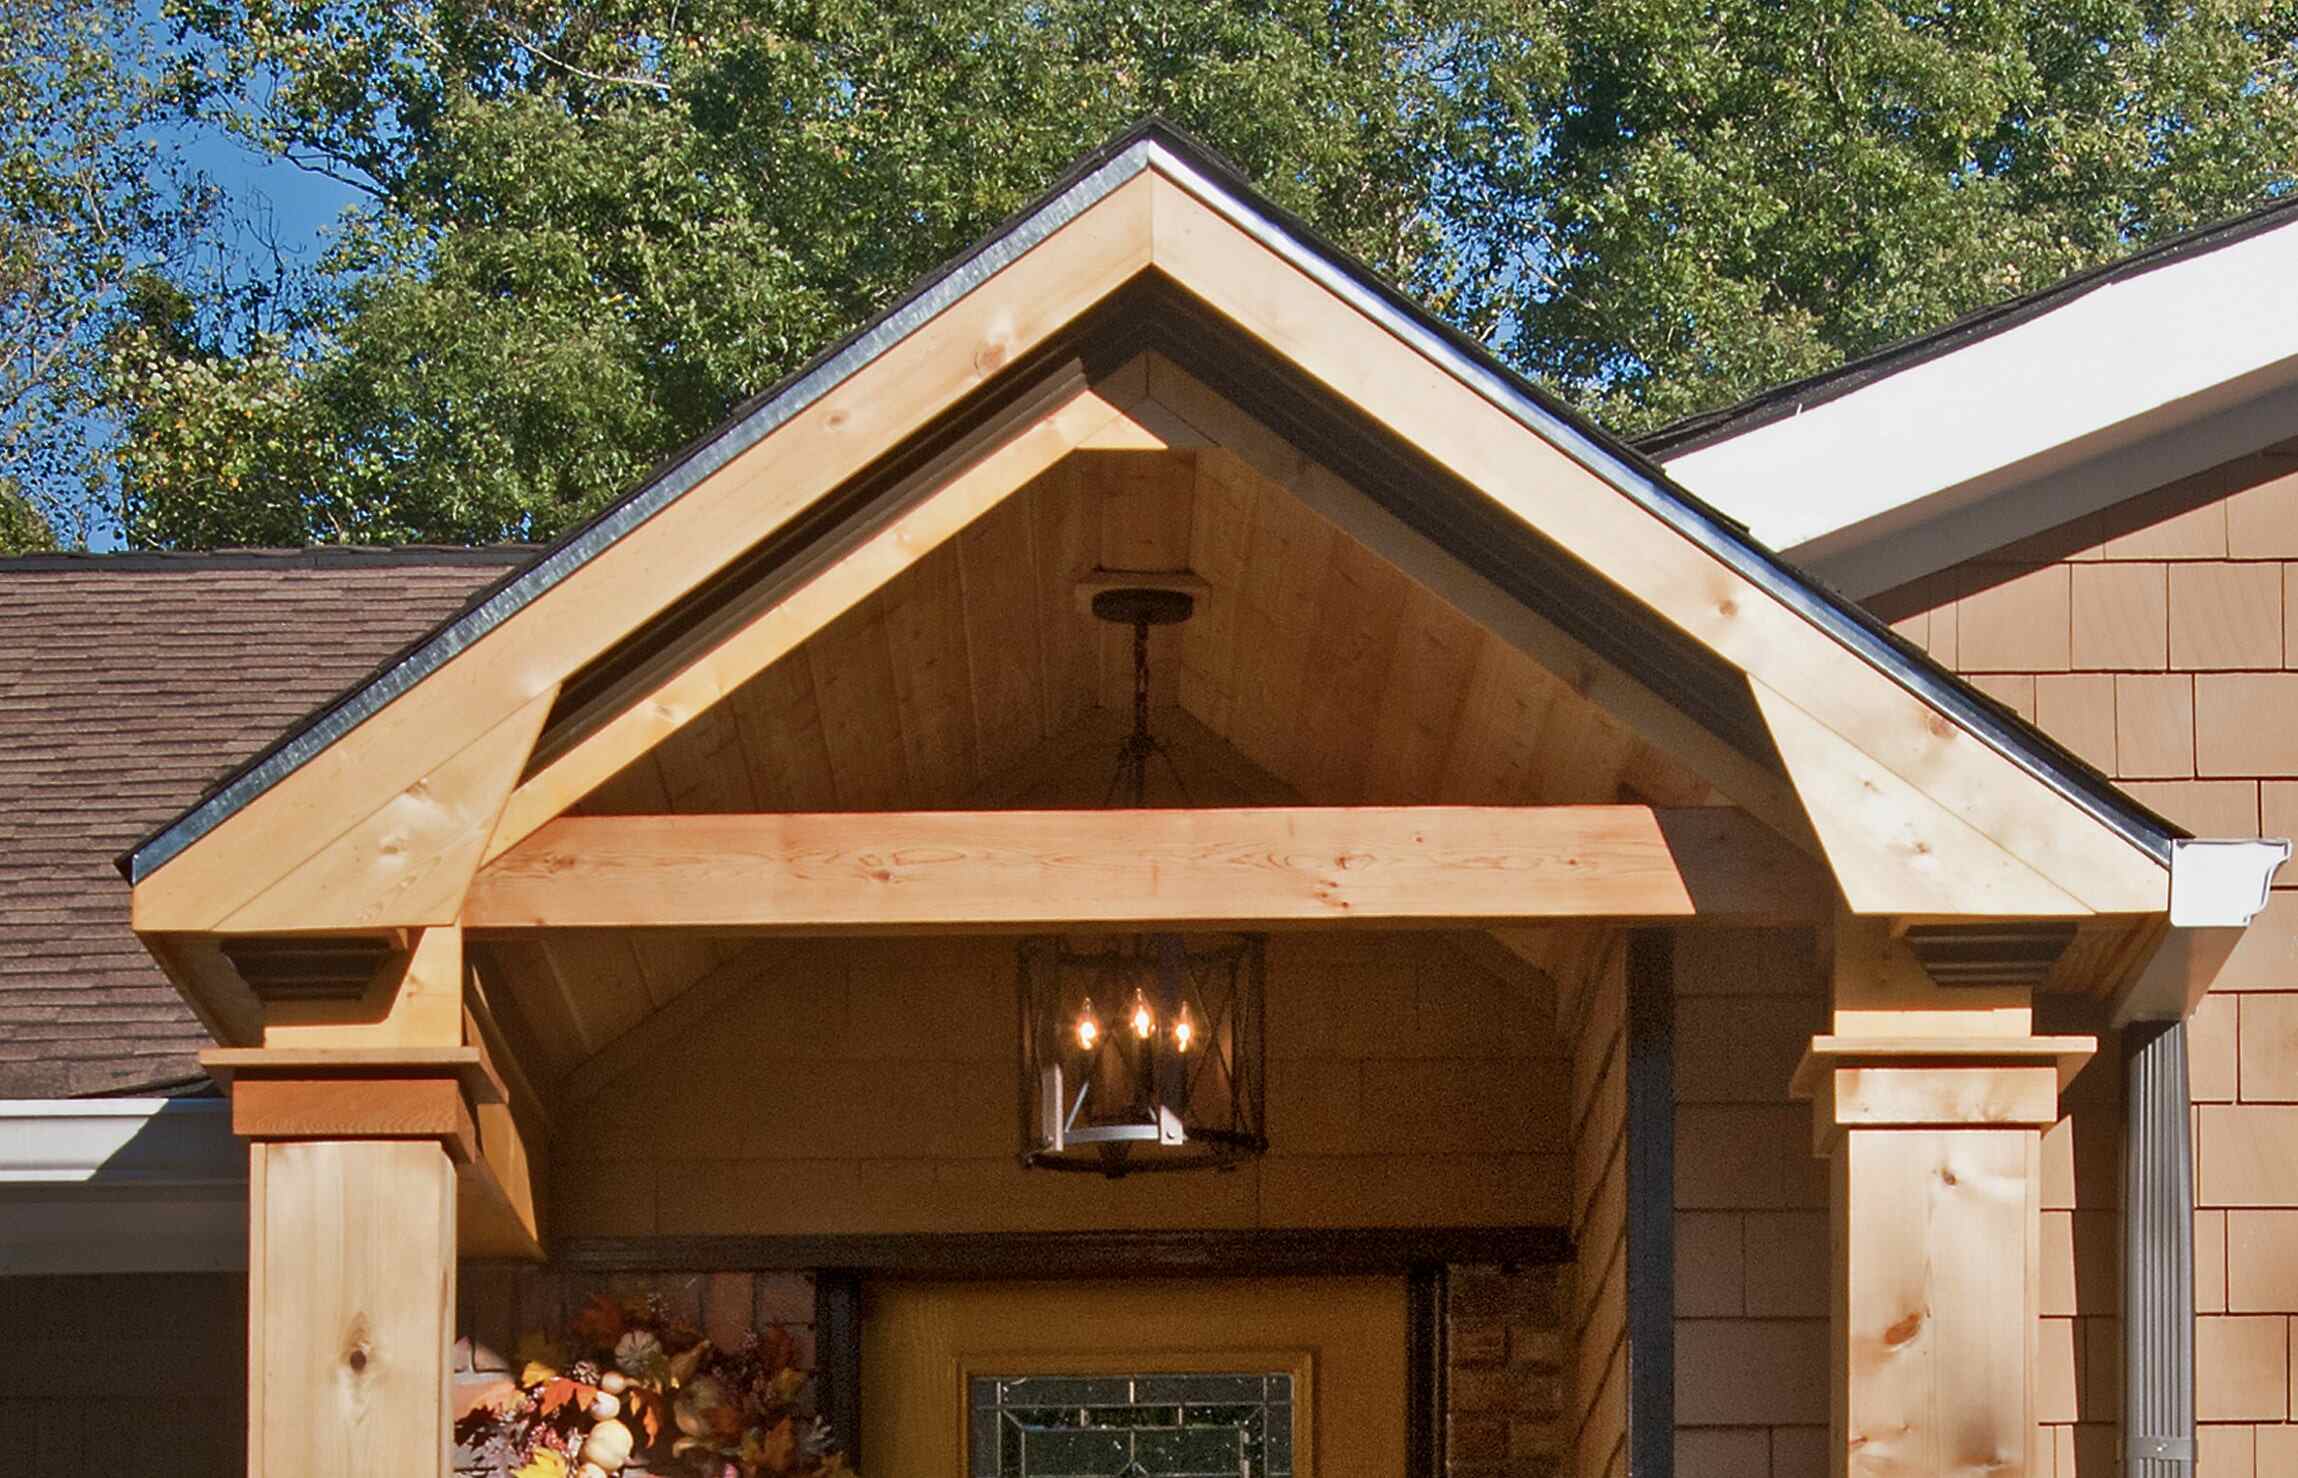
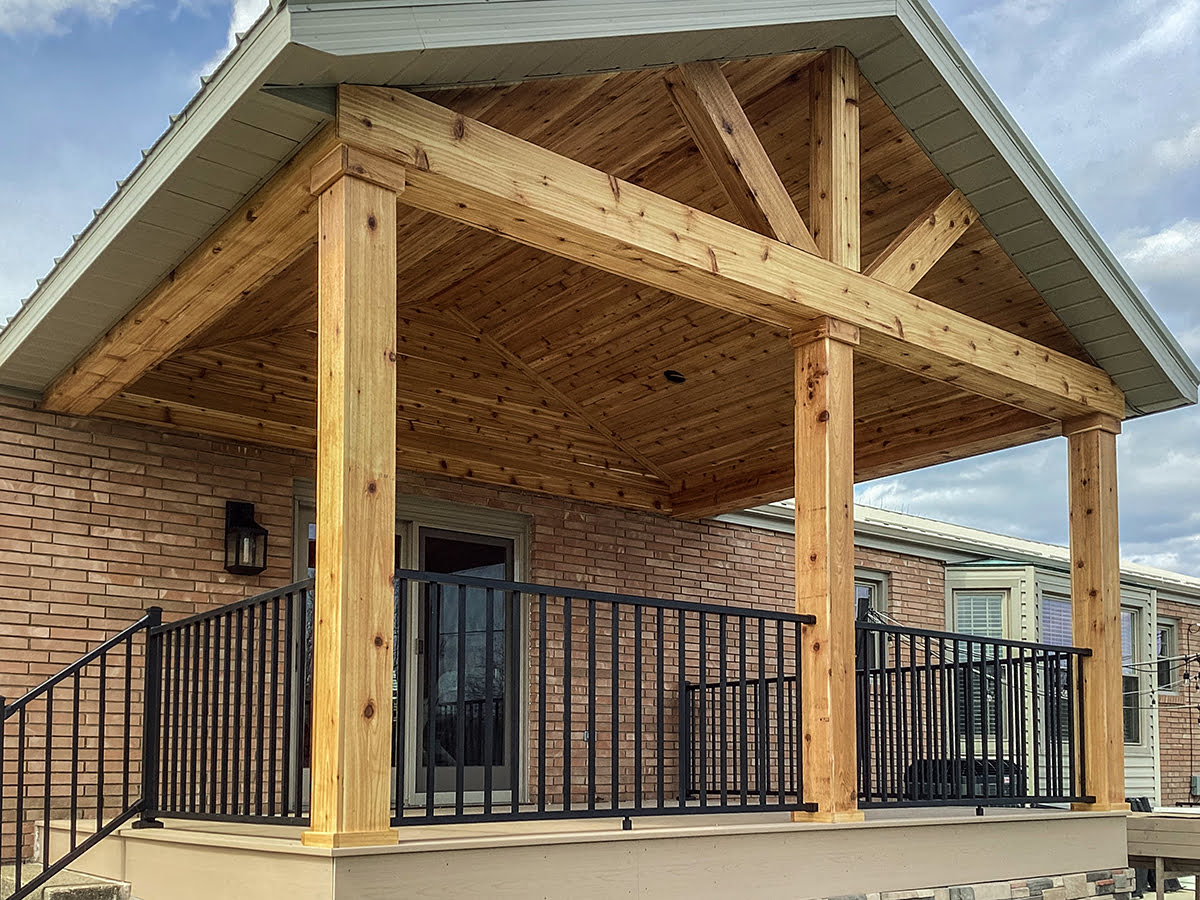
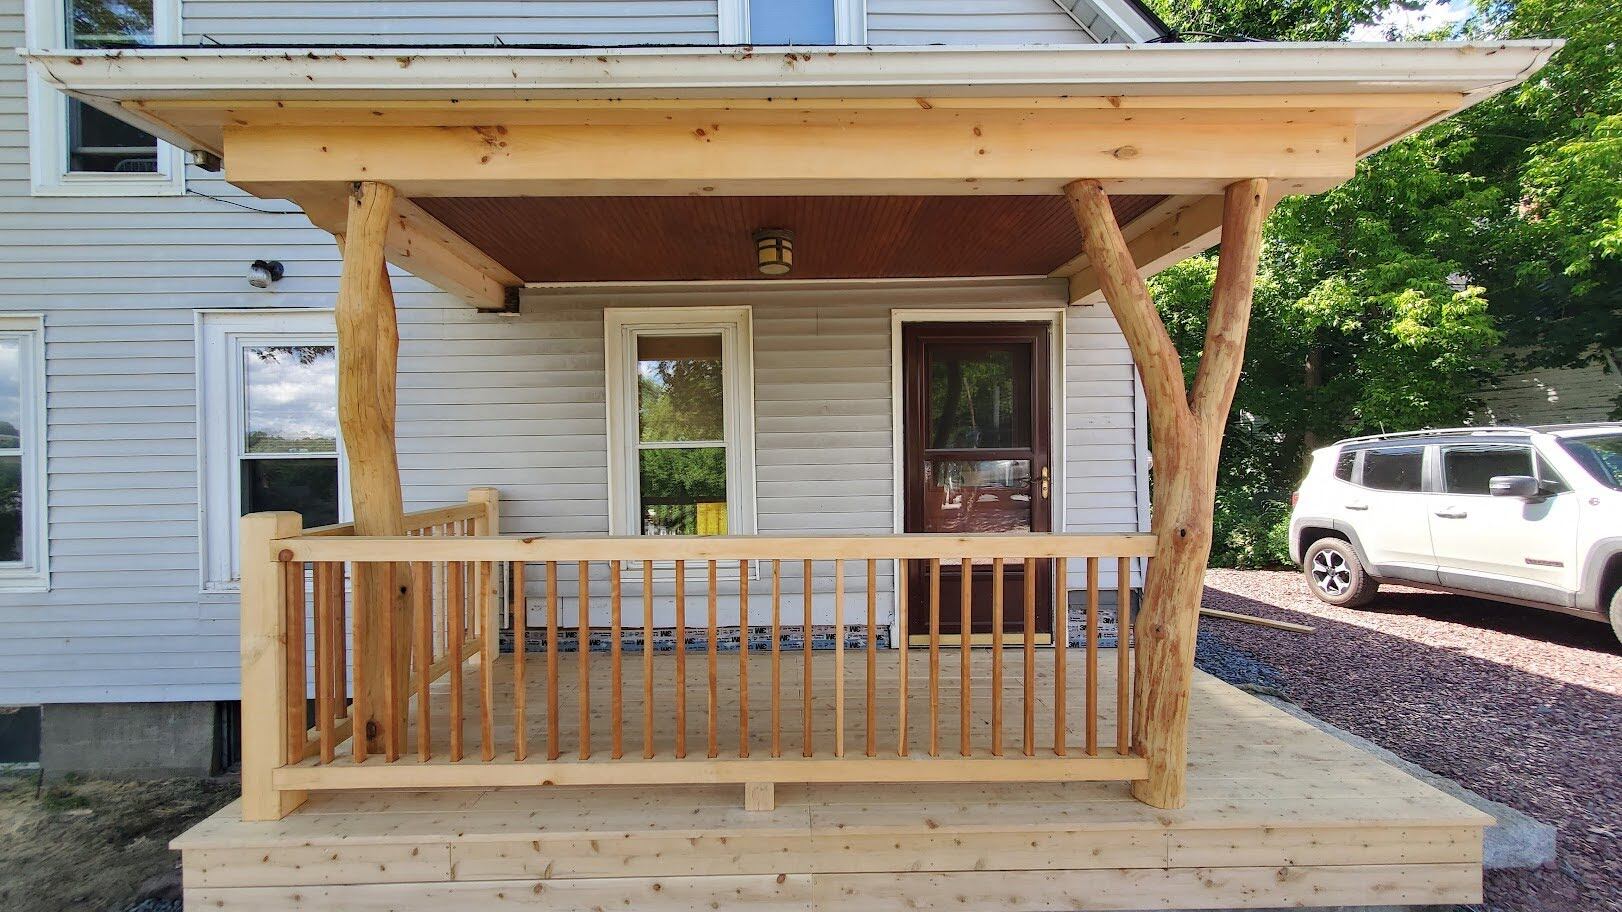
Step 5: Install the New Porch Roofing Material
With the preparatory steps complete, it’s time to install the new porch roofing material. The type of material you choose will depend on your personal preference, budget, and the overall style of your home. Options include asphalt shingles, metal roofing, cedar shakes, and more.
Follow these steps to install the new porch roofing material:
- Start at the bottom: Begin installing the roofing material at the bottom of the roof and work your way up. This will ensure that each layer overlaps the previous one, providing proper water drainage. Use roofing nails or screws to secure each piece in place, following the manufacturer’s guidelines for spacing and placement.
- Align and level each row: Ensure that each row of roofing material is aligned and level. Use a chalk line or a laser level to guide you in keeping the rows straight as you go. This will result in a neat and professional-looking finished roof.
- Cut and trim as needed: As you reach the edges or corners of the porch roof, you may need to cut and trim the roofing material to fit properly. Use a sharp utility knife or tin snips to make precise cuts. Take your time to achieve clean, accurate cuts to maintain the integrity of the roof.
- Apply ridge vents or vents as necessary: If your porch roofing design requires ventilation, such as ridge vents or other types of vents, now is the time to install them. Follow the manufacturer’s instructions to properly position and secure the vents to ensure optimal airflow.
- Inspect for any imperfections: Once the roofing material is installed, take a step back to inspect the entire porch roof. Look for any visible imperfections, such as uneven rows, loose shingles, or gaps in the coverage. Address any issues promptly to ensure a durable and visually appealing result.
- Clean up debris: Throughout the installation process, be sure to clean up any debris that accumulates on the porch roof or in the surrounding area. This will prevent potential damage to the new roofing material and maintain a clean and safe work environment.
Installing the new porch roofing material requires attention to detail and precision. Take your time and follow the manufacturer’s guidelines to ensure a properly installed and long-lasting roof that adds beauty and protection to your porch.
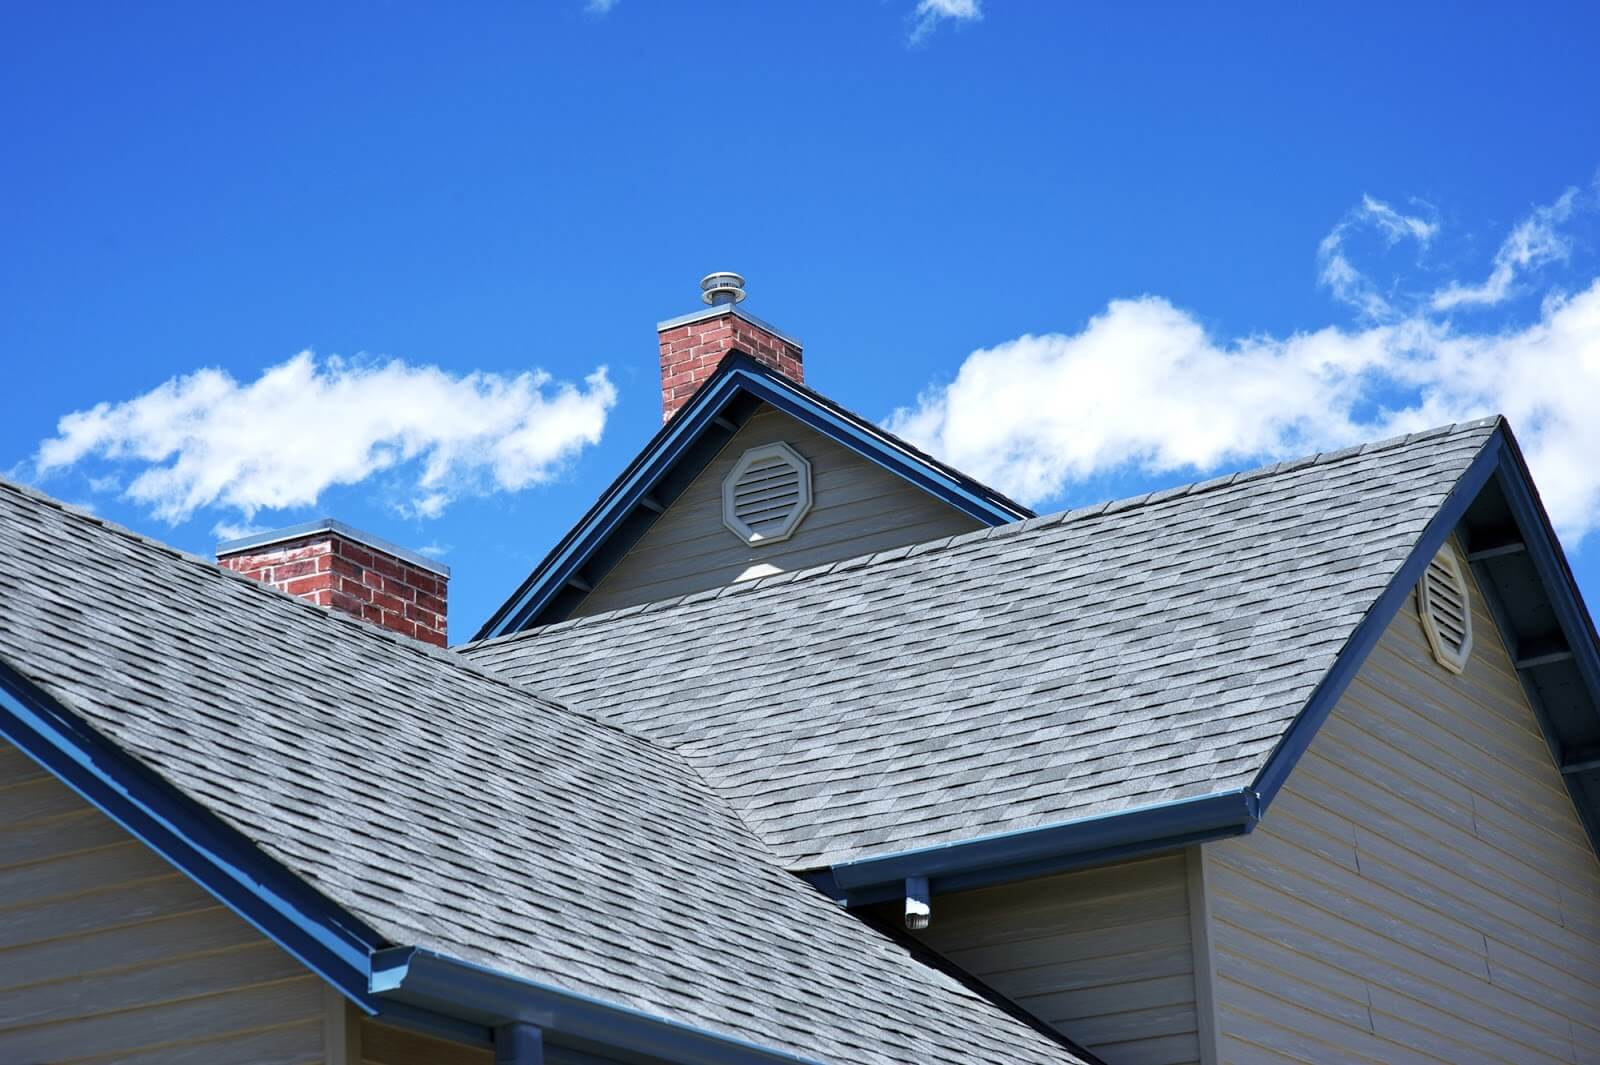
Step 6: Reattach Gutters and Downspouts
Now that the new porch roof is installed, it’s time to reattach the gutters and downspouts to ensure proper drainage and prevent water damage. Gutters play a crucial role in directing rainwater away from your porch and foundation, protecting them from potential water-related issues.
Here’s how to reattach gutters and downspouts:
- Clean the gutters: Before putting the gutters back in place, thoroughly clean them to remove any debris or build-up. Use a scoop or a small trowel to scoop out leaves, twigs, and other clogs. Rinse the gutters with a hose to ensure they are clear and ready for reinstallation.
- Inspect for damage: While cleaning the gutters, make sure to inspect them for any damage or wear. Look for cracks, leaks, or loose sections. If any damage is found, repair or replace the affected areas before proceeding.
- Reposition the gutters: Start by repositioning the gutters along the eaves of the porch roof, ensuring they are aligned correctly. Use gutter brackets or hangers to secure the gutters in place, following the manufacturer’s guidelines and spacing recommendations.
- Secure with screws or nails: Once the gutters are in position, use screws or nails to secure them to the fascia board. Make sure to drive the fasteners through the gutter brackets or hangers for added stability. Space the screws or nails appropriately to ensure a secure and even attachment.
- Reattach the downspouts: Once the gutters are secured, reattach the downspouts to the appropriate locations on the porch. Use downspout brackets or straps to secure the downspouts, ensuring they are securely connected to the gutter system and properly angled to direct water away from the foundation.
- Test the system: After reattaching the gutters and downspouts, test the system to ensure proper drainage. Run water through the gutters and observe if it flows freely through the downspouts and away from the porch. Make any necessary adjustments or repairs to ensure optimal water flow.
Properly reattaching the gutters and downspouts will ensure that your porch roof effectively channels water away from your home, preventing potential water damage. Take the time to clean and inspect the gutters while repositioning them, ensuring a functional gutter system that protects your porch and foundation.
Step 7: Finish and Clean Up
Congratulations! You’re nearing the end of the porch roof replacement journey. Step 7 focuses on completing the finishing touches and cleaning up the work area to leave your porch looking clean, polished, and ready to enjoy.
Here’s what to do to finish and clean up:
- Trim any excess materials: Take a careful look at the porch roof and trim any excess roofing material that may be overhanging the edges or corners. Use a roofing cutter or a utility knife to make clean cuts and achieve a neat appearance.
- Inspect for loose nails or screws: Walk around the porch roof and inspect for any loose nails or screws that may be sticking out. Use a hammer or screwdriver to resecure any loose fasteners to prevent potential injury and ensure the safety of your porch.
- Remove debris and clean the porch: Collect all the debris, packaging, and discarded materials from the porch and surrounding area. Use a broom or a leaf blower to thoroughly clean the porch surface, removing any remaining dust, shingle granules, or loose dirt.
- Dispose of waste responsibly: Properly dispose of all waste materials, including old shingles, flashing, and any other roofing-related debris. Check with your local waste management guidelines or hire a professional service to ensure the responsible disposal of these materials.
- Inspect the porch for any lingering issues: Take a final look at the porch roof and surrounding area to make sure everything is in good condition. Check for any visible damage, loose components, or potential leaks. Address any issues immediately to prevent further damage or complications.
- Enjoy your new porch roof: With the replacement process complete and the area cleaned up, take a moment to enjoy your newly refreshed porch roof. Admire the improved aesthetics, appreciate the added protection, and bask in the satisfaction of a job well done!
By taking the time to finish and clean up, you’ll not only enhance the overall appearance of your porch but also ensure that the replacement project is fully completed, leaving you with a functional and visually appealing outdoor space.
Conclusion
Congratulations on successfully replacing your porch roof! By following this comprehensive guide, you have taken the necessary steps to improve the functionality, durability, and aesthetic appeal of your porch. Replacing a porch roof may seem like a daunting task, but with the right knowledge and preparation, it can be accomplished with confidence and excellent results.
Throughout the process, we emphasized the importance of safety, proper preparation, and attention to detail. By prioritizing these aspects, you have not only ensured your own well-being but also set the stage for a successful porch roof replacement.
Remember, each step plays a vital role in the overall outcome of the project. From preparing the work area and removing the old porch roof to inspecting and repairing the roof deck, installing new flashings, and attaching gutters and downspouts, every detail contributes to a well-installed and durable porch roof.
With the new porch roofing material in place, you can enjoy the benefits of improved protection against the elements while adding a fresh look to your outdoor space. By taking care of any finishing touches and thoroughly cleaning up the work area, you’ve ensured that the overall job is complete and ready for you to enjoy.
Keep in mind that maintaining your porch roof is just as important as replacing it. Regular inspections, routine maintenance, and prompt repairs will help extend the lifespan of your new porch roof and keep it in optimal condition for years to come.
Thank you for joining us on this porch roof replacement journey. We hope this guide has provided you with valuable insights and guidance throughout the process. Now go out and enjoy your newly replaced porch roof!
Frequently Asked Questions about How To Replace A Porch Roof
Was this page helpful?
At Storables.com, we guarantee accurate and reliable information. Our content, validated by Expert Board Contributors, is crafted following stringent Editorial Policies. We're committed to providing you with well-researched, expert-backed insights for all your informational needs.


0 thoughts on “How To Replace A Porch Roof”