Articles
How To Replace Wood Floor
Modified: December 7, 2023
Looking for articles on how to replace wood floors? Find expert tips and step-by-step guides on our website. Enhance your DIY skills today!
(Many of the links in this article redirect to a specific reviewed product. Your purchase of these products through affiliate links helps to generate commission for Storables.com, at no extra cost. Learn more)
Introduction
When it comes to home improvement projects, replacing a worn-out or damaged wood floor can make a significant impact on the overall look and feel of your space. Whether you’re dealing with worn-out planks, water damage, or simply want to upgrade to a different type of wood, knowing how to replace a wood floor is a valuable skill to have.
In this comprehensive guide, we will take you through the step-by-step process of replacing a wood floor. We’ll cover everything from assessing the condition of your current floor to installing and finishing the new one. So, put on your DIY hat and let’s get started!
Key Takeaways:
- Assess the condition of your wood floor, gather the necessary tools and materials, and follow the step-by-step process to replace and finish your wood floor for a professional-looking result.
- By replacing your wood floor, you not only enhance the aesthetics of your home but also increase its value and create a welcoming and durable space. Enjoy the beauty and longevity of your new wood floor!
Read more: How To Seal A Wood Floor
Assessing the Condition of the Wood Floor
Before you dive into the process of replacing your wood floor, it’s important to assess the condition of the existing flooring. This will help you determine the extent of the damage or if there are any underlying issues that need to be addressed.
Start by inspecting the floor for signs of wear and tear. Look for areas where the wood is scratched, dented, or warped. Take note of any water stains or discoloration, as this may indicate water damage. It’s also important to check if the floorboards are loose or if there are any gaps between them.
If you notice deep scratches or significant damage in localized areas, you may only need to replace certain sections of the floor. However, if the entire floor is in poor condition or if there are widespread issues, it may be necessary to replace the entire floor.
Additionally, assess the subfloor underneath the wood flooring. Ensure that it is solid, level, and free from any structural concerns. Addressing any issues with the subfloor will help ensure that your new wood floor is installed properly and will last for years to come.
Take measurements of the room and calculate the square footage of the floor to determine how much new flooring material you will need. This will also give you an idea of the time and resources required for the project.
By thoroughly assessing the condition of your wood floor, you can plan and prepare accordingly for the replacement process, ensuring a successful outcome.
Gathering the Necessary Tools and Materials
Once you have assessed the condition of your wood floor and confirmed the need for replacement, it’s time to gather the necessary tools and materials for the project. Having everything on hand before you begin will ensure a smooth and efficient process.
Here’s a list of tools and materials you’ll need:
- Protective gear: Safety should always be a priority. Make sure you have safety goggles, a dust mask, and gloves to protect yourself from any debris or dust.
- Measuring tape: This will come in handy when taking measurements of the room and determining the amount of new flooring material needed.
- Pry bar: You’ll need this to remove the baseboards and any trim around the perimeter of the room.
- Hammer: A sturdy hammer will be used for removing nails and separating the old floorboards.
- Circular saw: This power tool will make cutting the new flooring material much easier and more precise. Make sure you have the appropriate blades for cutting wood.
- Chisel: For any stubborn pieces of wood that are difficult to remove, a chisel will help pry them loose.
- Crowbar: Similar to the pry bar, a crowbar can be useful for removing stubborn floorboards.
- Level: A level will ensure that your subfloor is even and properly prepared for installation.
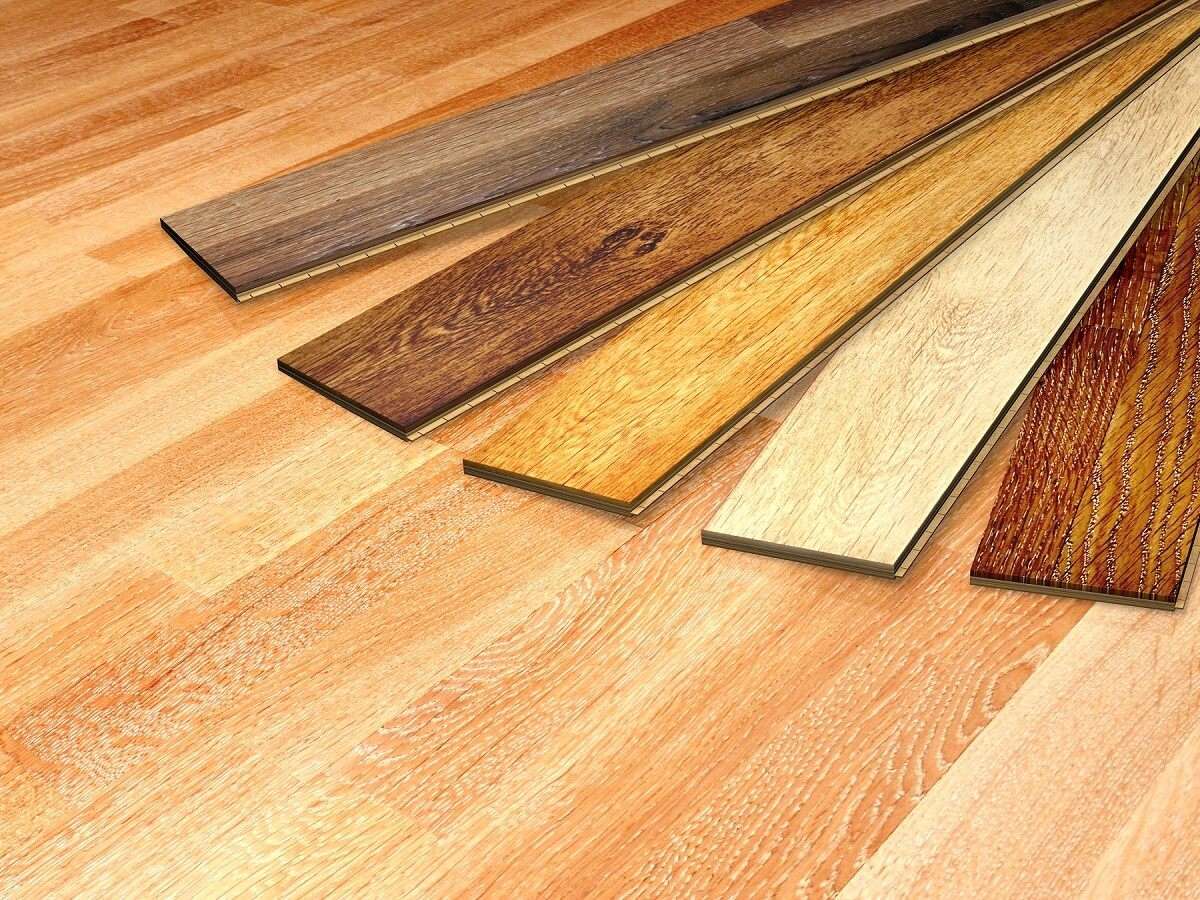
- Flooring material: Depending on your preference, choose the type of wood flooring that suits your needs and desired aesthetic. Make sure you have enough to cover the square footage of the room.
- Adhesive or nails: Depending on the type of wood flooring you choose, you’ll need either adhesive or nails to secure the new floorboards to the subfloor.
- Sanding and finishing supplies: If you plan to refinish the new wood floor, gather sandpaper, a sander, wood stain, and a sealant for a polished final result.
Before you begin the project, ensure that all tools and materials are in good working condition and easily accessible. This will save you time and frustration down the line.
By gathering the necessary tools and materials, you’ll be fully prepared to start the process of replacing your wood floor and achieve professional-looking results.
Removing the Old Wood Floor
With the necessary tools and materials gathered, it’s time to tackle the first major step in replacing a wood floor: removing the old flooring. This process requires patience and careful attention to avoid causing further damage to the subfloor or adjacent areas.
Here’s a step-by-step guide on how to remove the old wood floor:
- Prepare the room: Clear out any furniture or obstructions in the room to create a clear workspace.
- Remove the baseboards and trim: Use a pry bar or crowbar to carefully remove the baseboards and trim around the perimeter of the room. Take care not to damage the walls or trim during this process.
- Start with a corner: Begin by locating a corner of the room and use a pry bar to gently lift the edge of a floorboard. You can use a hammer to tap the pry bar if needed.
- Work across the room: Once you have lifted the first floorboard, continue working across the room, removing each board one at a time. Use a combination of the pry bar, hammer, and chisel to carefully separate the floorboards from the subfloor.
- Remove any nails or staples: As you remove each floorboard, be sure to remove any nails or staples that may still be attached to the subfloor. This will ensure a clean surface for the new flooring.
- Dispose of the old flooring: As you remove the old floorboards, have a designated area to dispose of them properly. Check with your local waste disposal guidelines to determine the best way to dispose of the old flooring material.
- Clean the subfloor: Once all the floorboards are removed, thoroughly clean the subfloor to remove any remaining debris, nails, or staples. This will provide a clean surface for the installation of the new wood flooring.
During the process of removing the old wood floor, it’s crucial to work carefully to avoid damaging the subfloor or adjacent areas. Take your time and be gentle when separating the floorboards.
By following these steps, you’ll be well on your way to removing the old wood floor and preparing the subfloor for the installation of the new flooring material.
Before replacing a wood floor, make sure to carefully measure the area and purchase enough wood to cover it. It’s also important to properly prepare the subfloor and acclimate the new wood to the room’s humidity levels before installation.
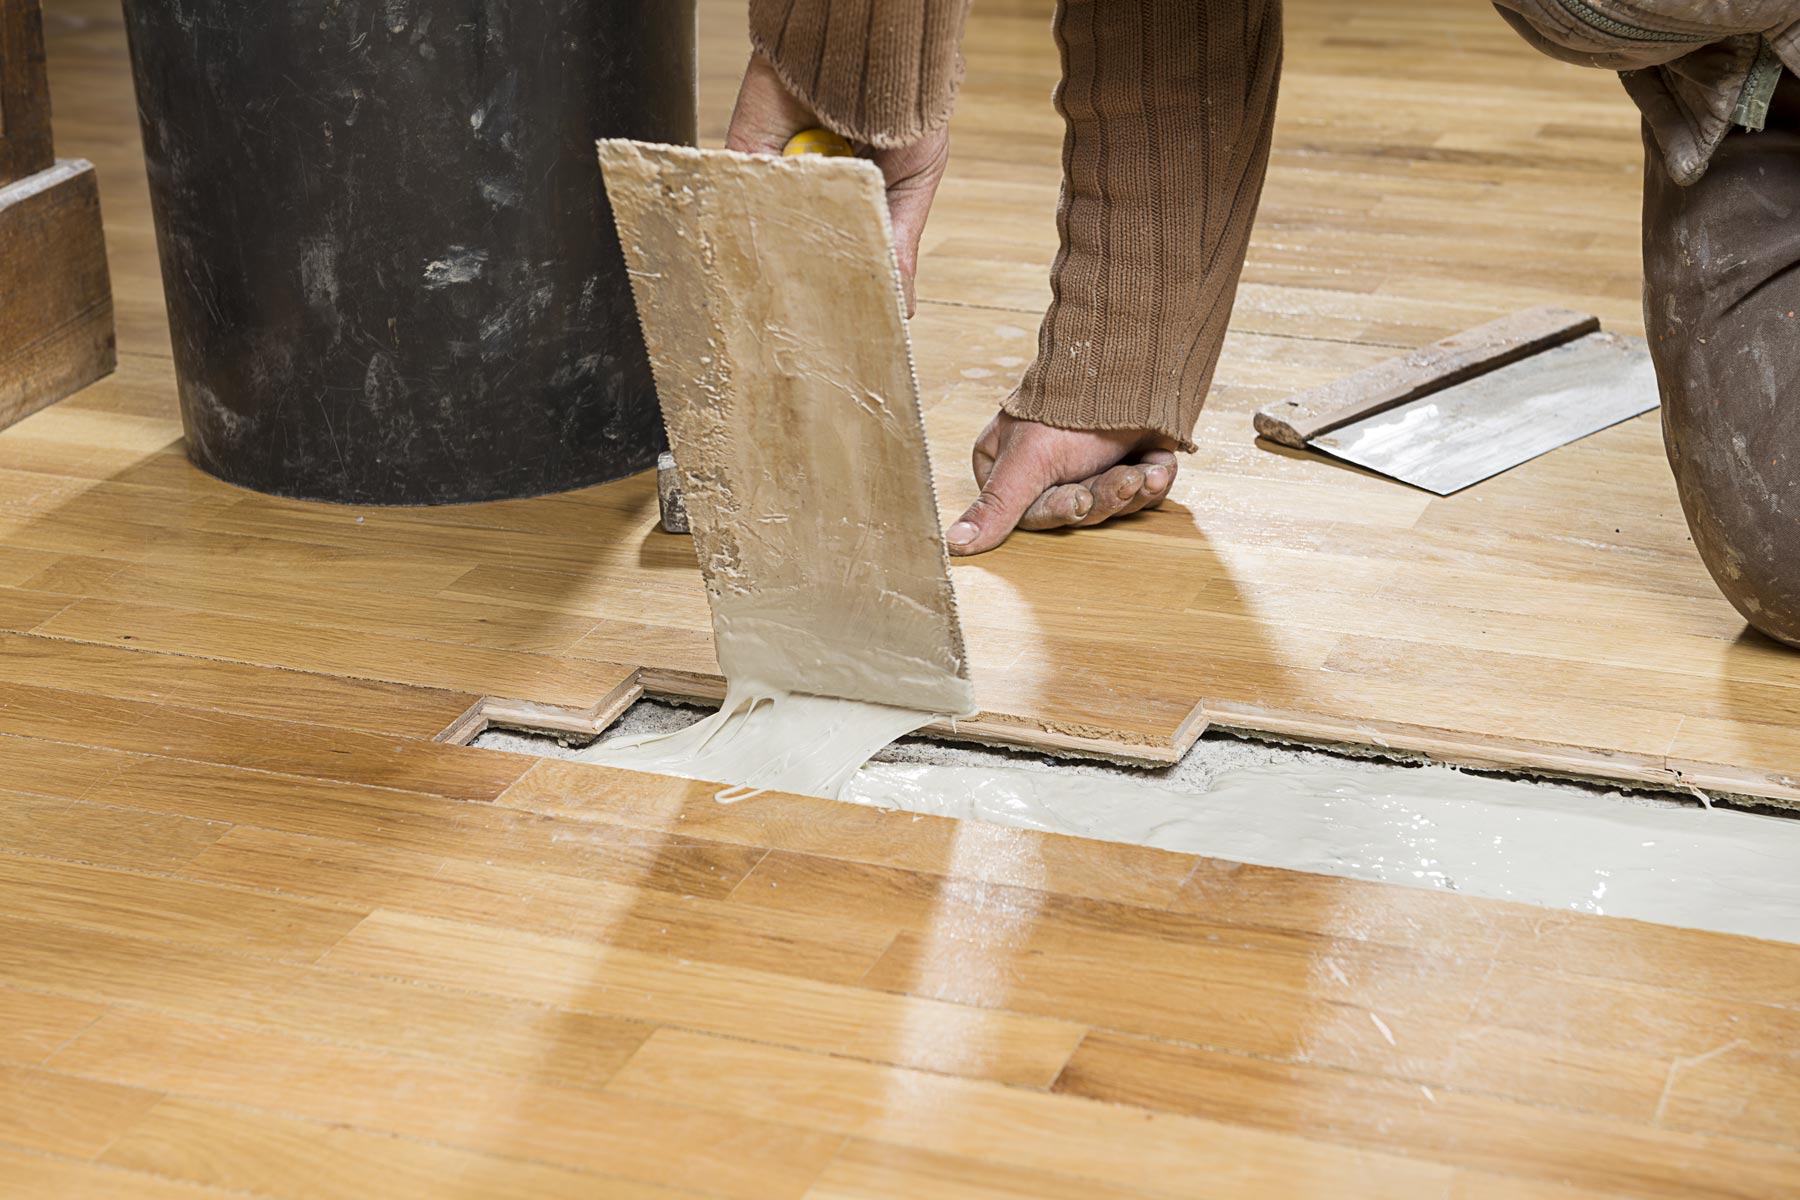
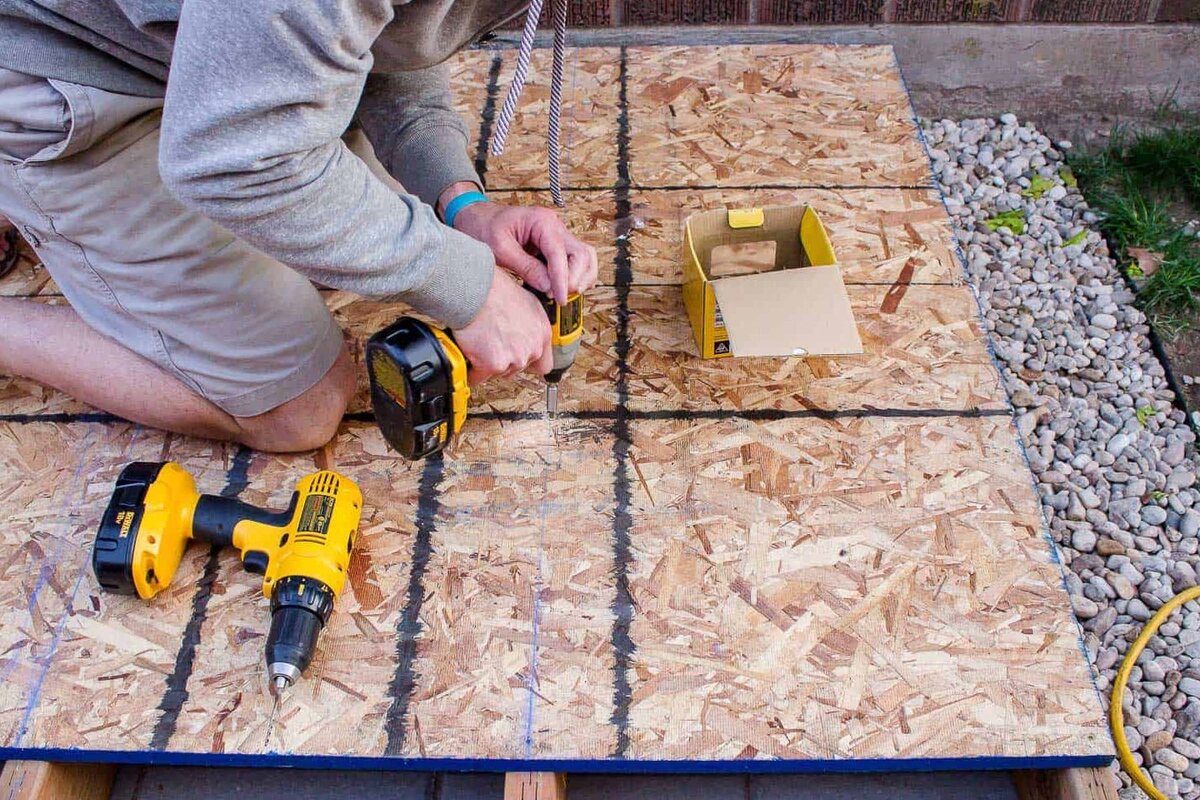
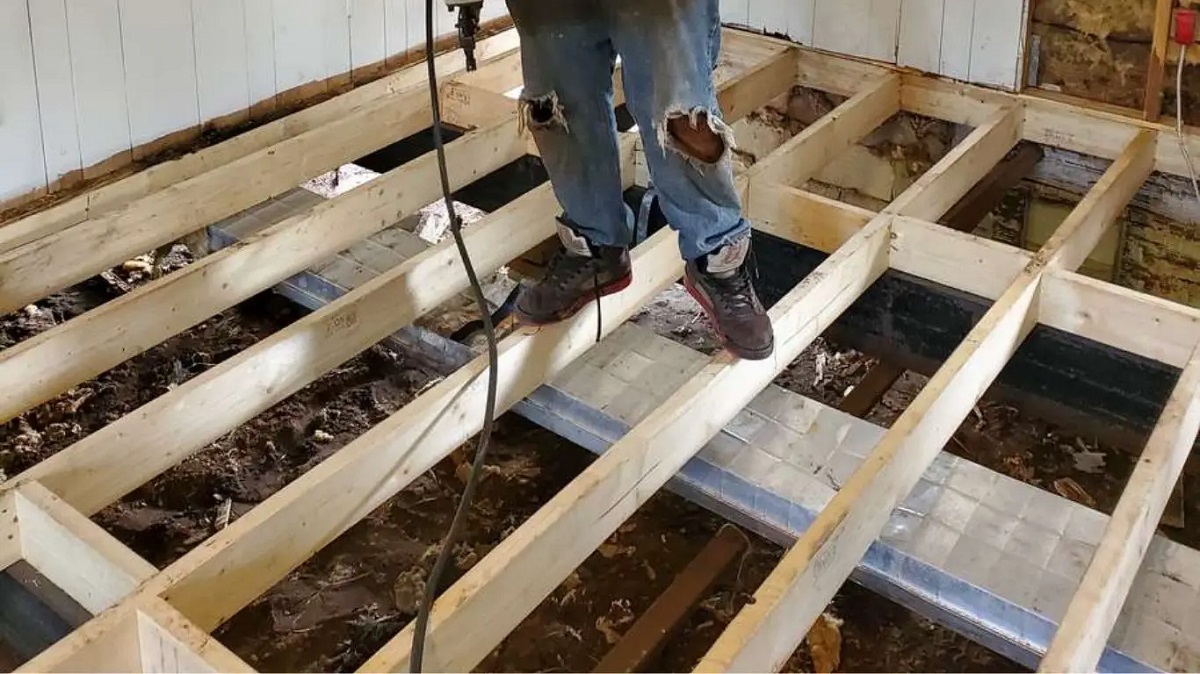
Preparing the Subfloor
One of the crucial steps in replacing a wood floor is properly preparing the subfloor. The subfloor serves as the foundation for the new flooring and ensures its stability and longevity. Taking the time to prepare the subfloor will ensure a smooth and successful installation.
Here are the steps to follow when preparing the subfloor:
- Thoroughly clean the subfloor: Use a broom or vacuum to remove any dust, dirt, or debris from the subfloor. This will ensure a clean and level surface for the new flooring material.
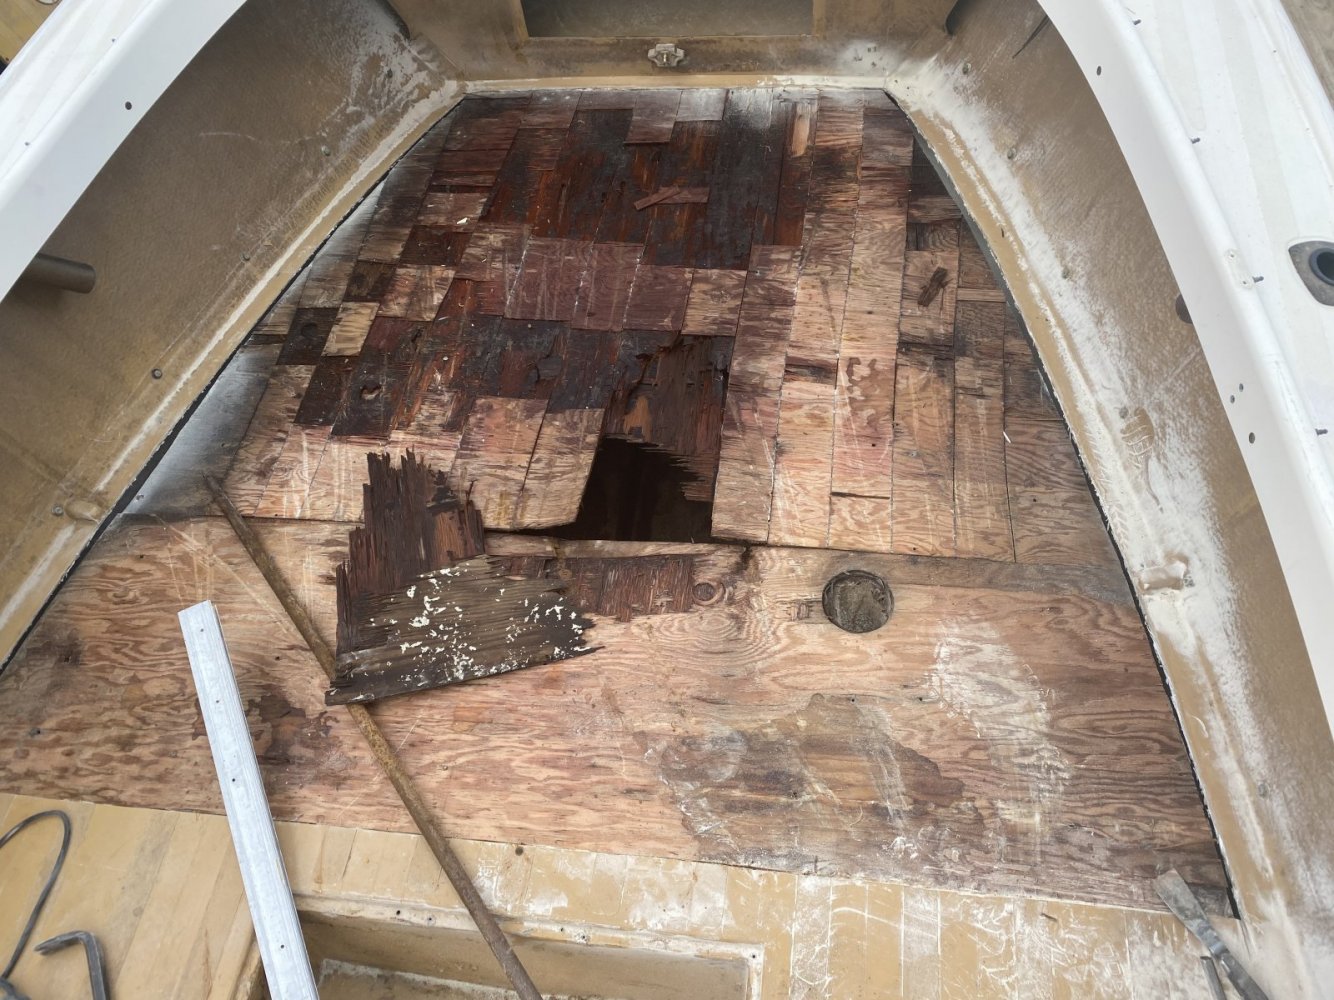
- Inspect for any damage or unevenness: Carefully inspect the subfloor for any signs of damage, such as rot or sagging. Address any issues promptly to prevent further damage.
- Repair or replace damaged areas: If you notice any damaged areas on the subfloor, such as rot or water damage, you’ll need to repair or replace the affected sections. This may involve replacing sections of the subflooring or reinforcing weak areas.
- Check for levelness: Use a level to check the subfloor for any unevenness. If you notice any areas that are not level, you’ll need to address these before installing the new flooring. You can use plywood or leveling compound to even out the subfloor.
- Ensure proper moisture levels: It’s important to check the moisture levels of the subfloor, especially in areas prone to moisture or where there was previous water damage. Excess moisture can damage the new wood flooring. Use a moisture meter to determine if the subfloor is within the recommended range.
- Apply an underlayment if needed: Depending on the type of wood flooring you’ve chosen, you may need to apply an underlayment to provide additional insulation, moisture protection, or soundproofing. Follow the manufacturer’s instructions for proper installation.
By properly preparing the subfloor, you’ll create a stable and even surface for the new wood floor. This will help ensure a successful installation and prolong the lifespan of your new flooring.
Take the time to carefully inspect and address any issues with the subfloor before proceeding to the next step. This will save you time and potential problems in the long run.
Read more: How To Sand A Wood Floor
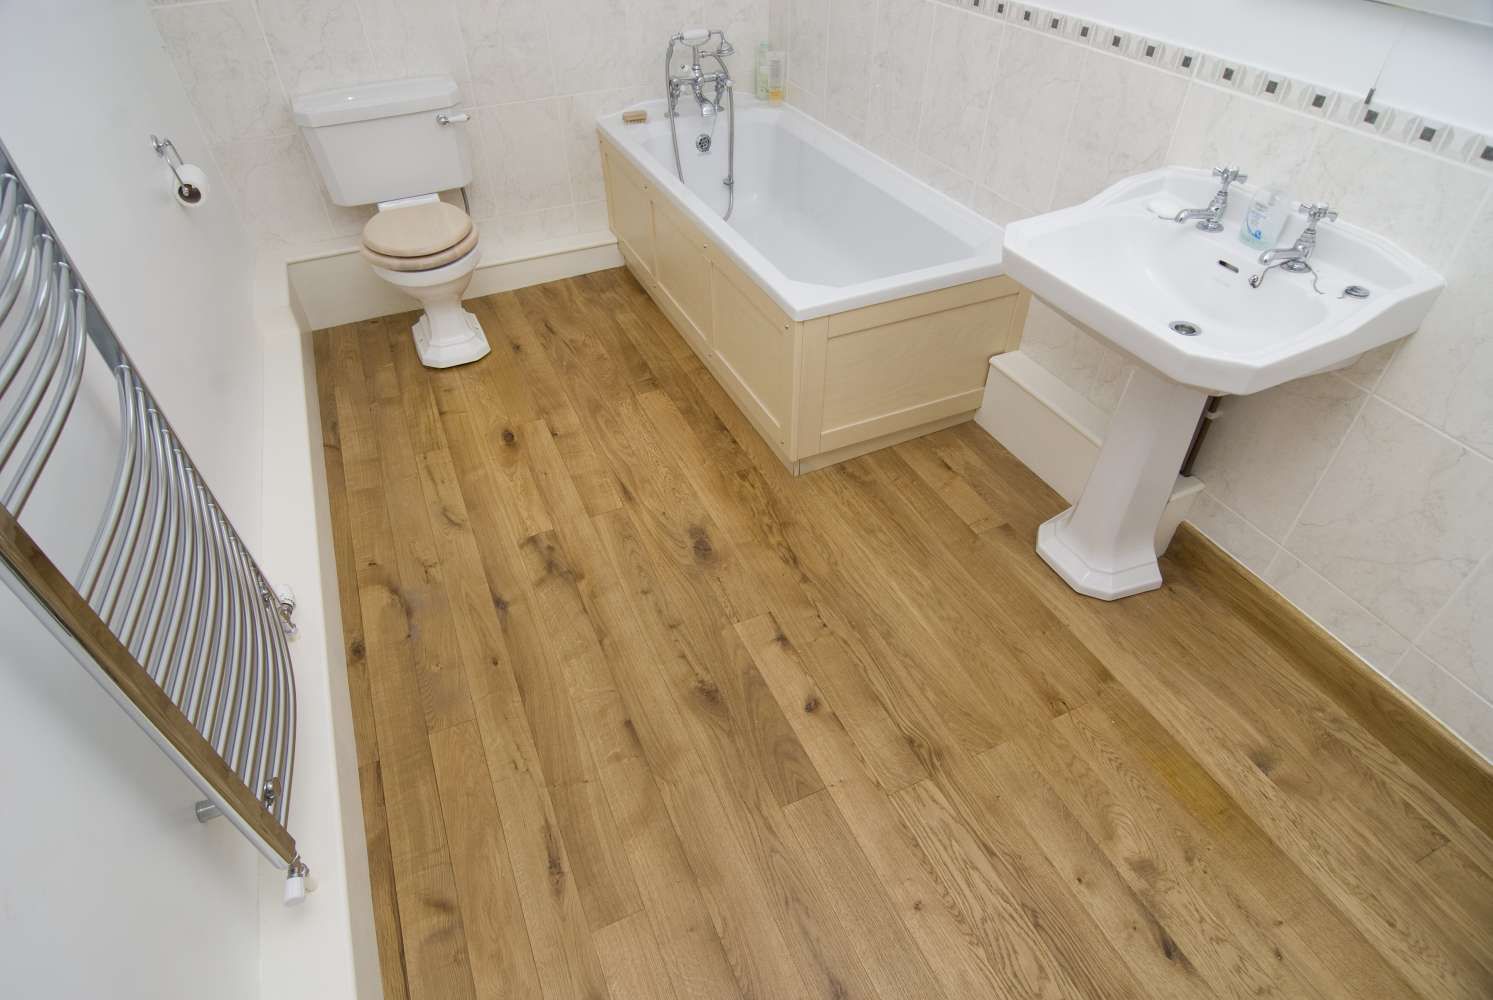
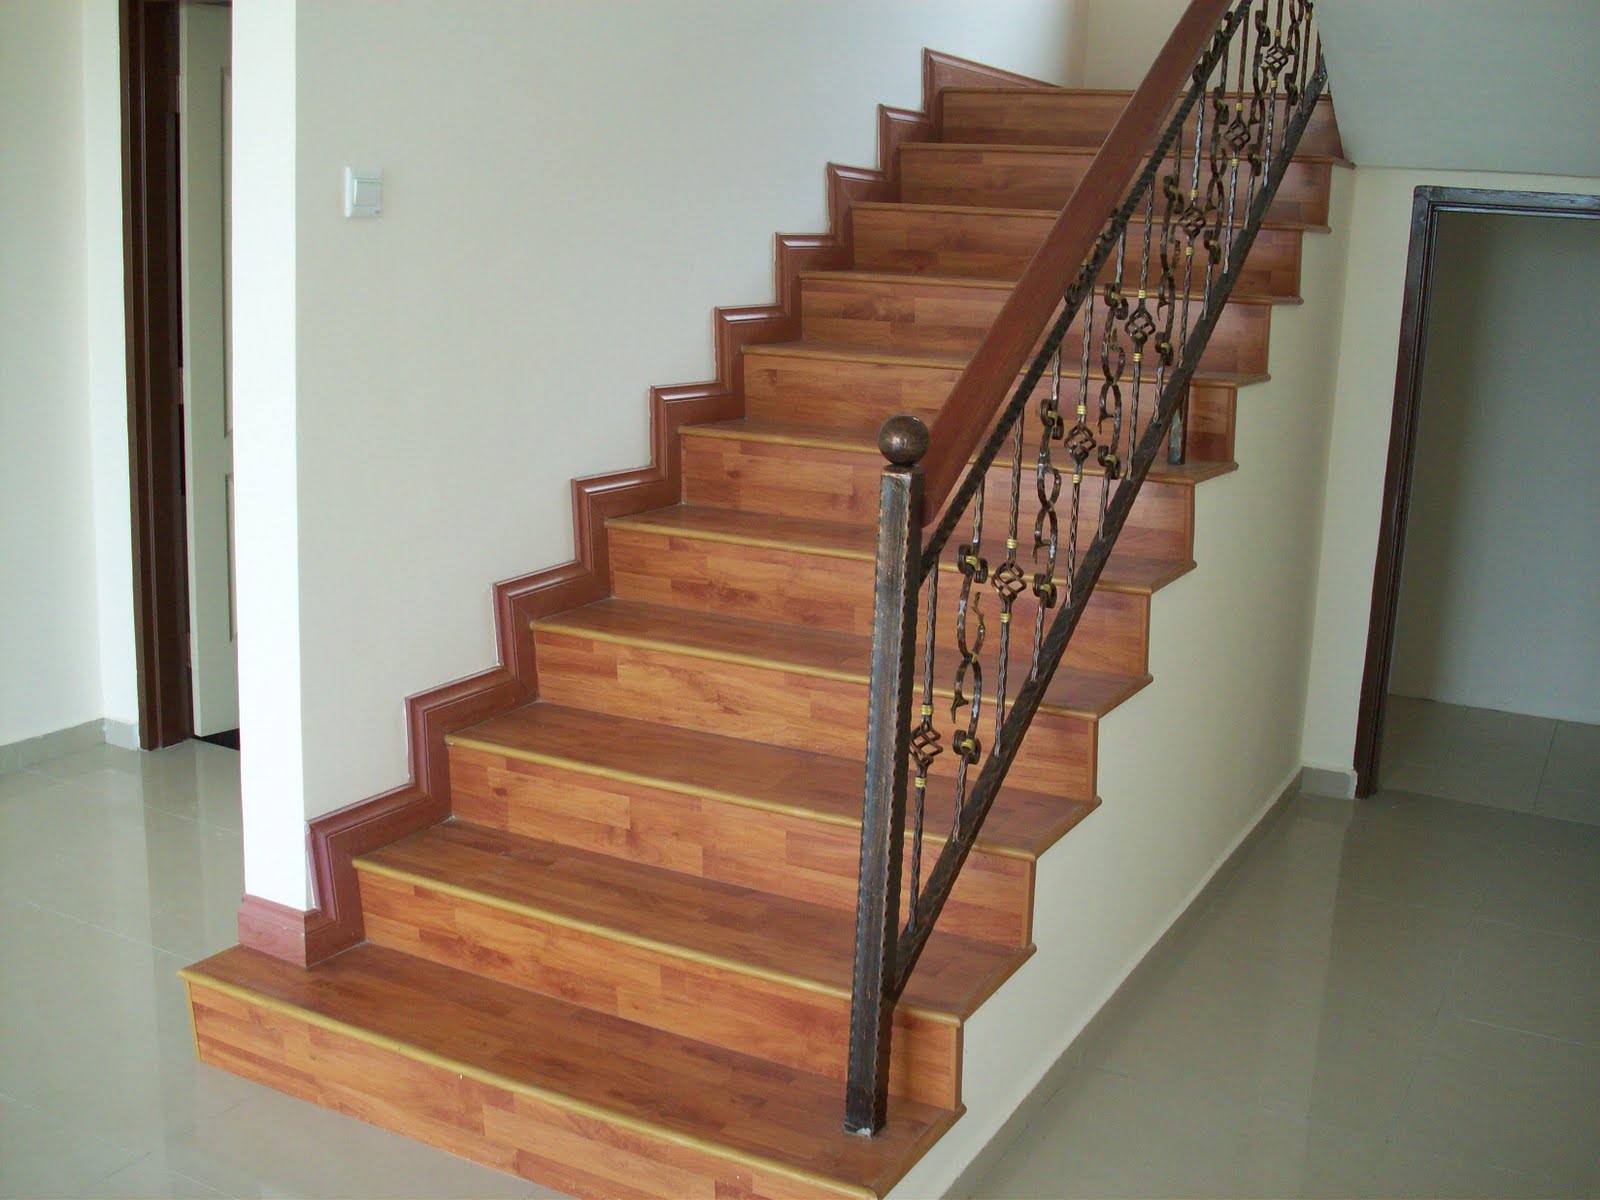
Installing the New Wood Floor
With the subfloor properly prepared, it’s time to move on to the exciting step of installing the new wood floor. Follow these steps to ensure a successful installation:
- Acclimate the flooring: If your new wood flooring has been stored in a different temperature or humidity environment, it’s essential to acclimate it to the room where it will be installed. Follow the manufacturer’s instructions regarding the ideal acclimation period.
- Lay down a vapor barrier: Depending on your situation and the type of wood flooring you’ve chosen, you may need to lay down a vapor barrier to protect against moisture. This is especially important in areas prone to moisture or if you don’t have an adequate moisture barrier in the subfloor. Follow the manufacturer’s recommendations for proper installation.
- Start with the first row: Begin by laying the first row of wood flooring against the starting wall, leaving a small expansion gap between the flooring and the wall. This gap will allow for natural expansion and contraction of the wood. Use spacers to maintain the gap as you progress.
- Install the remaining rows: Working from left to right, continue installing each row of flooring, ensuring that the tongue and groove pieces fit snugly together. Use a combination of adhesive and/or nails, depending on the type of wood flooring you have chosen.
- Cut and trim the flooring: As you reach the end of each row, you’ll likely need to cut and trim the wood flooring to fit. Use a circular saw or a miter saw to make precise cuts, ensuring a clean and seamless appearance.
- Continue across the room: Repeat the previous step of installing rows of flooring, making sure to maintain the expansion gap and proper alignment. Work your way across the room until the entire floor is covered.
- Secure the last row: The final row may require adjustments in width or length to fit properly. Use a pry bar and mallet to securely connect the final row to the rest of the flooring.
Throughout the installation process, periodically check the flooring for levelness and make any necessary adjustments to ensure a uniform appearance. Take your time and be mindful of the details to achieve a professional-looking installation.
Once the new wood floor is installed, allow it to settle and adjust to the environment before moving on to the next step of finishing and sealing.
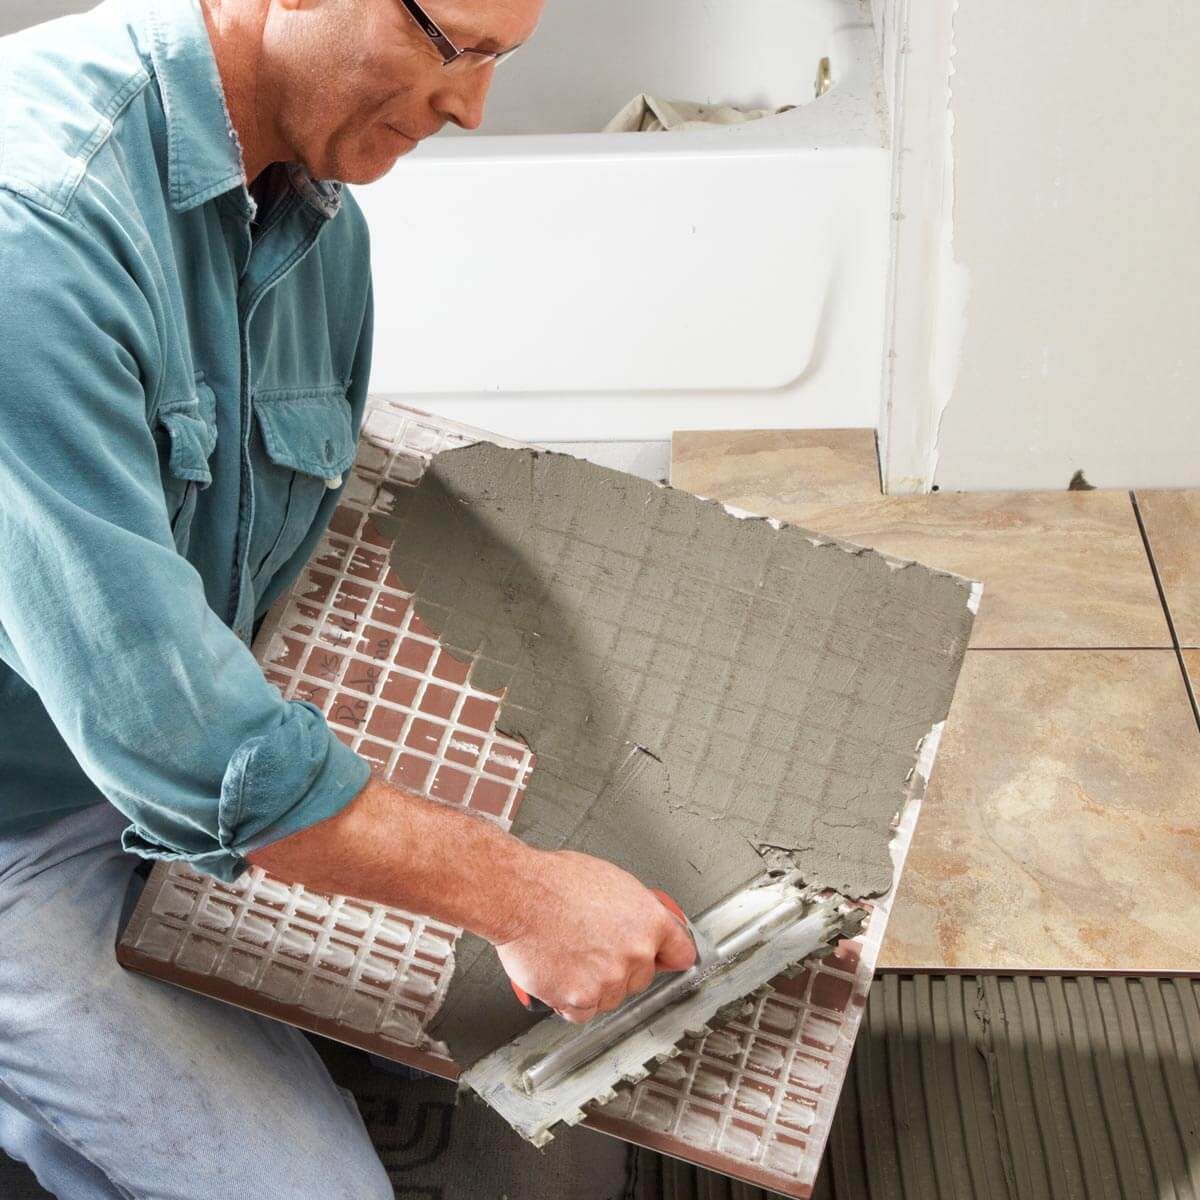
Finishing and Sealing the Wood Floor
After successfully installing the new wood floor, it’s time to take the final steps to enhance its appearance, durability, and longevity. Finishing and sealing the wood floor will protect it from wear and tear, moisture, and give it a beautiful, polished look.
Here’s a guide on how to finish and seal your wood floor:
- Sand the floor: If you opted for unfinished wood flooring, you’ll need to sand the surface to create a smooth and even finish. Use a floor sander and progressively finer grit sandpaper to achieve the desired result. Be sure to remove any dust and debris after each sanding pass.
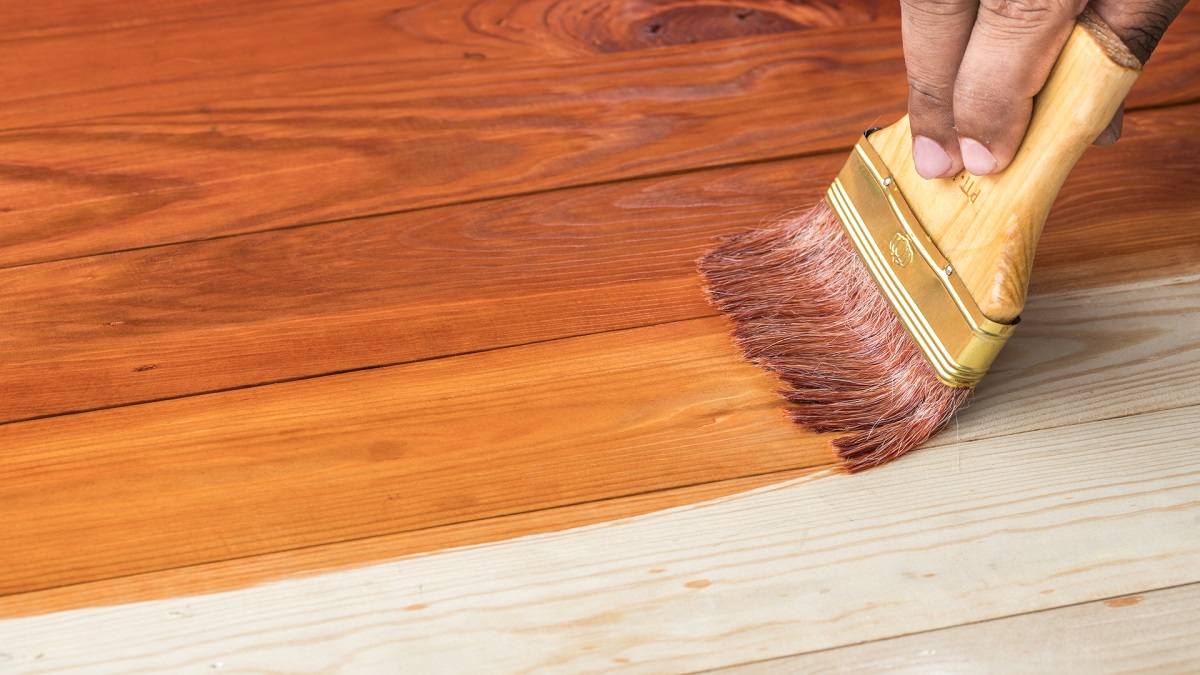
- Apply wood stain (optional): If you want to change the color of your wood floor, you can apply a wood stain. Choose a stain that complements your interior design and follow the manufacturer’s instructions for the application process.
- Apply sealant or finish: Once the stain is dry, apply a layer of sealant or finish to protect the wood floor. There are various types of finishes available, such as polyurethane, varnish, or oil-based finishes. Choose the one that suits your needs and apply it evenly using a brush or roller. Follow the manufacturer’s instructions for the recommended drying time between coats.
- Lightly sand between coats: After each coat of sealant or finish dries, lightly sand the surface with fine-grit sandpaper. This step helps create a smooth and durable finish by removing any imperfections or bubbles that may have formed during the application.
- Apply additional coats (if needed): Depending on the type of sealant or finish you choose, you may need to apply multiple coats for optimal protection and appearance. Follow the manufacturer’s recommendations for the number of coats needed.
- Allow for proper drying time: Once the final coat is applied, allow sufficient drying time before moving furniture or heavy objects back onto the newly finished floor. This will prevent any damage or marks on the surface.
- Reinstall baseboards and trim: Once the finish is completely dry, reinstall the baseboards and trim that were removed earlier. Use a nail gun or finishing nails to secure them in place.
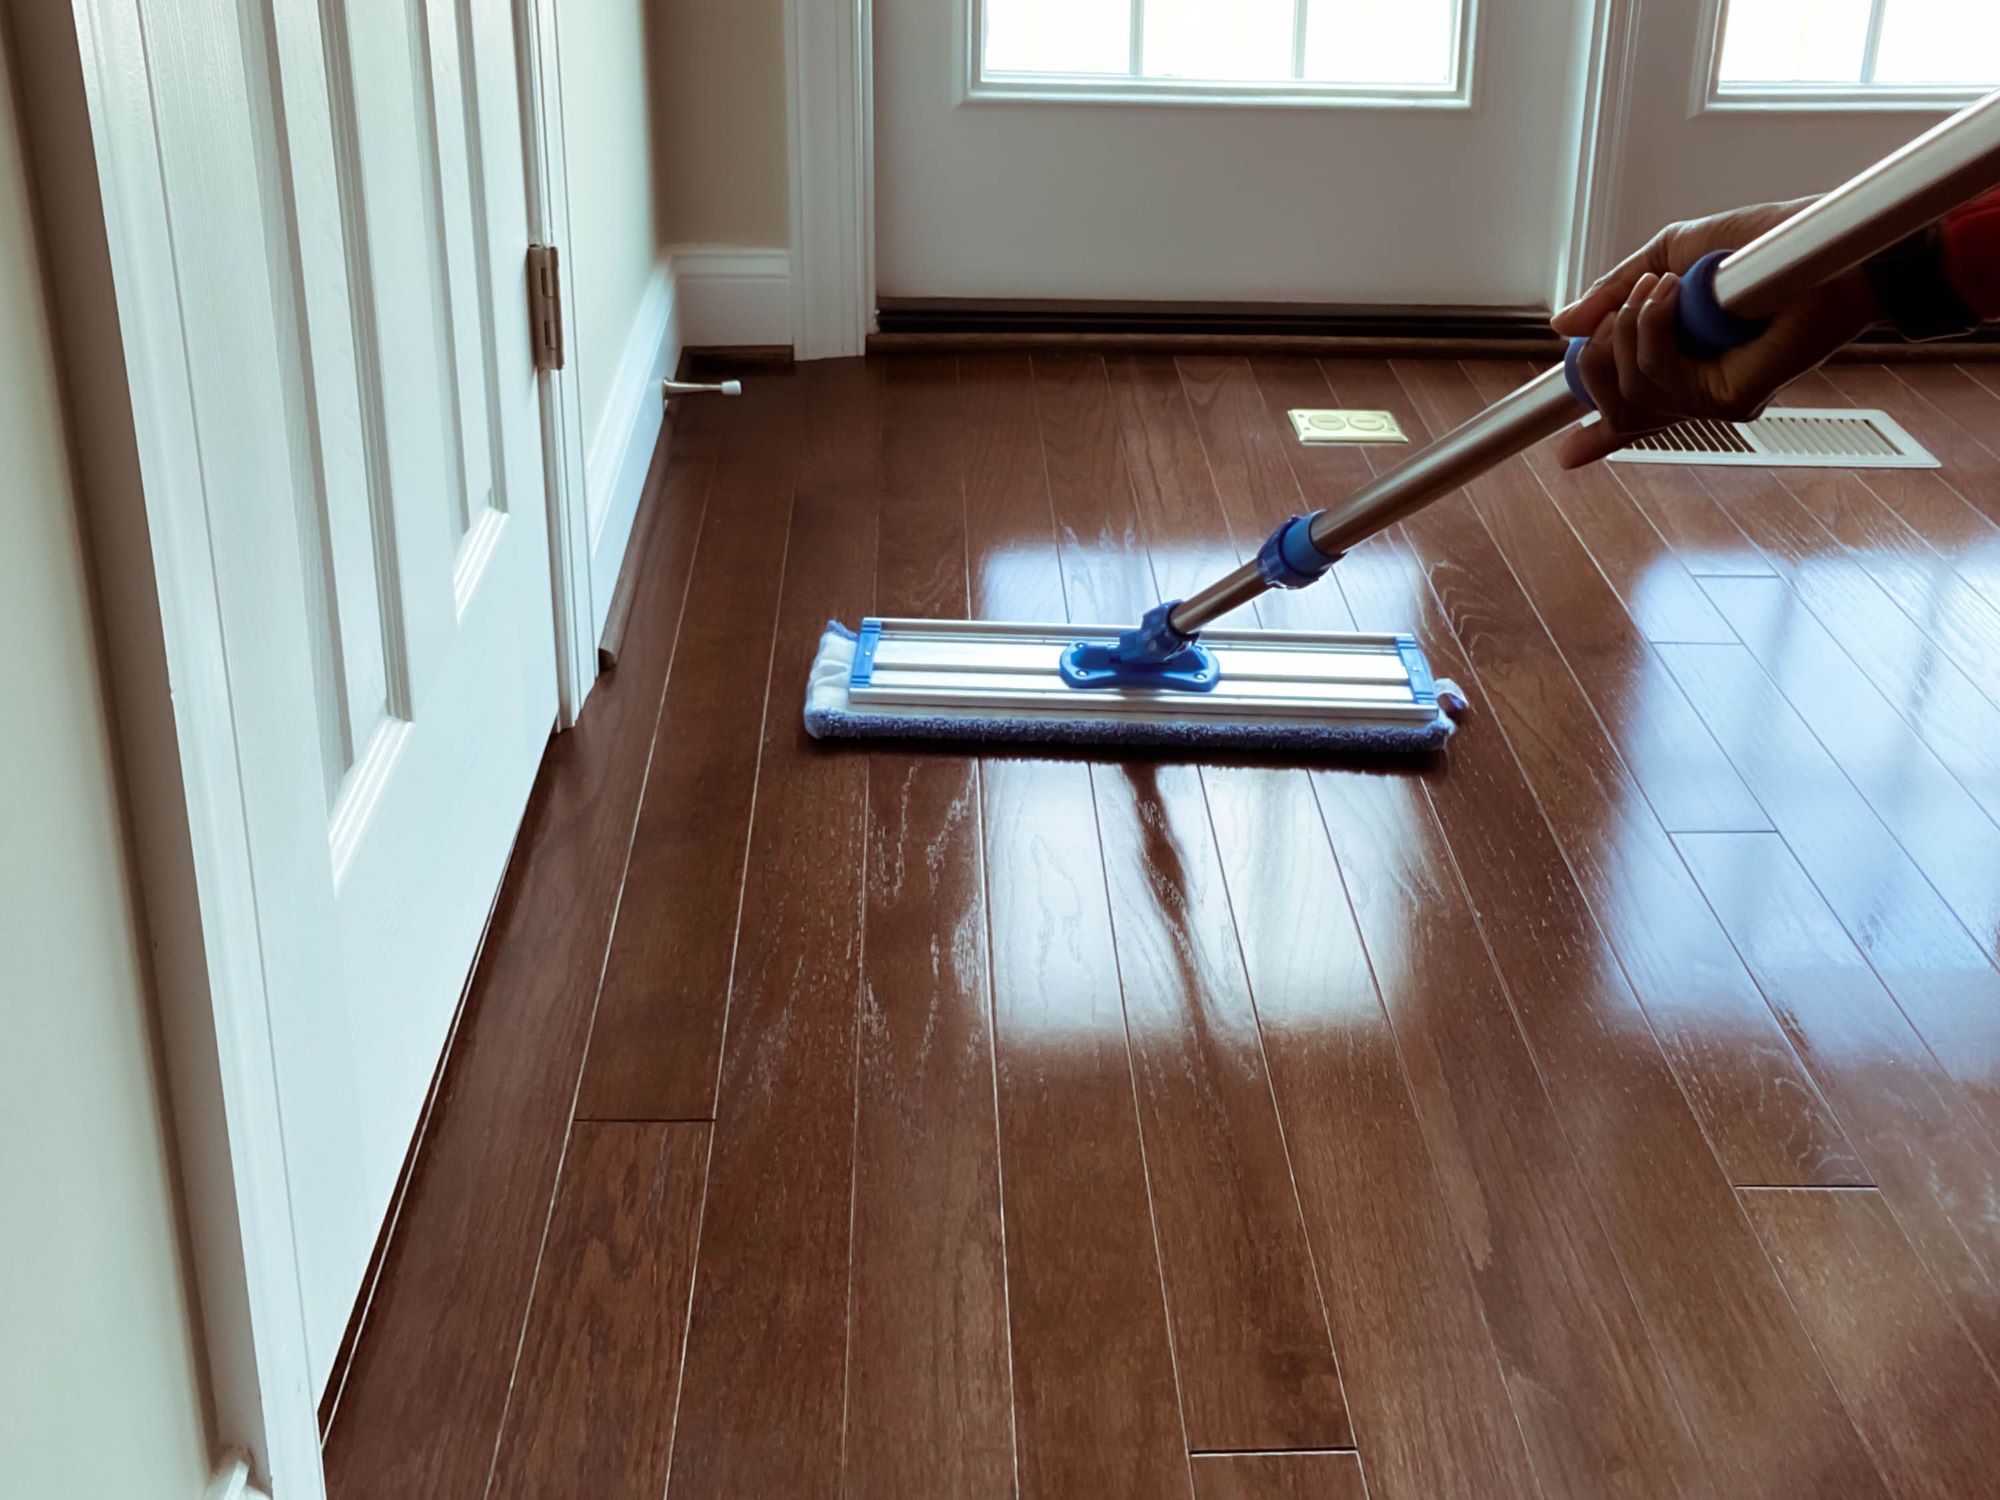
By taking the time to properly finish and seal your wood floor, you’ll not only enhance its beauty but also protect it from everyday wear and tear. Regularly maintain and clean your newly finished floor to preserve its appearance and extend its lifespan.
Congratulations! You’ve successfully replaced and finished your wood floor, transforming the look and feel of your space. Enjoy your beautiful new floor for years to come!
Conclusion
Replacing a wood floor is a rewarding home improvement project that can completely transform the look and feel of your space. By following the step-by-step process outlined in this guide, you’ll be able to confidently tackle the task and achieve professional-looking results.
From assessing the condition of the existing wood floor to preparing the subfloor, gathering the necessary tools and materials, removing the old flooring, and installing and finishing the new wood floor, each step plays a crucial role in the overall success of the project.
Remember to take your time throughout the process, paying attention to the details and ensuring proper alignment, levelness, and adherence to manufacturer instructions. This will ensure a smooth installation and long-lasting results.
By replacing your wood floor, you not only improve the aesthetics of your home but also increase its value and create an inviting and comfortable space. Take pride in your hard work and enjoy the beauty and durability of your new wood floor for many years to come.
Now that you have the knowledge and guidance to replace a wood floor, it’s time to gather your tools, roll up your sleeves, and embark on this exciting DIY project. Good luck!
Frequently Asked Questions about How To Replace Wood Floor
Was this page helpful?
At Storables.com, we guarantee accurate and reliable information. Our content, validated by Expert Board Contributors, is crafted following stringent Editorial Policies. We're committed to providing you with well-researched, expert-backed insights for all your informational needs.


0 thoughts on “How To Replace Wood Floor”