Home>Gardening & Outdoor>Outdoor Structures>How To Replace A Shed Floor
Outdoor Structures
How To Replace A Shed Floor
Modified: February 18, 2024
Learn how to replace a shed floor with our step-by-step guide for outdoor structures. Get expert tips and advice for a successful DIY project.
(Many of the links in this article redirect to a specific reviewed product. Your purchase of these products through affiliate links helps to generate commission for Storables.com, at no extra cost. Learn more)
Introduction
When it comes to outdoor structures such as sheds, the floor plays a crucial role in providing stability and support for the entire building. Over time, wear and tear can take a toll on the shed floor, leading to issues like rot, warping, or structural damage. In such cases, it becomes necessary to replace the shed floor to ensure the longevity and functionality of the structure.
In this comprehensive guide, we will walk you through the step-by-step process of replacing a shed floor. Whether you are a seasoned DIY enthusiast or a novice looking to tackle your first major outdoor project, this article will equip you with the knowledge and confidence to successfully complete the task. From assessing the extent of the damage to gathering the necessary materials and tools, and from removing the old floor to installing a new one, we will cover each stage in detail.
By following the instructions outlined here, you will not only restore the integrity of your shed floor but also enhance the overall resilience and durability of your outdoor storage space. So, roll up your sleeves, gather your tools, and let’s embark on this rewarding journey of reviving your shed by replacing its worn-out floor.
Key Takeaways:
- Assess the damage and gather materials before replacing a shed floor to ensure a successful and durable outcome. This proactive approach minimizes interruptions and enhances the shed’s longevity.
- Carefully remove the old floor, prepare a solid foundation, and install the new floor with precision. Add finishing touches to fortify the shed’s resilience and functionality, creating a reliable and inviting space for storage and activities.
Read more: How To Build A Shed Floor
Assessing the Damage
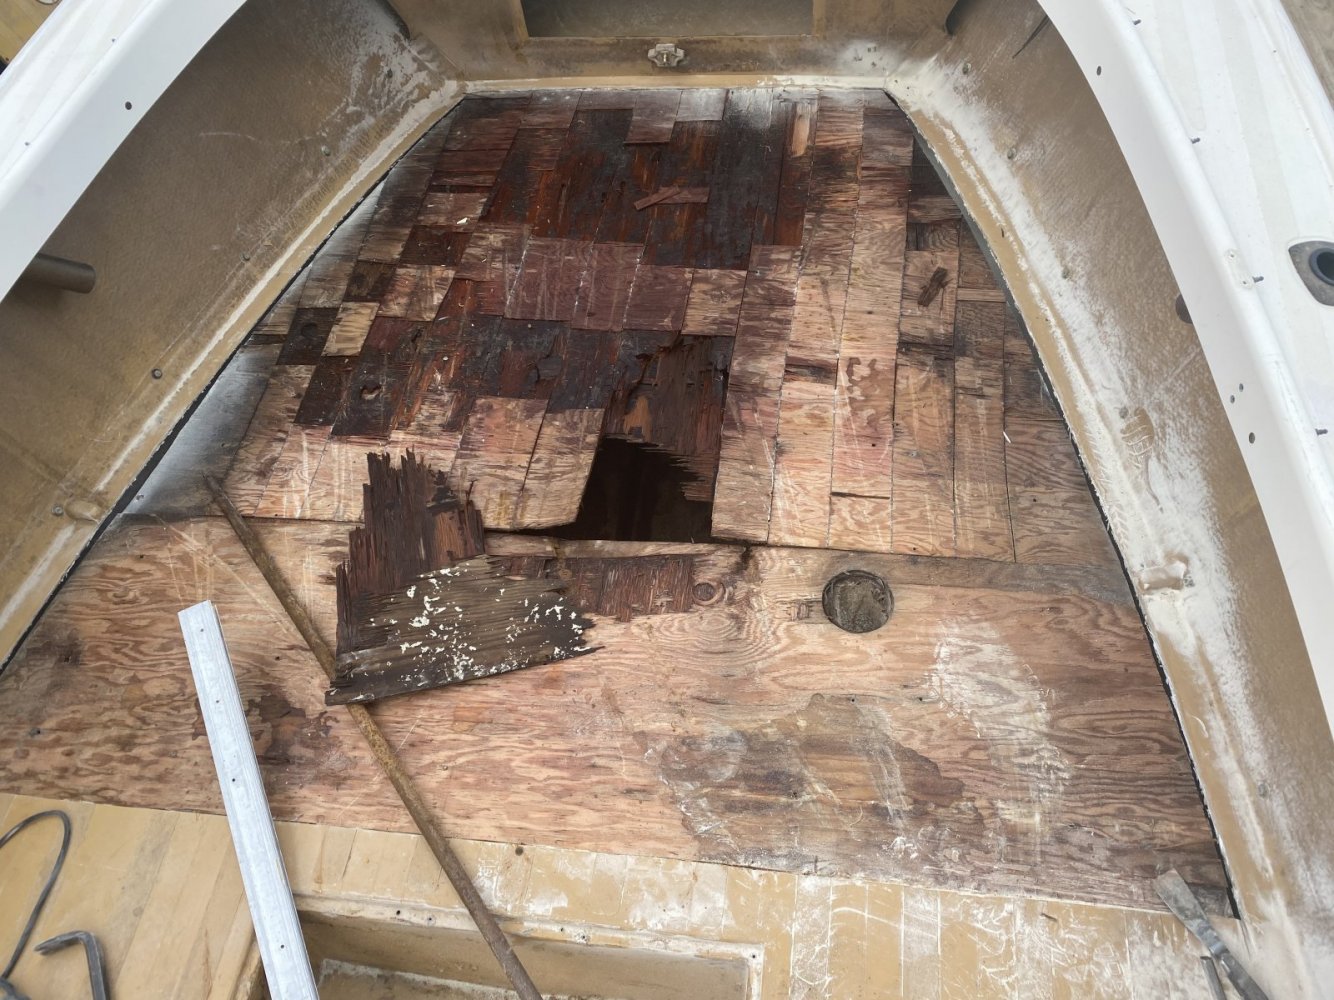
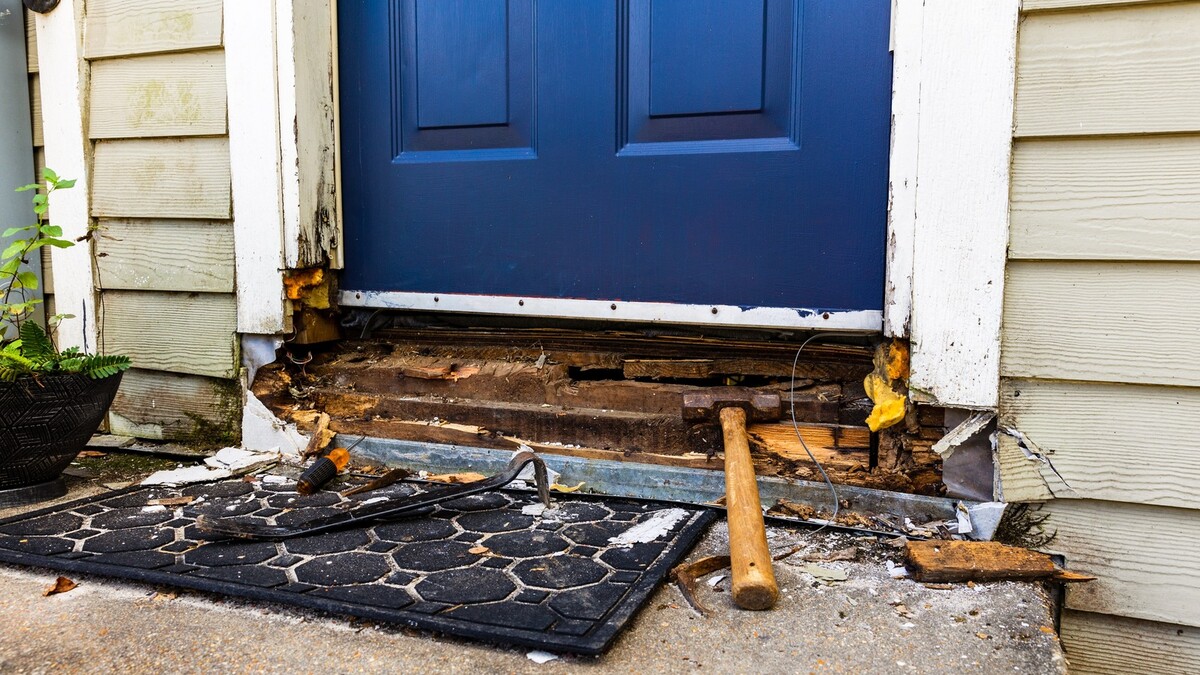
Before diving into the process of replacing a shed floor, it is essential to assess the extent of the damage. This step will help you determine the scope of the project and the specific areas that require attention. Start by carefully inspecting the existing floor for signs of decay, rot, or structural compromise. Common indicators of damage include soft spots, mold growth, visible rot, or sagging sections.
Begin by examining the floor from both the interior and exterior of the shed. Look for any noticeable changes in the floor’s appearance, such as discoloration, warping, or deformation. Pay close attention to areas where the floor meets the walls and the support beams, as these areas are prone to moisture retention and potential damage.
If the damage is localized to specific sections of the floor, mark these areas for targeted repair. However, if the damage is widespread and compromises the overall integrity of the floor, a complete replacement may be necessary. Additionally, consider the underlying support structure of the shed to ensure that it remains structurally sound.
Assessing the damage also involves identifying the underlying cause of the deterioration. Factors such as water seepage, inadequate ventilation, or prolonged exposure to moisture can contribute to floor damage. By understanding the root cause, you can implement preventive measures during the replacement process to mitigate future issues.
Once you have thoroughly evaluated the condition of the existing floor and identified the areas that require attention, you can proceed to gather the materials and tools needed for the replacement. This crucial step sets the stage for a systematic and effective floor replacement process, ensuring that you address the specific needs of your shed while enhancing its longevity and resilience.
Gathering Materials and Tools
Replacing a shed floor requires a specific set of materials and tools to ensure a successful and durable outcome. Before commencing the project, it is essential to gather all the necessary items to streamline the process and avoid unnecessary delays. Here is a comprehensive list of materials and tools you will need:
Materials:
- Pressure-treated plywood or oriented strand board (OSB) for the new floor
- Pressure-treated lumber for framing and support
- Galvanized screws or nails
- Moisture barrier or waterproof membrane
- Concrete blocks or compacted gravel for the foundation (if necessary)
- Wood shims for leveling
- Exterior-grade sealant or paint for added protection
Tools:
- Tape measure and carpenter's square
- Circular saw or jigsaw for cutting the new floor materials
- Hammer or nail gun
- Drill/driver with screwdriver bits
- Level for ensuring a flat foundation
- Pry bar or crowbar for removing the old floor
- Work gloves, safety goggles, and dust mask for personal protection
Additionally, consider the specific requirements of your shed and its surroundings. If the floor damage is attributed to moisture, consider incorporating additional moisture-resistant materials or implementing improved drainage and ventilation systems during the replacement process.
By ensuring that you have all the necessary materials and tools at your disposal, you can proceed with confidence, knowing that you are equipped to address the specific needs of your shed and execute the replacement process efficiently. This proactive approach minimizes the risk of interruptions and allows you to focus on the task at hand, ultimately leading to a well-constructed and resilient shed floor that will withstand the elements for years to come.
Read more: How To Insulate Shed Floor
Removing the Old Floor
Once you have assessed the damage and gathered the essential materials and tools, the next step in replacing a shed floor is the removal of the old flooring. This phase is critical as it sets the stage for the installation of the new floor and ensures that any underlying issues are addressed before proceeding further.
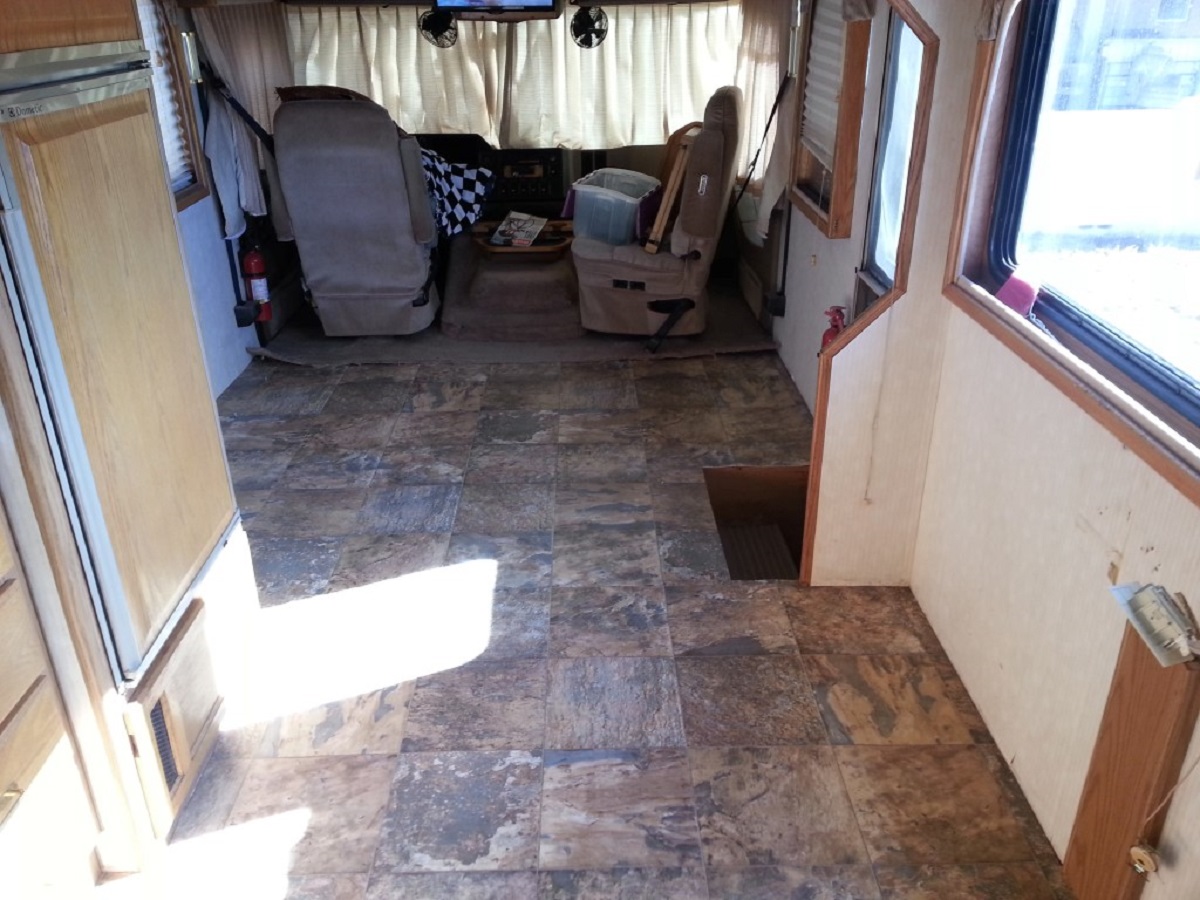
Begin by clearing out the contents of the shed to create a spacious and unobstructed work area. This will also prevent any items from being damaged during the floor replacement process. Ensure that the work area is well-lit and well-ventilated to facilitate safe and efficient removal of the old floor.
To remove the old floor, start by carefully prying up the existing floorboards or panels using a pry bar or crowbar. Work methodically, starting from one corner and gradually progressing across the entire floor. Exercise caution to avoid splinters and protruding nails or screws during this process.
As you remove the old flooring, take note of any underlying damage to the support structure or foundation. Inspect the floor joists, beams, and any additional support elements for signs of rot, decay, or structural instability. Address any issues promptly to ensure that the new floor will have a secure and stable foundation.
Once the old floor has been completely removed, take the time to clean the exposed area, removing any debris, dust, or remnants of the previous flooring. This preparation step is essential for creating a clean and level surface for the installation of the new floor.
During the removal process, it is not uncommon to encounter unexpected challenges or additional damage that was not initially apparent. Stay adaptable and be prepared to address any unforeseen issues to ensure that the replacement process progresses smoothly and that the new floor will be installed on a solid and reliable foundation.
With the old floor successfully removed and the underlying area thoroughly cleaned and inspected, you are now ready to proceed to the next phase of the floor replacement process: preparing the foundation for the installation of the new shed floor.
Preparing the Foundation
With the old shed floor removed, the next crucial step in the replacement process is preparing the foundation for the installation of the new floor. A well-prepared foundation is essential for ensuring the stability, longevity, and structural integrity of the shed floor. Here’s how to effectively prepare the foundation:
Assessing the Subfloor and Support Structure:
Before proceeding with the new floor installation, carefully inspect the subfloor, floor joists, and support beams for any signs of damage, decay, or structural issues. Address any concerns promptly to ensure a solid and stable foundation for the new floor.
Leveling the Foundation:
Use a level to check the evenness of the foundation surface. If there are any uneven or sloping areas, use wood shims or additional support materials to achieve a level surface. A level foundation is essential for preventing future floor issues and ensuring the proper installation of the new shed floor.
Read more: How To Seal A Shed Floor
Moisture Protection:
Consider incorporating a moisture barrier or waterproof membrane to protect the new floor from potential water damage. This additional layer of protection can significantly extend the lifespan of the shed floor, especially in areas prone to moisture or high humidity.
Foundation Reinforcement:
If the existing foundation is inadequate or shows signs of deterioration, consider reinforcing it with concrete blocks or compacted gravel to provide enhanced stability and support for the new floor. This step is particularly crucial for sheds located in regions with varying soil conditions or exposure to inclement weather.
Enhanced Ventilation and Drainage:
Assess the shed’s ventilation and drainage systems to ensure that the new floor will be adequately protected from moisture-related issues. Improving ventilation and implementing effective drainage solutions can significantly contribute to the longevity and durability of the replacement shed floor.
By meticulously preparing the foundation for the new shed floor, you are laying the groundwork for a resilient and long-lasting structure. This proactive approach not only addresses existing concerns but also establishes a solid foundation that will support the new floor and contribute to the overall integrity of the shed.
Installing the New Floor
With the foundation prepared, you are now ready to embark on the installation of the new shed floor. This phase marks a significant milestone in the replacement process, as it involves laying down the structural elements that will provide stability and support for the entire shed. Here’s a step-by-step guide to effectively installing the new floor:
Read more: How To Replace Bathroom Floor
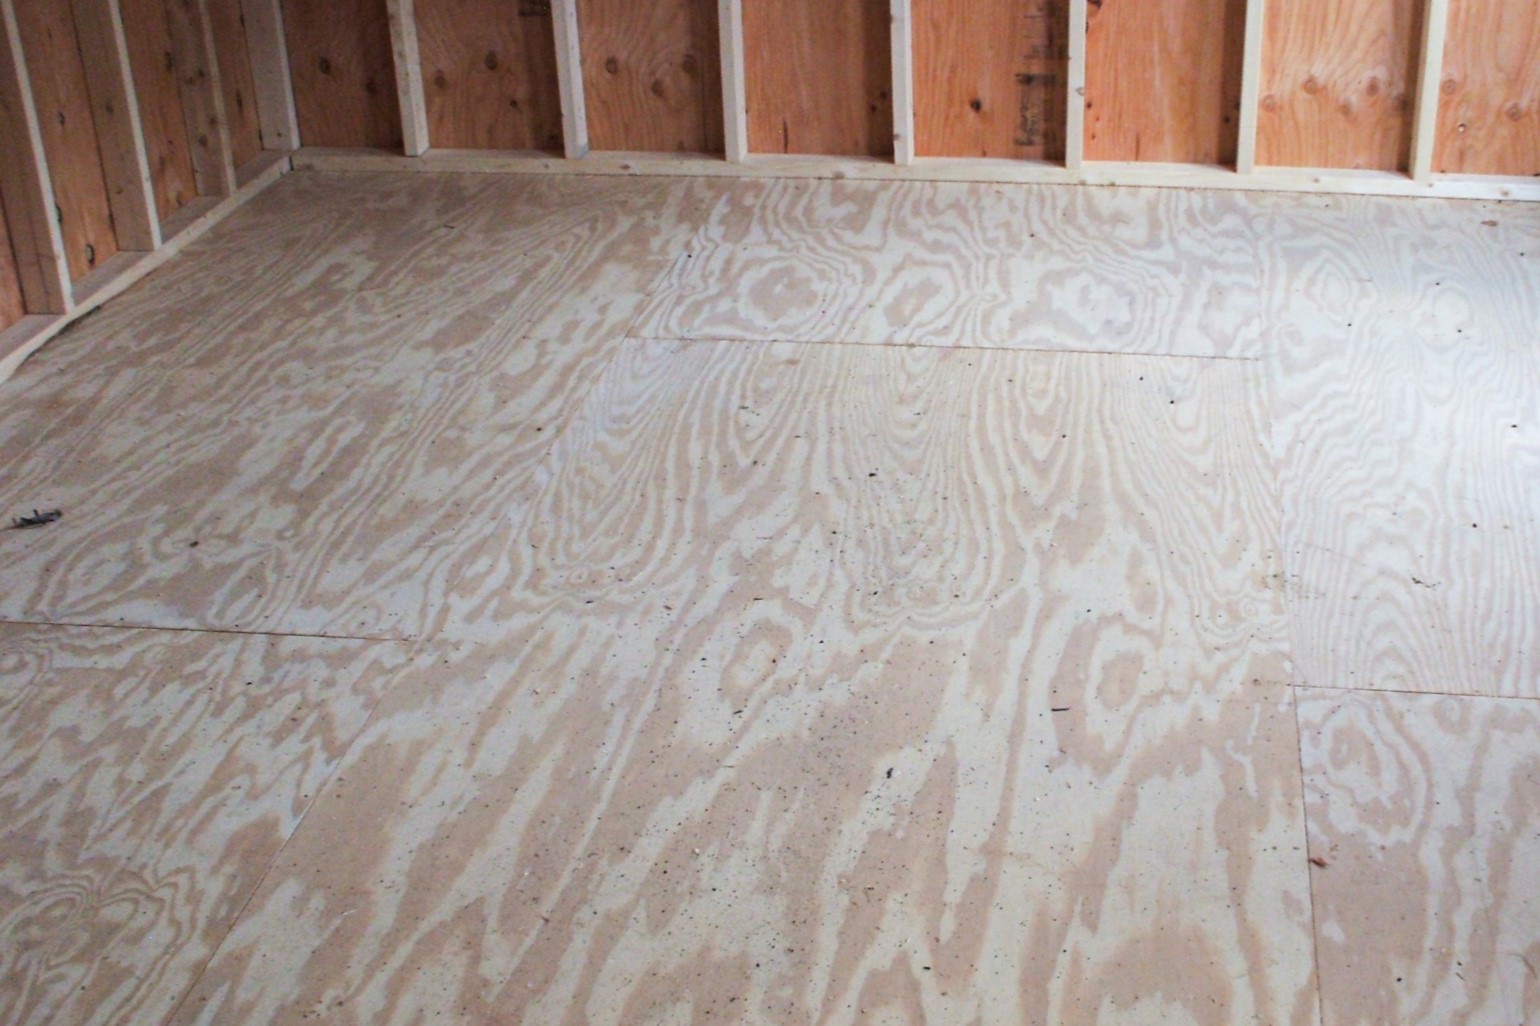
Cutting the New Floor Materials:
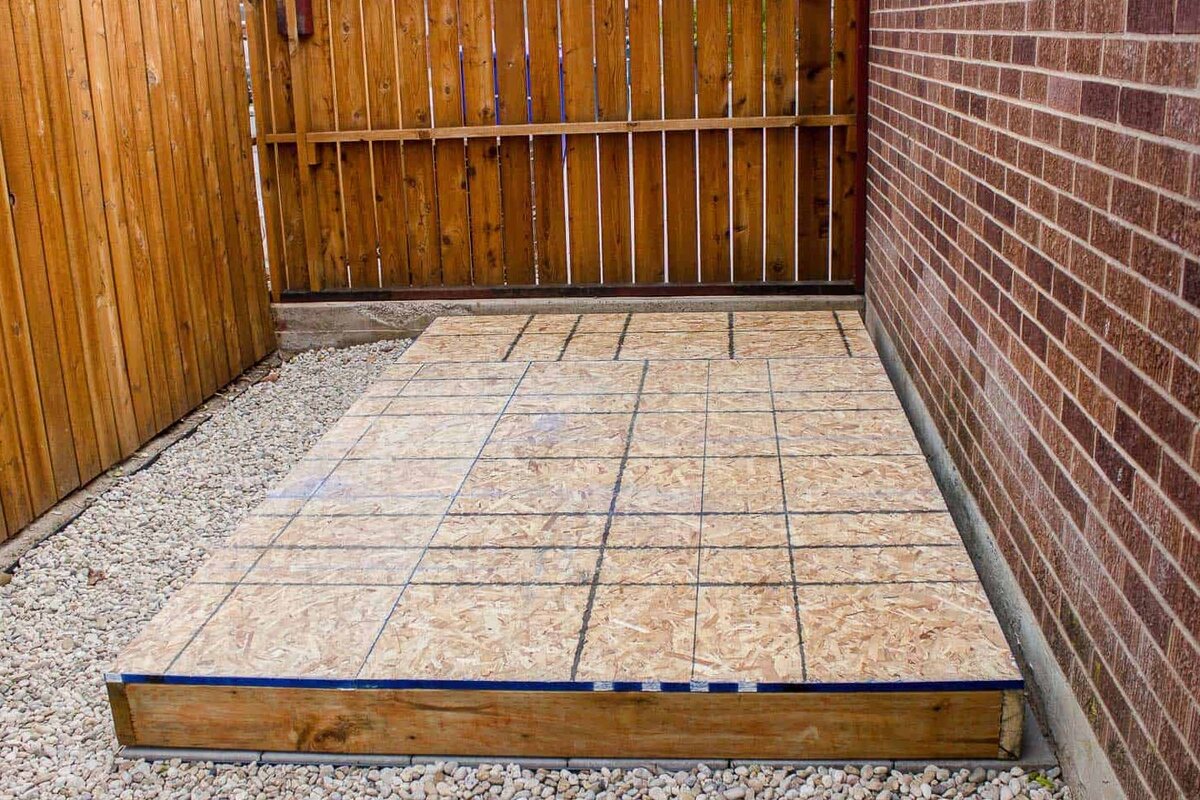
Using the dimensions of the shed floor, carefully measure and cut the pressure-treated plywood or oriented strand board (OSB) to fit the space. Precision in cutting the floor materials is crucial for ensuring a snug and secure fit within the shed’s dimensions.
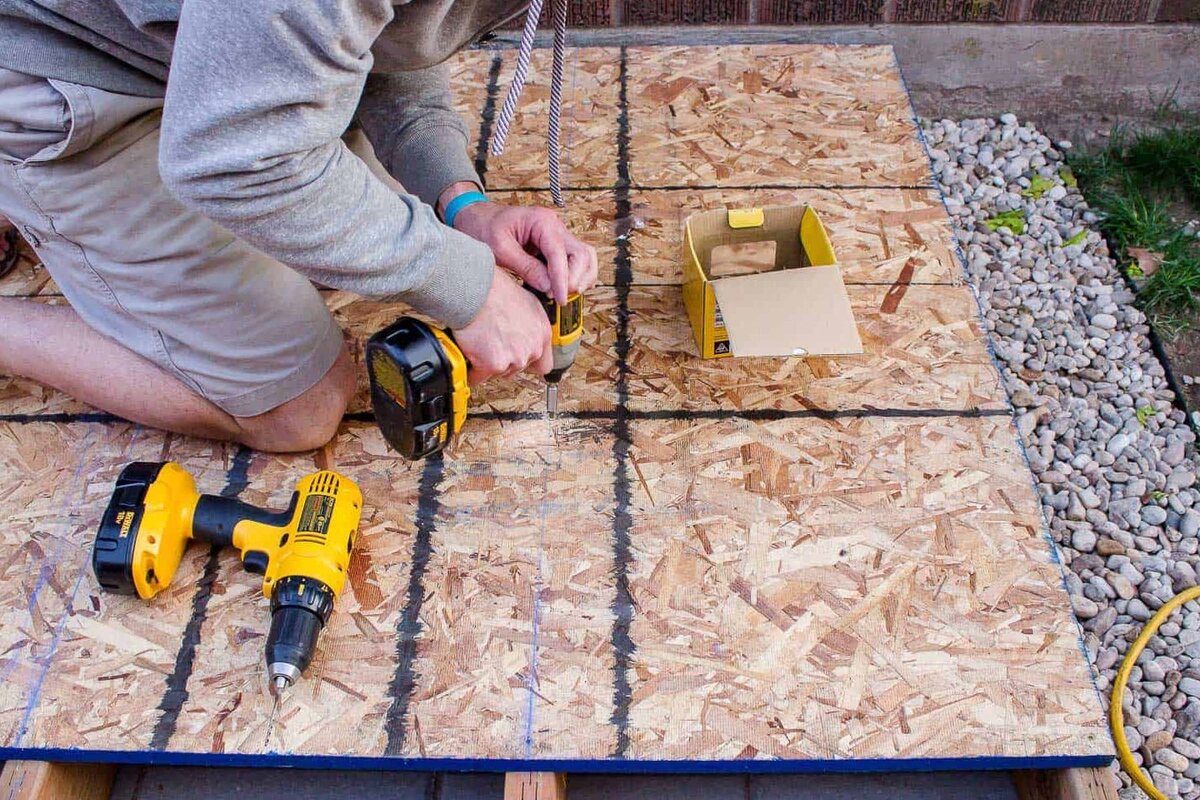
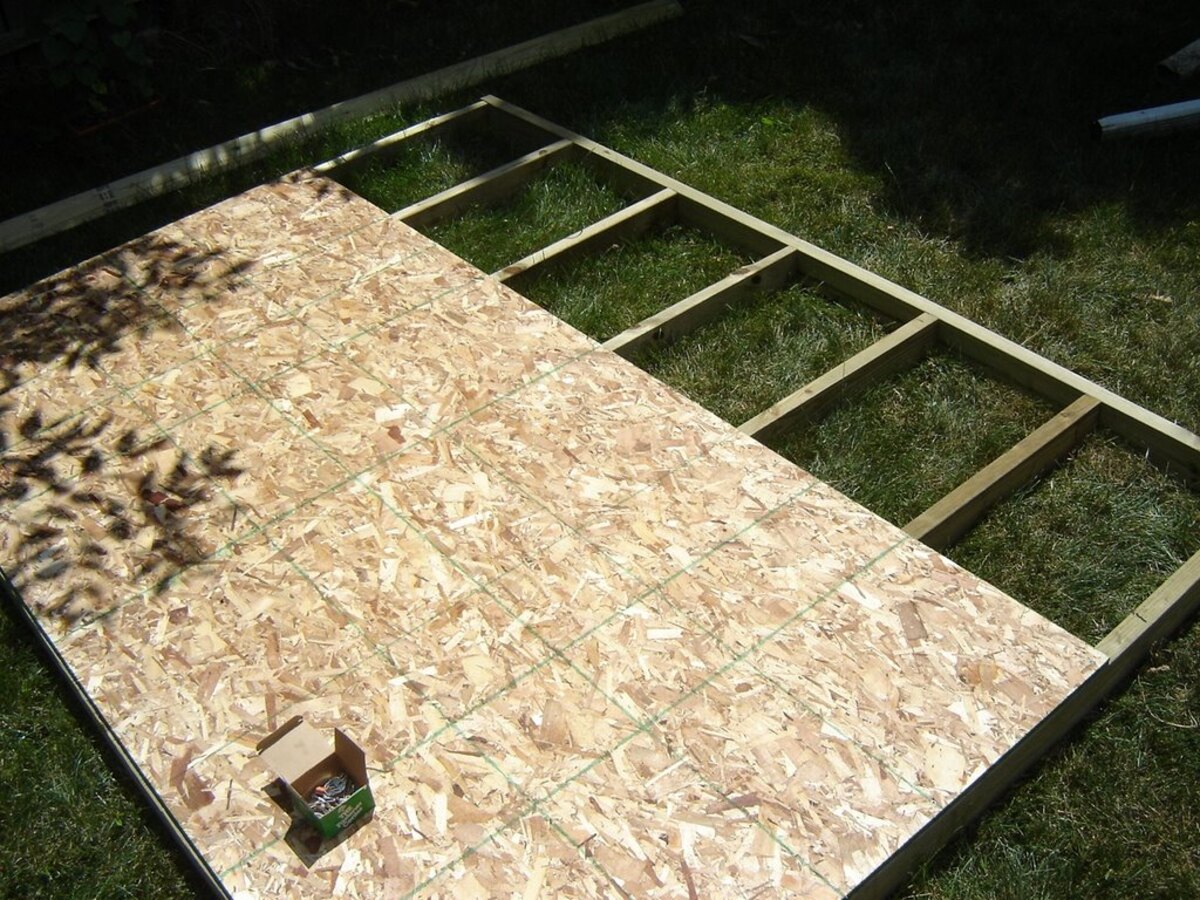
Securing the Floor Materials:
Lay the cut floor materials onto the prepared foundation, ensuring that they align with the edges of the shed. Use galvanized screws or nails to securely fasten the floor materials to the underlying support structure, such as floor joists and beams. Be mindful of spacing and distribution to achieve a uniformly secured floor.
Ensuring Levelness:
Use a level to verify that the newly installed floor is even and flat. Address any areas of unevenness by adjusting the floor materials or adding shims as needed. A level floor is essential for the stability and functionality of the shed, especially when it comes to storing items or using the space for various activities.
Sealing and Protecting the Floor:
Apply an exterior-grade sealant or paint to the newly installed floor to provide an additional layer of protection against moisture, UV exposure, and general wear. This step enhances the durability and weather resistance of the shed floor, prolonging its lifespan and minimizing maintenance requirements.
Read more: How To Replace A Floor Joist
Inspecting the Completed Floor:
After the installation is complete, conduct a thorough inspection of the new shed floor. Check for secure fastenings, uniformity of the floor surface, and any signs of potential issues. Address any concerns promptly to ensure that the new floor meets high standards of quality and functionality.
By meticulously following these steps, you will successfully install a new shed floor that not only addresses the previous damage but also enhances the overall resilience and durability of the outdoor structure. The newly installed floor sets the stage for utilizing the shed space with confidence, knowing that it is supported by a solid and reliable foundation.
Finishing Touches
As the installation of the new shed floor nears completion, it’s time to focus on the finishing touches that will elevate the functionality, aesthetics, and longevity of the outdoor structure. These final steps add polish and additional protection to the newly replaced floor, ensuring that it is well-equipped to withstand the elements and serve its purpose effectively. Here’s how to add the finishing touches to the shed floor:
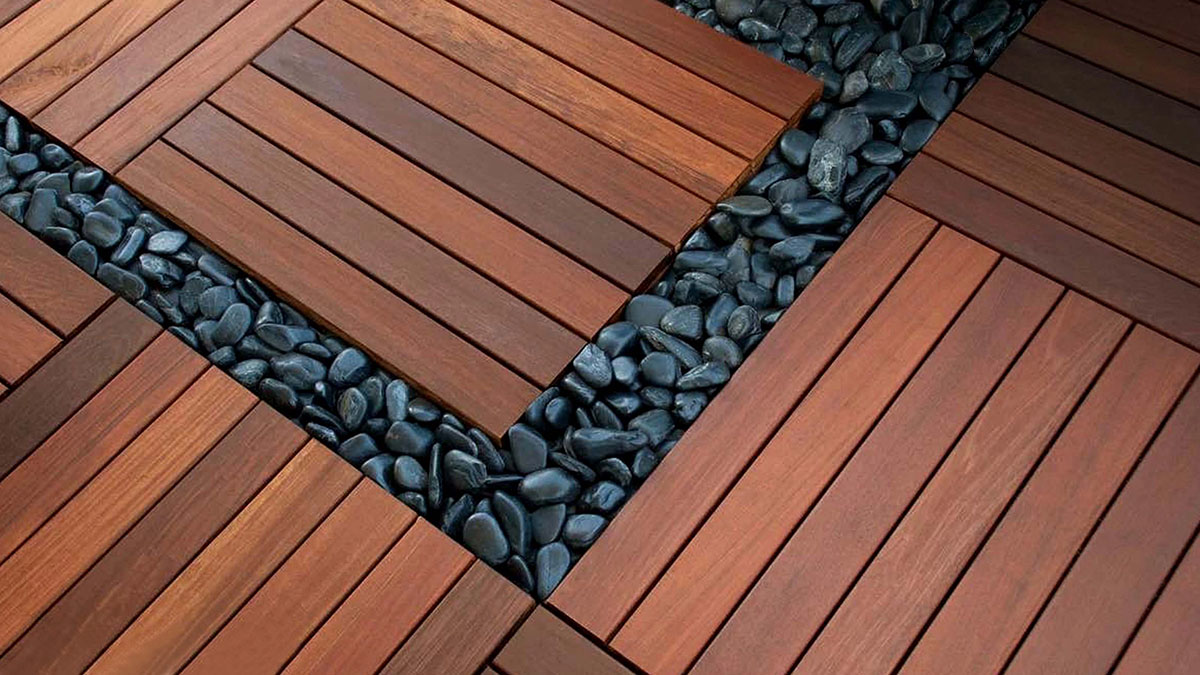
Trim and Molding:
Consider adding trim or molding around the edges of the shed floor to provide a finished look and conceal any gaps or imperfections. This decorative element not only enhances the visual appeal of the shed but also serves a practical purpose by protecting the edges of the floor from potential damage.
Weatherproofing:
Apply a bead of exterior-grade sealant along the perimeter of the shed floor where it meets the walls. This additional layer of weatherproofing helps prevent water infiltration and ensures that the floor remains protected from moisture, especially during periods of heavy rain or snow.
Read more: How To Replace Wood Floor
Threshold Installation:
If the shed has a door, consider installing a threshold at the entrance. A threshold provides a seamless transition from the ground to the shed floor, while also helping to keep out pests, debris, and moisture. It contributes to the overall functionality and cleanliness of the shed interior.
Interior Enhancements:
Take this opportunity to enhance the interior of the shed by organizing and optimizing the space. Install shelving, storage units, or hooks to maximize storage capacity and keep the interior tidy and well-organized. This step complements the new floor by creating a functional and user-friendly environment within the shed.
Maintenance Guidelines:
Provide guidelines for ongoing maintenance to ensure the longevity of the newly replaced shed floor. This may include recommendations for periodic inspections, cleaning procedures, and proactive measures to address potential issues such as moisture accumulation or pest intrusion. Empowering the shed owner with maintenance knowledge contributes to the long-term preservation of the floor.
By attending to these finishing touches, you not only enhance the visual appeal of the shed floor but also fortify its resilience and functionality. The thoughtful addition of protective elements and organizational features ensures that the shed and its new floor are well-prepared to withstand the rigors of outdoor use while providing a reliable and inviting space for storage and activities.
Conclusion
Replacing a shed floor is a significant undertaking that revitalizes the structural integrity and functionality of the outdoor storage space. By following the comprehensive steps outlined in this guide, you have embarked on a journey to restore and enhance your shed, ensuring that it remains a reliable and resilient structure for years to come.
Assessing the damage provided crucial insights into the condition of the existing floor, guiding the subsequent actions and ensuring that the replacement process addresses specific areas of concern. Gathering the necessary materials and tools equipped you with the resources to execute the replacement with precision and efficiency, setting the stage for a successful outcome.
The meticulous process of removing the old floor allowed for a thorough evaluation of the shed’s foundation and support structure, ensuring that any underlying issues were addressed before proceeding with the installation of the new floor. Preparing the foundation laid the groundwork for a stable and durable floor, incorporating measures to protect against moisture and enhance the shed’s overall resilience.
Installing the new floor marked a pivotal moment in the replacement process, as it culminated in the establishment of a robust and reliable foundation that will support the shed’s activities and storage needs. The finishing touches added a layer of polish and protection, elevating the functionality and aesthetics of the shed while providing guidelines for ongoing maintenance to preserve the newly replaced floor.
As you stand back and admire the revitalized shed, you can take pride in knowing that the replacement floor represents a significant investment in the longevity and functionality of the outdoor structure. The careful attention to detail and proactive approach to addressing damage and enhancing protection have positioned your shed for enduring resilience in the face of varying weather conditions and storage demands.
With a freshly replaced floor, your shed is ready to serve as a dependable and welcoming space for storage, hobbies, and activities, providing a secure and organized environment for your belongings and projects. By undertaking this project, you have not only revitalized your shed but also gained valuable experience in preserving and enhancing outdoor structures, setting a standard for long-term maintenance and care.
As you enjoy the renewed functionality and aesthetic appeal of your shed, take pride in the accomplishment of replacing its floor, knowing that you have contributed to the preservation and enhancement of a valuable outdoor asset.
Frequently Asked Questions about How To Replace A Shed Floor
Was this page helpful?
At Storables.com, we guarantee accurate and reliable information. Our content, validated by Expert Board Contributors, is crafted following stringent Editorial Policies. We're committed to providing you with well-researched, expert-backed insights for all your informational needs.


0 thoughts on “How To Replace A Shed Floor”