Articles
How To Replace A Floor Joist
Modified: May 6, 2024
Learn how to replace a floor joist with our step-by-step guides and expert articles. Gain the knowledge you need to tackle this home improvement project.
(Many of the links in this article redirect to a specific reviewed product. Your purchase of these products through affiliate links helps to generate commission for Storables.com, at no extra cost. Learn more)
Introduction
Welcome to our comprehensive guide on how to replace a floor joist. If you have noticed sagging floors or structural issues in your home, a damaged or weakened floor joist could be the culprit. Floor joists are essential components that provide support and stability to your flooring system, and addressing any damage promptly is crucial to maintain the integrity of your home.
In this article, we will walk you through the step-by-step process of replacing a floor joist. Whether you’re a seasoned DIY enthusiast or a homeowner looking to save some money on repairs, this guide will provide you with the necessary knowledge and tools to successfully complete the joist replacement.
Before we dive into the details, it’s important to note that this guide is intended for informational purposes only. It’s always recommended to consult with a professional contractor or structural engineer to assess the severity of the damage and provide expert guidance specific to your situation.
Now that the disclaimer is out of the way, let’s get started on understanding the process of replacing a floor joist and ensuring the longevity and stability of your home’s flooring system.
Key Takeaways:
- Proper preparation, precise removal, and secure installation are crucial for replacing a floor joist. Safety, accuracy, and attention to detail are essential throughout the process.
- Thorough testing, finishing, and professional inspection ensure the effectiveness and long-term stability of the joist replacement. Prioritize safety and seek expert guidance when needed.
Read more: What Is A Floor Joist
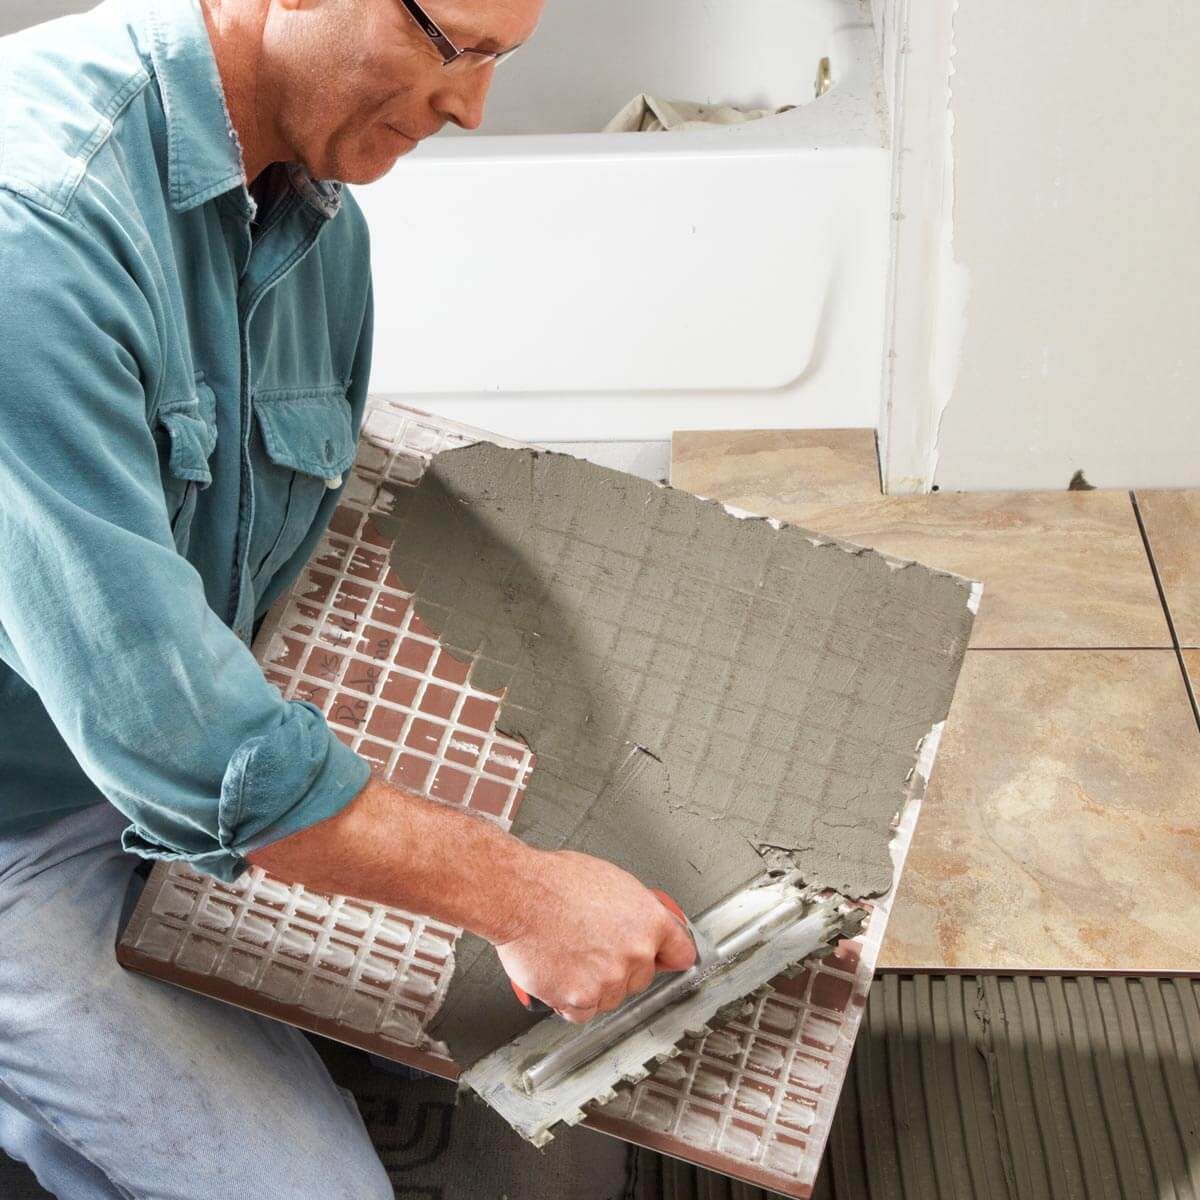
Preparing for the Replacement
Before you begin the process of replacing a floor joist, it’s essential to gather the necessary tools and materials and prepare the work area. Here’s a breakdown of the steps involved in preparing for the joist replacement:
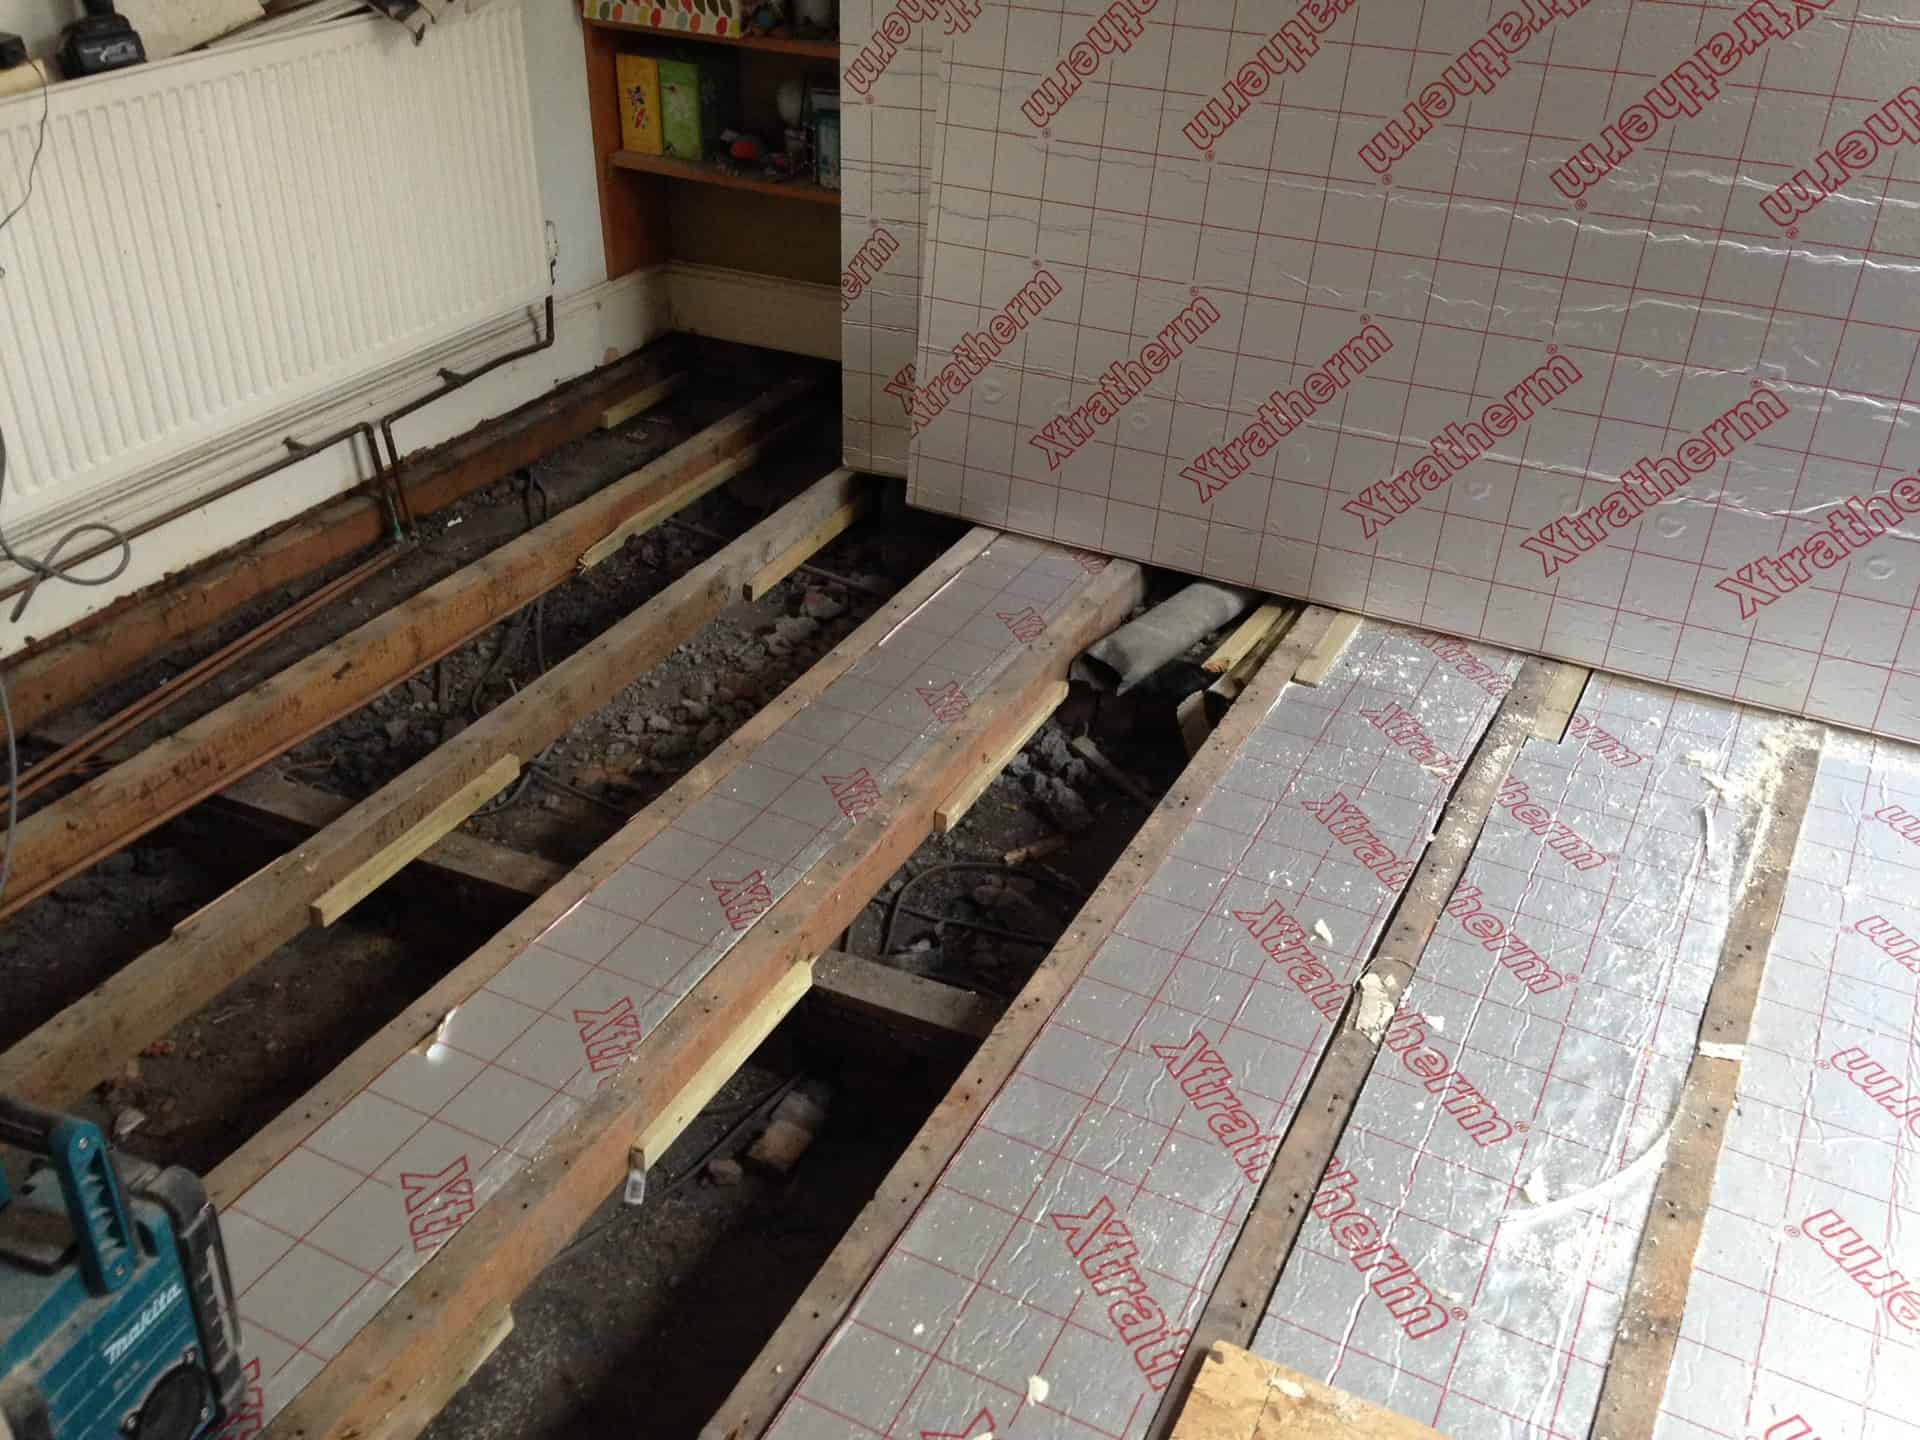
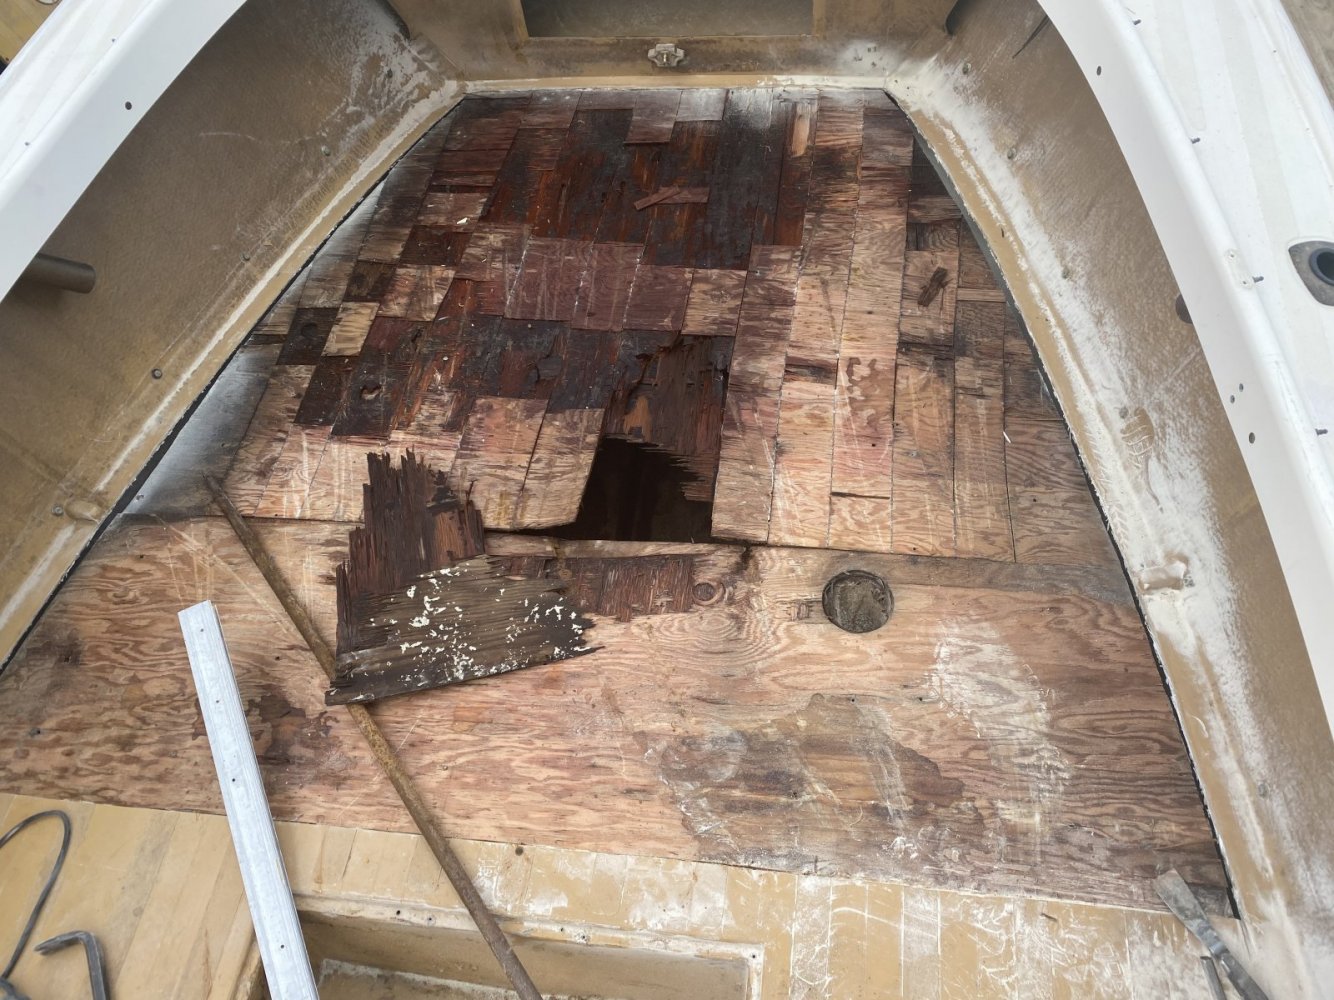
- Assess the damage: Start by identifying the damaged floor joist or joists. Look for signs of sagging, cracks, or any other visible damage. It’s important to note that floor joists typically run perpendicular to the floorboards, so the damaged joists may be located below the sagging area.
- Acquire the necessary tools: To successfully replace the floor joist, you’ll need a variety of tools, including a reciprocating saw, pry bar, hammer, screwdriver, measuring tape, safety goggles, and gloves. Make sure you have these tools easily accessible before starting the project.
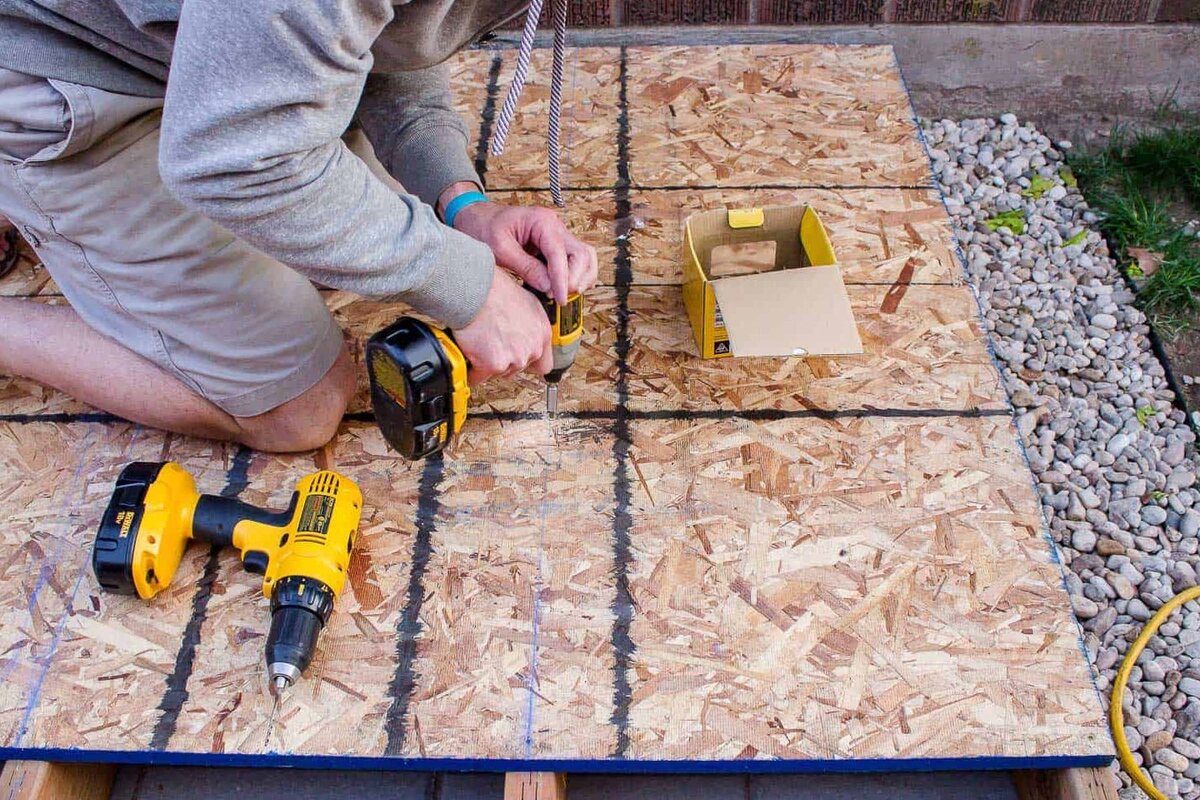
- Purchase the replacement materials: Measure the dimensions of the damaged floor joist to determine the size and length of the replacement. Purchase a new joist that matches the specifications of the old one. Additionally, you’ll need plywood for reinforcing the floor structure and joist hangers for securing the new joist.
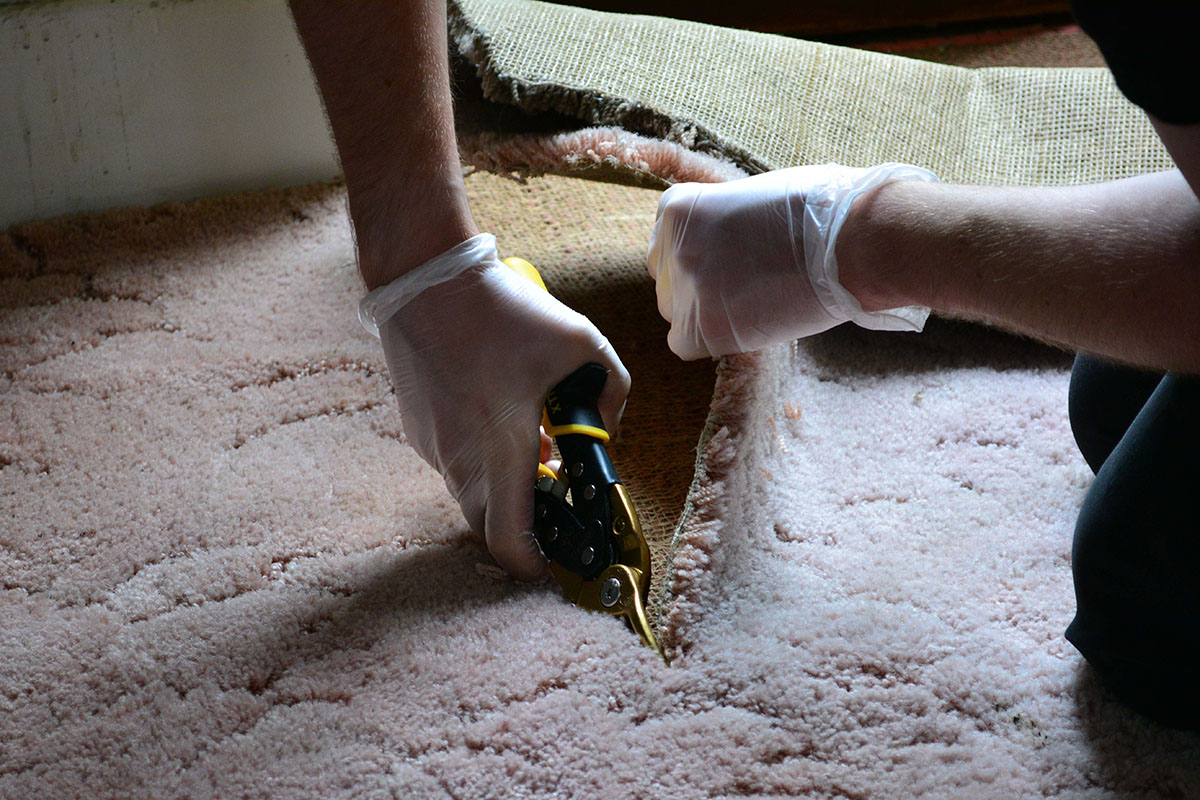
- Clear the work area: Remove any furniture, carpets, or other obstacles from the area where you’ll be working. This will provide you with ample space to maneuver and allow for a smoother replacement process.
- Ensure safety precautions: Before you start any construction work, it’s crucial to prioritize safety. Wear protective goggles and gloves to protect your eyes and hands from debris. If necessary, wear a respirator mask to avoid inhaling dust or mold spores.
By adequately preparing for the floor joist replacement, you’ll ensure a more organized and efficient process. Taking the time to gather the necessary tools, acquire the replacement materials, and clear the work area will set you up for success in the following steps of the joist replacement process.
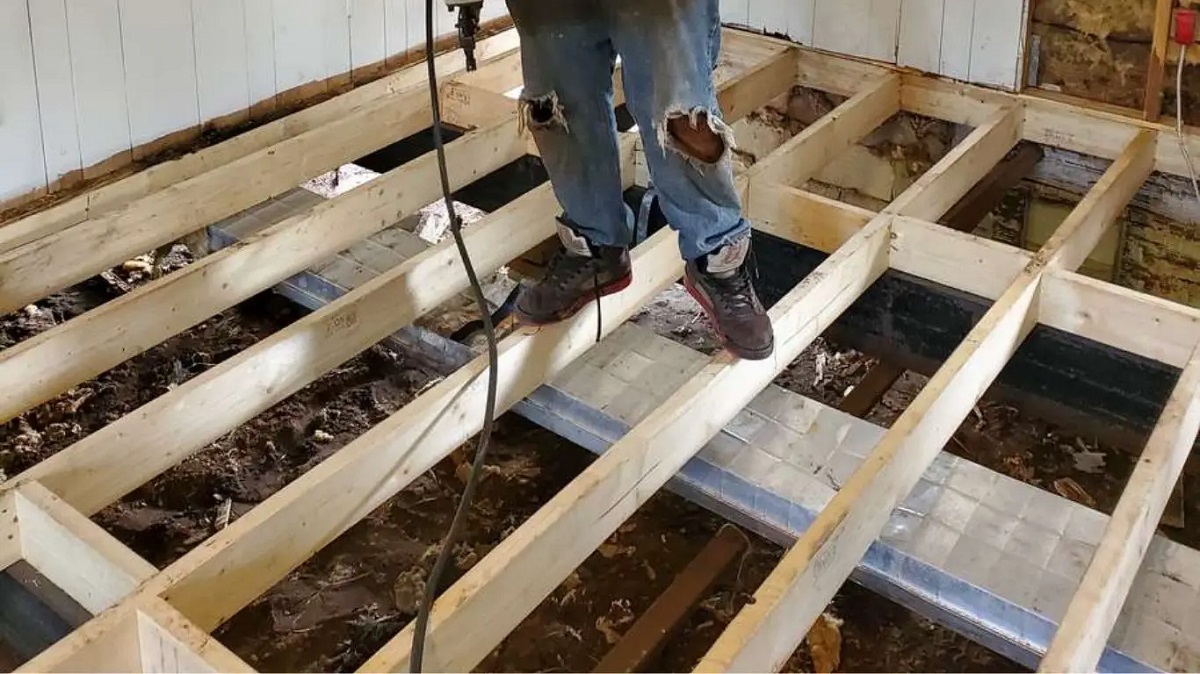
Removing the Damaged Floor Joist
Once you have prepared the work area and gathered the necessary tools and materials, it’s time to proceed with removing the damaged floor joist. Follow these steps to ensure a safe and successful removal:
- Locate the nearest supporting structures: Identify the adjacent floor joists on either side of the damaged one. These neighboring joists will provide support to the floor during the removal process.
- Support the floor: To prevent further damage or collapse, use temporary supports to bear the weight of the floor while you remove the damaged joist. Place adjustable jack posts or wooden supports beneath the flooring, making sure that they provide ample support to the sagging area.
- Cut the damaged joist: Use a reciprocating saw to carefully cut through the damaged joist. Make precise cuts on both ends of the joist, ensuring that you don’t cut into the neighboring joists or any other structural components. Take your time, as accuracy is crucial in this step.
- Remove any nails or screws: Once the joist is cut, use a pry bar, hammer, or screwdriver to remove any nails or screws that may be securing the joist to the subfloor or neighboring joists.
- Free the joist from any attachments: If the damaged joist is attached to other structural components, such as beams or walls, carefully detach it using appropriate tools. Exercise caution to avoid causing any damage to the surrounding structures.
- Remove the damaged joist: With all attachments removed, pull or slide the damaged joist out from beneath the floor. If necessary, cut the joist into smaller sections to facilitate its removal.
Removing the damaged floor joist requires precision and attention to detail. By securely supporting the floor, making accurate cuts, and safely detaching the joist from any attachments, you’ll ensure a seamless and successful removal process. Once the damaged joist is completely removed, you’re ready to move on to the next crucial step – installing the new floor joist.
Installing the New Floor Joist
Now that the damaged floor joist has been successfully removed, it’s time to install the new one. This step-by-step guide will walk you through the process:
- Measure the replacement joist: Take accurate measurements of the length and dimensions of the old joist to ensure the new one fits perfectly. Use a saw or other cutting tools, if necessary, to trim the replacement joist to the appropriate size.
- Position the new joist: Carefully slide the new joist into place, making sure it aligns with the neighboring joists and the supporting structures. Use a level to ensure the joist is straight and level.
- Secure the joist with joist hangers: Attach joist hangers to the new joist, positioning them at regular intervals. Make sure the hangers are securely fastened to the joist and the supporting beam or wall.
- Attach the new joist to the subfloor: Use nails, screws, or appropriate fasteners to secure the new joist to the subfloor. Make sure to follow the recommended guidelines for the material you’re working with to ensure a secure and stable connection.
- Repeat the process if multiple joists need replacing: If there are multiple damaged joists in the area, repeat the same steps for each individual joist, ensuring proper alignment and secure attachment.
During the installation process, it’s important to double-check the alignment and levelness of the joist. This will help maintain the stability and structural integrity of the floor system. Take your time to ensure the new joist is securely installed, as any mistakes or compromises in this step can lead to further issues down the line.
With the new floor joist installed, you’re one step closer to completing the replacement process. The next important step is securing the joist in place to ensure its stability and longevity.
When replacing a floor joist, make sure to properly support the surrounding structure before removing the old joist. Use temporary supports and shoring to prevent any further damage to the floor or the rest of the house.
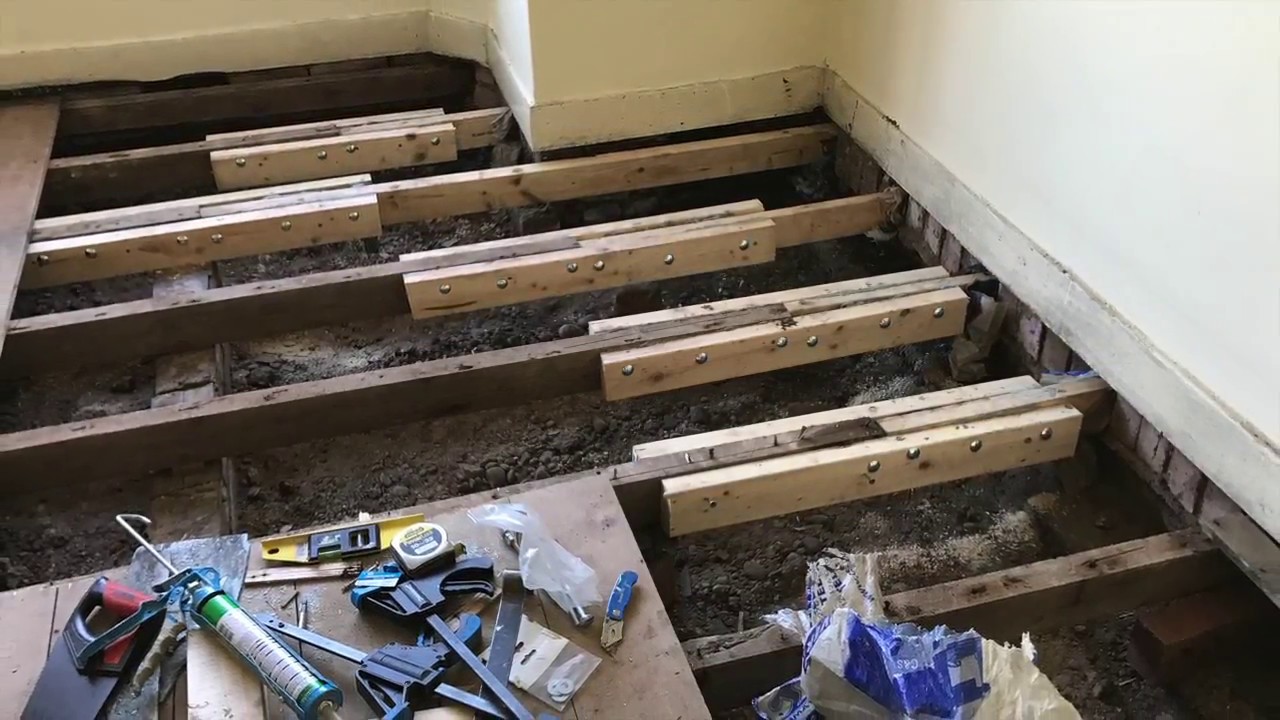
Securing the Joist in Place
Once the new floor joist is installed, it’s crucial to secure it in place to ensure its stability and long-term durability. Follow these steps to properly secure the joist:
- Reinforce the connection with the subfloor: To enhance the strength of the joist-subfloor connection, install blocking between the joist and the adjacent floor joists. This blocking can be made of wood or metal and should fit snugly between the joists.
- Secure the blocking and joist: Use screws, nails, or appropriate fasteners to securely attach the blocking to the joists. Make sure the connection is tight and stable.
- Consider additional reinforcements: In some cases, it may be necessary to provide additional reinforcement to the new joist for added strength. This can be achieved by installing sister joists alongside the new joist or adding steel bridging between the joists for extra support.
- Inspect the overall stability: Once the joist is secured, carefully inspect the stability and levelness of the entire floor structure. Address any remaining sagging or misalignment issues by adjusting the temporary supports or adding additional supports as needed.
Securing the new floor joist is vital to ensure its proper integration into the existing floor system. By reinforcing the connection with the subfloor, adding blocking, and considering additional reinforcements, you can enhance the stability and strength of the joist.
With the joist securely in place, it’s important to evaluate and reinforce the overall floor structure to ensure its integrity. Let’s explore the next step in the process – reinforcing the floor structure.
Read more: How To Strengthen Floor Joists
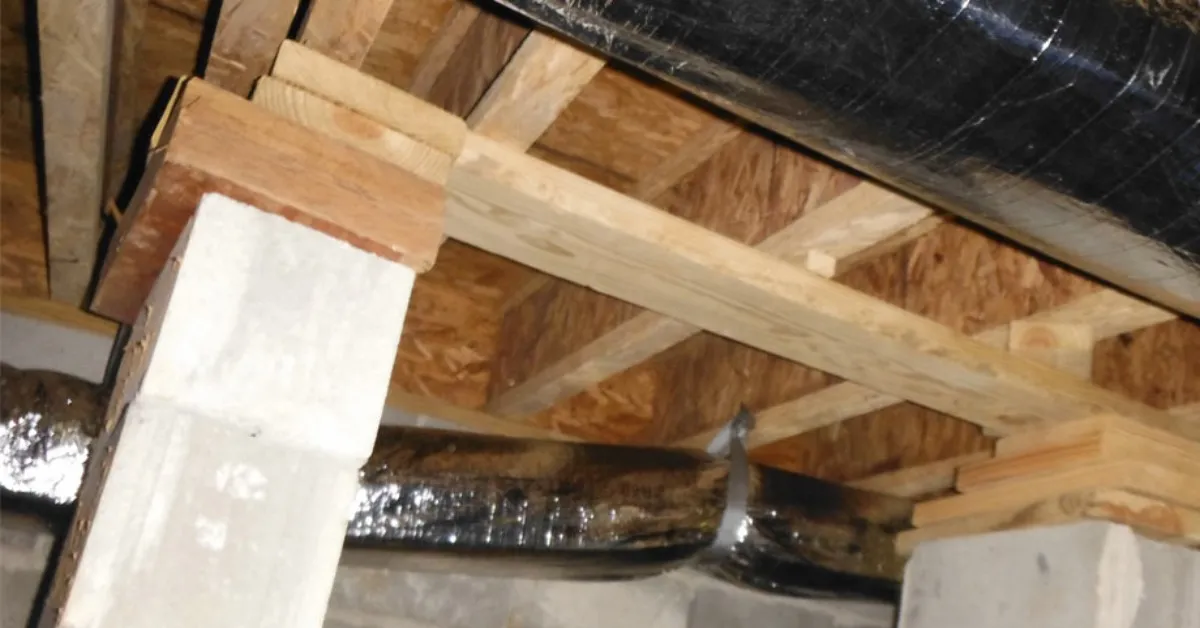
Reinforcing the Floor Structure
Now that the new floor joist is securely in place, it’s essential to reinforce the overall floor structure to ensure its strength and longevity. Follow these steps to properly reinforce the floor structure:
- Install additional blocking: Along with the blocking that was added to secure the new joist, consider installing additional blocking between the adjacent floor joists. This will provide further support and distribute the load evenly across the entire floor system.
- Consider adding cross bridging: Cross bridging refers to the installation of diagonal bracing between floor joists. This helps prevent any lateral movement or sway in the floor system and adds stability. Ensure the cross bridging is installed properly and securely.
- Support bridging with joist hangers: If you choose to add cross bridging, use joist hangers to secure the bridging pieces to the floor joists. This will ensure a strong and stable connection.
- Reinforce weak areas: Identify any weak or vulnerable areas in the floor structure and take necessary measures to reinforce them. This could include adding additional support beams or sistering joists to strengthen the overall system.
- Inspect and address any remaining issues: Thoroughly inspect the entire floor structure, checking for any signs of sagging, misalignment, or instability. If any issues are identified, address them promptly by adjusting temporary supports or adding additional reinforcements.
Reinforcing the floor structure is crucial to ensure the long-term stability and strength of the entire flooring system. By installing additional blocking, considering cross bridging, and reinforcing weak areas, you can greatly enhance the overall structural integrity of the floor.
With the floor structure properly reinforced, it’s time to move on to the next step – testing and finishing the replacement.
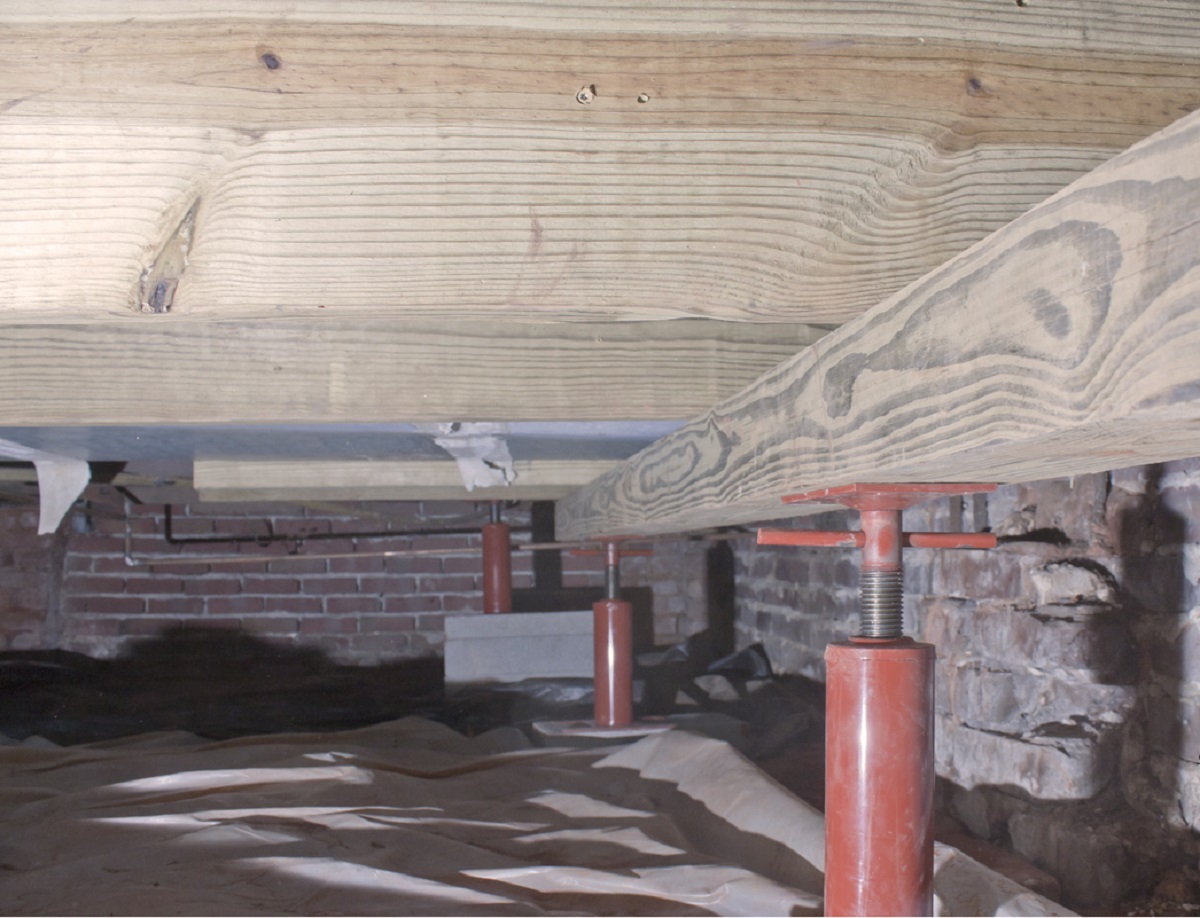
Testing and Finishing the Replacement
After the new floor joist is installed, secured, and the floor structure is reinforced, it’s essential to thoroughly test and finish the replacement to ensure its effectiveness. Follow these steps to properly test and finish the joist replacement:
- Remove temporary supports: Begin by carefully removing the temporary supports that were used to bear the weight of the floor during the replacement process. Slowly and systematically remove the supports, ensuring that the floor remains level and stable.
- Perform a load test: Apply additional weight or load to the repaired area to test the strength and stability of the newly installed joist and the overall floor system. Gradually increase the weight, checking for any signs of sagging or movement.
- Check for any remaining issues: Thoroughly inspect the replaced joist, neighboring joists, and the entire floor structure for any signs of weakness, misalignment, or structural issues. Address any lingering problems immediately to prevent further damage or instability.
- Finish the replacement: Once the replacement passes the load test and has been fully inspected, it’s time to finish the project. Repair any damaged subflooring or floorboards in the surrounding area, ensuring a seamless transition between the new and existing flooring.
- Consider professional inspection: If you’re uncertain about the quality of the replacement or have concerns about the overall structural integrity of your home, consider consulting with a professional contractor or structural engineer. They can provide expert guidance and inspect the replacement to ensure it meets proper standards.
Testing and finishing the replacement is crucial to ensure the effectiveness and success of the joist replacement project. By removing temporary supports, performing load tests, checking for remaining issues, and finishing the surrounding area, you can complete the replacement process with confidence.
Remember, safety should always be a priority when undertaking any construction or repair project. If you encounter any challenges or feel unsure about any step of the process, don’t hesitate to seek professional assistance to ensure a safe and successful outcome.
With the testing and finishing complete, your floor joist replacement project is now finished. By following this comprehensive guide, you have successfully addressed the damaged or weakened floor joist, ensuring the stability and longevity of your home’s flooring system.
Conclusion
Congratulations! You have reached the end of our comprehensive guide on how to replace a floor joist. Addressing a damaged or weakened floor joist is crucial to maintaining the integrity and stability of your home’s flooring system. By following the step-by-step process outlined in this guide, you have equipped yourself with the knowledge and tools to successfully complete the joist replacement.
Throughout the process, we emphasized the importance of safety and precision. Remember to prioritize your safety by wearing protective gear and consulting with professionals if needed. Additionally, take your time to accurately measure, cut, and install the new joist, ensuring a proper fit and secure attachment.
From preparing the work area and removing the damaged joist to installing the new joist, securing it in place, reinforcing the floor structure, and testing and finishing the replacement, each step plays a vital role in the overall success of the project.
It’s essential to conduct thorough inspections and load tests to verify the stability and strength of the replacement. Taking the time to address any remaining issues and finishing the surrounding area will ensure a seamless integration of the new joist and existing flooring.
Remember, if at any point you feel unsure or encounter challenges beyond your expertise, it’s always wise to consult with a professional contractor or structural engineer. They can provide expert guidance and assistance tailored to your specific situation.
By successfully replacing the damaged floor joist, you have contributed to the long-term stability and structural integrity of your home. Enjoy the peace of mind knowing that your flooring system is secure and capable of withstanding the demands of daily use.
We hope this guide has been informative and helpful in your joist replacement endeavor. Thank you for joining us, and best of luck with your future home projects!
Now that you've got the hang of replacing floor joists, why not elevate your home's look with some fresh flooring options? Our guide on the top choices for hardwood floors will help you decide what's best for your space. And if you're feeling handy, our practical advice on DIY home improvement projects can empower you to tackle even more upgrades around your house. Dive into these resources to keep your renovation journey moving smoothly!
Frequently Asked Questions about How To Replace A Floor Joist
Was this page helpful?
At Storables.com, we guarantee accurate and reliable information. Our content, validated by Expert Board Contributors, is crafted following stringent Editorial Policies. We're committed to providing you with well-researched, expert-backed insights for all your informational needs.


0 thoughts on “How To Replace A Floor Joist”