

Articles
How To Replace Drop Ceiling Tiles
Modified: February 24, 2024
Learn how to replace drop ceiling tiles with these informative articles. Find step-by-step guides, tips, and tricks to complete your ceiling renovation project.
(Many of the links in this article redirect to a specific reviewed product. Your purchase of these products through affiliate links helps to generate commission for Storables.com, at no extra cost. Learn more)
Introduction
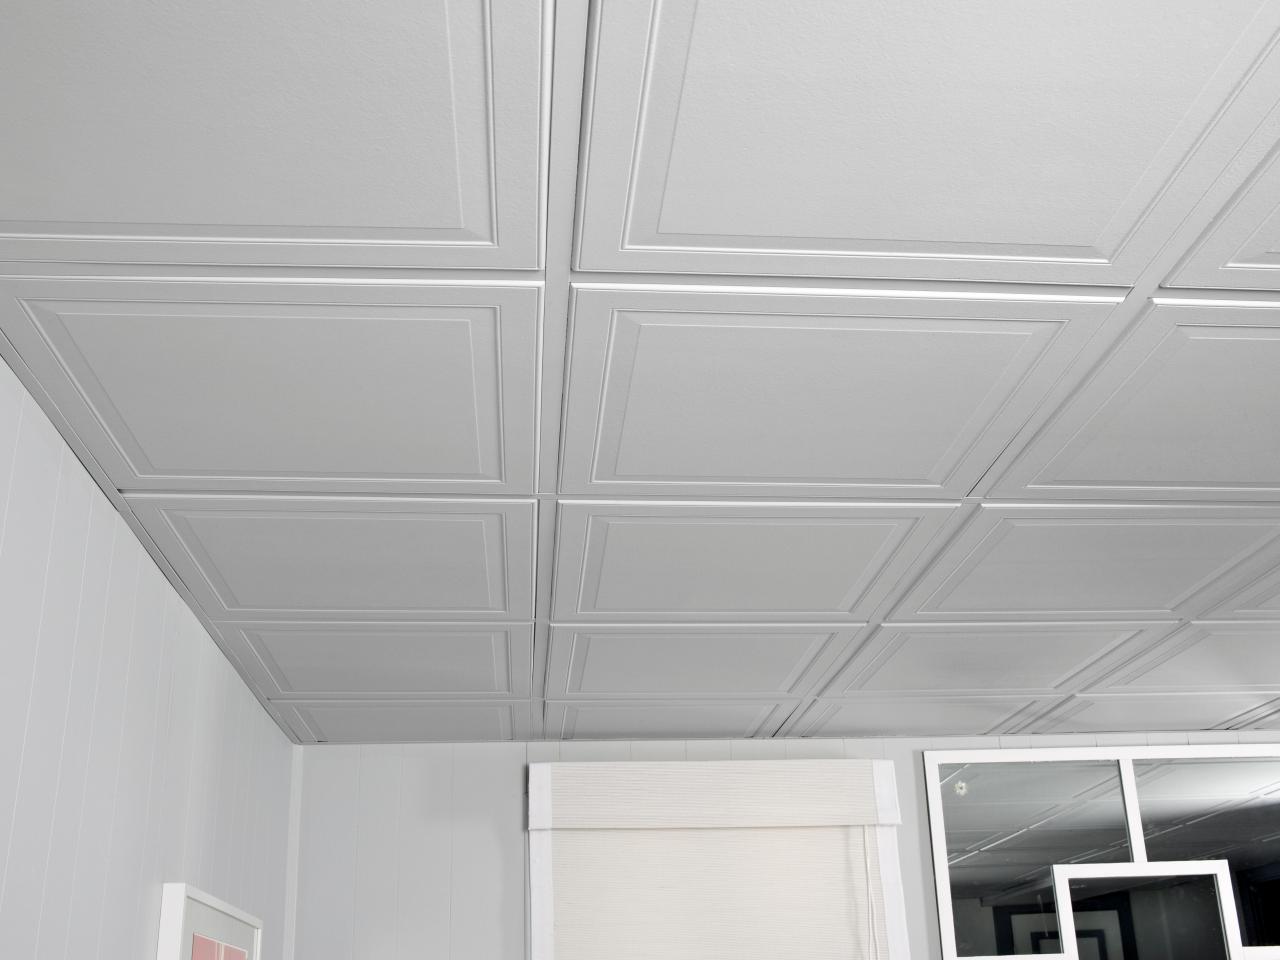
Drop ceiling tiles, also known as suspended ceiling tiles, are a popular choice for both commercial and residential spaces. They provide a clean and polished look while hiding unsightly wires, pipes, and ductwork. Over time, drop ceiling tiles may become damaged, stained, or simply outdated, necessitating their replacement. In this article, we will guide you through the process of replacing drop ceiling tiles.
With some basic tools and a little bit of patience, you can transform the look of your space by installing new drop ceiling tiles. Whether you are a DIY enthusiast or a homeowner looking to refresh your living area, this step-by-step guide will help you navigate the process smoothly.
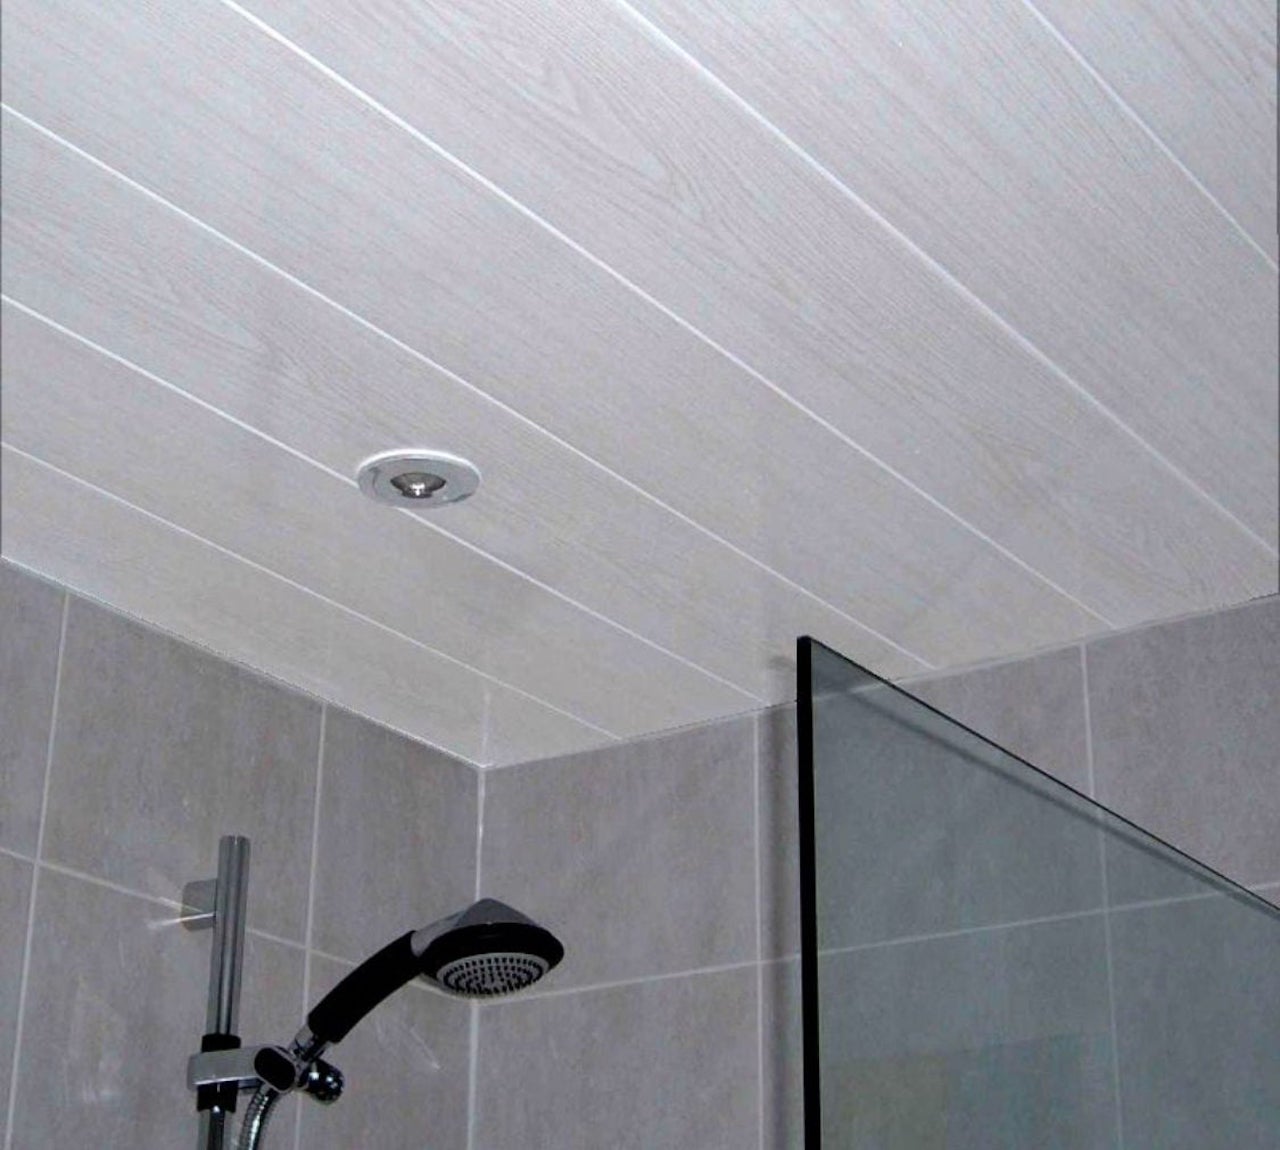
Before we dive into the details, it’s essential to familiarize yourself with the different types of drop ceiling tiles available in the market. These tiles come in various materials, such as mineral fiber, fiberglass, and PVC, each offering its own set of advantages and visual appeal. Consider your specific needs, including acoustic properties, fire resistance, and moisture resistance, when selecting the type of drop ceiling tiles that best suit your space.
Now that you have a basic understanding of drop ceiling tiles, let’s get started with the step-by-step process of replacing them. Remember to follow safety precautions and consult a professional if needed, especially when dealing with electrical or structural components.
Key Takeaways:
- Transform your space by replacing drop ceiling tiles with a step-by-step guide. Consider safety, material selection, precise measurements, and professional installation for a polished and updated look.
- Achieve a professional finish by carefully removing old tiles, measuring and cutting new ones, and replacing the suspended grid. Clean up and add final touches for a satisfying transformation.
Read more: How To Paint Drop Ceiling Tiles
Step 1: Gather Materials
Before you begin replacing drop ceiling tiles, it’s important to gather all the necessary materials. Having everything on hand will help you complete the project efficiently. Here’s a list of items you will need:
- Replacement drop ceiling tiles: Measure the dimensions of the existing tiles to ensure the new ones fit properly.
- Ceiling tile adhesive or clips: Depending on the type of tiles you are using, you may require adhesive or clips to secure them in place.
- Ladder or step stool: This will allow you to reach the ceiling safely.
- Tape measure: Use this to accurately measure the dimensions of your ceiling and the tiles.
- Safety goggles and gloves: Protect your eyes and hands while working with tools or handling ceiling tiles.
- Utility knife or tile cutter: These tools are essential for cutting the tiles to the desired size.
- Screwdriver or drill: You may need these tools to remove any screws or fasteners holding the old tiles in place.
- Broom or vacuum cleaner: Clean the area before and after the installation to ensure a tidy workspace.
Make sure to double-check your inventory and gather all the necessary materials and tools before starting the project. This way, you won’t have to interrupt your workflow to hunt for missing items.
It’s also helpful to have a clear workspace where you can organize your materials and maneuver comfortably. Take some time to prepare the area before you begin, removing any furniture or obstacles that may obstruct your work.
Now that you have all the materials and a clean workspace, you’re ready to move on to the next step: removing the old drop ceiling tiles.
Step 2: Remove Old Tiles
Before you can install new drop ceiling tiles, you’ll need to remove the old ones. Follow these steps to safely and effectively remove the old tiles:
- Ensure your workspace is clear of any furniture or objects that may obstruct your movements.
- Put on safety goggles and gloves to protect yourself from any debris or dust.
- Position a ladder or step stool beneath the area where you’ll be working to reach the ceiling comfortably.
- Examine the old tiles to see how they are secured to the grid and determine the best method for removal.
- If the tiles are held in place with clips, gently push up on one side of the tile and unclip it from the grid. Repeat this process for each tile, carefully removing them one by one.
- If the tiles are glued to the grid, carefully lift one corner of a tile using a putty knife or a similar tool. Slowly and gently pry the tile away from the grid, taking care not to damage the surrounding tiles or the ceiling surface.
- Continue removing the remaining tiles following the same method, maintaining a steady pace and exercising caution.
- As you remove each tile, set it aside in a safe place to avoid damaging or cracking it.
- Once all the old tiles have been removed, inspect the grid to ensure it is in good condition and free from any debris or adhesive.
Removing the old tiles can be a relatively straightforward process, but it requires careful handling and attention to detail. Take your time and be gentle to avoid unnecessary damage.
If you encounter any difficulties or stubborn tiles that seem difficult to remove, it’s advisable to seek professional assistance. They will have the necessary expertise and tools to handle more complex situations.
With the old tiles successfully removed, it’s time to move on to the next step: measuring and cutting the new tiles.
Step 3: Measure and Cut New Tiles
Once you have removed the old drop ceiling tiles, it’s time to measure and cut the new tiles to fit your space. Follow these steps to ensure a precise fit:
- Review the dimensions of the existing tiles you removed to determine the size of the new replacement tiles needed.
- Use a tape measure to measure the length and width of the open space where a new tile will be installed.
- Transfer the measurements onto the back of a new tile, using a pencil or marker to create clear guidelines for cutting.
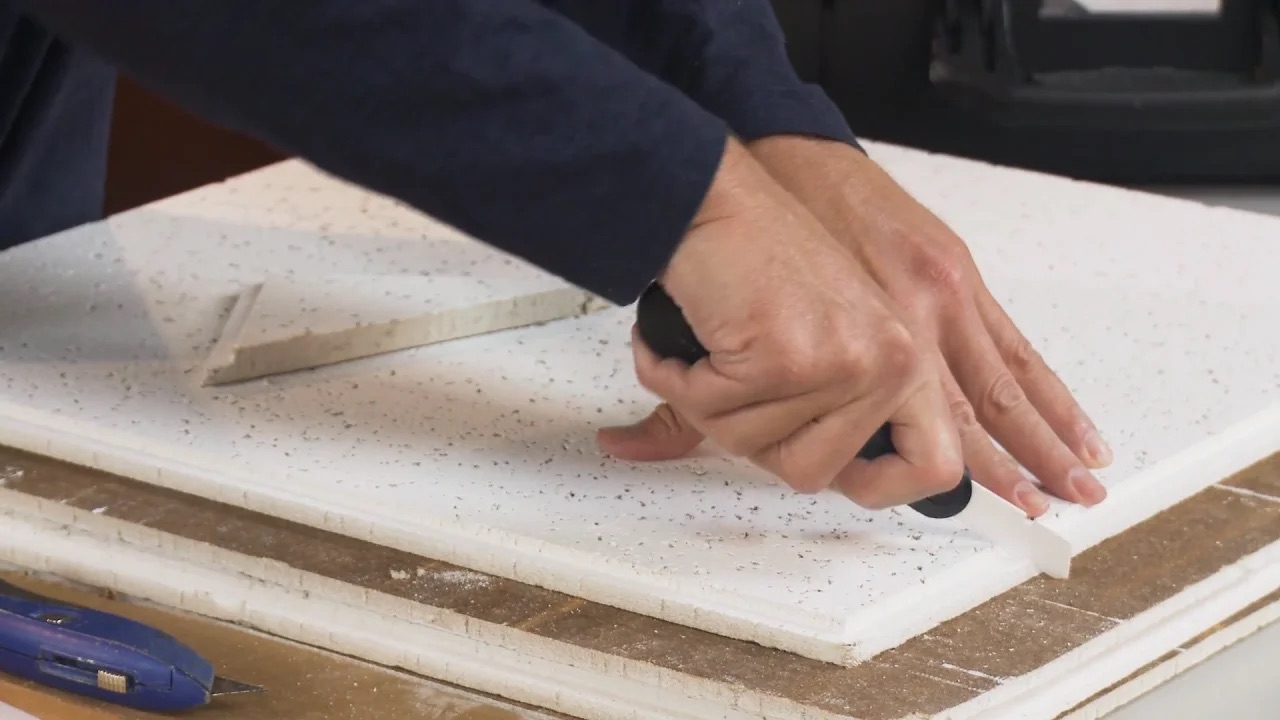
- Using a utility knife or a tile cutter, carefully cut along the marked guidelines to create a new tile that matches the required dimensions.
- Continue measuring and cutting new tiles until you have enough to cover the entire ceiling space.
It’s essential to be precise when measuring and cutting the tiles to ensure a snug and seamless fit. Take your time and double-check your measurements before making any cuts to avoid wasting materials.
If you’re working with tiles that have specific patterns or designs, ensure that you align the cutting guidelines accordingly to maintain the desired aesthetic. Pay attention to any directional patterns or repeating motifs to achieve a cohesive look once the tiles are installed.
Lastly, keep in mind that it’s always better to cut a tile slightly larger than needed. You can always trim off any excess material later to achieve a perfect fit. Measure twice, cut once!
With your new tiles properly measured and cut, you’re ready to move on to the next step: installing the new tiles in the grid.
When replacing drop ceiling tiles, be sure to measure the existing tiles accurately before purchasing new ones. This will ensure a proper fit and professional-looking finish.
Step 4: Install New Tiles
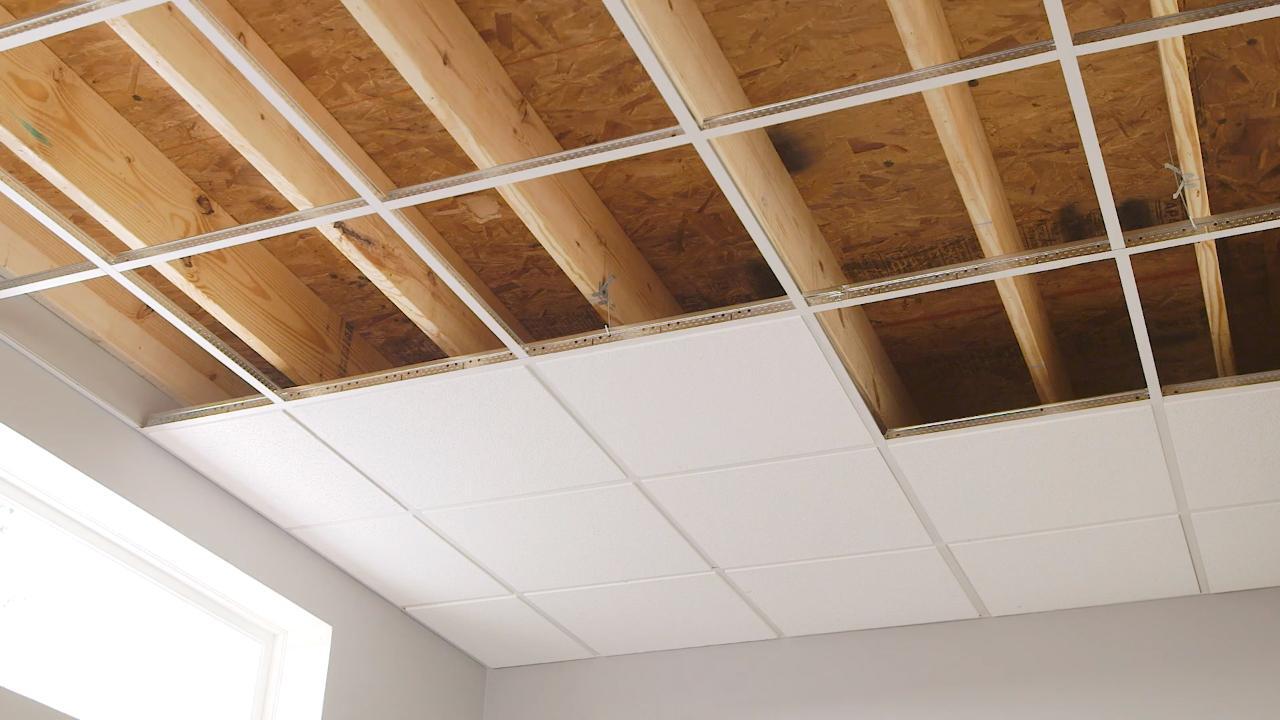
Now that you have measured and cut the new drop ceiling tiles, it’s time to install them in the suspended grid. Follow these steps to ensure a secure and professional installation:
- Start by positioning a ladder or step stool beneath the area where you’ll be working to reach the ceiling comfortably.
- Take one of the new tiles and align it with the grid, making sure that it fits snugly within the surrounding tiles.
- If your tiles require adhesive, apply a thin layer of tile adhesive to the back of the tile, following the manufacturer’s instructions.
- Press the tile firmly against the grid, ensuring that it is properly aligned and seated securely.
- Repeat the process for each tile, working your way across the ceiling until all the new tiles are installed.
- If your tiles use clips, insert the clips into the grid and press the tile onto the clips, ensuring a tight fit.
- Check the alignment and spacing of each tile as you go along, making any necessary adjustments to maintain a uniform and visually appealing appearance.
- Continue installing the tiles until the entire ceiling area is covered.
When installing the tiles, take care not to apply excessive pressure or force that could cause damage. Work methodically and systematically, ensuring that each tile is securely in place before moving on to the next one.
If you’re working with adhesive, allow sufficient time for the adhesive to dry and set according to the manufacturer’s instructions before proceeding with the next step.
As you install the new tiles, step back occasionally to evaluate the overall look and ensure that they are aligned properly. A well-installed grid with perfectly aligned tiles will give your space a polished and professional appearance.
With the new tiles securely in place, it’s time to move on to the next step: replacing the suspended grid.
Read more: What Is A Drop Ceiling
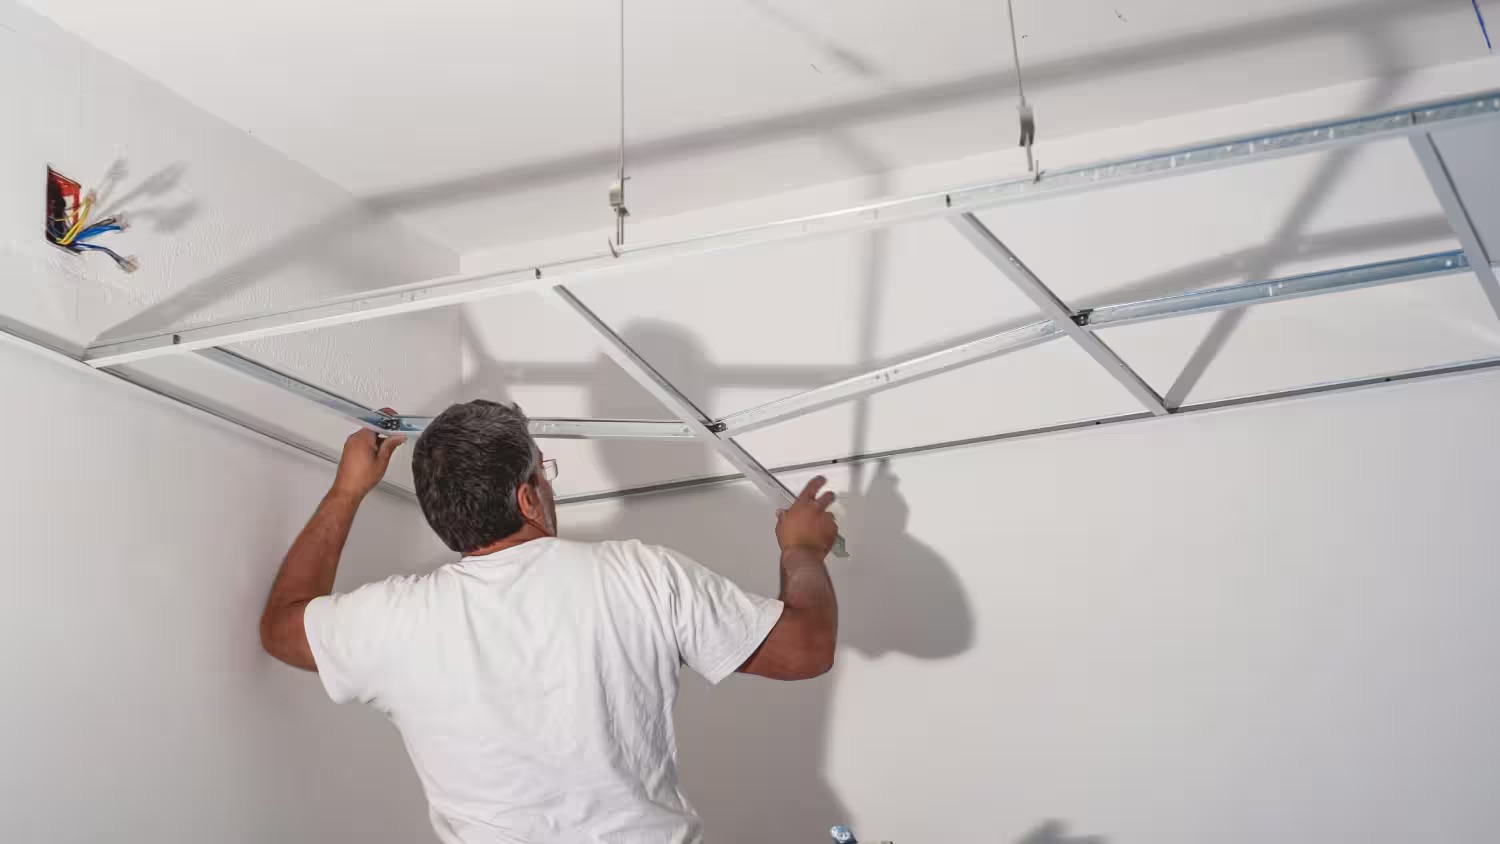
Step 5: Replace Suspended Grid
After replacing the tiles, it’s important to ensure the suspended grid is properly aligned and secure. Follow these steps to replace the suspended grid:
- Use a ladder or step stool to reach the ceiling and access the grid.
- Carefully inspect the existing suspended grid for any damage or signs of wear.
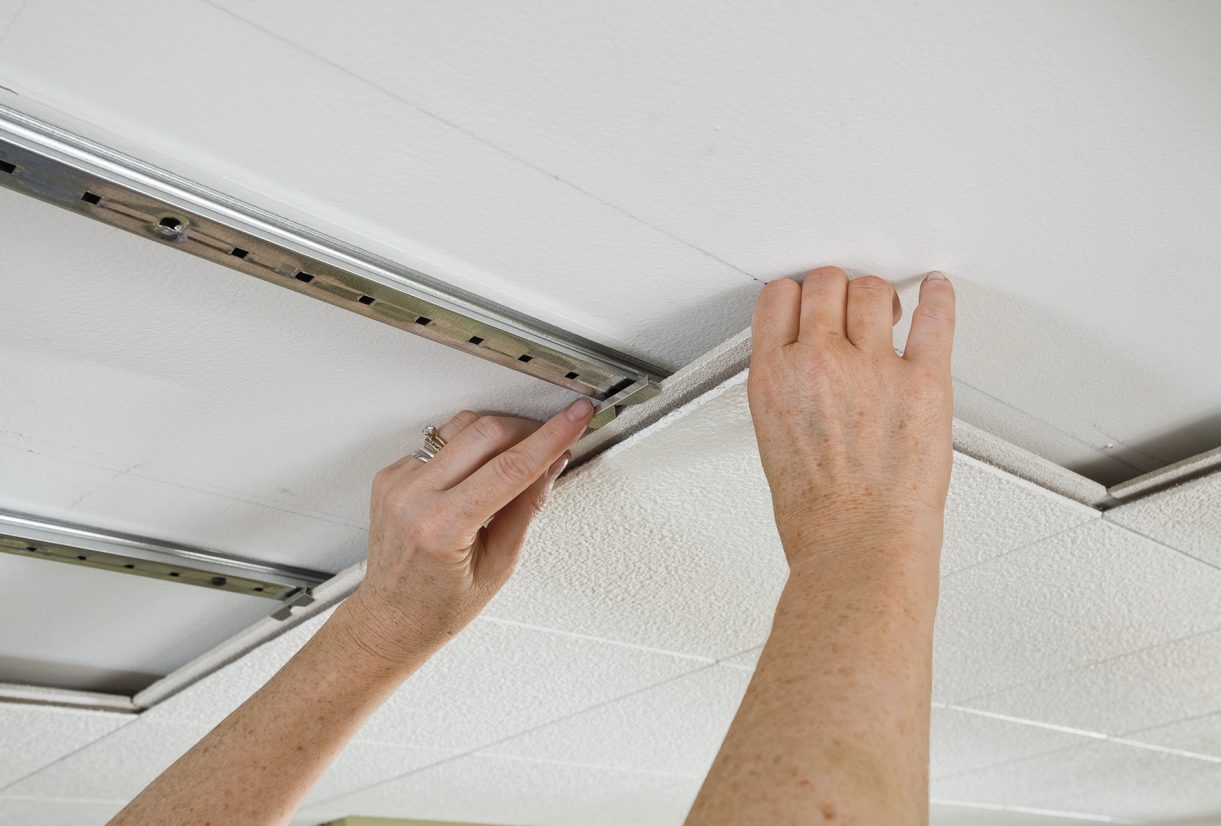
- If necessary, remove any damaged sections of the grid by detaching the clips or removing the screws.
- Replace the damaged sections with new grid pieces, aligning them with the existing grid.
- If the grid uses clips, insert the clips into the slots on the new grid pieces and attach them to the existing grid.
- If the grid uses screws, use a screwdriver or drill to secure the new grid pieces in place.
- Ensure the new grid pieces are properly aligned and level with the rest of the grid.
- Continue replacing any additional sections of the grid until the entire grid is intact and in good condition.
Replacing the suspended grid is crucial to maintain the structural integrity and stability of the drop ceiling. It’s important to take your time and ensure the grid pieces are correctly aligned to prevent any sagging or unevenness.
During the process, double-check that the grid is level and aligned with the surrounding tiles. A properly installed and aligned grid will contribute to the overall aesthetic appeal and professional finish of your new drop ceiling.
Once you have replaced the suspended grid, it’s time to move on to the final step: cleaning up and adding the finishing touches.
Step 6: Clean Up and Final Touches
After completing the installation of new drop ceiling tiles and replacing the suspended grid, it’s time to clean up the workspace and add the final touches to your project. Follow these steps to ensure a tidy and polished end result:
- Remove any debris, dust, or leftover materials from the workspace using a broom or vacuum cleaner. This will help create a clean and safe environment.
- Inspect the newly installed drop ceiling tiles for any visible marks, smudges, or adhesive residue.
- If needed, use a mild cleaning solution and a soft cloth or sponge to gently clean the tiles, being careful not to damage them.
- Allow the tiles to dry completely before proceeding to the next step.
- Step back and assess the overall appearance of your new drop ceiling. Take note of any gaps or areas that may need additional attention.
- If there are any visible gaps between the grid and the tiles, consider using caulk or a similar filler to provide a seamless and professional-looking finish.
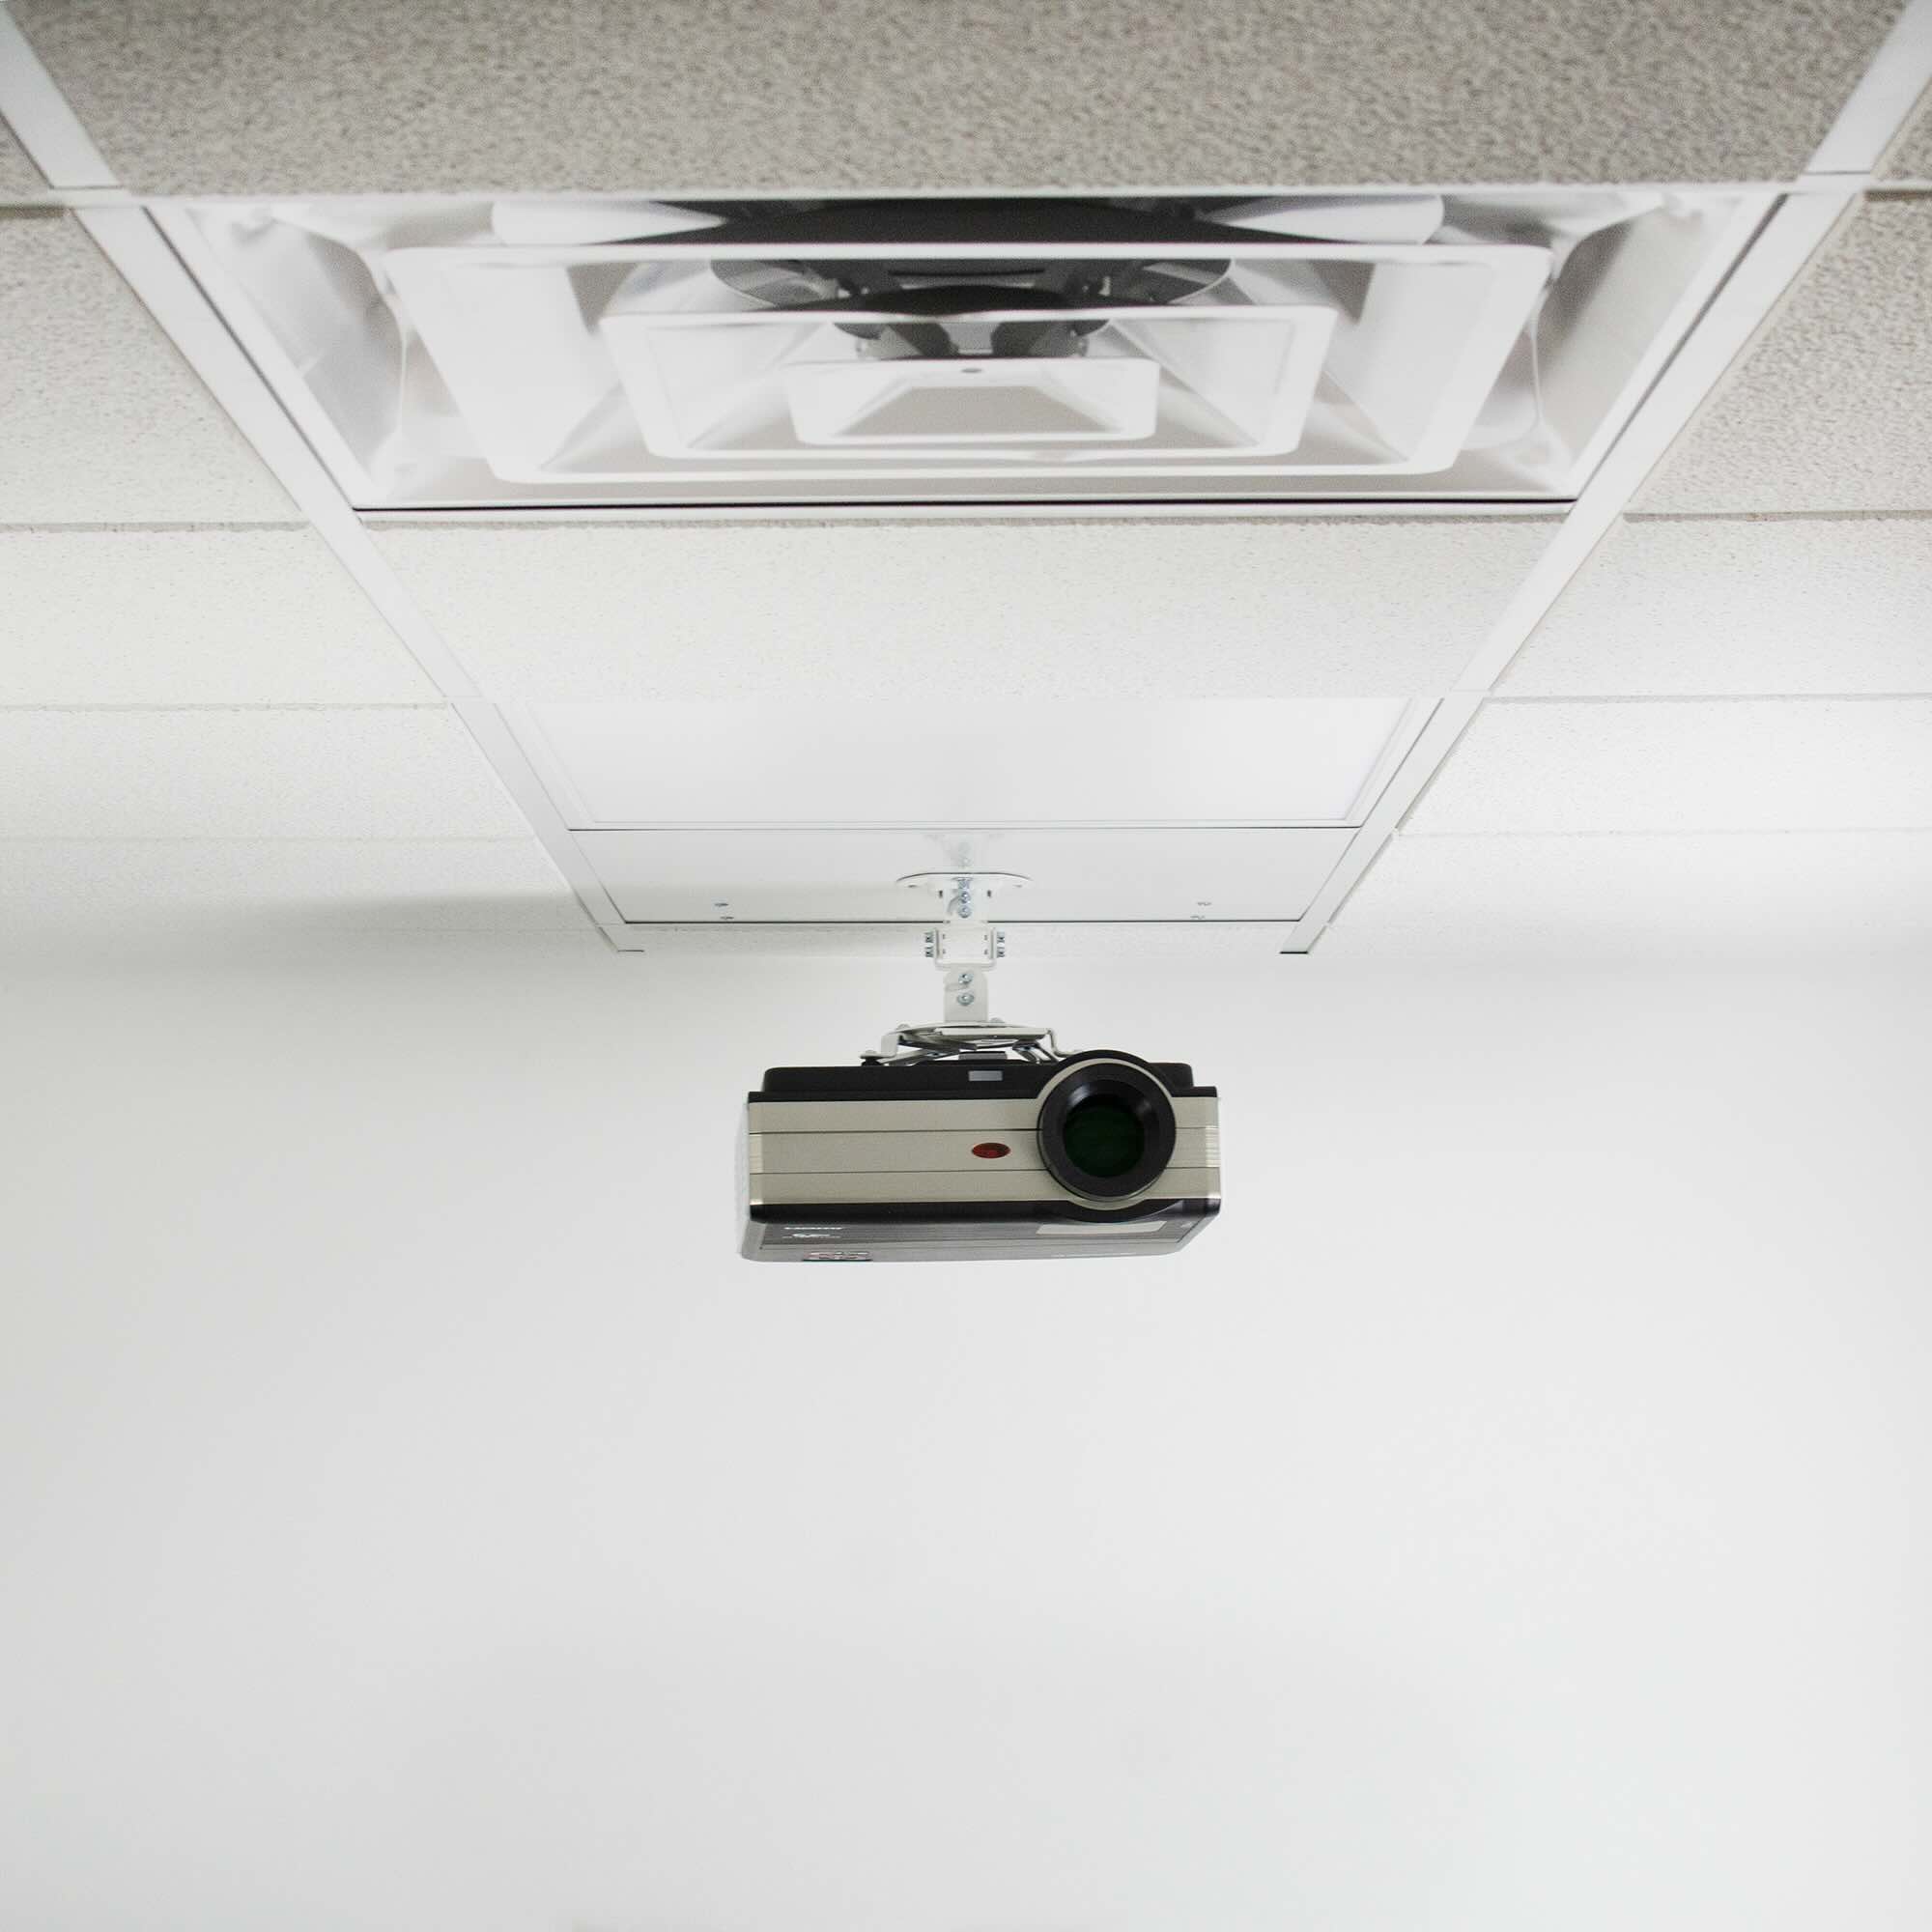
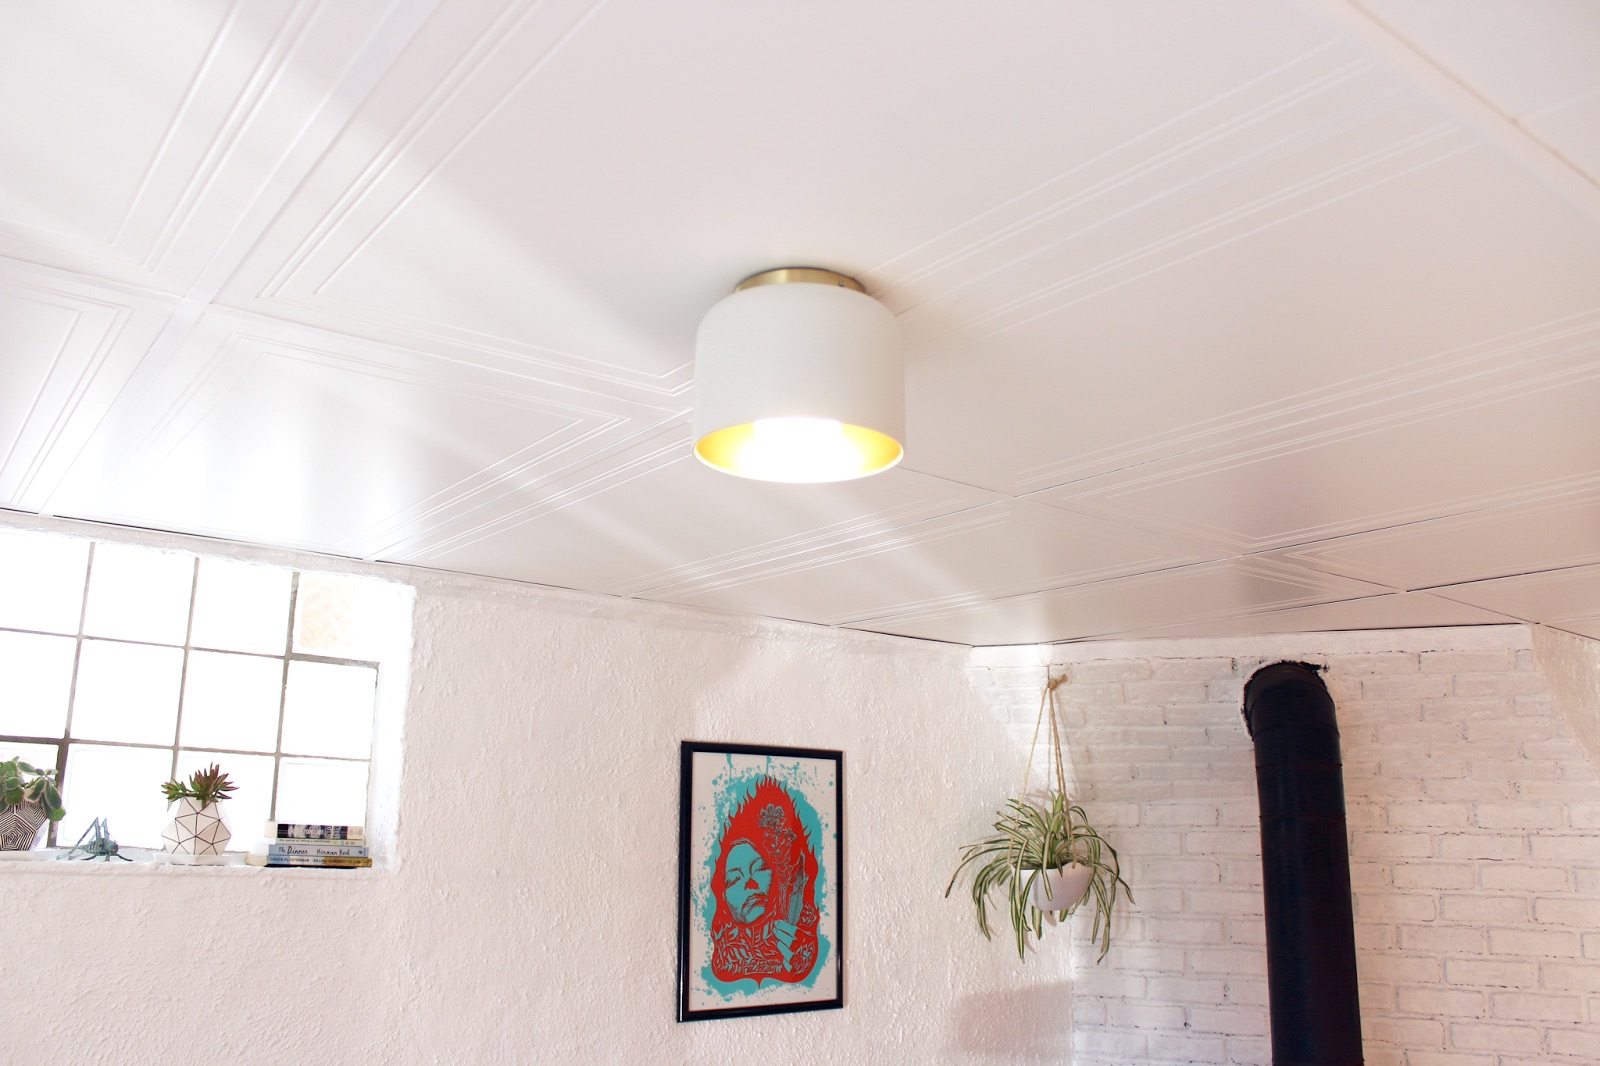
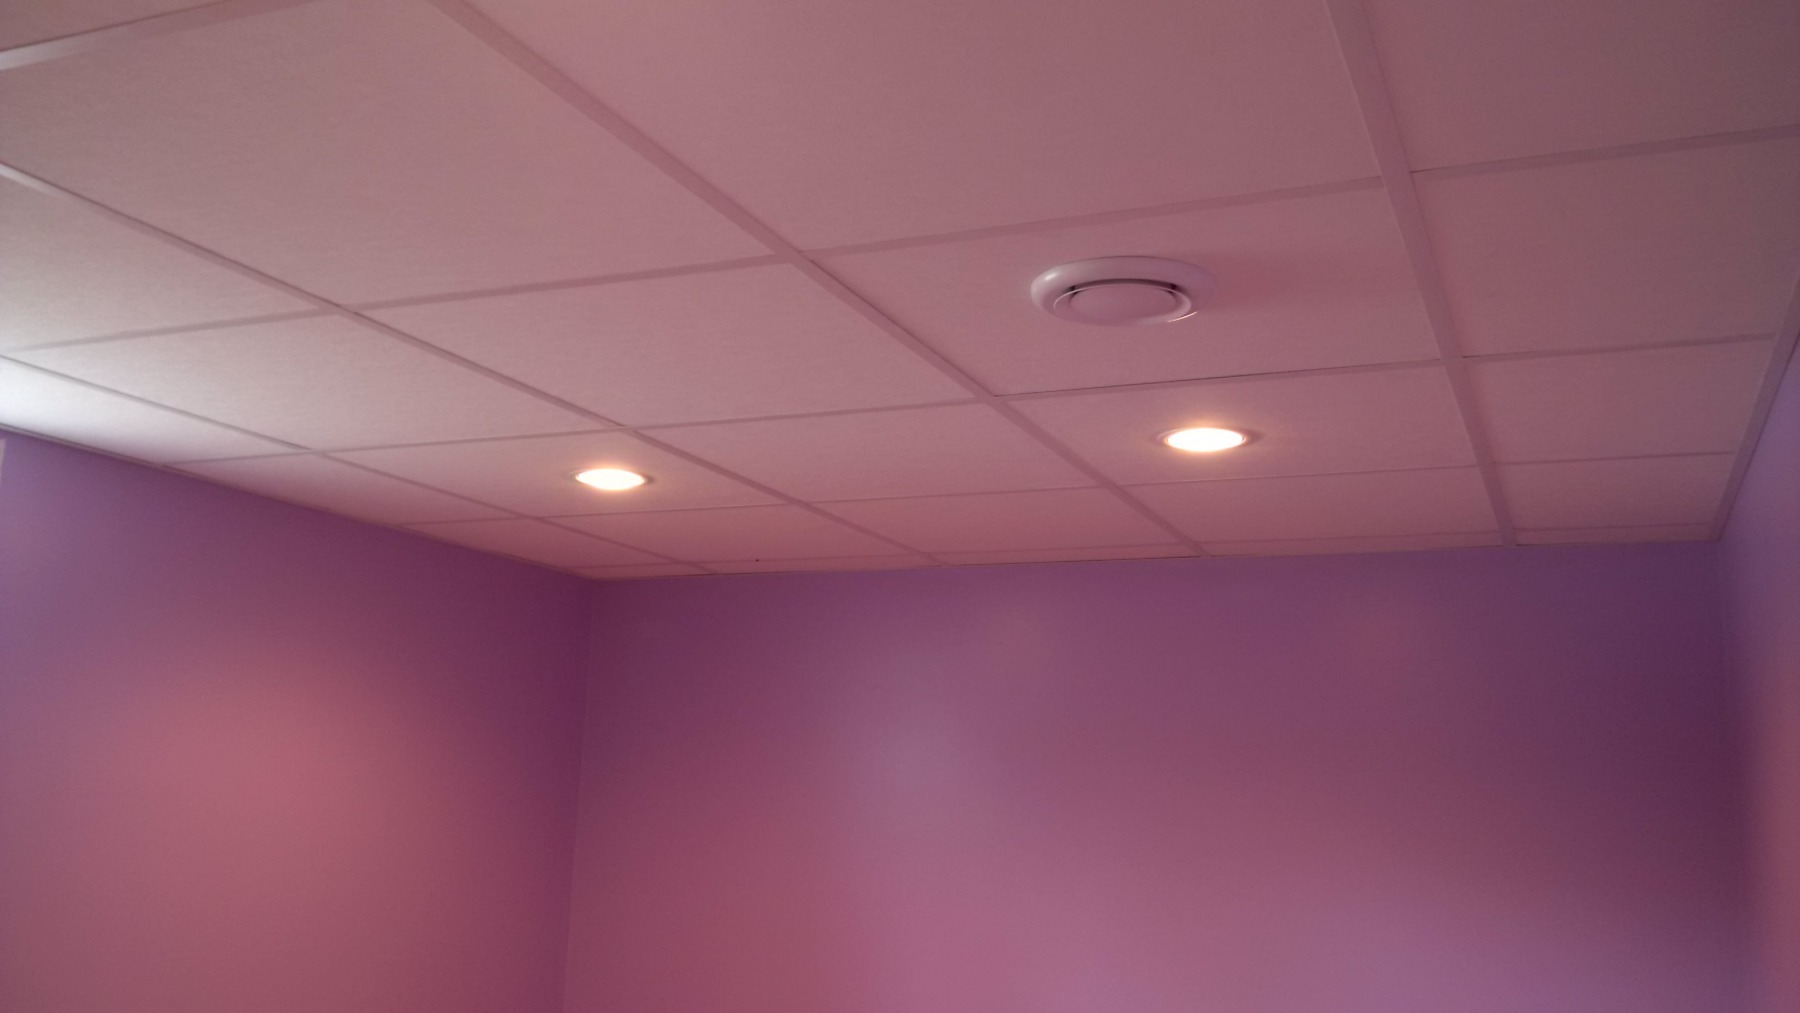
- Inspect the lighting fixtures or ventilation grilles in your drop ceiling area. Clean or replace them if necessary to enhance the overall aesthetic.
- Take the time to admire your newly installed drop ceiling and appreciate the transformation it has brought to your space.
Cleaning up after the installation is important to create a clean and well-maintained environment. It also allows you to identify any areas that may need additional attention or touch-ups.
Remember, attention to detail is key during this final step. Taking the time to ensure your new drop ceiling is clean, free from blemishes, and properly finished will leave you with a satisfying and professional end result.
Congratulations on successfully replacing your drop ceiling tiles and completing your project! The refreshed and updated look of your space will undoubtedly enhance its visual appeal and create a more comfortable environment.
As a final tip, consider maintaining your drop ceiling by regularly cleaning and inspecting it for any signs of damage or wear. This will help ensure the longevity and aesthetics of your drop ceiling for years to come.
Enjoy your new drop ceiling and the transformed ambiance it brings to your space!
Conclusion
Replacing drop ceiling tiles can give your space a fresh and updated look, while also hiding unsightly wires and ductwork. With the step-by-step guide provided in this article, you can confidently take on this project and achieve professional results.
From gathering the necessary materials to measuring, cutting, and installing the new tiles, each step plays a crucial role in the success of the project. It’s important to take your time, follow safety precautions, and pay attention to detail throughout the process.
Remember, selecting the right type of drop ceiling tiles is essential to meet the specific needs of your space. Consider factors such as acoustic properties, fire resistance, and moisture resistance when making your choices.
Additionally, paying attention to the suspended grid and ensuring it is properly aligned and secure contributes to the overall stability and visual appeal of your new drop ceiling.
Finally, don’t forget to clean up the workspace and add the final touches to achieve a polished end result. Remove any debris, clean the tiles if needed, and inspect the lighting fixtures or ventilation grilles for a cohesive and finished look.
By following these steps and taking the time to properly replace your drop ceiling tiles, you can transform the appearance of your space and create a more aesthetically pleasing environment.
Remember, safety should always be a priority, and if you encounter any challenges or difficulties along the way, don’t hesitate to seek professional assistance.
With your newly installed drop ceiling, sit back, relax, and enjoy the refreshed and updated ambiance it brings to your space. A well-maintained drop ceiling can greatly enhance the overall atmosphere and functionality of any room.
Congratulations on completing your drop ceiling tile replacement project. Here’s to a beautiful and inviting space!
Frequently Asked Questions about How To Replace Drop Ceiling Tiles
Was this page helpful?
At Storables.com, we guarantee accurate and reliable information. Our content, validated by Expert Board Contributors, is crafted following stringent Editorial Policies. We're committed to providing you with well-researched, expert-backed insights for all your informational needs.



0 thoughts on “How To Replace Drop Ceiling Tiles”