Articles
How To Paint Drop Ceiling Tiles
Modified: September 1, 2024
Learn how to paint drop ceiling tiles with our informative articles. Transform your space with these step-by-step guides and expert tips.
(Many of the links in this article redirect to a specific reviewed product. Your purchase of these products through affiliate links helps to generate commission for Storables.com, at no extra cost. Learn more)
Introduction
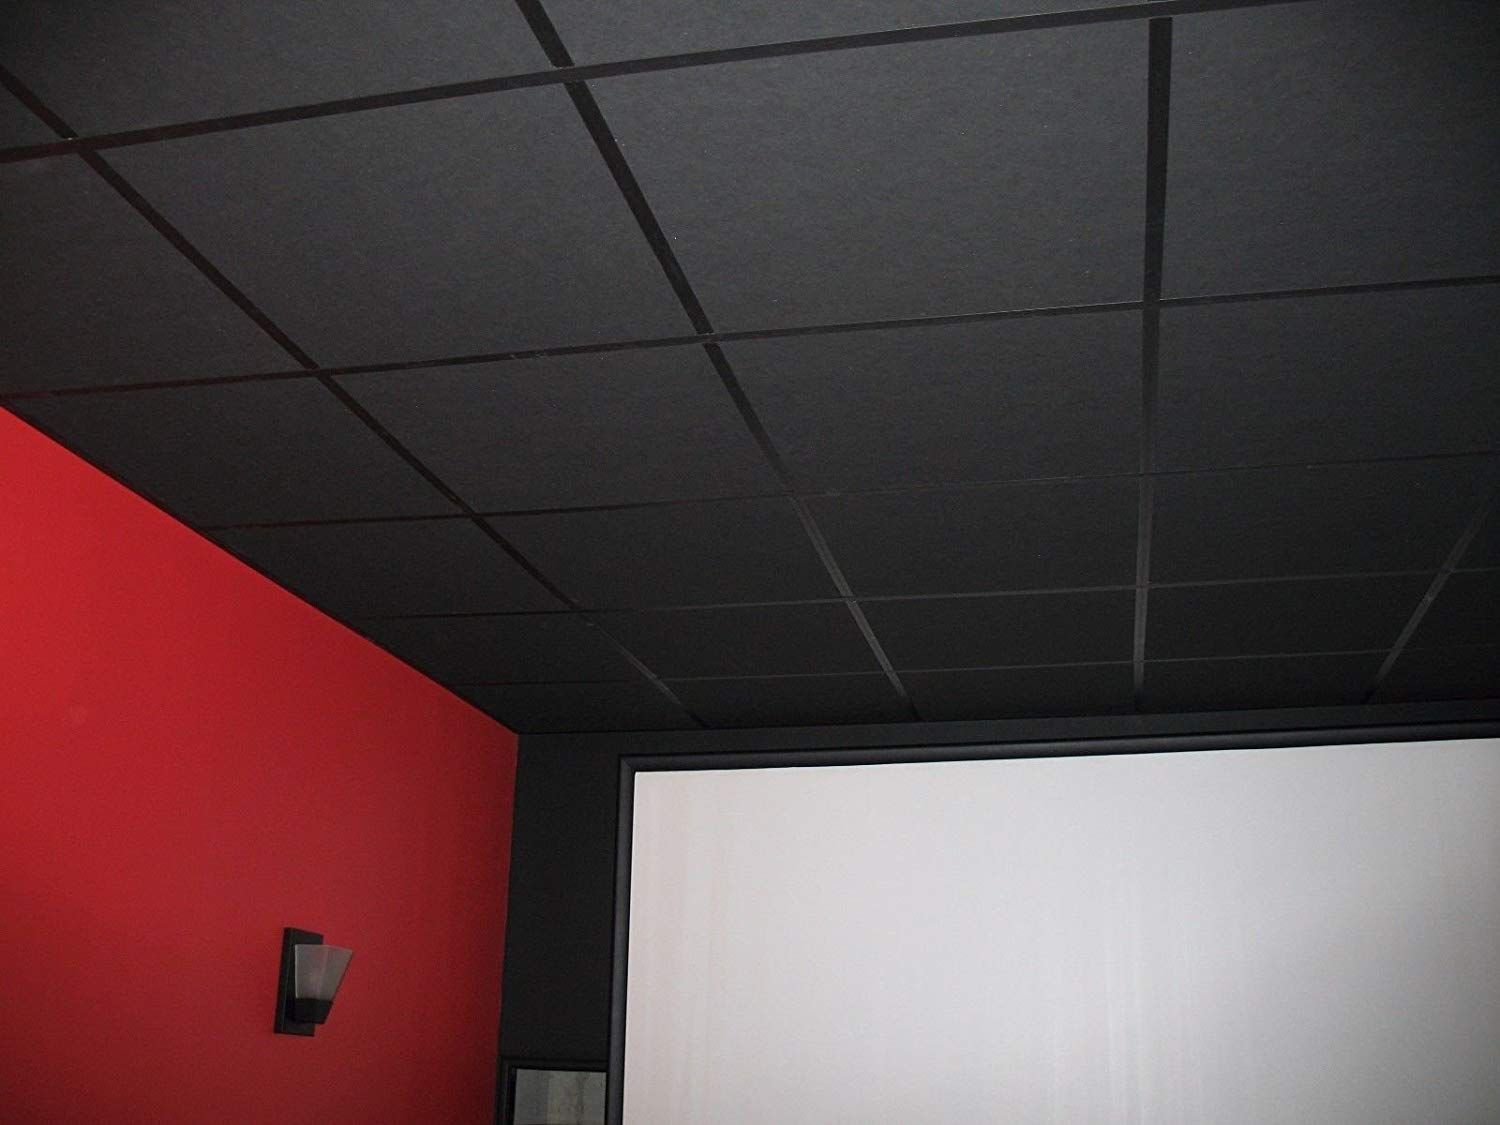
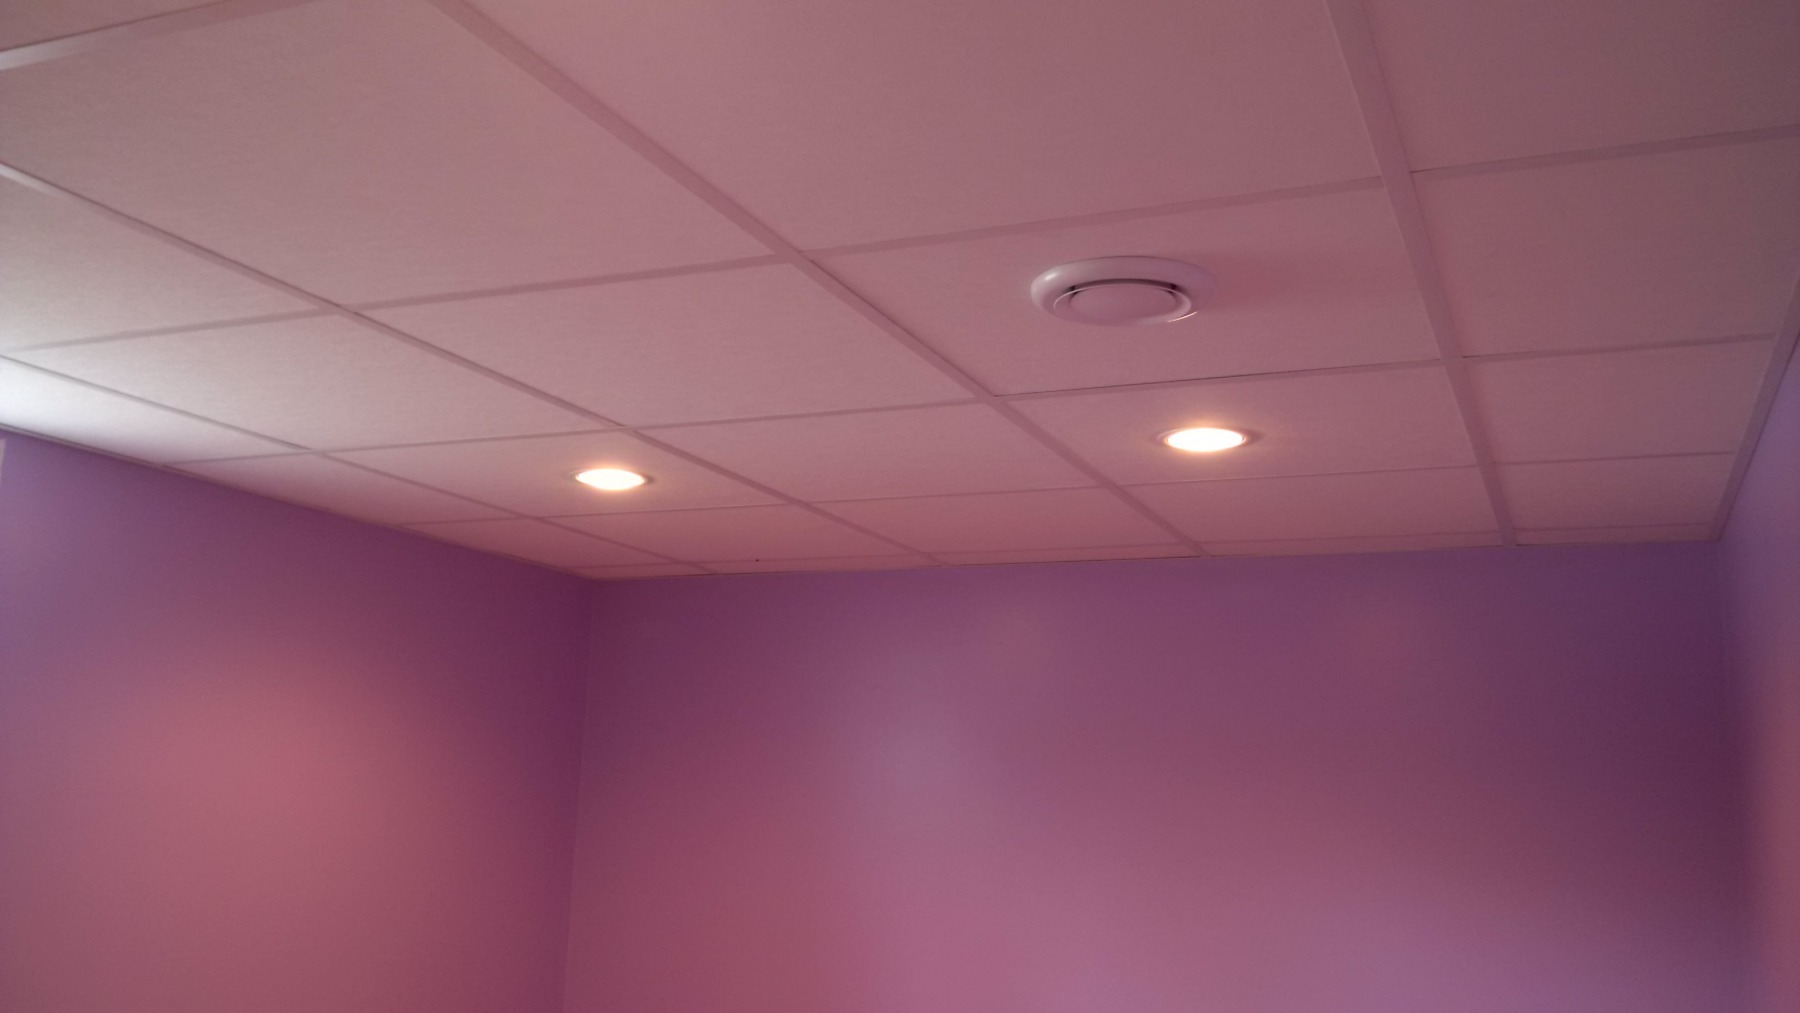
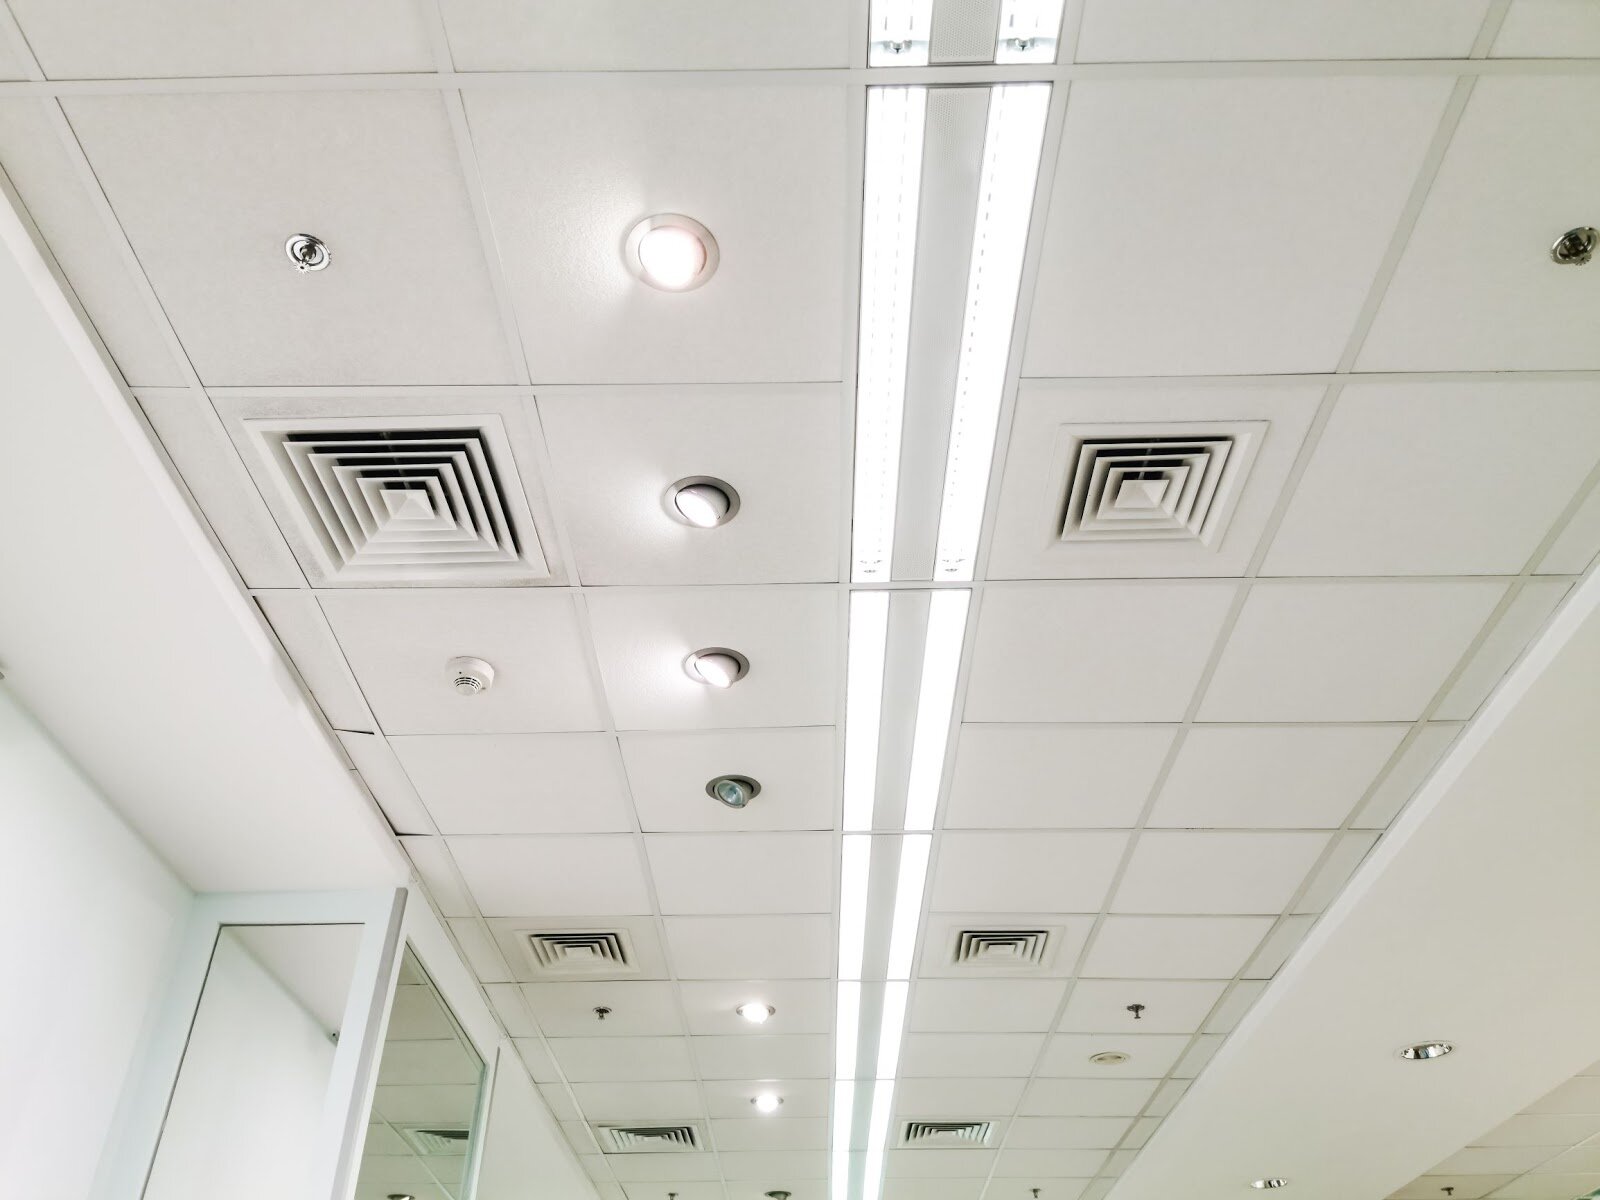
Drop ceiling tiles, also known as suspended ceiling tiles, are a popular choice for commercial spaces and even residential properties. While they serve a functional purpose by concealing wires, pipes, and ductwork, they often lack visual appeal. However, with a little creativity and some paint, you can transform those dull and boring ceiling tiles into a stunning feature that can enhance the overall aesthetics of your space.
Painting drop ceiling tiles is a cost-effective way to give your space a fresh and updated look. Whether you want to add a pop of color or create a more cohesive design, painting the tiles allows you to customize your ceiling to match your style and décor. In this article, we will walk you through the step-by-step process of painting drop ceiling tiles, from preparing the area to reinstalling the tiles.
Before we begin, it’s essential to gather the necessary materials. This will ensure a smooth and successful painting project. Let’s take a look at what you’ll need:
Key Takeaways:
- Transform your space with a DIY project by painting drop ceiling tiles. Follow the step-by-step process to achieve a professional and polished look, adding a pop of color or creating a cohesive design.
- Proper preparation, application, and patience are key to achieving a smooth and professional finish when painting drop ceiling tiles. Unleash your creativity and transform your space with a splash of paint.
Read more: How To Remove A Drop Ceiling
Materials Needed
Before you start painting your drop ceiling tiles, make sure you have the following materials:
- Drop cloths or plastic sheeting: These will protect your floors and furniture from paint splatters.
- Painter’s tape: Use this to tape off any areas you don’t want to be painted, such as light fixtures or vents.
- Sandpaper: Depending on the condition of your ceiling tiles, you may need to sand them to create a smooth surface for the paint to adhere to.
- Primer: Apply a layer of primer to the tiles before painting to ensure better adhesion and uniform color.
- Paint rollers and brushes: Opt for a brush with synthetic bristles for cutting in and a roller with a medium nap for larger areas.
- Paint trays: These will hold the paint while you’re working.
- Drop ceiling paint: Choose a paint specifically formulated for drop ceiling tiles to ensure durability and a professional finish.
- Optional: Texture spray: If you want to add texture to your ceiling tiles, consider using a texture spray to achieve your desired effect.
- Clean cloth or sponge: Use this to wipe down the tiles and remove any dust or debris.
- Ladder or step stool: Depending on the height of your ceiling, you may need a ladder or step stool to reach the tiles.
Once you have all the necessary materials, you’re ready to start the painting process. Let’s move on to the first step: preparing the area.
Step 1: Prepare the Area
Before you begin painting your drop ceiling tiles, it’s crucial to properly prepare the area to ensure a smooth and successful painting process. Here’s how to get started:
- Clean the area: Begin by removing any furniture or objects underneath the drop ceiling. This will give you ample space to work and prevent any paint splatters from damaging your belongings. Use drop cloths or plastic sheeting to protect the floor and any remaining furniture from accidental spills.
- Remove obstructions: Next, take a look at the ceiling and identify any obstructions such as light fixtures, vents, or speakers. Carefully remove these items or cover them with painter’s tape to protect them from paint splatters and ensure a clean and professional finish.
- Prep the tiles: Take a clean cloth or sponge and wipe down the drop ceiling tiles to remove any dust or debris. This will create a clean surface for the paint to adhere to. If your tiles are particularly dirty or stained, you may need to use a mild detergent or cleaner and rinse them thoroughly. Let them dry completely before proceeding.
- Tape off edges: Use painter’s tape to tape off the edges of the wall or any other areas where you don’t want the paint to go. This will create clean and crisp lines, giving your ceiling a professional look.
By properly preparing the area, you’ll create a clean and conducive environment for painting your drop ceiling tiles. Once you’ve completed these preparation steps, you’re ready to move on to the next step: cleaning the ceiling tiles.
Step 2: Clean the Ceiling Tiles
Before you start painting your drop ceiling tiles, it’s essential to clean them thoroughly. Over time, dust, dirt, and other contaminants can accumulate on the surface, affecting the paint’s adhesion and the final finish. Follow these steps to ensure your tiles are clean and ready for painting:
- Remove loose debris: Start by using a soft-bristle brush or a vacuum cleaner with a brush attachment to remove any loose debris or cobwebs from the ceiling tiles. Be gentle to avoid damaging the tiles.
- Mix a cleaning solution: Prepare a cleaning solution by mixing warm water with a mild detergent or dish soap. Avoid using harsh chemicals or abrasive cleaners, as they can damage the tiles.
- Scrub the tiles: Dip a sponge or cloth into the cleaning solution, wring out any excess liquid, and gently scrub the ceiling tiles in a circular motion. Pay extra attention to areas where there are visible stains or discoloration. Take care not to saturate the tiles with water, as excessive moisture can lead to sagging or warping.
- Rinse and dry: Once you have thoroughly scrubbed the tiles, rinse them with clean water to remove any soap residue. Wipe them dry with a clean cloth or allow them to air dry completely before proceeding to the next step.
By cleaning your drop ceiling tiles before painting, you’ll ensure a smooth and even paint application. Removing dirt and grime will also help improve the longevity of the paint job. Now that your tiles are clean and dry, you’re ready to move on to the next step: priming the tiles.
Step 3: Prime the Tiles
Priming is an essential step in painting drop ceiling tiles as it provides a smooth and even surface for the paint to adhere to. Priming also helps to seal the porous surface of the tiles, prevent stains from bleeding through, and enhance the durability of the paint job. Follow these steps to prime your drop ceiling tiles:
- Select a suitable primer: Choose a primer that is specifically formulated for use on ceiling tiles. Look for a primer that is compatible with both the tile material and the type of paint you will be using. Consult the product label or ask for recommendations at your local paint store.
- Prepare the primer: Before applying the primer, make sure to mix it thoroughly according to the manufacturer’s instructions. This will ensure that the primer’s properties are evenly distributed.
- Apply the primer: Use a paintbrush or a paint roller with a medium nap to apply the primer evenly to the surface of the tiles. Work in small sections, starting from one corner of the ceiling and progressing in a systematic manner. Be sure to apply a uniform coat, covering the tiles completely. Avoid leaving any drips or visible brush strokes.
- Allow the primer to dry: Check the drying time specified by the manufacturer and allow the primer to dry completely before proceeding to the next step. This typically takes about 24 hours, but it may vary depending on the brand and environmental conditions.
Priming your drop ceiling tiles will make a significant difference in the final appearance and longevity of your paint job. It ensures that the paint adheres properly to the tiles and provides a smooth and consistent surface for the topcoat. Once the primer has dried completely, you are now ready to move on to the next step: applying the base coat.
Read more: How To Install Drop Ceiling In The Basement
Step 4: Apply the Base Coat
Now that you’ve primed your drop ceiling tiles, it’s time to apply the base coat of paint. The base coat provides the foundation for your final color and helps to ensure even coverage. Follow these steps to apply the base coat:
- Choose the right paint: Select a high-quality paint specifically formulated for use on drop ceiling tiles. Consider the color you want to achieve and whether you prefer a satin, matte, or gloss finish. Read the product label or consult with a paint specialist to ensure you choose the right type of paint for your project.
- Prepare the paint: Open the paint can and stir the paint thoroughly with a stir stick. This will ensure that any settled pigments or solids are evenly distributed throughout the paint.
- Apply the base coat: Use a paintbrush or a paint roller with a medium nap to apply the base coat evenly to the surface of the tiles. Begin in one corner and work your way across the ceiling, maintaining a consistent application technique. Apply the paint in smooth, even strokes, working in one direction. Avoid overloading the brush or roller, as this can lead to drips or uneven coverage.
- Let the paint dry: Check the drying time specified by the manufacturer and allow the base coat to dry completely before applying additional coats or the topcoat. This typically takes about 24 hours, but it may vary depending on the paint brand and environmental conditions.
Applying the base coat of paint will give your ceiling tiles a fresh and uniform color. It’s important to ensure a smooth and even application to achieve the desired result. Once the base coat has dried completely, you can proceed to the next step, which is optional: adding texture to the tiles.
When painting drop ceiling tiles, be sure to clean them thoroughly before applying any paint. Use a primer specifically designed for ceiling tiles to ensure proper adhesion and a smooth finish.
Step 5: Add Texture (optional)
If you want to enhance the visual interest of your drop ceiling tiles, you can choose to add texture to them. Adding texture provides depth and dimension to your ceiling, transforming it from a plain surface to a more visually appealing feature. Here’s how you can add texture to your ceiling tiles:
- Select a texture spray: Look for a texture spray that is suitable for use on ceiling tiles. There are various options available, such as popcorn texture, which creates a bumpy texture, or splatter texture, which creates a more random pattern. Read the product instructions and choose a texture spray that suits your desired effect.
- Protect the area: Use drop cloths or plastic sheeting to protect the surrounding area from overspray. Cover any furniture or objects underneath the ceiling tiles to prevent them from getting textured as well. Use painter’s tape to mask off any edges or areas where you don’t want the texture spray to reach.
- Apply the texture spray: Hold the texture spray canister approximately 12 to 18 inches away from the ceiling tiles. Begin spraying in a steady motion, working in small sections. Apply the texture spray evenly, but be mindful not to oversaturate the tiles. Allow the texture spray to dry according to the manufacturer’s instructions.
- Inspect and touch up: Once the texture spray has dried, inspect the tiles for any areas that may need additional texture or touch-up. Use a brush or sponge to blend in any uneven texture or fill in any gaps.
Adding texture to your drop ceiling tiles can create a unique and visually appealing look. It adds depth and personality to your space, making it stand out. However, keep in mind that texture is optional, and you can skip this step if you prefer a smooth finish. Once you are satisfied with the texture, you are ready to move on to the next step: applying the topcoat.
Step 6: Apply the Top Coat
After adding texture or if you prefer a smooth finish, it is time to apply the top coat of paint to your drop ceiling tiles. The top coat will give your ceiling a polished and finished look. Follow these steps to apply the top coat:
- Choose the right paint: Select a high-quality paint that complements your desired aesthetic and matches the overall style and color scheme of the room. Ensure that the paint is suitable for use on ceiling tiles and is compatible with the base coat you have applied.
- Prepare the paint: Open the paint can and mix the paint thoroughly using a stir stick. This will ensure that any settling pigments or solids are evenly incorporated.
- Apply the top coat: Use a clean paintbrush or paint roller with a medium nap to apply the top coat evenly over the surface of the tiles. Start from one corner and work your way across the ceiling, using smooth and even strokes. Ensure that the paint is applied uniformly, without leaving behind visible brush marks or roller marks.
- Allow the paint to dry: Check the drying time specified by the manufacturer and allow the top coat to dry completely. This will typically take about 24 hours, but it may vary depending on the paint brand and environmental conditions.
Applying the top coat of paint will give your drop ceiling tiles a polished and finished appearance. It helps to seal and protect the base coat while providing a smooth and uniform color. Take your time and ensure that the paint is applied evenly for professional-looking results. Once the top coat has dried completely, you can proceed to the final step: allowing the paint to dry before reinstalling the ceiling tiles.
Step 7: Allow the Paint to Dry
Once you have applied the top coat of paint to your drop ceiling tiles, it is important to allow the paint to dry completely. Drying time can vary depending on factors such as paint type, humidity, and ventilation. Follow these steps to ensure the paint is fully dried:
- Check the manufacturer’s instructions: Refer to the paint can or manufacturer’s instructions to determine the recommended drying time for the specific paint you used. This information will give you a general idea of how long you should wait before proceeding.
- Provide adequate ventilation: Ensure that the room is well-ventilated during the drying process. Open windows or turn on fans to promote air circulation, which will help expedite the drying time.
- Avoid touching or moving the tiles: It is crucial to resist the temptation to touch or move the tiles while the paint is drying. Doing so may cause smudges, smears, or imperfections in the paint finish. Allow the paint to dry undisturbed for the recommended time.
- Perform a touch test: Once the recommended drying time has passed, gently touch a small inconspicuous area of the painted tiles to ensure they are no longer tacky or wet. If the paint feels dry and does not transfer onto your finger, it is safe to proceed.
Drying time can range from a few hours to several days, depending on the paint and environmental conditions. It is better to err on the side of caution and allow the paint to dry for longer if you are unsure. Rushing this process can compromise the finish and durability of the paint job.
After ensuring that the paint is completely dry, you are ready for the final step: reinstalling the ceiling tiles.
Read more: How To Hang Things From A Drop Ceiling
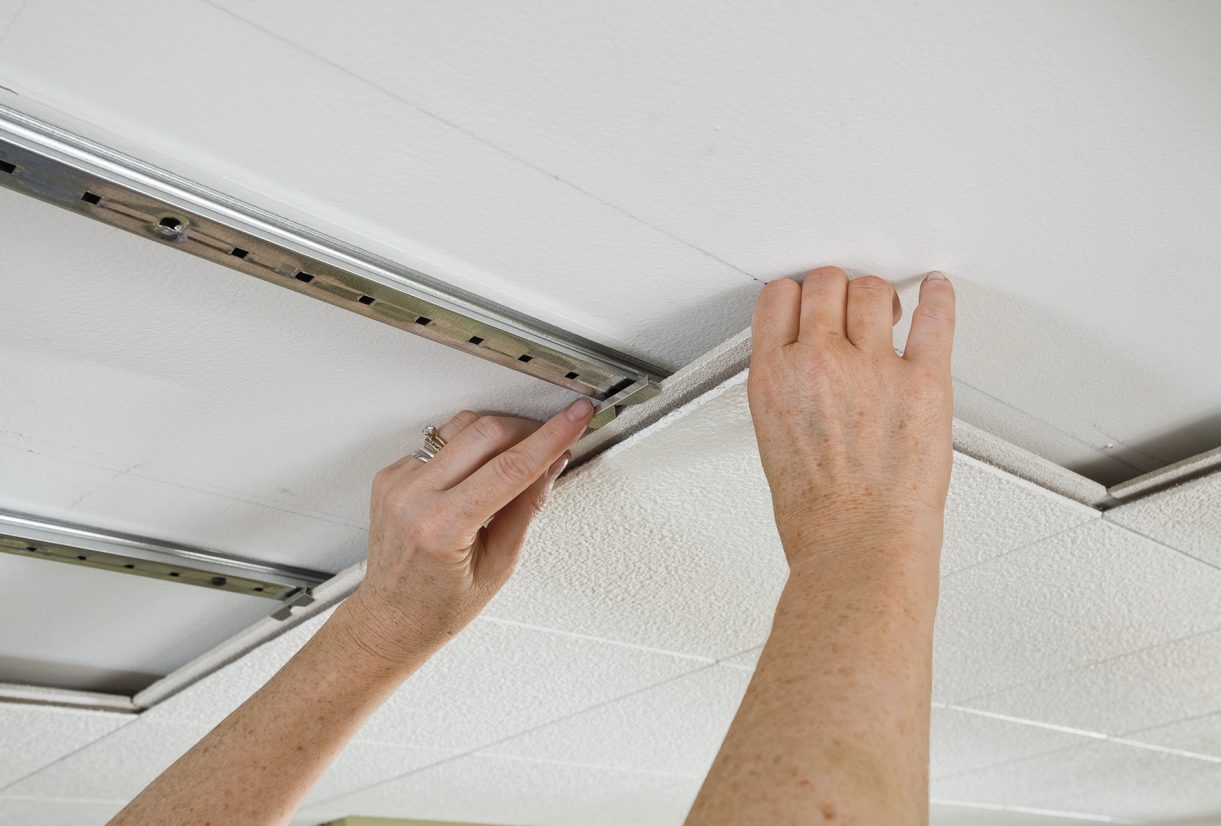
Step 8: Reinstall the Ceiling Tiles
Once the painted drop ceiling tiles are fully dry, it’s time to reinstall them and bring your newly transformed ceiling back to life. Follow these steps to reinstall the ceiling tiles:
- Gather your tools: Before you begin, gather the necessary tools you’ll need for the reinstallation process. This may include a ladder or step stool, a measuring tape, a utility knife, and replacement ceiling tile clips or adhesive if needed.
- Position the ladder or step stool: Set up a ladder or step stool securely underneath the area where you’ll be working. Make sure it is stable to ensure your safety during the process.
- Identify the correct placement: Before placing the tiles back, identify the correct position for each tile. Take note of any markings or indicators on the tiles or the surrounding framework that will help you align the tiles correctly.
- Carefully insert each tile: Begin by inserting the first tile into the ceiling grid, making sure it is lined up properly with the adjacent tiles. Press it firmly into place, allowing the edges to slide into the slots or clips on the grid. Repeat this process for each tile until all the tiles are securely reinstalled.
- Make any necessary adjustments: If you encounter any damaged or missing ceiling tile clips, replace them as needed. If your ceiling tiles use adhesive instead of clips, ensure that the adhesive is properly applied for secure installation.
- Double-check the alignment: Once all the tiles are in place, step back and inspect the ceiling to ensure all the tiles are aligned correctly and fit snugly into the grid. Make any necessary adjustments to ensure a uniform and even appearance.
Reinstalling the painted ceiling tiles requires careful attention to detail to ensure they are properly aligned and secure. Take your time during this step to ensure a professional-looking finish. Once all the tiles are back in place, step back and admire your transformed drop ceiling.
Congratulations! You have successfully painted and reinstalled your drop ceiling tiles, giving your space a fresh and updated look. Enjoy the new atmosphere and the visual impact your revitalized ceiling brings to your room.
Remember, proper maintenance and regular cleaning will help to maintain the beauty and longevity of your newly painted drop ceiling tiles.
If you have any other questions or need further assistance, feel free to consult with a professional or reach out to a local paint supplier for expert advice.
Conclusion
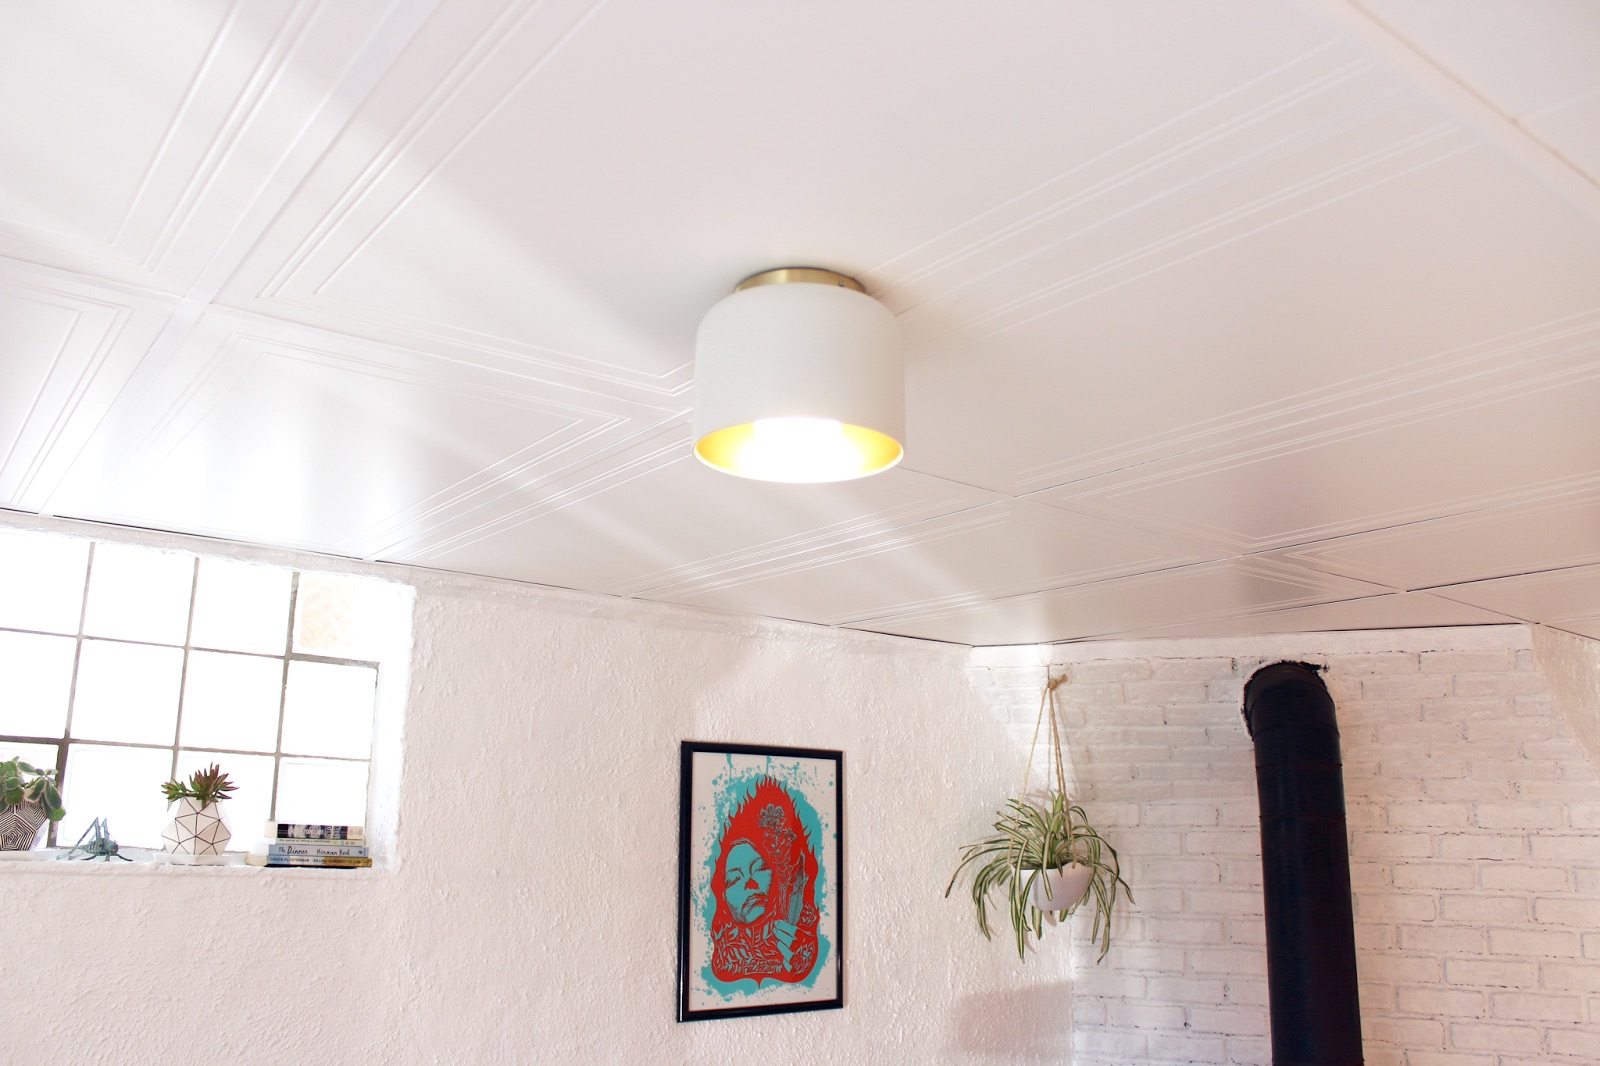
Painting drop ceiling tiles is a rewarding DIY project that can completely transform the look and feel of your space. By following the step-by-step process outlined in this article, you can achieve a professional and polished result that will enhance the aesthetics of your room. Whether you want to add a pop of color, create a cohesive design, or simply freshen up the look of your ceiling, painting the drop ceiling tiles is a cost-effective and creative solution.
Throughout the process, it is important to gather the necessary materials, prepare the area, clean the ceiling tiles, prime them, apply the base coat or texture, apply the top coat, allow the paint to dry, and finally, reinstall the tiles. Each step is crucial to ensure a successful paint job that will last for years to come.
Remember, take your time and pay attention to detail during each stage of the project. Proper preparation, application, and patience are key to achieving a smooth and professional finish. Allow sufficient time for the paint to dry before handling or reinstalling the tiles to avoid any damage or imperfections.
So go ahead, unleash your creativity, and give your dull and boring drop ceiling tiles a new lease on life. With a little effort and a splash of paint, you can create a beautiful and visually appealing ceiling that will impress anyone who walks into your space.
Enjoy the process, make it your own, and revel in the transformation of your room with your newly painted drop ceiling tiles.
Ready to take your painting skills up a notch? Dive into our guide on painting techniques loved by experts, offering a treasure of tricks that can transform any room. Curious about different ceiling types? Our detailed overview on acoustic ceiling tiles will clear up any confusion, helping you make informed decisions for your space.
Frequently Asked Questions about How To Paint Drop Ceiling Tiles
Was this page helpful?
At Storables.com, we guarantee accurate and reliable information. Our content, validated by Expert Board Contributors, is crafted following stringent Editorial Policies. We're committed to providing you with well-researched, expert-backed insights for all your informational needs.


0 thoughts on “How To Paint Drop Ceiling Tiles”