Articles
How To Remove A Drop Ceiling
Modified: October 20, 2024
Learn the step-by-step process of removing a drop ceiling in this informative article. Find expert tips and tricks to make the task easier and achieve a stunning result.
(Many of the links in this article redirect to a specific reviewed product. Your purchase of these products through affiliate links helps to generate commission for Storables.com, at no extra cost. Learn more)
Introduction
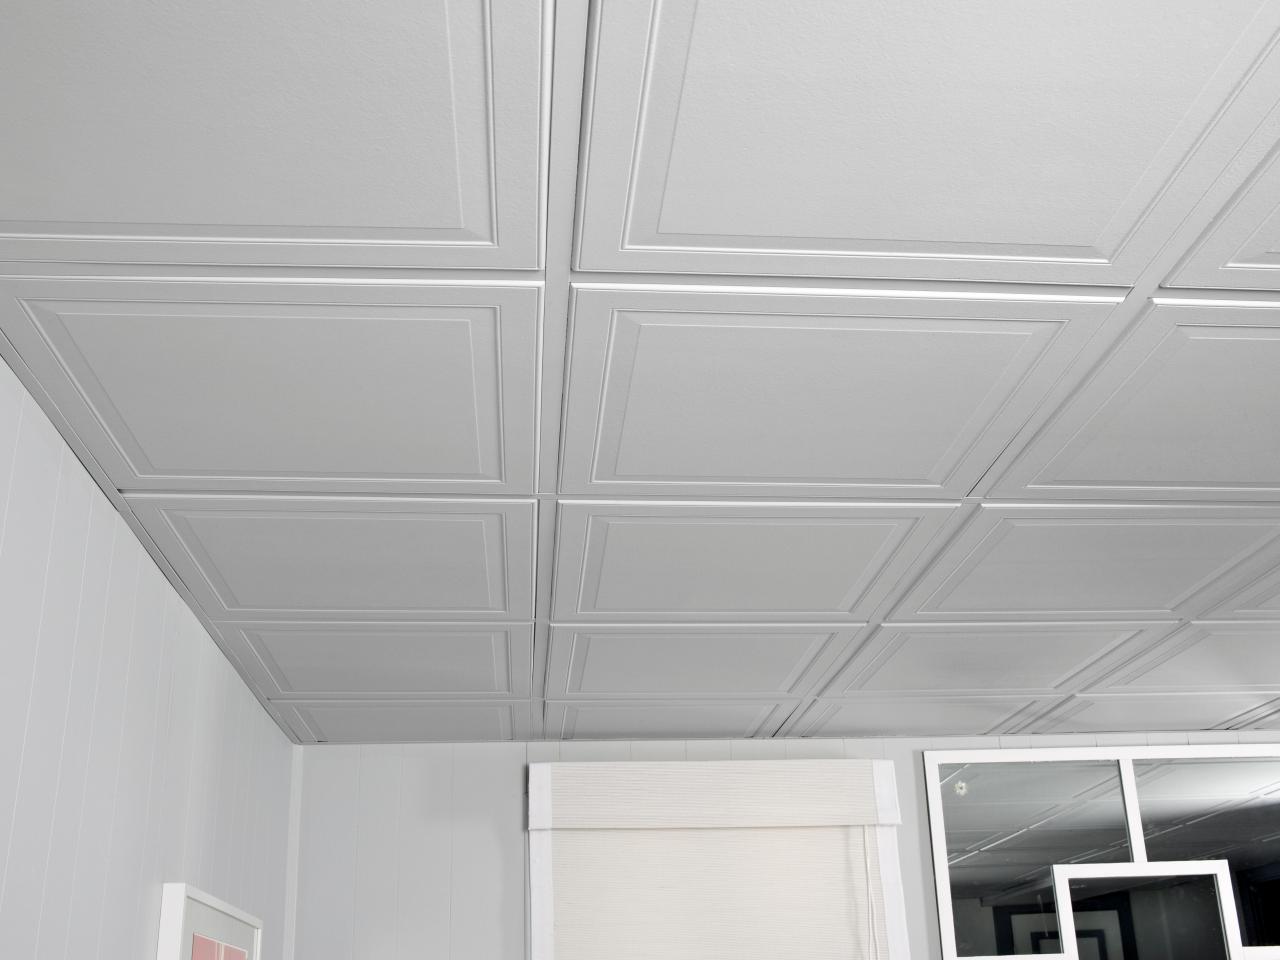
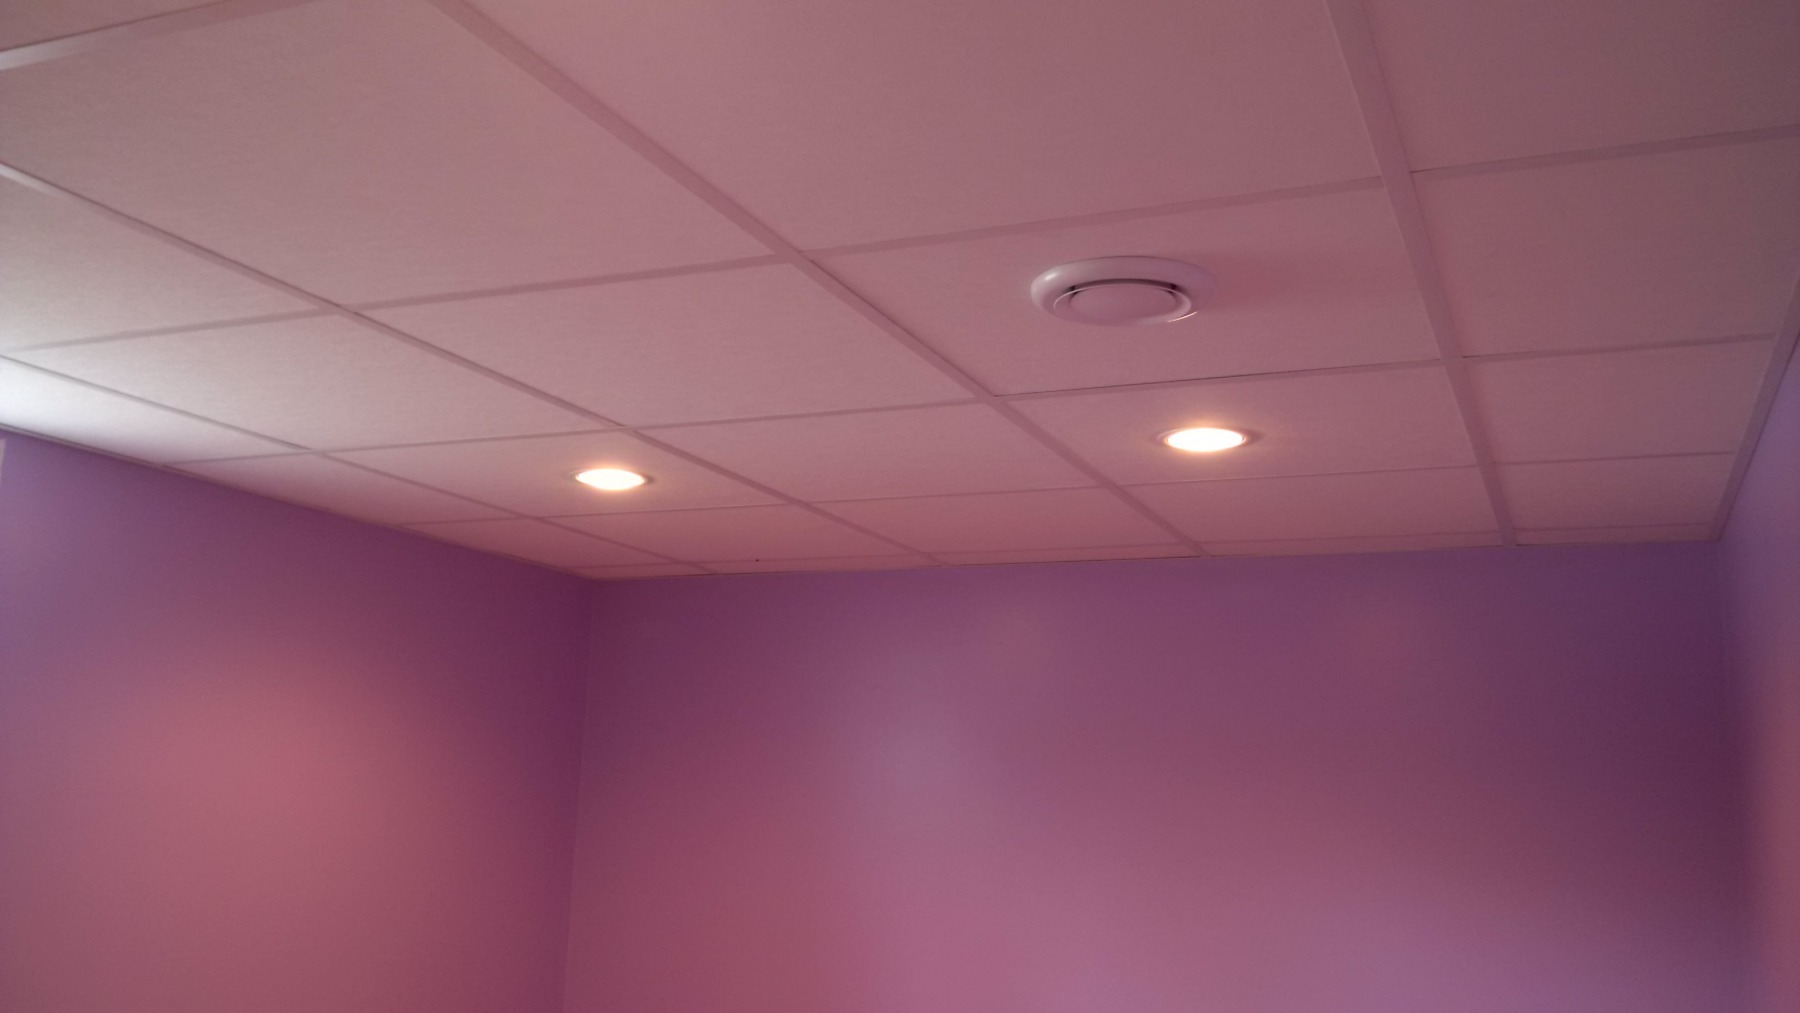
Drop ceilings, also known as suspended ceilings, are a common feature in both residential and commercial buildings. They are popular due to their aesthetic appeal, sound insulation properties, and convenient access to electrical and plumbing systems. However, there may come a time when you want to remove a drop ceiling to update the look of a room, improve ceiling height, or address structural issues.
In this article, we will guide you through the step-by-step process of removing a drop ceiling. By following these instructions, you can successfully remove the ceiling and restore the room to its original state.
Please note that this guide assumes you have a basic understanding of DIY projects and possess the necessary tools. If you are unsure about any aspect or encounter any challenges during the process, it is always a good idea to consult with a professional.
Now, let’s gather the tools and materials you will need for this project!
Key Takeaways:
- Removing a drop ceiling involves careful preparation, step-by-step dismantling, and creative finishing touches. Prioritize safety, explore ceiling treatment options, and enjoy the transformed space!
- By following this guide, you can confidently tackle the removal of a drop ceiling, opening up the space and allowing for personalized design choices. Embrace the process and unleash your creativity!
Read more: How To Remove A Drop-In Sink
Tools and Materials Needed
Before you begin the process of removing a drop ceiling, it’s important to ensure that you have the necessary tools and materials on hand. Here is a list of what you’ll need:
- Protective gear: Safety goggles, gloves, and a dust mask to protect yourself from debris and dust.
- Step ladder or scaffolding: Depending on the height of the ceiling, you’ll need a stable platform to safely reach and work.
- Utility knife: Used to cut the ceiling tiles and any adhesive or caulking.
- Pry bar or crowbar: Essential for removing the suspended grid and support wires.
- Screwdriver or drill: Required to detach any light fixtures or accessories attached to the drop ceiling.
- Trash bags or bins: For collecting and disposing of the removed ceiling tiles and other waste.
- Patching material: To fill any holes, cracks, or damaged areas left after removing the drop ceiling.
- Spackle or joint compound: Used for smoothing out patched areas and achieving a seamless finish.
- Sanding block or sandpaper: Helps to smooth and level patched areas before painting or applying a new ceiling.
- Paint and painting supplies: If you plan on repainting the ceiling after removal, gather the necessary paint and tools.
Having these tools and materials readily available will make the process of removing a drop ceiling smoother and more efficient. Make sure to check if there are any additional requirements or specific tools needed for your unique situation.
Now that you have everything you need, let’s move on to the first step: preparing the area!
Step 1: Prepare the Area
Before starting the actual removal process, it’s essential to prepare the area to ensure a smooth and safe working environment. Follow these steps to prepare the area:
- Clear the space: Remove any furniture, fixtures, or items that may obstruct your workspace. This will provide you with ample room to move around and work comfortably.
- Protect the floor: Lay down drop cloths or plastic sheets to protect the floor from debris, dust, and potential damage during the removal process.
- Turn off power: Locate the circuit breaker or switch that controls the electrical supply to the room and turn it off to avoid any accidental power supply while working on light fixtures or electrical connections.
- Cover outlets: Use electrical tape or outlet covers to seal off electrical outlets and switches to prevent any dust or debris from entering.
- Put on protective gear: Wear safety goggles, gloves, and a dust mask to protect yourself from potential hazards, including dust particles and debris that may fall during the removal process.
By taking these precautionary measures, you’ll create a safe and organized workspace, minimizing the risk of accidents or damage. Once the area is prepared, you can move on to the next step: removing the light fixtures.
Step 2: Remove Light Fixtures
Removing the light fixtures from the drop ceiling is an important step before proceeding further. Here’s how you can do it:
- Turn off the power: Ensure the power to the room is turned off at the circuit breaker or switch.
- Remove the light bulbs: Carefully unscrew and remove the light bulbs from each fixture. Set them aside in a safe place.
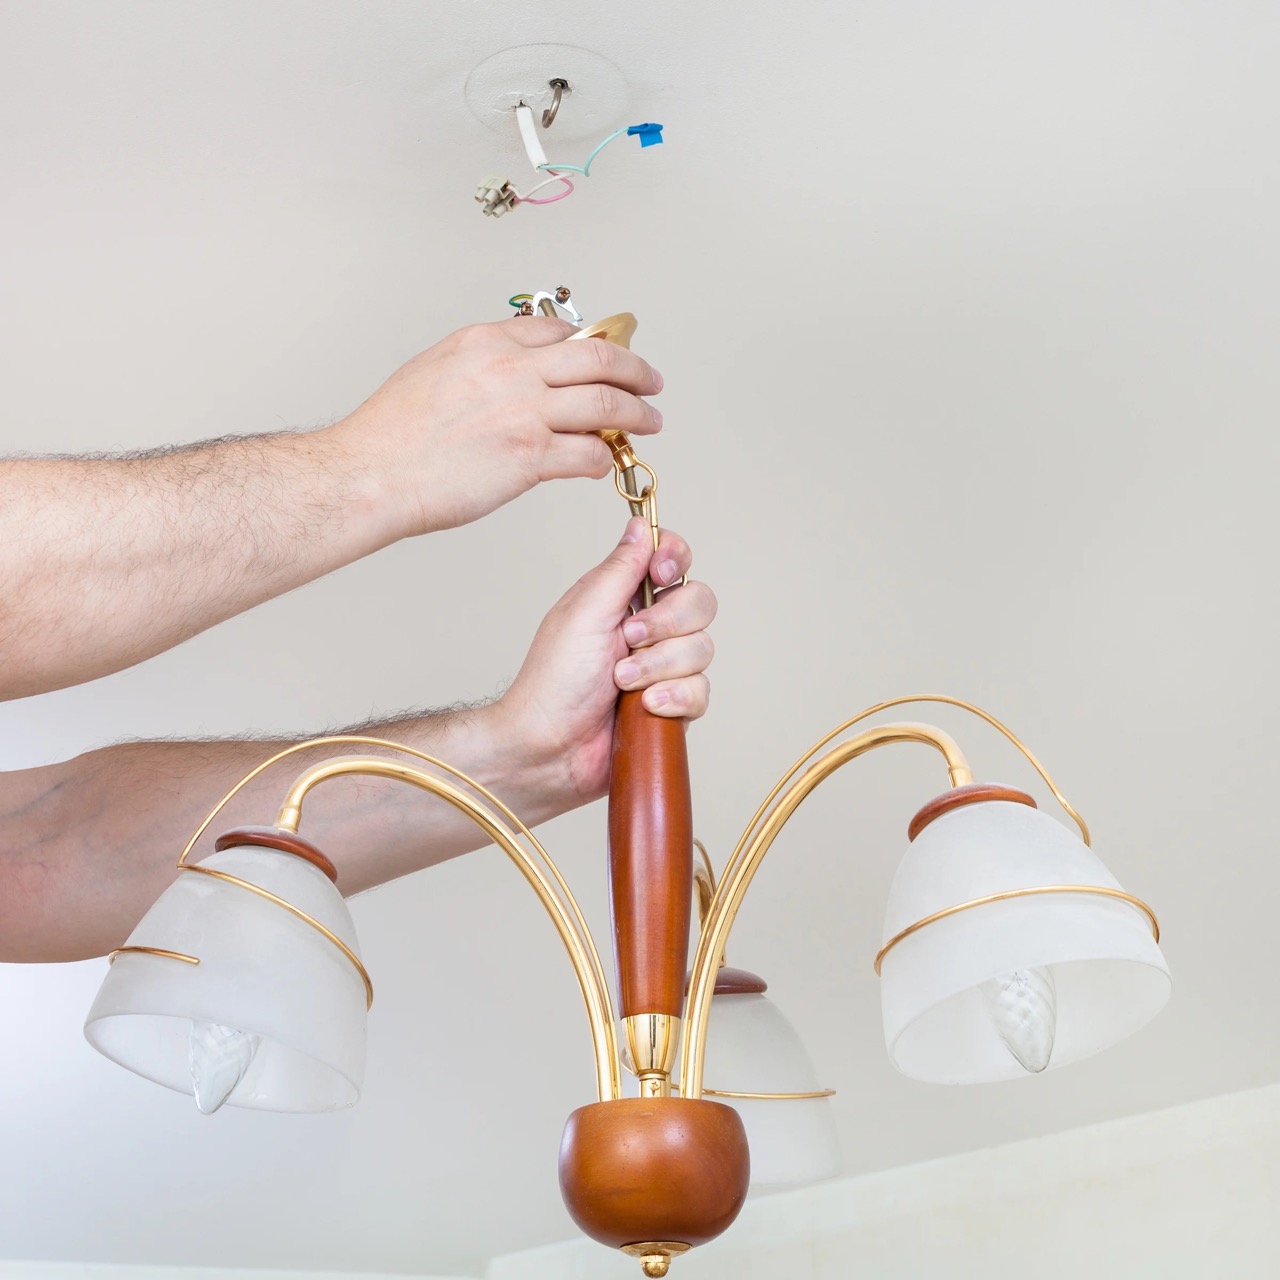
- Detach the fixtures: Depending on the type of fixtures, you may need to unscrew them from their mounting brackets or disconnect the wiring. Use a screwdriver or drill to remove any screws or fasteners.
- Disconnect the wiring: If there are electrical connections, gently disconnect the wires by removing wire nuts or screws. Take note of the wiring connections or label them for easy reinstallation if needed.
- Store the fixtures safely: Once the light fixtures are removed, place them in a secure location to prevent any damage during the ceiling removal process.
Remember, if you’re unsure about any electrical connections or lack experience working with live wires, it’s advisable to consult a licensed electrician to ensure safety and avoid any electrical mishaps. With the light fixtures successfully removed, let’s move on to the next step: removing the ceiling tiles.
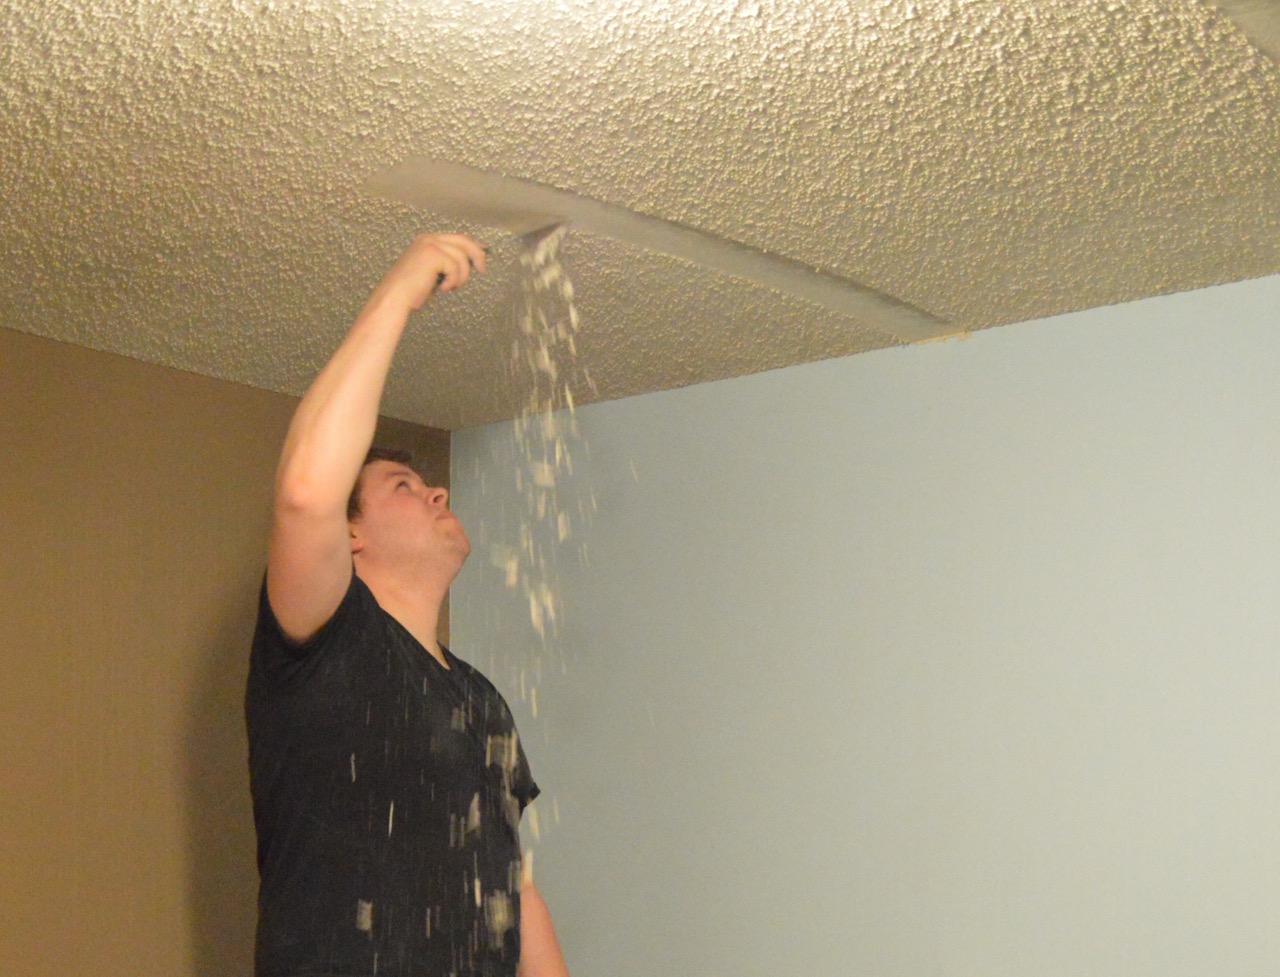
Step 3: Remove Ceiling Tiles
Now that the light fixtures have been detached, it’s time to remove the ceiling tiles. Follow these steps to successfully remove the drop ceiling tiles:
- Start at a corner: Begin at one corner of the room and gently push up on the nearest ceiling tile. If it doesn’t easily move, use a utility knife to cut along the perimeter of the tile to free it from any adhesive or caulk.
- Work systematically: Progress across the room, removing one tile at a time. Be cautious of any electrical wires or connections that may be hidden above the tiles.
- Dispose of the tiles: As you remove each ceiling tile, place them in trash bags or bins for disposal. If the tiles are in good condition, you may consider donating or reusing them.
- Remove any stubborn tiles: If you encounter tiles that are difficult to remove, use a pry bar or crowbar to gently wedge them out. Take care not to damage the surrounding area.
- Clean up debris: Once all the tiles have been removed, clean up any debris, dust, or loose materials from the ceiling area using a broom or vacuum.
It’s important to note that some drop ceilings may have acoustic insulation above the tiles. If you encounter insulation material, exercise caution while removing the tiles to prevent it from falling or dispersing into the room.
With the ceiling tiles successfully removed, we can now proceed to the next step: removing the suspended grid.
When removing a drop ceiling, be sure to turn off the power to any lights or fans attached to the ceiling grid before starting. This will ensure your safety as you work.
Read more: How To Install Drop Ceiling In The Basement
Step 4: Remove Suspended Grid
After removing the ceiling tiles, the next step is to remove the suspended grid that holds the tiles in place. Here’s how you can do it:
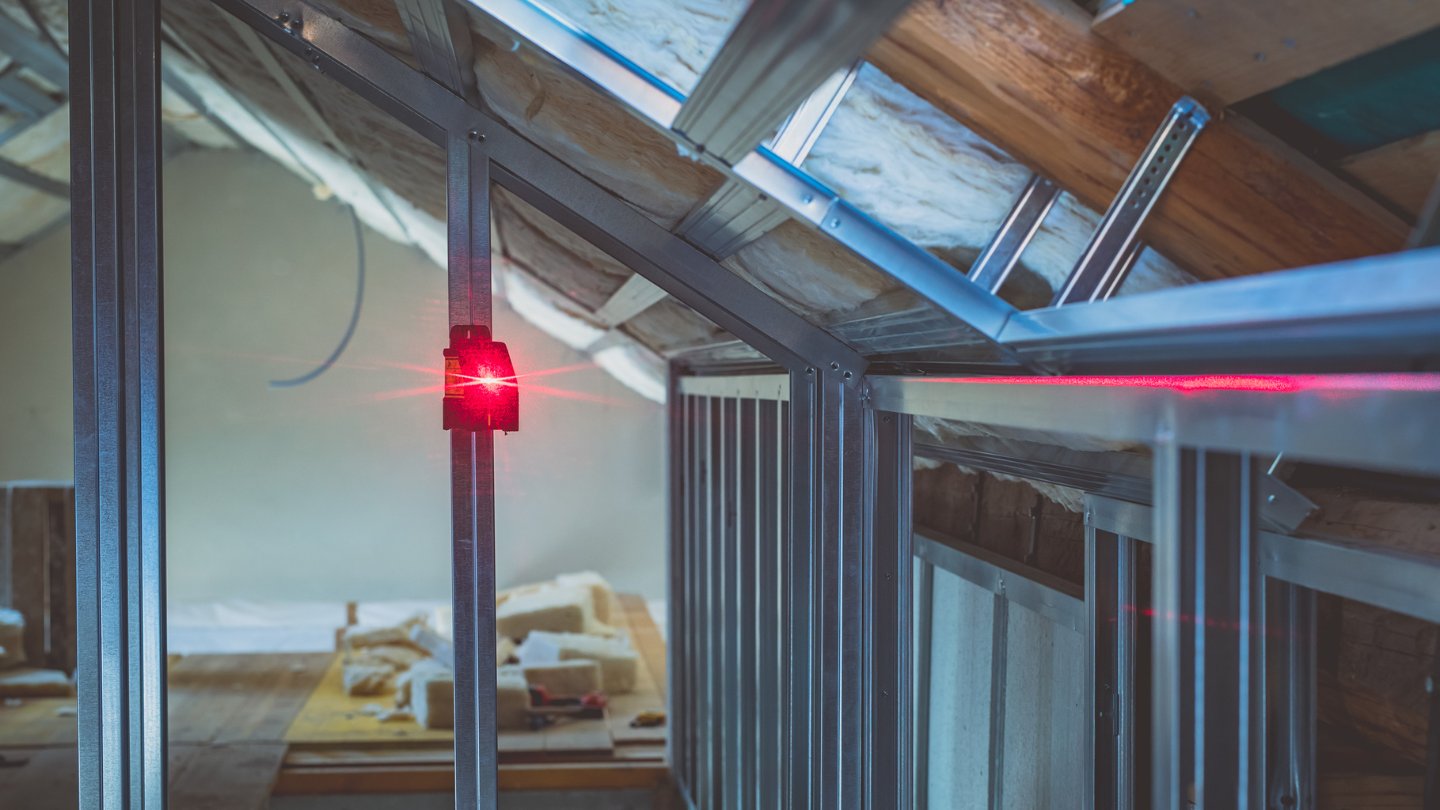
- Identify the main runners: Locate the main runners of the suspended grid, which are the long metal channels that run perpendicular to the ceiling joists.
- Start at one end: Begin at one end of the room and use a pry bar or crowbar to gently pry down the main runner from the clip or hanger that attaches it to the ceiling joists.
- Remove the main runners: Continue removing each main runner along its entire length until all the main runners are detached.
- Remove the cross tees: Once the main runners are removed, turn your attention to the cross tees, which are the shorter metal channels that connect to the main runners.
- Detach the cross tees: Carefully pry down each cross tee from the grid, starting from one end and working your way to the other end of the room.
- Dispose of the grid: As you remove the suspended grid, place the metal components in a designated area for recycling or disposal.
While removing the suspended grid, be cautious of any electrical wires, plumbing, or HVAC components that may be hidden above the grid. If you come across any obstacles, consult a professional to ensure safe removal.
With the suspended grid now gone, we can move on to the next step: removing the support wires.
Step 5: Remove Support Wires
With the suspended grid removed, the next step is to remove the support wires that supported the drop ceiling. Here’s how to do it:
- Identify the support wires: Look for the metal wires that connect the suspended grid to the ceiling joists or other structural supports.
- Start at one end: Begin at one end of the room and locate the first support wire.
- Detach the support wire: Using a pair of pliers, grip the support wire close to the ceiling joist or structural support and twist it counterclockwise to loosen it.
- Remove the support wire: Once the support wire is loose, continue twisting it until it detaches completely from the suspended grid.
- Repeat the process: Proceed to the next support wire and repeat the removal process until all the support wires are removed.
- Dispose of the wires: Place the removed support wires in a designated area for recycling or disposal.
It’s important to exercise caution when removing the support wires to prevent any damage to the ceiling or surrounding areas. If you encounter any difficulties or complications, consult a professional for assistance.
With the support wires successfully removed, we can now move on to the next step: patching and repairing any holes or damage left behind.
Step 6: Patch and Repair
After removing the drop ceiling components, it’s time to patch and repair any holes, cracks, or damage left behind. Follow these steps to ensure a smooth and seamless finish:
- Inspect the ceiling: Thoroughly examine the ceiling surface for any visible holes, cracks, or damage that needs to be repaired.
- Fill the holes and cracks: Use a patching material such as spackle or joint compound to fill in the small holes and cracks. Apply the patching material with a putty knife, ensuring it is smooth and level with the rest of the ceiling.
- Smooth the patched areas: Once the patching material is dry, use a sanding block or sandpaper to gently smooth and level the patched areas. This will help create a seamless finish.
- Clean the ceiling: After sanding, use a broom or vacuum to clean any dust or debris from the patched areas and the surrounding ceiling surface.
- Prime the patched areas (optional): If you plan on repainting the ceiling, consider applying a primer to the patched areas to create an even surface and improve the paint adhesion.
By following these steps, you can effectively repair any imperfections caused by the removal of the drop ceiling components. This will ensure that your ceiling looks pristine and ready for the finishing touches.
Now that you’ve patched and repaired the ceiling, it’s time to move on to the final step: the finishing touches!
Step 7: Finishing Touches
With the drop ceiling removed and the necessary repairs made, it’s time to put the finishing touches on your newly transformed space. Follow these steps to complete the project:
- Clean the area: Take the time to thoroughly clean the room, removing any remaining dust or debris from the ceiling, walls, and floors.
- Decide on the ceiling treatment: Now is the perfect time to explore different ceiling treatment options. You can opt for a fresh coat of paint, install new ceiling tiles, or consider exposed beams or a coffered ceiling design.
- Paint the ceiling (optional): If you choose to paint the ceiling, ensure you have the appropriate paint and supplies. Use a roller or brush to apply an even coat of paint, following the manufacturer’s instructions.
- Install new lighting (if desired): If you want to update the lighting in the room, now is the ideal time to install new fixtures or recessed lighting. Consult a licensed electrician if needed.
- Finalize the room’s design: Once the ceiling is complete, take the opportunity to redecorate the room to match your vision. This could involve rearranging furniture, adding new decor, or creating a whole new look.
- Enjoy your transformed space: Step back and admire your hard work. Your room now has a fresh, updated look without the constraints of a drop ceiling.
Remember, the finishing touches are an opportunity for you to be creative and personalize your space according to your preferences. Let your imagination run wild and create a room that truly reflects your style.
Congratulations on successfully removing a drop ceiling and completing the project! Enjoy your transformed space for years to come!
If you found this guide helpful, please consider sharing it with others who may benefit from it. Happy remodeling!
Read more: How To Hang Things From A Drop Ceiling
Conclusion
Removing a drop ceiling can be a rewarding and transformative project. By following the steps outlined in this guide, you can successfully remove a drop ceiling and restore your space to its original state. From preparing the area to removing the ceiling tiles, suspended grid, support wires, and completing the necessary patching and repairs, each step is crucial in achieving a seamless finish.
Throughout the process, it’s important to prioritize safety by wearing protective gear, turning off the power, and consulting professionals when needed. Additionally, take the opportunity to explore different ceiling treatment options and add your personal touch to the room for a customized and refreshed look.
By removing a drop ceiling, you open up the space, increase ceiling height, and have the freedom to reimagine the room according to your style and preferences. Whether you choose to repaint the ceiling, install new lighting, or completely overhaul the room’s design, the possibilities are endless.
Remember, if you’re unsure about any aspect or encounter challenges during the process, it’s always advisable to consult with professionals to ensure safety and achieve the best results.
Overall, removing a drop ceiling can breathe new life into a space, creating a modern and open atmosphere. So, grab your tools, follow the steps outlined in this guide, and enjoy the transformation!
Good luck with your drop ceiling removal project, and may your newly renovated space bring you joy and inspiration!
Frequently Asked Questions about How To Remove A Drop Ceiling
Was this page helpful?
At Storables.com, we guarantee accurate and reliable information. Our content, validated by Expert Board Contributors, is crafted following stringent Editorial Policies. We're committed to providing you with well-researched, expert-backed insights for all your informational needs.


0 thoughts on “How To Remove A Drop Ceiling”