
Articles
How To Cut Ceiling Tile
Modified: December 7, 2023
Learn how to cut ceiling tiles with these helpful articles. Find step-by-step guides and tips for achieving precise and professional results.
(Many of the links in this article redirect to a specific reviewed product. Your purchase of these products through affiliate links helps to generate commission for Storables.com, at no extra cost. Learn more)
Introduction
When it comes to renovating or remodeling a room, one of the common tasks is cutting ceiling tiles. Whether you need to fit tiles around light fixtures, vents, or irregularly-shaped areas, knowing how to cut ceiling tiles properly is essential to achieve a professional and seamless finish.
In this article, we will guide you through the step-by-step process of cutting ceiling tiles, ensuring that you have all the necessary tools and take the required safety precautions. By following these instructions, you’ll be able to confidently tackle any ceiling tile cutting project.
Key Takeaways:
- Safety First!
Prioritize safety when cutting ceiling tiles by wearing protective gear, creating a well-ventilated workspace, and following manufacturer’s instructions. Minimize risks and enjoy a polished finish. - Precision and Patience
Accurate measurements, careful marking, and proper tool selection are crucial for achieving clean and precise cuts. Take your time, follow the steps, and enjoy seamless ceiling tile integration.
Read more: How To Cut Backsplash Tiles
Tools and Materials Needed
Before you start cutting ceiling tiles, gather the following tools and materials:
- Measuring tape or ruler
- Pencil or marker
- Straightedge or T-square
- Utility knife
- Tile cutter or scoring tool
- Safety goggles
- Dust mask
- Gloves
- Drop cloth or plastic sheeting
Having these tools and materials ready will ensure that you can work efficiently and safely.
Safety Precautions
When working with ceiling tiles, it’s important to prioritize safety. Follow these precautions to protect yourself and others:
- Wear safety goggles to shield your eyes from debris or tile fragments that may fly off during cutting.
- Use a dust mask to avoid inhaling particles that may be released during the cutting process.
- Wear gloves to protect your hands from sharp edges or any potential injuries.
- Ensure that the area where you’ll be cutting the tiles is well-ventilated. Open windows or use fans if necessary.
- Place a drop cloth or plastic sheeting on the floor to catch any tile remnants or dust and make for easier cleanup.
- Always follow the manufacturer’s instructions for the specific type of ceiling tiles you are working with.
By taking these safety precautions, you can minimize the risk of accidents or injuries while cutting ceiling tiles.
Step 1: Measure and Mark the Ceiling Tile
Before you begin cutting the ceiling tile, it’s crucial to accurately measure and mark the area that needs to be trimmed. Follow these steps:
- Use a measuring tape or ruler to measure the dimensions of the space where the tile needs to fit. Remember to account for any obstructions, such as vents or light fixtures.
- Transfer your measurements onto the tile by lightly marking the area with a pencil or marker. Use a straightedge or T-square to ensure straight lines and precise markings.
- Double-check your measurements to ensure accuracy. It’s better to measure twice and cut once.
By carefully measuring and marking the tile, you’ll have a clear guideline for cutting and achieve a more precise fit.
When cutting ceiling tiles, use a sharp utility knife or a fine-toothed handsaw for clean and precise cuts. Measure and mark the tile before cutting, and always wear safety goggles and a dust mask.
Step 2: Prepare the Cutting Area
Before you start cutting the ceiling tile, it’s important to properly prepare your work area. Follow these steps:
- Clear the space underneath the area where you’ll be cutting to avoid any trip hazards or obstruction of movement.
- Lay down a drop cloth or plastic sheeting to catch any tile remnants or dust that may fall during the cutting process, making for easier cleanup.
- Ensure that the area is well-lit to allow for better visibility while cutting.
By preparing your cutting area, you’ll create a safe and organized space to work in, minimizing the chance of accidents or damage to surrounding surfaces.
Read more: How To Cut Glass Tile
Step 3: Cutting the Ceiling Tile
Now that you have measured and prepared the cutting area, it’s time to cut the ceiling tile. Follow these steps:
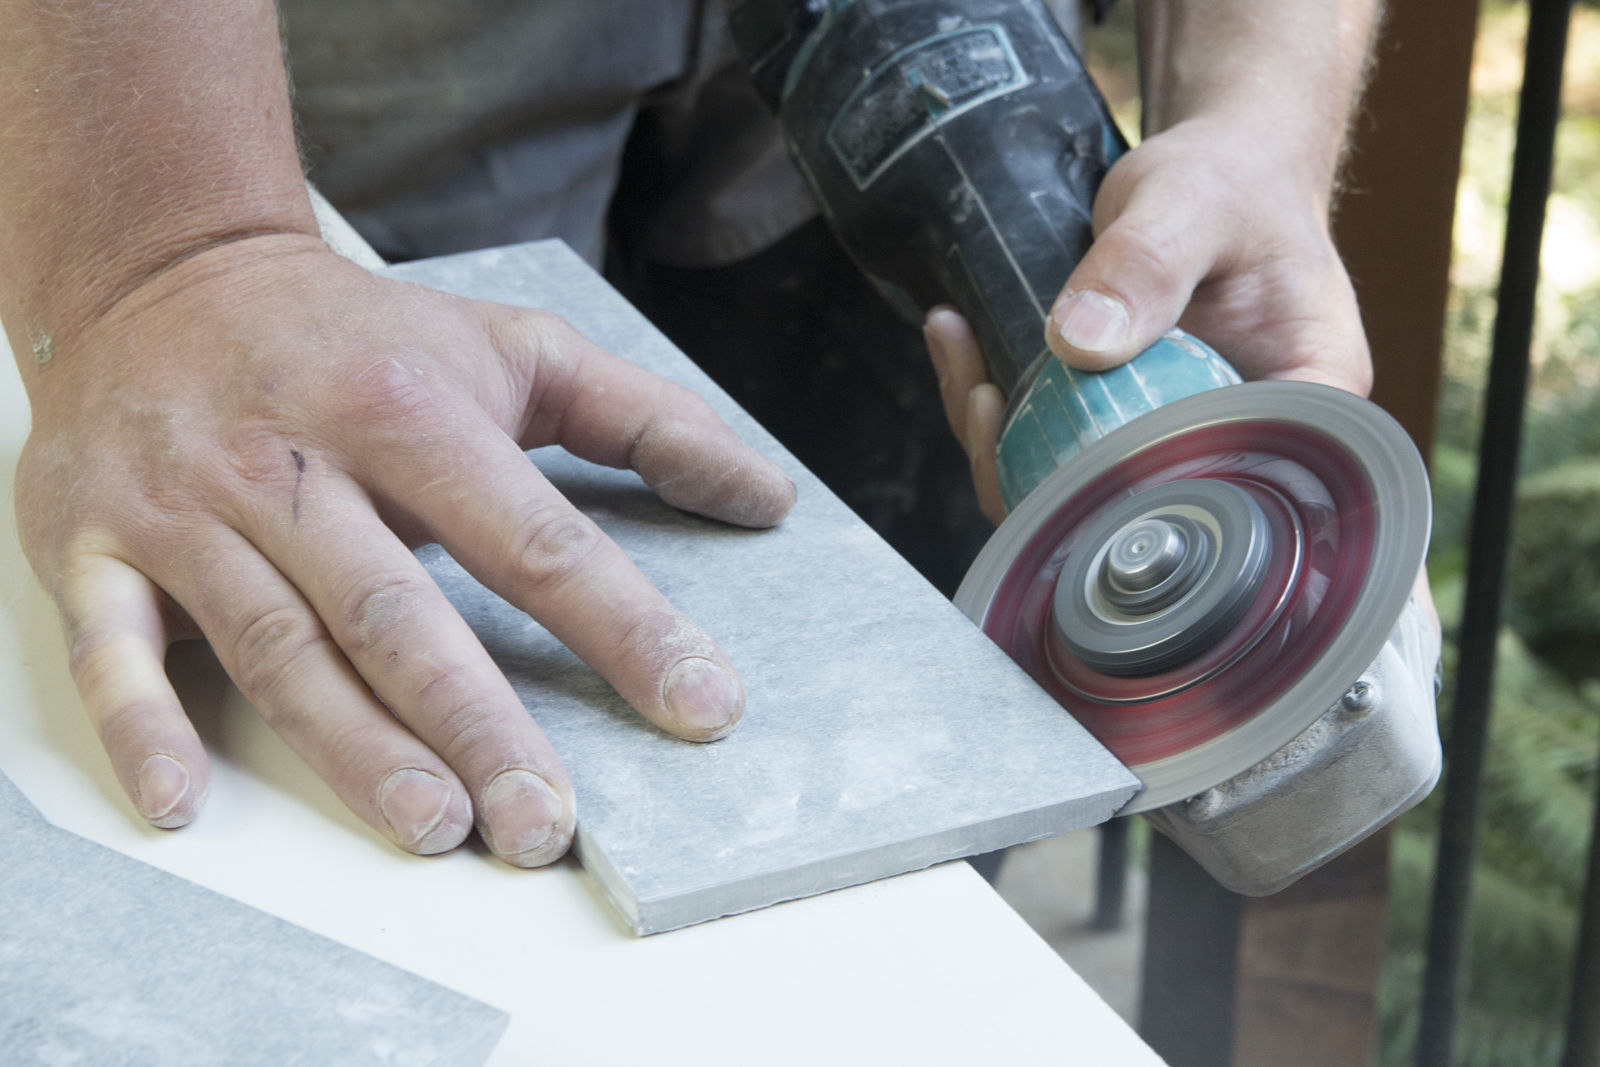
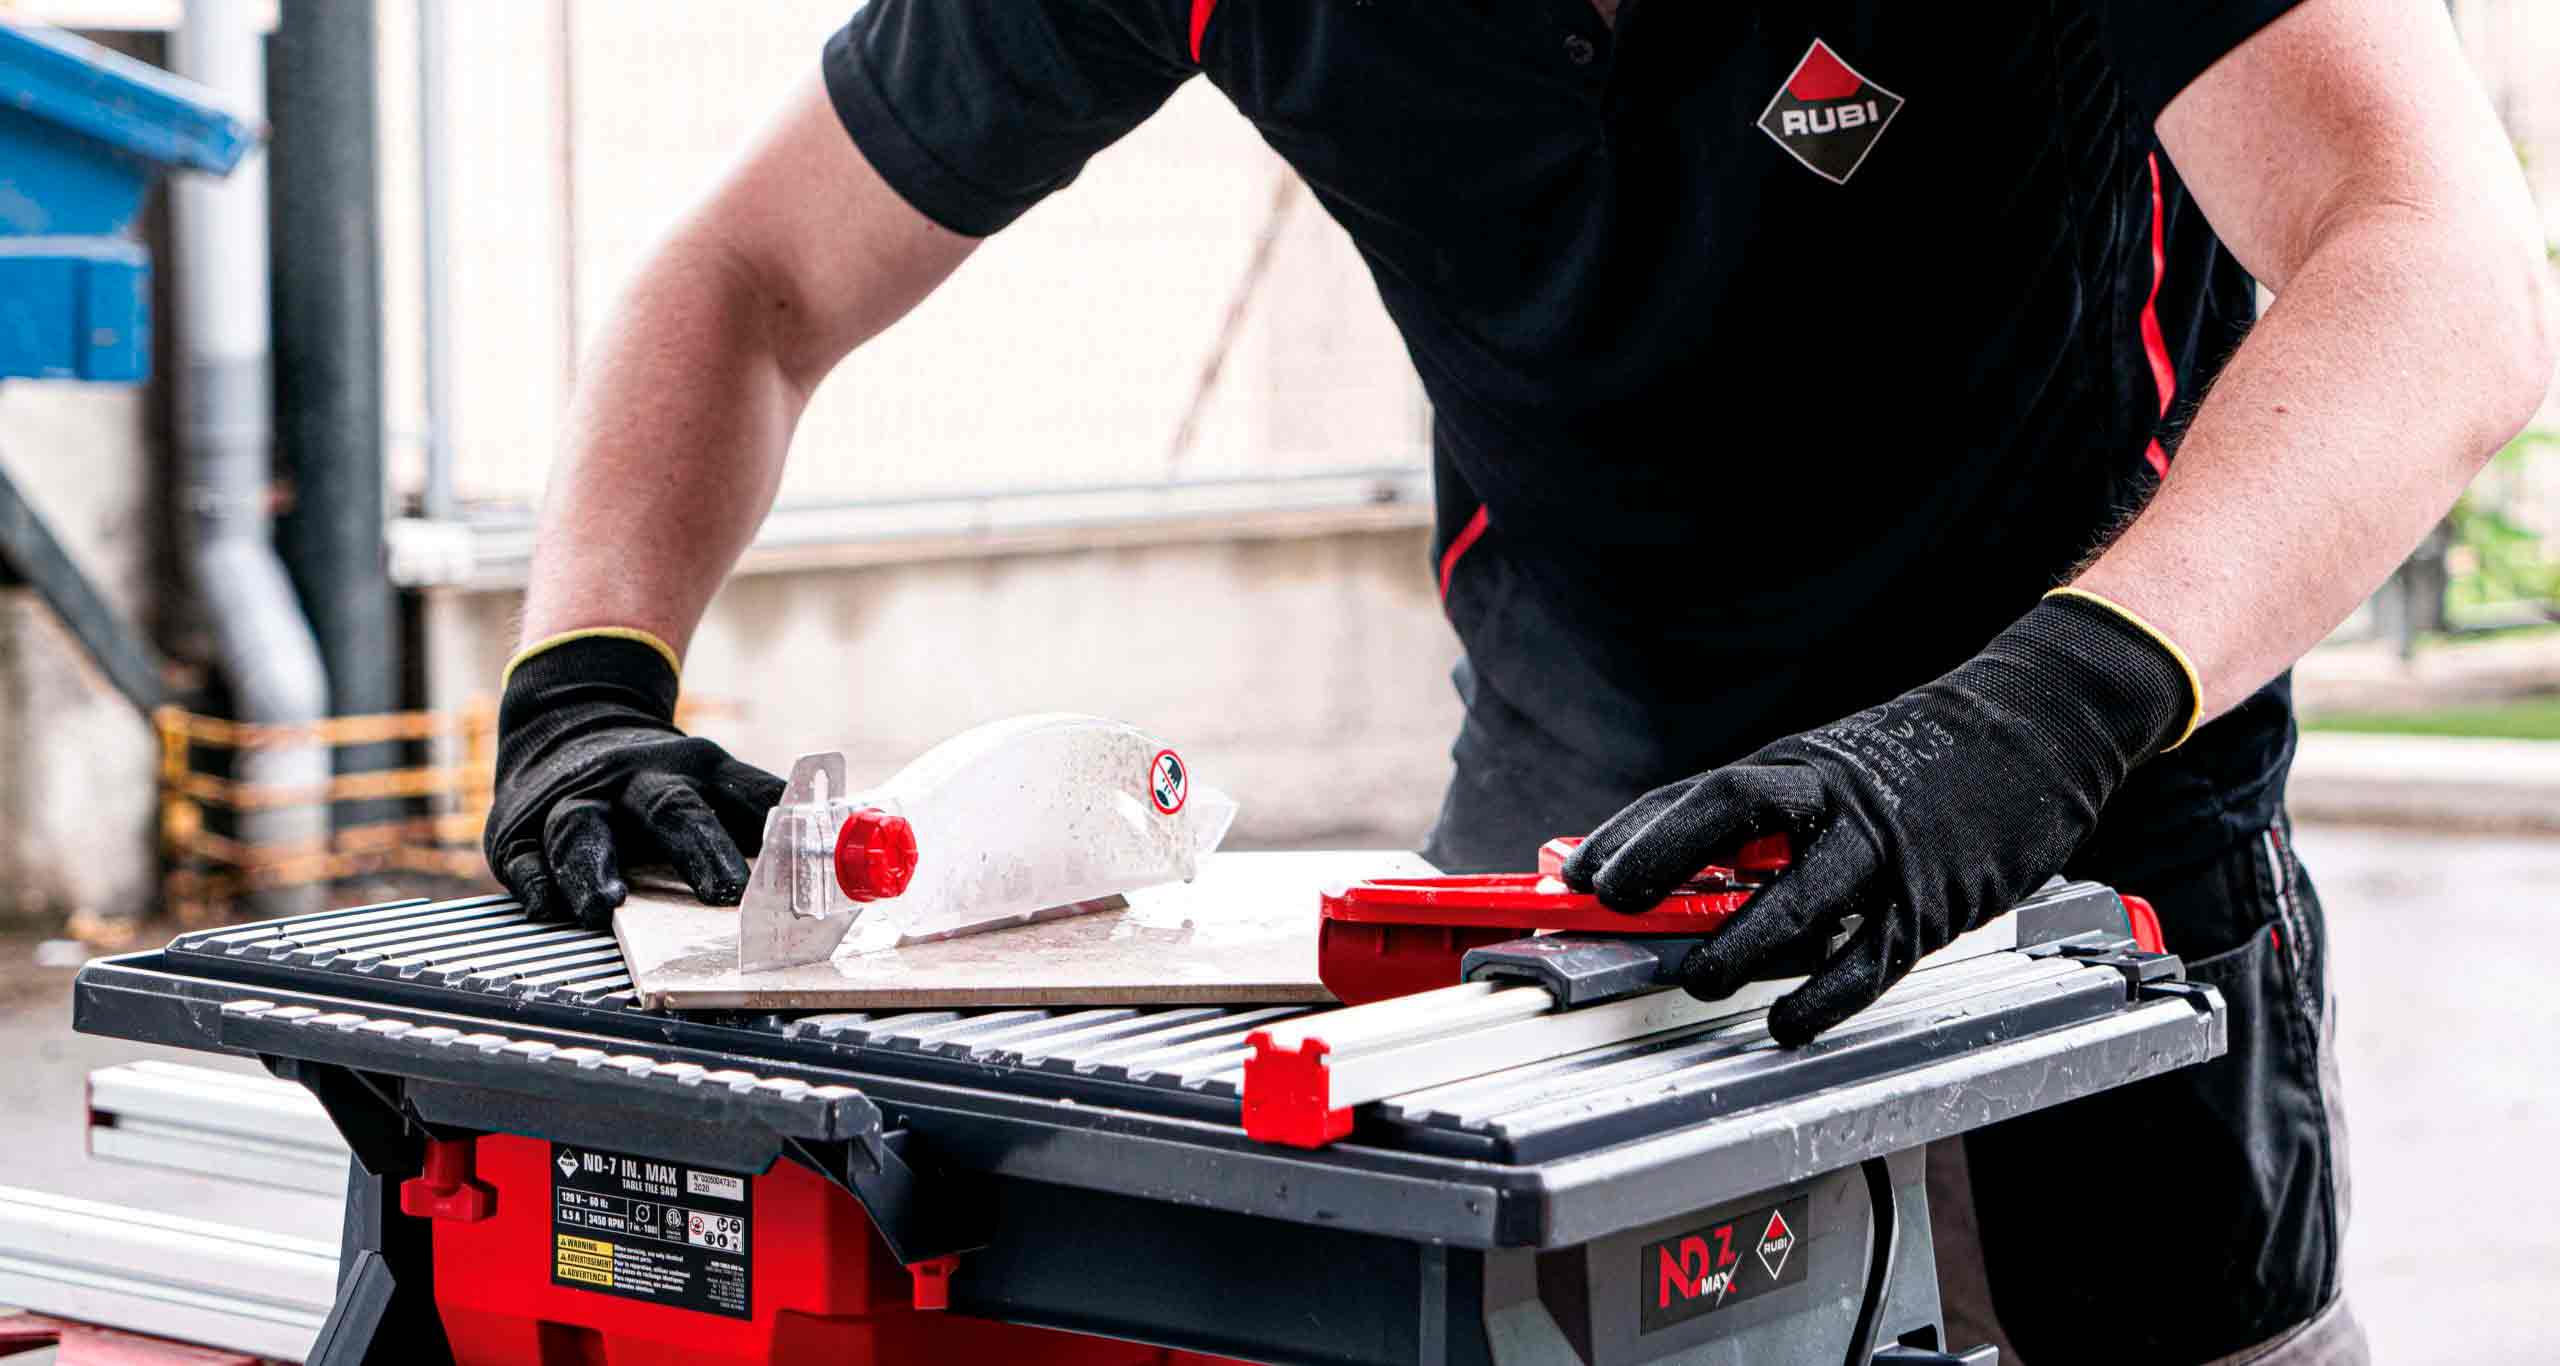
- If your ceiling tile is made of a material that can be easily scored and snapped, such as mineral fiber or fiberglass, you can use a tile cutter or scoring tool. Place the tile on a flat surface with the marked side facing up.
- Align the straightedge or T-square with the marked lines and firmly score the tile along the line. Apply even pressure to ensure a clean and precise score.
- Hold the tile on both sides of the score line and gently snap it along the scored line. If done correctly, the tile should easily break apart in two pieces.
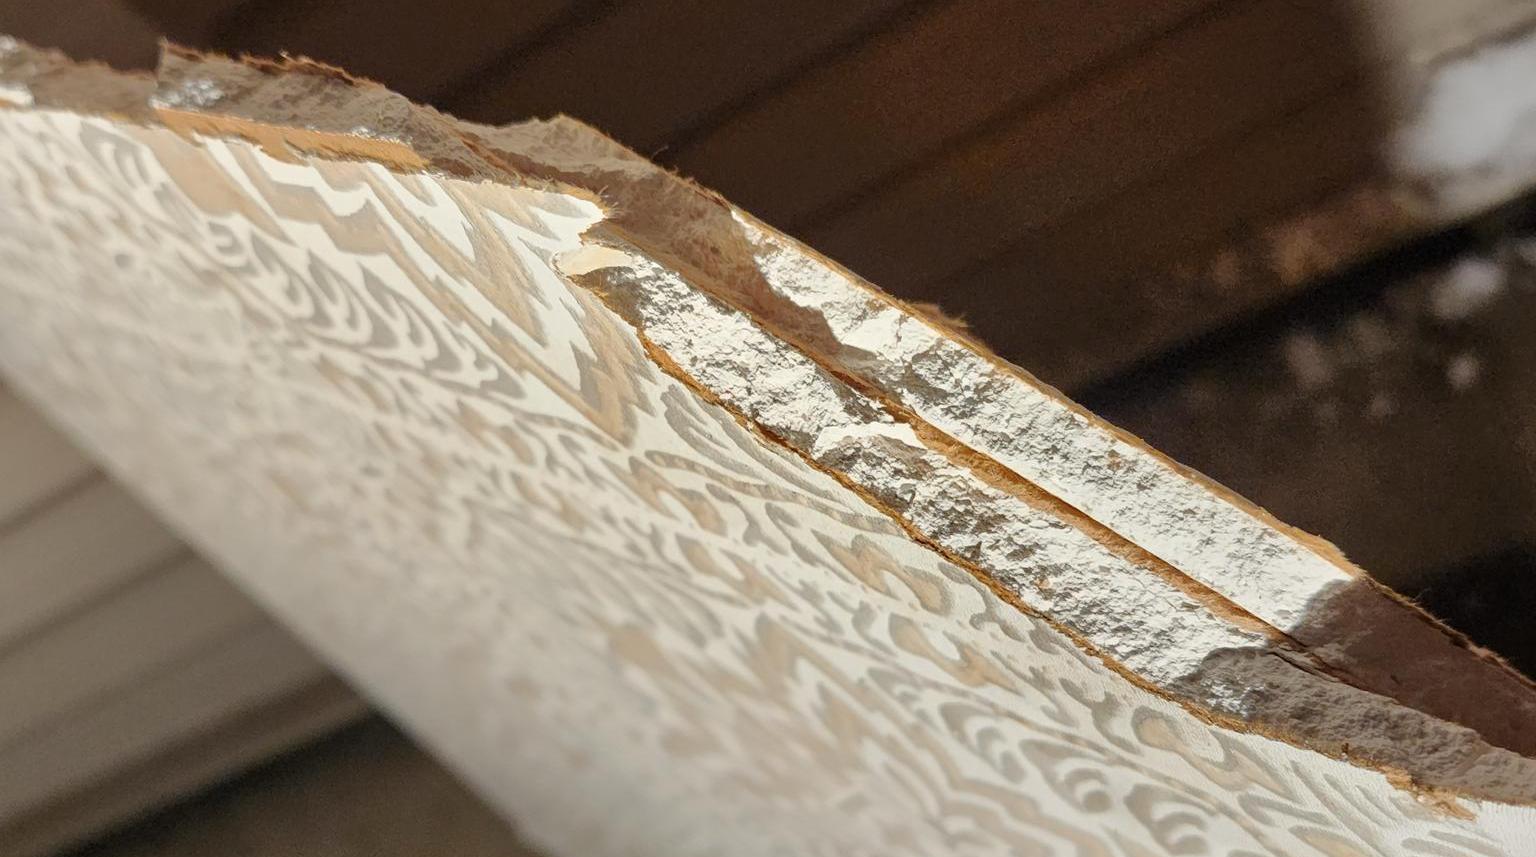
- If your ceiling tile is made of a harder material, such as gypsum or metal, you will need to use a utility knife. Place the tile on a cutting surface with the marked side facing up.
- Align the straightedge or T-square with the marked lines and use the utility knife to make multiple shallow cuts along the line. Go over the cuts a few times, gradually increasing the pressure, until you have cut through the entire thickness of the tile.
- Once the tile is cut, use a utility knife or sandpaper to smooth any rough edges or uneven surfaces.
Remember to work slowly and carefully while cutting the tile to maintain accuracy and avoid any accidental damage. Take your time and make sure to follow the manufacturer’s guidelines for cutting the specific type of ceiling tile you are working with.
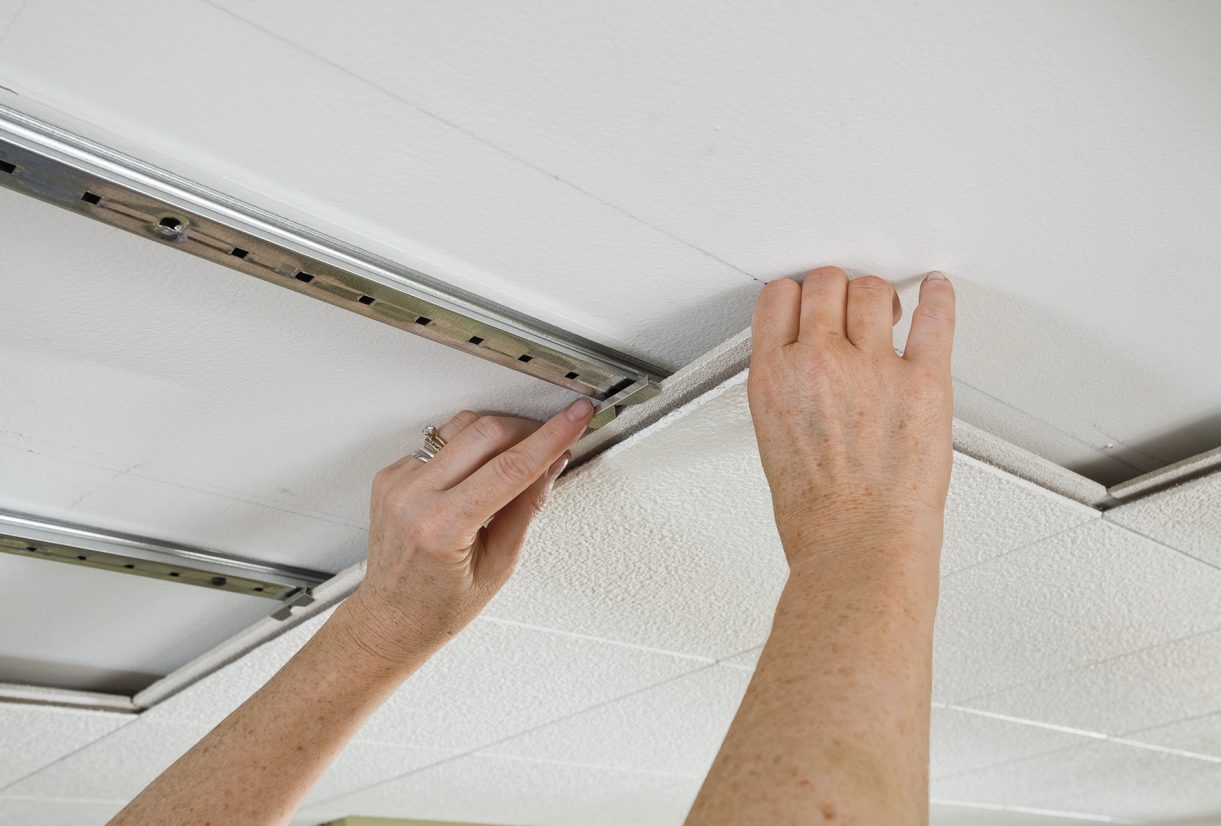
Step 4: Finishing Touches
After cutting the ceiling tile, it’s time to add the finishing touches to ensure a professional look. Follow these steps:
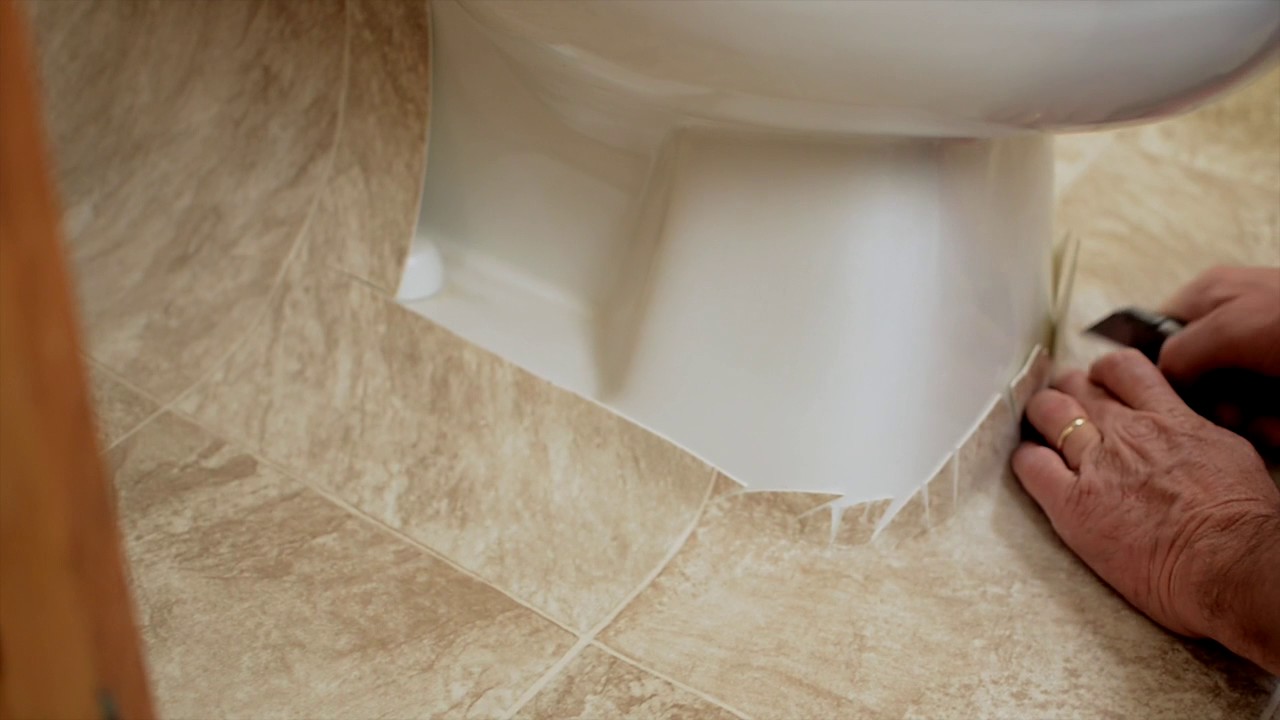
- Test fit the cut tile into the designated area to ensure it fits properly. Make any necessary adjustments or trims if the tile is slightly too large.
- If needed, apply adhesive or adhesive tape to the back of the tile to secure it in place. Follow the manufacturer’s recommendations for the type of adhesive suitable for your ceiling tile.
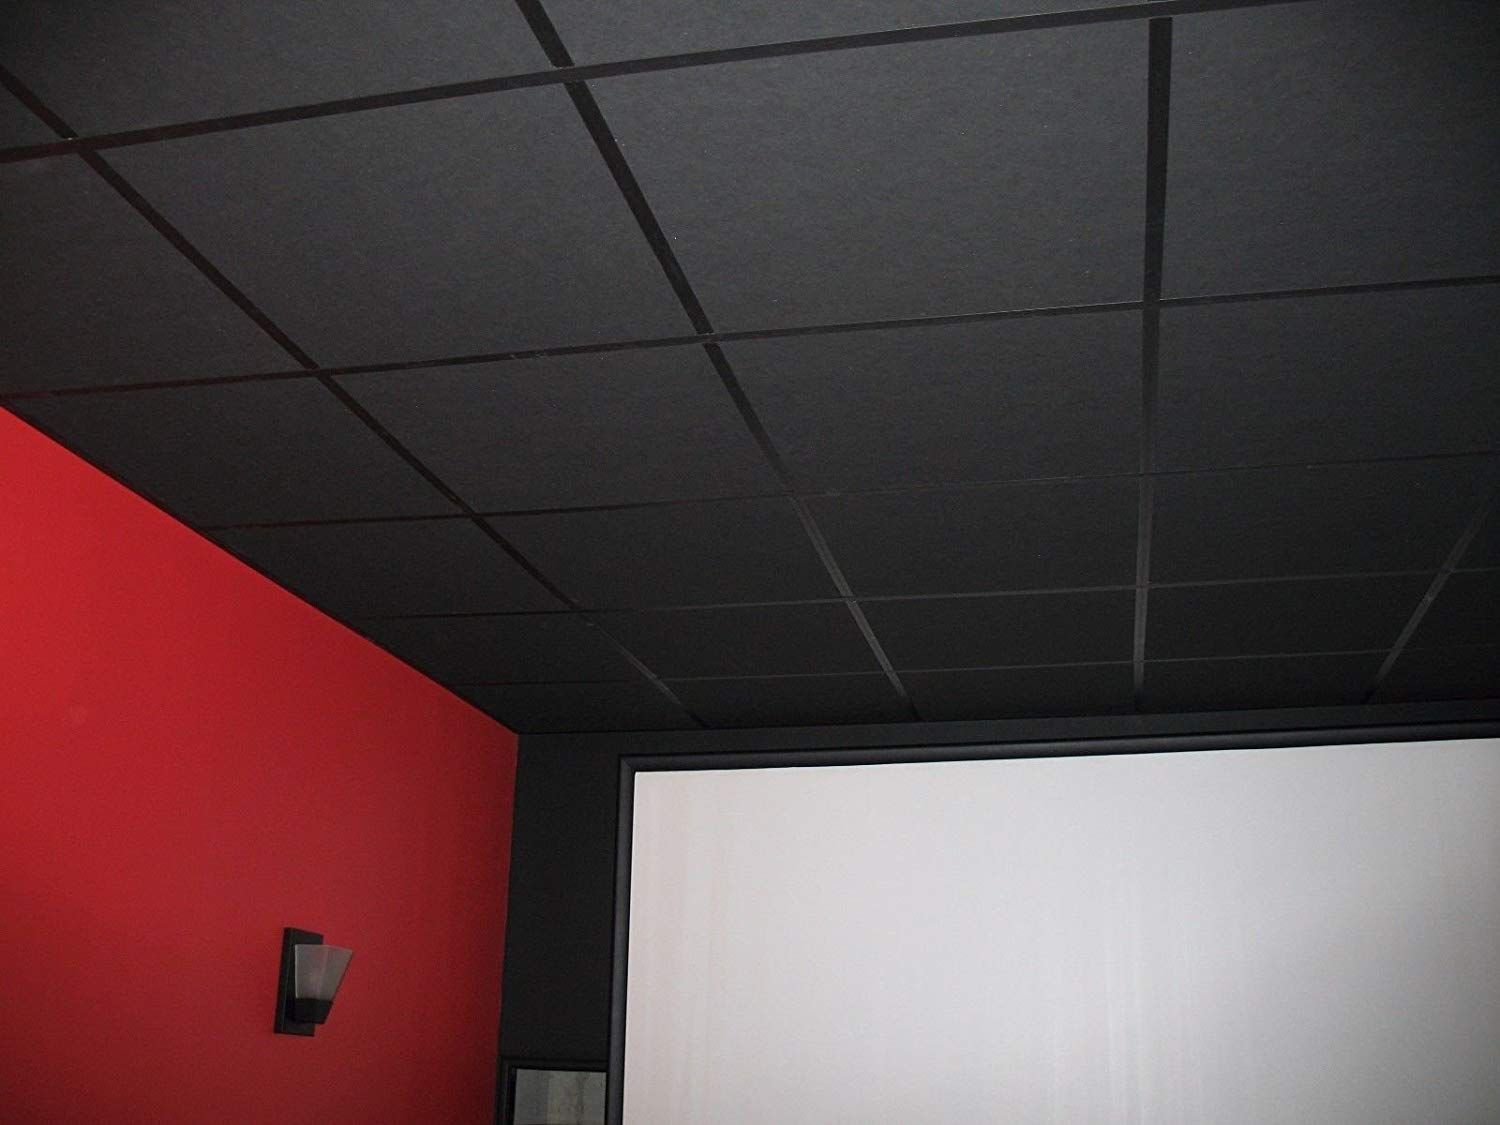
- If your ceiling tile has a decorative facing, such as a pattern or texture, ensure that it aligns properly with the surrounding tiles for a seamless appearance.
- Gently press the cut tile into place, applying even pressure to ensure proper adhesion.
- Step back and visually inspect the installed tile to ensure it blends well with the surrounding tiles and creates a cohesive look.
By paying attention to these finishing touches, you’ll achieve a polished and professional result that seamlessly integrates the cut tile with the rest of the ceiling.
Conclusion
Cutting ceiling tiles may seem like a daunting task, but with the right tools, materials, and techniques, it can be accomplished with ease. By following the step-by-step process outlined in this article, you can confidently cut ceiling tiles and achieve a professional and seamless finish.
Remember to prioritize safety by wearing protective gear, such as safety goggles, gloves, and a dust mask. Take the necessary precautions to create a well-ventilated workspace and protect yourself from potential hazards.
Accurate measurements, careful marking, and proper preparation of the cutting area are key to achieving precise cuts. Whether you’re using a tile cutter or scoring tool for softer materials or a utility knife for harder materials, take your time and work with patience to ensure clean and accurate cuts.
Lastly, pay attention to the finishing touches to create a seamless integration of the cut tile with the surrounding tiles. Test fit the tile, use appropriate adhesives if needed, and ensure proper alignment for a professional appearance.
By following these guidelines, you can confidently tackle any ceiling tile cutting project and achieve a result that enhances the overall aesthetics of your space. Enjoy your newly cut ceiling tiles and the refreshed look it brings to your room!
Frequently Asked Questions about How To Cut Ceiling Tile
Was this page helpful?
At Storables.com, we guarantee accurate and reliable information. Our content, validated by Expert Board Contributors, is crafted following stringent Editorial Policies. We're committed to providing you with well-researched, expert-backed insights for all your informational needs.


0 thoughts on “How To Cut Ceiling Tile”