Home>Articles>How To Redo Bathroom Countertops Without Replacing
Articles
How To Redo Bathroom Countertops Without Replacing
Modified: August 17, 2024
Want to give your bathroom countertops a fresh look without spending a fortune? Our articles show you how to redo bathroom countertops without replacing, saving you time and money.
(Many of the links in this article redirect to a specific reviewed product. Your purchase of these products through affiliate links helps to generate commission for Storables.com, at no extra cost. Learn more)
Introduction
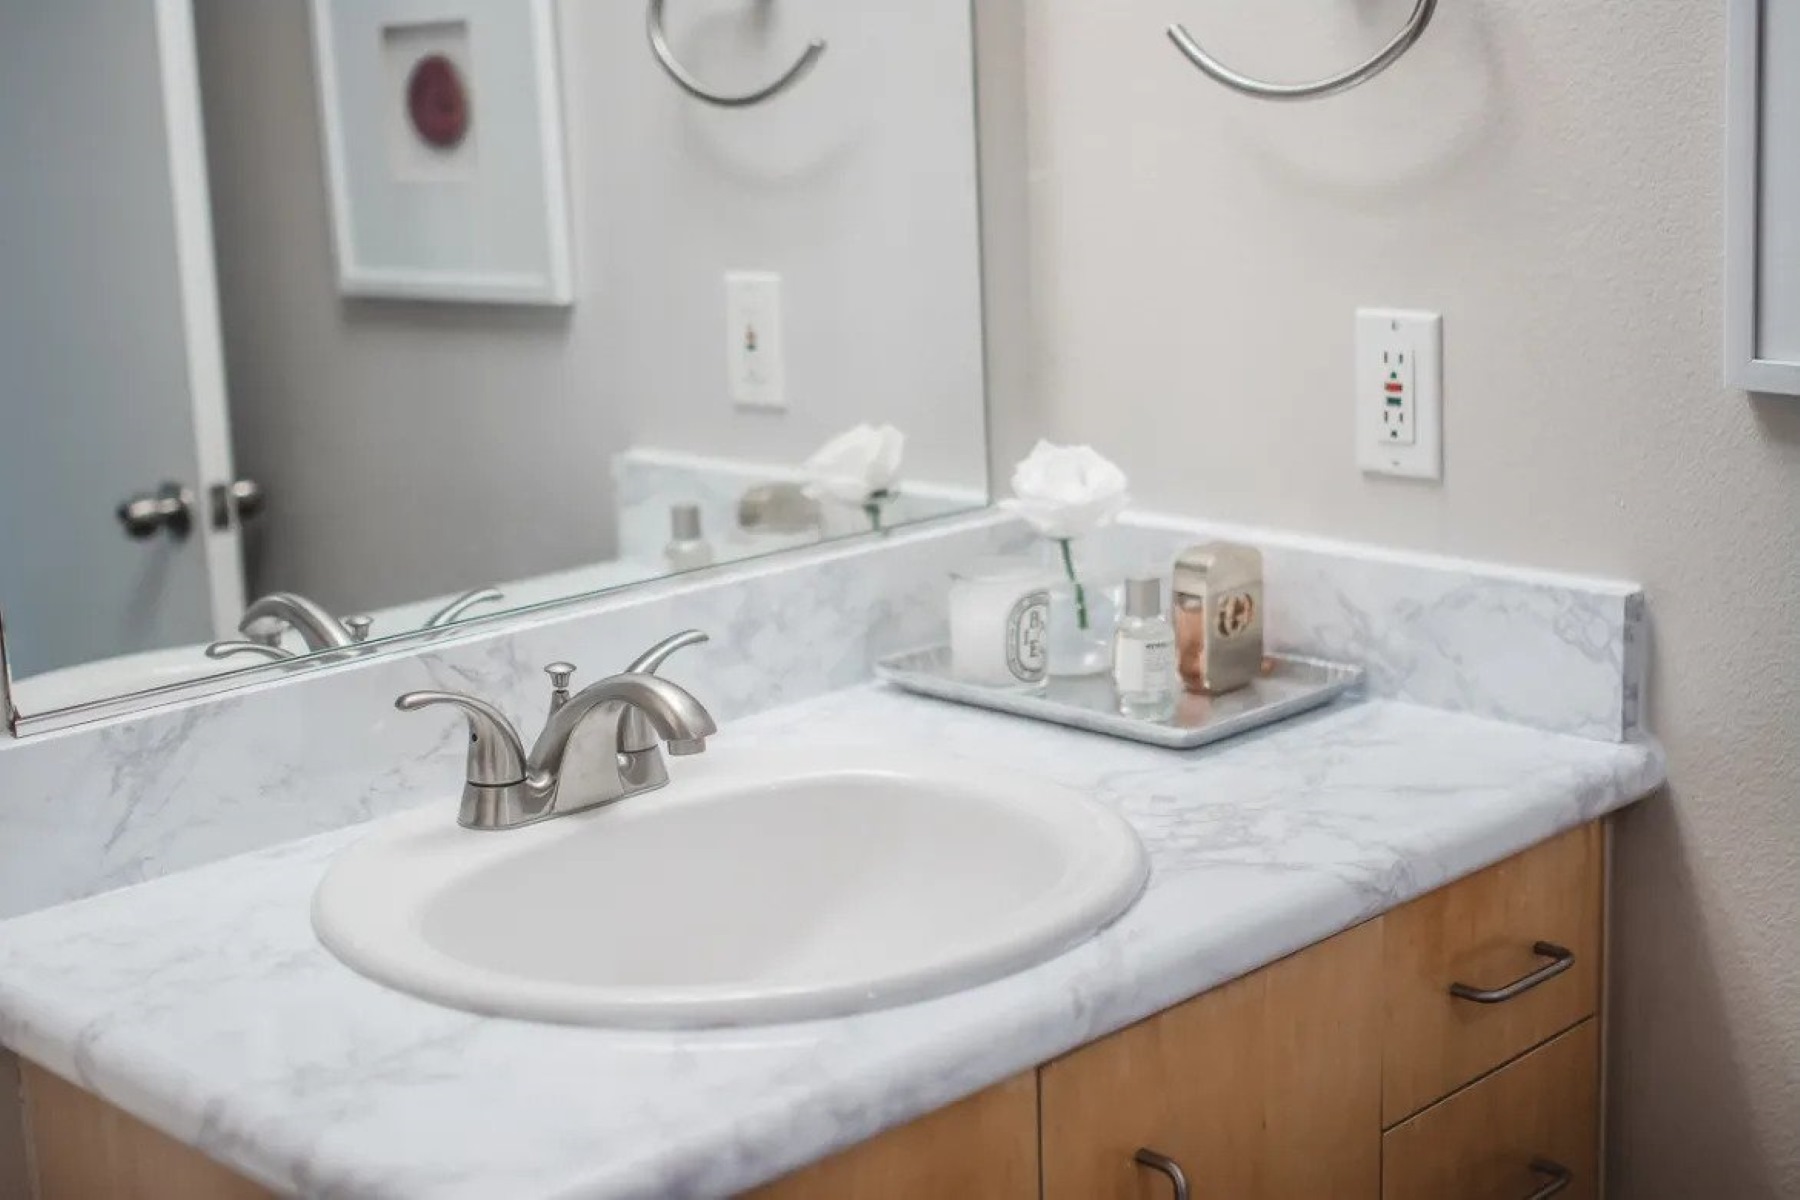
A bathroom countertop is often one of the focal points of the space, adding style and functionality to the room. However, over time, it can become worn, outdated, or damaged, leaving you with the decision to either replace it entirely or find an alternative solution. While replacing a bathroom countertop can be expensive and time-consuming, there is a cost-effective option that can give your bathroom a fresh and updated look without the need for a complete replacement. In this article, we will explore how to redo bathroom countertops without replacing them, providing you with a step-by-step guide to transform your countertop and breathe new life into your bathroom.
By following these steps, you can save time and money while still achieving a beautiful, upgraded bathroom countertop. So, let’s get started on this DIY project!
Key Takeaways:
- Transform your bathroom countertops without replacing them by following a cost-effective DIY process. Prepare, measure, install, and finish for a professional-looking result that saves time and money.
- Redoing bathroom countertops is a rewarding project that can breathe new life into your space. With careful preparation, precise measurements, and attention to detail, you can achieve a fresh and updated look without the need for a complete replacement.
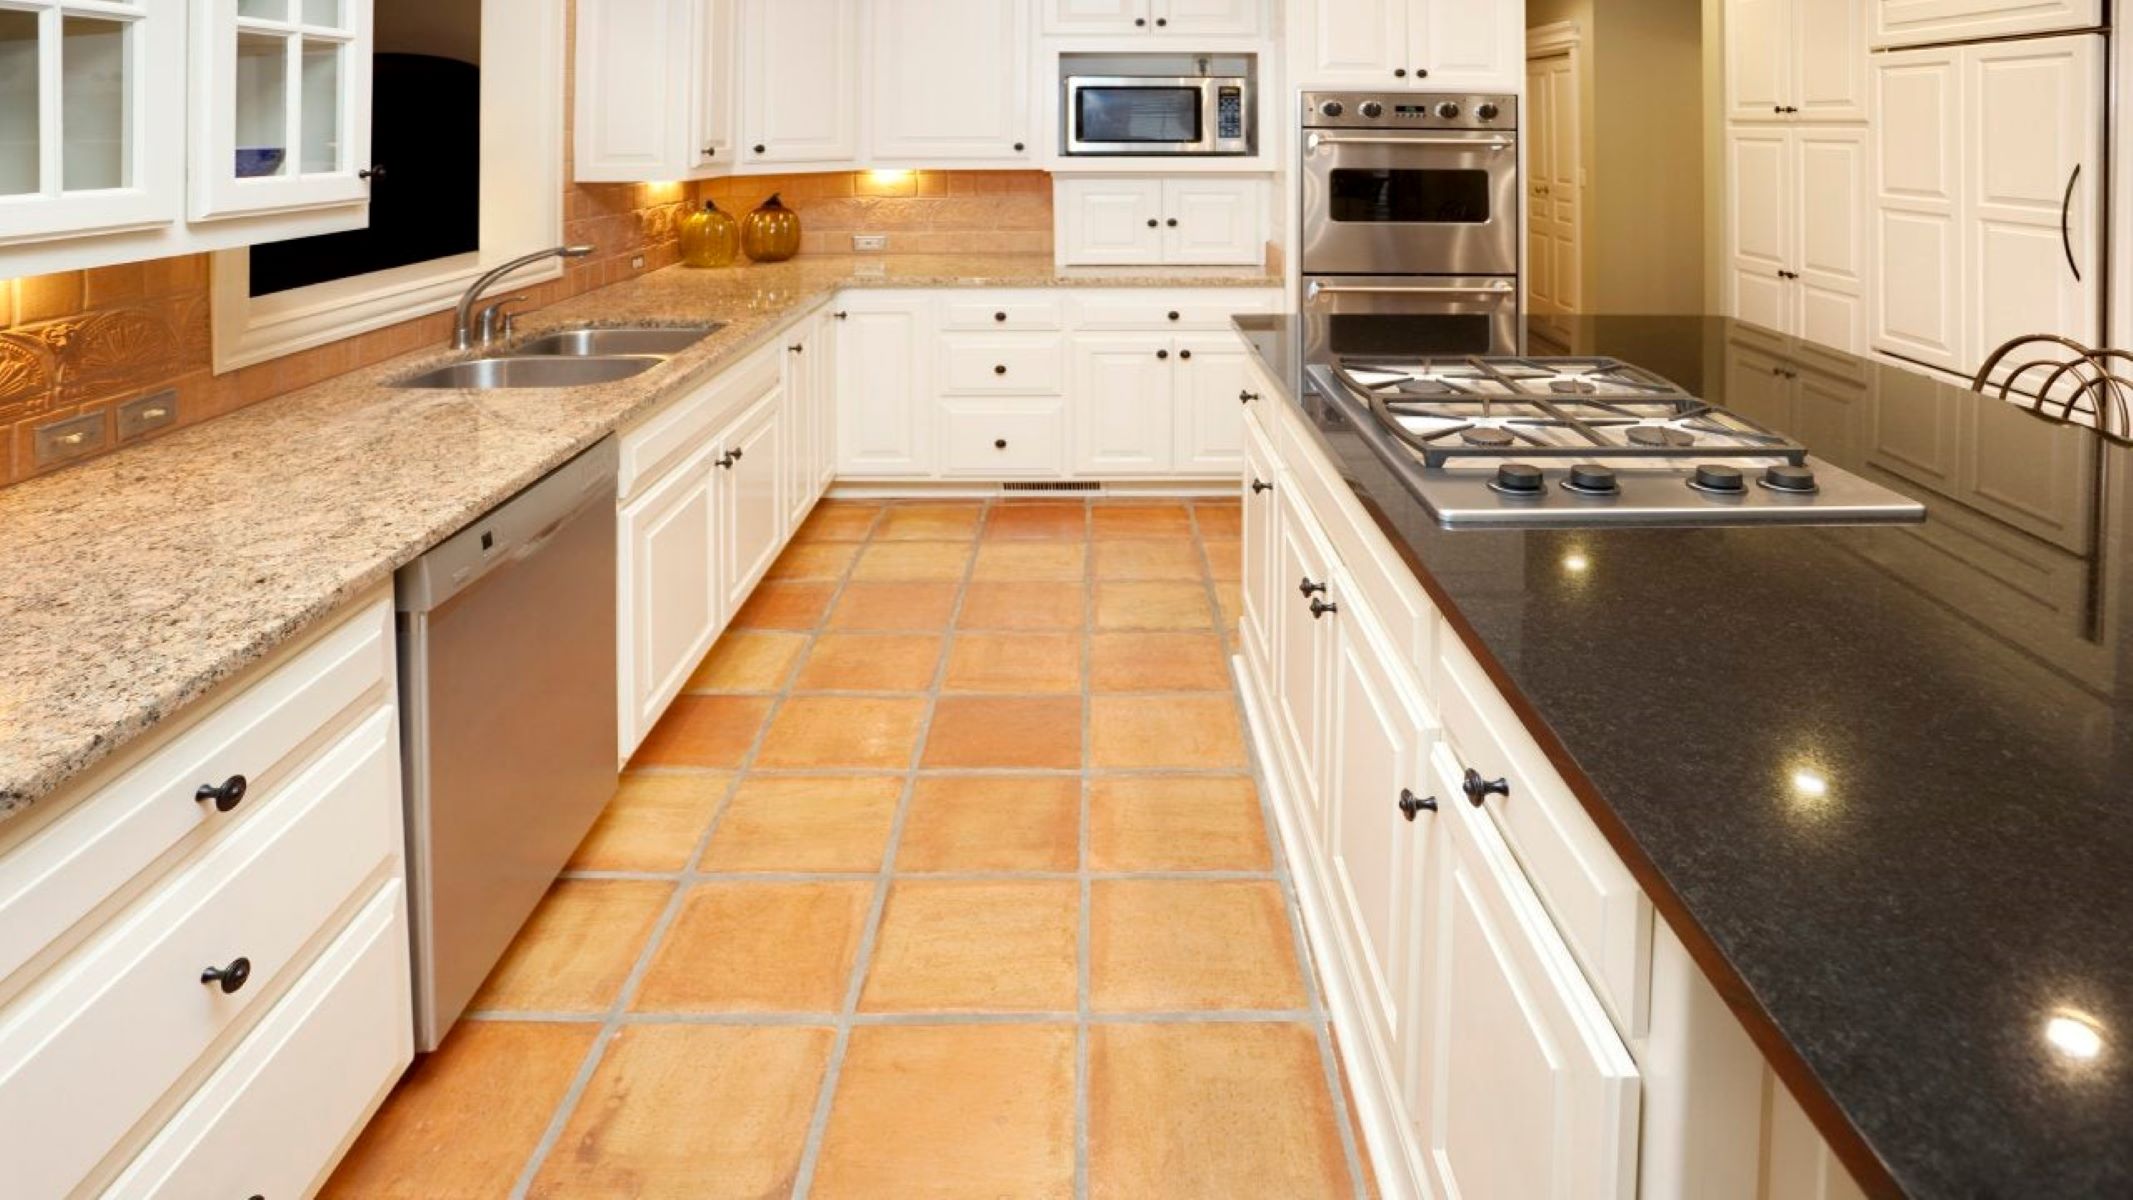
Read more: How To Redo Cheap Countertops
Step 1: Prepare the Countertop
Before you can begin the process of redoing your bathroom countertop, it’s essential to properly prepare the surface. This will ensure that the new laminate adheres correctly and provides a smooth and durable finish. Here are the steps to prepare your countertop:
Clean the countertop: Start by thoroughly cleaning the countertop surface. Use a mild detergent and water to remove any dirt, grime, or residue. Make sure to dry the countertop completely before moving on to the next step.
Remove any caulk or adhesive: Inspect the countertop for any caulk or adhesive residue from the previous installation. Use a scraper or putty knife to carefully remove any leftover caulk or adhesive. This step is crucial to ensure a clean and even surface for the new laminate.
Sand the surface: After removing any caulk or adhesive, lightly sand the countertop surface. This step helps to roughen up the surface, allowing better adhesion for the new laminate. Use a fine-grit sandpaper and gently sand the entire countertop in a circular motion. Be sure to remove any dust or debris after sanding.
By properly preparing the countertop, you create a clean and smooth base for the new laminate. This step is vital for the overall success and longevity of your bathroom countertop transformation.
Step 2: Measure and Cut New Laminate
Once the countertop is properly prepared, it’s time to measure and cut the new laminate. This step is crucial to ensure a perfect fit and a professional-looking finish. Here’s how to measure and cut the new laminate:
Measure the dimensions of your countertop: Use a measuring tape to measure the length and width of your countertop. Take accurate measurements, making sure to account for any protrusions or curves in the countertop surface. Write down the measurements for future reference.
Transfer the measurements to the laminate sheet: Place the laminate sheet on a flat surface with the backing side facing up. Use a pencil or marker to transfer the measurements from the countertop onto the laminate sheet. Double-check the measurements to ensure accuracy.
Use a circular saw or utility knife to cut the laminate: Depending on the thickness of the laminate, you can use either a circular saw or a utility knife to cut the laminate sheet. If using a circular saw, set the blade depth to slightly deeper than the thickness of the laminate. Carefully cut along the marked lines. If using a utility knife, firmly score along the lines and then repeatedly slice through the scored lines until the laminate is fully cut.
It’s important to take your time during this step to ensure precise measurements and clean cuts. Remember to wear appropriate safety gear, such as goggles and gloves, when using power tools.
With the new laminate cut to size, you’re one step closer to transforming your bathroom countertop and giving it a fresh and updated look.
Step 3: Apply Adhesive to the Countertop
With the new laminate ready, it’s time to apply adhesive to the countertop. The adhesive will ensure a strong bond between the laminate and the countertop surface. Here’s how to apply adhesive to the countertop:
Apply contact cement to both the countertop and the back of the laminate: Start by applying a thin, even layer of contact cement to the entire surface of the countertop using a paintbrush or roller. Be sure to cover the edges and corners as well. Similarly, apply a thin layer of contact cement to the back of the laminate sheet. Ensure that the cement is applied evenly and covers the entire surface.
Allow the cement to dry for the recommended time: Once the contact cement has been applied to both the countertop and the back of the laminate, allow it to dry for the recommended time specified by the manufacturer. It’s essential to follow the instructions carefully to ensure proper adhesion.
Drying times can vary, but typically, it takes around 15-30 minutes for the contact cement to dry. During this time, the cement becomes tacky to the touch. It’s important not to rush this step as it will affect the strength and durability of the bond.
By applying contact cement to both the countertop and the back of the laminate and allowing it to dry properly, you create a strong bond that will ensure the new laminate stays firmly in place for years to come.
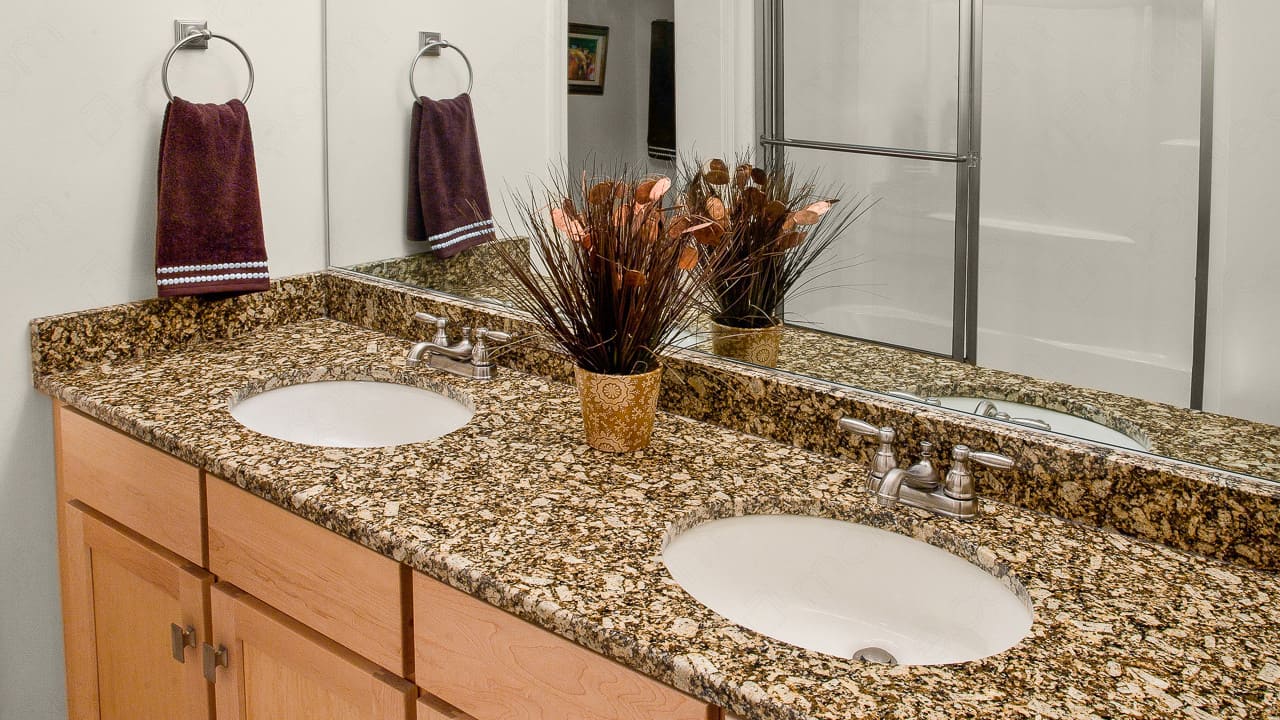
Consider using a countertop refinishing kit to update the look of your bathroom countertops without replacing them. These kits typically include everything you need to resurface the existing countertop with a new, durable finish.
Step 4: Install the Laminate
With the adhesive dried, it’s time to install the laminate onto the countertop surface. This step requires careful handling to ensure a smooth and seamless application. Here’s how to install the laminate:
Align the laminate with the countertop edges: Start by aligning the edges of the laminate sheet with the edges of the countertop. Take your time to position it accurately, ensuring an even overhang on all sides. It’s important to maintain a consistent gap between the laminate and the backsplash or walls.
Slowly lay the laminate onto the countertop surface: Once aligned, slowly and carefully lower the laminate onto the countertop surface. Start from one side and continue moving towards the opposite side. Avoid any sudden movements that may cause the laminate to shift or buckle.
Use a roller to press down and remove any air bubbles: Once the laminate is in place, use a roller (a laminate roller or a rolling pin can work) to press down firmly on the entire surface. This will help to ensure proper adhesion and remove any trapped air bubbles. Roll in all directions, applying even pressure over the entire surface of the laminate.
It’s important to work methodically during this step to achieve a smooth and uniform installation. Take breaks if needed to avoid rushing the process, as it will affect the final result.
By aligning the laminate, carefully laying it onto the countertop, and using a roller to remove any air bubbles, you will achieve a professional-looking installation that will enhance the appearance and functionality of your bathroom countertop.
Step 5: Trim and Finish the Edges
After installing the laminate, it’s time to trim and finish the edges to create a clean and polished look. This step will give your bathroom countertop a professional appearance and help prevent moisture damage. Here’s how to trim and finish the edges:
Use a laminate trimmer or router to trim the excess laminate: Start by using a laminate trimmer or a router with a laminate cutting bit to trim the excess laminate along the edges of the countertop. Carefully guide the trimmer or router along the edges, ensuring smooth and even trimming. Be cautious not to cut into the countertop surface.
Smooth out the edges using a file or sandpaper: Once the excess laminate is trimmed, use a file or sandpaper to smooth out the edges. Gently file or sand the edges to create a clean and finished look. Start with a coarse-grit sandpaper to remove any roughness and then switch to a finer-grit sandpaper for a smoother finish.
Apply caulk to seal the edges and prevent moisture damage: Lastly, apply a bead of caulk along the edges of the laminate and the countertop. This will seal the edges, preventing moisture from seeping in and causing damage. Use a caulk gun to apply a thin and even line of caulk, ensuring complete coverage.
Be sure to choose a caulk color that matches the laminate or complements the overall design of your bathroom. Allow the caulk to dry according to the manufacturer’s instructions before using the countertop.
By trimming and finishing the edges of the laminate, as well as applying caulk to seal the edges, you’ll achieve a neat and professional-looking bathroom countertop that is resistant to moisture damage.
Step 6: Reinstall Sink and Faucet
With the laminate installed and the edges trimmed and finished, it’s time to reinstall the sink and faucet to complete the transformation of your bathroom countertop. Here’s how to do it:
Place the sink back onto the countertop: Carefully position the sink back onto the countertop, ensuring it aligns properly with the pre-cut sink hole. Take your time to make any necessary adjustments to achieve a snug fit.
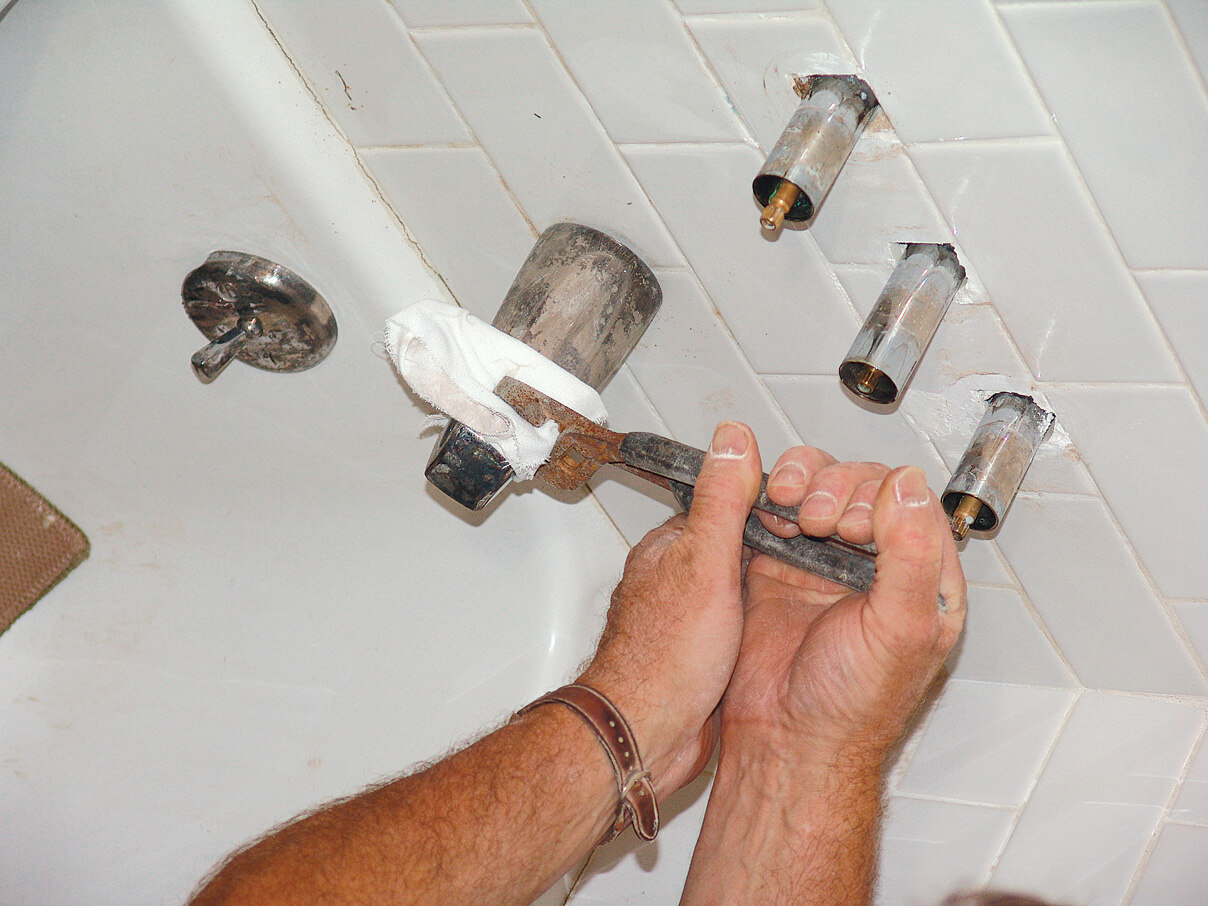
Reconnect the plumbing and secure the sink: Once the sink is in place, reconnect the plumbing components such as the drain assembly and water supply lines. Check for any leaks and tighten the connections as needed. Use a wrench to secure the sink clips or brackets that hold the sink in place, ensuring it remains stable.
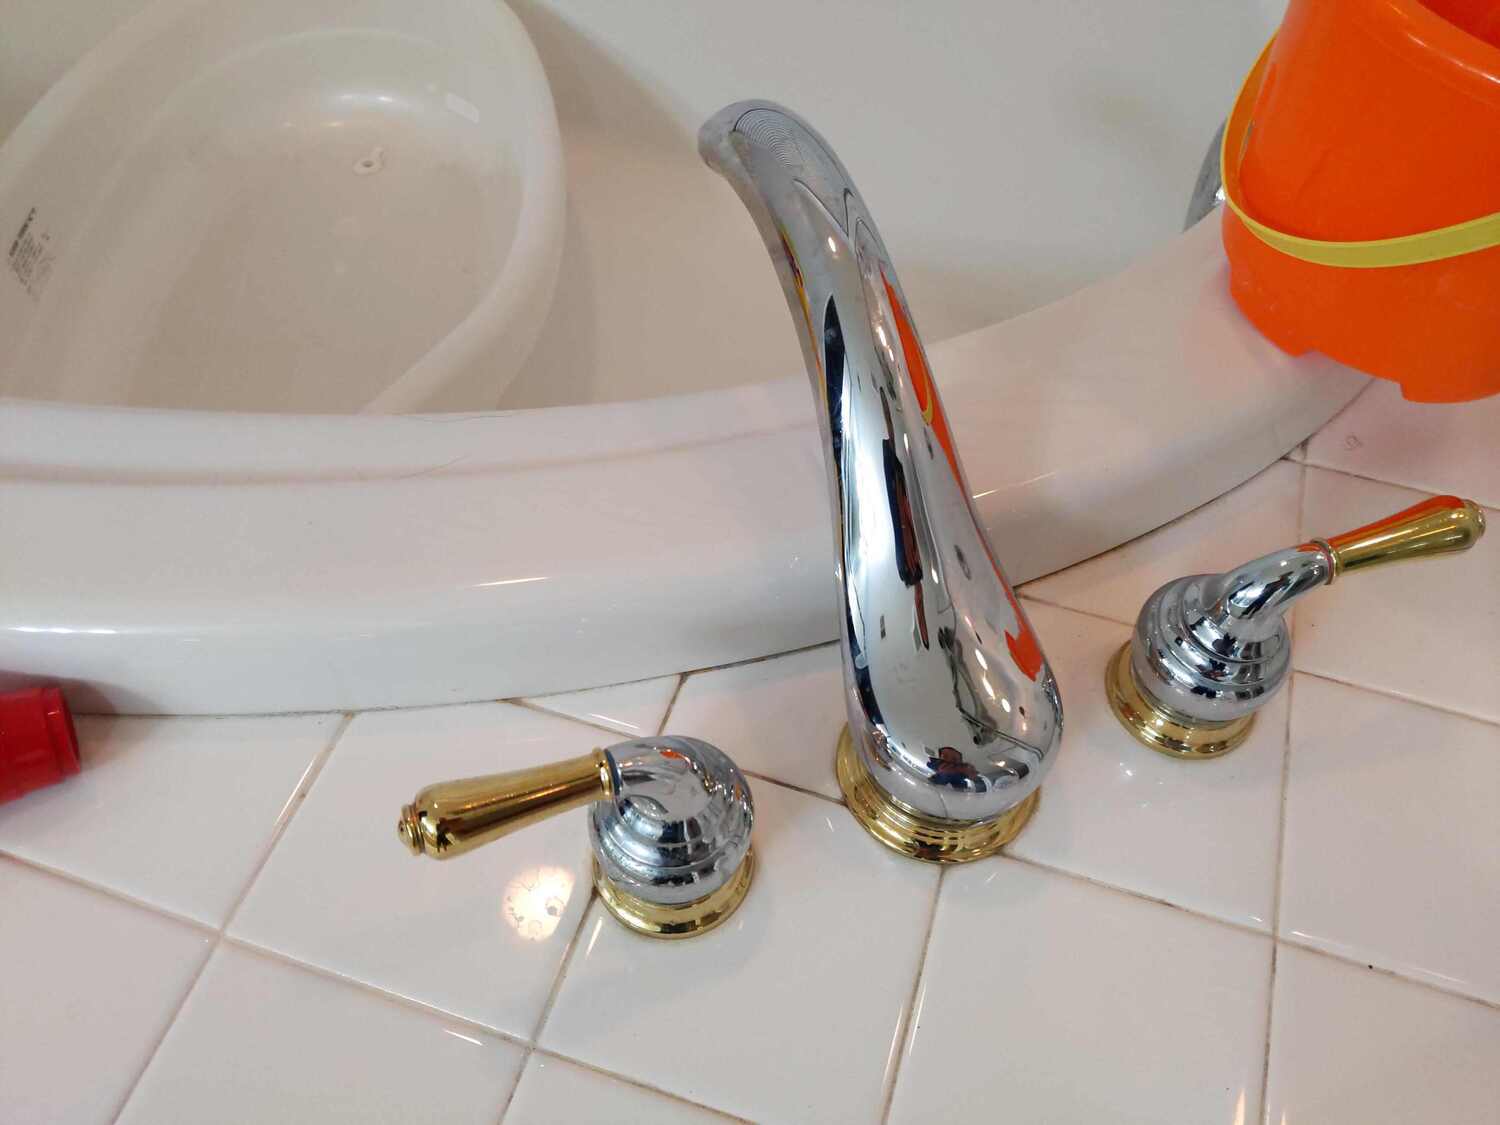
Install the faucet and connect it to the water supply: Install the faucet onto the sink according to the manufacturer’s instructions. This typically involves attaching the faucet body to the sink holes and connecting the water supply lines. Use a wrench to tighten any connections securely. Test the faucet for any leaks and make any necessary adjustments.
Ensure that all connections are tight and secure to prevent any water leakage. If you’re unsure about the plumbing or faucet installation, it’s recommended to consult a professional plumber.
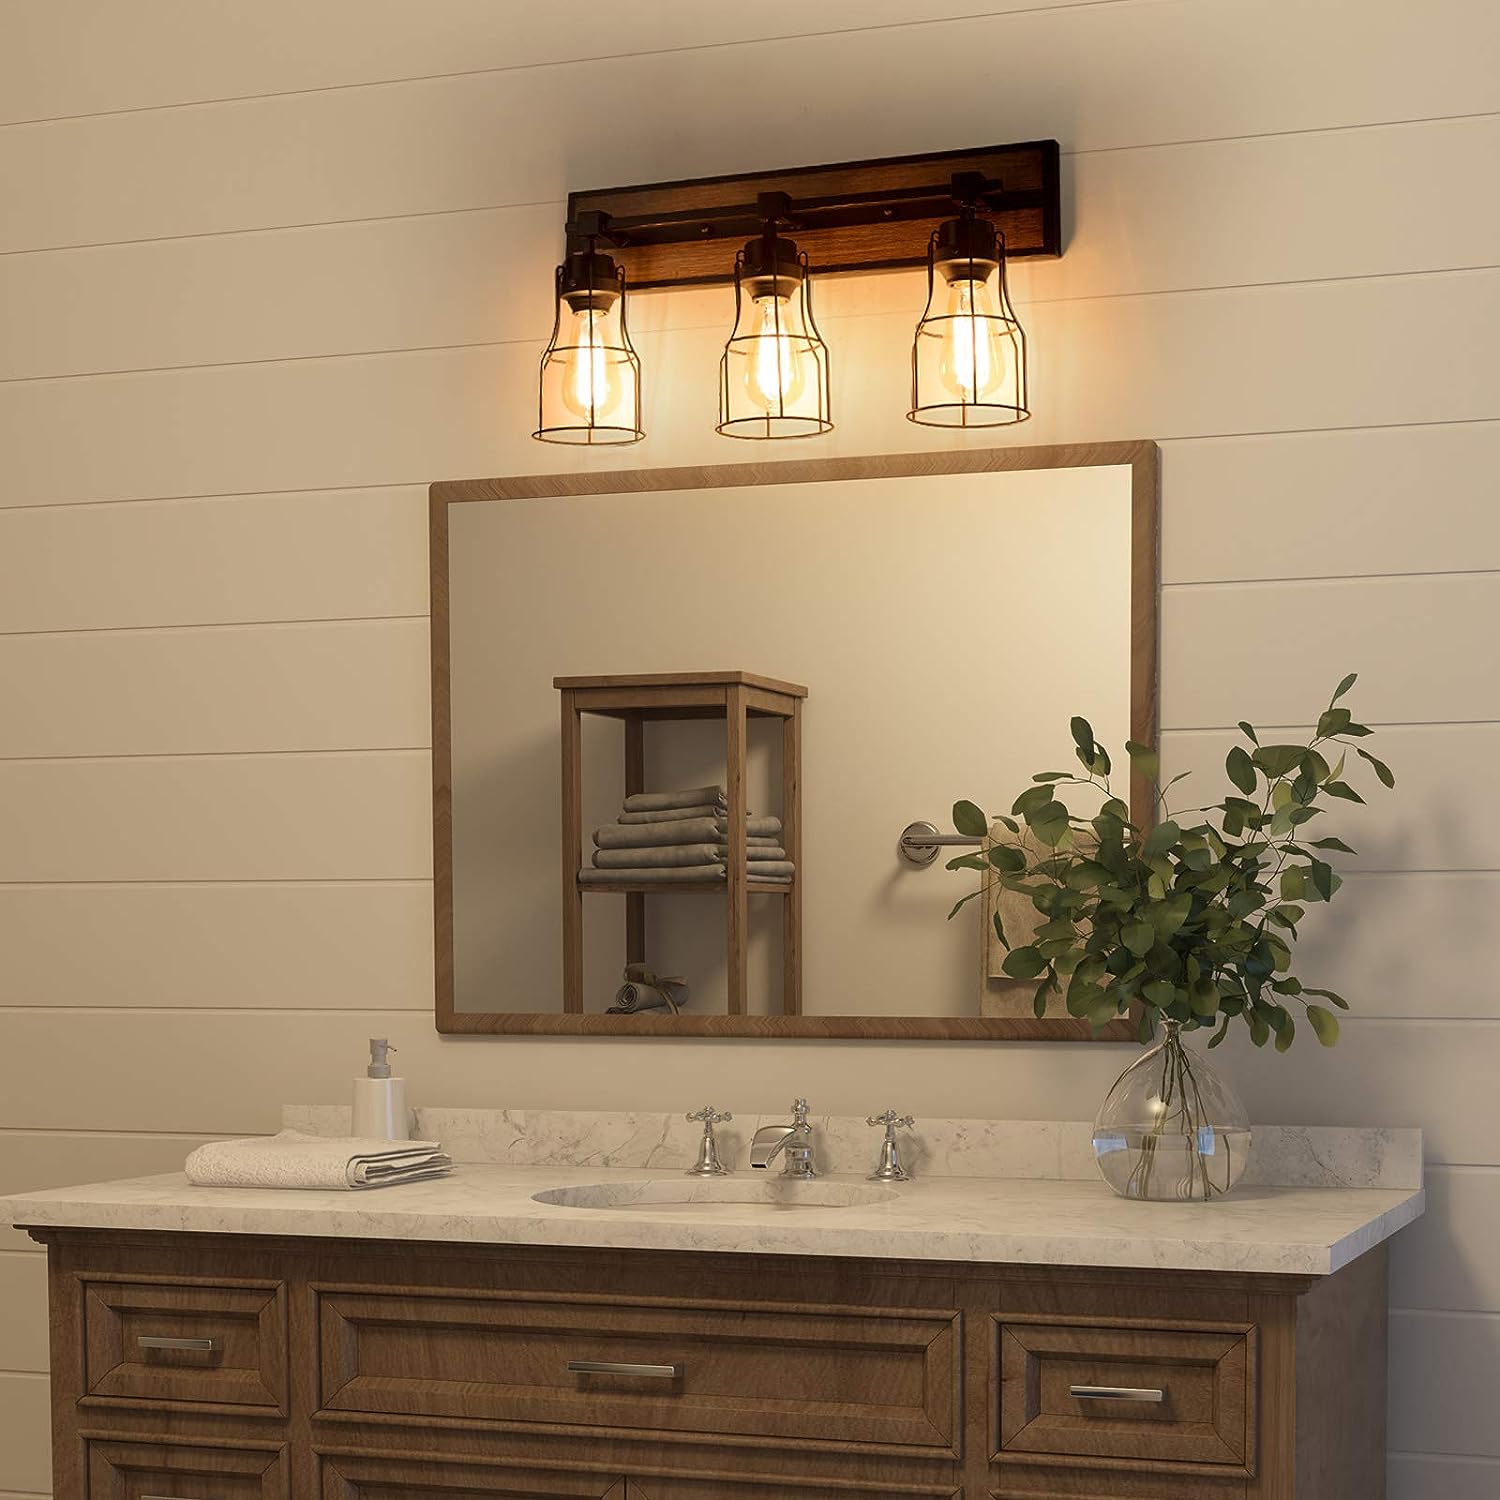
With the sink and faucet successfully reinstalled, your bathroom countertop makeover is complete. Enjoy the refreshed look and functionality of your newly revamped bathroom countertop!
Conclusion
Redoing your bathroom countertops can be a cost-effective and rewarding DIY project that can completely transform the look and feel of your bathroom. By following the step-by-step guide outlined in this article, you can achieve a professional-looking result without the need for a complete replacement. Here’s a quick recap of the steps:
1. Prepare the countertop by cleaning it, removing any caulk or adhesive, and sanding the surface.
2. Measure and cut the new laminate to fit the dimensions of your countertop.
3. Apply adhesive, such as contact cement, to both the countertop and the back of the laminate. Allow it to dry according to the manufacturer’s instructions.
4. Install the laminate by aligning it with the countertop edges and slowly laying it onto the surface. Use a roller to ensure proper adhesion and remove air bubbles.
5. Trim and finish the edges using a laminate trimmer or router, smooth out the edges with a file or sandpaper, and apply caulk to seal the edges.
6. Finally, reinstall the sink and faucet by placing the sink back onto the countertop, reconnecting the plumbing, securing the sink, and installing the faucet.
With each step completed, you’ll be able to enjoy a newly revitalized bathroom countertop that adds style and functionality to your space.
Remember, taking the time to prepare the countertop, measure accurately, apply adhesive properly, and trim and finish the edges will contribute to a successful project with long-lasting results. Also, don’t hesitate to seek professional assistance if you’re unsure about any aspect of the process or require expert advice.
So, why wait? Start planning your bathroom countertop redo project today and turn your outdated or damaged countertop into a beautiful focal point of your bathroom. With a little effort and creativity, you can achieve stunning results without the need for a complete replacement.
Happy remodeling!
Frequently Asked Questions about How To Redo Bathroom Countertops Without Replacing
Was this page helpful?
At Storables.com, we guarantee accurate and reliable information. Our content, validated by Expert Board Contributors, is crafted following stringent Editorial Policies. We're committed to providing you with well-researched, expert-backed insights for all your informational needs.


0 thoughts on “How To Redo Bathroom Countertops Without Replacing”