Home>Storage Ideas>Kitchen Storage>How To Replace A Kitchen Sink: Simple Step By Step

Kitchen Storage
How To Replace A Kitchen Sink: Simple Step By Step
Modified: January 8, 2024
Looking for kitchen storage ideas? Learn how to replace a kitchen sink with our simple step-by-step guide for a functional and organized space.
(Many of the links in this article redirect to a specific reviewed product. Your purchase of these products through affiliate links helps to generate commission for Storables.com, at no extra cost. Learn more)
Introduction
Welcome to the ultimate guide on how to replace a kitchen sink! Whether you’re upgrading your kitchen or dealing with a faulty sink, this step-by-step tutorial will walk you through the process and ensure a successful installation.
A kitchen sink is one of the most important fixtures in a kitchen, facilitating daily tasks such as washing dishes, prepping food, and cleaning. Over time, sinks can become worn out, damaged, or simply outdated. Replacing your kitchen sink not only improves functionality but can also enhance the overall aesthetics of your kitchen.
While the idea of replacing a kitchen sink may seem intimidating, fear not! With the right tools and a little guidance, even inexperienced DIY enthusiasts can tackle this project. So, let’s gather our tools, put on our work gloves, and get ready to transform your kitchen with a brand new sink!
Before we dive into the steps, it is important to note that the specific instructions for replacing a kitchen sink may vary depending on the type of sink you are installing and the existing plumbing setup in your kitchen. It is always recommended to consult the manufacturer’s instructions and hire a professional if you feel unsure or uncomfortable with any aspect of the installation.
Now, let’s get started with step one:
Key Takeaways:
- Transform your kitchen with a brand new sink by following this step-by-step guide. Upgrade functionality and aesthetics with the right tools and materials, even for DIY enthusiasts.
- Ensure a successful installation by paying attention to detail, following manufacturer’s instructions, and taking safety precautions. Enjoy your new sink and improved kitchen experience!
Read more: How To Unclog A Sink In Six Simple Steps
Step 1: Gather necessary tools and materials
Before you begin the process of replacing your kitchen sink, it’s important to gather all the necessary tools and materials. Having everything on hand will help make the installation smoother and more efficient. Here’s a list of what you’ll need:
- Adjustable wrench
- Screwdriver (both flathead and Phillips)
- Plumber’s tape
- Bucket or towels
- Hacksaw or reciprocating saw (if necessary)
- Silicone adhesive or plumber’s putty
- New sink (make sure it fits the dimensions of your countertop)
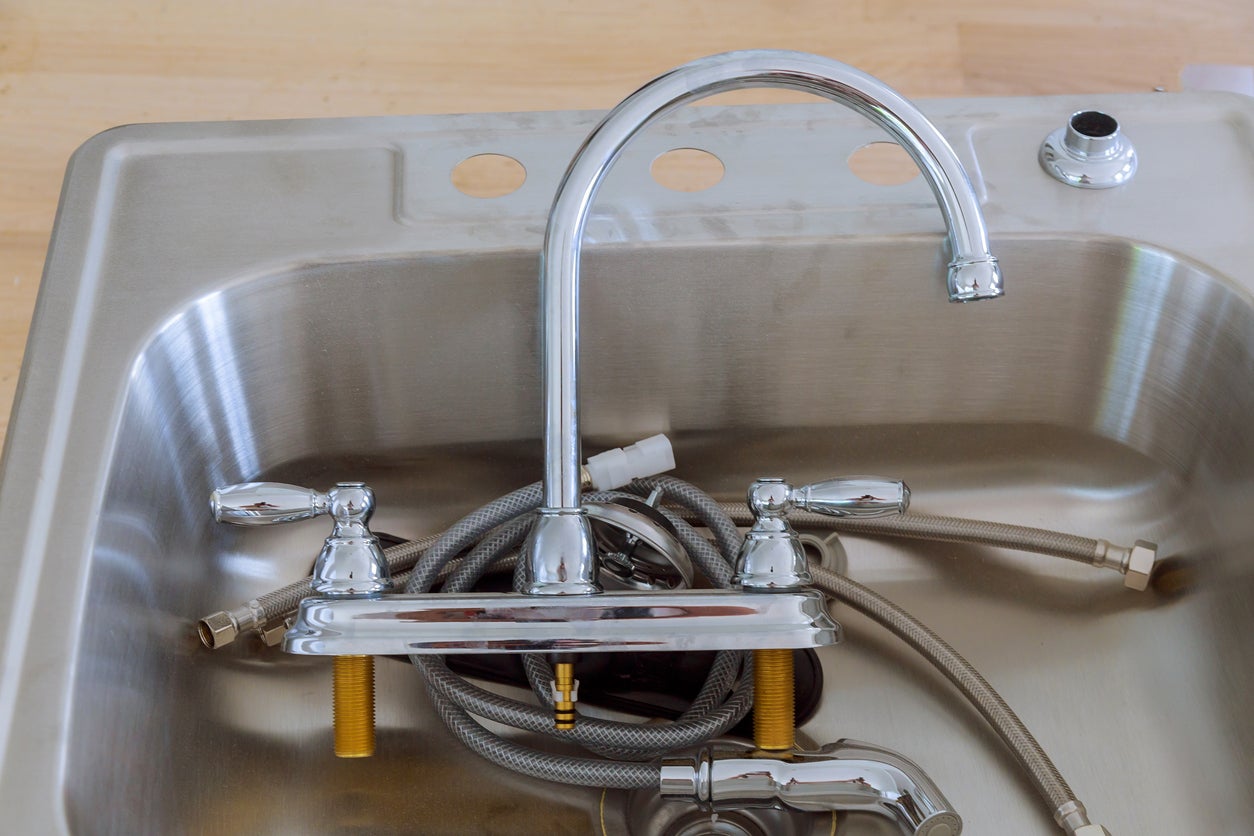
- New faucet
- Drain assembly
- Plumbing pipes and fittings (if needed)
Once you have gathered all the necessary items, you’re ready to move on to the next step. It’s important to note that some sinks may come with specific installation instructions or include additional parts. Be sure to consult the manufacturer’s instructions that come with your sink to ensure you have everything you need.
Additionally, be mindful of the type of sink you are installing. For example, if you’re replacing a drop-in sink with an undermount sink, you may need additional tools or materials such as brackets or epoxy adhesive. Research the specific requirements of your sink type for a successful installation.
Now that you have all your tools and materials prepared, you’re ready to move on to step two: turning off the water supply.
Step 2: Turn off water supply
Before you begin removing your old kitchen sink, it’s important to turn off the water supply. This step will prevent any water from flowing while you work, minimizing the risk of leaks or water damage. Follow these steps to turn off the water supply:
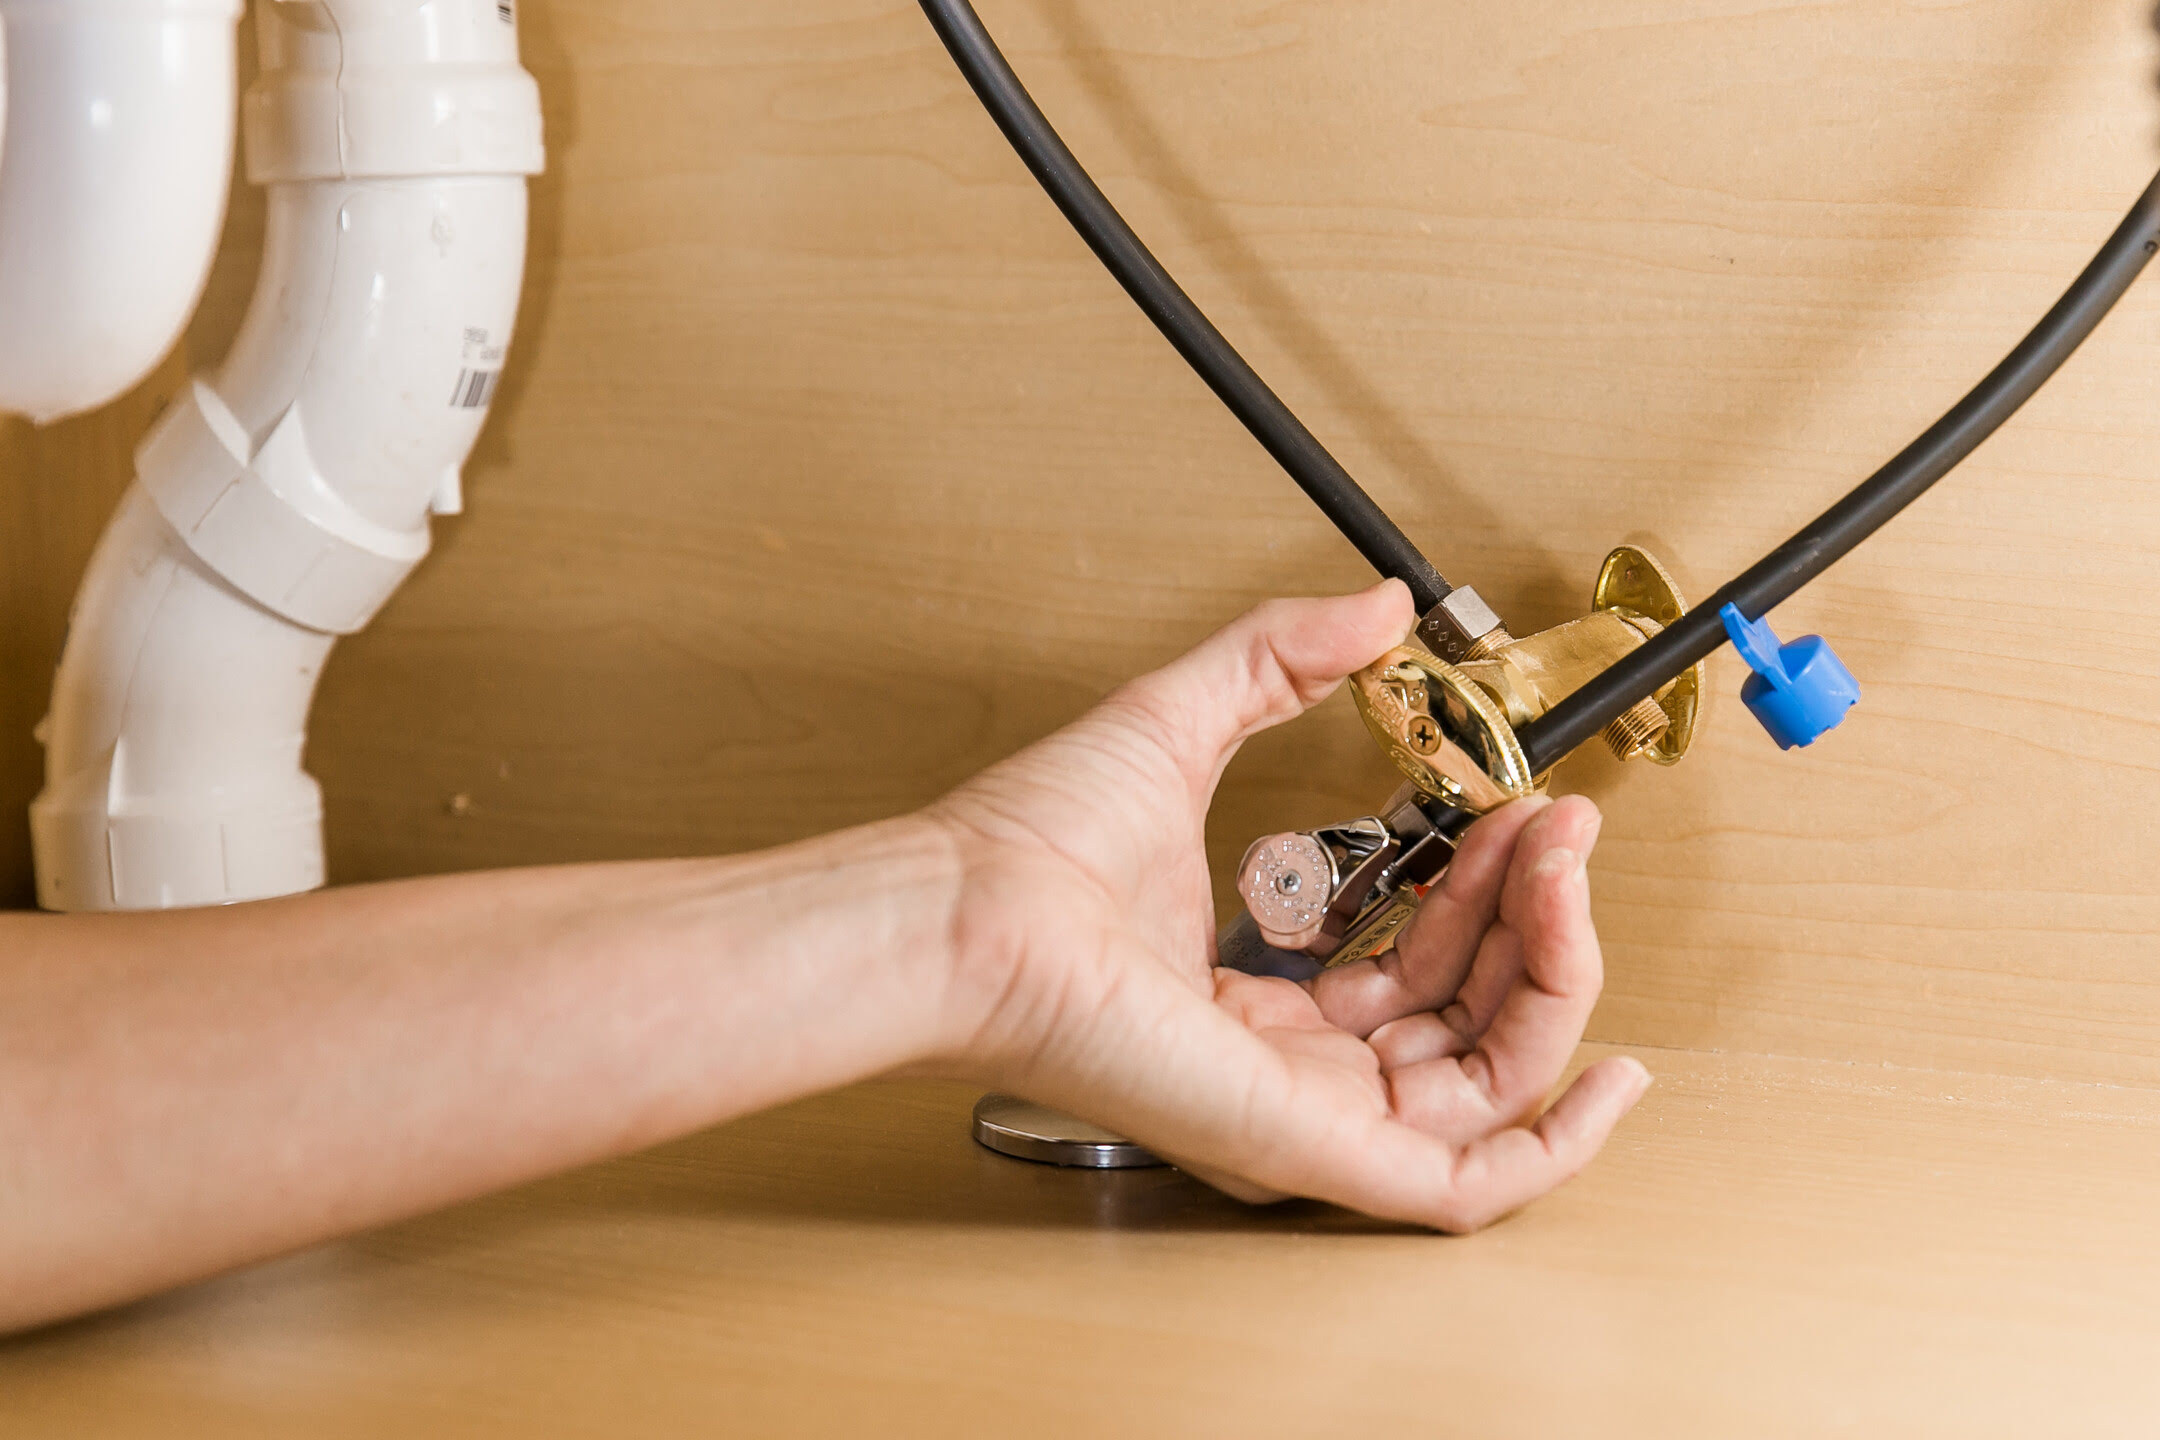
- Locate the shut-off valves: Look underneath your sink for two valves, one for hot water and one for cold water. These valves are usually located on the wall or the back of the cabinet.
- Turn off the valves: Rotate the valves clockwise until they are fully closed. This will stop the water flow to the sink.
- Test the water supply: Turn on the faucet to check if the water supply has been successfully shut off. If no water comes out, then you can proceed to the next step. If water continues to flow, double-check that the valves are fully closed or consider shutting off the main water supply to your home.
By turning off the water supply, you ensure a safe and dry working environment. It’s essential to take this precaution to avoid any unwanted water damage or accidents during the sink replacement process.
Once the water supply is turned off, you’re ready to move on to step three: disconnecting the plumbing connections.
Step 3: Disconnect the plumbing connections
Now that the water supply is turned off, it’s time to disconnect the plumbing connections from your old kitchen sink. This step will involve removing the pipes and fittings that connect the sink to the water supply and drainage system. Follow these steps to disconnect the plumbing connections:
- Place a bucket or towels underneath the sink: This will catch any water that may still be in the pipes when you disconnect them.
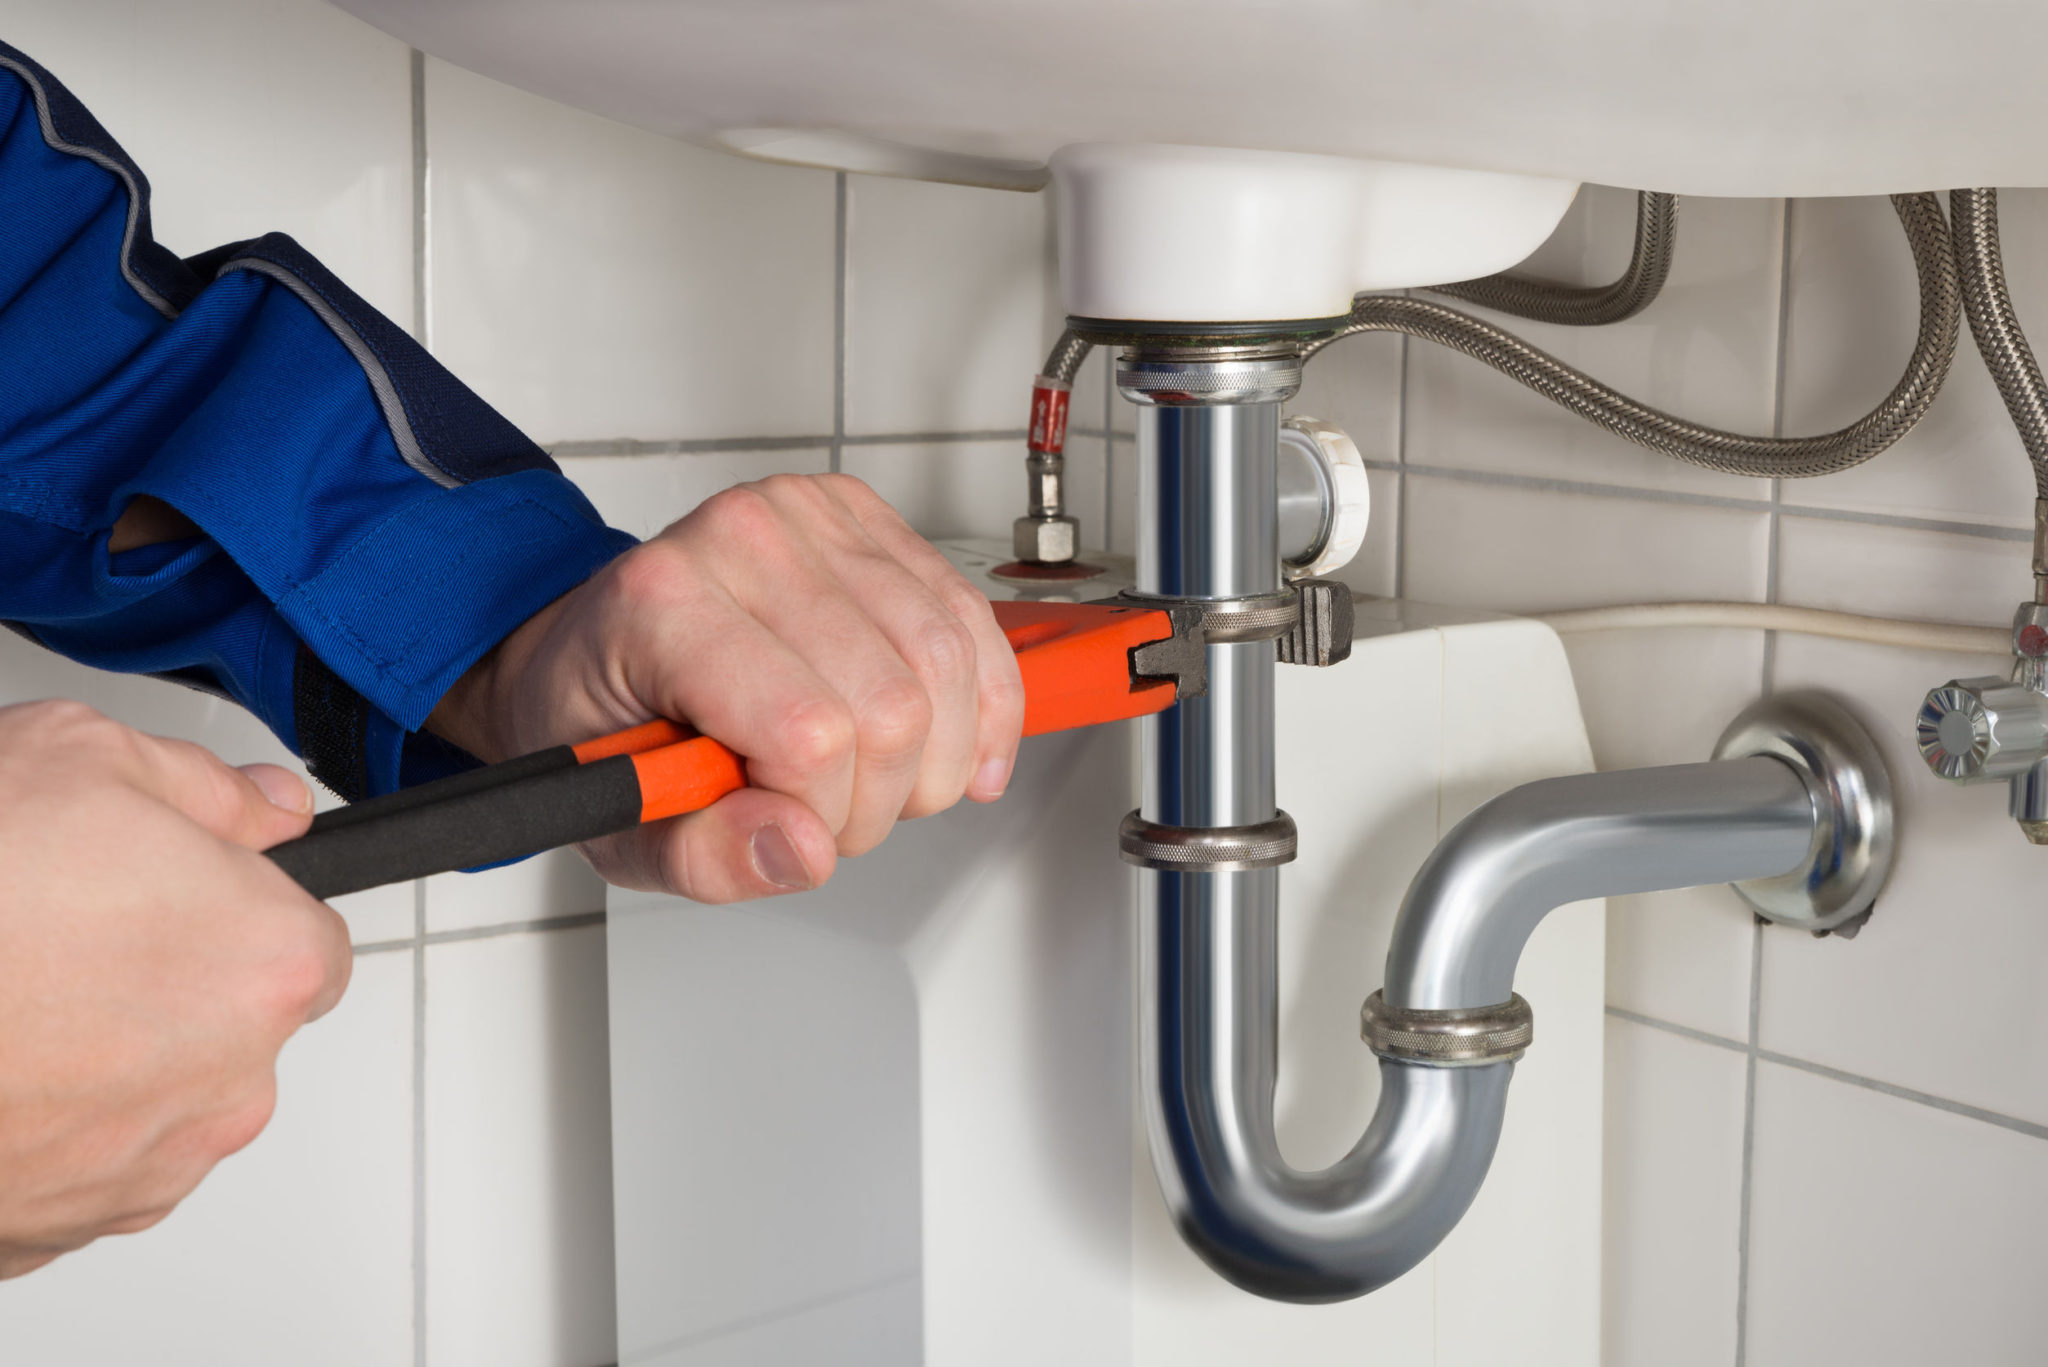
- Start with the drain assembly: Locate the P-trap, which is a curved pipe connected to the drain. Use a wrench to loosen the slip nuts at each end of the P-trap and remove it. Empty any water in the trap into the bucket.
- Disconnect the supply lines: The supply lines are the hoses that connect the valves to the faucet. Use an adjustable wrench to loosen and disconnect the nuts that secure the supply lines at both the faucet and the shut-off valves.
- Disconnect any additional plumbing connections: Depending on the layout of your kitchen plumbing, there may be additional connections such as a dishwasher hose or garbage disposal connection. Disconnect these as needed.
It’s important to be gentle when disconnecting the plumbing connections to avoid damaging the pipes or fittings. If any connections are stuck or difficult to loosen, you can use a lubricant or carefully apply some force while using the wrench. However, be cautious not to overtighten or strip the fittings.
Once all the plumbing connections are disconnected, you can remove the old sink. But before you do that, let’s move on to step four: removing the old sink.
Step 4: Remove the old sink
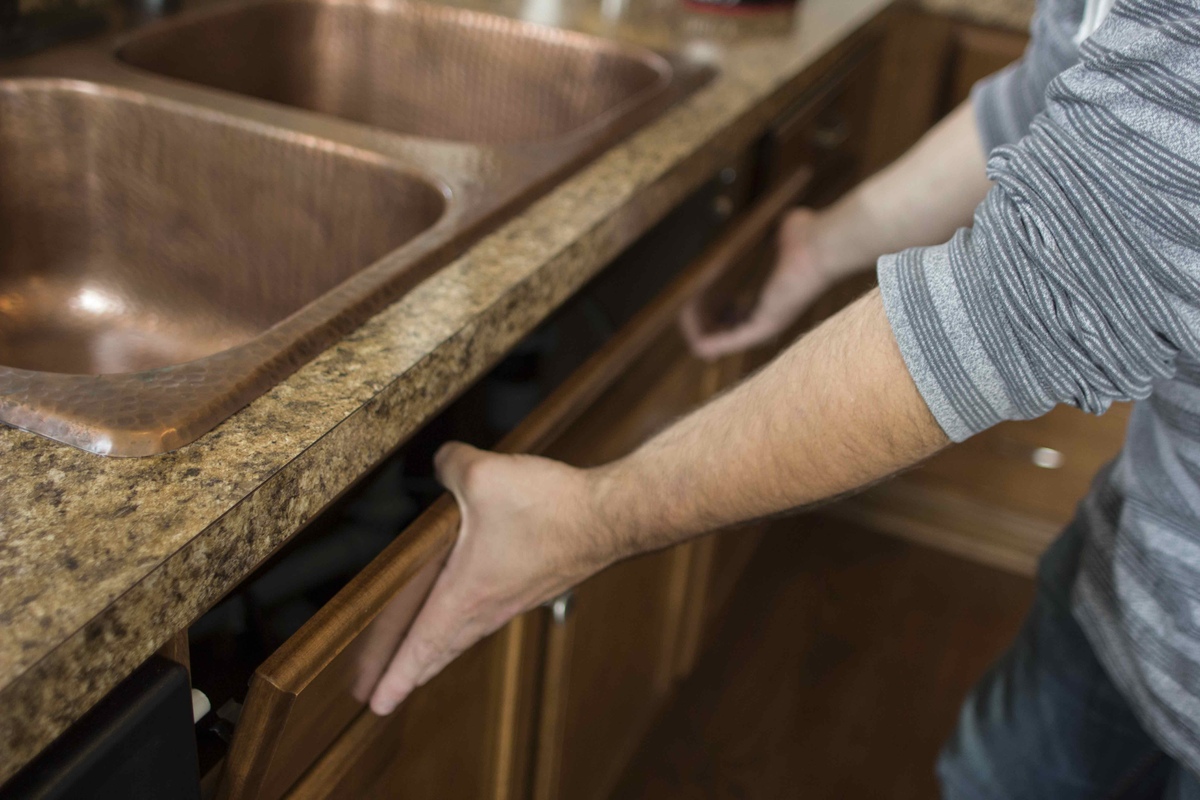
With the plumbing connections disconnected, you’re now ready to remove the old kitchen sink. Removing the old sink may require some physical effort, so it’s important to proceed with caution. Follow these steps to remove the old sink:
- Clear the countertop: Remove any items or debris from the countertop surrounding the sink area. This will give you a clear workspace and prevent anything from falling into the cabinet below.
- Inspect the mounting clips or brackets: Depending on the type of sink you have, it may be secured to the countertop with clips or brackets. Locate these fasteners and use a screwdriver to unscrew or remove them.
- Loosen the sealant or adhesive: The sink may also be sealed to the countertop with silicone adhesive or plumber’s putty. If this is the case, gently loosen the sealant using a putty knife or utility knife. Carefully slide the knife between the sink and the countertop to break the seal.
- Remove the sink: With the fasteners and sealant loosened, carefully lift the sink straight up. It may be helpful to have an extra set of hands to assist with this step, especially if the sink is large or heavy.
As you remove the old sink, be mindful of any water or debris that may be trapped in the sink or the plumbing pipes. Empty any water into a bucket and dispose of any debris properly.
Once the old sink is removed, take a moment to inspect the area and clean any residue or sealant left behind. This will ensure a smooth and clean surface for the installation of the new sink, which we will cover in step five.
Step 5: Clean the area and prepare for installation
Now that the old sink has been removed, it’s time to clean the area and prepare for the installation of the new sink. This step is crucial to ensure a proper fit and a secure installation. Follow these steps to clean the area and prepare for installation:
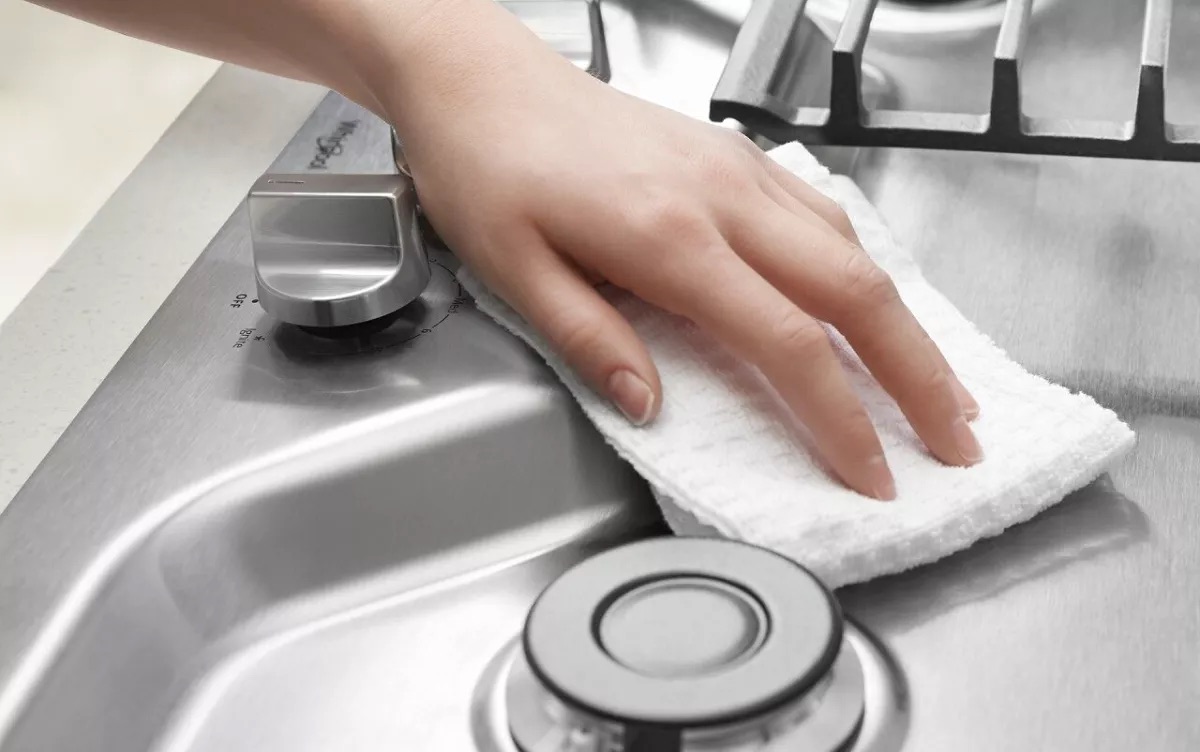
- Clean the countertop: Wipe down the countertop surface to remove any dust, residue, or sealant left behind from the old sink. Use a mild cleaner or warm soapy water, and ensure the surface is dry before proceeding.
- Inspect the countertop cutout: Examine the cutout in your countertop where the sink will be installed. Ensure that it is free from any debris or obstructions that may prevent the new sink from fitting properly.
- Apply new sealant or adhesive (if necessary): Depending on the type of sink you’re installing, you may need to apply a new layer of sealant or adhesive. Follow the manufacturer’s instructions for the specific type of sealant or adhesive recommended for your sink.
- Measure and make any modifications (if necessary): Measure the dimensions of the new sink and compare them to the existing cutout. If adjustments need to be made, such as resizing the cutout or trimming the countertop, consult a professional to ensure accurate and precise modifications.
It’s important to thoroughly clean the area and ensure a secure and level surface for the new sink. Any debris or unevenness can affect the installation and potentially cause leaks or instability. Take your time during this step to ensure everything is in order before proceeding to the next step: installing the new sink.
Before starting the replacement, make sure to turn off the water supply to the sink. This will prevent any leaks or water damage during the process.
Step 6: Install the new sink
With the area cleaned and prepared, it’s time to install the new kitchen sink. Proper installation is crucial to ensure a secure and functional sink. Follow these steps to install the new sink:
- Position the sink: Carefully place the new sink into the countertop cutout. Make sure it is aligned properly and centered within the space.
- Attach mounting clips or brackets: Depending on the type of sink you have, it may require mounting clips or brackets to secure it to the countertop. Follow the manufacturer’s instructions to properly install and tighten these fasteners.
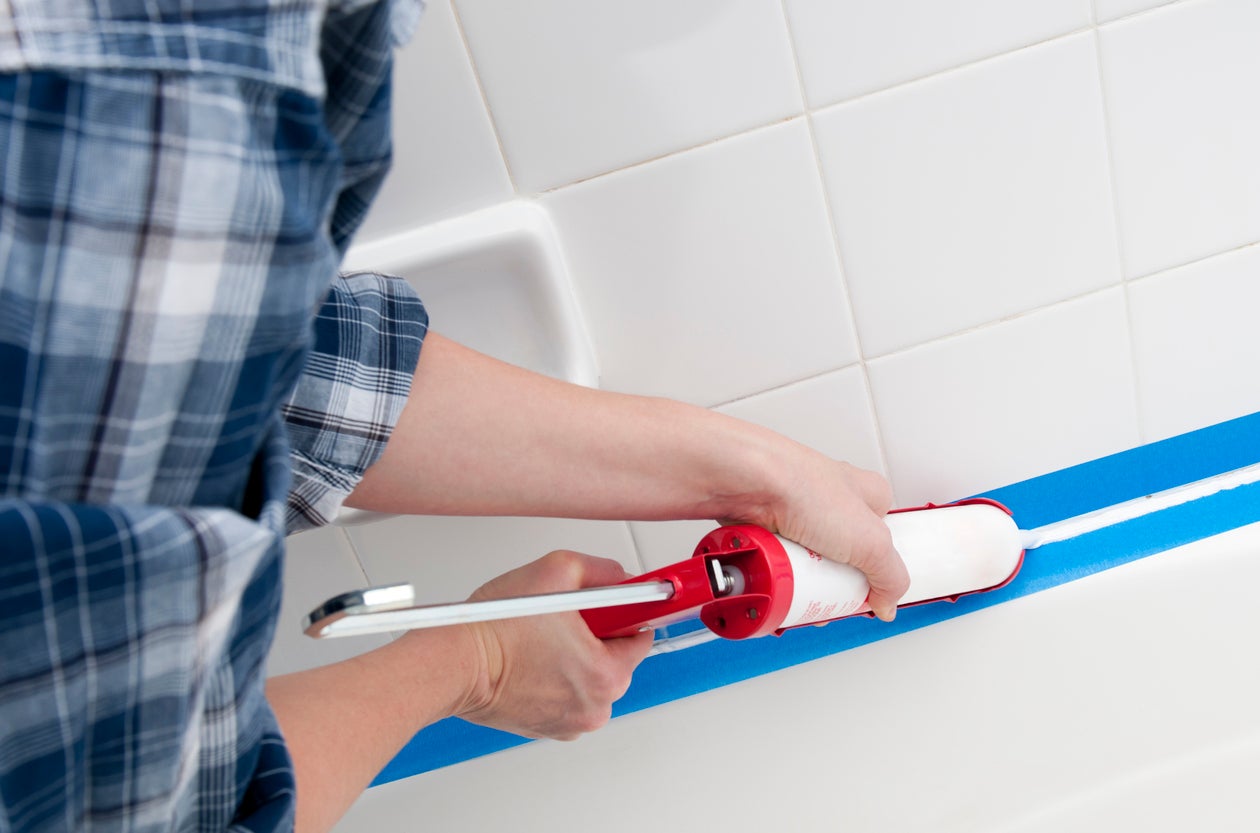
- Apply sealant or plumber’s putty: If required, apply a thin layer of silicone sealant or plumber’s putty to create a watertight seal between the sink and the countertop. Be sure to follow the manufacturer’s recommendations for the specific type of sealant or putty.
- Secure the sink: Use a screwdriver or wrench to securely tighten the mounting clips or brackets, ensuring that the sink is firmly attached to the countertop. Be careful not to overtighten and potentially damage the sink or countertop.
During the installation process, double-check the alignment and levelness of the sink. It’s important to ensure that the sink is positioned correctly and sits evenly on the countertop. This will aid in proper drainage and prevent any water pooling.
Once the sink is securely installed, give it a gentle shake or push to check for any movement. If it feels loose or wobbly, re-examine the mounting clips or brackets and tighten them further if necessary.
Next, we’ll move on to step seven: reconnecting the plumbing connections to complete the installation of the new sink.
Step 7: Reconnect the plumbing connections
Now that the new sink is securely installed, it’s time to reconnect the plumbing connections to complete the installation. Follow these steps to reconnect the plumbing connections:
- Install the drain assembly: Insert the drain assembly into the sink’s drain hole. Follow the manufacturer’s instructions to properly secure and tighten the assembly.
- Connect the P-trap: Attach the P-trap to the drain assembly. Use a wrench to tighten the slip nuts and ensure a snug fit. Be careful not to overtighten, as it may cause leaks.
- Reattach the supply lines: Connect the supply lines from the faucet to the shut-off valves. Use an adjustable wrench to tighten the nuts on both ends. Ensure that the connections are secure but avoid over-tightening.
- Reconnect any additional plumbing connections: If you had disconnected any additional plumbing connections, such as a dishwasher hose or garbage disposal connection, now is the time to reconnect them.
When reconnecting the plumbing connections, it is important to ensure that you are using the correct fittings and making tight seals. Inspect each connection for any signs of leaks or loose fittings before continuing.
Once all the plumbing connections are reattached, turn on the water supply gradually to check for any leaks. Monitor the connections closely and make any necessary adjustments to ensure a watertight seal. If there are no leaks, congratulations! You have successfully reconnected the plumbing connections.
Now that the plumbing connections are secure, we can move on to step eight: turning on the water supply and checking for leaks.
Step 8: Turn on water supply and check for leaks
With the plumbing connections reconnected, it’s time to turn on the water supply and ensure that there are no leaks in the newly installed sink. Follow these steps to turn on the water supply and check for leaks:
- Slowly turn on the shut-off valves: Gradually open the shut-off valves by turning them counterclockwise. This will allow the water to flow into the sink.
- Check for leaks: Once the water is flowing, carefully inspect all the plumbing connections, including the faucet, drain assembly, supply lines, and P-trap. Look for any signs of dripping or water accumulation.
- Listen for any unusual sounds: Pay attention to any unusual sounds such as hissing or gurgling, which may indicate a plumbing issue. If you notice any unusual sounds, consider consulting a professional plumber.
- Monitor for a few minutes: Allow the water to run for a few minutes while you closely observe the connections. Look for any persistent leaks or drips that may appear over time.
If you detect any leaks during this process, immediately turn off the water supply and assess the source of the leak. It may be necessary to tighten the connections further or replace certain components. Remember that even a small leak can lead to water damage and should be addressed promptly.
If there are no leaks and everything appears to be in working order, congratulations! You have successfully installed your new kitchen sink. Now, it’s time for the final steps to ensure your sink is fully functional and visually appealing.
We’ll cover those final adjustments and finishing touches in step nine.
Step 9: Final adjustments and finishing touches
With the new sink installed and the plumbing connections checked, it’s time for the final adjustments and finishing touches to complete the installation. Follow these steps to ensure your new kitchen sink is fully functional and visually appealing:
- Check for proper drainage: Run water in the sink and observe how effectively it drains. Make sure there are no clogs or slow drainage. If you notice any issues, it may be necessary to adjust the P-trap or call a professional plumber for further assistance.
- Test the faucet operation: Turn on both the hot and cold water handles to ensure the faucet functions properly. Check for any leaks or irregularities in water flow. If needed, consult the faucet manufacturer’s instructions for troubleshooting tips.
- Secure and adjust the faucet: If the faucet seems loose or wobbly, use an adjustable wrench to tighten the mounting nuts underneath the sink. Ensure that the faucet is properly aligned and centered.
- Clean and polish the sink and surrounding area: Give your new sink a thorough cleaning to remove any residue or fingerprints. Use a gentle cleanser appropriate for the sink material and avoid abrasive cleaners that could scratch the surface. Also, wipe down the countertop surrounding the sink to remove any dust or debris.
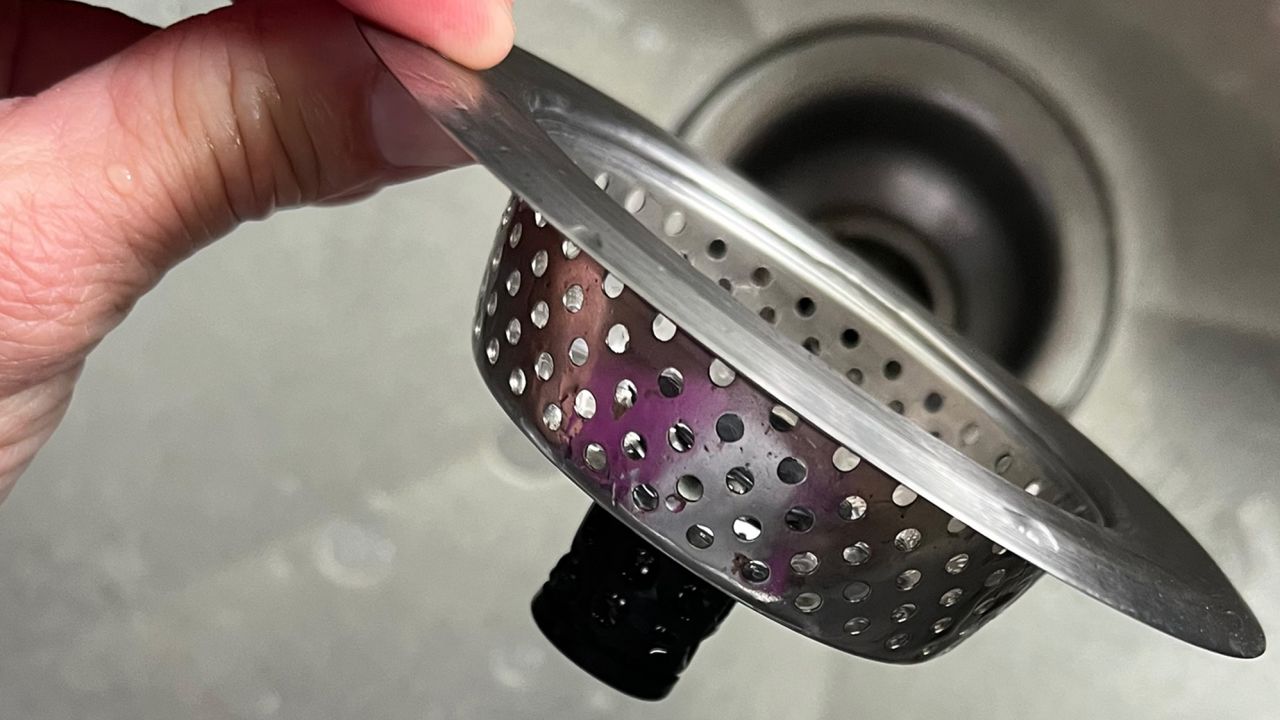
- Add a finishing touch: Consider adding a sink mat or protective grid at the bottom of the sink to prevent scratching and prolong its lifespan. You may also want to install a soap dispenser or other accessories for added convenience.
By completing these final adjustments and finishing touches, you ensure that your new kitchen sink not only functions well but also looks visually appealing in your kitchen space.
Congratulations on successfully replacing your kitchen sink! It’s now ready to serve you for years to come, enhancing the functionality and aesthetics of your kitchen.
Remember to properly maintain and care for your new sink, following the manufacturer’s guidelines for cleaning and maintenance. Regularly check for any signs of leaks or damage and address them promptly to prevent any further issues.
Thank you for using this comprehensive guide on how to replace a kitchen sink. Enjoy your new sink and the improved kitchen experience it brings!
[Additional paragraph emphasizing the importance of safety precautions and seeking professional help if needed]
Conclusion
Replacing a kitchen sink may seem like a daunting task, but with the right tools, materials, and guidance, it can be a rewarding DIY project. By following the steps outlined in this guide, you can successfully replace your kitchen sink and enhance the functionality and aesthetics of your kitchen.
Remember, safety should always be a priority. Before starting the process, ensure that you have turned off the water supply and follow proper precautions to avoid any accidents. If at any point you feel unsure or uncomfortable with any aspect of the installation, it is best to consult a professional plumber.
From gathering the necessary tools and materials to disconnecting the plumbing connections, removing the old sink, and installing the new sink, each step plays a crucial role in ensuring a successful outcome. Pay attention to detail, follow manufacturer’s instructions, and take your time to complete each step with care.
Once the new sink is in place and the plumbing connections are reconnected, be sure to turn on the water supply gradually and check for any leaks. Address any issues as soon as possible to avoid water damage and ensure a properly functioning sink.
Finally, take pride in your finished installation by making any final adjustments, cleaning the area thoroughly, and adding any finishing touches that enhance both the appearance and functionality of your new sink.
Thank you for using this comprehensive guide on how to replace a kitchen sink. We hope this step-by-step tutorial has empowered you to take on this project with confidence and achieve a successful outcome. Enjoy your new sink and the improved kitchen experience it brings!
Frequently Asked Questions about How To Replace A Kitchen Sink: Simple Step By Step
Was this page helpful?
At Storables.com, we guarantee accurate and reliable information. Our content, validated by Expert Board Contributors, is crafted following stringent Editorial Policies. We're committed to providing you with well-researched, expert-backed insights for all your informational needs.




0 thoughts on “How To Replace A Kitchen Sink: Simple Step By Step”