Articles
How To Replace Spindles On Stairs
Modified: January 6, 2024
Looking for step-by-step instructions on replacing spindles on stairs? Our articles provide helpful tips and guidelines to make your stair renovation project a success.
(Many of the links in this article redirect to a specific reviewed product. Your purchase of these products through affiliate links helps to generate commission for Storables.com, at no extra cost. Learn more)
Introduction
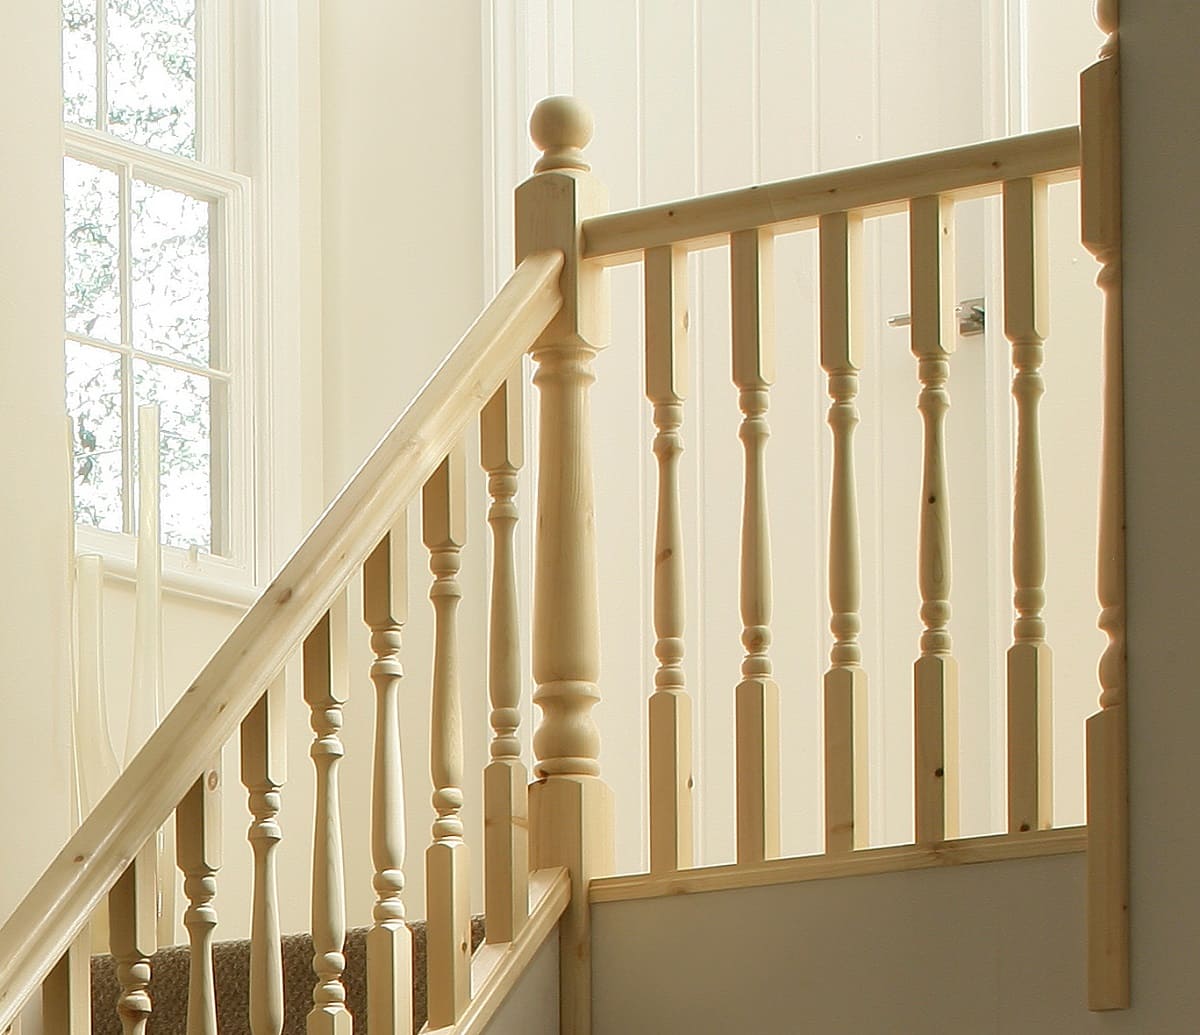
Staircases are not just functional elements of a home; they also add beauty and elegance to the overall design. One crucial component of a staircase is the spindles, also known as balusters, which provide support and safety. Over time, however, spindles can become worn out or outdated, requiring replacement. If you are looking to give your stairs a fresh makeover or if you have a damaged spindle that needs fixing, this article will guide you through the process of replacing spindles on stairs.
Before we delve into the details, it is essential to have the right tools and materials on hand. This will ensure a smooth and efficient replacement process. Once you have gathered all the necessary items, you can begin working on transforming your staircase.
Key Takeaways:
- Replacing spindles on stairs involves careful measurement, cutting, and secure installation to enhance safety and visual appeal. Proper tools, pre-drilling, and finishing are essential for a successful staircase makeover.
- Thorough testing and inspection of the new spindles ensure stability, safety, and aesthetic alignment. Attention to detail and quality craftsmanship result in a visually appealing and reliable staircase for years to come.
Read more: What Are Spindles On Stairs
Tools and materials needed
Here is a list of the tools and materials you will need to replace spindles on stairs:
- Measuring tape
- Saw (hand saw or circular saw)
- Chisel
- Drill
- Screwdriver
- Hammer
- Sandpaper (medium and fine grit)
- Wood glue
- Spindles
- Screws
- Stain or paint (optional)
- Protective gloves
- Safety glasses
Having these tools and materials readily available before you begin will make the replacement process much easier and more efficient.
Step 1: Remove old spindles
The first step in replacing spindles on stairs is to remove the old ones. Start by inspecting the existing spindles to see how they are attached. In most cases, the spindles are fixed into the handrail and the base of the stairs with screws or dowels.
To remove the spindles, use a screwdriver or drill to unscrew the screws or remove the dowels that secure them in place. Be careful not to damage the surrounding woodwork or the handrail as you remove the spindles. If the spindles are glued in place, gently tap them with a hammer and chisel to loosen them.
Once you have removed all the old spindles, clean any remaining glue or debris from the holes using a chisel or sandpaper. This will ensure a clean and smooth surface for the new spindles to be installed.
It is also a good idea to take this opportunity to inspect the handrail and the base of the stairs for any signs of damage. If you notice any issues, such as cracked wood or loose connections, it is best to address them before proceeding with the replacement process.
With the old spindles successfully removed and the area prepared, you are now ready to move on to the next step: measuring and cutting the new spindles.
Step 2: Measure and cut new spindles
With the old spindles removed, it’s time to measure and cut the new spindles that will replace them. Accurate measurements are crucial to ensure a proper fit and a visually appealing result.
Start by measuring the height of the handrail from the base of the stairs to determine the length of the spindles. Use a measuring tape to get an accurate measurement, making sure to account for any decorative caps or finials that may be present.
Once you have the height measurement, transfer it to the new spindles using a pencil or marker. Double-check your measurements before proceeding to the cutting step.
Using a saw (either a hand saw or a circular saw), carefully cut the new spindles along the marked lines. Take your time to ensure clean and straight cuts. It’s always better to cut slightly longer than needed, as you can always trim the spindles down later for a perfect fit.
After cutting the new spindles, place them temporarily in the holes where the old spindles were to ensure they fit properly. Make any necessary adjustments by trimming the length of the spindles if needed.
Remember to follow all safety guidelines when using a saw, including wearing protective gloves and safety glasses. Once the spindles are cut to the correct length and fit securely in the holes, you can move on to the next step: pre-drilling holes.
Step 3: Pre-drill holes for spindles
Before installing the new spindles, it is important to pre-drill holes to ensure a secure and sturdy installation. Pre-drilling will prevent the wood from splitting and make it easier to insert the screws or dowels.
Start by choosing an appropriate drill bit size based on the diameter of the screws or dowels you will be using. It should be slightly smaller than the diameter to allow for a snug fit.
Next, position the new spindle in the hole and mark the location where the hole needs to be drilled. It is recommended to have at least two attachment points per spindle: one at the top in the handrail and one at the bottom in the base of the stairs.
Using a drill, carefully drill the marked holes into the handrail and the base of the stairs. Take care to keep the drill bit level and straight to ensure that the holes are aligned properly.
Once all the holes are drilled, remove any wood shavings or debris from the holes to ensure a clean surface for the spindles to be inserted.
If you are using screws to attach the spindles, make sure to choose screws that are long enough to reach the desired depth but not too long that they penetrate through the handrail or base of the stairs. If using dowels, apply wood glue to the holes before inserting the dowels.
Now that the holes are pre-drilled, you are ready to move on to the next step: installing the new spindles.
When replacing spindles on stairs, make sure to measure the existing spindles carefully to ensure the new ones are the correct size. It’s also important to use a level to ensure the new spindles are installed straight and securely.
Read more: How To Install Metal Spindles On Stairs
Step 4: Install new spindles
Now that you have prepared the holes for the new spindles, it’s time to install them. This step will bring your staircase one step closer to its refreshed and upgraded look.
Start by applying a small amount of wood glue to the bottom of each spindle. This will help secure them in place and prevent any movement or wobbling.
Insert the bottom end of each spindle into the pre-drilled holes in the base of the stairs, ensuring they are aligned properly. Gently tap the spindles with a hammer if needed to ensure a snug fit.
Continue this process for each spindle, moving up the staircase and installing them one by one. Take care to maintain consistent spacing between the spindles for a uniform and visually appealing result.
As you install each spindle, periodically check their alignment and adjust as necessary to ensure they are straight and level. This will contribute to the overall aesthetics of the staircase.
If you are using screws to attach the spindles, insert them through the pre-drilled holes in the handrail and into the spindles. Use a screwdriver or drill to tighten the screws, making sure they are secure but not over-tightened, which can cause damage to the wood.
For dowel attachment, insert the dowels into the pre-drilled holes in the handrail and spindles. Apply wood glue to the dowels and tap them gently into place. Allow the glue to dry according to the manufacturer’s instructions for a secure bond.
Once all the new spindles are installed, take a step back and admire your work. The staircase is now adorned with fresh, sturdy spindles, enhancing both its safety and visual appeal.
With the spindles installed, you can now move on to the next step: securing the spindles with screws or glue.
Step 5: Secure spindles with screws or glue
After installing the new spindles on your staircase, it is important to secure them properly to ensure their stability and longevity. This can be done using either screws or wood glue, depending on your preference and the specific requirements of your staircase.
If you choose to use screws, ensure that the screws are long enough to penetrate through the handrail and into the spindles without piercing through the other side. Insert the screws through the pre-drilled holes in the handrail and tighten them with a screwdriver or drill. Be careful not to overtighten the screws, as this can damage the wood or cause the spindles to crack.
On the other hand, if you opt for wood glue, apply a small amount of glue to the top of each spindle where it connects to the handrail. Make sure the area is clean and free from any dust or debris before applying the glue. Press the spindles firmly against the handrail to create a strong bond. Wipe off any excess glue that may squeeze out. Allow the glue to dry completely according to the manufacturer’s instructions before moving to the next step.
Whether you choose screws or glue, ensure that all the spindles are securely fastened in place, providing stability and support to the staircase. Test the spindles by gently applying pressure to ensure they do not wobble or move.
Remember to take your time during this step, making any necessary adjustments to ensure that the spindles are securely attached. Take pride in the craftsmanship and attention to detail, knowing that you have created a safe and beautiful staircase.
Once the spindles are securely fastened, you are ready to move on to the next step: sanding and finishing the spindles.
Step 6: Sand and finish the spindles
After installing and securing the new spindles on your staircase, it’s time to give them a smooth and polished finish. This step will not only enhance their appearance but also protect the wood and ensure its durability.
Start by sanding the spindles using medium-grit sandpaper. This will help remove any rough edges, imperfections, or leftover glue residue. Sand in the direction of the wood grain, applying even pressure to achieve a consistent finish. Take care not to oversand and damage the spindles or the surrounding woodwork.
Once you have sanded the surface with the medium-grit sandpaper, switch to a finer-grit sandpaper for a smoother finish. Continue sanding each spindle until you achieve the desired level of smoothness and eliminate any visible scratches or blemishes.
After sanding, wipe down the spindles with a clean, damp cloth to remove any dust or debris. This will prepare the surface for the finishing process.
Now you can choose to apply a finish to the spindles to protect and enhance their appearance. You can either paint or stain the spindles, depending on your preference and the overall style of your staircase.
If you choose to paint the spindles, apply an even coat of paint using a brush or a paint sprayer. Allow the paint to dry completely before applying additional coats, if desired, to achieve the desired color and coverage. Follow the manufacturer’s instructions for the specific paint you are using.
On the other hand, if you prefer a natural wood look, you can stain the spindles. Apply the wood stain with a brush, following the direction of the wood grain. Let the stain penetrate the wood for the recommended time, and then wipe off any excess stain with a clean cloth. Allow the stain to dry completely before applying a clear protective finish, such as varnish or polyurethane, to seal and protect the wood.
Once you have finished the desired treatment, allow the spindles to dry according to the manufacturer’s instructions. Be sure to provide adequate ventilation during the drying process.
Congratulations! You have successfully sanded and finished the spindles, giving them a polished and refined look. Now, it’s time to move on to the final step: testing and inspecting the new spindles.
Step 7: Test and inspect the new spindles
After completing the process of replacing and finishing the spindles on your staircase, it is important to thoroughly test and inspect them to ensure they are securely in place, safe to use, and visually appealing.
Begin by gently applying pressure to each spindle to test its stability and ensure it does not wobble or move. Check both the top and bottom attachments to ensure they are securely fastened and aligned properly.
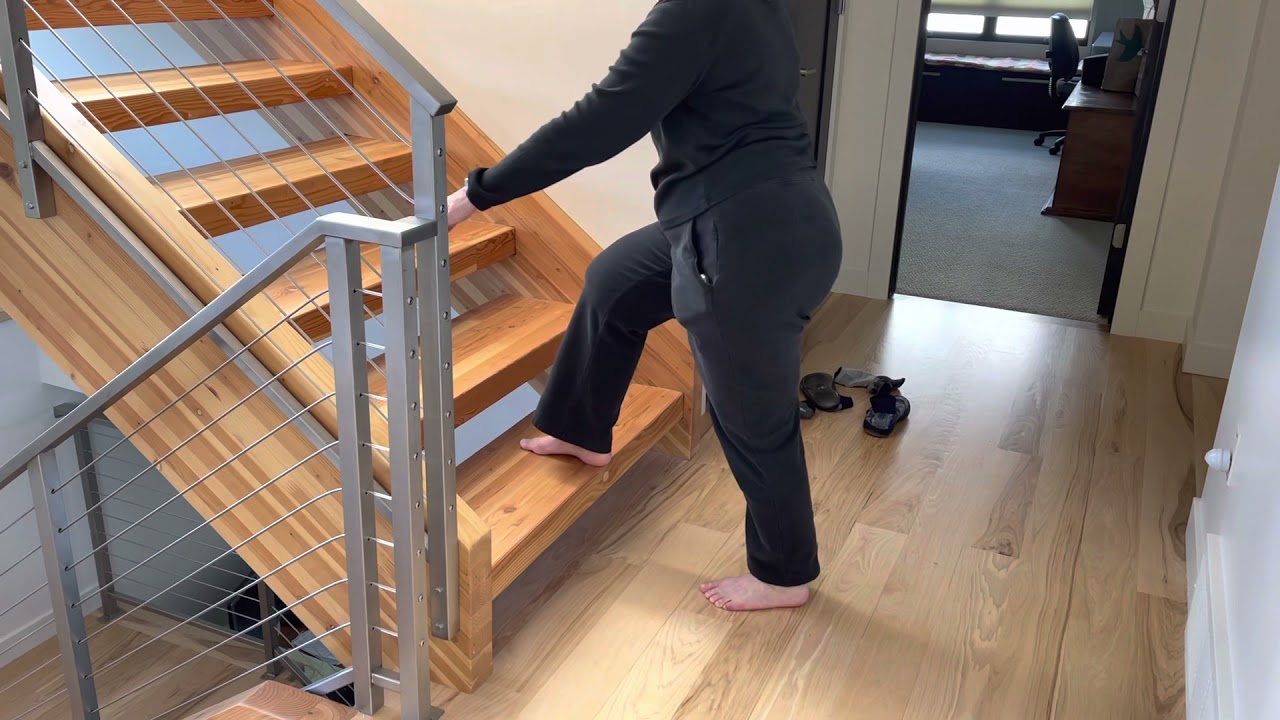
Walk up and down the staircase, paying attention to any unusual sounds, vibrations, or movements. The spindles should feel solid and secure, providing a sturdy and safe railing for anyone using the stairs.
Inspect the spindles closely for any visible defects, such as cracks, splintering, or discoloration. If any issues are found, make note of them and address them promptly to maintain the integrity of the spindles and the overall staircase.
Take a step back and assess the visual aesthetics of the newly installed spindles. Ensure that they are evenly spaced, aligned, and complement the overall design of the staircase. If you notice any inconsistencies or areas that need improvement, make the necessary adjustments.
Lastly, take this opportunity to clean any dust, debris, or fingerprints that may have accumulated during the installation and finishing process. Use a soft cloth or a mild cleaner to gently wipe down the spindles, being careful not to disrupt the finish or damage the wood.
By thoroughly testing and inspecting the new spindles, you are ensuring their functionality, safety, and aesthetic appeal. Your attention to detail and commitment to quality will result in a staircase that not only looks amazing but also provides peace of mind in terms of its stability and durability.
Congratulations! You have successfully replaced the spindles on your staircase and completed the entire process. Enjoy your refreshed and upgraded staircase, knowing that you have contributed to the beauty and functionality of your home.
Remember, proper maintenance and periodic inspections will help preserve the condition and longevity of the spindles for years to come.
Thank you for reading, and happy stair remodeling!
Read more: How To Replace Steps On Stairs
Conclusion
Replacing spindles on stairs is an excellent way to enhance the safety and visual appeal of your staircase. By following the step-by-step process outlined in this article, you can successfully replace old or damaged spindles with new ones, giving your stairs a fresh and updated look.
Throughout the process, it is important to gather the necessary tools and materials, measure and cut the new spindles accurately, pre-drill holes for secure installation, and properly secure the spindles with screws or wood glue. Sanding and finishing the spindles will provide them with a polished and refined appearance.
Thoroughly testing and inspecting the new spindles is essential to ensure their stability, safety, and alignment. Take the time to address any issues that may arise before completing the process, as attention to detail and quality will result in a visually appealing and reliable staircase.
Remember, a well-maintained staircase not only adds charm to your home but also provides a safe and functional pathway for anyone using the stairs. Regular maintenance and periodic inspections will help preserve the condition and longevity of the spindles and the overall staircase.
By following the steps outlined in this article, you can confidently replace spindles on stairs and enjoy a refreshed and upgraded staircase that will be a focal point of your home for years to come.
Thank you for reading, and happy stair remodeling!
Frequently Asked Questions about How To Replace Spindles On Stairs
Was this page helpful?
At Storables.com, we guarantee accurate and reliable information. Our content, validated by Expert Board Contributors, is crafted following stringent Editorial Policies. We're committed to providing you with well-researched, expert-backed insights for all your informational needs.


0 thoughts on “How To Replace Spindles On Stairs”