
Articles
How To Measure Stairs
Modified: December 7, 2023
Learn how to measure stairs with our informative articles. Gain valuable insights and tips for accurate measurements.
(Many of the links in this article redirect to a specific reviewed product. Your purchase of these products through affiliate links helps to generate commission for Storables.com, at no extra cost. Learn more)
Introduction
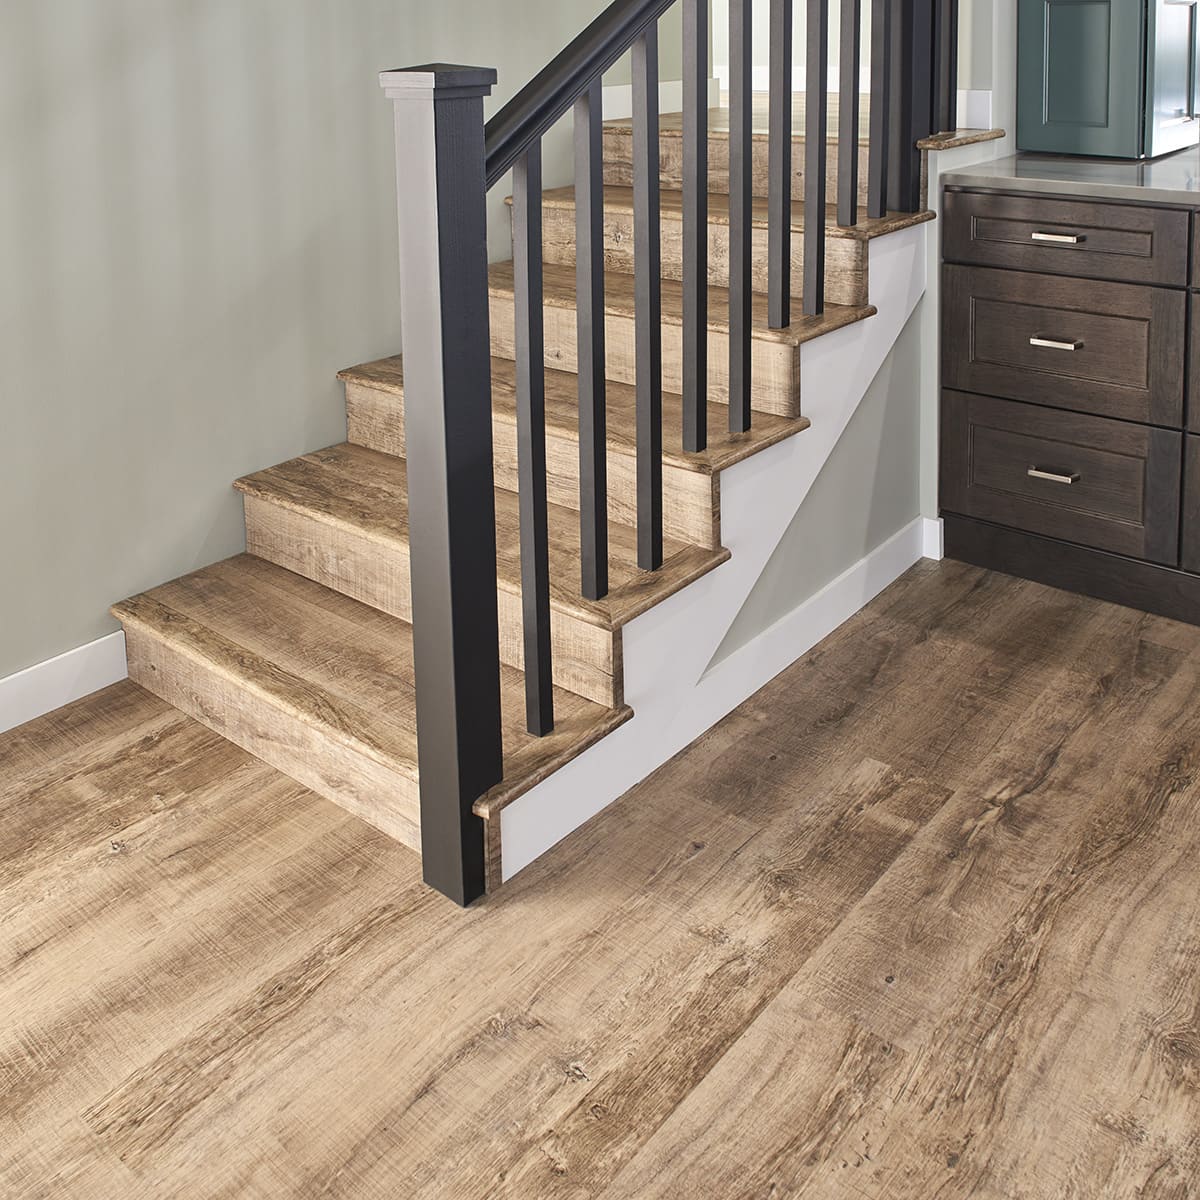
When it comes to renovating or building a staircase, accurate measurements are crucial to ensure proper fitting and safety. Whether you are a homeowner or a professional contractor, knowing how to measure stairs correctly is essential. By following the right steps, you can avoid costly mistakes and create a staircase that meets your needs.
In this article, we will guide you through the process of measuring stairs, from determining the stair run and rise to calculating the total run and rise. We will also cover how to calculate the stair angle and ensure the dimensions and safety measurements are in order.
So, let’s dive in and learn the steps to accurately measure stairs for your next project.
Key Takeaways:
- Accurate measurements of stairs are crucial for safety and fitting. Follow these 7 steps to measure stairs accurately, calculate dimensions, and ensure a safe design for your next project.
- Proper dimensions and safety measurements, such as headroom clearance and handrail installation, are essential for creating a safe and functional staircase that meets building codes and regulations.
Read more: How To Childproof Stairs
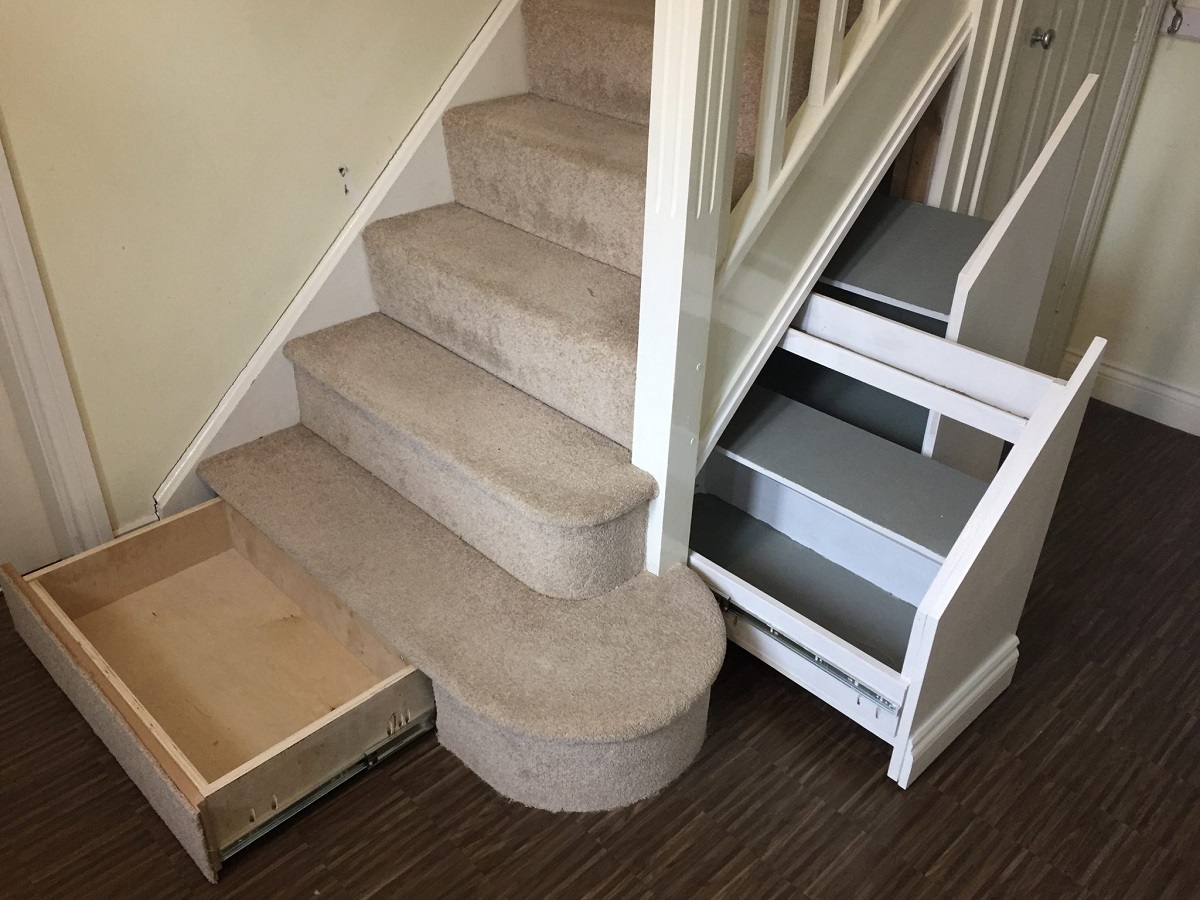
Step 1: Measure the Stair Run
The stair run refers to the horizontal distance between the starting point of the staircase and the point where it meets the landing or the next flight of stairs. To measure the stair run, follow these steps:
1. Start by placing the end of your measuring tape at the edge of the first step, where it meets the landing or the floor.
2. Extend the tape measure to the edge of the last step, making sure it is parallel to the floor or landing.
3. Note down the measurement, which represents the total horizontal distance covered by the steps.
For example, if the stair run measures 10 feet, it means that the staircase spans horizontally for 10 feet.
It is important to measure the stair run accurately to ensure that your staircase fits properly within the designated space and aligns with the surrounding architecture.
Once you have measured the stair run, you can proceed to the next step: measuring the stair rise.
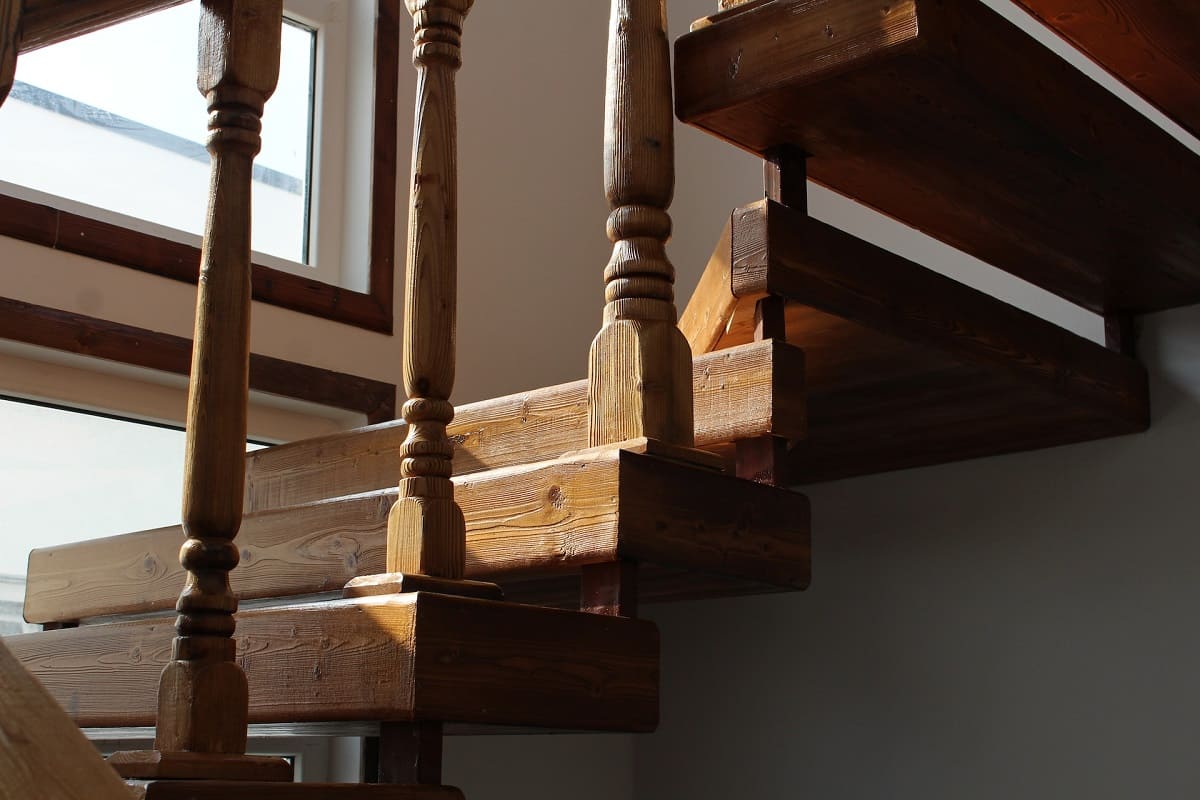
Step 2: Measure the Stair Rise
The stair rise refers to the vertical height from the top of one step to the top of the next step. To measure the stair rise, follow these steps:
1. Place one end of the measuring tape on the bottom of the first step, where it meets the landing or the floor.
2. Extend the tape measure vertically until it reaches the top edge of the next step.
3. Note down the measurement, which represents the total vertical distance covered by each step.
For example, if the stair rise measures 7.5 inches, it means that each step goes up by 7.5 inches.
It is essential to measure the stair rise accurately, as it determines the overall height of the staircase and ensures that each step is consistent in height, providing a safe and comfortable climbing experience.
Once you have measured the stair rise, you can proceed to the next step: calculating the total run.
Step 3: Calculate the Total Run
The total run of a staircase refers to the sum of all the individual stair runs. To calculate the total run, follow these steps:
1. Add up the measurements of each individual stair run that you obtained in step 1. This will give you the total horizontal distance covered by all the steps.
For example, if you have 10 steps, and each step has a run of 1 foot, the total run would be 10 feet.
Calculating the total run is important as it helps in determining the overall length of the staircase and ensures that it fits within the available space. It also aids in planning and material estimation.
Once you have calculated the total run, you can move on to the next step: determining the number of treads.
Step 4: Determine the Number of Treads
The number of treads in a staircase corresponds to the total number of steps. To determine the number of treads, follow these steps:
1. Divide the total rise (measured in step 2) by the height of each individual riser. The riser is the vertical distance from the top of one step to the top of the next step.
For example, if the total rise is 90 inches and each riser height is 7.5 inches, divide 90 by 7.5 to get a result of 12.
2. Round up the result to the nearest whole number. This will give you the number of treads or steps in your staircase.
In the example above, rounding up 12.0 would give you a result of 12 treads.
Determining the number of treads is essential as it helps in planning the structure of the staircase and ensures a consistent and comfortable climbing experience. It also assists in material estimation and cost calculation.
Once you have determined the number of treads, you can proceed to the next step: calculating the total rise.
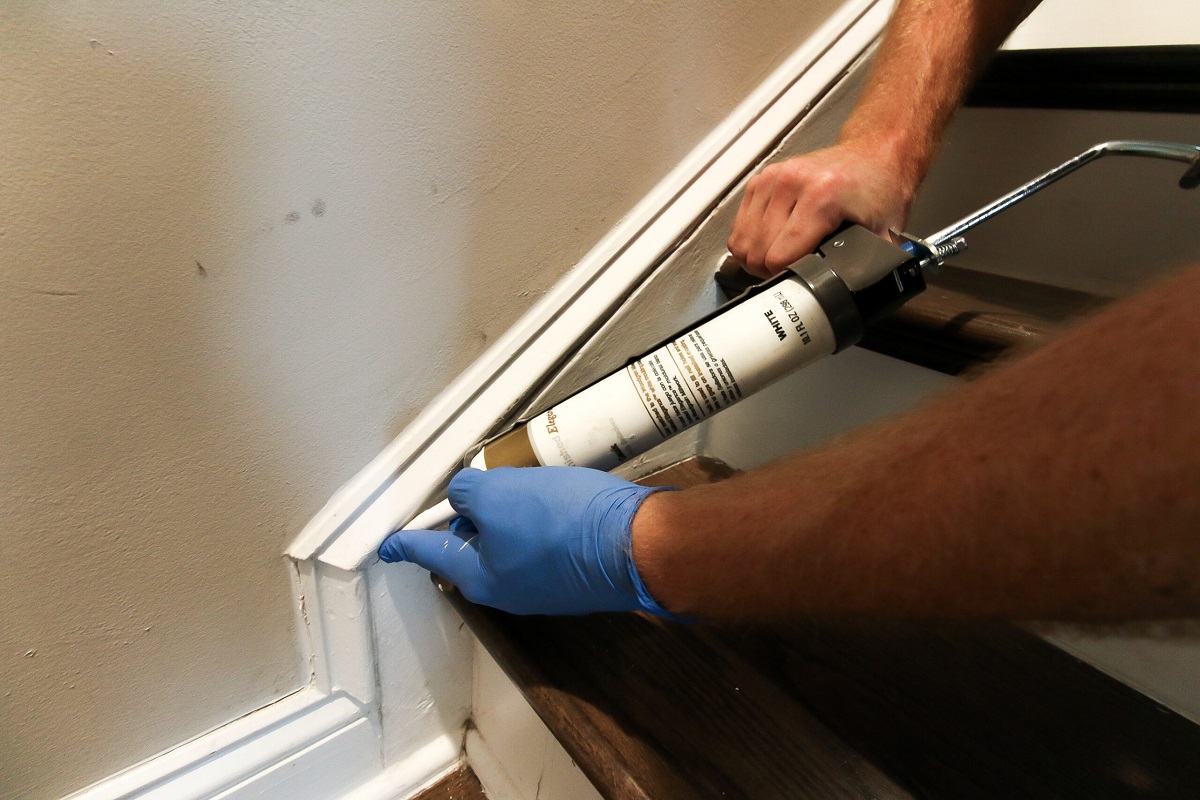
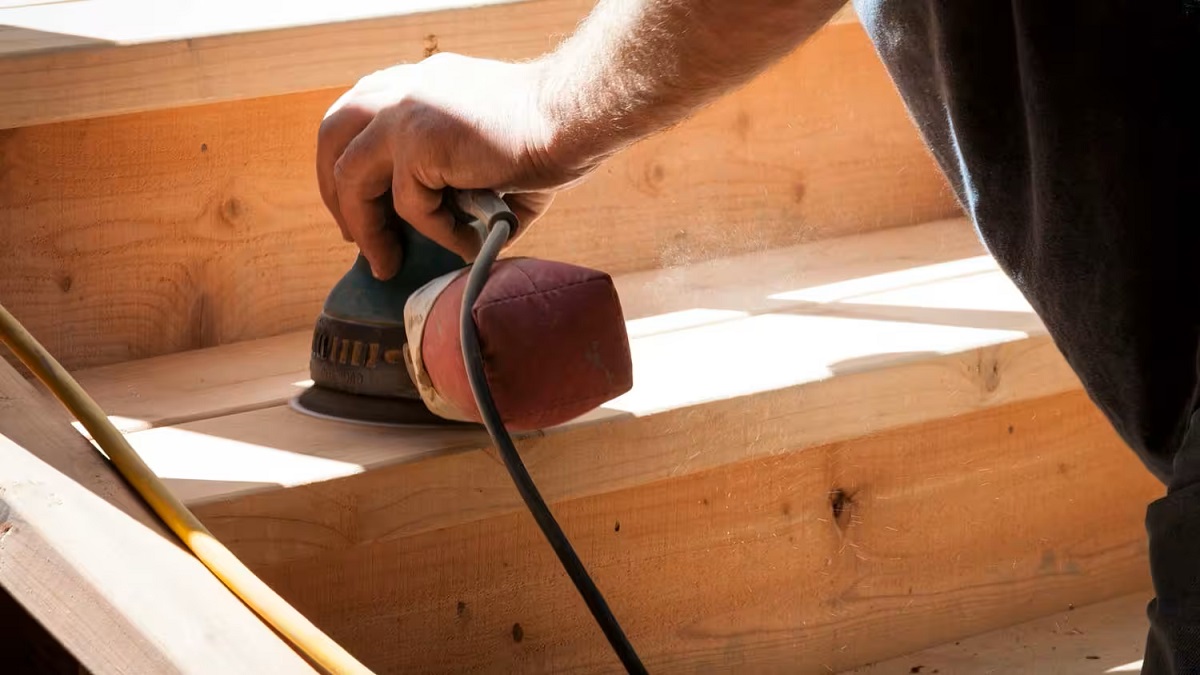
When measuring stairs, always measure the tread (horizontal step) and the riser (vertical height) for accuracy. Use a tape measure and measure from the back of the tread to the front, and from the top of the riser to the bottom.
Read more: How To Layout Stairs
Step 5: Calculate the Total Rise
The total rise of a staircase refers to the cumulative vertical height from the bottom of the first step to the top of the highest step. To calculate the total rise, follow these steps:
1. Multiply the number of treads (obtained in step 4) by the height of each individual riser. This will give you the total vertical distance covered by all the steps.
For example, if you have 12 treads and each riser height is 7.5 inches, multiply 12 by 7.5 to get a result of 90 inches.
2. Convert the result to the desired unit of measurement, such as feet or meters, if necessary.
Calculating the total rise is crucial as it helps in determining the overall height of the staircase and ensures that the design meets the required dimensions and safety regulations.
Once you have calculated the total rise, you can move on to the next step: calculating the staircase angle.
Step 6: Calculate the Staircase Angle
The staircase angle refers to the inclination of the staircase, which affects the comfort and usability of the stairs. To calculate the staircase angle, follow these steps:
1. Measure the total run (obtained in step 3) and the total rise (obtained in step 5).
2. Divide the total rise by the total run.
3. Calculate the arctangent of the result using a scientific calculator or an online calculator. The arctangent will give you the angle in degrees.
For example, if the total rise is 90 inches and the total run is 120 inches, divide 90 by 120 to get 0.75. Then calculate the arctangent of 0.75 to obtain the angle.
Calculating the stair angle is important as it helps in determining the steepness or slope of the staircase. By understanding the angle, you can ensure that the stairs are comfortable to climb and descend without putting strain on the legs and joints.
Once you have calculated the staircase angle, you can proceed to the next step: ensuring proper dimensions and safety measurements.
Step 7: Ensure Proper Dimensions and Safety Measurements
Ensuring proper dimensions and safety measurements is crucial to create a staircase that not only fits within the available space but also meets safety standards. Here are some key factors to consider:
1. Headroom: Ensure that there is enough headroom clearance above the stairs. The minimum recommended headroom is typically 6 feet 8 inches (80 inches), but it may vary depending on local building codes.
2. Tread Depth: The depth of each tread should be consistent to provide a stable and comfortable stepping surface. The recommended tread depth is usually 10 to 11 inches, but again, it may vary based on local regulations.
3. Riser Height: Maintain consistent riser heights to ensure a smooth and safe climb. The recommended riser height is typically around 6 to 8 inches, but local codes may vary.
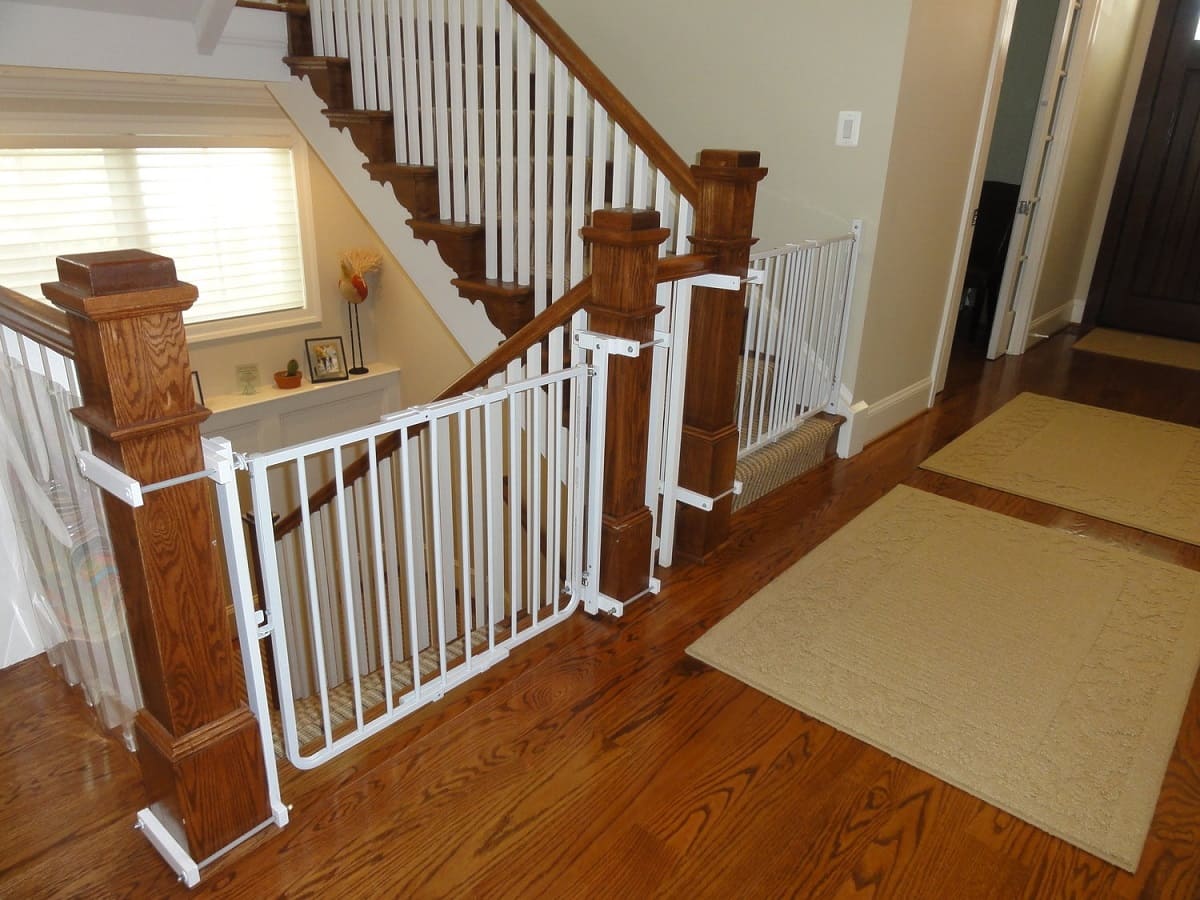
4. Handrail: Install a sturdy handrail on at least one side of the staircase to provide support and stability while ascending and descending. The handrail should be at a comfortable height and securely attached to the wall or balusters.
5. Lighting: Ensure proper lighting for the staircase to enhance visibility and safety, especially in dimly lit areas. Install fixtures or use natural light sources to adequately illuminate the stairs.
6. Non-Slip Surface: Consider using non-slip materials or adding traction strips on the treads to minimize the risk of slipping and falling.
7. Building Codes: Familiarize yourself with local building codes and regulations to ensure that your staircase meets the required standards. These codes may include specific guidelines for dimensions, handrail specifications, and safety requirements.
By adhering to these proper dimensions and safety measurements, you can create a staircase that not only looks aesthetically pleasing but also promotes safety and usability.
With these seven steps, you now have a comprehensive guide on how to measure stairs accurately, calculate dimensions, and ensure a safe design. By following these steps, you can confidently construct or renovate a staircase that meets your requirements and enhances the overall functionality and beauty of your space.
Conclusion
Measuring stairs correctly is an essential step in any staircase construction or renovation project. By following the seven steps outlined in this guide, you can ensure accurate measurements, proper dimensions, and adherence to safety standards.
Starting with measuring the stair run and rise, you can calculate the total run and determine the number of treads. From there, you can calculate the total rise and ascertain the staircase angle, which impacts the comfort and usability of the stairs. Finally, ensuring proper dimensions and safety measurements, such as headroom clearance, tread depth, and handrail installation, is vital for a safe and functional staircase.
Remember to consult local building codes and regulations to ensure compliance with specific requirements in your area. Building codes may have specific guidelines for dimensions, riser heights, and handrail specifications that should be followed.
By accurately measuring stairs and taking into account all the necessary factors, you can create a staircase that not only fits seamlessly into your space but also provides a safe and comfortable experience for anyone using it.
Don’t underestimate the importance of proper measurements and safety considerations. Taking the time to measure stairs accurately will save you from costly mistakes and ensure a staircase that meets your needs and exceeds your expectations.
So, whether you’re a homeowner embarking on a DIY project or a professional contractor handling a construction job, follow these steps and enjoy the satisfaction of a well-designed and carefully measured staircase.
Frequently Asked Questions about How To Measure Stairs
Was this page helpful?
At Storables.com, we guarantee accurate and reliable information. Our content, validated by Expert Board Contributors, is crafted following stringent Editorial Policies. We're committed to providing you with well-researched, expert-backed insights for all your informational needs.


0 thoughts on “How To Measure Stairs”