Articles
How To Replace Toilet Seat With Hidden Bolts
Modified: August 28, 2024
Learn the step-by-step process of replacing a toilet seat with hidden bolts in this informative article. Find out how to easily install a new seat for your bathroom.
(Many of the links in this article redirect to a specific reviewed product. Your purchase of these products through affiliate links helps to generate commission for Storables.com, at no extra cost. Learn more)
Introduction
Replacing a toilet seat may seem like a daunting task, but it can be a simple and straightforward process, especially when dealing with hidden bolts. Hidden bolt toilet seats have become increasingly popular due to their sleek and modern design, as well as their easy installation. If you have recently purchased a toilet seat with hidden bolts or need to replace your existing one, this article will guide you through the step-by-step process.
Before we begin, it’s important to gather the necessary tools to make the replacement process smooth and efficient. You will need a screwdriver (either a flathead or a Phillips, depending on the type of screws used), a wrench or pliers, and a lubricant such as WD-40. Having these tools at hand will ensure that you can complete the task without any unnecessary interruptions.
Key Takeaways:
- Replacing a toilet seat with hidden bolts is a straightforward process that requires the right tools and careful steps. Enjoy a modern, sleek design and stable seating experience with your newly installed toilet seat.
- Ensure a secure and stable installation by aligning and tightening the hidden bolts properly. Enjoy the modern touch and stability of your new toilet seat, and remember to maintain it for long-lasting comfort.
Read more: How To Remove Rusted Toilet Seat Bolt
Step 1: Gather the Necessary Tools
Before you start replacing the toilet seat with hidden bolts, it’s important to gather all the necessary tools. Here’s a list of what you’ll need:
- Screwdriver – Depending on the type of screws used, you’ll either need a flathead or a Phillips screwdriver. Check the screws on your old toilet seat to determine which type of screwdriver you’ll need.
- Wrench or Pliers – You’ll need a wrench or pliers to loosen and tighten the hidden bolts. Make sure you choose the right size tool that fits the bolts snugly to avoid damaging them.
- Lubricant – It’s a good idea to have some lubricant, such as WD-40, on hand to loosen any stubborn bolts or nuts that may be difficult to remove. Applying a small amount of lubricant can make the unscrewing process much easier.
Once you have gathered all the necessary tools, you’re ready to move on to the next step of the process – removing the old toilet seat.
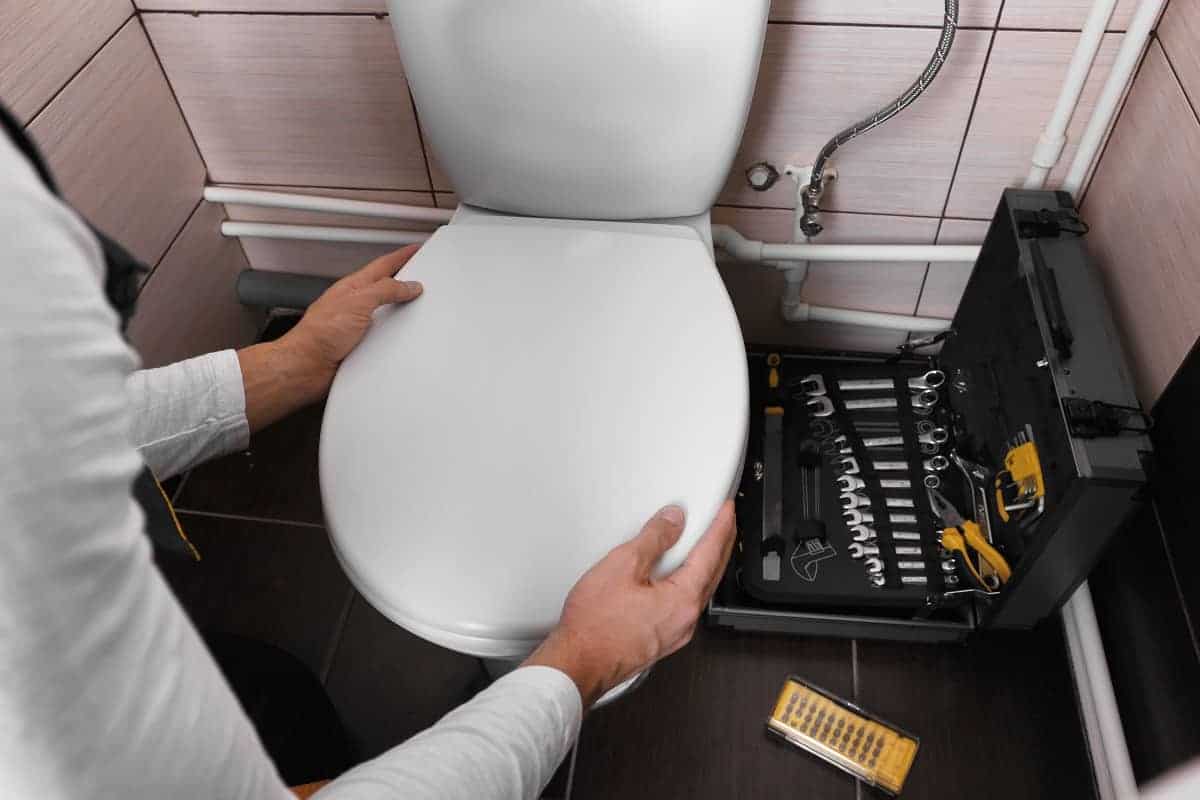
Step 2: Remove the Old Toilet Seat
Now that you have all the necessary tools prepared, it’s time to remove the old toilet seat. Follow these steps:
- Start by locating the screws or bolts that secure the toilet seat to the bowl. These are usually found at the back of the seat.
- Using your screwdriver, begin by unscrewing the screws counterclockwise or loosening the nuts. If the screws are stubborn or difficult to turn, you can apply a lubricant such as WD-40 to help loosen them up.
- Continue unscrewing the screws or loosening the nuts until they are completely removed. Keep in mind that there may be more than two screws or bolts holding the seat in place, so make sure to remove all of them.
- Once the screws or nuts are removed, lift the old toilet seat carefully off the bowl. Be cautious not to damage the toilet or injure yourself during this process.
- Inspect the toilet bowl for any residue or dirt left behind from the old seat. Use a mild cleaner and a cloth to wipe down the area and ensure it is clean and ready for the new seat.
Now that the old toilet seat has been successfully removed, it’s time to move on to the next step – locating the hidden bolts for the new seat.
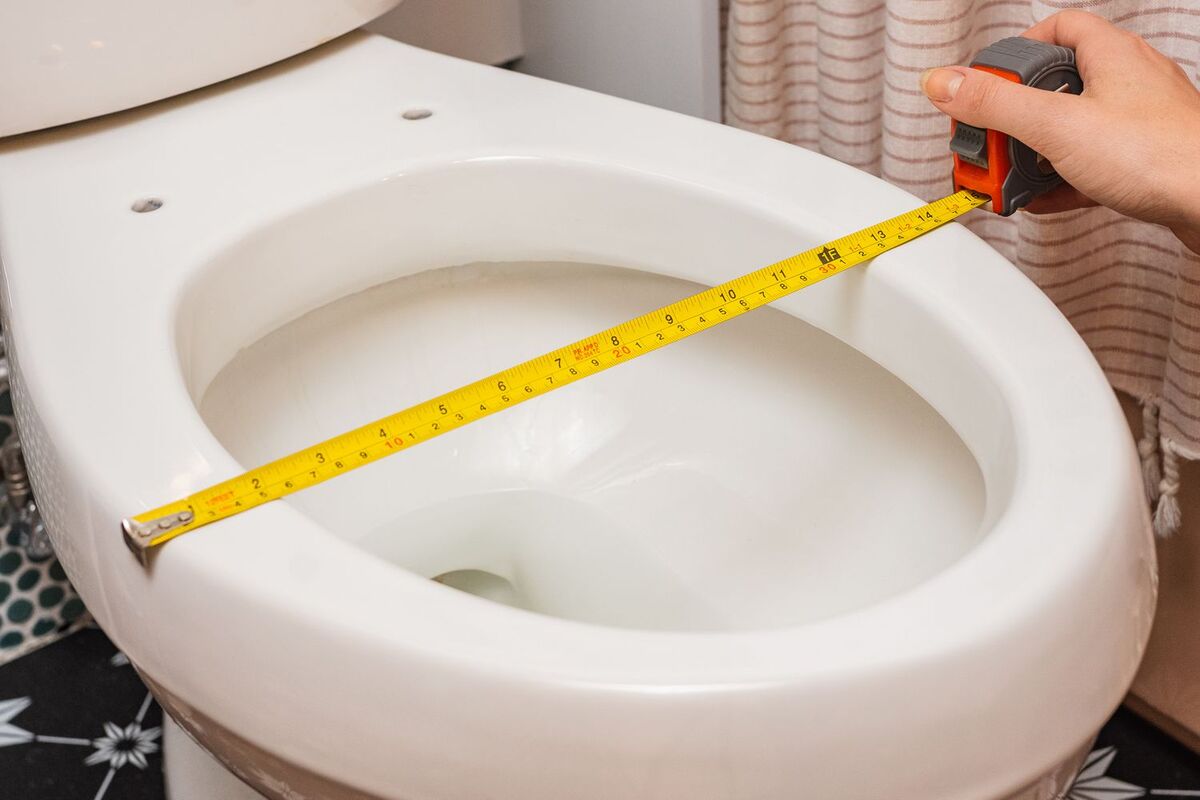
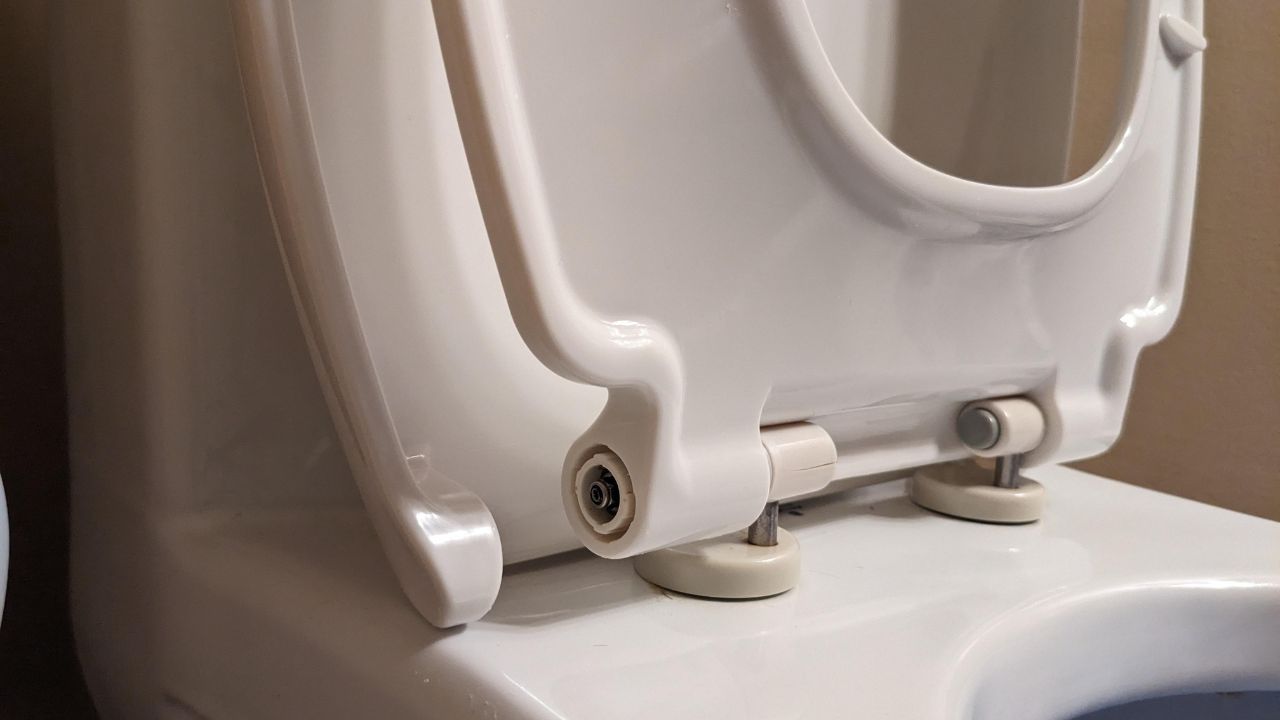
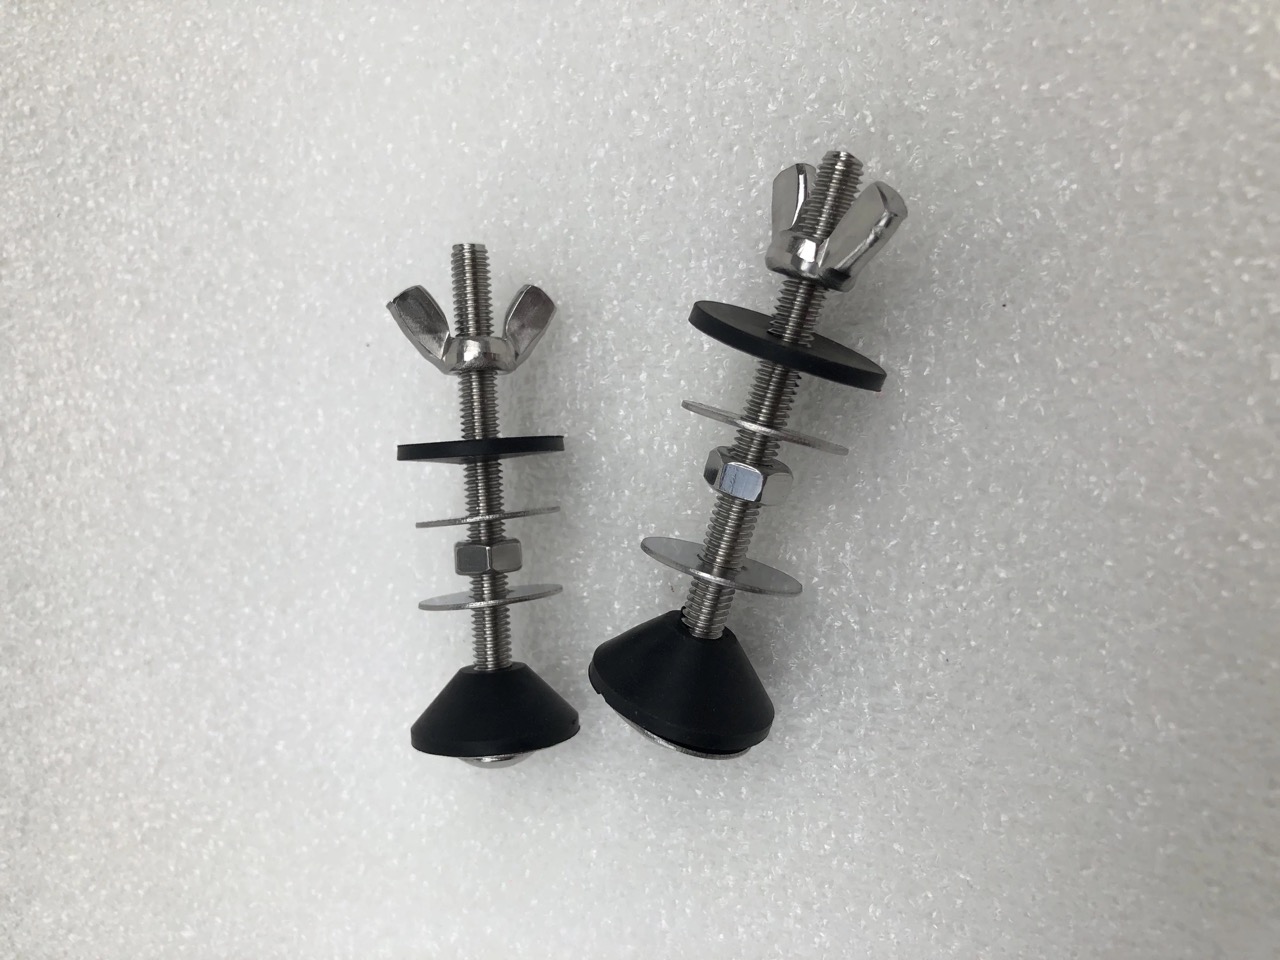
Step 3: Locate the Hidden Bolts
Now that the old toilet seat is removed, it’s time to locate the hidden bolts for the new seat. Hidden bolt toilet seats have bolts that are not visible from the top, giving them a cleaner and more seamless appearance. Follow these steps:
- Examine the underside of the toilet bowl for two small openings. These openings are usually located at the back of the bowl where the old seat was attached.
- The hidden bolts are typically inserted through these openings and secured underneath the bowl.
- Take note of the position of the openings and measure the distance between them. This measurement will be important when aligning the new seat later in the process.
Once you have located the hidden bolts and familiarized yourself with the position and distance between the openings, you are ready to move on to the next step – loosening the hidden bolts.
Step 4: Loosen the Hidden Bolts
With the hidden bolts located, it’s time to loosen them in preparation for the installation of the new toilet seat. Follow these steps:
- Using a wrench or pliers, grip the bolt heads or nuts that are securing the hidden bolts under the toilet bowl.
- Turn the bolt heads or nuts counterclockwise to loosen them. If the bolts are tight or difficult to turn, you can apply a lubricant such as WD-40 to help loosen them up.
- Continue loosening the bolts until they are sufficiently loose to allow for easy removal of the old seat and installation of the new seat. Make sure not to completely remove the bolts at this stage.
- Take note of the position of the bolts and their level of looseness. This will be helpful when aligning and tightening the bolts in the next steps.
By following these steps, you have successfully loosened the hidden bolts and are now ready to remove the old toilet seat completely in the next step.
Read more: How To Remove Stripped Toilet Seat Bolt
Step 5: Remove the Old Toilet Seat Completely
Now that the hidden bolts are loosened, it’s time to remove the old toilet seat completely. Follow these steps:
- Gently lift the old toilet seat away from the bowl, ensuring that it is fully detached from the hidden bolts.
- Set the old toilet seat aside and inspect the area underneath for any dirt or debris. Use a mild cleaner and a cloth to clean the surface, ensuring it is clear and ready for the installation of the new seat.
- If you notice any damage or wear on the toilet bowl or the area surrounding the hidden bolts, it’s a good idea to address these issues before installing the new seat. Repair any damage or reinforce the area to ensure a stable and secure installation.
Once the old toilet seat is removed and the area is cleaned, you are ready to move on to the next step – preparing the new toilet seat for installation.
When replacing a toilet seat with hidden bolts, use a screwdriver to loosen the bolts underneath the seat. Once the bolts are loose, lift the seat and remove it from the toilet. Then, place the new seat in position and tighten the bolts securely.
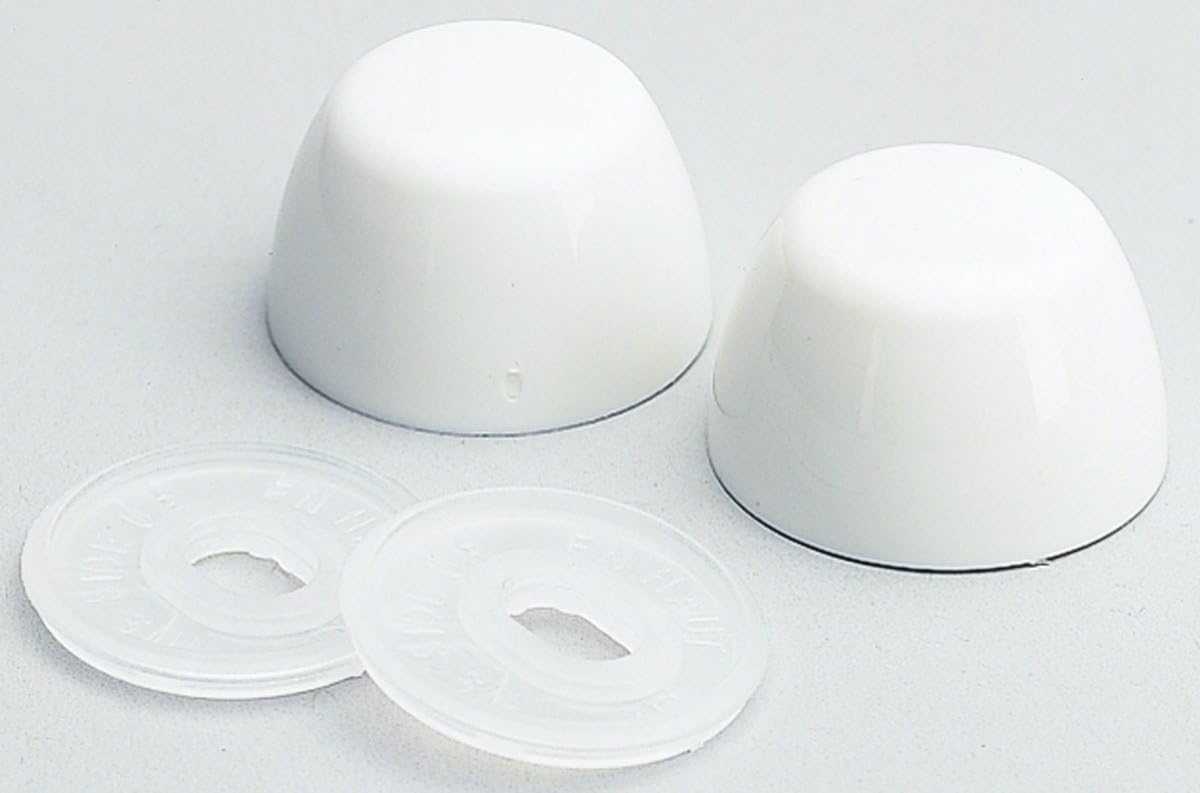
Step 6: Prepare the New Toilet Seat
With the old toilet seat removed, it’s time to prepare the new toilet seat for installation. Follow these steps:
- Take the new toilet seat out of its packaging and inspect it for any defects or damage. Ensure that all the necessary parts are included, such as the seat, lid, and any accompanying hardware.
- If the new toilet seat has any protective plastic covering or packaging material, remove it carefully to reveal the seat’s surface.
- Inspect the underside of the new seat for any adjustable features or mechanisms. Some toilet seats may have adjustable hinges or settings for comfort and stability. Familiarize yourself with these features to ensure proper installation.
- Ensure that the new toilet seat is clean and free from any dirt or debris before proceeding with the installation.
- If the new toilet seat requires any additional assembly or attachment of components, follow the manufacturer’s instructions provided with the seat.
Once the new toilet seat is prepared and all the necessary components are in place, you’re ready to move on to the next step – aligning the new toilet seat with the hidden bolts.
Step 7: Align the New Toilet Seat with Hidden Bolts
Now that the new toilet seat is prepared, it’s time to align it with the hidden bolts. Follow these steps:
- Carefully position the new toilet seat over the toilet bowl, ensuring that the seat is aligned with the openings where the hidden bolts are located.
- Take note of the measurements you made earlier to align the seat accurately. The distance between the openings should match the distance between the holes on the new seat.
- Gently lower the new seat onto the bowl, making sure that the hidden bolts pass through the holes in the seat.
- Double-check that the seat is centered and aligned properly before proceeding to the next step.
By following these steps, you have successfully aligned the new toilet seat with the hidden bolts. Next, it’s time to tighten the bolts securely.
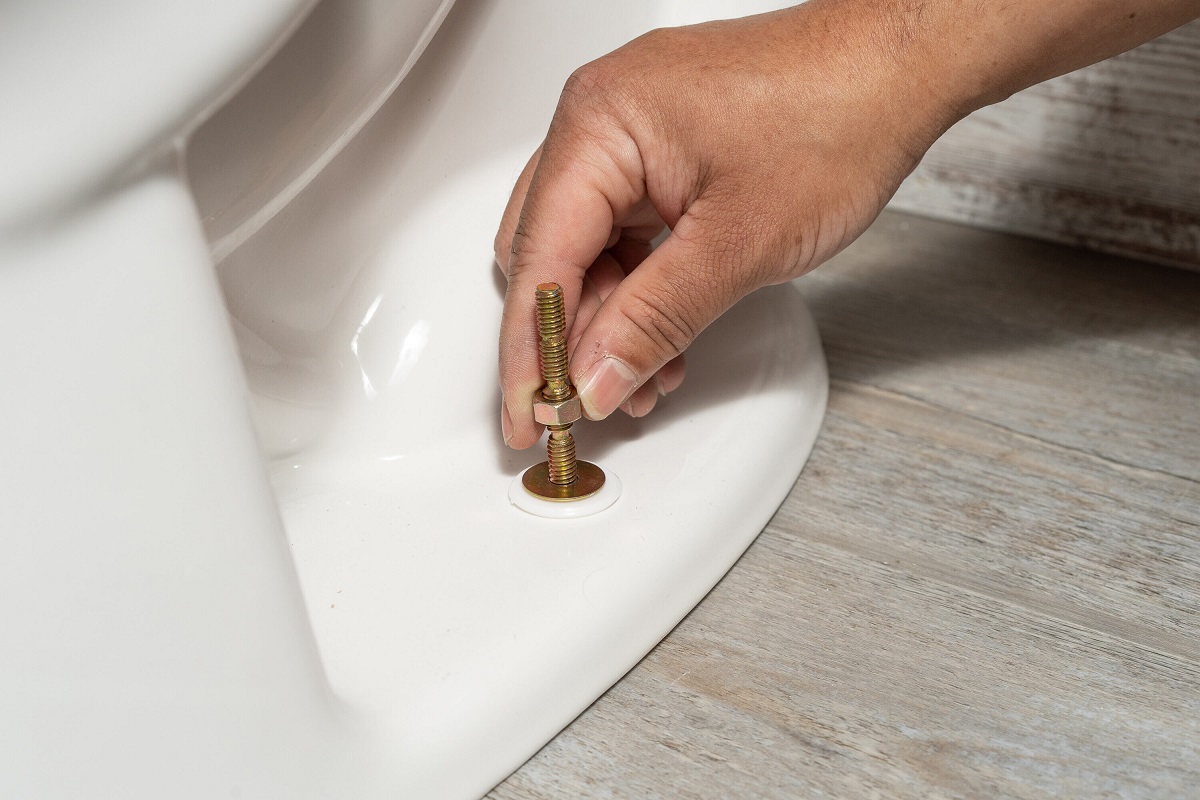
Step 8: Tighten the Hidden Bolts
With the new toilet seat aligned properly, it’s time to tighten the hidden bolts to secure the seat in place. Follow these steps:
- Locate the bolt heads or nuts underneath the toilet bowl, securing the hidden bolts.
- Using a wrench or pliers, begin tightening the bolt heads or nuts clockwise. Make sure to tighten them evenly, alternating between each side.
- Continue tightening the bolts until they are snug and secure. Be careful not to over-tighten, as it may cause damage to the toilet bowl or the seat.
- Take note of the position of the bolts and the level of tightness to ensure a balanced and stable installation.
By following these steps, you have successfully tightened the hidden bolts and securely attached the new toilet seat to the toilet bowl. Next, it’s important to test the stability of the seat before use.
Step 9: Test the Stability of the New Toilet Seat
Now that the new toilet seat is securely attached, it’s crucial to test its stability before using it. Follow these steps:
- Gently press down on the front and back of the new toilet seat to check if it moves or wobbles. If you notice any excessive movement, it’s an indication that the seat is not securely fastened.
- If the seat feels loose, recheck the tightness of the hidden bolts. Use a wrench or pliers to tighten them further, ensuring that they are snug against the toilet bowl.
- Once you have tightened the bolts, test the stability of the seat again. Repeat this process until the seat feels stable and secure, without any unnecessary movement.
- Additionally, sit on the toilet seat and shift your weight from side to side to assess its stability. The seat should remain steady and balanced, providing a comfortable and secure seating experience.
By following these steps and ensuring the stability of the new toilet seat, you have successfully completed the installation process. Lastly, it’s time to enjoy your freshly replaced toilet seat!
Step 10: Enjoy Your Newly Replaced Toilet Seat!
Congratulations! You have successfully replaced your toilet seat with hidden bolts. It’s time to sit back, relax, and enjoy the comfort and functionality of your newly installed seat. Here are a few final reminders:
- Take a moment to appreciate the improved aesthetics of your bathroom. The sleek and seamless design of the hidden bolt toilet seat adds a modern touch to the overall look of your toilet.
- Enjoy the stability and secure fit of the new seat. No more worries about a loose or wobbly seat while using the toilet!
- Make sure to clean and maintain your new toilet seat regularly. Follow the manufacturer’s recommendations for cleaning and care to ensure its longevity.
- If you encounter any issues with the seat, such as excessive movement or discomfort, double-check the tightness of the hidden bolts and make any necessary adjustments.
With proper installation and maintenance, your new toilet seat with hidden bolts will provide you with years of comfort and convenience. Now sit back, relax, and enjoy your upgraded bathroom experience!
Now that you've mastered replacing a toilet seat with hidden bolts, why not tackle more toilet dilemmas or consider a bathroom makeover? For anyone facing persistent toilet issues, our guide on toilet repair offers practical solutions that are sure to save time and frustration. Or, if you're planning a broader transformation, understanding the timeline for bathroom renovation helps in preparing effectively, ensuring no detail is overlooked. Both guides provide essential tips and tricks to make your next project smoother.
Frequently Asked Questions about How To Replace Toilet Seat With Hidden Bolts
Was this page helpful?
At Storables.com, we guarantee accurate and reliable information. Our content, validated by Expert Board Contributors, is crafted following stringent Editorial Policies. We're committed to providing you with well-researched, expert-backed insights for all your informational needs.


0 thoughts on “How To Replace Toilet Seat With Hidden Bolts”