Articles
When To Replace Toilet
Modified: October 18, 2024
Learn when to replace your toilet with helpful articles. Get expert advice and tips on toilet replacement to keep your bathroom functioning smoothly.
(Many of the links in this article redirect to a specific reviewed product. Your purchase of these products through affiliate links helps to generate commission for Storables.com, at no extra cost. Learn more)
Introduction
When it comes to household fixtures, the toilet is one of the most essential and frequently used. However, like any other appliance, toilets can become damaged or wear out over time. Knowing when to replace a toilet can save you from potential headaches and costly repairs down the line.
In this article, we will discuss the signs of a damaged toilet, common toilet issues, factors to consider before replacing a toilet, and when it’s time to invest in a new one. Whether you’re a homeowner or a renter, understanding the indicators and timing for toilet replacement can help you maintain a functional bathroom and ensure a comfortable living environment.
Key Takeaways:
- Recognize signs of a damaged toilet such as leaks, cracks, clogs, and wobbling. Promptly addressing these issues can prevent further damage and potential safety hazards, ensuring a functional bathroom.
- Consider factors like budget, water efficiency, and age of the toilet before deciding to replace it. Upgrading to a newer, water-saving model can enhance bathroom aesthetics and save on long-term costs.
Signs of a Damaged Toilet
A damaged toilet can cause a range of problems, from minor inconveniences to major water leaks. Here are some signs that indicate your toilet may be in need of replacement:
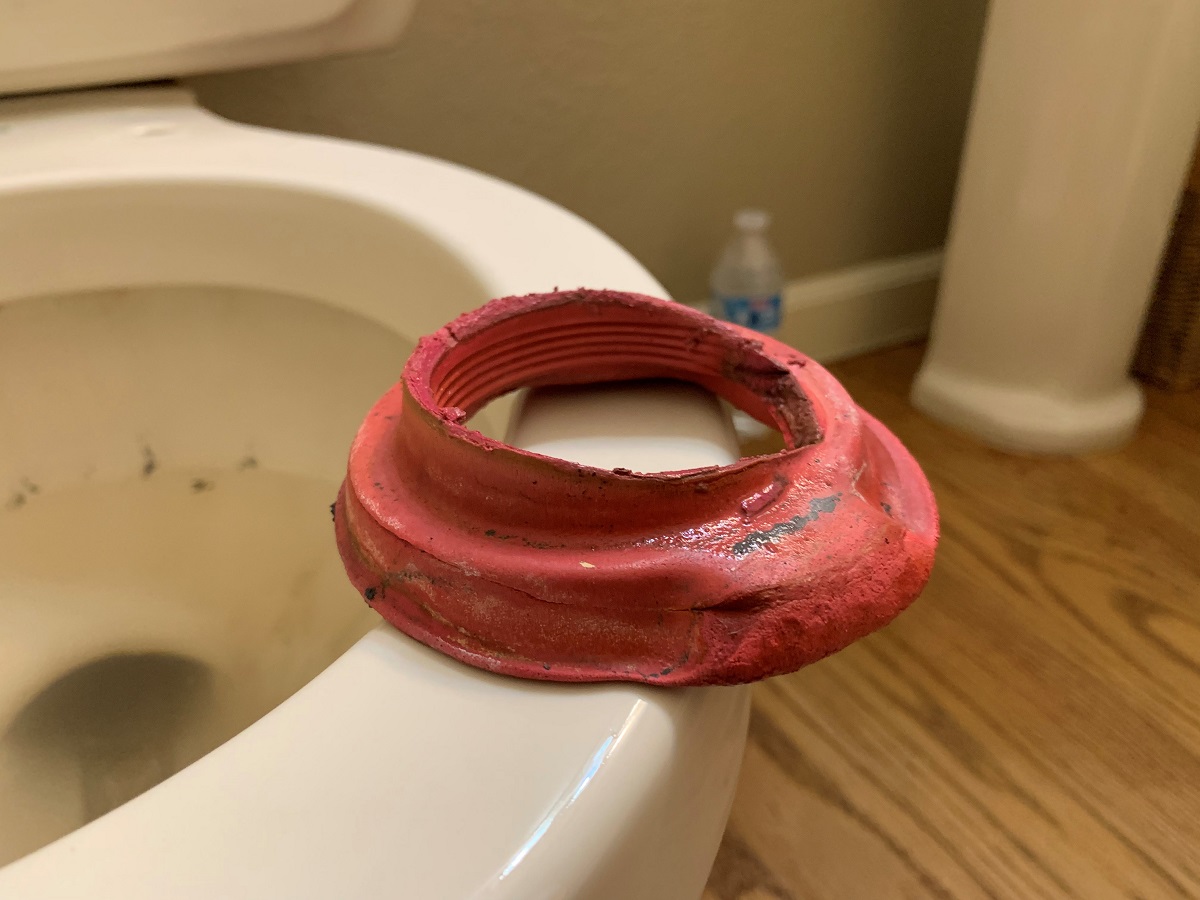
- Frequent leaks: If you notice water pooling around the base of your toilet or leaking from the tank or bowl, it could indicate a crack in the porcelain or a faulty seal. Constantly fixing these leaks can become costly and time-consuming.
- Cracks or chips: Inspect the surface of your toilet bowl and tank for any visible cracks or chips. These can develop over time due to age, wear and tear, or improper use of harsh chemicals. Cracks can lead to leaks or even structural failure of the toilet.
- Constant clogging: If your toilet frequently gets clogged despite normal usage, it may be an indication of an underlying issue. Old or malfunctioning toilets may lack the flushing power necessary to effectively remove waste, resulting in frequent blockages.
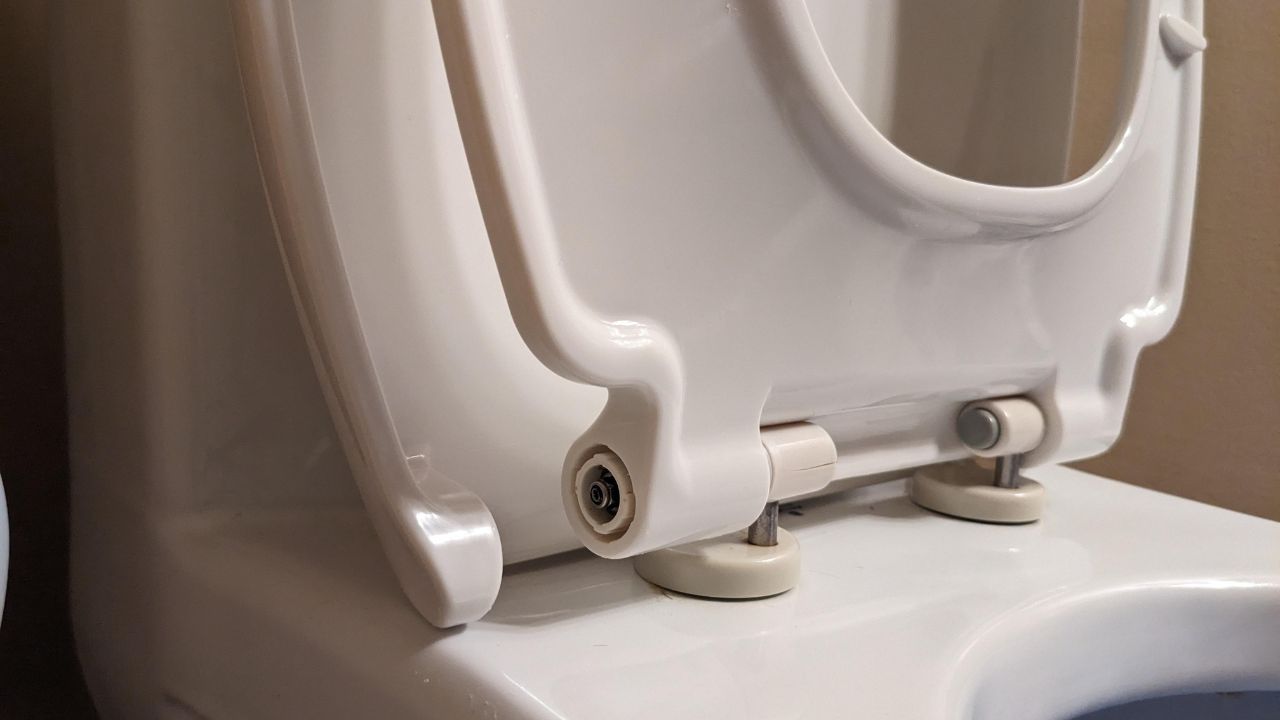
- Wobbling or instability: A toilet that rocks or feels unstable when in use can pose a safety risk. Wobbling may be caused by loose or damaged bolts, a deteriorating flange, or a cracked porcelain base. Addressing this issue promptly is crucial to prevent accidents.
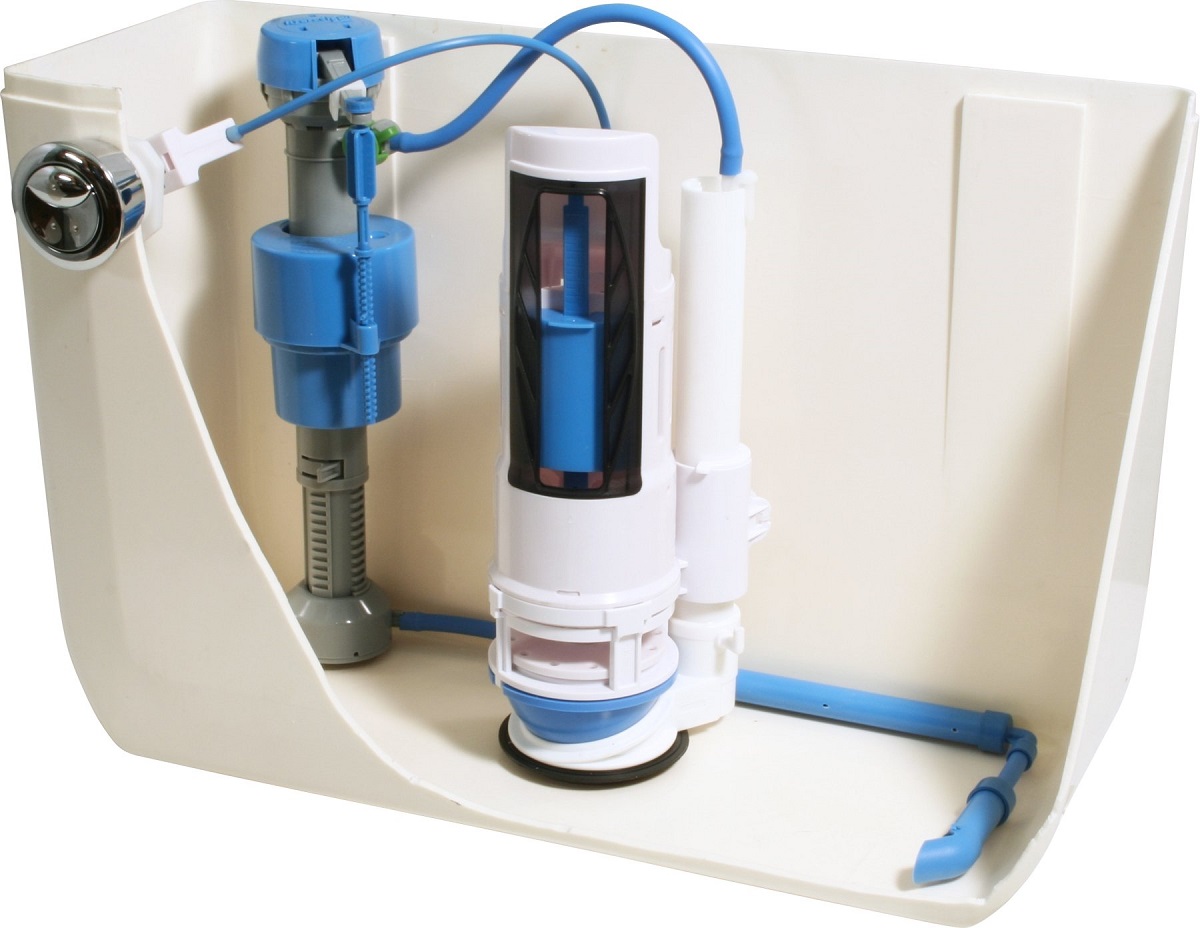
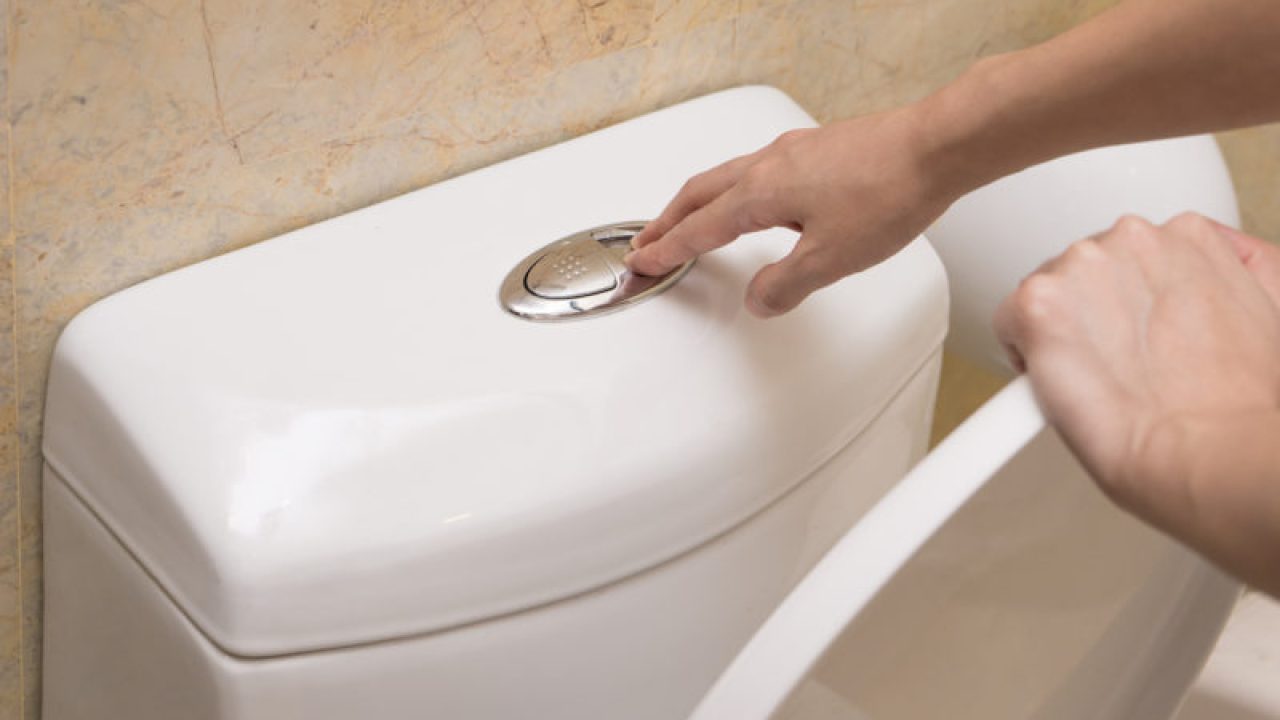
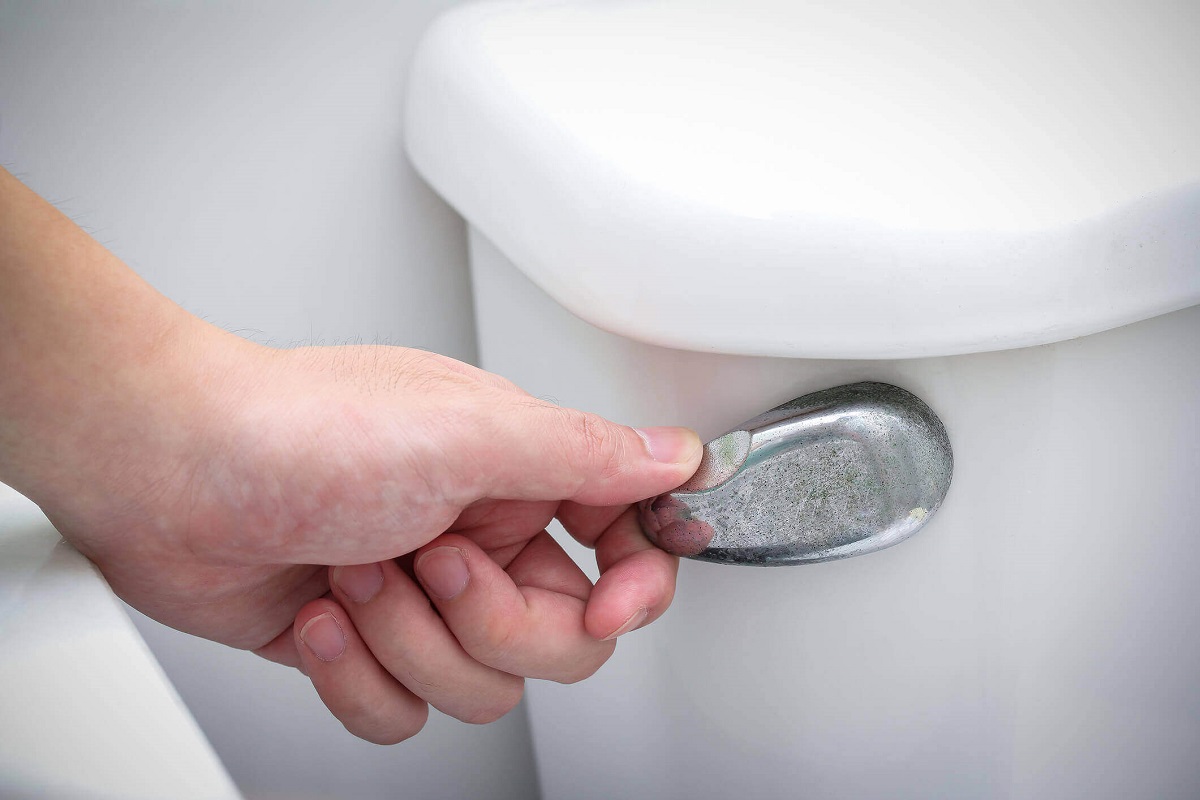
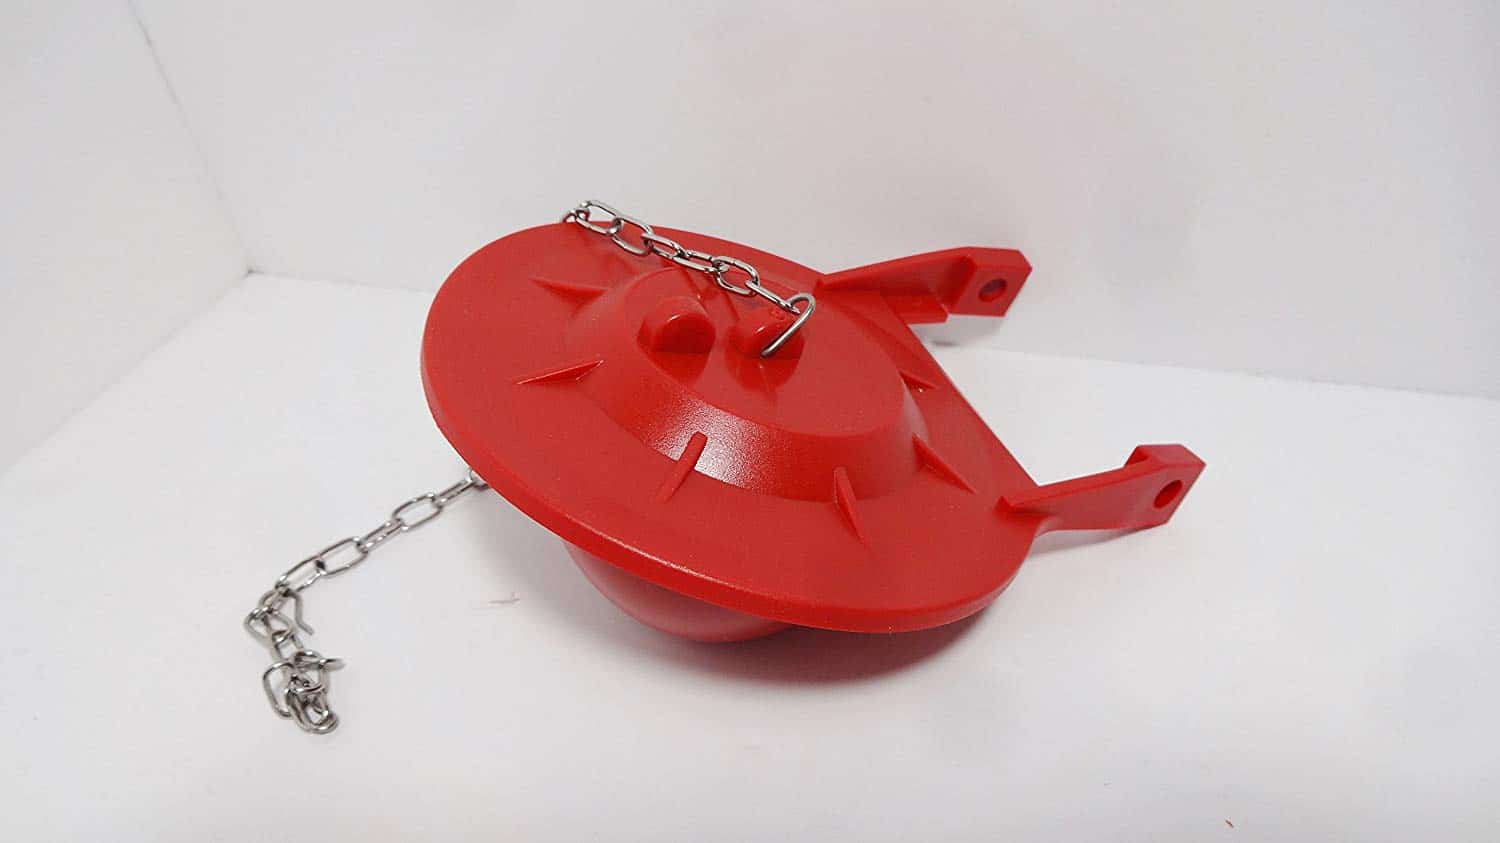
- Consistently running water: If your toilet’s water constantly runs even after flushing, it could be a sign of a faulty flapper valve, which allows water to flow continuously from the tank to the bowl. This not only wastes water but can also increase your water bill.
- Stains, discoloration, or rust: Over time, toilets may develop stains that are difficult to remove or discoloration due to hard water or mineral deposits. Rust can also be a problem if the internal components of the toilet are corroded. These cosmetic issues can be indicative of larger underlying problems.
If you notice any of these signs, it’s crucial to assess the extent of the damage and determine whether repairing or replacing the toilet is the best course of action. Factors such as the age of the toilet, the cost of repairs, and the overall condition of the fixture will play a role in your decision-making process.
Common Toilet Issues
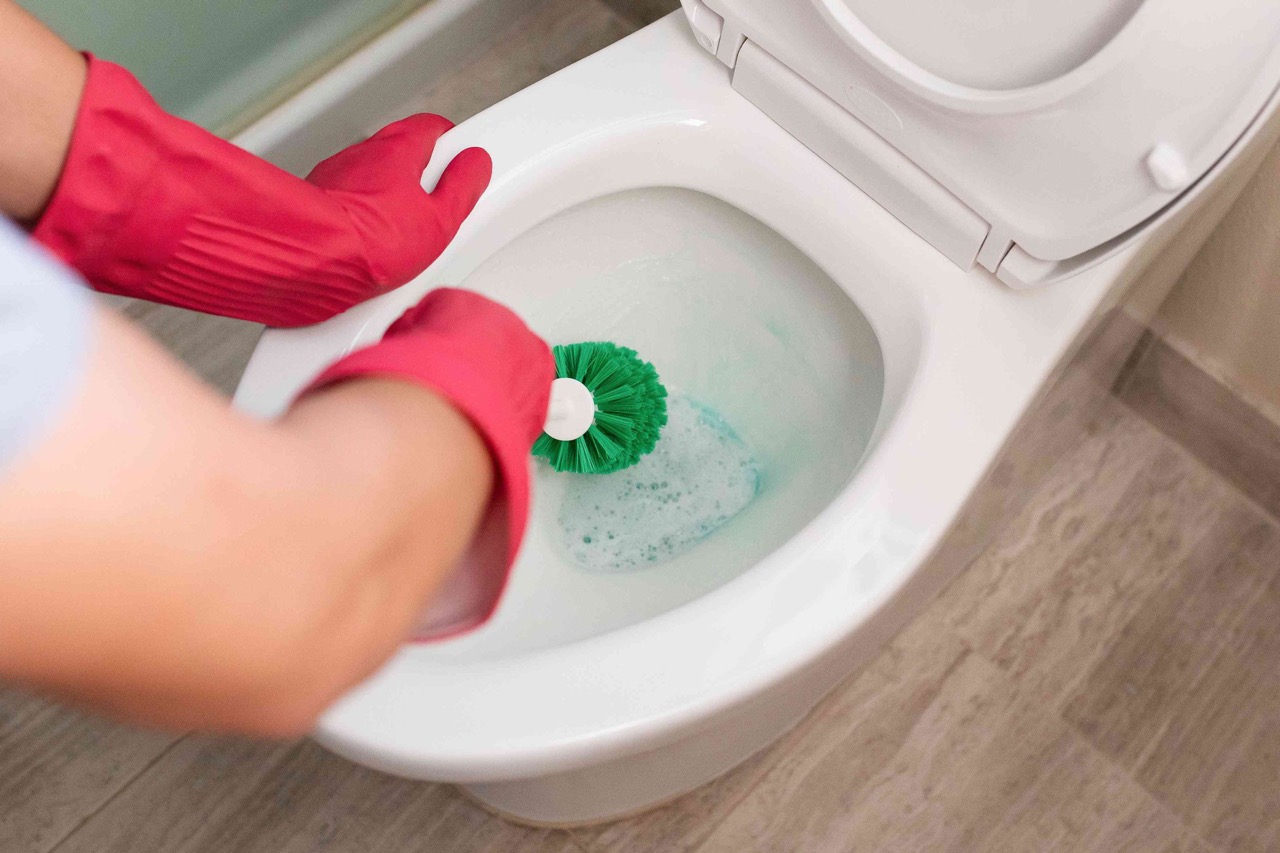
Toilets are susceptible to a variety of problems, many of which can be addressed with repairs or maintenance. Here are some common toilet issues that you may encounter:
- Weak or inadequate flushing: If your toilet doesn’t flush with enough force or fails to remove waste completely, it could be due to a clog, a faulty flapper valve, or a problem with the flush mechanism. Regular cleaning and ensuring the water level in the tank is correct can often resolve this issue.
- Overflowing: An overflowing toilet can cause significant water damage if not addressed promptly. It usually occurs when there’s a blockage in the drainpipe or a malfunctioning fill valve. Using a plunger or a drain snake can often clear the obstruction, but if the problem persists, professional assistance may be required.
- Phantom flushing: Phantom flushing refers to a situation where the toilet spontaneously flushes on its own without anyone using it. This can waste water and may be caused by a faulty flapper valve or a high water level in the tank. Replacing the flapper valve or adjusting the water level can often resolve this issue.
- Weak or no water in the bowl: If there’s insufficient or no water in the toilet bowl, it may be due to a clog in the rim feed holes or a problem with the fill valve. Cleaning the holes or replacing the fill valve can improve the water flow in the bowl.
- Noisy toilets: If your toilet makes unusual noises, such as gurgling or humming sounds, it could indicate a clog in the drainpipe or a malfunctioning fill valve. Clearing the clog or replacing the fill valve can typically resolve the issue.
- Continuous tank refilling: If the toilet tank constantly refills even when it’s not in use, it may be due to a faulty fill valve or an improperly adjusted float. Adjusting or replacing the fill valve can stop the continuous refilling and save water.
While these common toilet issues can often be resolved with repairs, it’s important to consider the age and overall condition of your toilet. In some cases, investing in a new toilet may be a more cost-effective and efficient solution, especially if the problems are recurring or the fixture is outdated.
Replace your toilet when it starts to constantly run, has visible cracks, or requires frequent repairs. Upgrading to a water-efficient model can also save money in the long run.
Factors to Consider Before Replacing a Toilet
Before making the decision to replace your toilet, there are several factors you should consider. Taking these factors into account will help you determine if replacing the toilet is the right choice for your specific situation:
- Budget: One of the primary considerations is your budget. Determine how much you are willing to spend on a new toilet, including the cost of installation if necessary. Keep in mind that investing in a higher-quality toilet may offer long-term savings on water bills and potential repairs.
- Water efficiency: Consider the water efficiency of the toilet. Older toilets typically use more water per flush, while newer models are designed to be more efficient. Look for toilets with the WaterSense label, which indicates they meet the Environmental Protection Agency’s criteria for water efficiency.
- Bathroom décor: Consider the design and style of your bathroom. If you’re remodeling or updating the look of your bathroom, replacing the toilet can be an opportunity to choose a fixture that complements the overall aesthetic and enhances the space.
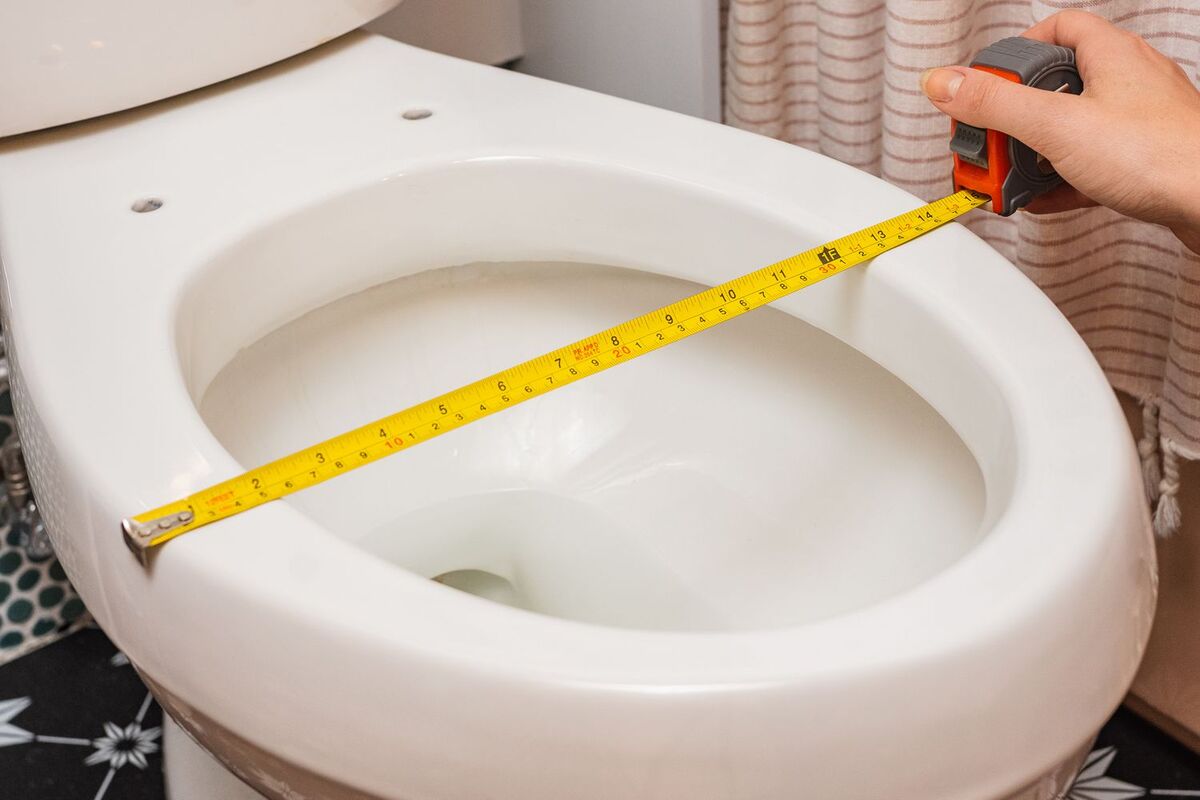
- Size and dimensions: Ensure that the new toilet you choose will fit properly in your bathroom space. Measure the rough-in, which is the distance from the wall to the center of the drainpipe, to ensure the new toilet will align correctly with your existing plumbing.
- Comfort and features: Consider the comfort and additional features you desire in a toilet. Features such as a soft-close seat, dual-flush option, or bidet functionality can enhance your bathroom experience and improve overall hygiene.
- Durability and warranty: Assess the durability and warranty of different toilet models. Look for toilets made of high-quality materials, such as vitreous china or ceramic, and check for manufacturer warranties that provide peace of mind in case of any defects or issues.
By considering these factors, you can make an informed decision when it comes to replacing your toilet. It’s important to weigh the cost of a new toilet against potential savings in water usage, repairs, and the overall improvement to your bathroom’s functionality and aesthetics.
When to Replace a Toilet
While regular maintenance and repairs can extend the lifespan of a toilet, there are certain situations where replacement is the most viable option. Here are some scenarios when it’s time to consider replacing your toilet:
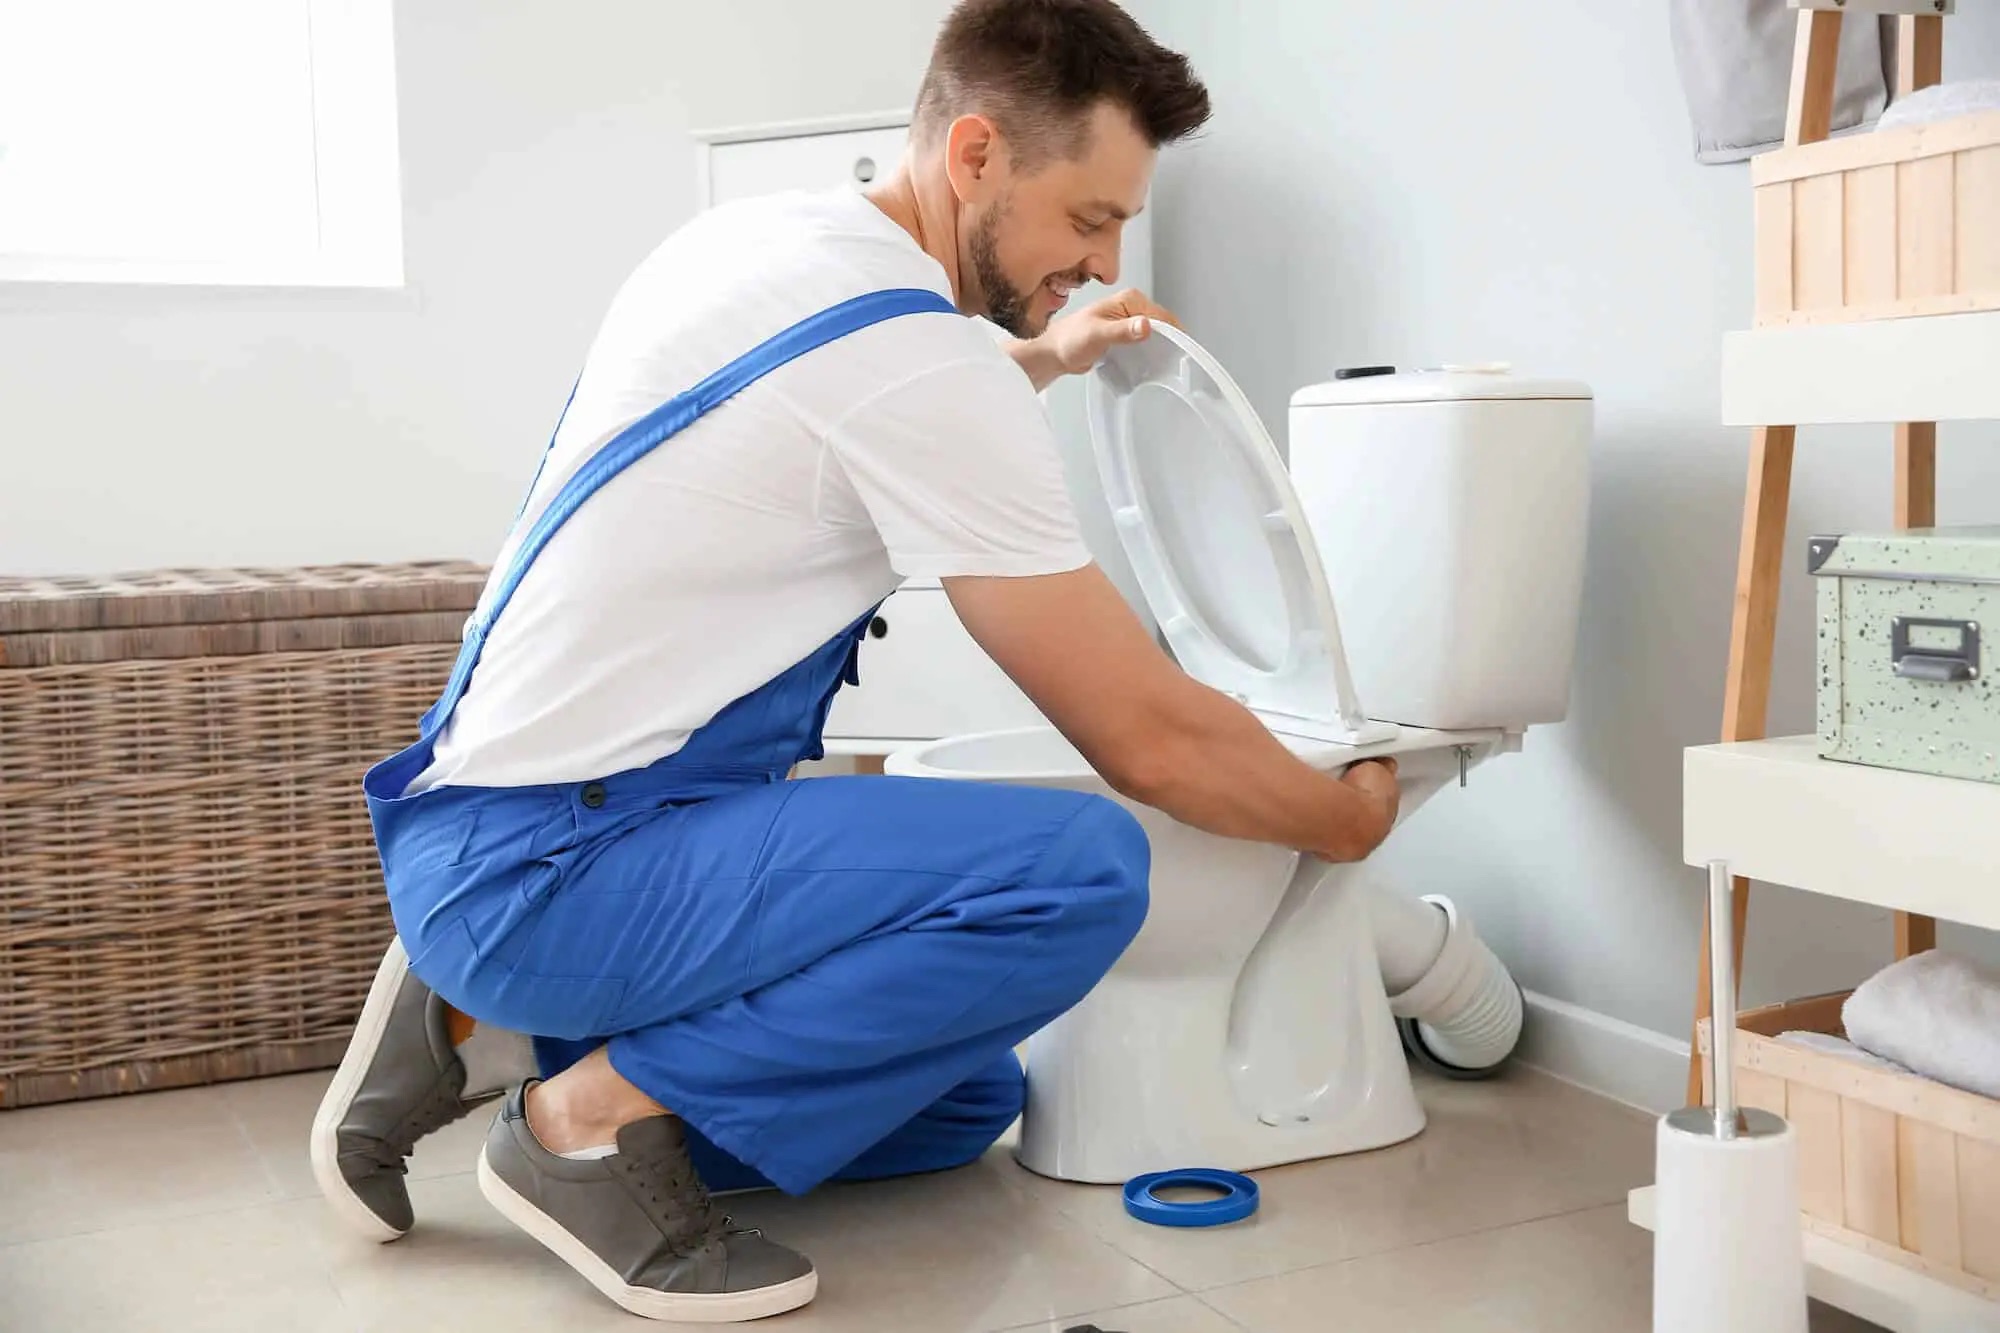
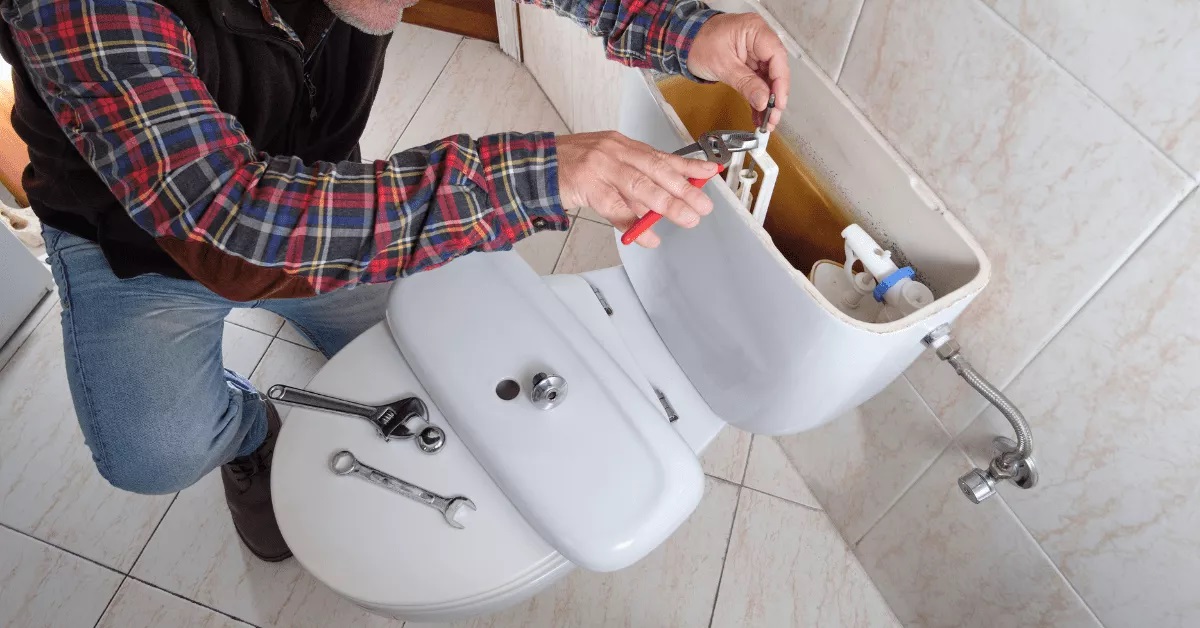
- Constant repairs: If your toilet requires frequent repairs and the costs start adding up, it may be more cost-effective to invest in a new toilet. A toilet that consistently experiences issues is likely reaching the end of its functional lifespan.
- Age: Consider the age of your toilet. Most toilets have a lifespan of around 25 years, although this can vary depending on usage and maintenance. If your toilet is nearing or has exceeded this age, it may be wise to replace it proactively rather than waiting for major problems to arise.
- Cracks or structural damage: Cracks in the porcelain or structural damage to the toilet are serious issues that can lead to water leaks and further damage. If these problems are present, it’s advisable to replace the toilet to avoid water damage and potential safety hazards.
- Outdated technology: Older toilets may lack modern features and water-saving capabilities. By replacing your outdated toilet with a newer model, you can benefit from improved water efficiency, comfort, and additional features that enhance your bathroom experience.
- Renovations or remodeling: If you’re planning a bathroom renovation or remodeling project, it makes sense to replace the toilet as part of the overall upgrade. This allows you to choose a toilet that matches your new design aesthetic and complements the other fixtures in your bathroom.
- Water efficiency concerns: If you’re concerned about water usage and want to reduce your environmental footprint, replacing an older, water-wasting toilet with a more water-efficient model is a worthwhile investment. This can lead to significant water savings over time.
Ultimately, the decision to replace a toilet will depend on the specific circumstances and factors discussed above. It’s crucial to evaluate the overall condition, functionality, and efficiency of your current toilet and weigh it against the cost and benefits of a new one.
Remember, professional assistance from a plumber or bathroom specialist can provide valuable advice and guidance based on your specific situation. They can help assess the extent of the damage or aging of your toilet and recommend the best course of action for replacement.
Read more: When To Replace A Thermostat
Conclusion
Knowing when to replace a toilet is essential for maintaining a functional bathroom and avoiding costly repairs. By recognizing the signs of a damaged toilet, understanding common toilet issues, and considering important factors, you can make an informed decision about whether it’s time to invest in a new toilet.
Signs such as frequent leaks, cracks or chips, constant clogging, wobbling, and running water should not be ignored, as they can indicate serious problems. Addressing these issues promptly can prevent further damage and potential safety hazards.
While some common toilet issues can be resolved with repairs, there are situations when replacing the toilet is the best option. Factors such as budget, water efficiency, bathroom décor, size and dimensions, comfort, and durability should be considered before making a decision.
Once you’ve assessed these factors, it’s important to consider the age of the toilet, whether repairs are becoming frequent, and if there are cracks or structural damage. Outdated technology and the opportunity for renovations or remodeling can also influence your decision. Additionally, if you have concerns about water efficiency, replacing an older toilet with a newer, water-saving model can be environmentally friendly and cost-effective in the long run.
In conclusion, replacing a toilet should be done thoughtfully and based on thorough consideration of the factors at play. Consulting a professional can provide valuable insights and ensure a smooth transition. By investing in a new toilet when needed, you can enjoy a functional and efficient bathroom while enhancing the overall aesthetics and comfort of your living space.
Frequently Asked Questions about When To Replace Toilet
Was this page helpful?
At Storables.com, we guarantee accurate and reliable information. Our content, validated by Expert Board Contributors, is crafted following stringent Editorial Policies. We're committed to providing you with well-researched, expert-backed insights for all your informational needs.
0 thoughts on “When To Replace Toilet”