Home>Construction & Tools>Building Materials>What To Use To Seal A Brick Wall
Building Materials
What To Use To Seal A Brick Wall
Published: January 23, 2024
Find the best building materials to seal your brick wall. Discover the top products and techniques for effective sealing.
(Many of the links in this article redirect to a specific reviewed product. Your purchase of these products through affiliate links helps to generate commission for Storables.com, at no extra cost. Learn more)
Introduction
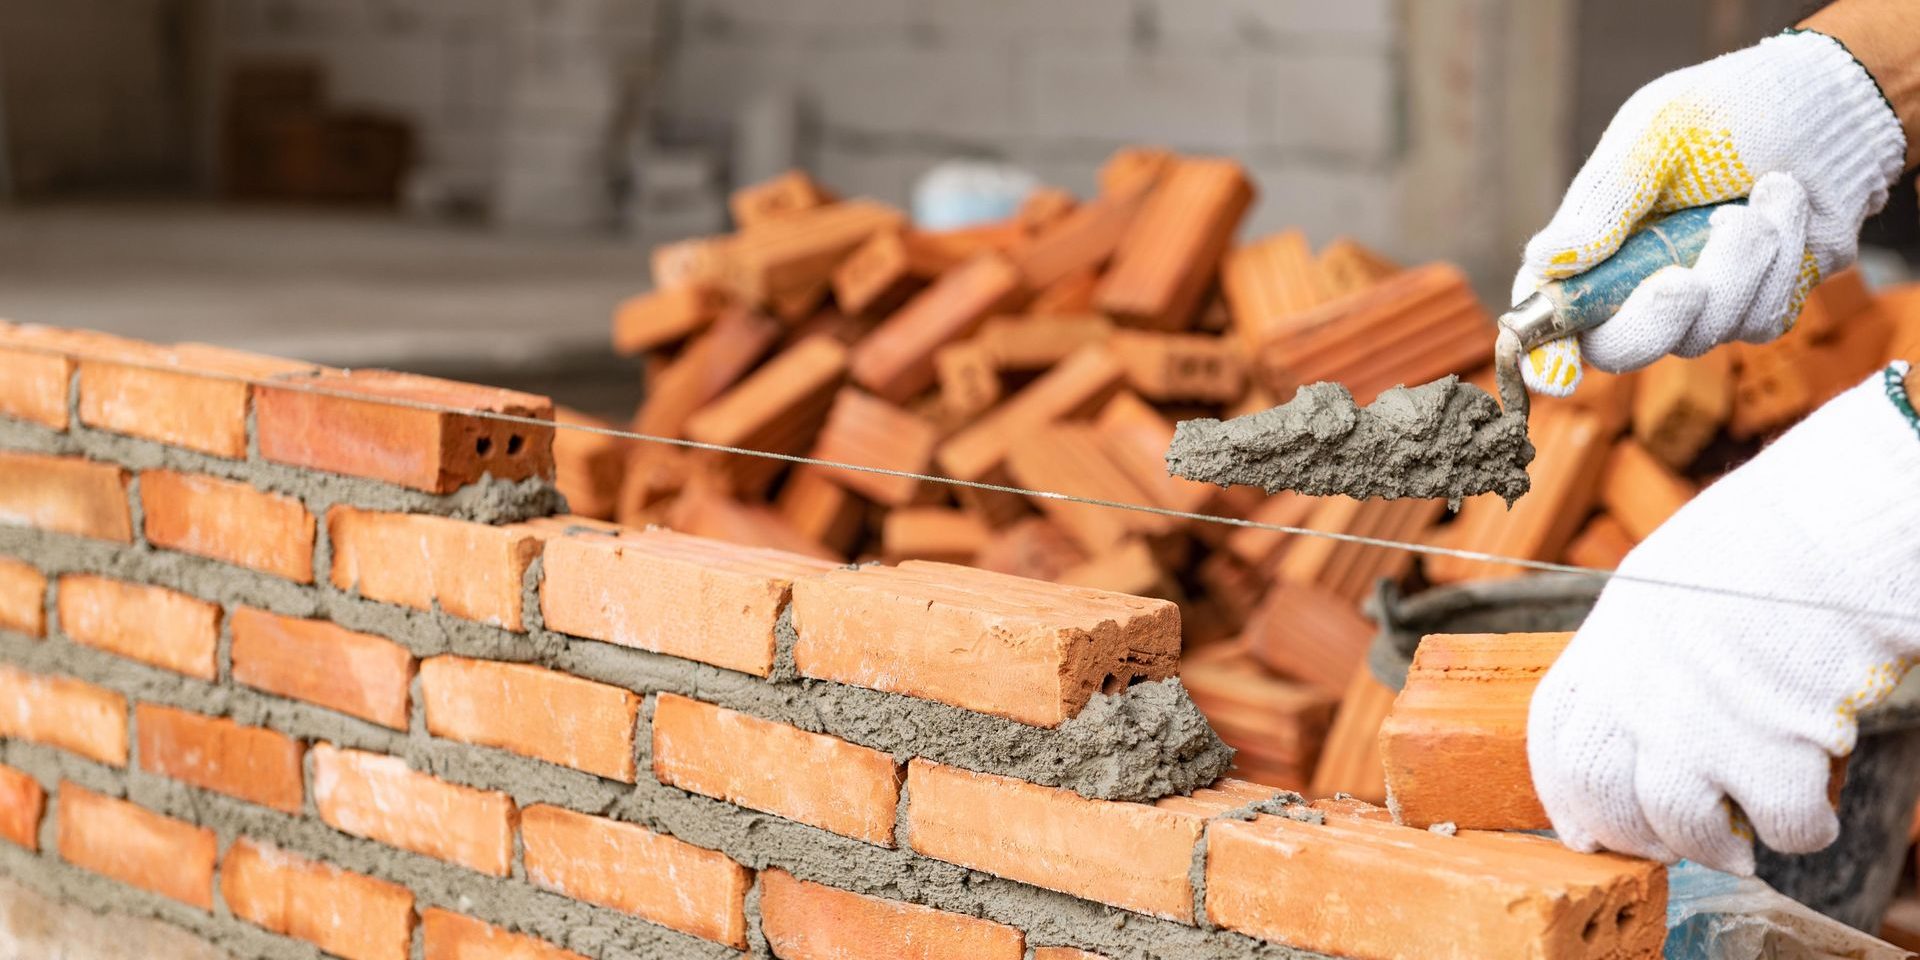
Brick walls exude timeless charm and durability, serving as stalwart protectors of our homes and buildings. However, to ensure their longevity and resilience against the elements, it’s crucial to seal them effectively. A high-quality sealant not only fortifies the structural integrity of the brick wall but also enhances its aesthetic appeal. In this comprehensive guide, we will delve into the various types of sealants available, the essential factors to consider when choosing a sealant, the step-by-step process of sealing a brick wall, and the subsequent maintenance required to preserve its protective properties.
Whether you’re a homeowner seeking to safeguard your abode or a professional in the construction industry, understanding the nuances of brick wall sealants is paramount. Let’s embark on this illuminating journey to unravel the art and science of sealing brick walls, empowering you to make informed decisions and preserve the timeless allure of these architectural marvels.
Key Takeaways:
- Choose the right sealant for your brick wall based on environmental conditions, waterproofing capability, flexibility, aesthetic preferences, application method, long-term maintenance, and compatibility with substrates to ensure optimal protection and longevity.
- To seal a brick wall, follow meticulous steps including surface preparation, repair and maintenance, sealant selection, application technique, multiple coats, finishing touches, clean-up, and maintenance. Proactive maintenance practices such as regular inspections, cleaning, reapplication of sealant, repairing damaged areas, managing vegetation, and drainage maintenance are essential to preserve the integrity and visual appeal of the sealed brick wall.
Read more: What To Use To Seal Basement Walls
Types of Sealants for Brick Walls
When it comes to sealing brick walls, various types of sealants are available, each with its unique composition and application. Understanding the characteristics of these sealants is essential for selecting the most suitable option for your specific needs. Here are some common types of sealants used for brick walls:
- Silicone-Based Sealants: Silicone sealants are renowned for their exceptional flexibility and weather resistance. They form a durable, watertight seal, making them ideal for protecting brick walls from moisture infiltration. Additionally, silicone sealants offer excellent adhesion, accommodating the natural expansion and contraction of the bricks.
- Acrylic Sealants: Acrylic sealants are prized for their versatility and ease of application. They provide a protective barrier against water and UV rays, effectively preventing water penetration and minimizing the risk of efflorescence. Acrylic sealants are available in various finishes, allowing for customization according to aesthetic preferences.
- Epoxy Sealants: Epoxy sealants are renowned for their exceptional strength and chemical resistance. They are well-suited for industrial and commercial applications, offering robust protection against harsh chemicals, abrasion, and environmental stressors. Epoxy sealants provide a high-gloss finish, enhancing the visual appeal of the brick wall while ensuring long-lasting durability.
- Polyurethane Sealants: Polyurethane sealants are prized for their superior durability and adhesion properties. They form a resilient, elastic seal that can withstand extreme weather conditions and temperature fluctuations. Polyurethane sealants are an excellent choice for sealing expansion joints and providing long-term protection against water intrusion.
- Silicate Sealants: Silicate sealants, also known as penetrating sealants, are designed to chemically bond with the minerals present in the brick, creating a durable, breathable barrier. These sealants are ideal for preserving the natural appearance of the brick while providing protection against moisture and efflorescence. Silicate sealants are often favored for historic preservation projects due to their non-intrusive nature.
Each type of sealant offers distinct advantages, and the selection should be based on factors such as the specific environmental conditions, aesthetic preferences, and the intended use of the sealed brick wall. By understanding the unique properties of each sealant, you can make an informed decision that aligns with your requirements and ensures the long-term protection of your brick wall.
Factors to Consider When Choosing a Sealant
Choosing the right sealant for your brick wall involves a thoughtful consideration of various factors to ensure optimal protection and longevity. By taking the following aspects into account, you can make an informed decision that aligns with the specific requirements of your project:
- Environmental Conditions: Assess the prevailing environmental factors, including temperature fluctuations, humidity levels, and exposure to UV radiation. Select a sealant that offers superior resistance to the anticipated environmental stressors, ensuring long-term durability and performance.
- Waterproofing Capability: Prioritize sealants with excellent waterproofing properties to safeguard the brick wall against moisture infiltration. A reliable waterproof sealant prevents water damage, efflorescence, and mold growth, preserving the structural integrity of the wall.
- Flexibility and Adhesion: Evaluate the flexibility and adhesion characteristics of the sealant, especially in areas prone to movement and expansion, such as expansion joints and corners. A flexible sealant accommodates the natural shifts in the brick wall, minimizing the risk of cracks and water penetration.
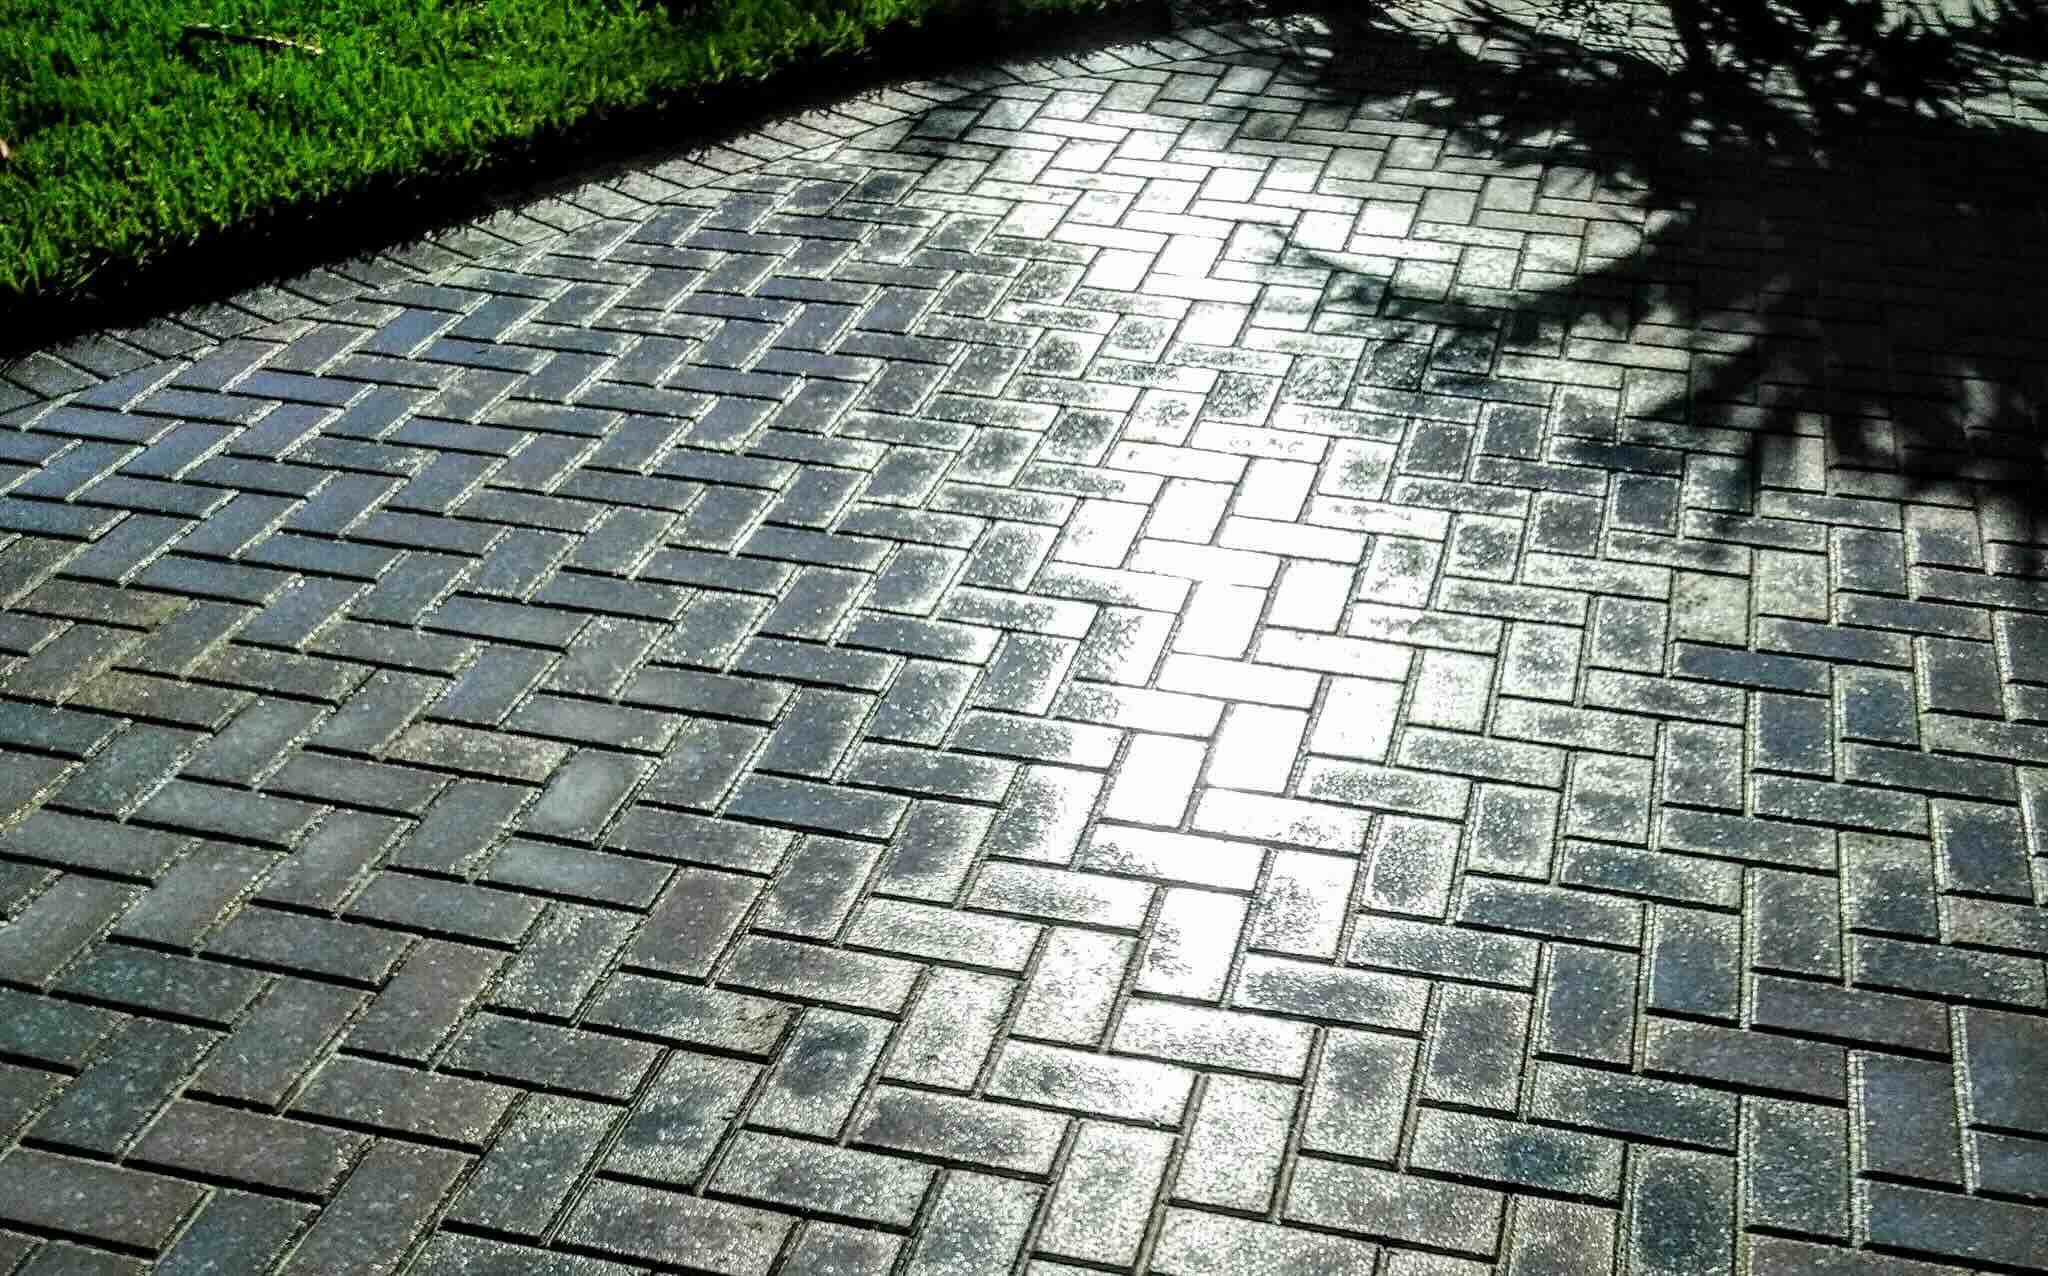
- Aesthetic Considerations: Consider the desired aesthetic outcome, as certain sealants offer a range of finishes and transparency options. Whether you prefer a glossy, matte, or natural appearance, select a sealant that complements the visual appeal of the brick wall while providing robust protection.
- Application Method: Assess the practical aspects of sealant application, including the ease of application, curing time, and compatibility with the existing brick surface. Choose a sealant that aligns with the project timeline and application requirements, ensuring a seamless and efficient sealing process.
- Long-Term Maintenance: Anticipate the maintenance needs of the sealed brick wall and opt for a sealant that facilitates easy upkeep. Consider the longevity of the sealant and its resistance to fading, cracking, and degradation over time, minimizing the need for frequent reapplication.
- Compatibility with Substrates: Ensure that the selected sealant is compatible with the specific type of brick and mortar used in the construction of the wall. Compatibility is crucial for achieving a strong bond and optimal protection without causing damage to the underlying materials.
By carefully evaluating these factors and consulting with industry professionals, you can make a well-informed decision when choosing a sealant for your brick wall. This proactive approach not only enhances the protective capabilities of the sealant but also contributes to the long-term resilience and visual appeal of the brick wall, ensuring enduring beauty and structural integrity.
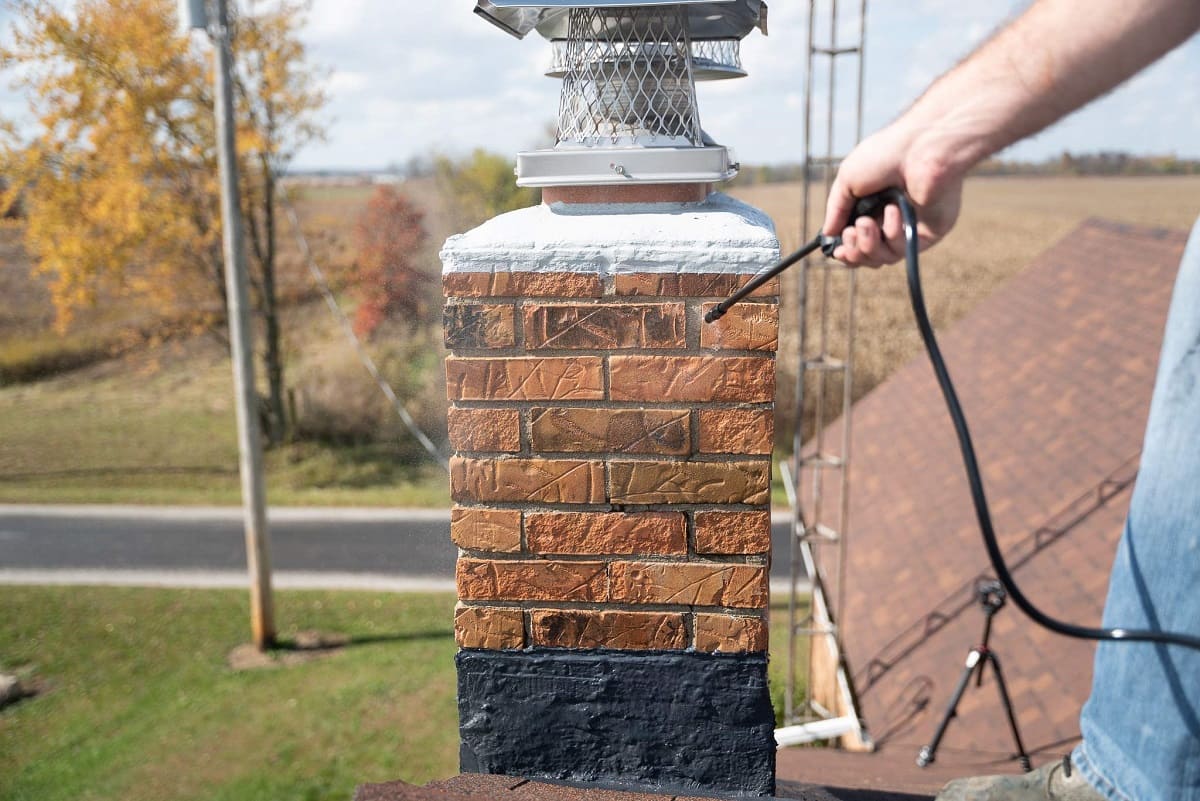
Use a high-quality masonry sealer to seal a brick wall. Look for a product that is breathable, water-repellent, and specifically designed for use on brick surfaces. Apply according to the manufacturer’s instructions for best results.
Steps to Seal a Brick Wall
Sealing a brick wall is a meticulous process that demands attention to detail and adherence to best practices to ensure effective protection and longevity. By following these comprehensive steps, you can expertly seal a brick wall, safeguarding it against moisture, weathering, and environmental degradation:
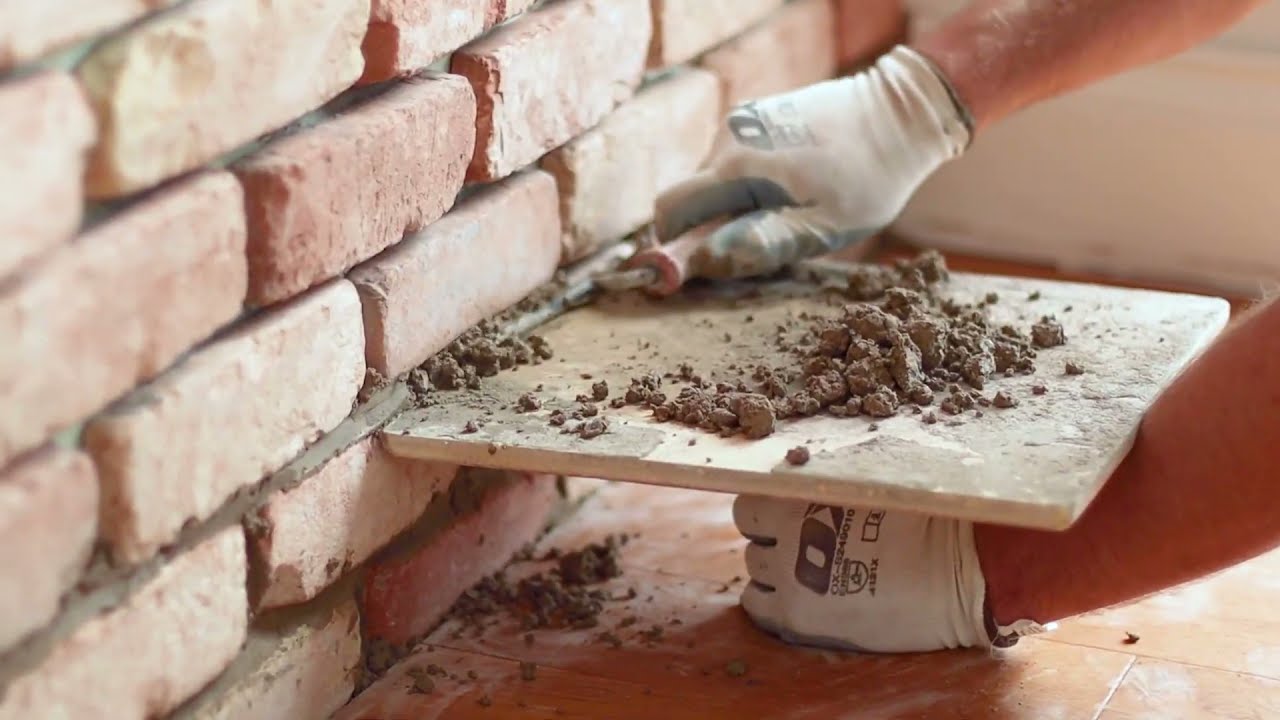
- Surface Preparation: Begin by thoroughly cleaning the brick wall to remove dirt, dust, and any existing sealant residue. Use a mild detergent or specialized brick cleaner, along with a stiff-bristled brush, to scrub the surface and ensure optimal adhesion of the new sealant.
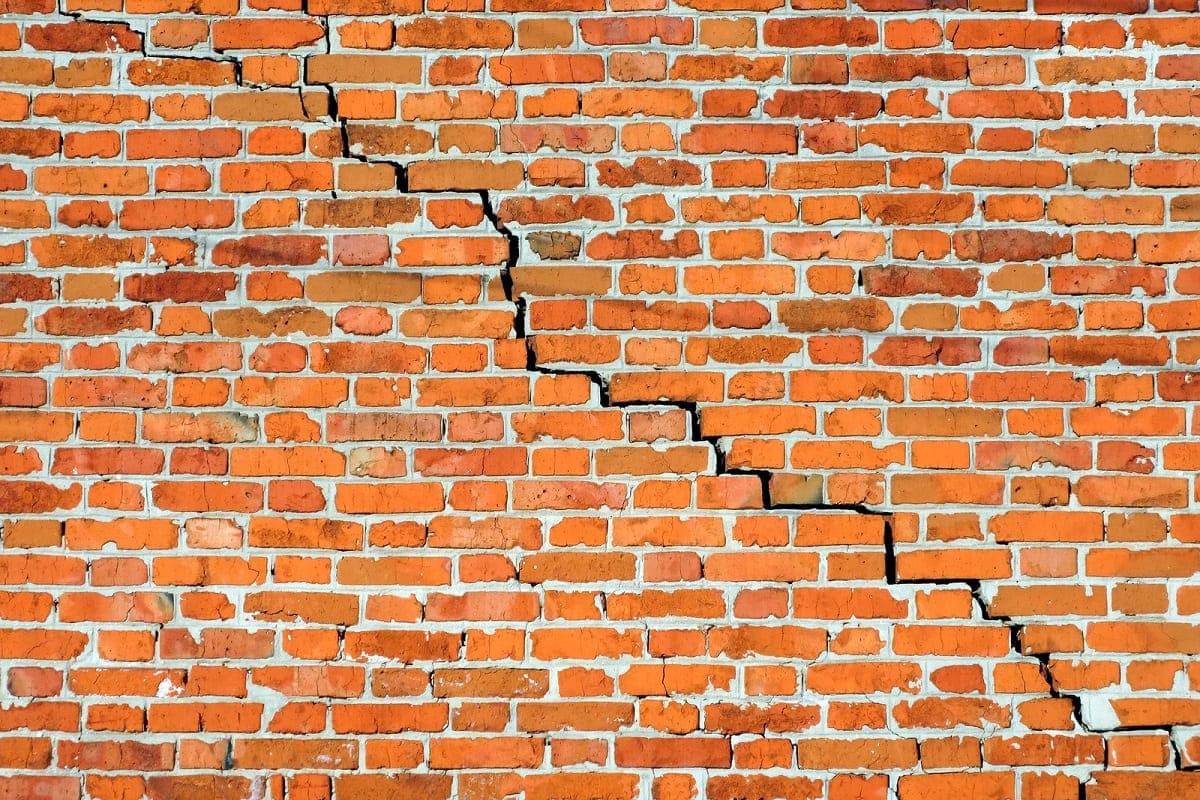
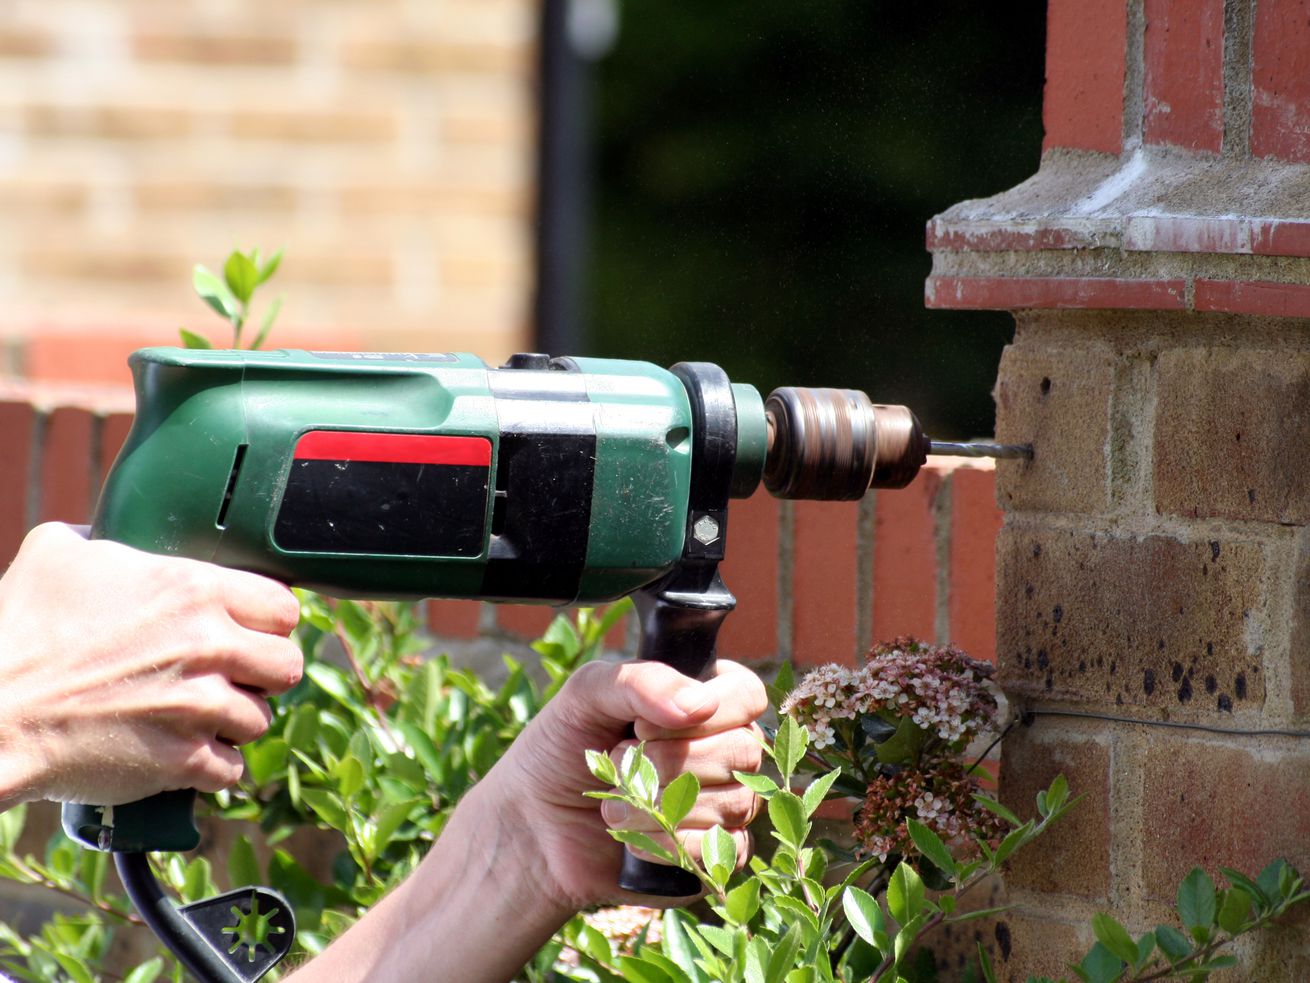
- Repair and Maintenance: Inspect the brick wall for any cracks, gaps, or damaged mortar joints. Address any structural issues by repointing mortar joints and repairing damaged bricks to fortify the integrity of the wall before proceeding with the sealing process.
- Sealant Selection: Choose a high-quality sealant that aligns with the specific requirements of the brick wall, considering factors such as waterproofing capabilities, flexibility, and aesthetic preferences. Consult with experts to ensure the suitability of the selected sealant for the intended application.
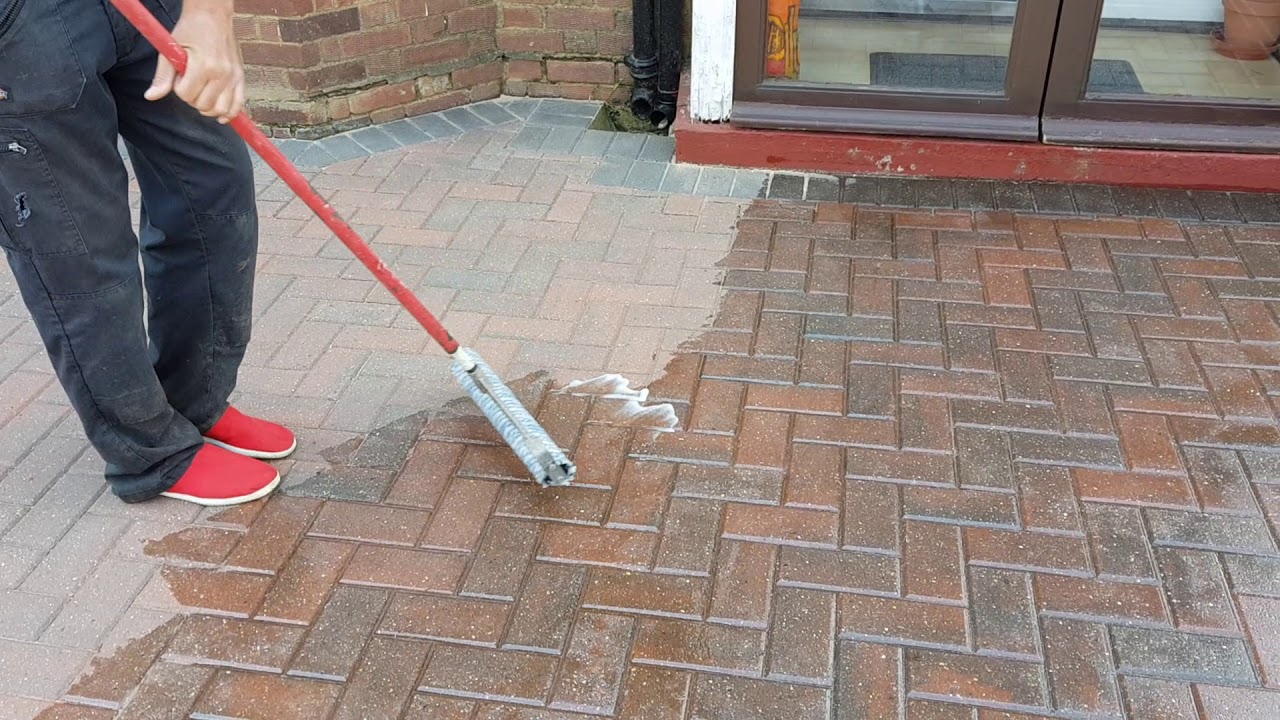
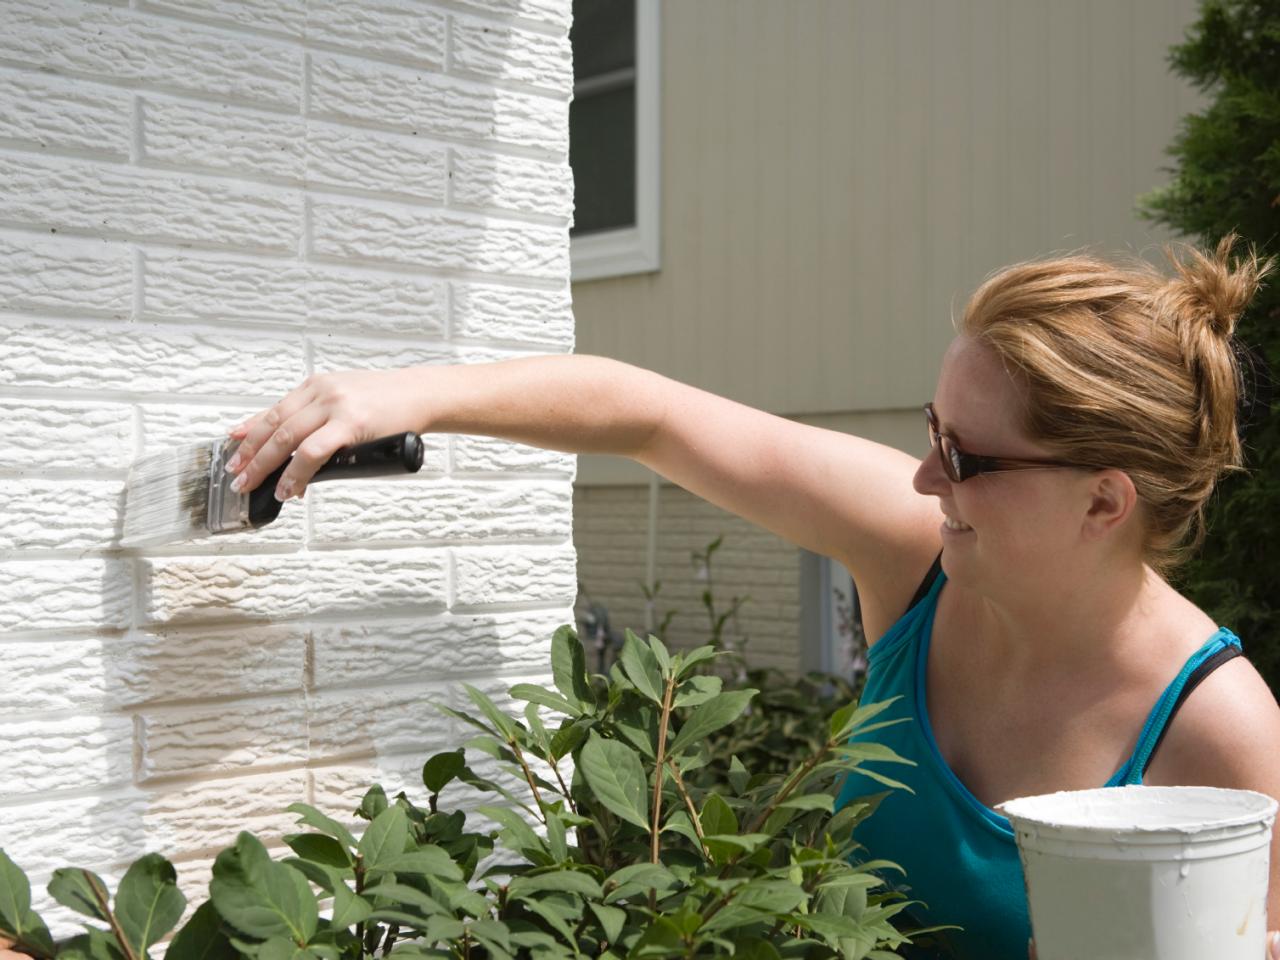
- Application Technique: Apply the sealant using a suitable method, such as a brush, roller, or sprayer, ensuring even coverage across the entire surface. Pay special attention to areas prone to water infiltration, including corners, joints, and areas near windows and doors.
- Multiple Coats: Depending on the type of sealant and the desired level of protection, apply multiple coats as recommended by the manufacturer. Allow each coat to dry thoroughly before applying the next layer to achieve a uniform and robust seal.
- Finishing Touches: Once the sealant has been applied and allowed to cure according to the manufacturer’s instructions, inspect the brick wall for any missed spots or uneven coverage. Touch up any areas that require additional sealing to ensure comprehensive protection.
- Clean-Up and Maintenance: Clean any tools and equipment used in the sealing process according to the manufacturer’s guidelines. Implement a regular maintenance schedule to inspect the sealed brick wall for signs of wear, and address any issues promptly to uphold its protective properties.
By meticulously following these steps and exercising diligence throughout the sealing process, you can fortify the brick wall with a resilient and enduring sealant, preserving its structural integrity and timeless allure for years to come.
Maintenance of Sealed Brick Walls
Proper maintenance is essential to uphold the protective properties of sealed brick walls, ensuring their longevity and resilience in the face of environmental elements. By implementing a proactive maintenance regimen, you can preserve the integrity and visual appeal of the sealed brick wall, safeguarding it against deterioration and potential damage. Here are key maintenance practices to consider:
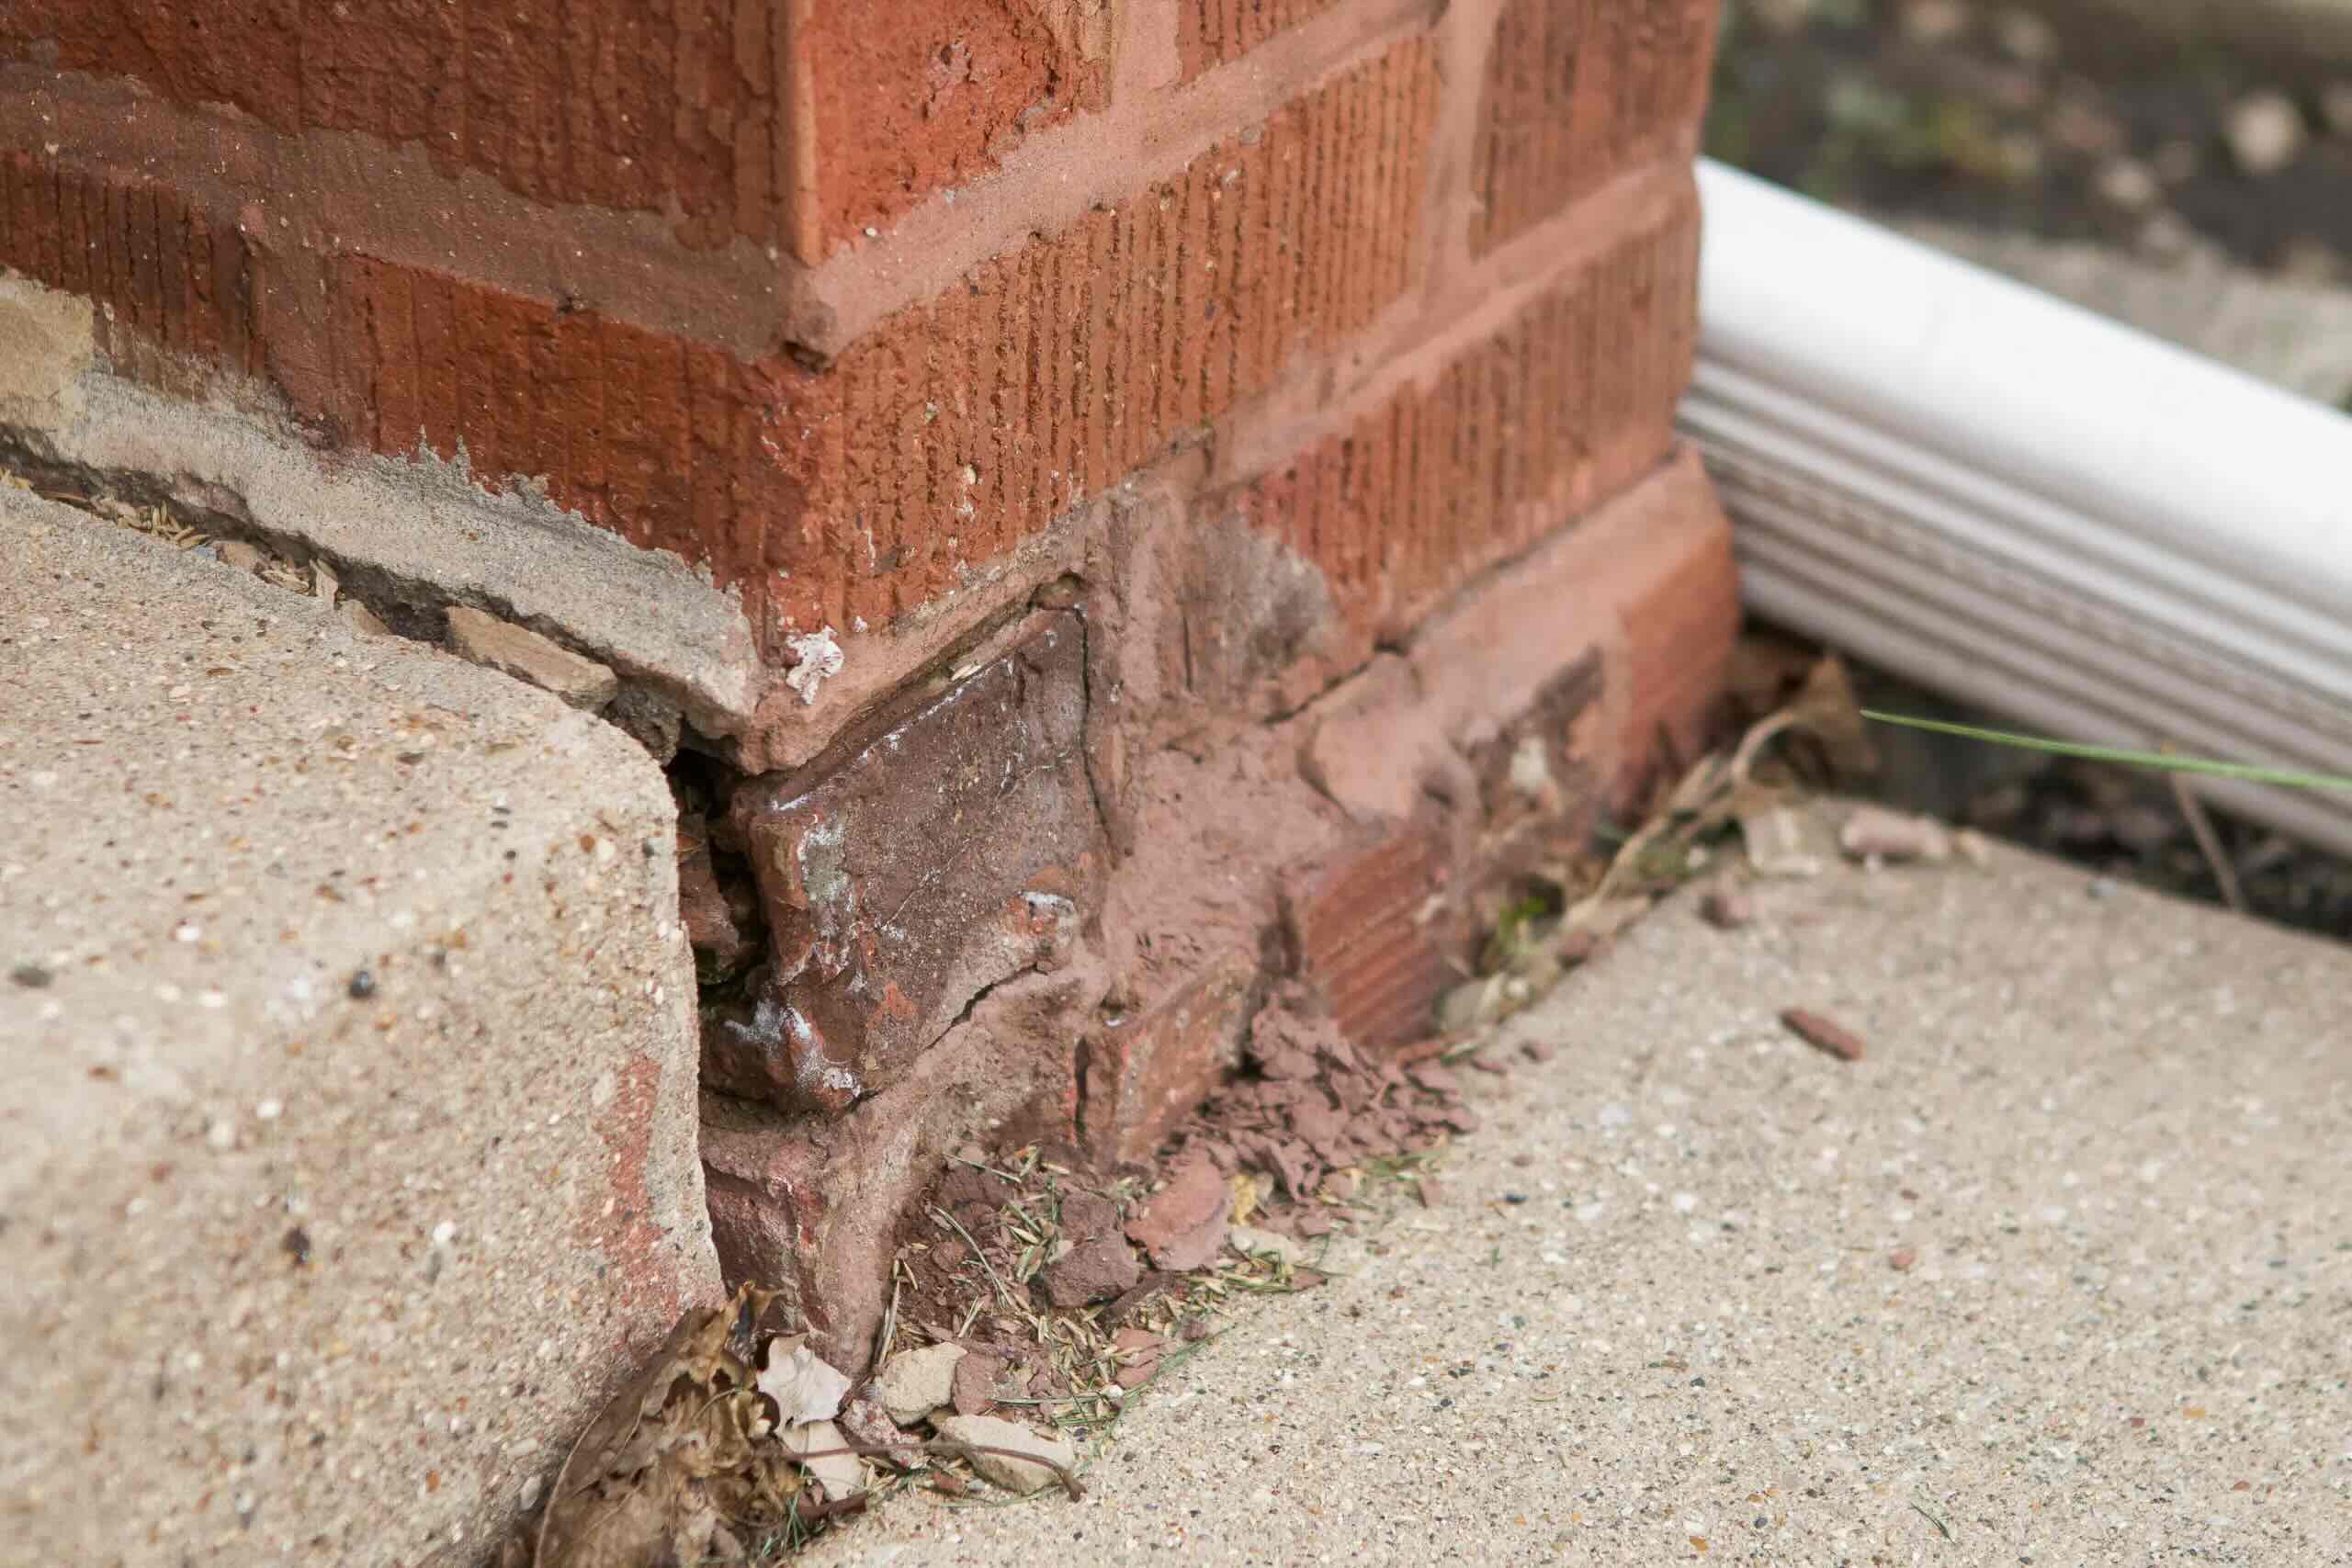
- Regular Inspections: Conduct routine inspections of the sealed brick wall to identify any signs of wear, cracking, or deterioration. Pay close attention to areas prone to moisture infiltration, such as corners, joints, and areas near downspouts, and address any issues promptly to prevent water damage.
- Cleaning and Washing: Clean the sealed brick wall periodically to remove dirt, grime, and airborne pollutants that can compromise its appearance and protective seal. Use a mild detergent, water, and a soft-bristled brush to gently scrub the surface, avoiding harsh chemicals that may degrade the sealant.
- Reapplication of Sealant: Monitor the condition of the sealant and be prepared to reapply it as needed, especially in high-traffic areas or sections exposed to harsh weather conditions. Follow the manufacturer’s recommendations for reapplication intervals and ensure that the surface is properly prepared before applying a new coat of sealant.
- Repairing Damaged Areas: Address any damaged or deteriorating sections of the sealed brick wall promptly. Repair cracks, chipped areas, or damaged sealant to prevent water intrusion and maintain the structural integrity of the wall. Properly repoint mortar joints and replace damaged bricks to fortify the overall structure.
- Managing Vegetation: Monitor and manage vegetation near the brick wall to prevent the growth of vines, moss, or other plant matter that can trap moisture and compromise the sealant. Trim overhanging branches and vines, and remove any vegetation that comes into direct contact with the wall.
- Drainage Maintenance: Ensure that the drainage systems, including gutters, downspouts, and drainage channels, are functioning effectively to prevent water from accumulating near the brick wall. Proper drainage management minimizes the risk of water damage and efflorescence, preserving the integrity of the sealant.
By incorporating these maintenance practices into your regular upkeep routine, you can uphold the protective capabilities of the sealed brick wall, prolonging its lifespan and maintaining its aesthetic appeal. A proactive approach to maintenance not only safeguards the structural integrity of the brick wall but also contributes to its enduring beauty and resilience against the forces of nature.
Conclusion
Sealing a brick wall is a pivotal step in preserving its structural integrity, enhancing its aesthetic appeal, and fortifying it against the elements. By understanding the diverse range of sealants available, the essential factors to consider when choosing a sealant, the meticulous steps involved in the sealing process, and the significance of proactive maintenance, you are equipped to embark on a journey of safeguarding and maintaining the timeless allure of brick walls.
Whether you are embarking on a home improvement project or overseeing the construction of commercial structures, the art and science of sealing brick walls play a crucial role in ensuring their long-term resilience. The careful selection of sealants tailored to the environmental conditions, meticulous application techniques, and proactive maintenance practices collectively contribute to the enduring protection and visual splendor of brick walls.
As custodians of architectural heritage and proponents of modern construction practices, embracing the best practices in brick wall sealing empowers us to uphold the legacy of these enduring structures while embracing innovation and sustainability. The synergy of tradition and technology converges in the meticulous application of sealants, culminating in the preservation of brick walls for generations to come.
By embracing the knowledge and insights shared in this guide, you are poised to make informed decisions, execute precise sealing techniques, and implement proactive maintenance strategies, thereby elevating the longevity and allure of brick walls in diverse architectural settings. As the guardians of these timeless marvels, let us embark on this journey with reverence for the past and a vision for the future, ensuring that sealed brick walls stand as testaments to durability, beauty, and enduring strength.
Frequently Asked Questions about What To Use To Seal A Brick Wall
Was this page helpful?
At Storables.com, we guarantee accurate and reliable information. Our content, validated by Expert Board Contributors, is crafted following stringent Editorial Policies. We're committed to providing you with well-researched, expert-backed insights for all your informational needs.


0 thoughts on “What To Use To Seal A Brick Wall”