Home>Construction & Tools>Building Materials>How To Seal Interior Brick
Building Materials
How To Seal Interior Brick
Published: January 23, 2024
Learn how to seal interior brick with the right building materials. Our step-by-step guide will help you achieve a professional finish.
(Many of the links in this article redirect to a specific reviewed product. Your purchase of these products through affiliate links helps to generate commission for Storables.com, at no extra cost. Learn more)
**
Introduction
**
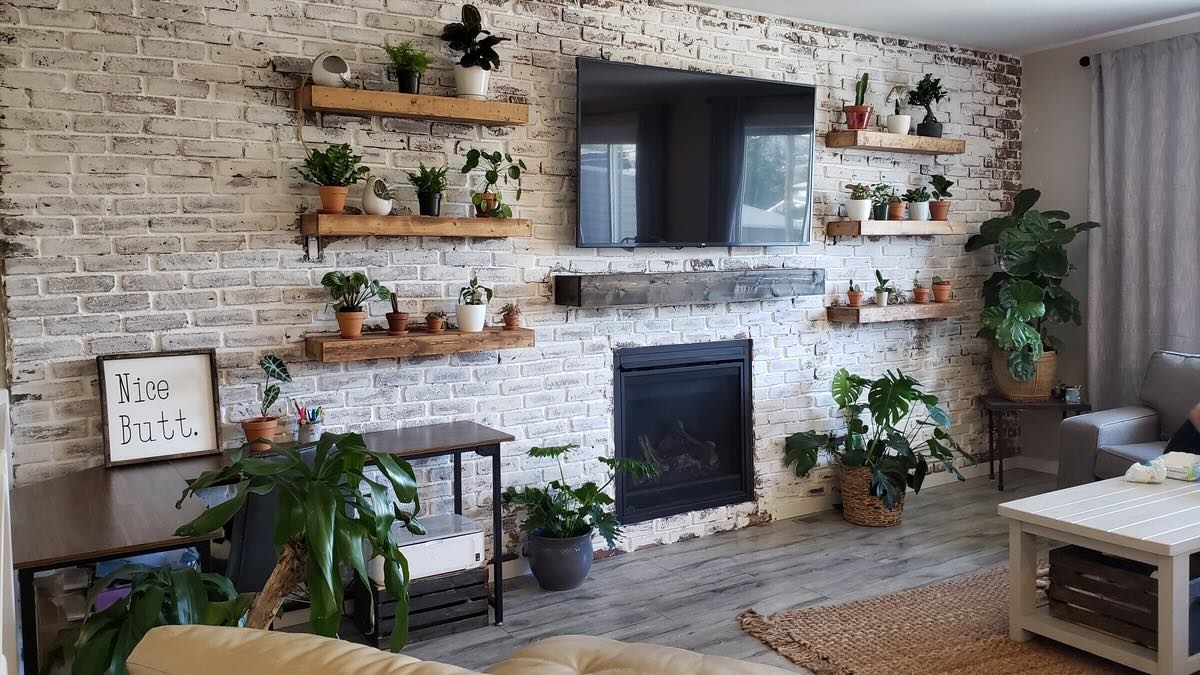
So, you've got a beautiful interior brick wall or fireplace, and you want to keep it looking great for years to come. Well, the good news is that sealing interior brick is a fantastic way to protect and enhance its natural beauty. In this guide, we'll walk you through the process of sealing interior brick step by step, ensuring that your brick stays in top-notch condition and continues to be a stunning focal point in your home.
Sealing interior brick is a crucial step in maintaining its longevity and appearance. Not only does it protect the brick from stains, moisture, and other potential damage, but it also brings out the natural colors and textures, adding a touch of warmth and character to your living space.
Whether you're dealing with an exposed brick wall in a trendy loft or a cozy fireplace in a rustic cottage, sealing the brick can make a world of difference in both the aesthetic appeal and the overall durability of the surface. Plus, with the right sealant and proper application, the process can be relatively straightforward and rewarding.
In the following sections, we'll delve into the specifics of understanding interior brick, preparing the surface, choosing the right sealant, applying the sealant, and maintaining sealed interior brick. By the end of this guide, you'll have all the knowledge and confidence you need to tackle this project and keep your interior brick looking its best for years to come. Let's dive in!
**
Key Takeaways:
- Sealing interior brick protects it from stains and moisture, enhancing its natural beauty and adding warmth to your home. Understanding the brick, choosing the right sealant, and proper application are crucial for long-lasting results.
- After sealing, maintain the brick by regular cleaning, addressing spills promptly, periodic inspection, and reapplying the sealant as needed. Protect the brick from sharp objects and monitor environmental factors for sustained beauty and durability.
Read more: How To Seal A Brick Chimney
Understanding Interior Brick
**
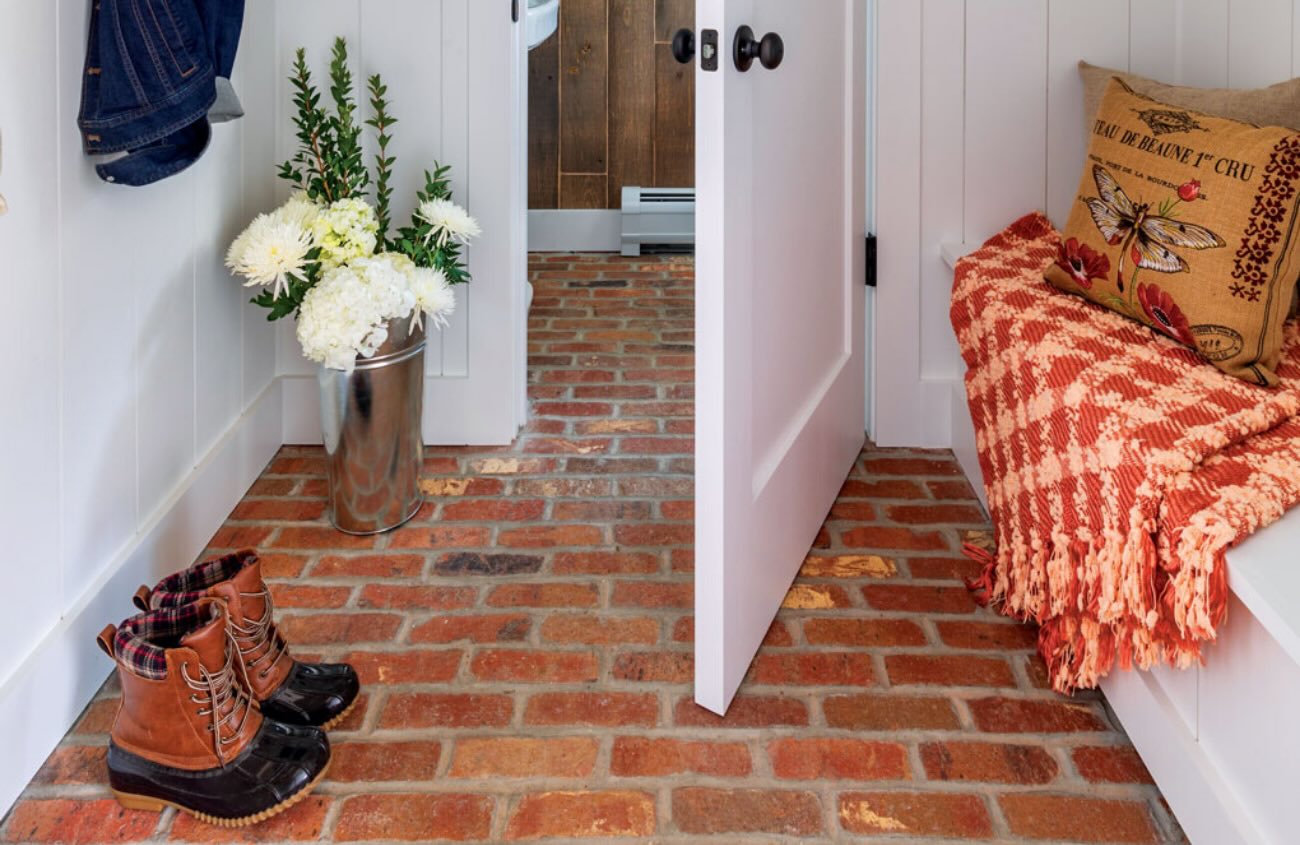
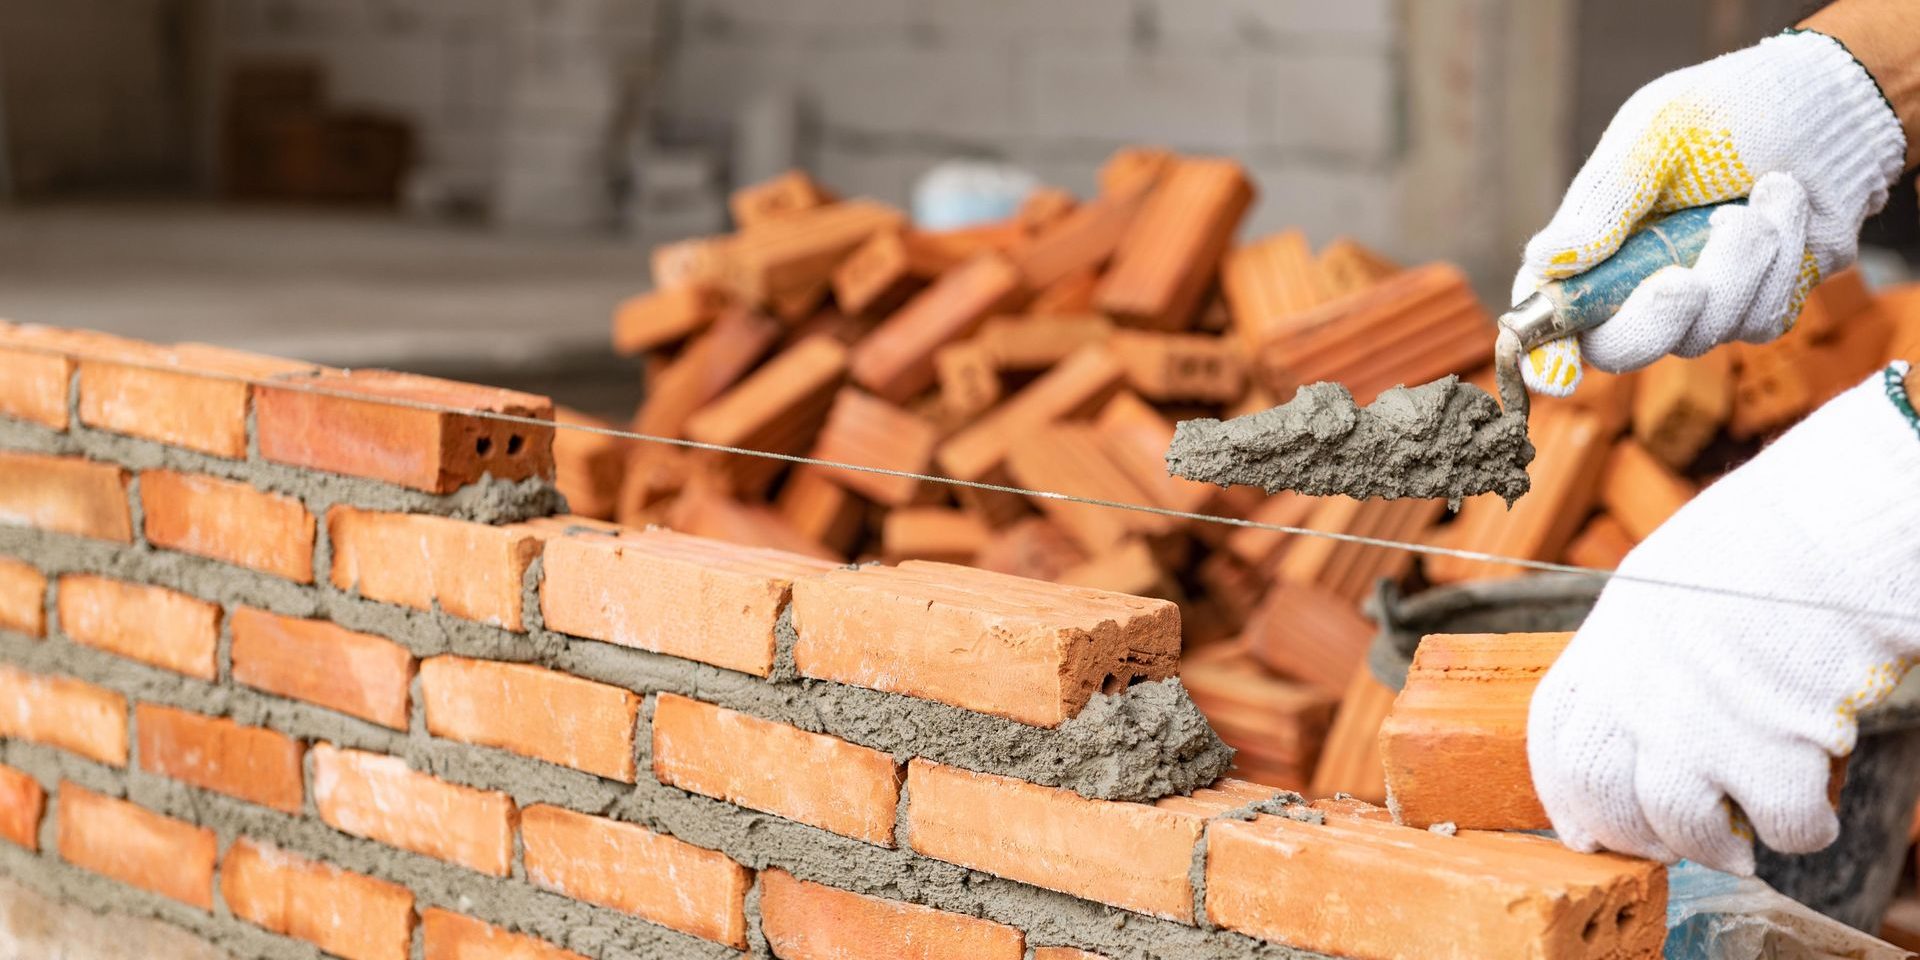
Before you start the process of sealing interior brick, it's essential to understand the material you're working with. Interior brick, often found in homes with exposed brick walls or fireplaces, is typically made from clay and shale. These natural materials give interior brick its distinctive earthy tones and textured surface, adding a touch of charm and warmth to any space.
One of the most appealing aspects of interior brick is its versatility. It can complement a wide range of interior design styles, from industrial and modern to traditional and rustic. Additionally, the natural variations in color and texture make each brick unique, adding character and visual interest to the room.
However, interior brick is not without its vulnerabilities. Unsealed brick is porous, meaning it can absorb moisture, stains, and dirt, which can detract from its appearance over time. Sealing interior brick creates a protective barrier that helps prevent these issues, keeping the brick looking fresh and vibrant while maintaining its natural appeal.
It's also important to note that interior brick surfaces may vary in texture and porosity. Some bricks may have a rougher surface, while others are smoother. Understanding these variations is crucial when selecting the right sealant and determining the appropriate application method to achieve the best results.
By taking the time to appreciate the unique qualities of interior brick and recognizing the importance of sealing it, you're setting the stage for a successful and visually rewarding home improvement project. With a solid understanding of interior brick, you're ready to move on to the next steps in the sealing process.
**
Preparing the Surface
**
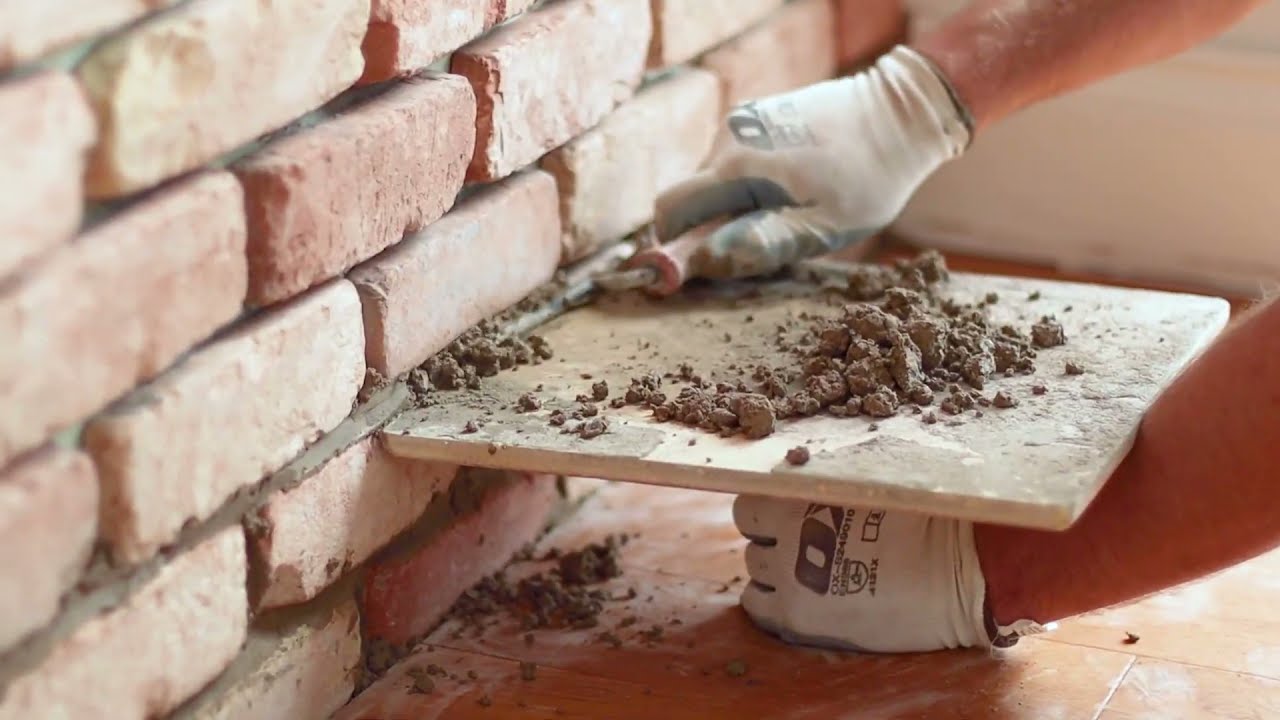
Before applying a sealant to interior brick, proper surface preparation is essential to ensure the best results. The goal of preparing the surface is to remove any dirt, dust, or existing sealants that may hinder the new sealant from adhering effectively. Here are the key steps to prepare the surface for sealing interior brick:
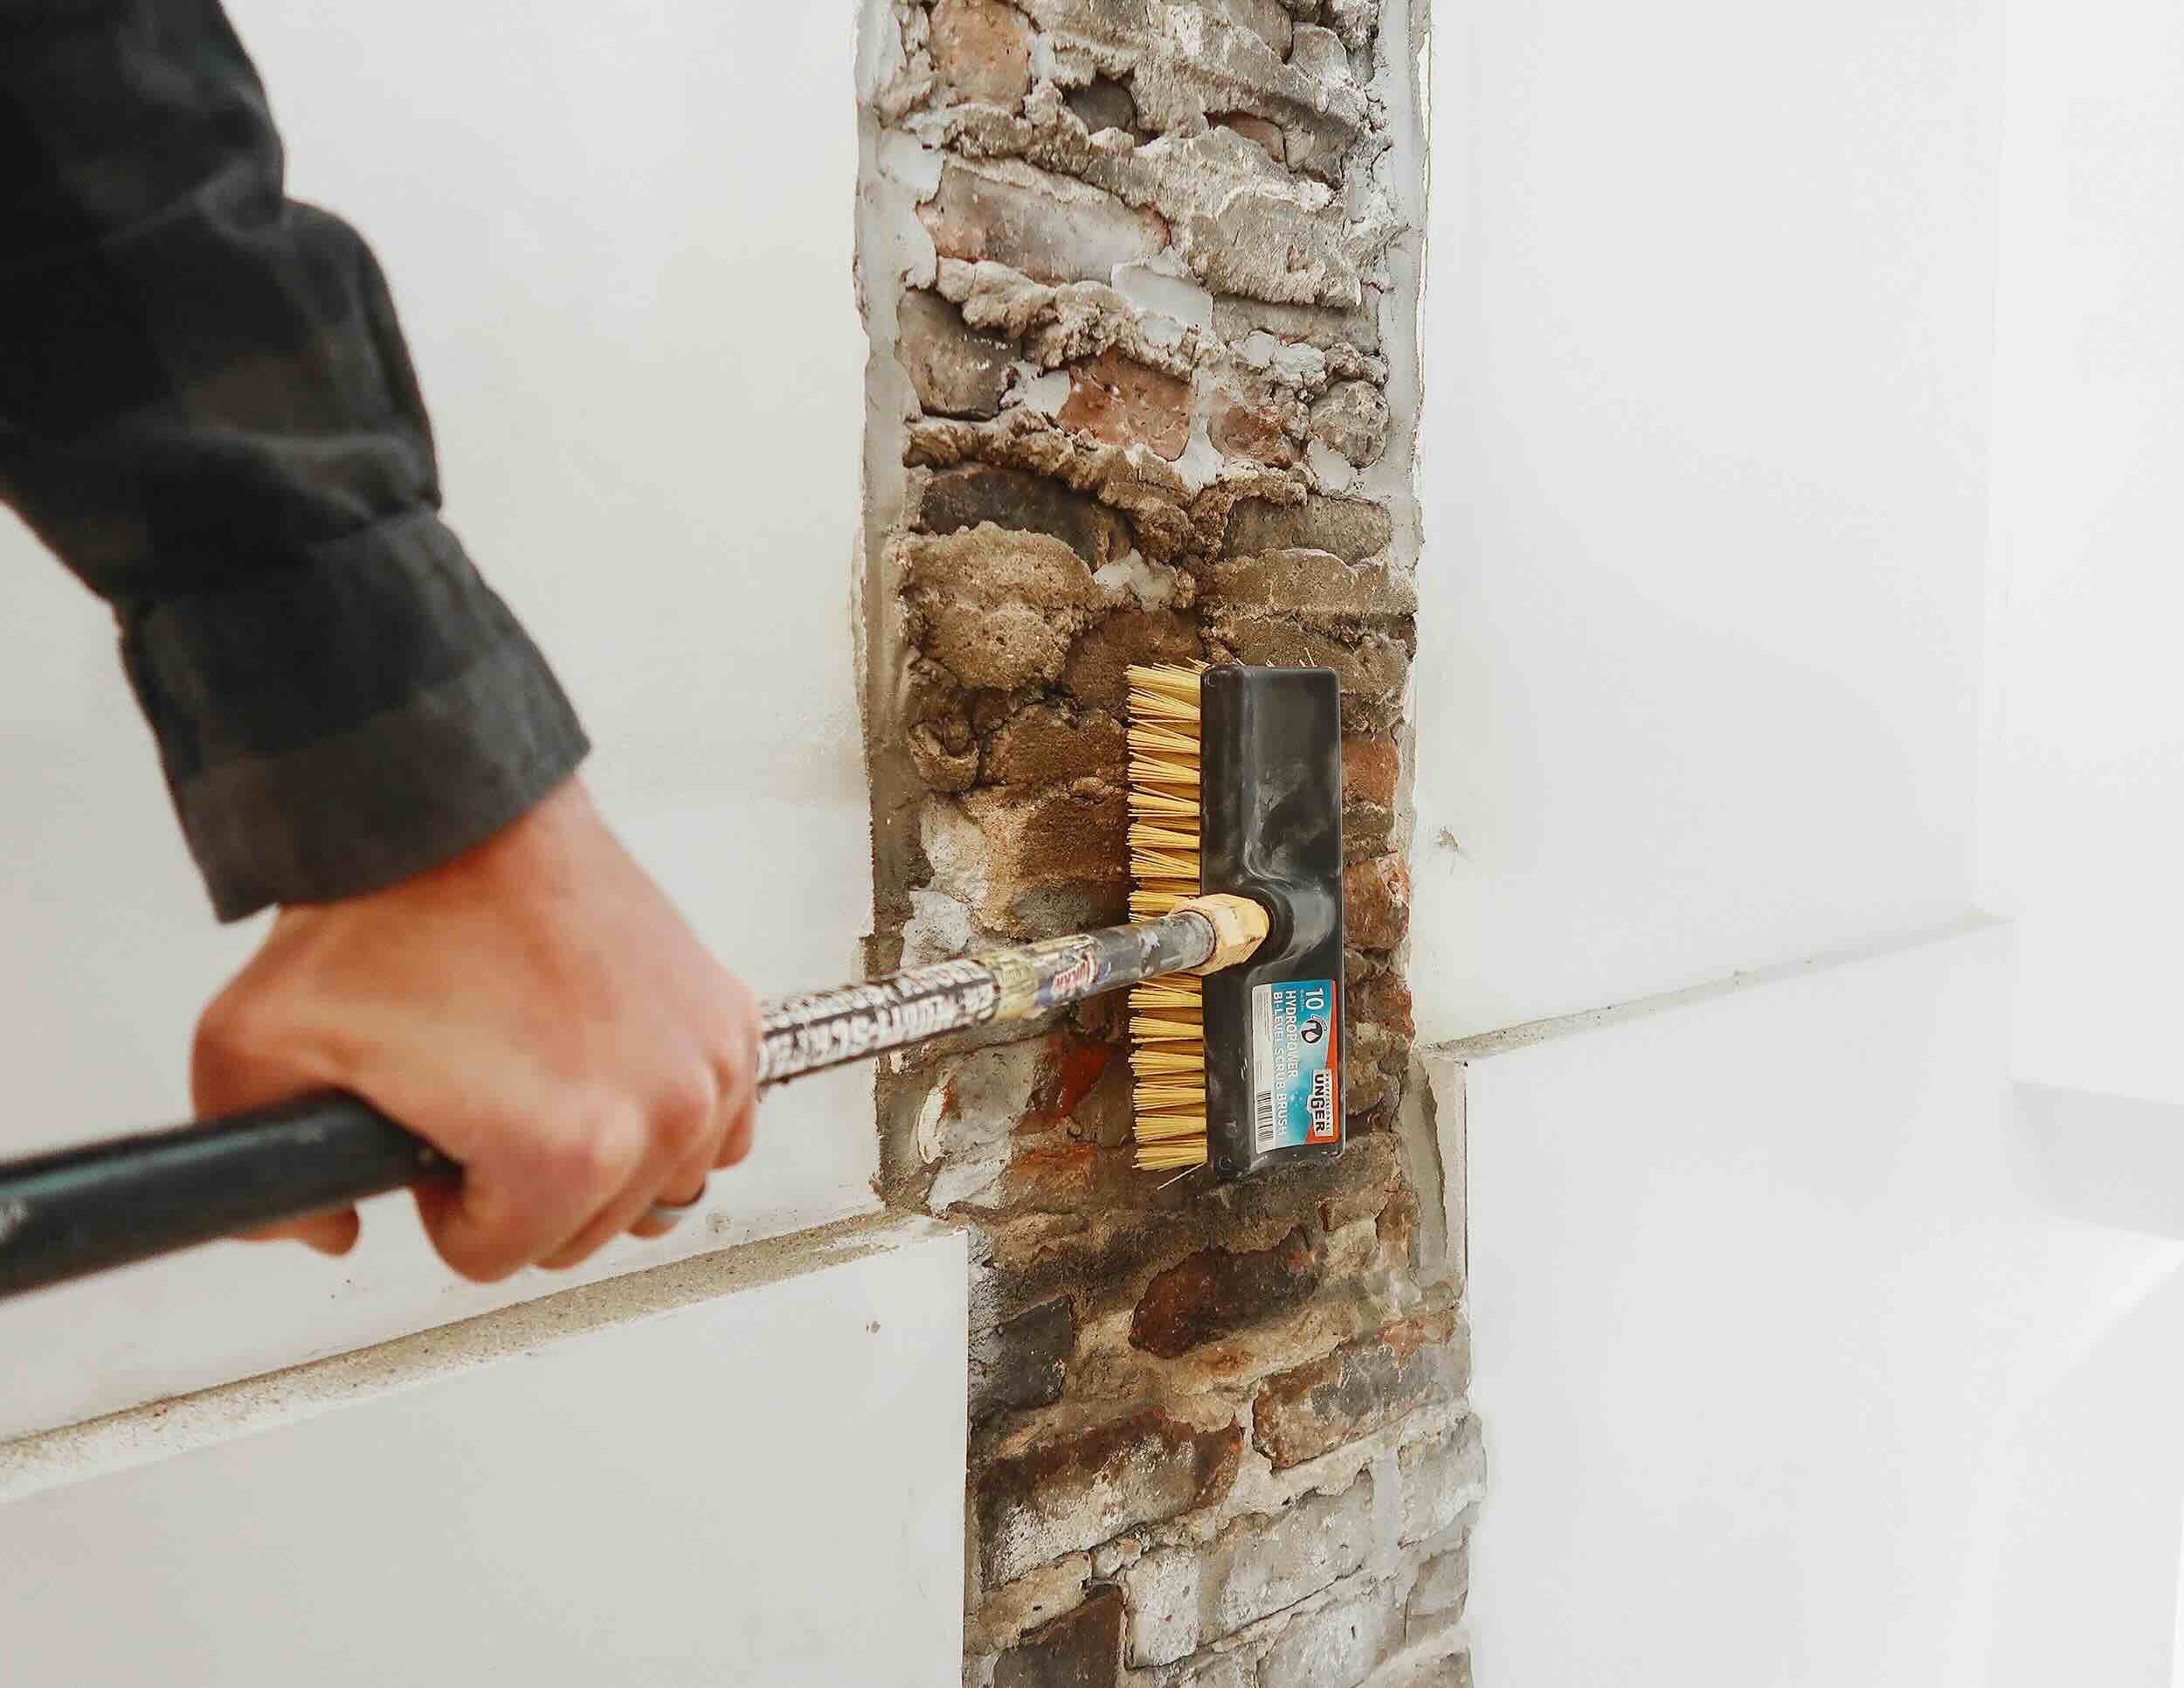
1. Cleaning the Brick: Start by thoroughly cleaning the interior brick surface. Use a mild detergent or specially formulated brick cleaner and a stiff-bristled brush to remove dirt, dust, and any existing residues. Rinse the brick with clean water and allow it to dry completely before proceeding.
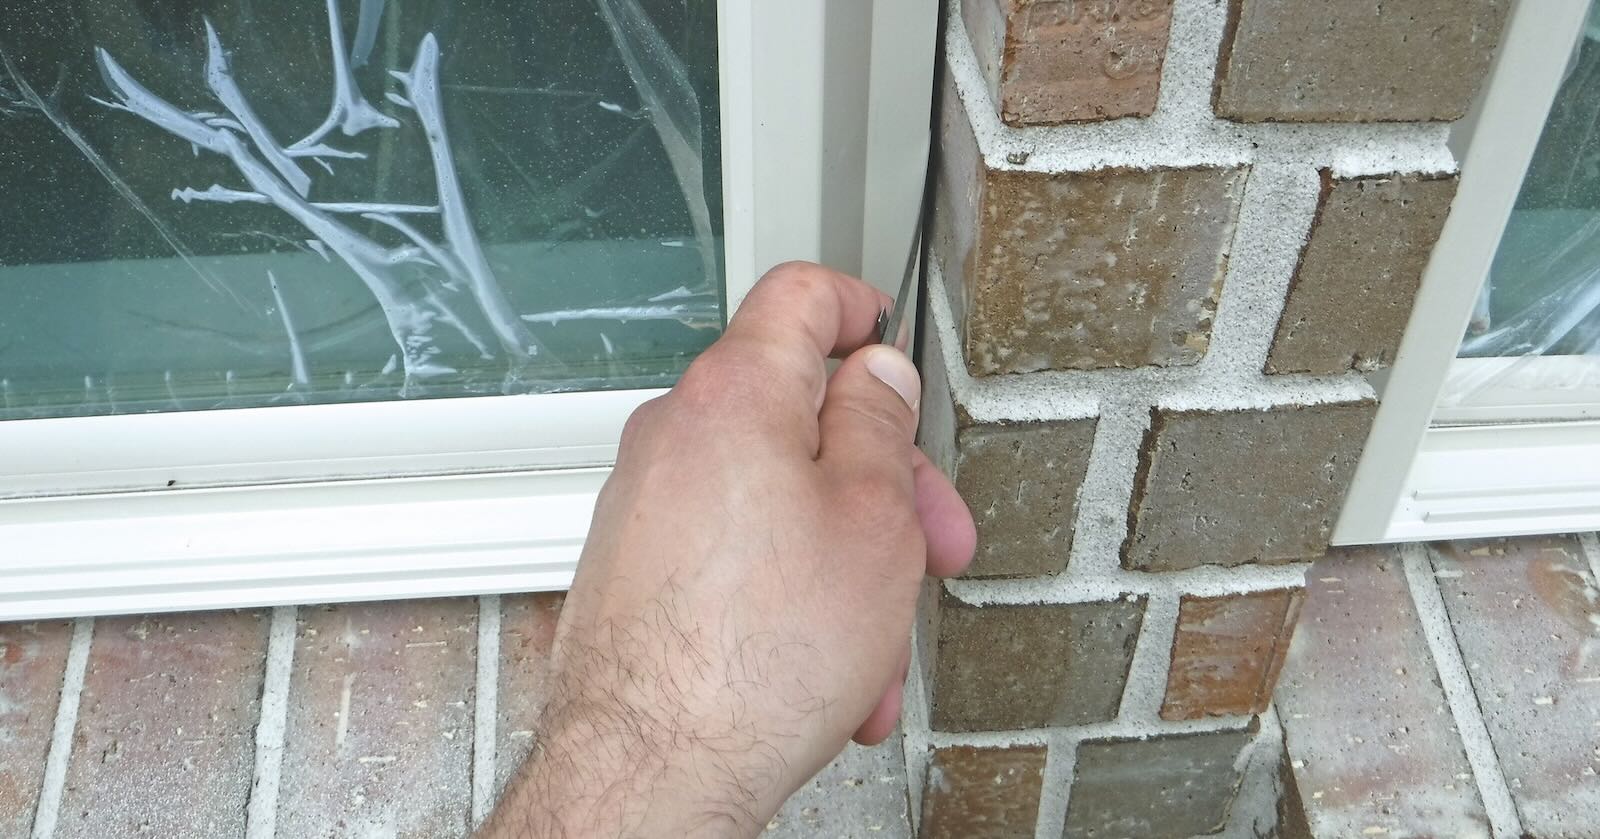
2. Removing Old Sealant: If there is any existing sealant on the brick, it must be completely removed before applying a new one. This can be done using a chemical sealant remover or by mechanically stripping the old sealant with a scraper or wire brush. Ensure that the surface is clean and free of any remaining sealant before moving on to the next step.
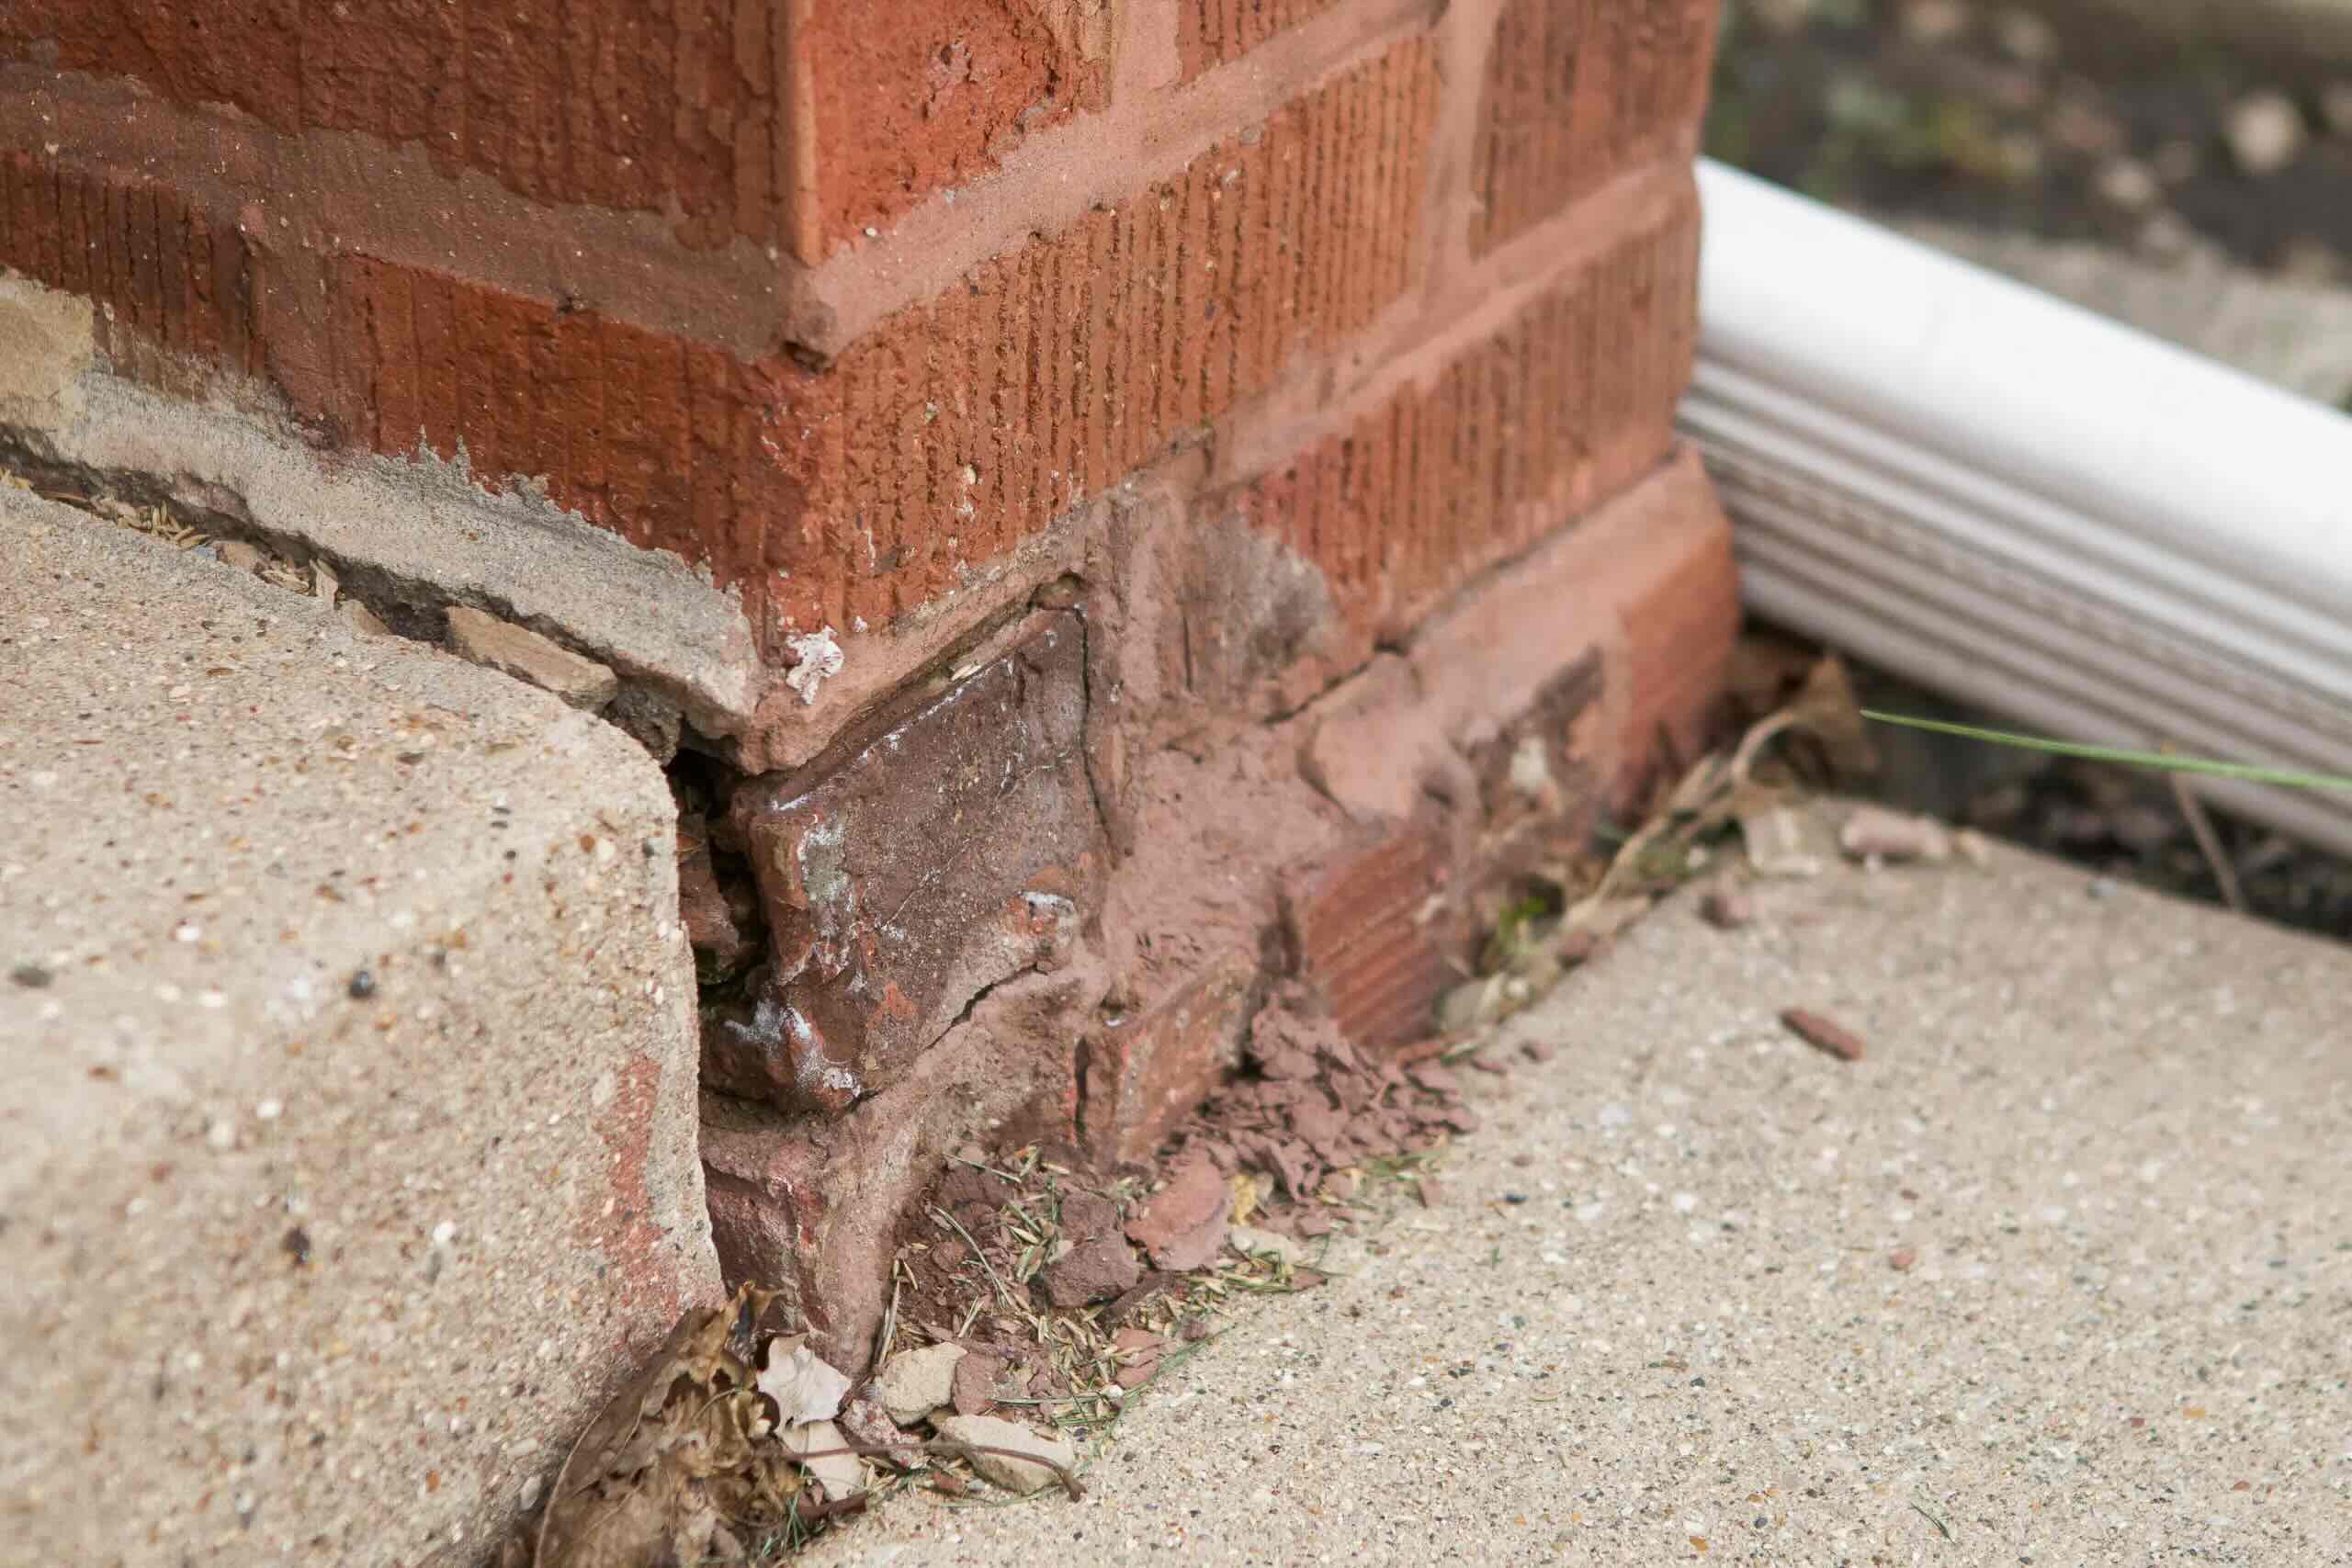
3. Repairing Any Damage: Inspect the brick surface for any cracks, chips, or other forms of damage. Repair these areas using a high-quality brick patch or repair mortar. Allow the repaired areas to cure according to the manufacturer's instructions before continuing with the sealing process.
4. Allowing for Proper Drying Time: Once the surface is cleaned, any old sealant is removed, and repairs are made, it's crucial to allow the brick to dry completely. This may take a day or more, depending on the humidity levels and airflow in the area. Proper drying ensures that the sealant will adhere effectively and penetrate the brick evenly.
By taking the time to prepare the surface meticulously, you're setting the stage for a successful sealing process. Clean, dry, and properly repaired interior brick provides the ideal foundation for the application of a new sealant, ensuring long-lasting protection and enhancement of the brick's natural beauty.
**
To seal interior brick, use a breathable, water-based sealer to prevent moisture and stains. Apply with a brush or roller, and allow to dry completely before adding a second coat if needed.
Choosing the Right Sealant
**
When it comes to sealing interior brick, selecting the right sealant is crucial to achieving the desired level of protection and enhancement. There are several types of sealants available, each with its unique properties and application methods. Here are the key factors to consider when choosing the right sealant for your interior brick:
1. Type of Sealant: Sealants for interior brick generally fall into two main categories: film-forming sealants and penetrating sealants. Film-forming sealants create a protective layer on the surface of the brick, while penetrating sealants are designed to be absorbed into the brick, providing protection from within. Consider the advantages and limitations of each type based on your specific needs and the characteristics of the brick surface.
2. Finish and Appearance: Consider the desired finish and appearance of the sealed brick. Some sealants enhance the natural color and texture of the brick, while others may impart a glossy or matte finish. Take into account the aesthetic preferences and the overall design scheme of the space when selecting a sealant that complements the interior décor.
3. Breathability and Moisture Resistance: Evaluate the breathability and moisture resistance of the sealant. It's essential to choose a sealant that allows the brick to breathe, preventing trapped moisture and potential damage. At the same time, the sealant should effectively repel water and resist stains to maintain the brick's pristine appearance.
4. UV Protection and Durability: If the interior brick is exposed to sunlight, consider a sealant with UV protection to prevent color fading and degradation over time. Additionally, prioritize sealants that offer long-term durability, ensuring that the sealed brick remains protected and visually appealing for an extended period.
5. Compatibility and Application: Ensure that the selected sealant is compatible with interior brick surfaces and is suitable for the specific application method you intend to use. Some sealants may require multiple coats, while others offer one-step application, so factor in the ease of application when making your decision.
By carefully considering these factors and researching the available sealant options, you can make an informed choice that aligns with your goals for sealing interior brick. The right sealant will not only provide effective protection but also enhance the natural beauty of the brick, elevating the visual appeal of your living space.
**
Applying the Sealant
**
Once you’ve selected the appropriate sealant for your interior brick, the next step is the application process. Proper application is critical to ensure that the sealant effectively protects and enhances the brick surface. Here’s a step-by-step guide to applying the sealant to interior brick:
1. Test in an Inconspicuous Area: Before applying the sealant to the entire surface, conduct a test in a small, inconspicuous area of the interior brick to ensure compatibility and the desired outcome. This allows you to assess the sealant’s effect on the brick without committing to the entire application.
2. Prepare the Work Area: Ensure that the surrounding area is well-ventilated and free of dust and debris. Cover any adjacent surfaces or areas that should not come into contact with the sealant to prevent accidental staining or damage.
3. Application Method: Depending on the type of sealant you’ve chosen, follow the manufacturer’s instructions for the recommended application method. For film-forming sealants, use a brush, roller, or sprayer to apply a thin, even coat, working in manageable sections. Penetrating sealants are typically applied using a low-pressure sprayer or brush, allowing the product to be absorbed into the brick.
4. Allow for Proper Drying Time: After the initial application, allow the sealant to dry according to the manufacturer’s specified time frame. This may involve waiting for the first coat to dry before applying additional coats, if necessary. Adequate drying time is essential to ensure the sealant forms a strong, protective barrier on the brick surface.
5. Apply Additional Coats (If Needed): Depending on the sealant and the desired level of protection, you may need to apply multiple coats. Follow the recommended number of coats outlined by the manufacturer, allowing sufficient drying time between each application.
6. Evaluate the Results: Once the sealant has dried completely, assess the results to ensure the desired level of protection and enhancement has been achieved. The sealed brick should exhibit a refreshed appearance while maintaining its natural characteristics.
By following these steps and adhering to the manufacturer’s guidelines, you can effectively apply the sealant to interior brick, safeguarding its beauty and integrity for the long term. With the sealant in place, your interior brick will be well-equipped to withstand daily wear and tear while exuding a timeless allure that enhances your home’s ambiance.
**
Read more: How To Seal A Brick Patio
Maintaining Sealed Interior Brick
**
After successfully sealing the interior brick, it’s important to implement a maintenance routine to preserve the sealant’s effectiveness and the brick’s overall appearance. Here are the key steps for maintaining sealed interior brick:
1. Regular Cleaning: Keep the sealed interior brick clean by dusting it regularly with a soft brush or vacuum attachment. For more thorough cleaning, use a mild detergent and water solution to gently scrub the surface, followed by rinsing with clean water and allowing it to dry completely.
2. Addressing Spills and Stains: Promptly clean up any spills or stains on the sealed brick to prevent them from setting in. Use a gentle cleaning solution and a soft cloth to blot and lift the stain, avoiding abrasive materials that could damage the sealant.
3. Periodic Inspection: Periodically inspect the sealed interior brick for any signs of wear, damage, or areas where the sealant may be compromised. Address any issues promptly to maintain the integrity of the seal and prevent potential deterioration of the brick surface.
4. Reapplication of Sealant: Depending on the type of sealant used and the level of wear and exposure, plan for periodic reapplication of the sealant to ensure continuous protection. Follow the manufacturer’s recommendations for the frequency of resealing to maintain the brick’s resilience and appearance.
5. Protection from Sharp Objects: Avoid placing sharp or abrasive objects directly onto the sealed interior brick to prevent scratches or damage to the sealant. Use protective pads or coasters under items to safeguard the brick’s surface from potential harm.
6. Monitoring Environmental Factors: Be mindful of environmental factors that may impact the sealed brick, such as excessive moisture, direct sunlight, or high-traffic areas. Implement measures to mitigate these influences and preserve the longevity of the sealant and the brick itself.
By incorporating these maintenance practices into your regular home care routine, you can ensure that the sealed interior brick retains its beauty and durability over time. With proper care and attention, your sealed brick will continue to enrich the ambiance of your living space, serving as a timeless and captivating feature that enhances the overall aesthetic appeal of your home.
Frequently Asked Questions about How To Seal Interior Brick
Was this page helpful?
At Storables.com, we guarantee accurate and reliable information. Our content, validated by Expert Board Contributors, is crafted following stringent Editorial Policies. We're committed to providing you with well-researched, expert-backed insights for all your informational needs.


0 thoughts on “How To Seal Interior Brick”