Home>Construction & Tools>Building Materials>How To Seal A Brick Fireplace
Building Materials
How To Seal A Brick Fireplace
Published: January 23, 2024
Learn how to properly seal a brick fireplace using high-quality building materials. Our step-by-step guide will help you achieve a professional finish.
(Many of the links in this article redirect to a specific reviewed product. Your purchase of these products through affiliate links helps to generate commission for Storables.com, at no extra cost. Learn more)
Introduction
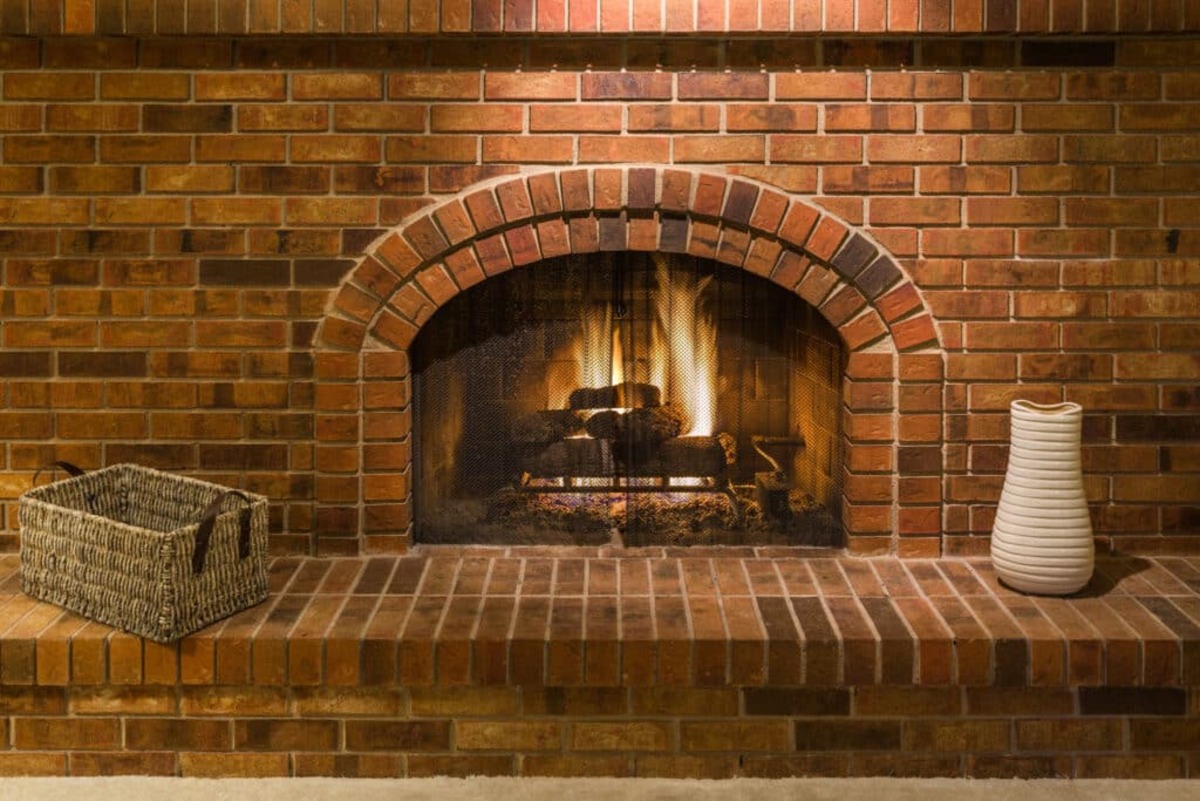
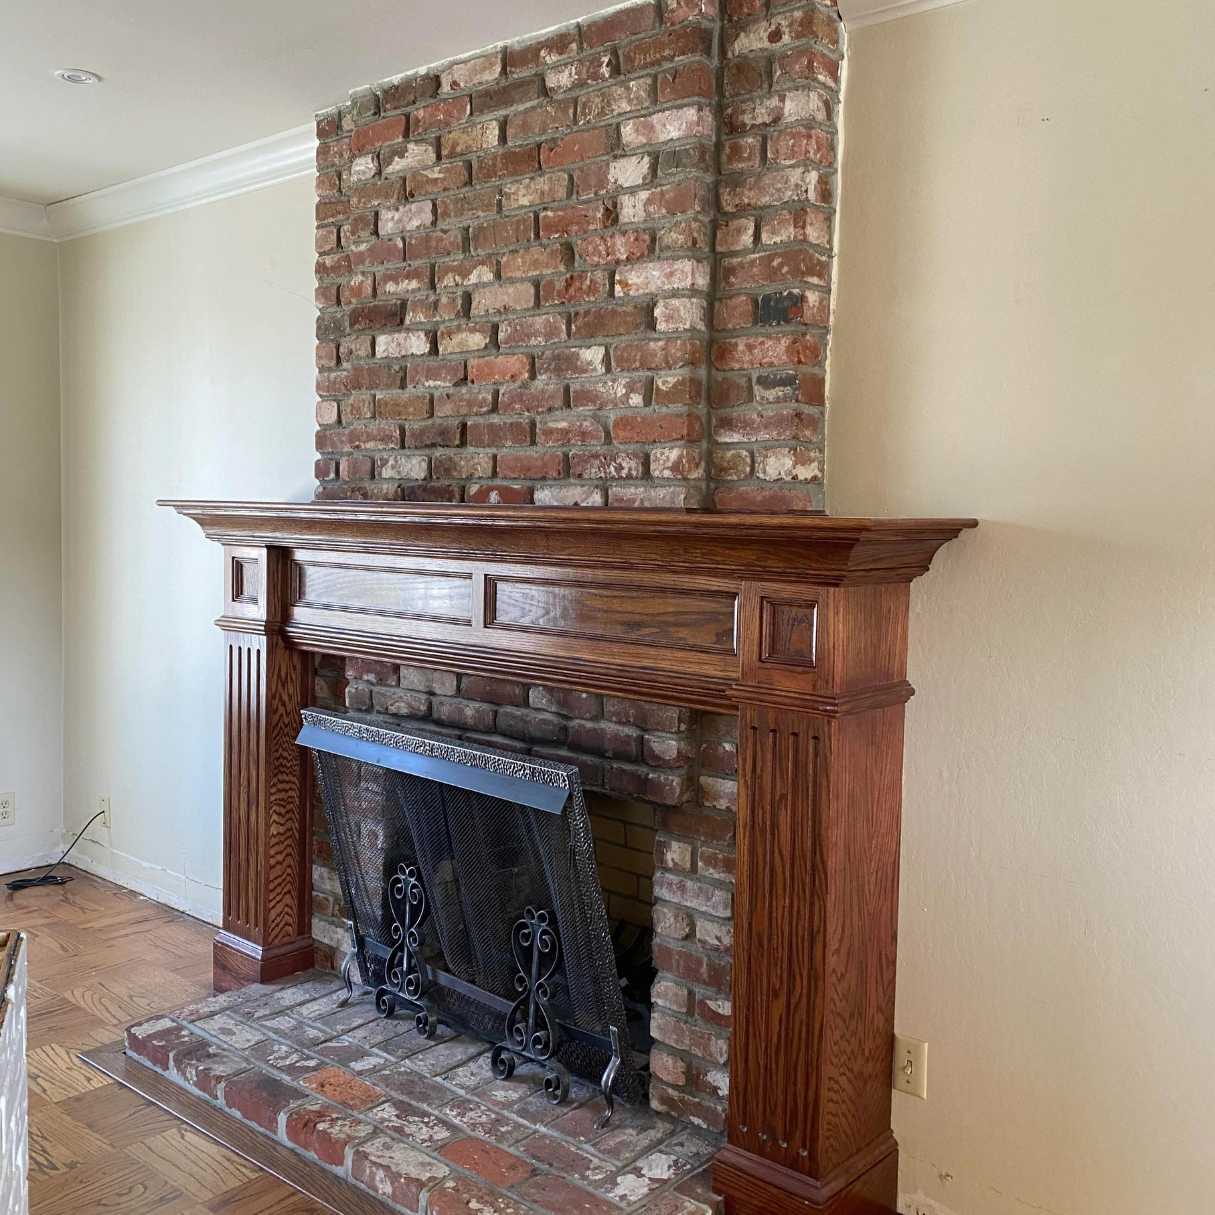
So, you have a beautiful brick fireplace that adds warmth and charm to your home. But over time, the mortar between the bricks may start to deteriorate, leading to potential structural issues and energy inefficiency. Sealing your brick fireplace not only enhances its appearance but also protects it from damage and improves its insulation properties.
In this comprehensive guide, we'll walk you through the process of sealing a brick fireplace, ensuring that it remains a stunning focal point in your home for years to come. Whether you're a seasoned DIY enthusiast or a first-time homeowner, you'll find this step-by-step tutorial easy to follow and immensely rewarding.
By the end of this article, you'll be equipped with the knowledge and confidence to revitalize your brick fireplace, adding value and aesthetic appeal to your living space. Let's dive in and discover how to seal a brick fireplace like a pro!
Key Takeaways:
- Protect and enhance your brick fireplace by following these easy steps: gather materials, clean the surface, apply the sealer, let it dry, and consider a second coat for added durability and aesthetic appeal.
- Sealing your brick fireplace not only preserves its beauty but also fortifies it against damage, ensuring it remains a stunning focal point in your home for years to come.
Read more: How To Seal A Brick Fireplace
Step 1: Gather Materials
Before you embark on the journey of sealing your brick fireplace, it's essential to gather all the necessary materials. Having the right tools and products at hand will streamline the process and ensure a successful outcome. Here's a list of items you'll need:
- Cleaner: Select a suitable brick and mortar cleaner to remove any dirt, soot, or stains from the fireplace surface. Look for a product specifically designed for masonry surfaces.
- Protective Gear: Prioritize safety by wearing gloves, safety goggles, and a mask to shield yourself from potential chemical splashes and fumes during the cleaning and sealing process.
- Sealer: Choose a high-quality brick and masonry sealer that aligns with your specific needs, whether it's enhancing the natural color of the bricks, providing a glossy finish, or offering superior protection against moisture and stains.
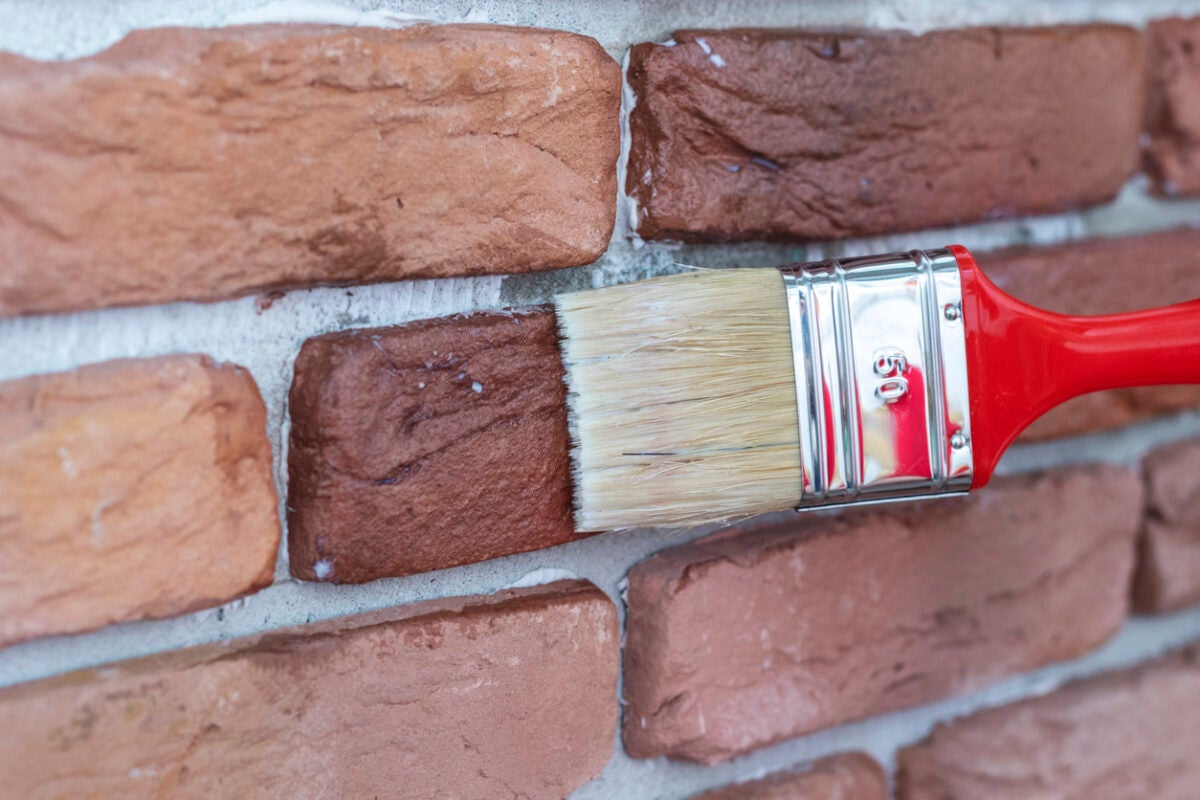
- Brushes and Rollers: Depending on the sealer type, you may require brushes, rollers, or sprayers for application. Ensure that these tools are suitable for masonry surfaces and will facilitate an even coat of sealer.
- Drop Cloths: Protect the surrounding area with drop cloths or plastic sheeting to prevent any accidental spills or drips from staining your flooring or furnishings.
- Stir Stick: If the sealer requires mixing, have a stir stick on hand to thoroughly blend the product before application.
- Painter’s Tape: Use painter's tape to mask off any adjacent surfaces, such as the walls around the fireplace, to ensure clean and precise application of the sealer.
- Clean Water: Have a bucket of clean water and rags available for immediate cleanup in case of spills or splatters.
By gathering these materials beforehand, you'll set the stage for a smooth and efficient sealing process, allowing you to focus on revitalizing your brick fireplace with confidence and precision.
Step 2: Clean the Fireplace
Before applying the sealer, it’s crucial to prepare the brick surface by thoroughly cleaning the fireplace. Over time, soot, dirt, and grime can accumulate, diminishing the natural beauty of the bricks and hindering the sealer’s effectiveness. Follow these steps to ensure a pristine canvas for the sealing process:
- Clear the Surrounding Area: Remove any decorative items, furniture, or accessories near the fireplace to create a clear working space. Cover the floor and nearby furnishings with drop cloths or plastic sheeting to protect them from cleaning solutions and debris.
- Test the Cleaner: If you’re using a new brick and mortar cleaner, perform a small patch test in an inconspicuous area of the fireplace to ensure that it effectively removes dirt and soot without causing discoloration or damage to the bricks.
- Apply the Cleaner: Following the manufacturer’s instructions, apply the brick and mortar cleaner to the fireplace surface using a brush or sponge. Work in manageable sections to ensure thorough coverage.
- Scrub and Rinse: Use a stiff-bristled brush to scrub the cleaner into the bricks and mortar, focusing on areas with heavy soot or stains. Once the dirt and grime have been loosened, rinse the surface with clean water and a sponge to remove the cleaning solution and residue.
- Dry the Fireplace: Allow the cleaned surface to dry completely before proceeding to the next step. Proper drying is essential to ensure that the sealer adheres effectively and penetrates the brick and mortar.
- Inspect for Residue: After the fireplace has dried, inspect the surface for any remaining residue or stubborn stains. If necessary, repeat the cleaning process in targeted areas to achieve a uniformly clean and debris-free surface.
By investing time and effort into thorough cleaning, you’ll create an optimal foundation for the sealer, allowing it to bond effectively and showcase the natural beauty of the brick fireplace. With a clean and prepped surface, you’re now ready to move on to the next crucial step: applying the sealer.
Step 3: Apply the Sealer
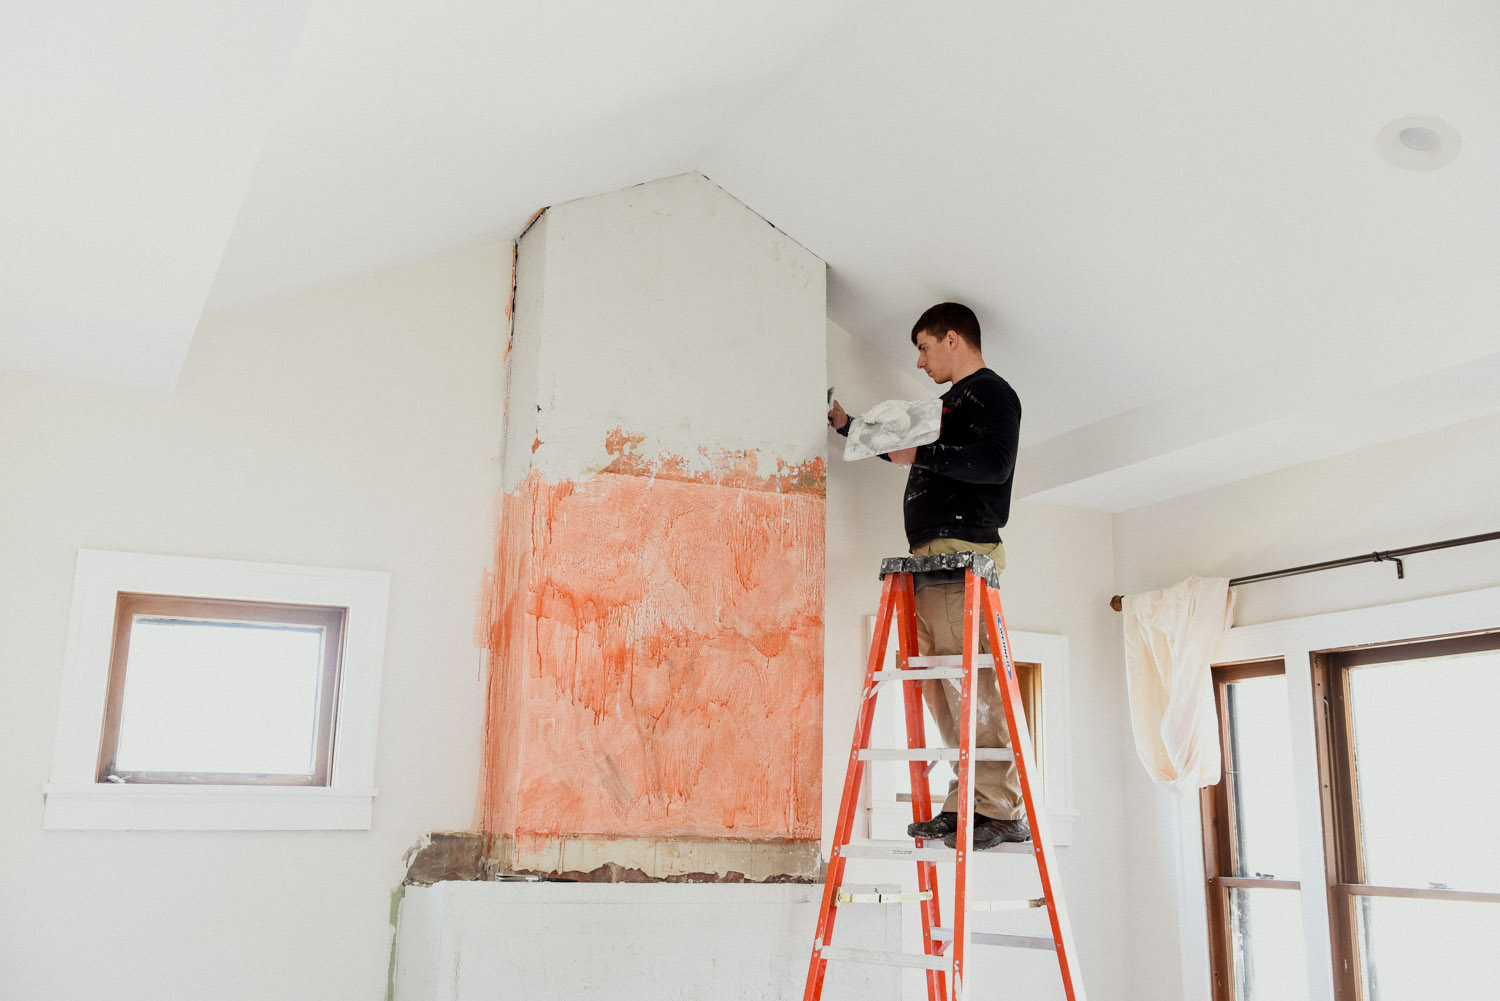
With the fireplace surface meticulously cleaned and prepped, it’s time to apply the sealer to protect and enhance the bricks and mortar. The sealer not only safeguards the fireplace from moisture, stains, and deterioration but also accentuates the natural colors and textures of the masonry. Follow these steps to ensure a seamless and effective application of the sealer:
- Choose the Appropriate Conditions: Select a day for sealing when the humidity is low, and the temperature is moderate. Avoid extreme heat or direct sunlight, as they can cause the sealer to dry too quickly, potentially compromising its efficacy.
- Stir the Sealer: If the sealer requires mixing, thoroughly stir the product using a stir stick to achieve a consistent texture and ensure that any settled components are evenly distributed.
- Protect Adjacent Surfaces: Use painter’s tape to mask off any areas around the fireplace, such as the walls and mantel, that should not come into contact with the sealer. This step helps maintain clean lines and prevents accidental smudges or spills.
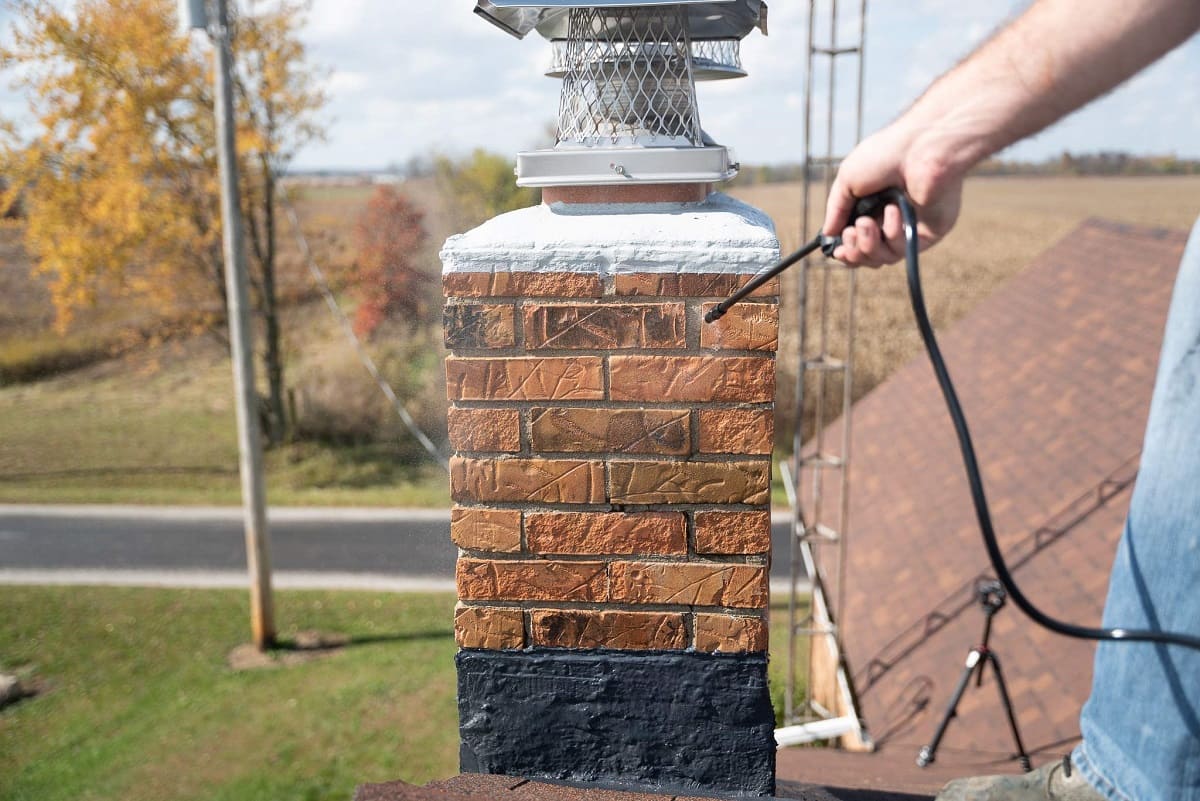
- Apply the Sealer: Depending on the sealer type, use a brush, roller, or sprayer to apply a uniform coat to the brick surface. Work methodically from the top of the fireplace downward, ensuring even coverage and paying special attention to the mortar joints.
- Work in Sections: Divide the fireplace into manageable sections to ensure thorough and consistent application. Avoid overloading the surface with excess sealer, as this can lead to drips and an uneven finish.
- Address Excess Sealer: If any excess sealer accumulates or drips during application, promptly remove it with a clean brush or cloth to prevent unsightly streaks or pooling.
- Allow for Penetration: Let the sealer penetrate the brick and mortar for the recommended time specified by the manufacturer. This allows the product to bond effectively and provide optimal protection and enhancement.
By following these steps, you’ll ensure that the sealer is applied with precision and care, maximizing its benefits and longevity. Once the sealer has been successfully applied, the next vital step is to allow it to dry thoroughly before enjoying the revitalized beauty and protection it provides to your brick fireplace.
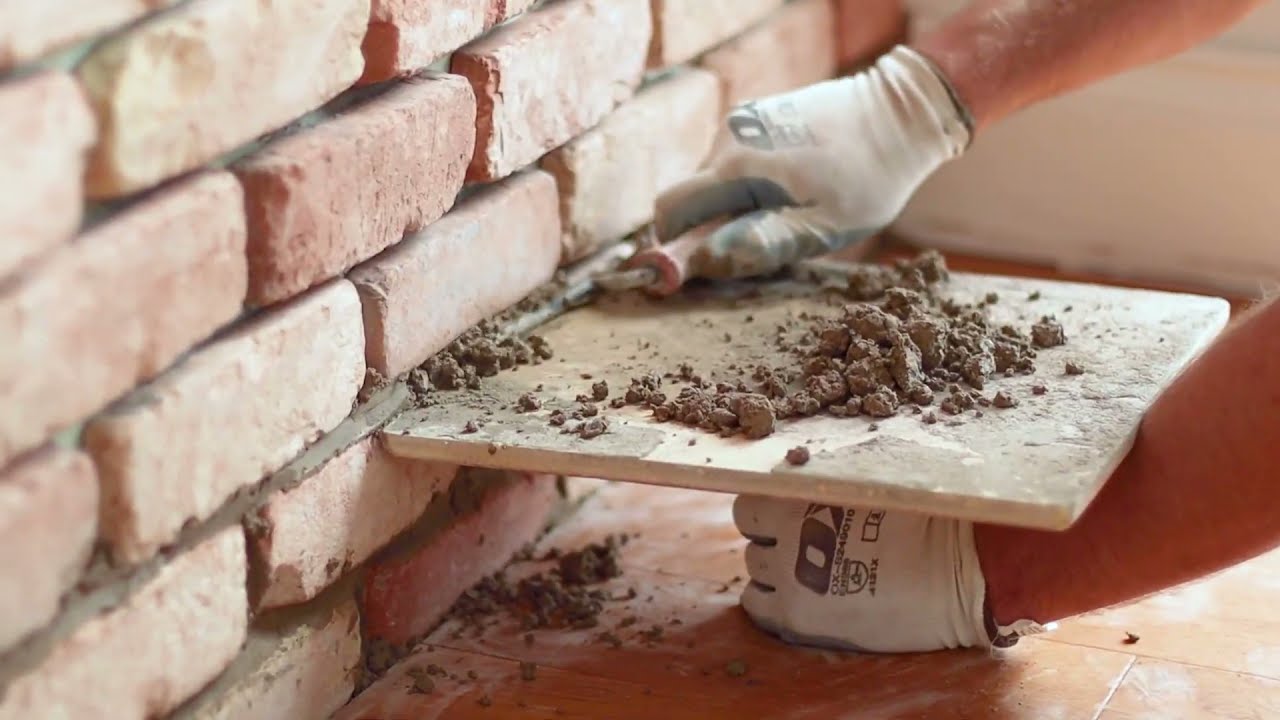
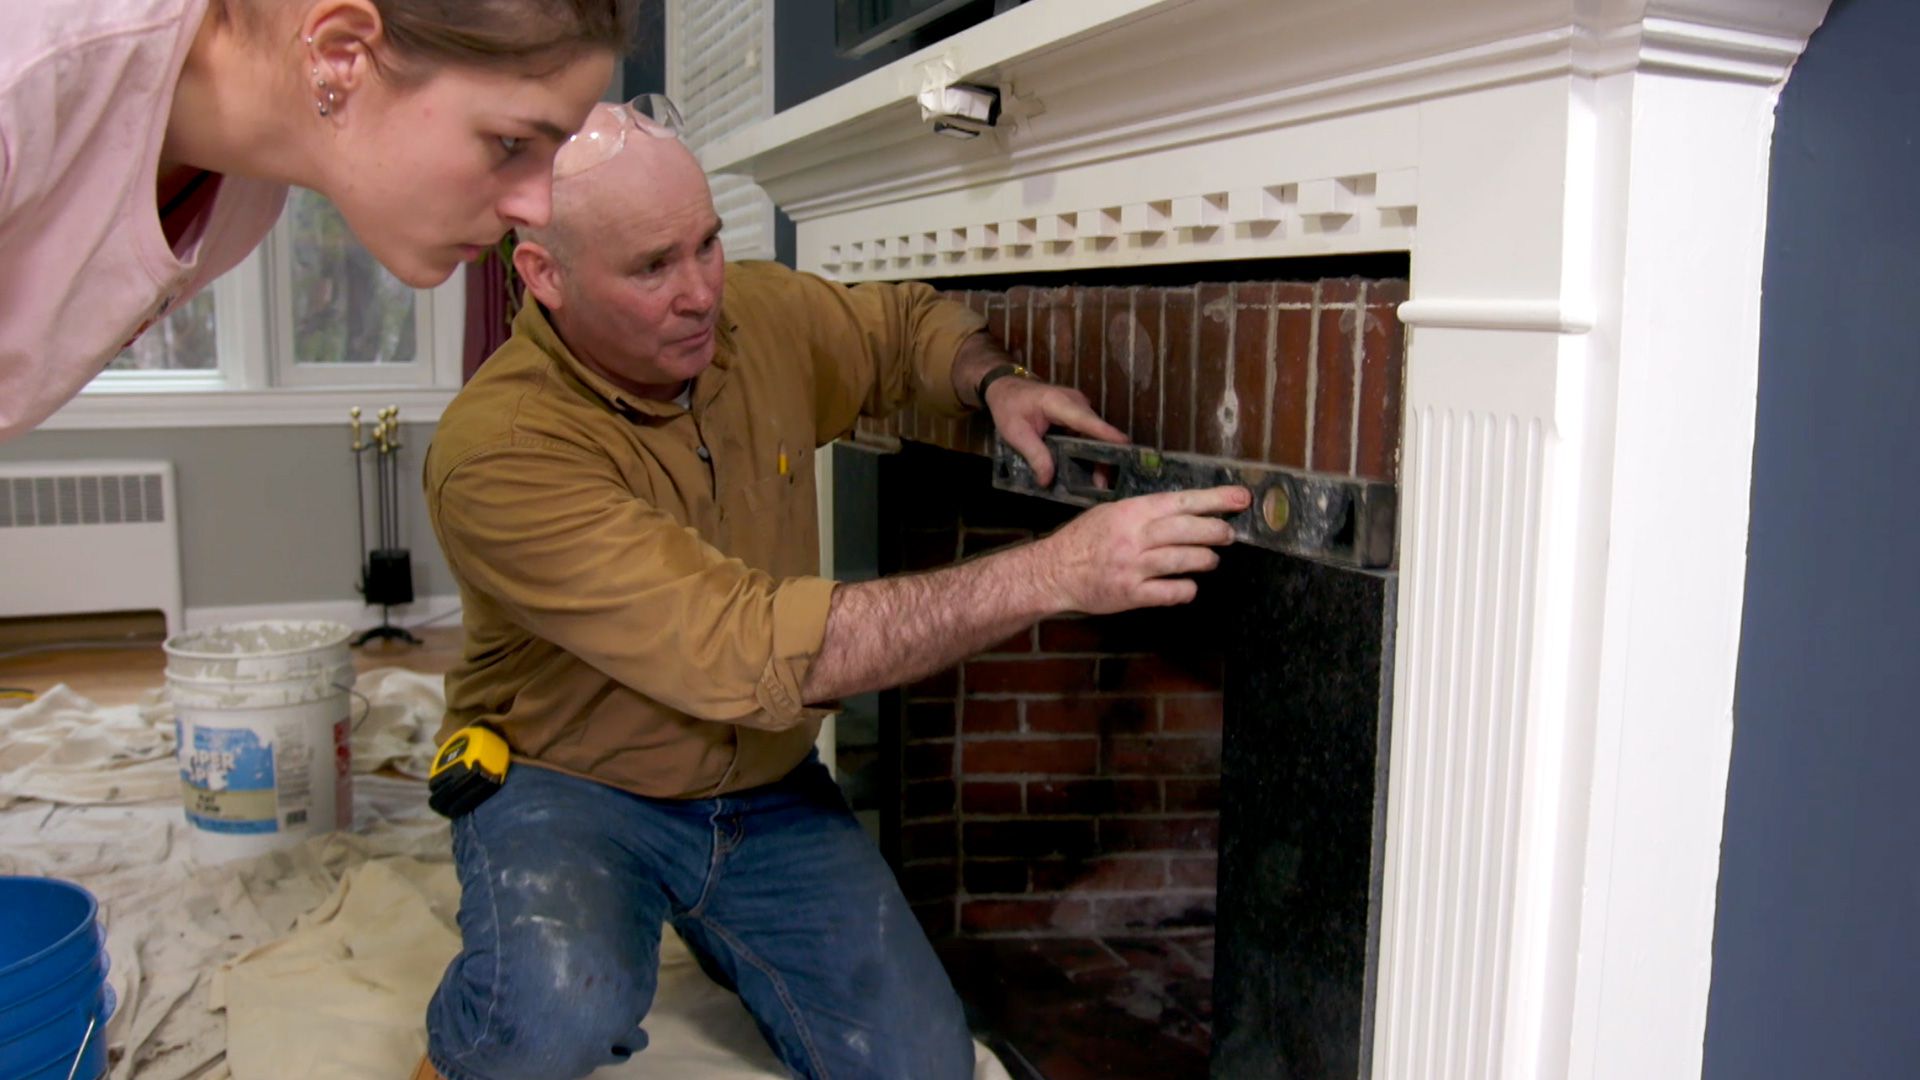
Use a high-temperature mortar to seal the joints between the bricks. Make sure to clean the surface thoroughly before applying the mortar to ensure a strong bond.
Step 4: Let the Sealer Dry
After the sealer has been meticulously applied to the brick fireplace, allowing it to dry properly is essential to achieve a durable and visually appealing finish. Proper drying ensures that the sealer effectively bonds with the masonry, providing long-lasting protection and enhancement. Follow these guidelines to facilitate the drying process and optimize the sealer’s performance:
- Minimize Disturbance: Avoid touching or disturbing the sealed surface to prevent smudges, imprints, or damage to the sealer. Keep pets and children away from the fireplace during the drying period to maintain the integrity of the application.
- Ensure Adequate Ventilation: Promote airflow in the room by opening windows and using fans to facilitate the drying process. Adequate ventilation expedites drying and helps disperse any lingering fumes from the sealer.
- Observe Manufacturer’s Recommendations: Refer to the sealer manufacturer’s instructions regarding the optimal drying time. Factors such as humidity levels, temperature, and the number of sealer coats applied can influence the drying duration.
- Perform a Touch Test: To gauge the drying progress, lightly touch a small inconspicuous area of the sealed surface. If the sealer feels dry to the touch and does not transfer onto your finger, it is likely ready for the next steps.
- Exercise Patience: While it may be tempting to resume regular use of the fireplace, exercising patience during the drying phase is crucial for achieving the best results. Rushing the process can compromise the sealer’s integrity and longevity.
By allowing the sealer to dry thoroughly, you’ll ensure that it forms a robust and protective barrier on the brick and mortar, safeguarding the fireplace from environmental elements and wear. Once the sealer has dried to the manufacturer’s specifications, you can proceed with confidence to the optional but beneficial step of applying a second coat for added durability and aesthetic enhancement.
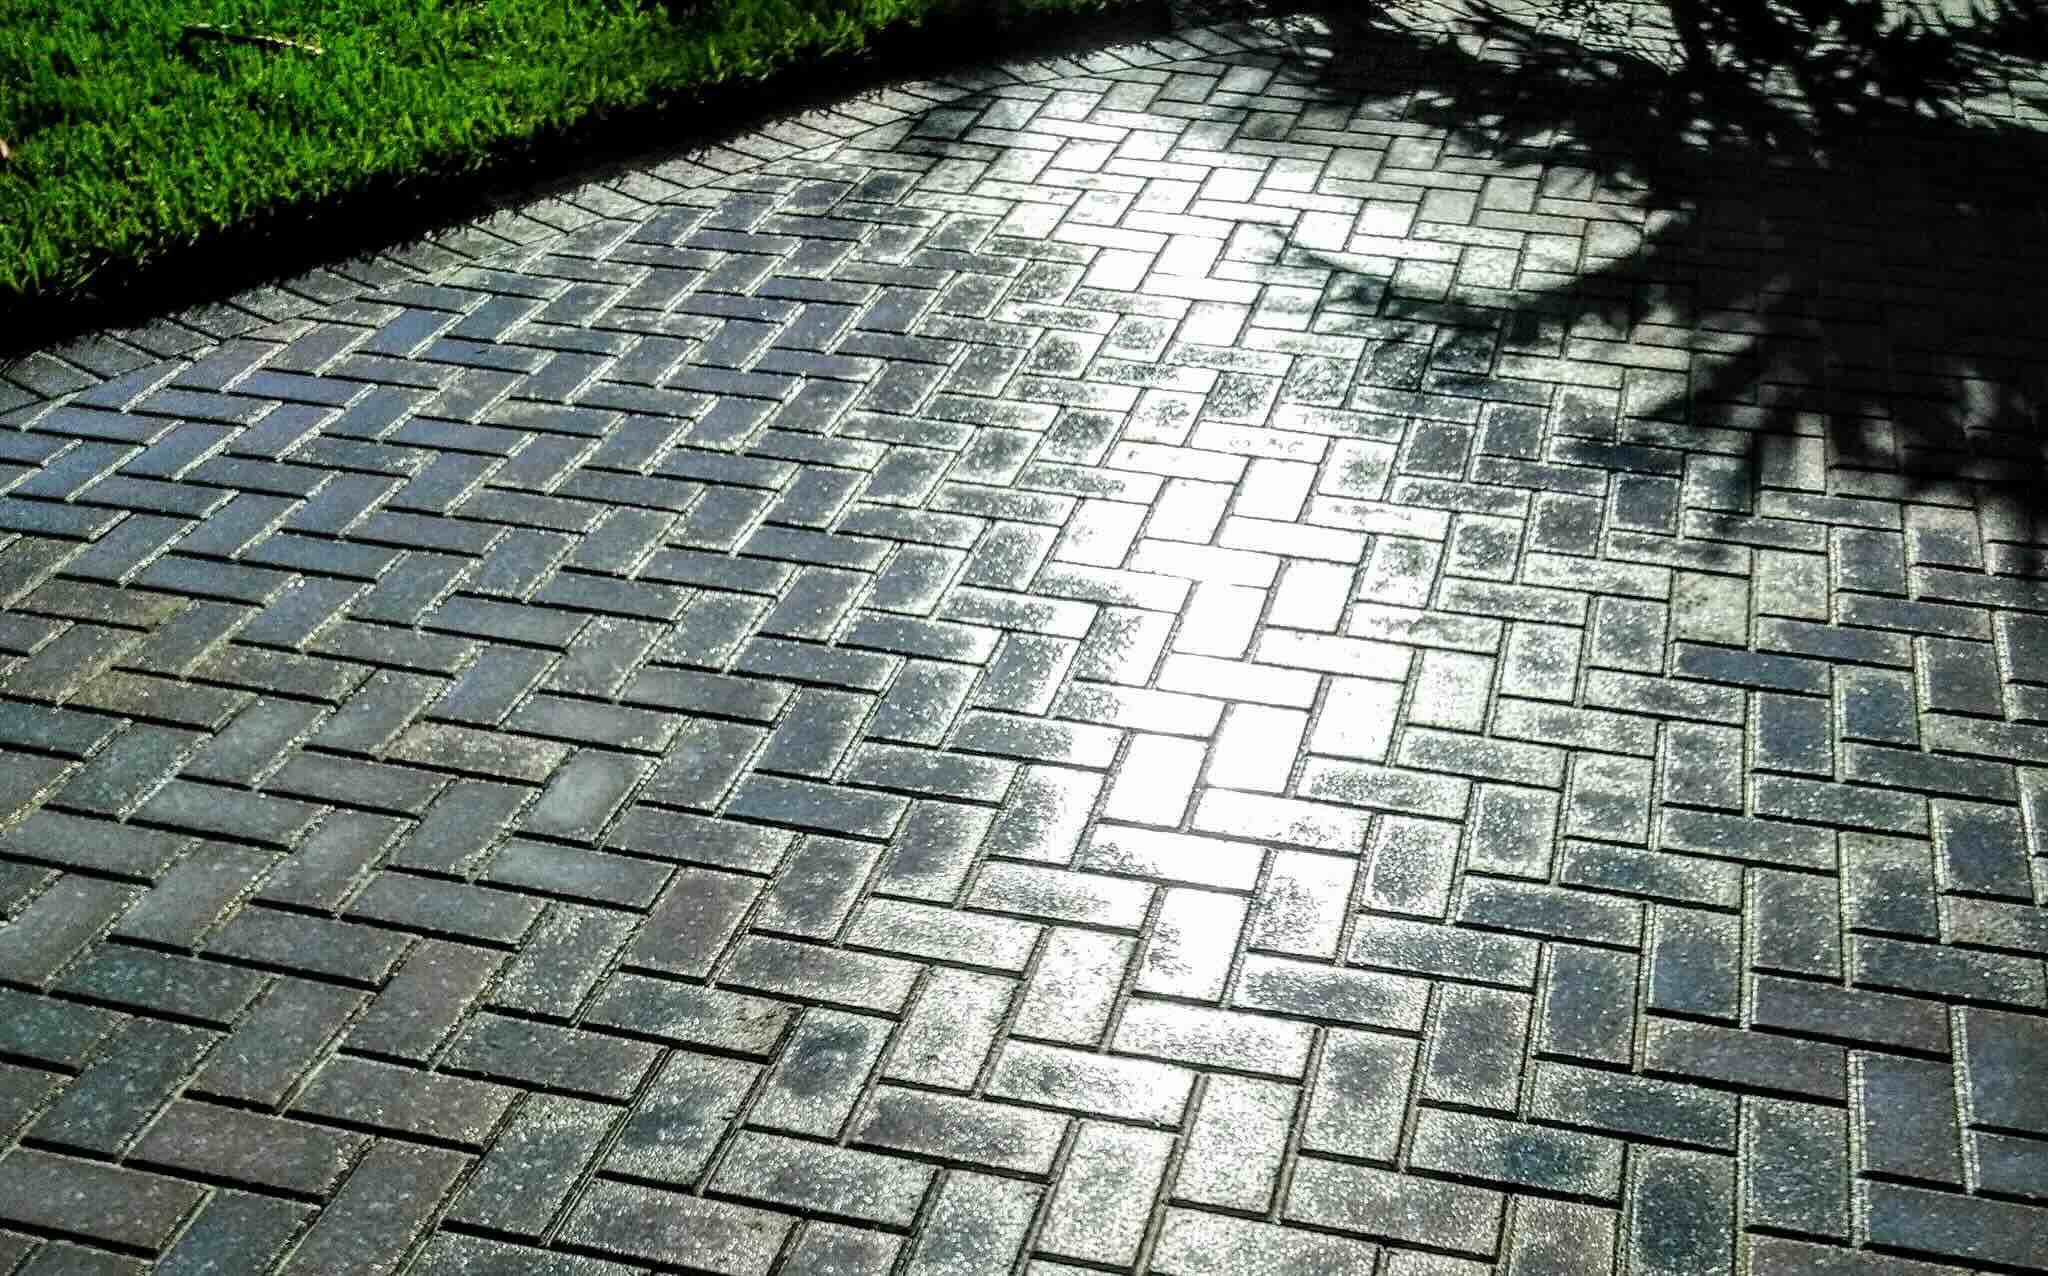
Read more: How To Seal A Brick Patio
Step 5: Apply a Second Coat (Optional)
While a single coat of sealer can provide effective protection and enhancement for your brick fireplace, applying a second coat can further fortify the surface and intensify the aesthetic appeal. This optional step is particularly beneficial for high-traffic areas or if you desire a more pronounced enhancement of the brick’s natural colors and textures. Consider the following guidelines when deciding whether to proceed with a second coat:
- Evaluate the Initial Coat: Assess the coverage and absorption of the first sealer coat. If the bricks and mortar appear to have absorbed the sealer unevenly or if the surface still exhibits porosity, applying a second coat can help achieve a more uniform and robust finish.
- Enhance Color and Sheen: If you desire a richer and more lustrous appearance for your brick fireplace, a second coat of sealer can intensify the colors and textures of the masonry, imparting a heightened visual impact.
- Reinforce Protection: Adding an extra layer of sealer can bolster the fireplace’s resilience against moisture, stains, and general wear and tear. This is particularly advantageous for outdoor fireplaces or those in areas prone to inclement weather.
- Follow Application Guidelines: If you opt to apply a second coat, adhere to the same application procedures and drying times as the initial coat. Ensure that the surface is clean and dry before proceeding with the additional sealer application.
- Exercise Restraint: While a second coat can offer notable benefits, avoid over-saturating the surface with sealer. Apply the second coat judiciously to achieve the desired enhancement and protection without creating a thick or uneven finish.
By carefully considering the condition and aesthetic objectives for your brick fireplace, you can make an informed decision regarding the application of a second coat of sealer. Whether you choose to proceed with an additional coat or maintain the initial application, the result will be a beautifully sealed and protected fireplace that enriches the ambiance of your living space for years to come.
Conclusion
Congratulations! You’ve successfully navigated the process of sealing your brick fireplace, revitalizing its appearance, and fortifying its resilience against the elements. By following the comprehensive steps outlined in this guide, you’ve not only preserved the natural beauty of the masonry but also safeguarded it for long-term enjoyment.
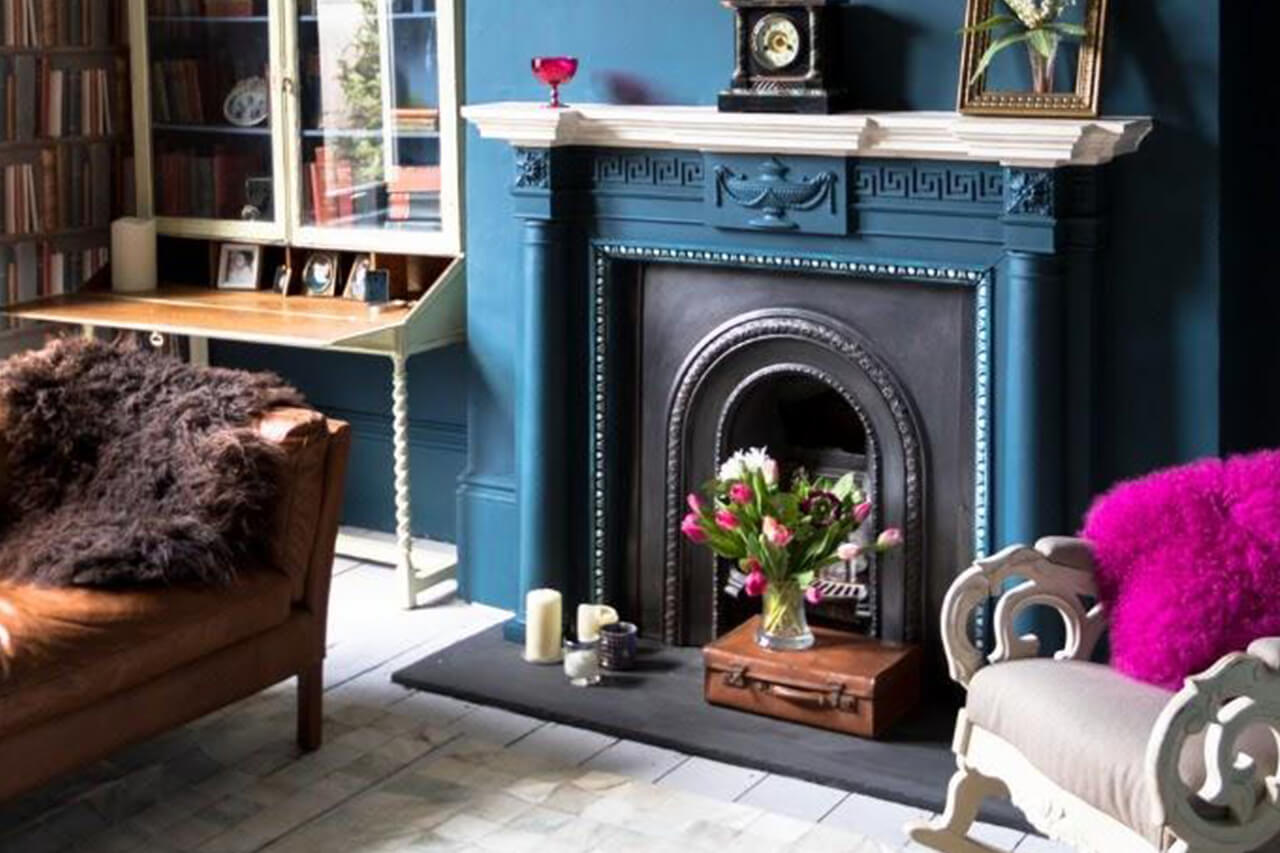
Sealing a brick fireplace is a rewarding endeavor that adds value and visual allure to your home. The meticulous cleaning, precise application of the sealer, and optional second coat have collectively contributed to a stunning transformation, ensuring that your fireplace remains a captivating focal point in your living space.
As you bask in the renewed splendor of your brick fireplace, take pride in the knowledge that you’ve taken proactive measures to protect and enhance this cherished feature. Whether it’s providing warmth on chilly evenings or serving as a striking architectural element, your sealed brick fireplace stands as a testament to your dedication to home maintenance and aesthetics.
Remember to periodically inspect the sealed surface and perform any necessary touch-ups or resealing as part of your home maintenance routine. By doing so, you’ll prolong the life and allure of your brick fireplace, preserving its timeless charm for generations to come.
Thank you for embarking on this sealing journey with us. May your beautifully sealed brick fireplace continue to kindle cozy moments and inspire admiration in your home for years to come!
Frequently Asked Questions about How To Seal A Brick Fireplace
Was this page helpful?
At Storables.com, we guarantee accurate and reliable information. Our content, validated by Expert Board Contributors, is crafted following stringent Editorial Policies. We're committed to providing you with well-researched, expert-backed insights for all your informational needs.

0 thoughts on “How To Seal A Brick Fireplace”