Home>Construction & Tools>Building Materials>How To Mount Security Camera On Stucco Wall

Building Materials
How To Mount Security Camera On Stucco Wall
Modified: August 29, 2024
Learn the best practices for mounting security cameras on stucco walls using the right building materials. Ensure a secure and reliable installation with our expert tips.
(Many of the links in this article redirect to a specific reviewed product. Your purchase of these products through affiliate links helps to generate commission for Storables.com, at no extra cost. Learn more)
Introduction
So, you've decided to enhance the security of your property by installing a security camera on your stucco wall. This is a great decision, as security cameras are an effective deterrent against intruders and can provide valuable evidence in the event of a security breach. However, mounting a security camera on a stucco wall requires careful planning and execution to ensure a secure and reliable installation.
In this comprehensive guide, we will walk you through the process of mounting a security camera on a stucco wall, providing step-by-step instructions and valuable tips to help you achieve a professional and effective installation. Whether you're a seasoned DIY enthusiast or a first-time homeowner looking to bolster your property's security, this guide will equip you with the knowledge and confidence to tackle this project with ease.
Before we delve into the practical aspects of mounting a security camera on a stucco wall, it's essential to understand the importance of choosing the right camera for your specific security needs. From selecting the appropriate tools and equipment to preparing the stucco wall for installation, we'll cover every aspect of the process to ensure that you achieve a successful and reliable outcome.
By the end of this guide, you'll be well-equipped to mount a security camera on your stucco wall, providing you with enhanced peace of mind and a heightened sense of security for your property. So, let's roll up our sleeves and dive into the world of stucco wall security camera installations!
Key Takeaways:
- Choose a weatherproof, high-resolution security camera with night vision for your stucco wall. Consider power source and field of view for comprehensive surveillance coverage.
- Prepare the stucco wall carefully, gather necessary tools, and mount the camera securely. Adjust and test the camera for optimal performance and reliable surveillance.
Read more: How To Mount Ring Camera On Stucco
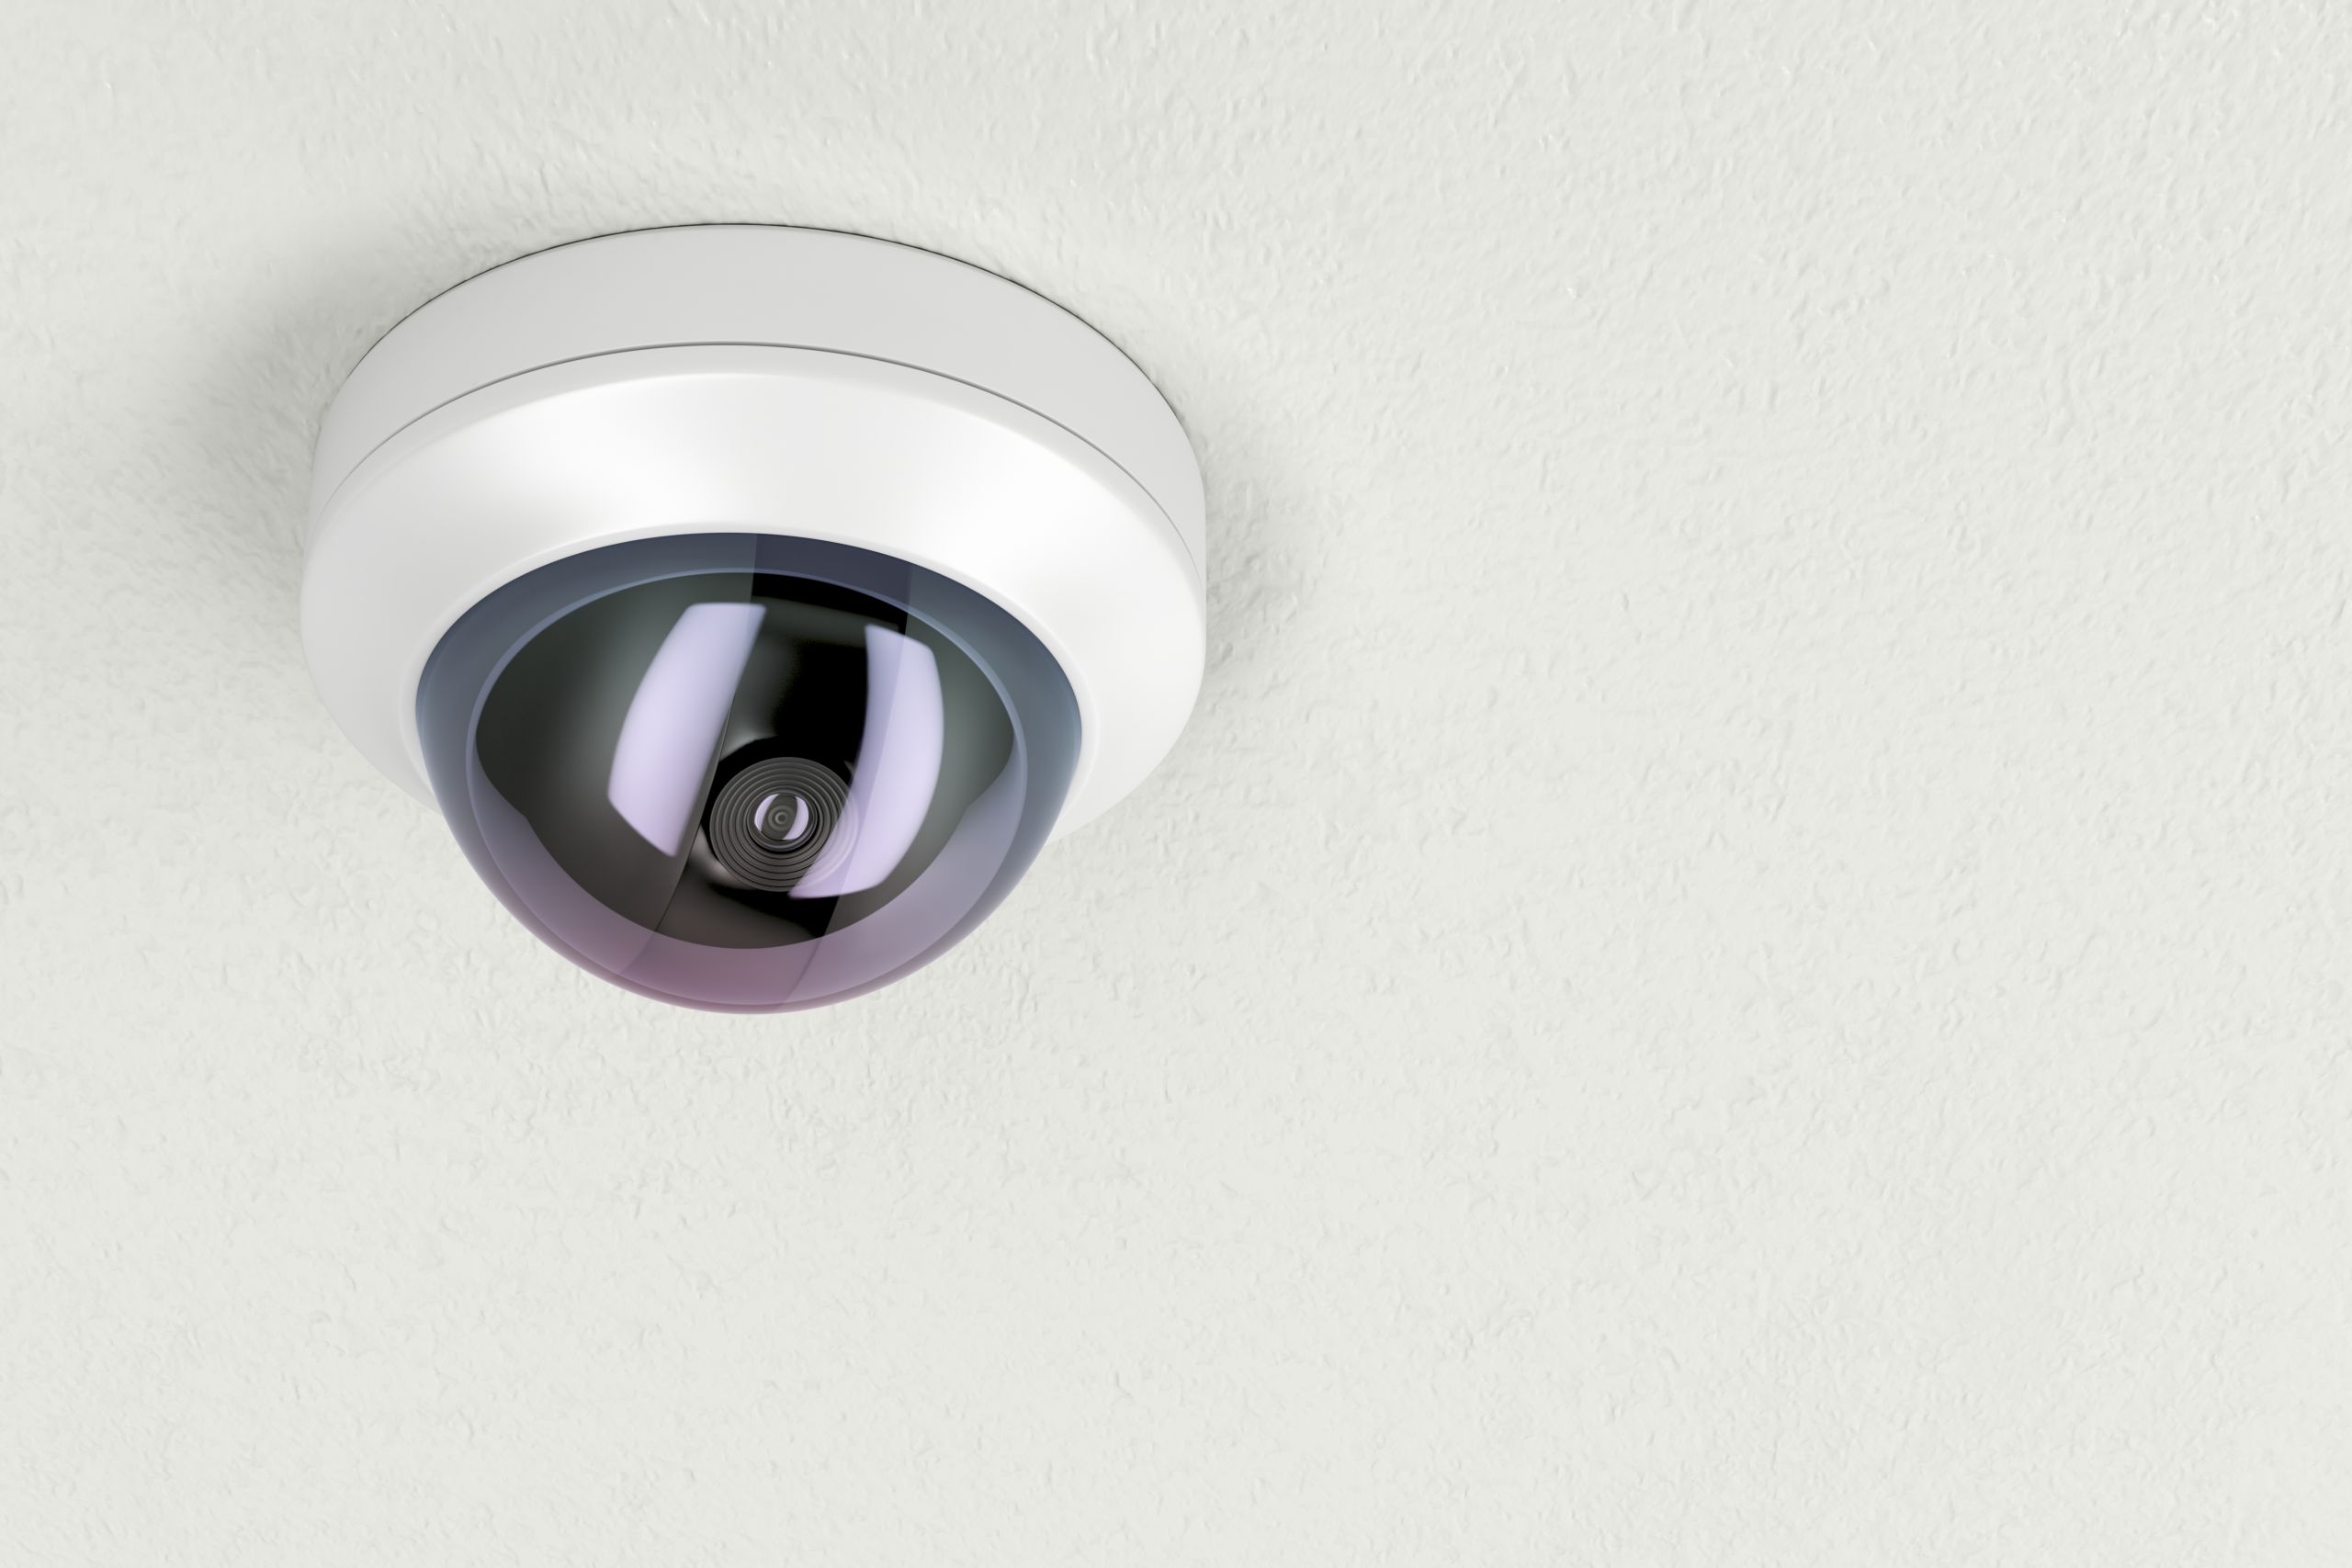
Choosing the Right Security Camera
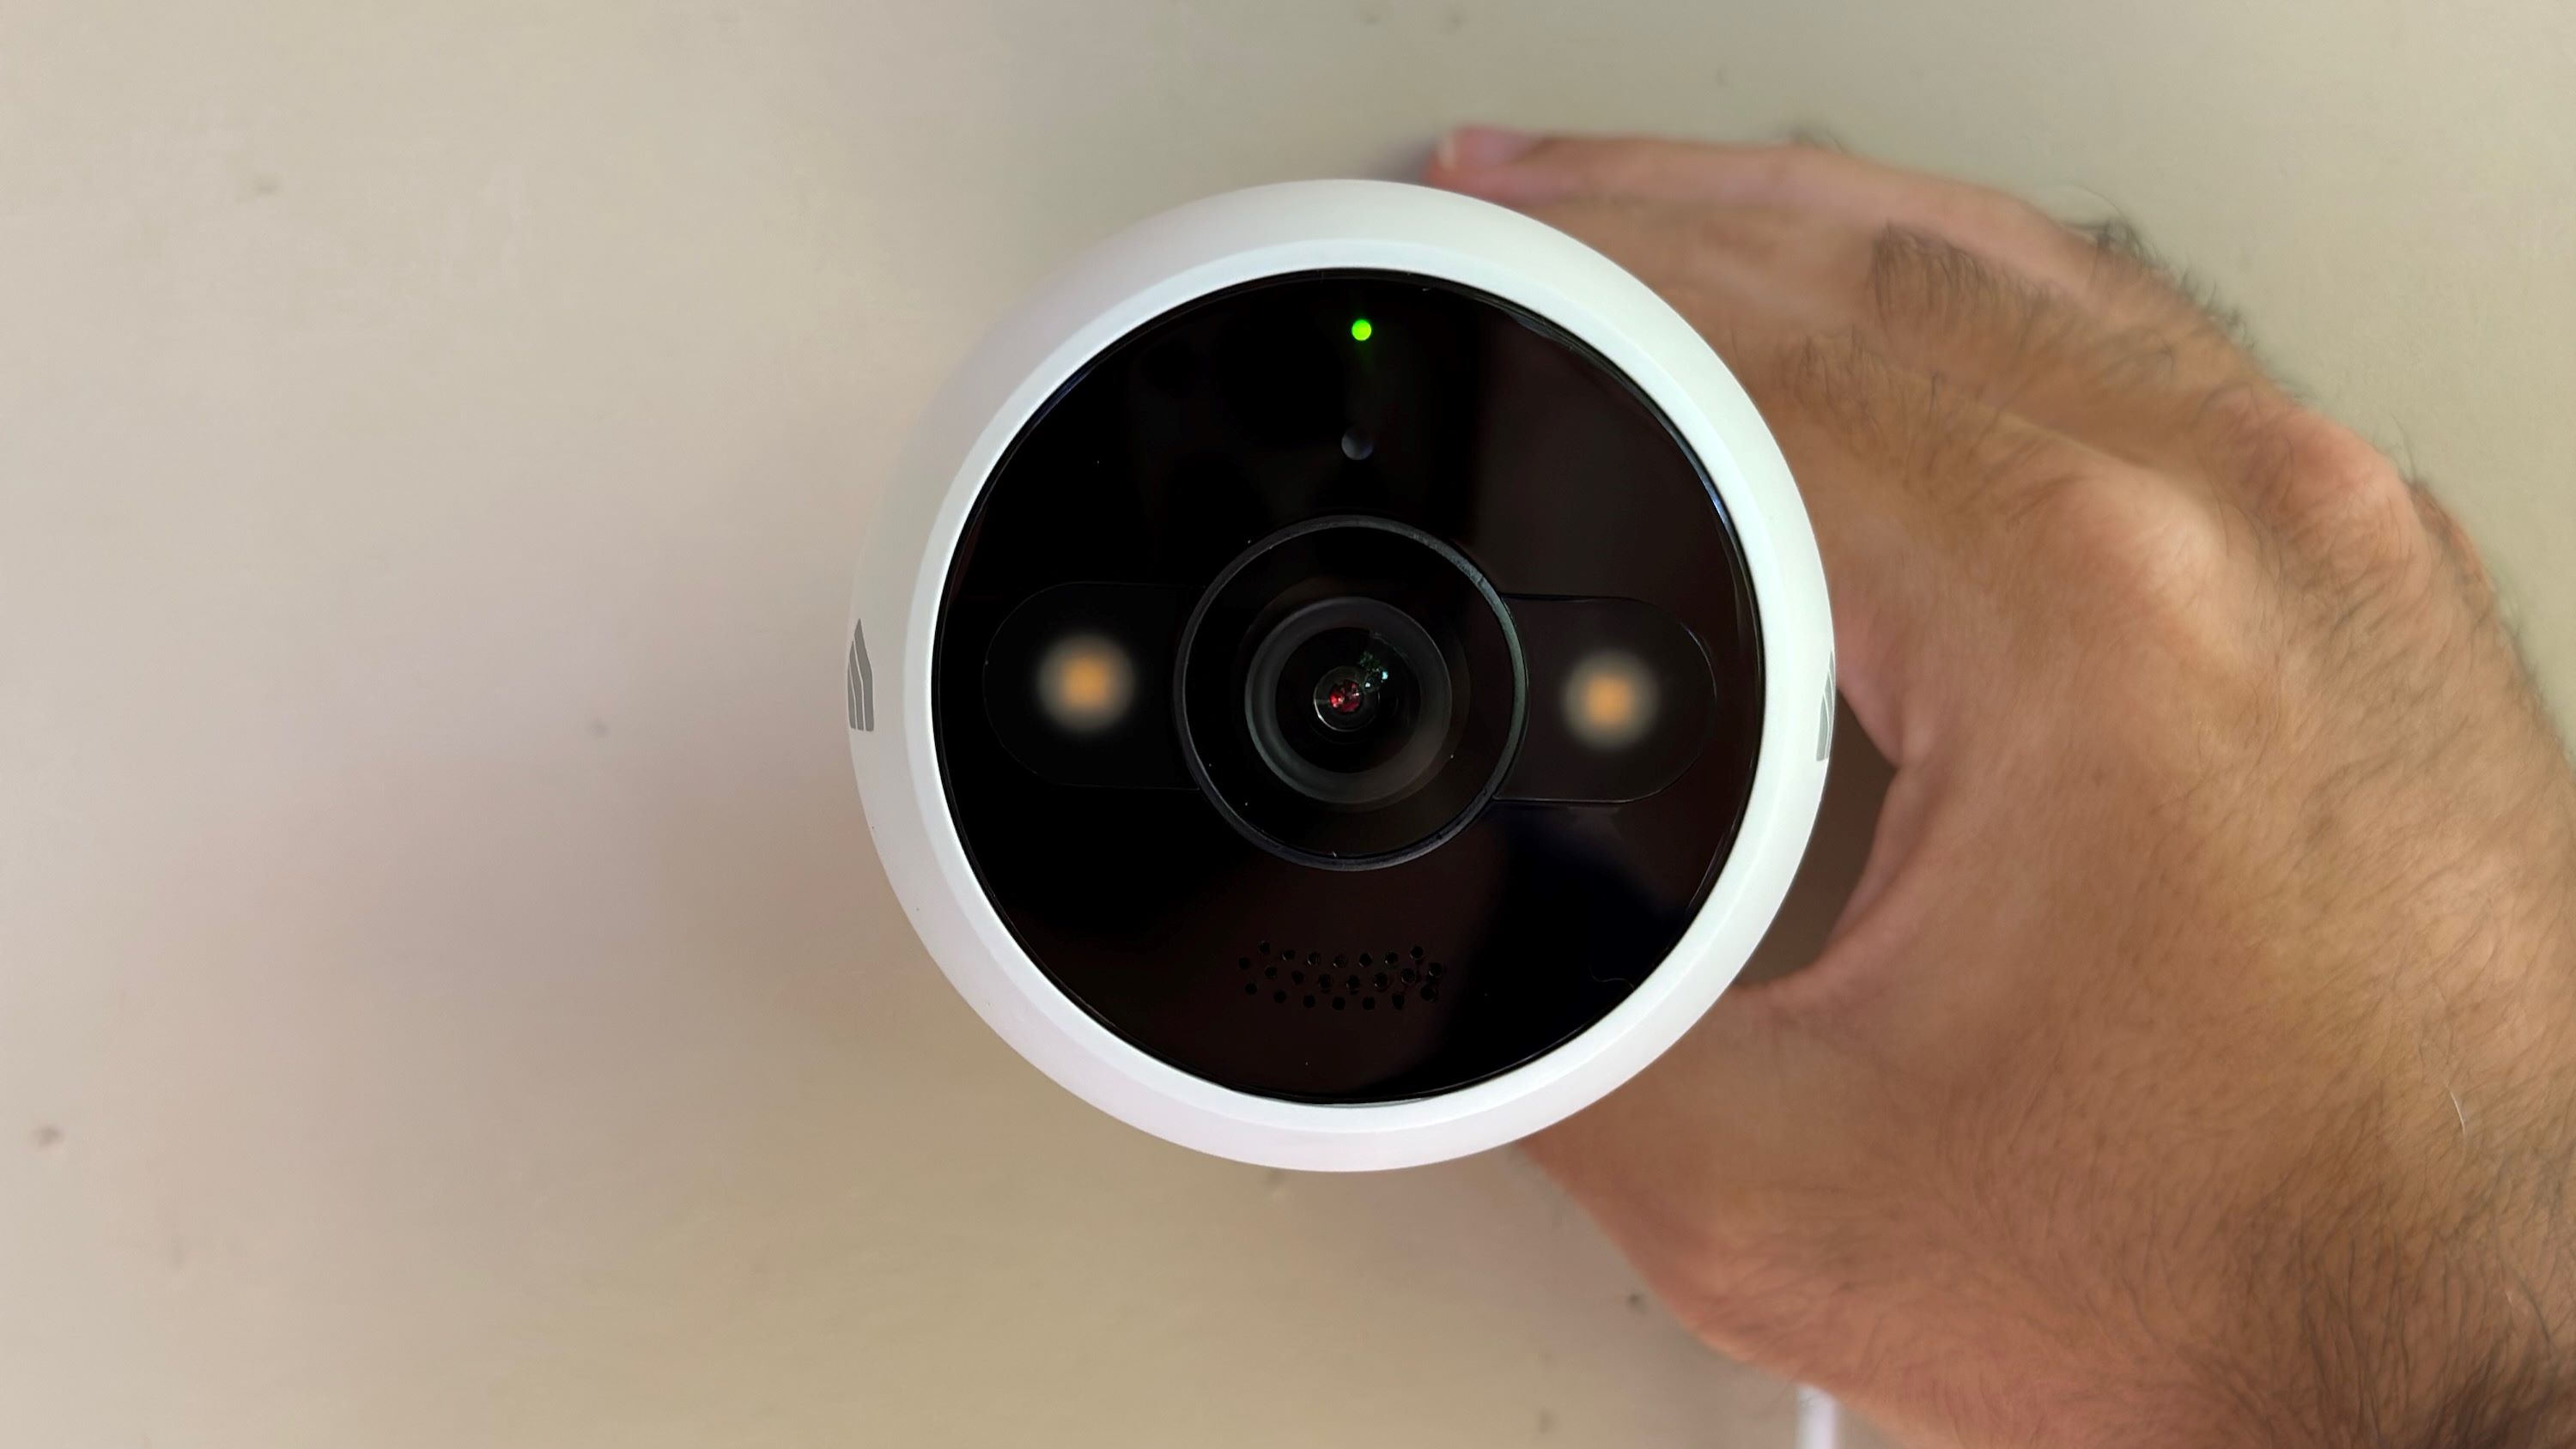
Before embarking on the installation process, it’s crucial to select a security camera that aligns with your specific security requirements. The market offers a wide array of security cameras, each designed with unique features and capabilities. To make an informed decision, consider the following factors:
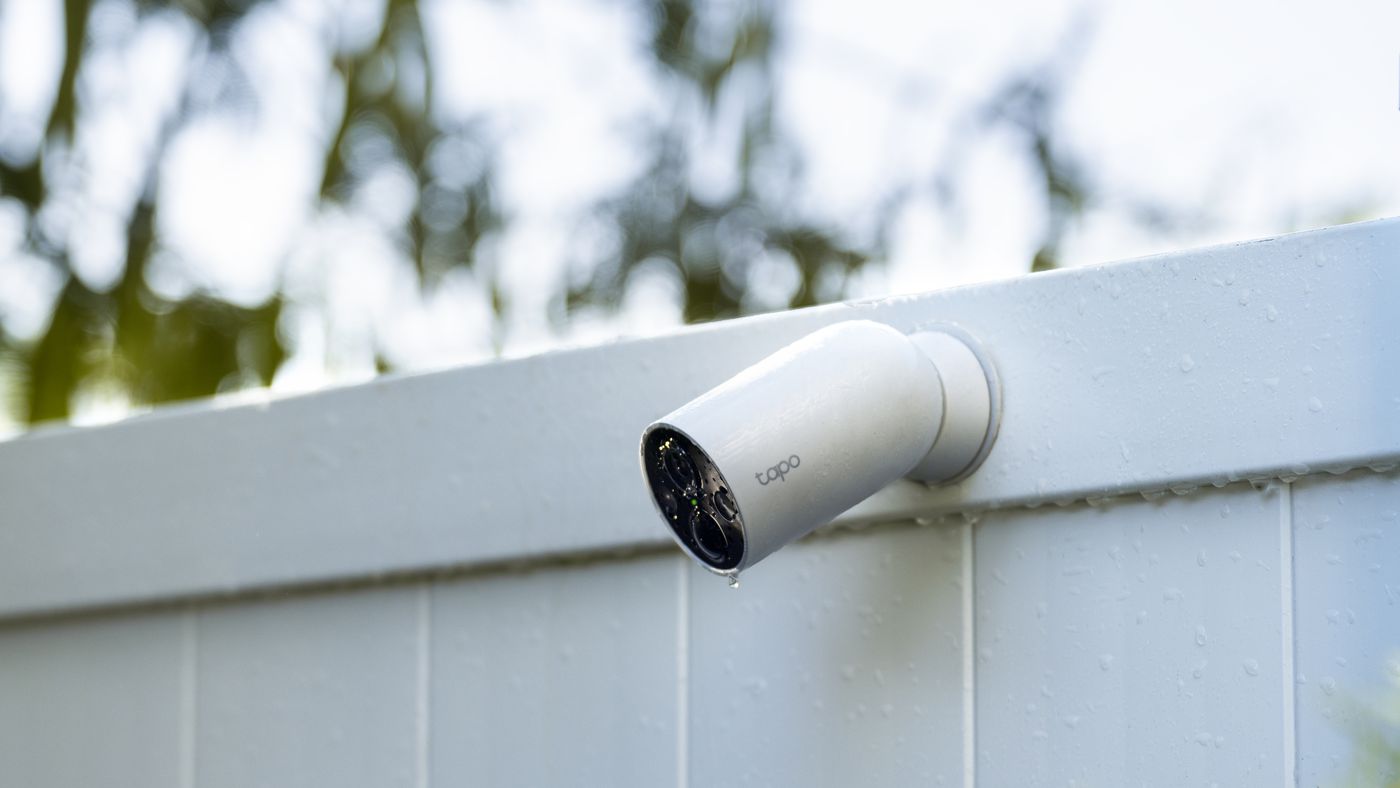
- Outdoor Durability: Given that the camera will be mounted on a stucco wall, it’s imperative to choose a weatherproof and durable camera designed for outdoor use. Look for cameras with an IP65 or higher weatherproof rating to ensure resilience against the elements.
- Resolution and Clarity: Opt for a camera with high-definition resolution to capture clear and detailed footage. A minimum resolution of 1080p is recommended for crisp video quality, allowing for easy identification of individuals and objects within the camera’s field of view.
- Night Vision Capabilities: Since security threats can occur at any time, selecting a camera with superior night vision capabilities is essential. Infrared (IR) LEDs or low-light imaging sensors enable the camera to capture high-quality footage in low-light conditions or complete darkness.
- Field of View: Evaluate the camera’s field of view to ensure comprehensive coverage of the intended surveillance area. Wide-angle lenses or pan-and-tilt functionality can enhance the camera’s ability to monitor a broader expanse, reducing blind spots and enhancing overall security coverage.
- Power Source: Consider the power source for the camera, whether it’s wired or wireless. If opting for a wired camera, ensure that the stucco wall has adequate access to power outlets or consider professional installation for power supply. Wireless cameras offer flexibility but require reliable Wi-Fi connectivity for seamless operation.
By carefully considering these factors and conducting thorough research on available security camera models, you can make an informed choice that aligns with your security goals and the specific requirements of your stucco wall installation. Once you’ve selected the ideal security camera, you’ll be ready to proceed with the installation process, equipped with a reliable and effective surveillance solution for your property.
Necessary Tools and Equipment
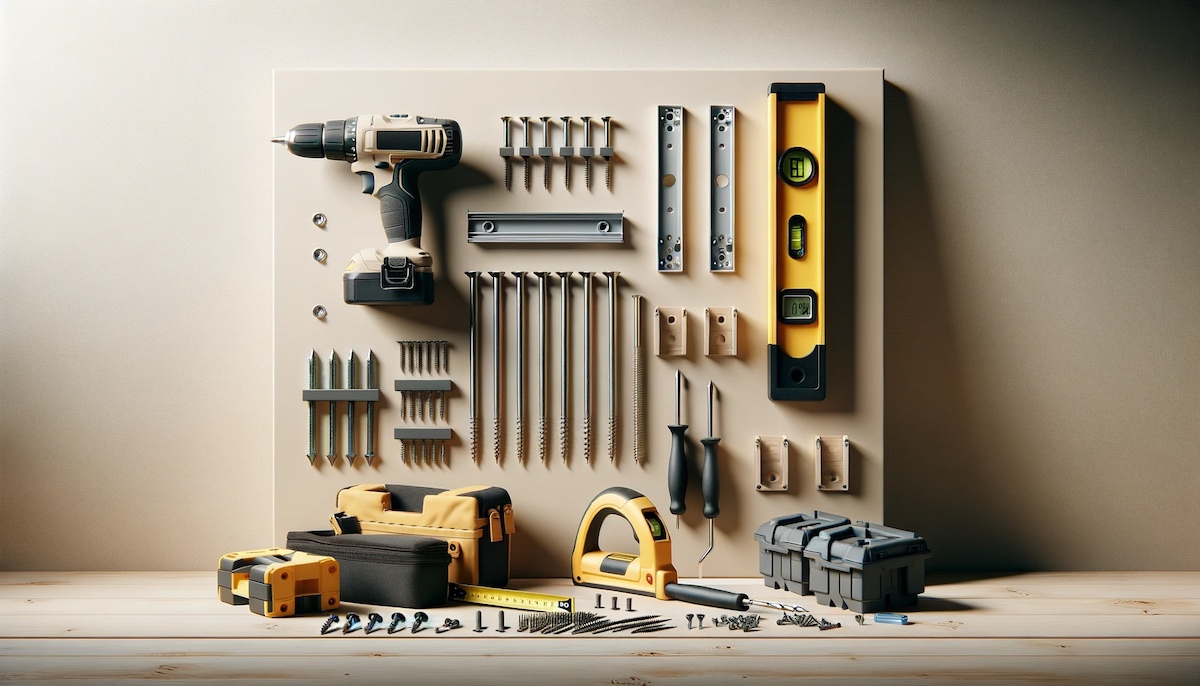
Before commencing the installation of a security camera on a stucco wall, it’s essential to gather the necessary tools and equipment to ensure a smooth and efficient installation process. Here’s a comprehensive list of the items you’ll need:
- Security Camera: As per your chosen specifications, ensure you have the selected security camera along with any accompanying mounting brackets or hardware.
- Drill and Drill Bits: A high-quality drill equipped with masonry drill bits is essential for creating precise holes in the stucco wall to accommodate the mounting hardware.
- Anchors and Screws: Opt for durable masonry anchors and screws designed for outdoor use to securely fasten the mounting brackets to the stucco wall.
- Silicone Sealant: To prevent water infiltration and ensure a weatherproof seal around the drilled holes, silicone sealant is indispensable for the installation process.
- Cable Management Accessories: If your security camera requires wiring, cable clips, and conduit may be necessary to manage and protect the cables running along the stucco wall.
- Ladder and Safety Equipment: Depending on the height of the installation area, a sturdy ladder and appropriate safety gear, such as gloves and safety glasses, are essential for safe and secure access to the installation site.
- Screwdriver and Level: A screwdriver for tightening screws and a level for ensuring the camera’s mounting brackets are aligned and positioned correctly are vital for a professional and stable installation.
- Power Tools (if applicable): If the installation requires additional electrical work, such as routing power cables, consult with a qualified electrician and ensure the safe use of power tools as per local regulations.
By ensuring that you have all the necessary tools and equipment on hand before initiating the installation, you can streamline the process and minimize potential delays or interruptions. Additionally, adhering to safety protocols and using high-quality tools will contribute to a successful and reliable installation of your security camera on the stucco wall.
Preparing the Stucco Wall
Before mounting the security camera, it’s essential to prepare the stucco wall to ensure a secure and lasting installation. Proper preparation not only facilitates the mounting process but also contributes to the overall stability and weather resistance of the installation. Here’s a step-by-step guide to preparing the stucco wall for the security camera:
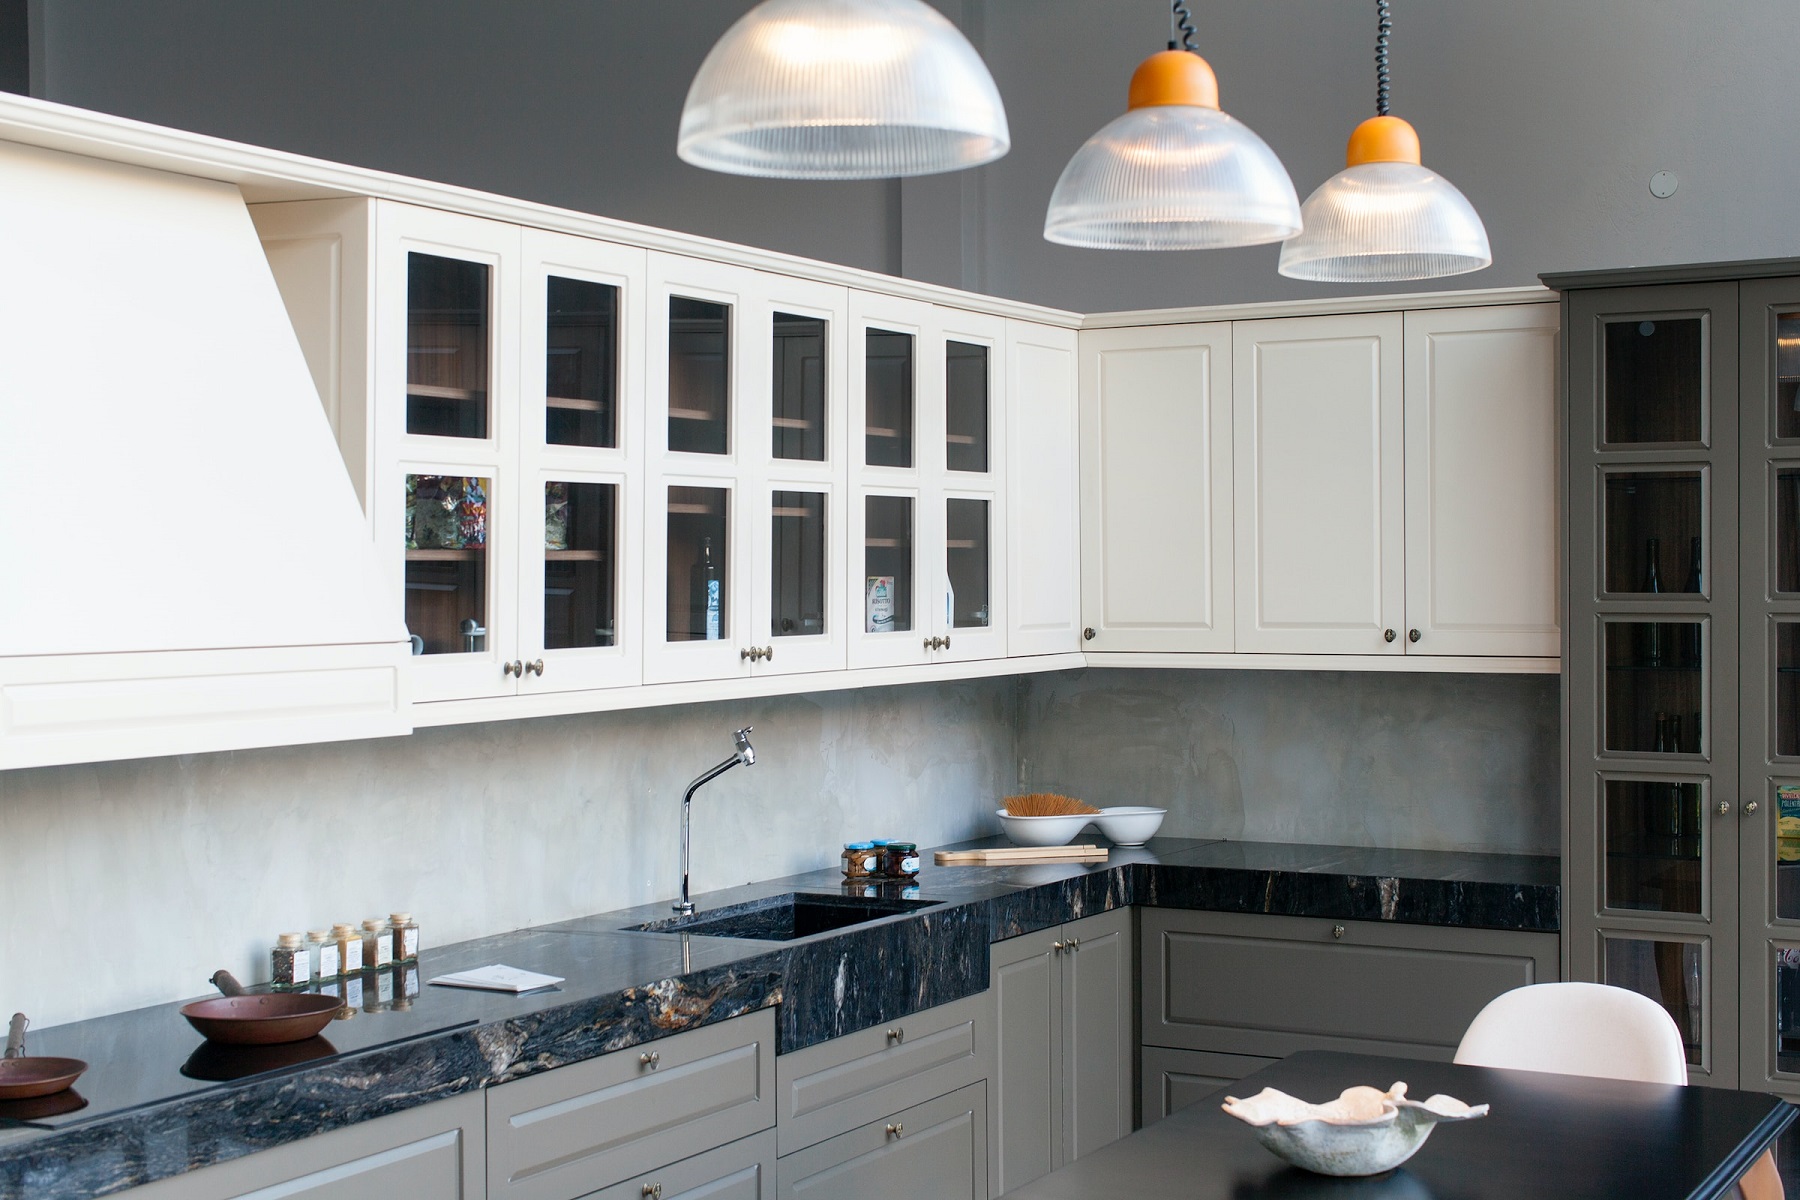
- Locate the Mounting Area: Determine the optimal placement for the security camera on the stucco wall, considering factors such as the camera’s field of view, accessibility for wiring (if applicable), and the desired surveillance coverage.
- Mark Mounting Hole Locations: Using a pencil or marker, carefully mark the locations for drilling the mounting holes. Ensure that the markings align with the mounting brackets or hardware provided with the security camera.
- Inspect the Stucco Surface: Thoroughly examine the stucco wall to identify any irregularities, such as protruding debris or uneven surfaces, that may impede the flush mounting of the camera. Clear any obstructions and ensure a smooth, even surface for mounting.
- Drill Pilot Holes: With the aid of a drill and appropriate masonry drill bits, create pilot holes at the marked locations on the stucco wall. Pilot holes serve as guides for the subsequent drilling of mounting holes and help prevent the stucco from cracking or chipping during the installation process.
- Apply Silicone Sealant: Prior to mounting the camera, apply a bead of high-quality silicone sealant around each pilot hole. This creates a waterproof barrier and helps prevent moisture from penetrating the drilled holes, safeguarding the integrity of the stucco wall.
By meticulously preparing the stucco wall in accordance with these steps, you can ensure a conducive environment for mounting the security camera. This meticulous preparation sets the stage for a secure and weather-resistant installation, providing peace of mind and long-term reliability for your stucco wall security camera.
When mounting a security camera on a stucco wall, use a masonry drill bit to pre-drill holes for the screws. Insert plastic anchors into the holes before screwing in the camera mount for a secure and stable installation.
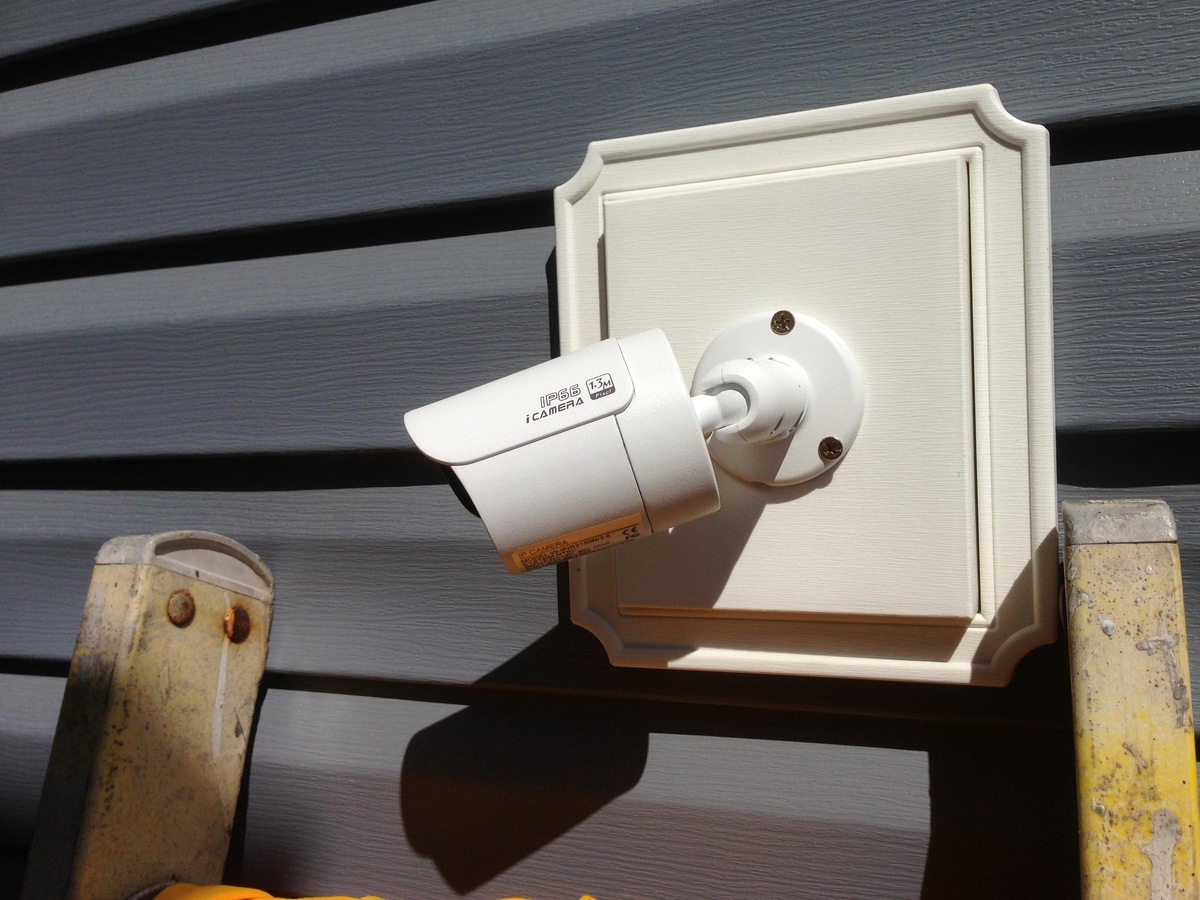
Mounting the Security Camera
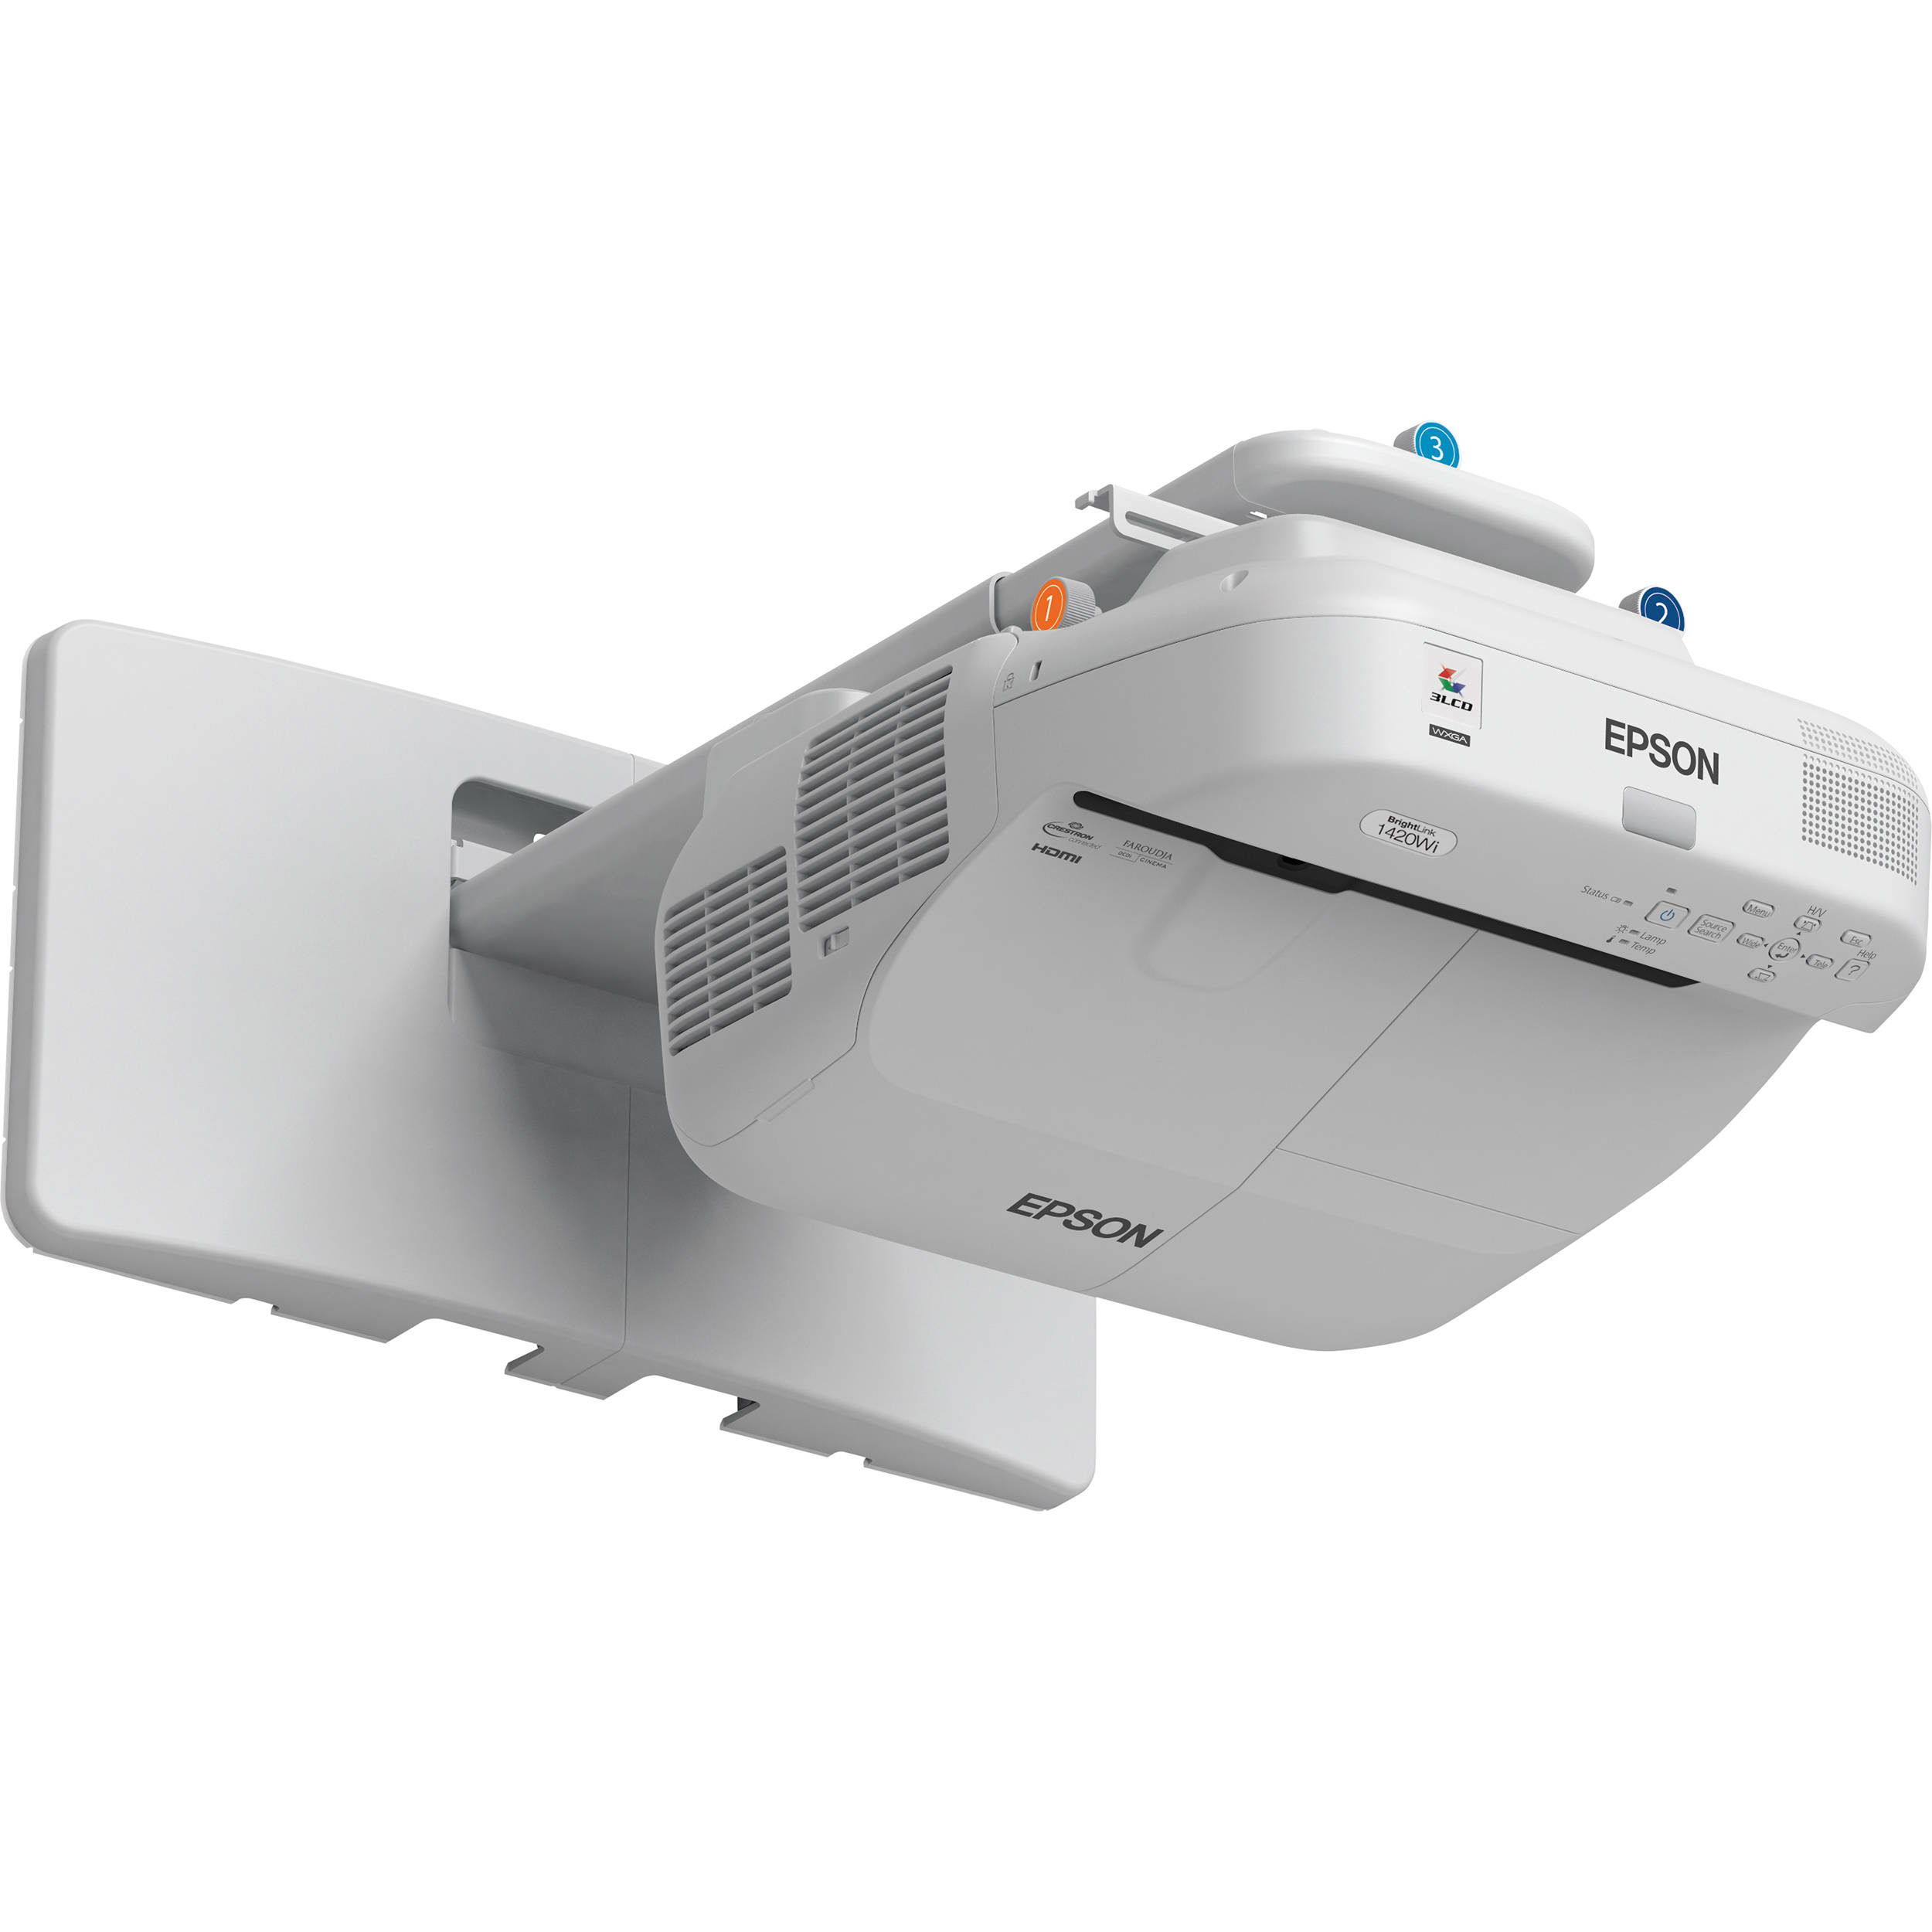
With the stucco wall prepared and the necessary tools at the ready, it’s time to proceed with the mounting of the security camera. This phase of the installation demands precision and attention to detail to ensure a secure and stable attachment. Follow these steps for a successful mounting process:
- Attach Mounting Brackets: If the security camera includes mounting brackets or hardware, carefully affix them to the stucco wall using the appropriate anchors and screws. Ensure that the brackets are level and securely fastened to the wall to provide a stable foundation for the camera.
- Mount the Camera: With the mounting brackets in place, proceed to attach the security camera to the designated mounting location. Align the camera with the brackets and secure it according to the manufacturer’s instructions, ensuring that all connections and wiring (if applicable) are managed and routed appropriately.
- Secure Cable Management: If the camera requires wiring for power or data transmission, employ cable clips or conduit to secure and protect the cables along the stucco wall. This not only enhances the aesthetic appeal of the installation but also safeguards the cables from environmental elements.
- Apply Additional Sealant (if necessary): Inspect the installed camera and mounting hardware, applying additional silicone sealant around the edges of the mounting brackets and any drilled holes as a supplementary measure to fortify the weather resistance of the installation.
Throughout the mounting process, prioritize the alignment, stability, and weatherproofing of the security camera to ensure a reliable and durable installation. By adhering to these steps and exercising care and precision, you can confidently mount the security camera on the stucco wall, paving the way for enhanced security and surveillance capabilities for your property.
Read more: How To Mount Outdoor Security Camera
Adjusting and Testing the Camera
After successfully mounting the security camera on the stucco wall, the next crucial step involves adjusting the camera’s position and conducting comprehensive testing to ensure optimal performance. Attention to detail during this phase contributes to the camera’s effectiveness in monitoring and safeguarding your property. Follow these essential guidelines for adjusting and testing the camera:
- Optimize Camera Angle and Field of View: Carefully adjust the camera’s position and angle to achieve the desired field of view, ensuring that the surveillance area is comprehensively covered without obstructions or blind spots. This may involve fine-tuning the camera’s tilt, pan, or lens orientation to optimize its monitoring capabilities.
- Check Image Quality and Clarity: Activate the camera and assess the quality and clarity of the captured footage. Verify that the resolution, focus, and color accuracy meet your expectations, allowing for clear and discernible imagery for surveillance purposes.
- Test Night Vision Functionality: In low-light conditions or darkness, evaluate the camera’s night vision capabilities by reviewing the quality of the captured footage. Confirm that the infrared LEDs or low-light imaging sensors effectively illuminate the surveillance area, delivering clear and detailed images even in dimly lit environments.
- Verify Motion Detection and Alerts: If the camera features motion detection functionality and alerts, test its responsiveness by simulating movement within its field of view. Ensure that the camera promptly detects and notifies you of any detected motion, providing reliable security monitoring.
- Assess Connectivity and Remote Access: If the camera is equipped with remote access and connectivity features, confirm its seamless integration with your chosen monitoring platform or mobile device. Verify that you can access the camera’s live feed and settings remotely, ensuring convenient surveillance management.
By meticulously adjusting and thoroughly testing the security camera, you can fine-tune its performance and capabilities to align with your security requirements. This proactive approach ensures that the camera operates optimally, providing reliable surveillance and contributing to the overall security of your property.
Conclusion
Congratulations! You’ve successfully navigated the process of mounting a security camera on a stucco wall, enhancing the security and surveillance capabilities of your property. By following the comprehensive steps outlined in this guide, you’ve not only fortified your property’s security but also gained valuable insights into the meticulous planning and execution required for a successful installation.
As you reflect on the journey from selecting the right security camera to adjusting and testing its performance, it’s evident that attention to detail and careful consideration of each step are pivotal in achieving a reliable and effective outcome. The diligence invested in preparing the stucco wall, selecting appropriate tools, and meticulously mounting and adjusting the camera has culminated in a robust security solution tailored to your specific needs.
With the security camera now in place, you can rest assured knowing that your property is equipped with a vigilant sentinel, capable of monitoring and safeguarding its surroundings. Whether deterring potential intruders, capturing valuable evidence, or providing peace of mind, the installed security camera stands as a testament to your commitment to fortifying the security of your home or business.
As technology continues to advance and security solutions evolve, your proactive approach to installing a security camera on a stucco wall positions you at the forefront of property security, embracing innovation and reliability in equal measure.
In closing, may the successful installation of your security camera serve as a testament to your dedication to safety and security. As you continue to prioritize the protection of your property, may this guide empower you to embark on future security enhancements with confidence and expertise.
Frequently Asked Questions about How To Mount Security Camera On Stucco Wall
Was this page helpful?
At Storables.com, we guarantee accurate and reliable information. Our content, validated by Expert Board Contributors, is crafted following stringent Editorial Policies. We're committed to providing you with well-researched, expert-backed insights for all your informational needs.

0 thoughts on “How To Mount Security Camera On Stucco Wall”