
Articles
How To Sew Burlap Pillows
Modified: August 28, 2024
Learn how to sew beautiful burlap pillows with our informative articles. Get step-by-step instructions and helpful tips for a successful DIY project.
(Many of the links in this article redirect to a specific reviewed product. Your purchase of these products through affiliate links helps to generate commission for Storables.com, at no extra cost. Learn more)
Introduction
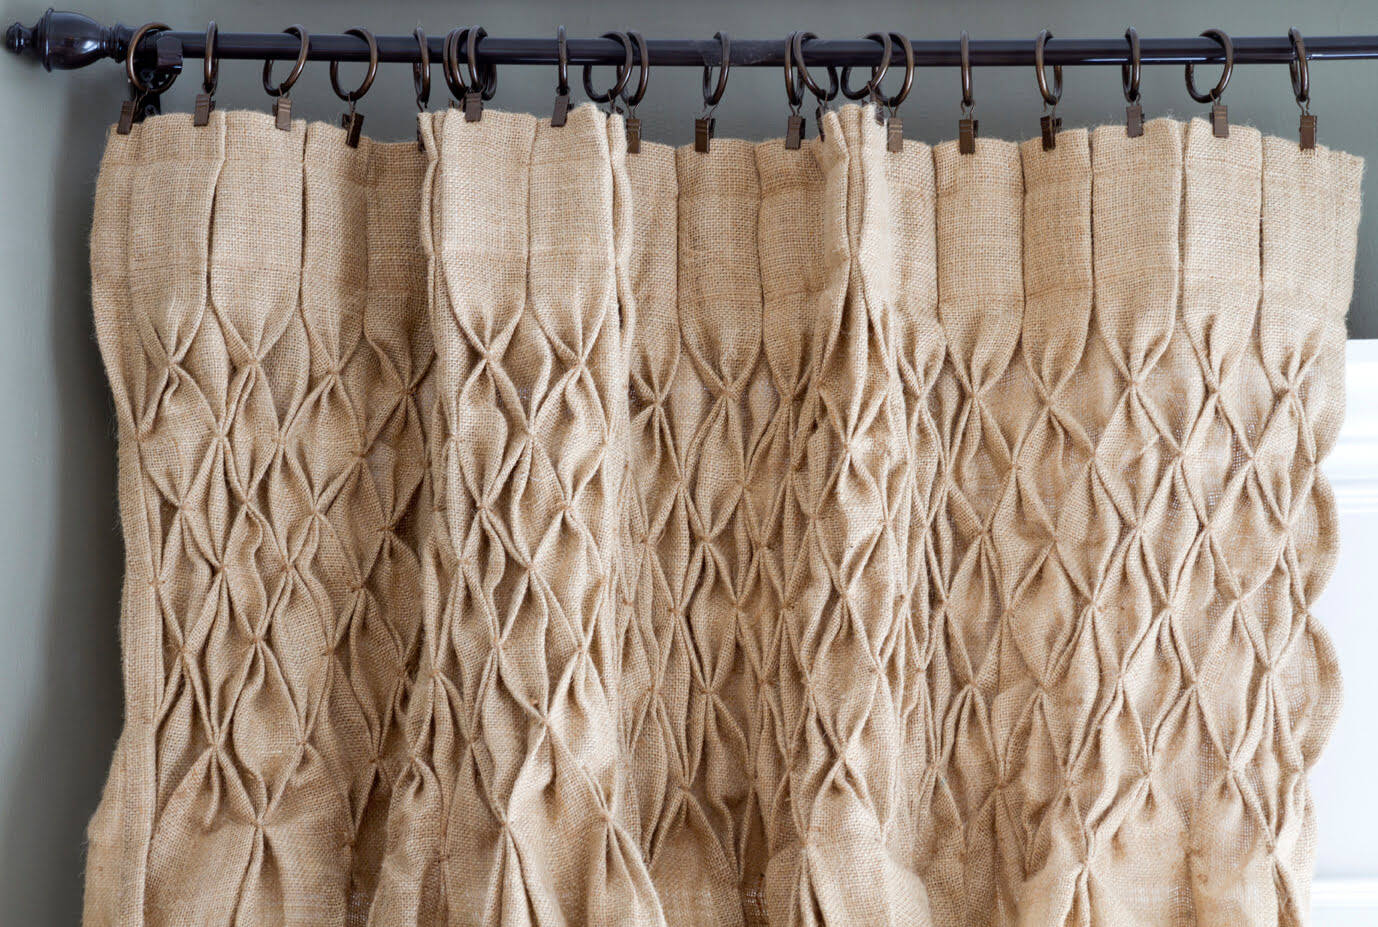
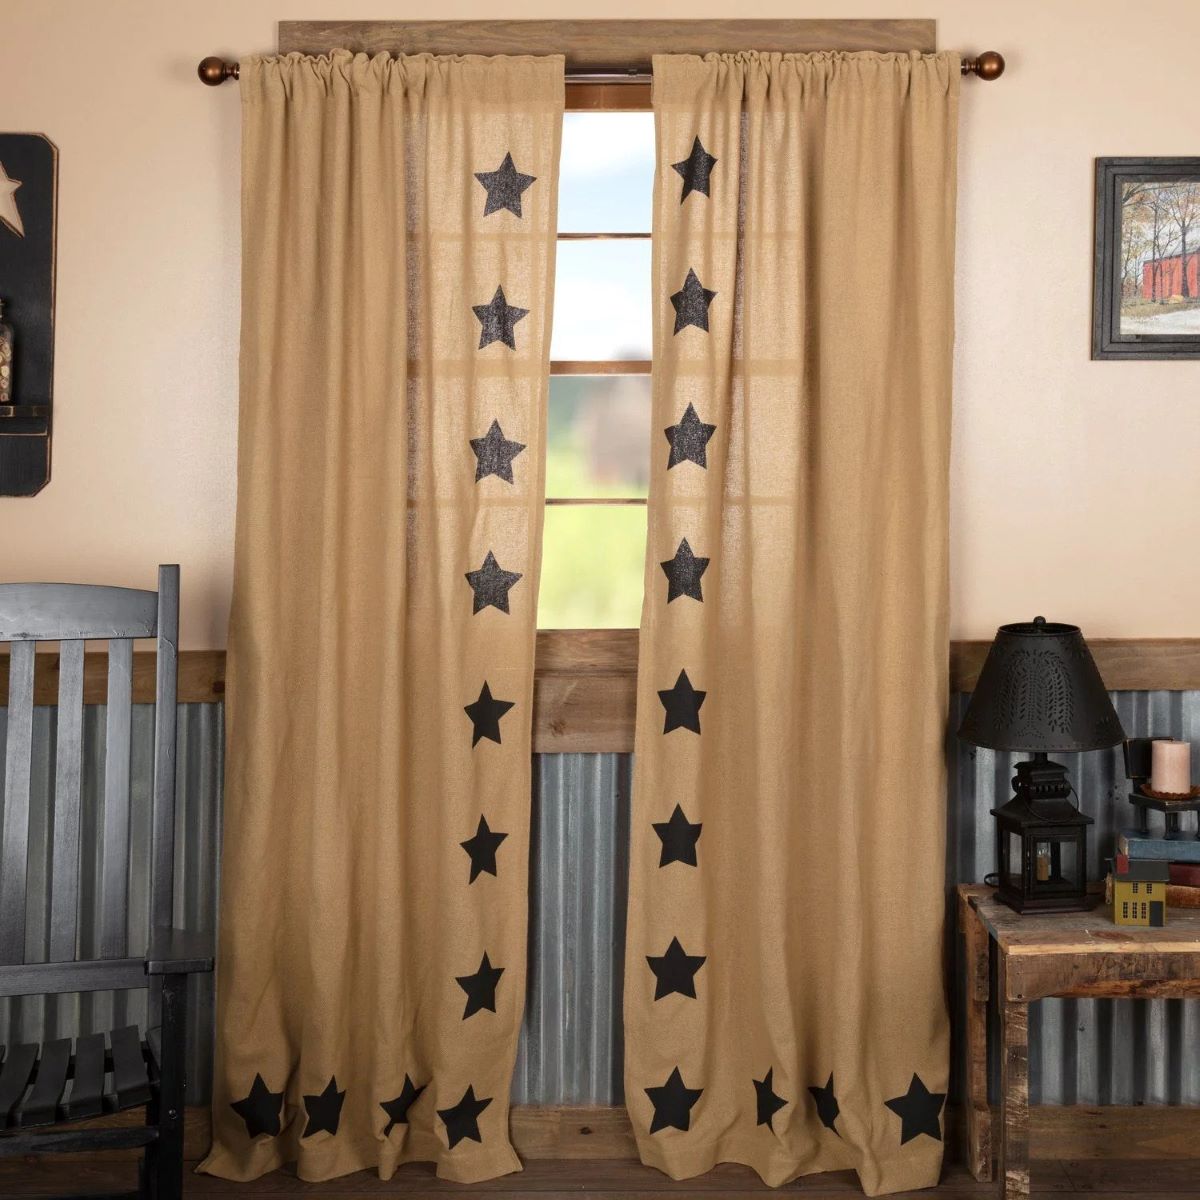
Welcome to the world of DIY home decor! If you’re looking to add a touch of rustic charm to your space, burlap pillows are the perfect project for you. Burlap, with its coarse texture and natural appeal, has become increasingly popular in interior design. Creating your own burlap pillows not only allows you to showcase your creativity but also gives you the opportunity to customize your decor to match your personal style.
In this article, we will guide you through the process of sewing burlap pillows. Whether you’re a sewing novice or a seasoned pro, you’ll find this DIY project enjoyable and rewarding. So gather your materials and let’s get started!
Key Takeaways:
- Embrace your creativity and add a touch of rustic charm to your space by crafting personalized burlap pillows with simple steps and care tips for long-lasting beauty.
- Elevate your home decor with DIY burlap pillows, showcasing your unique style and creativity while enjoying the cozy and rustic vibe they bring to any room.
Read more: How To Make Pillows Without Sewing
Materials Needed
Before diving into the sewing process, let’s gather all the materials you’ll need for this project. Here’s a list of what you’ll need:
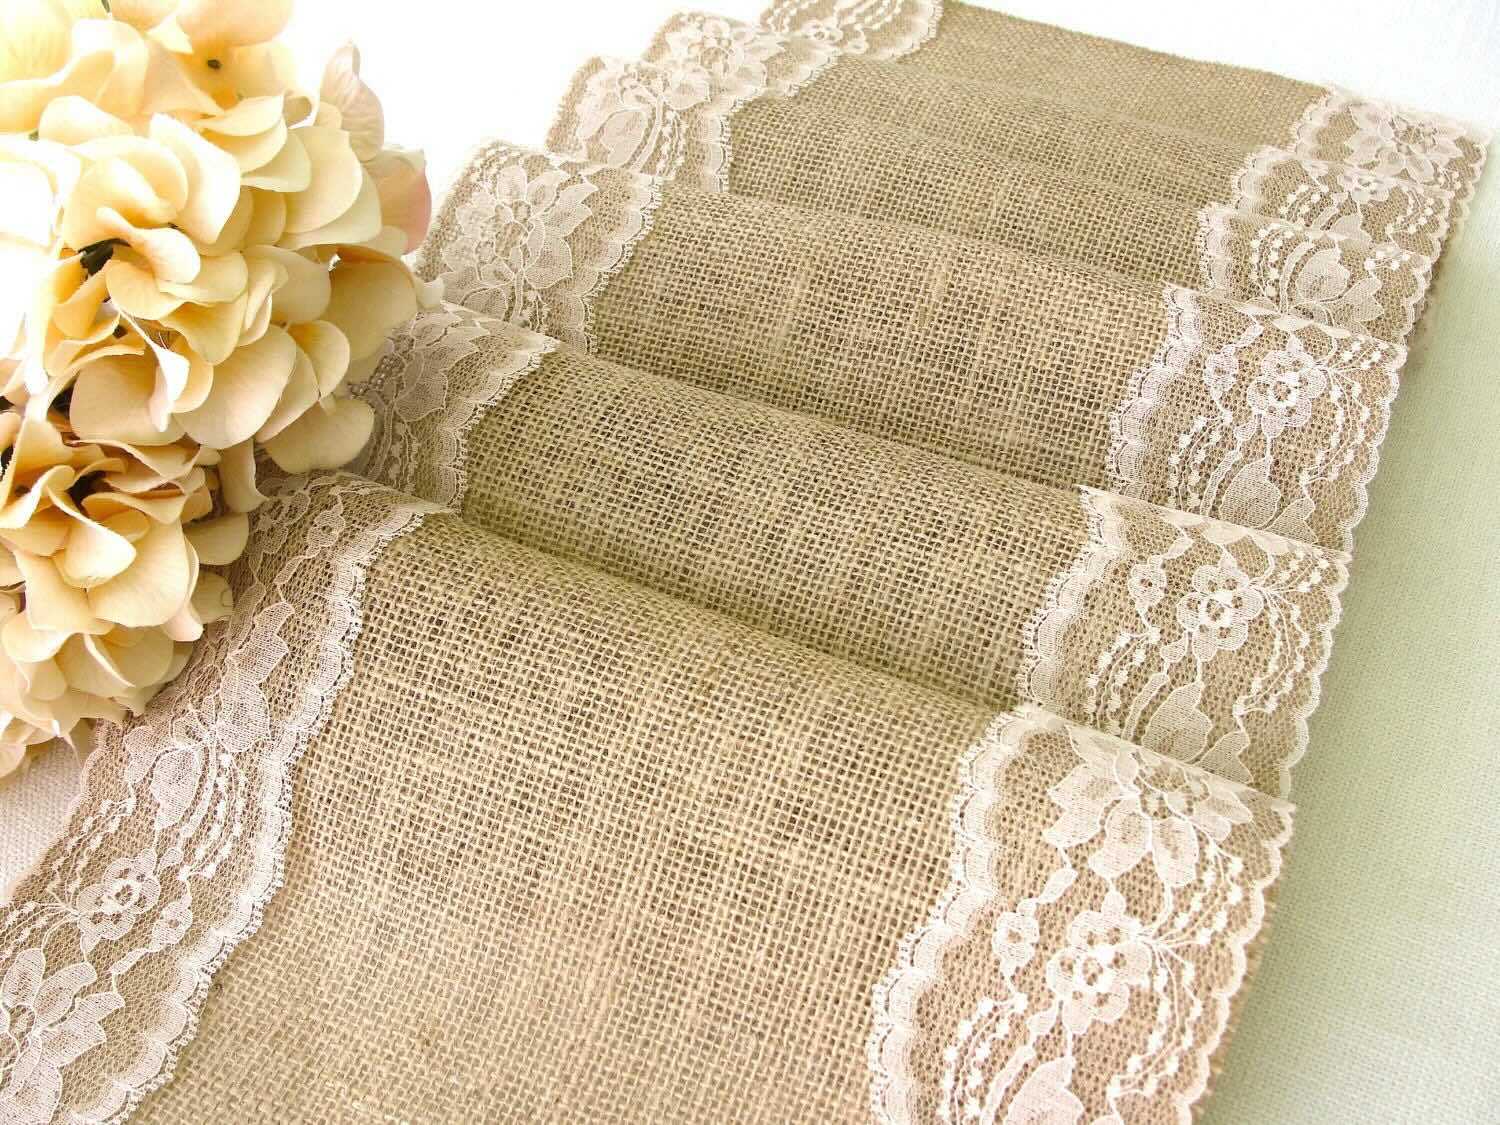
- Burlap fabric: Choose your desired size and color. Burlap comes in various widths, so select one that suits your pillow size preference.
- Pillow insert: Opt for a pillow insert that fits your burlap fabric. The size will depend on the measurements you choose for your pillow.
- Thread: Select a thread color that matches or complements your burlap fabric.
- Sewing machine: If you don’t have a sewing machine, you can hand sew the pillow, but using a machine will make the process faster and easier.
- Pins: These will help secure the fabric in place while you sew.
- Scissors: Essential for cutting the fabric to size.
- Measuring tape or ruler: Use this to measure and mark your fabric for cutting.
- Iron and ironing board: These will come in handy for pressing the fabric and creating crisp edges.
- Optional: Embellishments such as ribbon, buttons, or appliques to customize your pillow.
Now that you have all your materials ready, let’s move on to the next step: measuring and cutting the burlap fabric.
Step 1: Measuring and Cutting the Burlap Fabric
The first step in creating your burlap pillow is to measure and cut the fabric to the desired size. Follow these steps:
- Start by measuring your pillow insert. Take note of its dimensions, including length and width.
- Lay your burlap fabric on a flat surface, ensuring it is free from wrinkles or folds.
- Using a measuring tape or ruler, mark the measurements for your pillow on the burlap fabric.
- Add an extra inch to each side of your measurements to allow for seam allowances.
- Carefully cut along the marked lines using sharp scissors. Take your time to ensure clean and straight cuts.
- Once cut, fold over the edges of the fabric by about half an inch and press with an iron to create a neat fold. This will prevent fraying.
- Repeat the folding and ironing process on all four sides of the fabric.
Now that your burlap fabric is cut and edges are folded and pressed, it’s time to move on to the next step: sewing the burlap envelope.
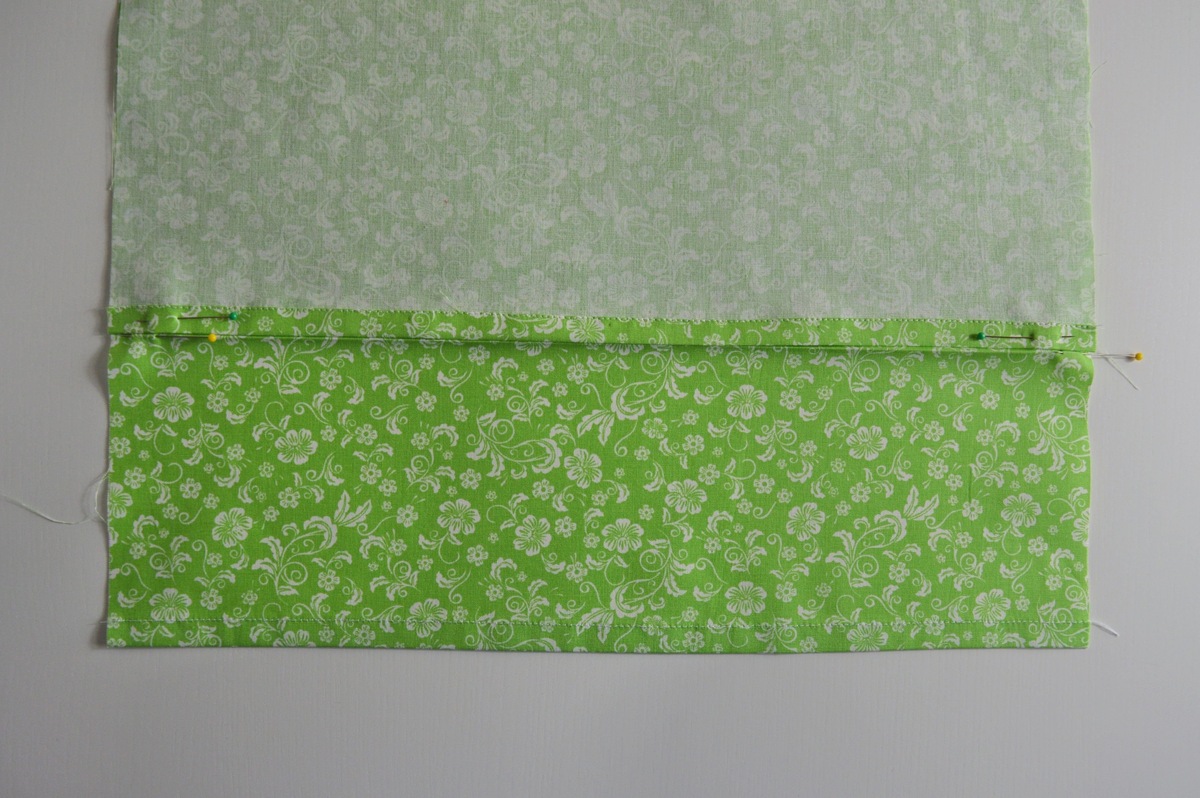
Step 2: Sewing the Burlap Envelope
Now that you have your burlap fabric prepared, it’s time to sew the envelope that will hold the pillow insert. Follow these steps:
- Position the burlap fabric with the folded edges facing towards the center.
- Align the top and bottom edges of the fabric, ensuring that the folded edges overlap each other.
- Use pins to secure the top and bottom layers of fabric together.
- Next, sew along the two side edges of the fabric, leaving the top and bottom edges open. Use a straight stitch or a zigzag stitch for added durability.
- Remove the pins and turn the fabric right side out. You should now have a burlap envelope with an opening at the top.
- Give the fabric a gentle press with an iron to smooth out any wrinkles.
Great job! You’ve successfully created the envelope for your burlap pillow. The next step is to insert the pillow and secure the envelope shut.
Step 3: Adding the Pillow Insert
With the burlap envelope sewn, it’s time to add the pillow insert to bring your burlap pillow to life. Follow these steps:
- Take your pillow insert and carefully insert it into the burlap envelope through the opening at the top.
- Make sure the corners of the pillow insert are properly aligned with the corners of the envelope.
- Gently fluff and adjust the pillow insert to ensure it fills the envelope completely.
- If necessary, use your hands to push the corners of the pillow insert into the corners of the envelope for a snug fit.
Once the pillow insert is securely placed inside the burlap envelope, it’s time to move on to the next step: sewing the envelope shut.
When sewing burlap pillows, use a heavy-duty needle to prevent the fabric from fraying and breaking. Additionally, consider using a serger or zigzag stitch to finish the edges for a clean look.
Read more: How To Make Burlap Tablecloths
Step 4: Sewing the Envelope Shut
Now that the pillow insert is in place, it’s time to close the opening of the burlap envelope to secure the pillow inside. Follow these steps:
- Pinch the top edges of the burlap envelope together, aligning them evenly.
- Using pins, secure the top edges of the envelope, making sure the fabric is held tightly together.
- Thread your sewing machine with a matching thread color or use a needle and thread for hand-sewing.
- Starting from one end, sew a straight stitch across the top edges of the envelope, keeping your stitches close together for a secure closure.
- If hand-sewing, use a slip stitch or a whip stitch to sew the edges of the envelope together.
- Once you reach the end, tie off the thread securely and trim any excess thread.
Fantastic work! Your burlap pillow is now securely closed, but if you’d like to add some decorative accents, follow along to the next step.
Step 5: Adding Decorative Accents (Optional)
If you want to elevate the look of your burlap pillow, you can add some decorative accents to give it a personal touch. Here are a few ideas to consider:
- Ribbon trim: Attach a strip of ribbon along the edges of the pillow using fabric glue or by sewing it directly onto the burlap.
- Button embellishments: Sew buttons in a pattern or arrangement of your choice onto the front of the pillow for added texture and visual interest.
- Appliques: Attach fabric appliques, such as flowers, stars, or shapes, onto the burlap using fabric glue or by stitching them in place.
- Embroidery: Add a personal touch by embroidering initials, a design, or a meaningful quote onto the burlap fabric.
- Fabric paint: Use fabric paint and a stencil to create unique patterns or designs on the front of the pillow.
Feel free to get creative and experiment with different decorative accents. Just remember to consider the overall style and theme of your space to ensure the accents complement the burlap pillow.
Now that you’ve added your desired decorative accents, let’s move on to the final step: caring for and maintaining your burlap pillows.
Step 6: Care and Maintenance of Burlap Pillows
Proper care and maintenance are essential to keep your burlap pillows looking their best. Follow these tips to ensure their longevity:
- Spot cleaning: If your burlap pillow gets dirty, gently spot clean the affected area with a mild detergent and a soft cloth or sponge. Avoid soaking or submerging the pillow, as it may cause damage to the fabric.
- Avoid machine washing: Burlap is known for its delicate nature, so it’s best to avoid machine washing. Always check the care instructions provided with your specific burlap fabric.
- Avoid direct sunlight: Burlap fabric may fade or discolor when exposed to direct sunlight for prolonged periods. Protect your burlap pillows by positioning them away from direct sunlight or using curtains or blinds to block the sun’s rays.
- Rotate and fluff: To prevent uneven wear, periodically rotate your burlap pillows by flipping them over or changing their positions. Additionally, give your pillows a gentle fluff to maintain their loftiness and shape.
- Store properly: If you need to store your burlap pillows, make sure they are clean and completely dry. Store them in a cool, dry place away from pests and excessive moisture to prevent any fabric damage.
By following these care guidelines, your burlap pillows will stay in great condition for years to come, adding warmth and character to your home.
Congratulations! You’ve successfully completed all the steps to sew burlap pillows and learned how to care for them. Enjoy the cozy and rustic vibe that these handmade pillows bring to your space.
Remember, burlap pillows make fantastic gifts for friends and loved ones, so don’t hesitate to share your newfound skills and creativity with others. Happy sewing!
Conclusion
Crafting your own burlap pillows is a satisfying and enjoyable DIY project that allows you to add a rustic touch to your home decor. With a few simple steps, you can create beautiful and personalized burlap pillows that reflect your unique style and creativity.
Throughout this article, we’ve covered everything you need to know, from measuring and cutting the burlap fabric to sewing the envelope and adding decorative accents. We’ve also discussed the importance of caring for and maintaining your burlap pillows to ensure their longevity.
By taking the time to select the right materials, measure accurately, and pay attention to the details in the sewing process, you can create stunning burlap pillows that will enhance the ambiance of any room. Whether you use them as throw pillows on your couch, as accents on your bed, or as statement pieces on your patio furniture, burlap pillows will add a touch of rustic charm and natural beauty to your space.
Remember to let your creativity shine by adding decorative accents such as ribbons, buttons, or appliques to truly make your burlap pillows one-of-a-kind. You can also experiment with different colors, textures, and patterns to match your existing decor or create a striking contrast.
With proper care and maintenance, your burlap pillows will continue to bring warmth and character to your space for years to come. Spot cleaning, avoiding direct sunlight, and proper storage are key to preserving the beauty and integrity of the fabric.
So, gather your materials, fire up your sewing machine, and let your imagination run wild as you embark on the journey of creating your very own burlap pillows. Enjoy the process, embrace your creativity, and bask in the satisfaction of transforming a simple material into a functional piece of art.
Happy sewing and decorating!
Frequently Asked Questions about How To Sew Burlap Pillows
Was this page helpful?
At Storables.com, we guarantee accurate and reliable information. Our content, validated by Expert Board Contributors, is crafted following stringent Editorial Policies. We're committed to providing you with well-researched, expert-backed insights for all your informational needs.


0 thoughts on “How To Sew Burlap Pillows”