
Articles
How To Shorten An Electrical Cord
Modified: October 20, 2024
Learn how to properly shorten an electrical cord with this comprehensive article. Find step-by-step instructions, safety tips, and expert advice.
(Many of the links in this article redirect to a specific reviewed product. Your purchase of these products through affiliate links helps to generate commission for Storables.com, at no extra cost. Learn more)
Introduction
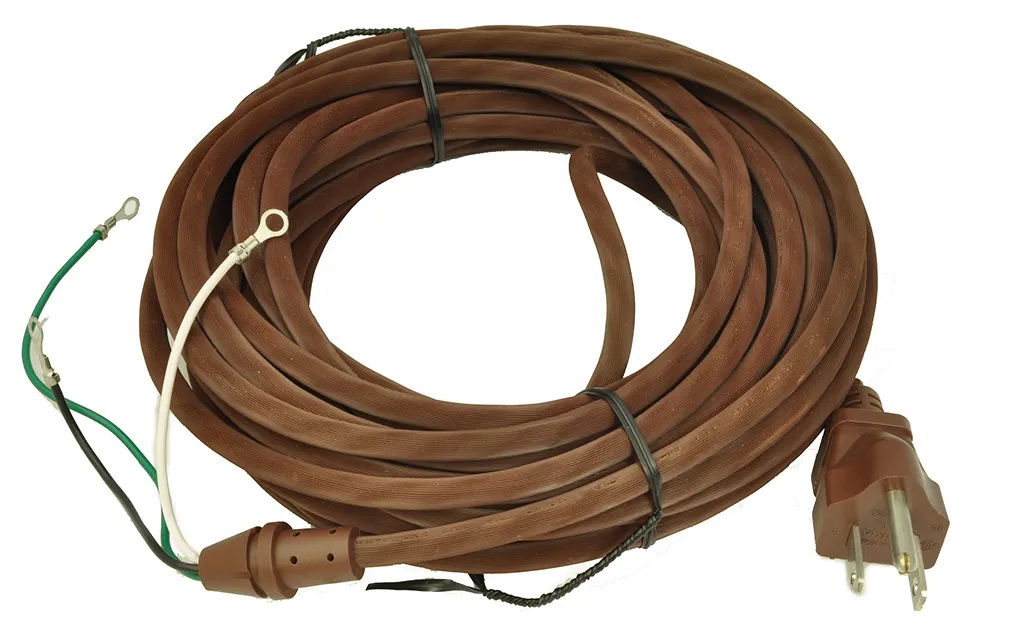
Electrical cords are an essential part of our daily lives. They power our appliances, tools, and electronics, allowing us to conveniently use them wherever we need. However, sometimes the length of a cord can be too long for our specific needs, leading to a messy and potentially hazardous situation.
Whether you have an excessively long cord that needs to be tidied up or you want to repurpose a cord for a different use, shortening an electrical cord is a simple process that you can do yourself. In this article, we will guide you through the steps to safely and effectively shorten an electrical cord, ensuring that it remains functional and safe to use.
Before diving into the process, it’s crucial to prioritize safety. Working with electricity can be dangerous, so it’s important to take necessary precautions to protect yourself from any potential hazards. Always disconnect the cord from the power source and wear appropriate protective gear, such as insulated gloves, before starting any electrical work.
Now that safety is at the forefront, let’s proceed with the step-by-step process of shortening an electrical cord to fit your specific needs.
Key Takeaways:
- Shortening an electrical cord is a manageable DIY task with the right tools and precautions. Prioritize safety, measure accurately, and insulate connections to ensure a safe and functional shortened cord for your specific needs.
- Before embarking on shortening an electrical cord, prioritize safety by disconnecting from the power source, wearing protective gear, and working in a well-ventilated area. Gather the necessary tools, measure and mark the desired length accurately, and follow the step-by-step process to safely and effectively shorten the cord.
Read more: How To Tie An Electrical Cord
Safety Precautions
Before embarking on any electrical work, it’s essential to prioritize your safety. Here are some crucial safety precautions to keep in mind when shortening an electrical cord:
- Disconnect the cord from the power source: Before working on the cord, make sure it is unplugged from the power outlet or disconnected from any power source. This step will reduce the risk of electric shock.
- Wear protective gear: To protect yourself from electrical hazards, it’s important to wear insulated gloves and safety glasses. These will provide an extra layer of protection against potential electrical shocks or flying debris.
- Work in a well-ventilated area: Adequate ventilation is important to avoid inhaling any fumes or dust particles that may be generated during the process of shortening the cord. Open windows and use fans if necessary.
- Inspect the cord for damage: Before starting the process, closely examine the cord for any signs of damage, such as frayed insulation, exposed wires, or loose connectors. If you notice any issues, it’s best to replace the entire cord rather than attempting to shorten it.
- Use appropriate tools: Ensure that you have the necessary tools for the job, such as wire cutters, wire strippers, and electrical tape. Using the right tools will make the process easier and safer.
- Take breaks when needed: Working with electrical cords can be physically demanding. If you start feeling fatigued or overwhelmed, take regular breaks to avoid making any mistakes due to exhaustion.
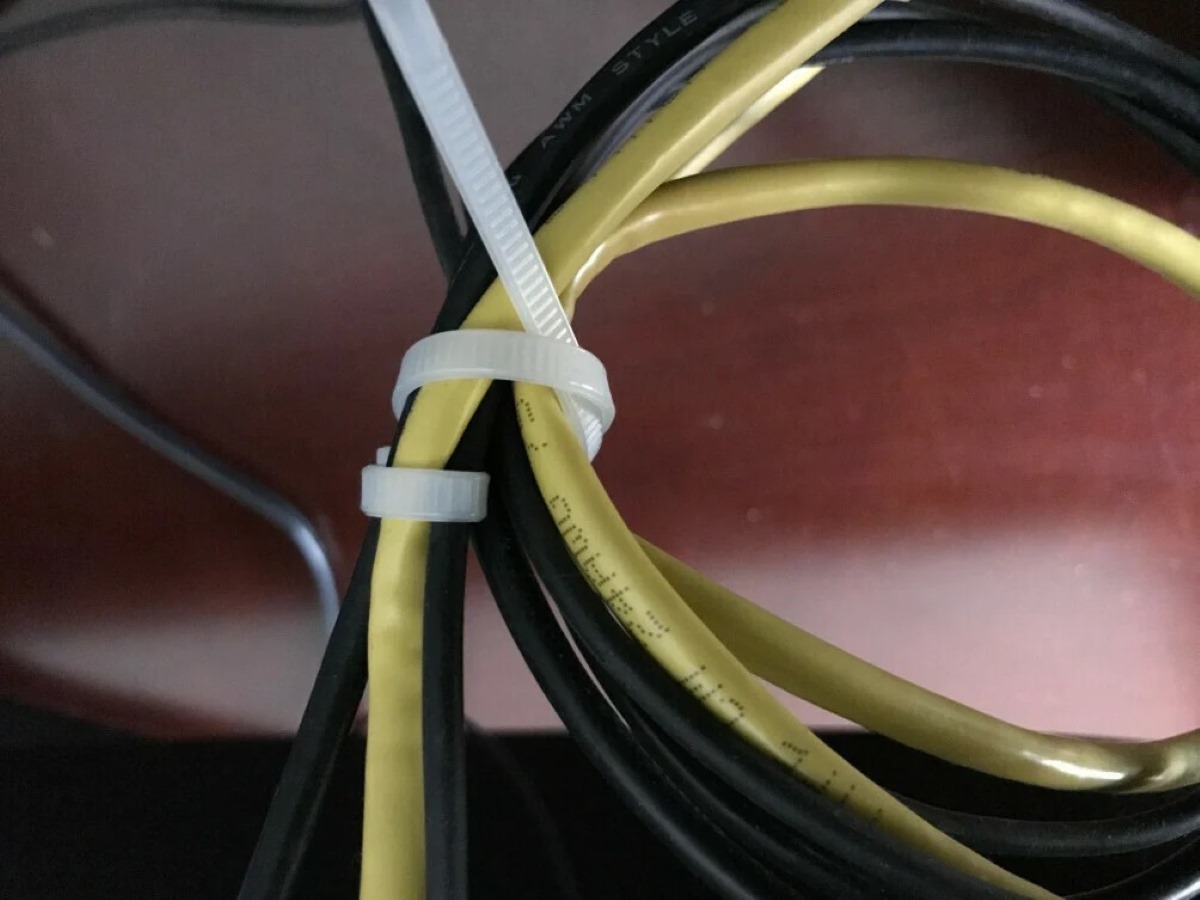
- Dispose of the excess cord properly: After shortening the cord, make sure to dispose of the excess length properly. Coil it up and secure it with twist ties or zip ties before storing it away or recycling it.
By following these safety precautions, you can minimize the risk of accidents or injuries while working with electrical cords. Remember, safety should always be the top priority when dealing with electricity.
Step 1: Gather the necessary tools
Before you start shortening an electrical cord, it’s important to gather all the necessary tools. Having the right tools on hand will make the process easier and more efficient. Here are the tools you will need:
- Wire cutters: Wire cutters are essential for cutting through the electrical cord. Make sure you have a pair of wire cutters with sharp, clean blades to ensure a smooth and precise cut.
- Wire strippers: Wire strippers are used to remove the insulation from the cut ends of the cord. They have various-sized stripping holes to accommodate different wire sizes. Choose a wire stripper that matches the gauge of your cord.
- Electrical tape: Electrical tape is used to insulate the connections between the shortened cord and the plug or socket. Make sure to use high-quality electrical tape that is designed for this purpose.
- Insulated gloves: Insulated gloves provide protection against electric shock. They are essential when working with electricity, especially when cutting and stripping wires.
- Safety glasses: Safety glasses protect your eyes from any potential debris or sparks that may occur during the process. They are particularly important when cutting and stripping wires.
- Measuring tape: A measuring tape is necessary to determine the desired length for your shortened cord. Make sure to use a reliable and accurate measuring tape for precise measurements.
Having these tools ready and easily accessible before you start the process will help you stay organized and work efficiently. Make sure to double-check that you have all the necessary tools to avoid any delays or interruptions during the process.
Step 2: Measure and mark the desired length
Once you have gathered all the necessary tools, it’s time to measure and mark the desired length for your shortened electrical cord. Follow these steps:
- Uncoil the entire length of the cord: Lay the cord out on a flat surface, making sure it is fully extended and free from any knots or tangles. This will allow you to accurately measure and mark the desired length.
- Decide on the length of the shortened cord: Determine how long you want the cord to be based on your specific needs. Consider factors such as the distance from the power source and the location of the device or appliance you will be using with the cord. Measure carefully to ensure accuracy.
- Mark the desired length: Using a measuring tape, measure from the end of the cord to the desired length. Make a clear mark on the cord with a pen or marker. You can place a small piece of masking tape or painter’s tape around the cord to mark the desired length if you prefer a more temporary and easily removable marking.
- Double-check the measurement: Once you have marked the desired length on the cord, double-check the measurement to ensure accuracy. Mistakes in measuring can lead to an incorrect length, which may impact the functionality or safety of the shortened cord.
By taking the time to measure and mark the desired length accurately, you will ensure that your shortened electrical cord fits your needs precisely. This step sets the foundation for the next steps in the process, so be diligent in your measurements.
Step 3: Cut the cord
With the desired length marked on the cord, it’s time to proceed with cutting the cord. Follow these steps to safely and accurately cut the cord:
- Put on your insulated gloves and safety glasses for protection.
- Locate the marked spot on the cord: Find the mark you made on the cord to indicate the desired length for the shortened cord. Ensure that the cord is still straight and properly aligned.
- Use wire cutters to make the cut: Hold the wire cutters perpendicular to the cord and position the blades at the marked spot. Apply steady pressure and cut through the cord in one smooth motion. Be cautious not to accidentally cut any other nearby cords or wires.
- Inspect the cut ends: After cutting the cord, inspect the cut ends to ensure a clean and even cut. Trim any frayed or uneven edges if necessary.
It’s important to note that once the cord is cut, it cannot be lengthened again. Therefore, double-check the measurement and confirm that you are satisfied with the length before proceeding with the cut.
By accurately cutting the cord at the marked spot, you are one step closer to achieving your desired shortened cord length. Proceed to the next step to prepare the cut ends for reconnecting.
When shortening an electrical cord, always make sure to disconnect the cord from the power source before cutting or altering it. Use proper tools and techniques to avoid damaging the cord or causing a safety hazard.
Read more: How To Cut An Electrical Cord
Step 4: Strip the insulation
After cutting the cord to the desired length, the next step is to strip the insulation from the cut ends. This will expose the inner wires for the next step of reconnecting. Follow these steps to strip the insulation:
- Put on your insulated gloves and safety glasses for protection.
- Identify the insulation material: Determine the type of insulation material used on your cord. This can vary depending on the cord, but it is typically made of plastic or rubber.
- Choose an appropriate wire stripper: Select a wire stripper that matches the gauge of your cord. It should have holes or notches specifically designed for stripping the insulation from the wires.
- Position the wire stripper: Hold the cut end of the cord firmly and position the wire stripper around the cord, slightly above the marked spot. Make sure the blades of the wire stripper are positioned on the insulation, not the wires.
- Apply gentle pressure and rotate: Squeeze the wire stripper handles to apply gentle pressure. While maintaining pressure, rotate the wire stripper around the cord in a complete circle. This will create a score or groove on the insulation.
- Remove the insulation: After scoring the insulation, release the pressure on the wire stripper and move it slightly away from the score. Grip the insulation, and using a twisting motion, pull the insulation away from the wires. It should come off easily, exposing the inner wires.
- Repeat on the other cut end: Repeat the stripping process on the other cut end of the cord, ensuring that both ends have the same length of insulation removed.
Remember to be careful while stripping the insulation to avoid damaging the wires inside. Take your time and work slowly to ensure a clean and precise strip.
Once the insulation is stripped, you are ready for the next step of reconnecting the ends. Take caution to prevent any metal parts or wires from coming into contact with each other or with any conductive surfaces until the insulation is restored in the final step.
Step 5: Reconnect the ends
Once you have stripped the insulation from the cut ends of the electrical cord, it’s time to reconnect the ends. Follow these steps to successfully reconnect the wires:
- Ensure the cut ends are straight: Before reconnecting the ends, make sure that the exposed wires are straight and free from any frayed or damaged ends. If necessary, trim any uneven or damaged portions of the wires.
- Twist the matching wires together: Identify the matching wires from each end of the cord. Typically, there will be a colored wire and a neutral wire. Twist the matching wires together tightly, ensuring a secure connection.
- Inspect the connection: After twisting the wires together, closely examine the connection to ensure that the exposed wires are tightly and securely joined. There should be no loose or exposed wire ends.
- Apply electrical tape: Once the wires are securely joined, wrap electrical tape tightly around the exposed wires, covering the connection completely. Make sure to extend the tape past the exposed wire ends to provide additional insulation.
- Repeat for any additional wires: If your electrical cord has additional wires for grounding or other purposes, follow the same process of matching and connecting the wires, ensuring a secure connection and applying electrical tape.
Properly reconnecting the wires is crucial to ensure the electrical integrity of the cord. Take your time during this step to ensure that the connections are secure and well-insulated to avoid any electrical hazards.
With the ends reconnected, you are ready to proceed to the next step of insulating the connections for added safety.
Step 6: Insulate the connections
After reconnecting the ends of the electrical cord, it’s important to insulate the connections to ensure safety and protect against electrical hazards. Follow these steps to properly insulate the connections:
- Carefully inspect the connections: Before proceeding, inspect the wire connections to ensure they are secure and properly joined. Look for any exposed wires or loose connections, and fix them if necessary.
- Begin wrapping with electrical tape: Start by wrapping the electrical tape tightly around the connection, covering the exposed wires and extending beyond the connection on both sides. Ensure that the entire connection is wrapped with at least two layers of tape.
- Stretch and pull the tape: As you wrap the connection, stretch and pull the electrical tape slightly. This will help create a tight and secure seal around the connection and provide added insulation.
- Continue wrapping the entire length: Continue wrapping the electrical tape along the length of the exposed wires, extending the tape beyond the connection on both sides. This will provide overall insulation and security for the entire connection.
- Overlap the layers: As you wrap the electrical tape, ensure that each new layer overlaps the previous layer to create a solid and continuous seal. This will prevent any gaps or exposed areas in the insulation.
- Secure the ends of the tape: Once you reach the end of the connection, wrap the electrical tape tightly around itself to secure the ends. This will prevent the tape from unraveling over time.
- Repeat for any additional connections: If your electrical cord has multiple connections, repeat the process of insulating each one with electrical tape.
Insulating the connections with electrical tape is crucial for ensuring the safety and longevity of the shortened electrical cord. Proper insulation prevents any potential electrical shocks or short circuits, so take the time to wrap the connections securely and thoroughly.
With the connections insulated, you are ready for the final step of testing the shortened cord before putting it to use.
Step 7: Test the shortened cord
Before using the shortened electrical cord, it’s essential to test it for functionality and safety. Follow these steps to properly test the cord:
- Ensure the cord is disconnected from any power source: Make sure that the cord is fully disconnected from the power outlet or any other power source before proceeding with the testing.
- Perform a visual inspection: Examine the entire length of the cord, including the connections and the insulation. Look for any signs of damage, such as frayed wires, exposed contacts, or loose connections. If you notice any issues, do not proceed with the testing and address the problem accordingly.
- Plug the shortened cord into a suitable outlet: Insert the plug of the shortened cord into a suitable power outlet. Ensure that the outlet is in good working condition and properly grounded.
- Power on the device or appliance: If you are using the shortened cord with a specific device or appliance, turn on the device to test its functionality. Ensure that it is receiving power and operating as expected.
- Check for any abnormalities: While the device is powered on, closely monitor the cord for any signs of overheating, sparks, or unusual noises. If you notice any abnormalities, immediately unplug the cord and address the issue before using it further.
- Test with a volt meter (optional): If you have access to a volt meter, you can use it to measure the voltage on the shortened cord to ensure it is within the appropriate range. Follow the instructions provided with the volt meter for accurate readings and interpretation.
By thoroughly testing the shortened cord, you can ensure that it is safe to use and functions properly. If any issues or concerns arise during testing, discontinue the use of the cord and seek professional assistance if needed.
With the shortened cord successfully tested and deemed safe, you can now confidently use it for your desired purposes.
Read more: How To Shorten Drapes
Conclusion
Shortening an electrical cord may seem like a daunting task, but with the right tools, knowledge, and precautions, it can be easily accomplished. By following the steps outlined in this guide, you can safely and effectively shorten an electrical cord to fit your specific needs.
Remember, safety should always be the top priority when working with electricity. Before starting the process, ensure that the cord is disconnected from any power source and wear the necessary protective gear, such as insulated gloves and safety glasses.
Gather the necessary tools, including wire cutters, wire strippers, and electrical tape. Measure and mark the desired length on the cord, ensuring accuracy. Cut the cord at the marked spot, inspecting the cut ends for a clean and even cut.
Strip the insulation from the cut ends, being careful not to damage the wires. Reconnect the ends by twisting the matching wires together and secure them with electrical tape. Insulate the connections by wrapping electrical tape tightly around them, overlapping the layers for a solid and continuous seal.
Finally, test the shortened cord for functionality and safety before putting it to use. Look for any abnormalities, such as overheating or sparks, and discontinue use if any issues arise.
By following these steps, you can successfully shorten an electrical cord and have a neatly organized and safe solution for your power needs. Always remember to prioritize safety and if you are unsure or uncomfortable with any aspect of the process, consult a professional for assistance.
Now that you have the knowledge and guidance, go ahead and confidently tackle the task of shortening your electrical cord. Enjoy the convenience and functionality of a cord that fits your specific needs!
Frequently Asked Questions about How To Shorten An Electrical Cord
Was this page helpful?
At Storables.com, we guarantee accurate and reliable information. Our content, validated by Expert Board Contributors, is crafted following stringent Editorial Policies. We're committed to providing you with well-researched, expert-backed insights for all your informational needs.


0 thoughts on “How To Shorten An Electrical Cord”