Articles
How To Sister Floor Joist
Modified: January 6, 2024
Learn how to sister floor joists with our informative articles. Improve the structural integrity of your floors with our step-by-step guide.
(Many of the links in this article redirect to a specific reviewed product. Your purchase of these products through affiliate links helps to generate commission for Storables.com, at no extra cost. Learn more)
Introduction
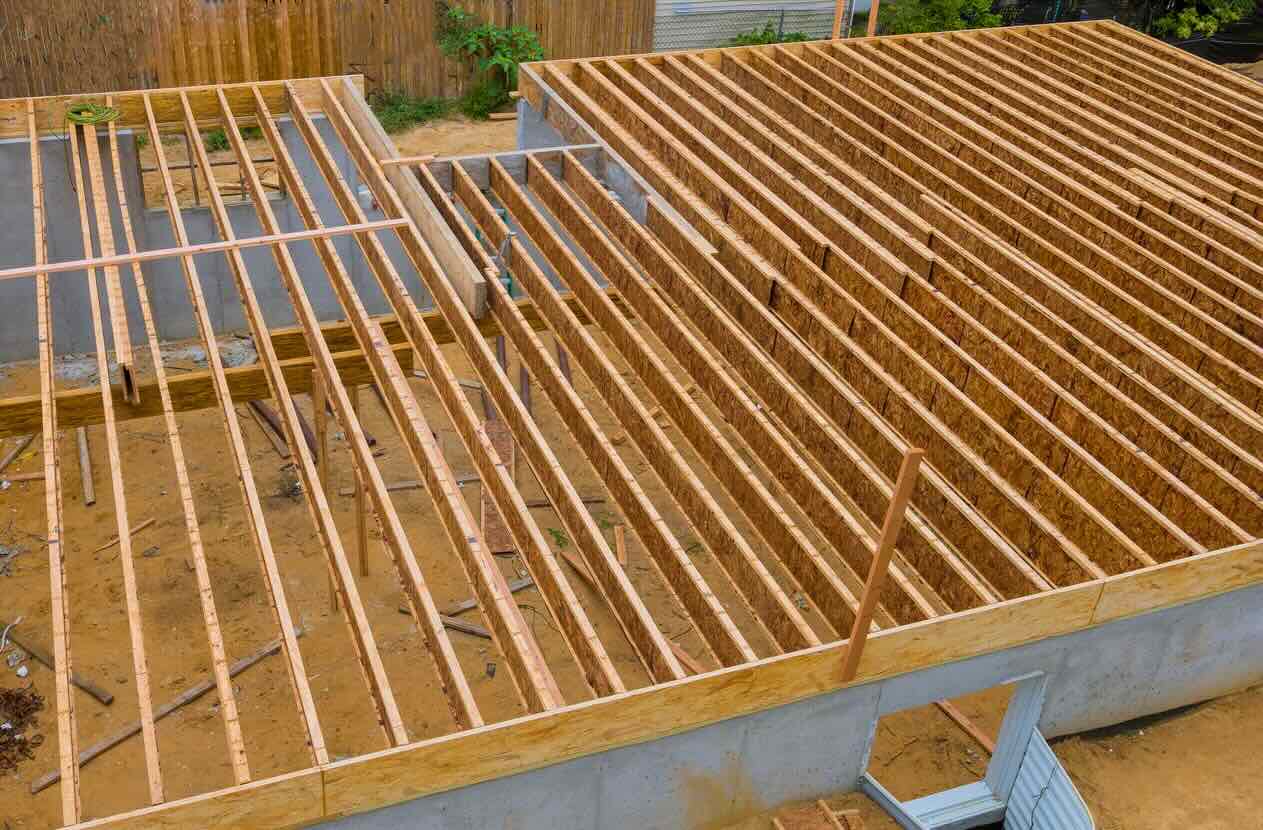
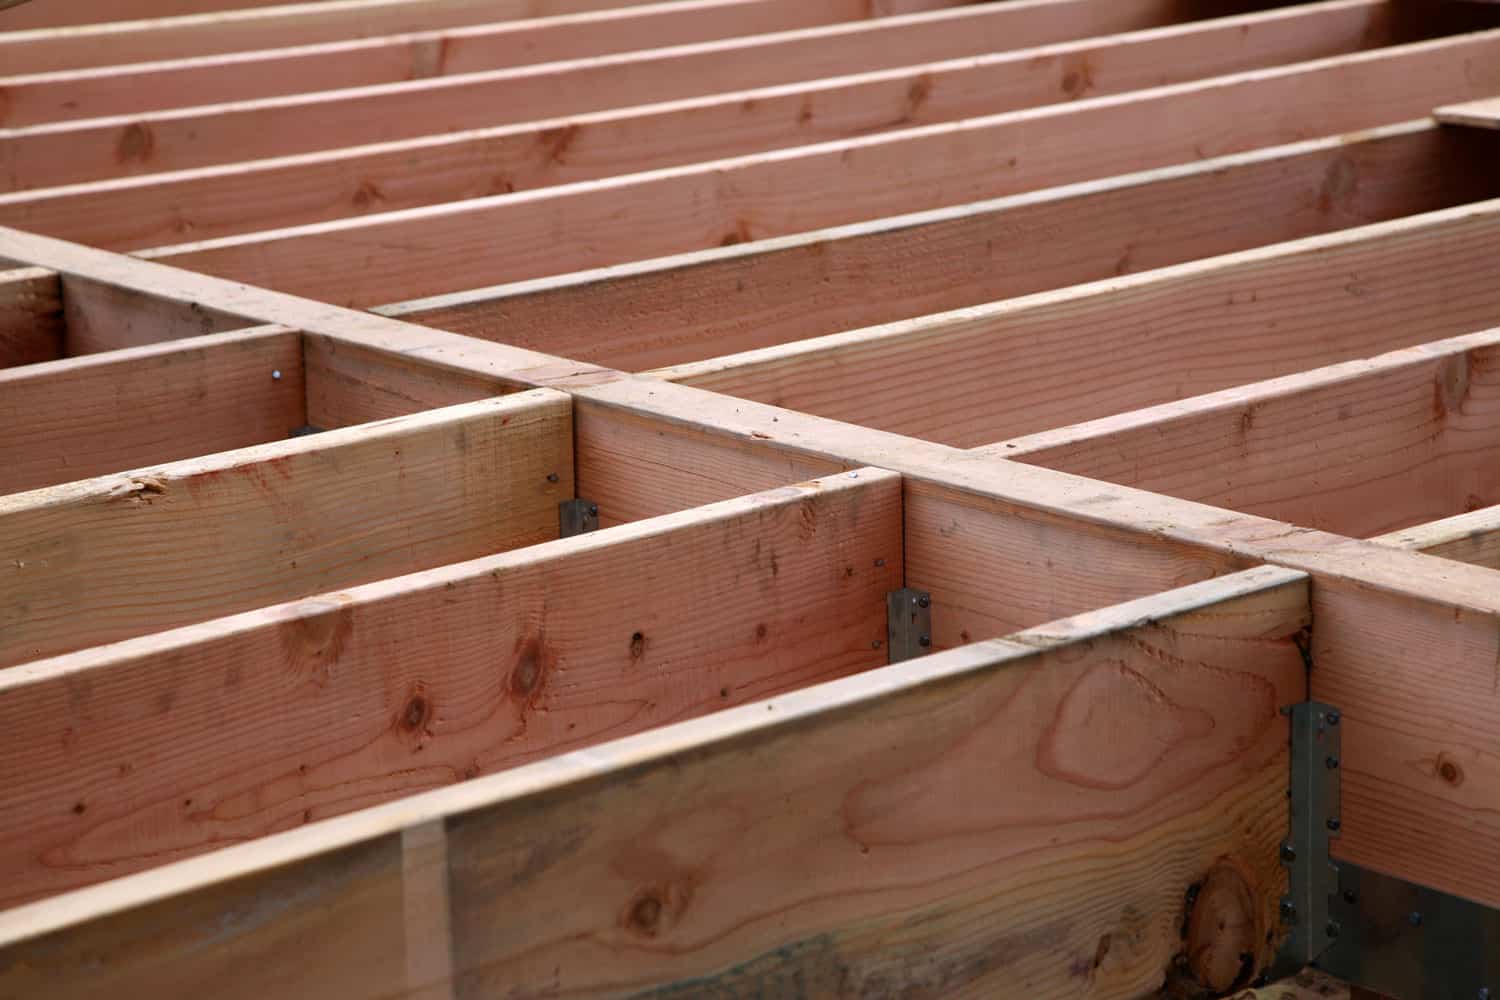
Floor joists play a crucial role in supporting the weight of a floor and distributing it evenly to the underlying foundation. Over time, however, these structural components can weaken or experience damage due to various factors such as age, moisture, pests, or improper installation. When this happens, it’s essential to address the issue promptly to maintain the structural integrity of your home or building.
One common method used to repair and reinforce floor joists is called “sistering.” Sistering floor joists involves installing new joists next to the existing ones to provide additional support and strength. This technique is especially useful when dealing with damaged or weakened joists.
In this article, we will explore what sistering floor joists entails, why it might be necessary, the tools and materials required, as well as a step-by-step guide to help you successfully complete the process.
Key Takeaways:
- Sistering floor joists is a crucial technique for reinforcing weakened or damaged joists, preventing further structural issues, and ensuring the stability of your floor system.
- Consulting with professionals, gathering the necessary tools and materials, and following a step-by-step guide are essential for a safe and successful sistering process.
Read more: What Is A Floor Joist
What Is Sistering Floor Joists?
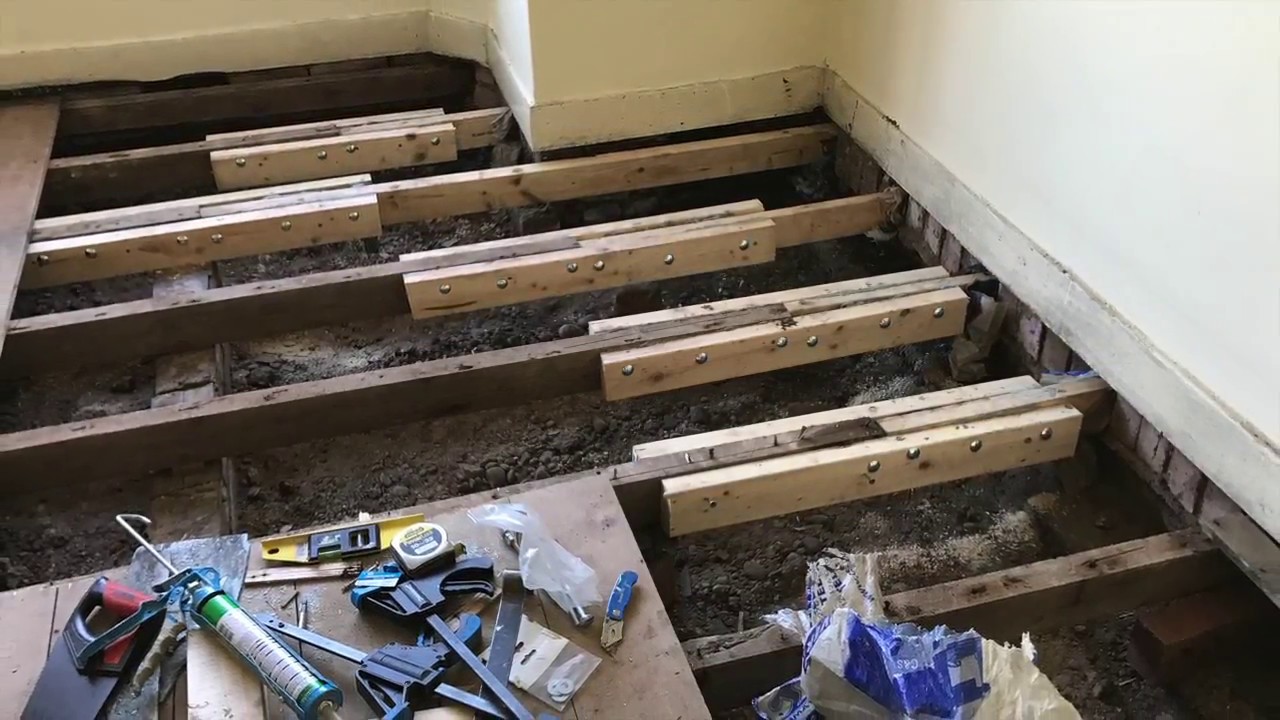
Sistering floor joists is a method of reinforcing weakened or damaged joists by adding new joists next to the existing ones. This technique helps distribute the weight load more evenly and provides additional support to the floor structure. Essentially, the new joists “sister” the existing ones, forming a stronger structural connection.
The sistering process involves attaching the new joist to the existing one using nails, screws, or adhesives. The new joist should be of the same size and length as the original joist to ensure uniformity and strength. It’s crucial to align the tops and bottoms of the new and existing joists to maintain a level floor surface.
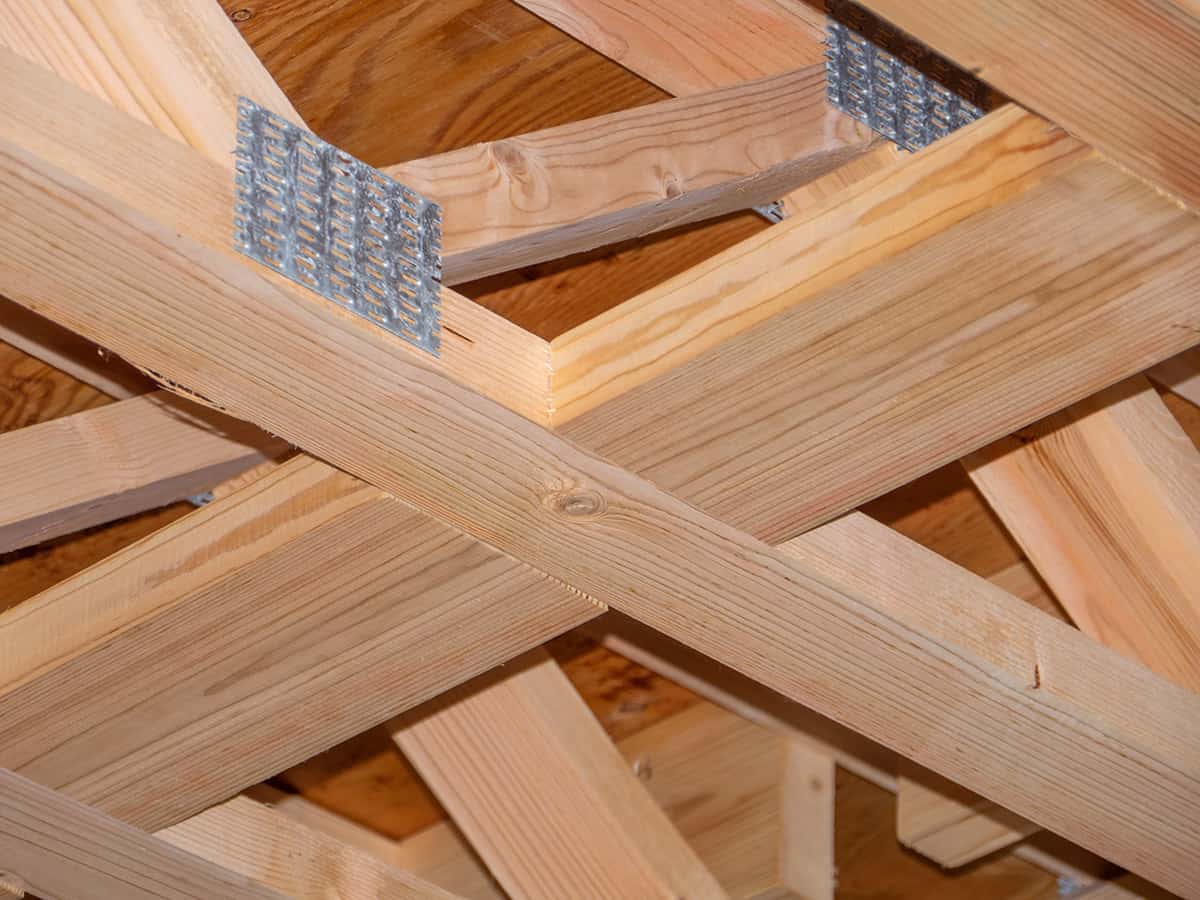
Sistering floor joists can be performed on both primary floor joists and secondary joists, such as bridging joists or trimmer joists. It’s important to assess the condition of the joists and consult with a structural engineer or a professional contractor before proceeding with the sistering process. They can provide guidance on the specific requirements of your building or home.
Sistering floor joists has several benefits. It increases the load-bearing capacity of the floor system, strengthens weak or damaged joists, and prevents further sagging or bending. This method can extend the lifespan of the floor structure and restore its stability and integrity.
It’s worth noting that sistering is not a suitable solution for severely compromised or rotted joists. In such cases, it may be necessary to replace the entire joist instead of sistering it. Professional assessment is essential to determine the most appropriate course of action based on the severity and extent of the damage.
Now that we have a basic understanding of what sistering floor joists entails, let’s delve into the reasons why you might need to sister floor joists in the next section.
Why Would You Need to Sister Floor Joists?
There are several reasons why you might need to sister floor joists in your home or building. Identifying these reasons is crucial to determine if sistering is the right solution for your specific situation. Here are some common scenarios where sistering floor joists becomes necessary:
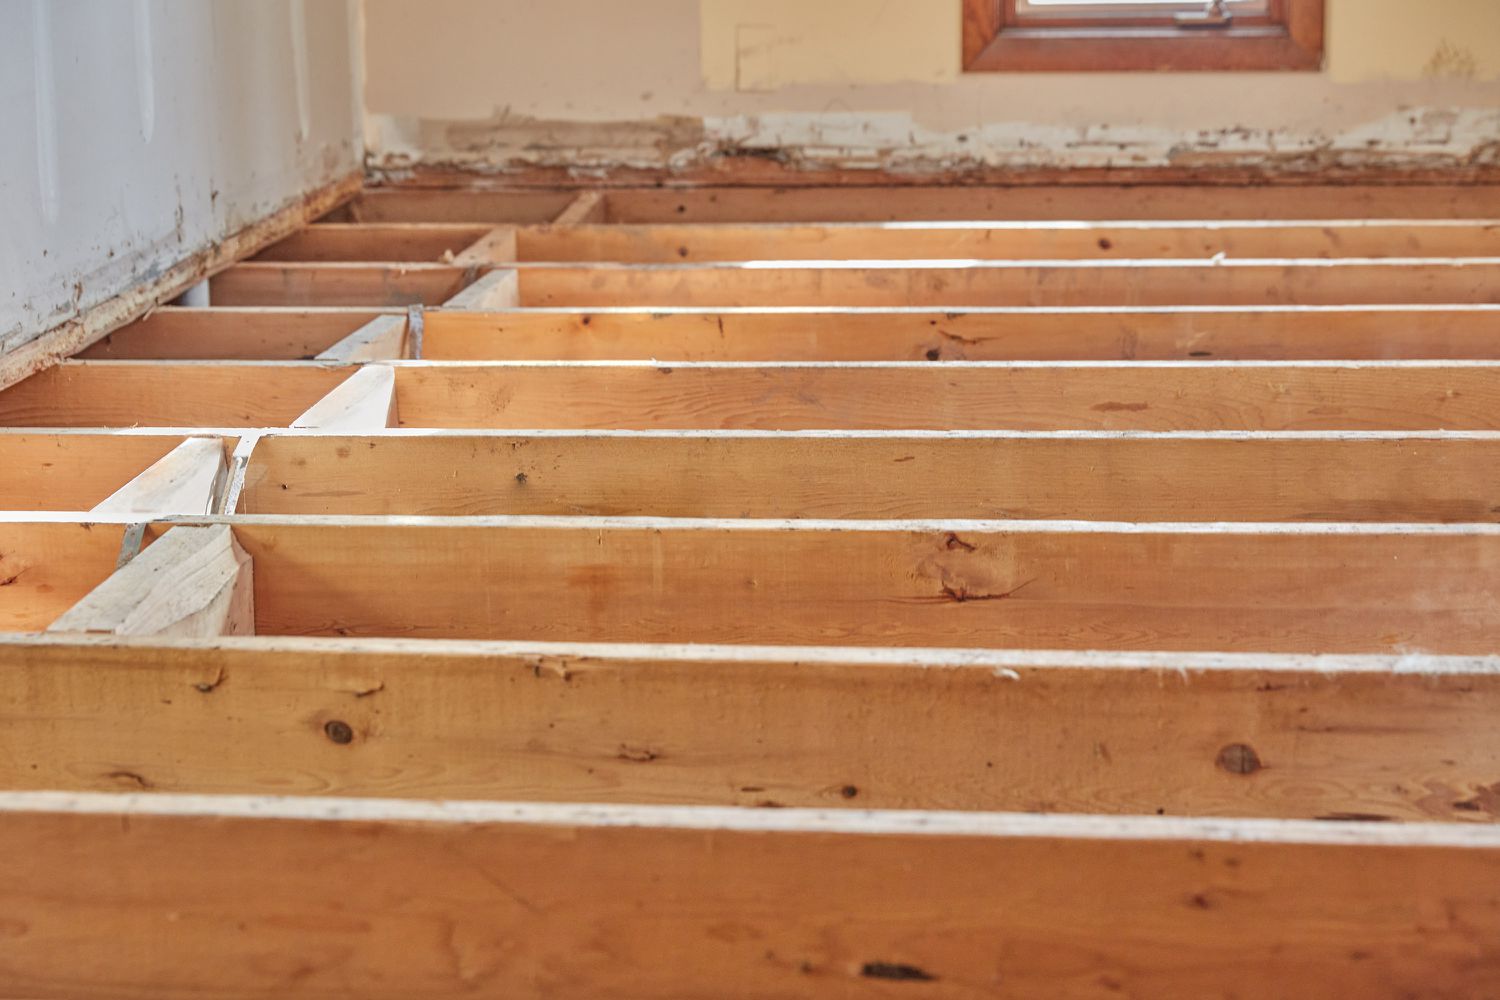
- Signs of Structural Damage: If you notice sagging, bouncing, or unevenness in your floors, it could be indicative of weakened or damaged floor joists. Sistering can help reinforce these compromised joists and restore the stability of your floor system.
- Age and Wear: Over time, floor joists can deteriorate due to normal wear and tear. If your home or building is older, it is not uncommon for the floor joists to weaken or show signs of age-related damage. Sistering can provide the necessary support to prevent further degradation.
- Water or Moisture Damage: Exposure to moisture, whether from plumbing leaks, flooding, or high humidity, can lead to rotting or weakening of wooden floor joists. Sistering can address the damage caused by water and reinforce the affected joists.
- Pest Infestation: Insect or rodent infestations can damage wooden structures, including floor joists. If you suspect or have evidence of pest activity in your home, it’s essential to assess the integrity of your floor system and consider sistering as a solution.
- Remodeling or Renovation: When undertaking remodeling projects, you may encounter floor joists that are not up to code or do not meet the requirements of the new design. Sistering can help strengthen the existing joists and ensure compliance with building regulations.
- Improper Installation: If the original floor joists were poorly installed or not adequately supported, they may not be capable of carrying the required load. Sistering can correct the installation deficiencies and provide the necessary reinforcement.
It’s important to note that sistering floor joists should be approached with careful consideration and in consultation with professionals. Structural engineers or experienced contractors can assess the condition of your floor system, recommend the appropriate course of action, and ensure that the sistering process is done correctly to achieve the desired results.
In the next section, we will look at the tools and materials required for sistering floor joists.
Tools and Materials Required
Before you begin sistering floor joists, it’s essential to gather the necessary tools and materials. Having everything prepared beforehand will ensure a smooth and efficient process. Here is a list of tools and materials commonly used for sistering floor joists:
Tools:
- Hammer or nail gun
- Power drill
- Saw (circular saw or reciprocating saw)
- Tape measure
- Chalk line
- Level
- Speed square
- Pry bar or crowbar
- Safety goggles
- Work gloves
Read more: How To Strengthen Floor Joists
Materials:
- New joists: Measure the length and size of the existing joists to determine the dimensions required for the new joists. Use the same type of wood or a stronger species if possible.
- Construction adhesive: Used to enhance the bond between the existing and new joists.
- Nails or screws: Choose appropriate fasteners based on the size and type of the joists. Galvanized or coated fasteners are recommended for improved corrosion resistance.
- Shims: These thin, wedge-shaped pieces of wood can be used to level the floor if needed.
- Lumber blocking (optional): If the existing joists are severely weakened, additional support can be provided by installing blocking between the joists.
Remember to wear appropriate safety gear, such as safety goggles and work gloves, while working with tools and materials to protect yourself from potential hazards.
Once you have gathered all the necessary tools and materials, you’re ready to proceed with sistering the floor joists. The step-by-step guide in the next section will take you through the process, ensuring you have a clear understanding of each step along the way.
Step-by-Step Guide to Sistering Floor Joists
Sistering floor joists can be a relatively straightforward process if approached with careful planning and attention to detail. Here is a step-by-step guide to help you through the process:
- Assess the condition: Examine the existing floor joists to determine the extent of the damage or weakness. Identify the areas that require sistering and note the measurements for the new joists.
- Prepare the work area: Clear the area surrounding the joists and remove any obstacles that may hinder the sistering process. Ensure you have sufficient space to work comfortably.
- Measure and cut the new joists: Using the measurements taken during the assessment, cut the new joists to match the length and size of the existing joists. Ensure they are properly aligned and level.
- Apply construction adhesive: Apply a generous amount of construction adhesive to the surface of the existing joists. This will help create a strong bond between the old and new joists.
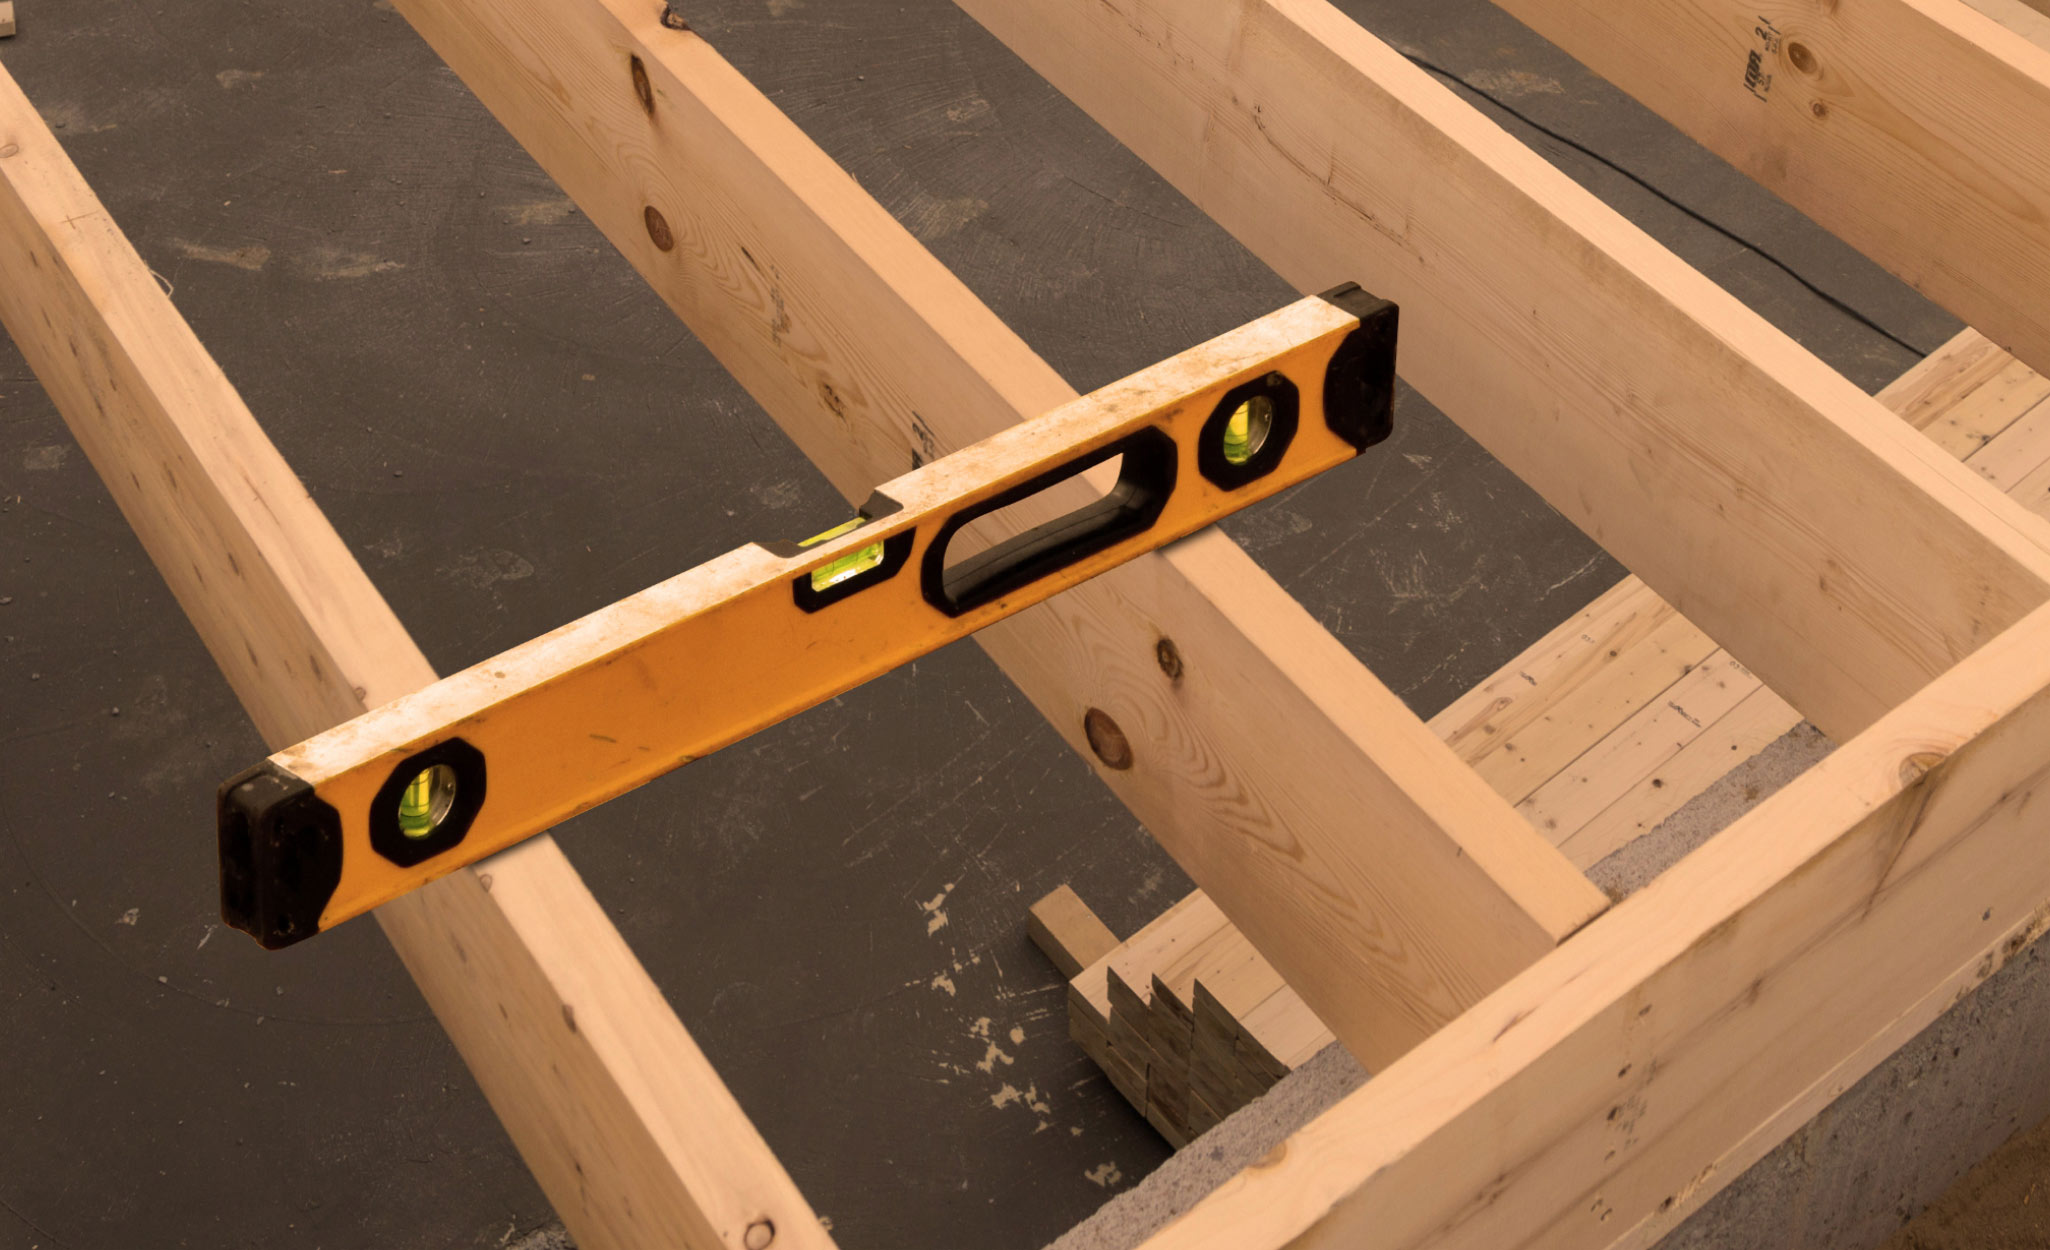
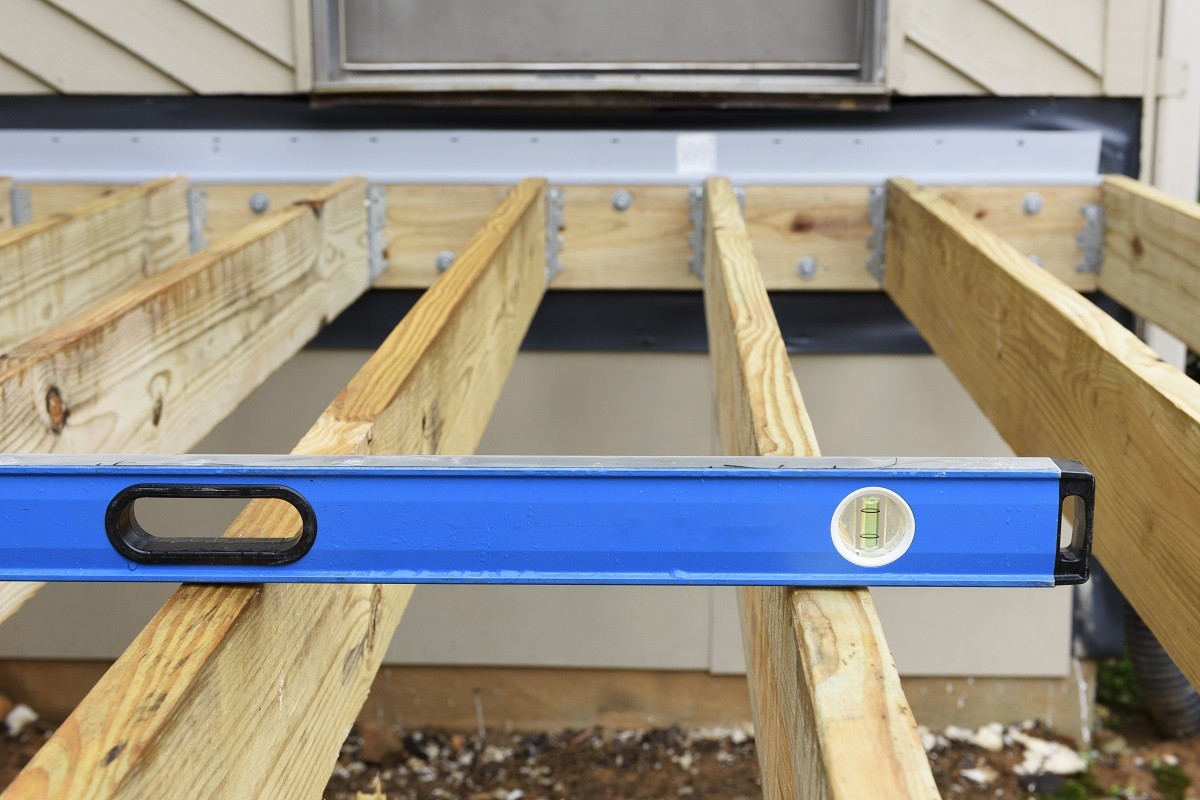
- Position the new joists: Carefully position the new joists next to the existing ones, ensuring they are flush and properly aligned. Use a level to make any necessary adjustments to maintain a level floor surface.
- Fasten the new joists: Secure the new joists to the existing joists using nails or screws. Place fasteners at regular intervals along the length of the joists, ensuring they penetrate both the new and existing joists securely.
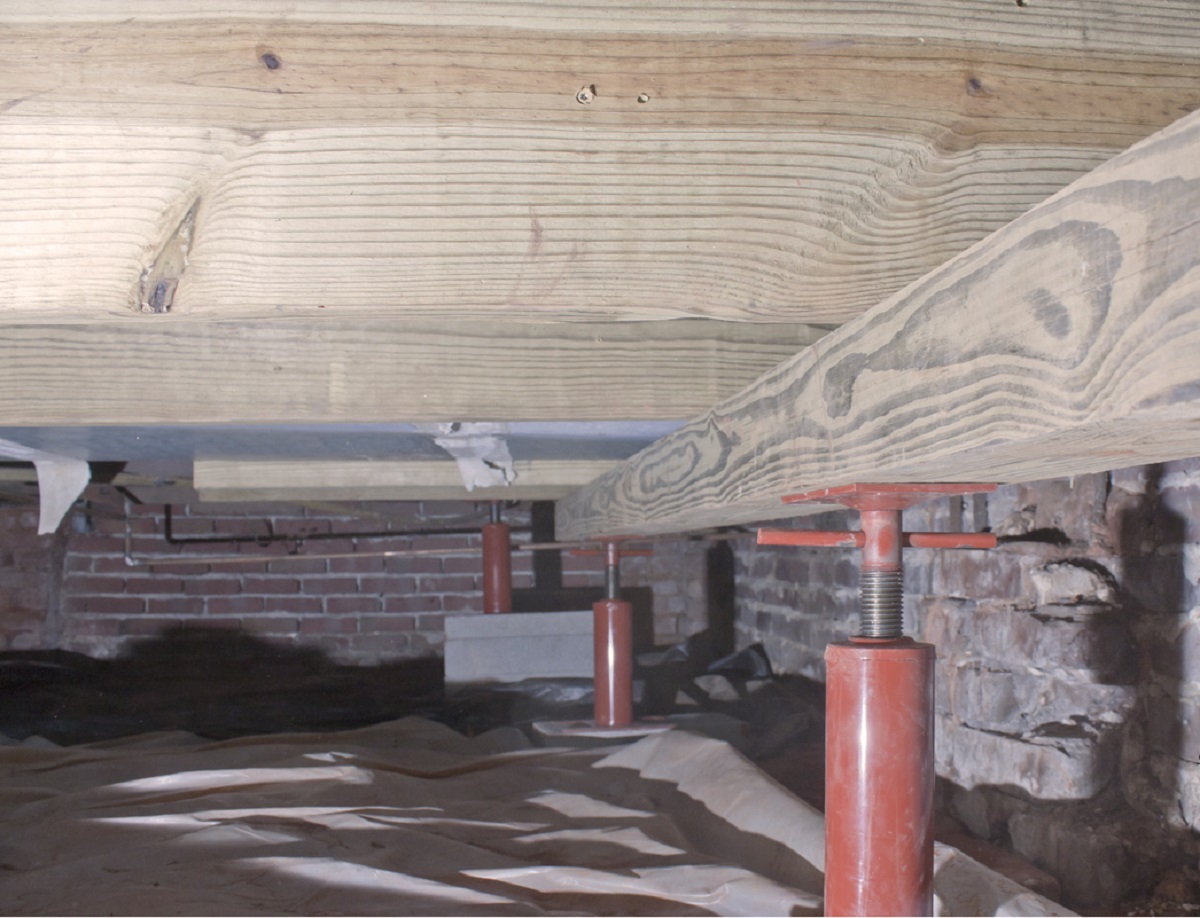
- Check for stability: Once all the new joists are securely fastened, check the stability and levelness of the floor. Make any necessary adjustments using shims or additional blocking to ensure a solid and level surface.
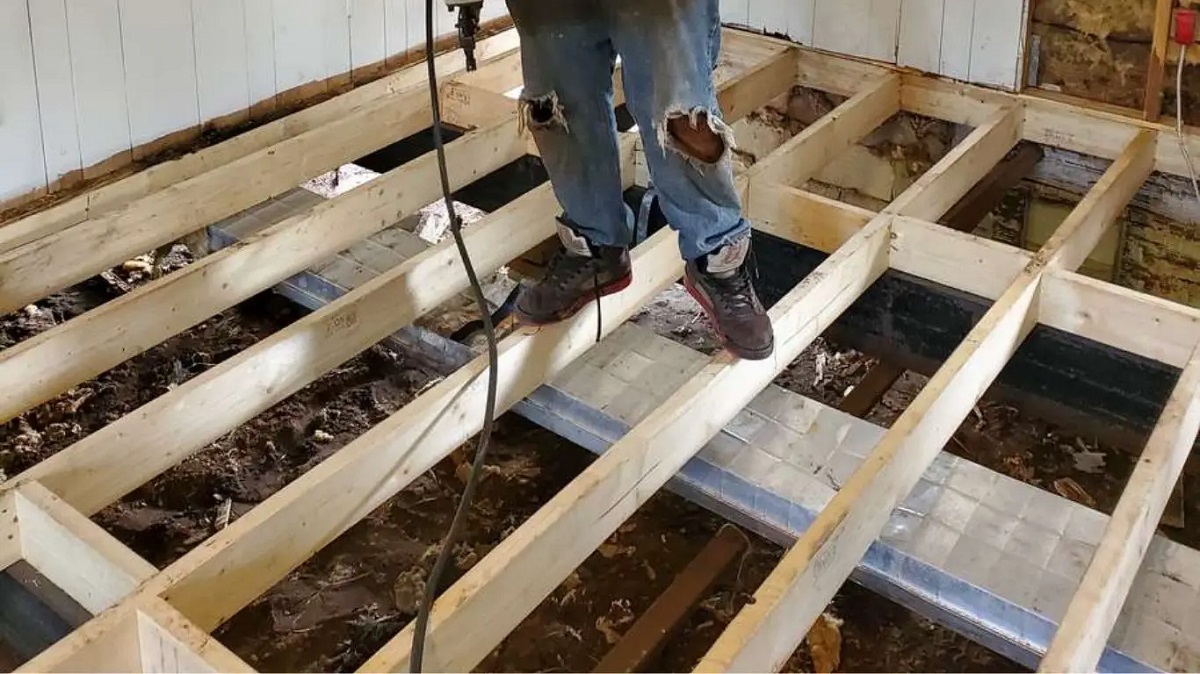
- Test the strength: To ensure the sistering process has effectively strengthened the floor system, perform a load test by walking or applying weight to the newly sistered area. Check for any signs of movement or instability.
- Secure any loose connections: If you notice any loose connections or gaps, reinforce them with additional nails or screws.
- Clean up: Remove any debris or waste materials from the work area and dispose of them properly.
It’s important to note that these steps are meant to serve as a general guide. The specific details and techniques may vary depending on the condition of the existing joists, the type of construction, and other factors. It is advised to consult with a professional or a structural engineer before proceeding with the sistering process to ensure the best results.
In the next section, we will provide some tips and precautions to consider during the sistering process.
When sistering floor joists, make sure the new joist is the same size and type as the existing one. Use construction adhesive and nails or screws to secure the sister joist to the existing one for added strength.
Tips and Precautions to Consider
When sistering floor joists, it’s important to follow best practices and take necessary precautions to ensure a successful and safe outcome. Here are some tips and precautions to consider during the sistering process:
- Consult with professionals: Before starting the sistering process, consult with a structural engineer or a professional contractor. They can assess the condition of the floor joists, provide guidance, and ensure that the sistering process is done correctly.
- Use appropriate materials: Choose high-quality, pressure-treated or rot-resistant wood for the new joists. This will help prevent future damage or decay.
- Ensure proper alignment: Take extra care to ensure that the tops and bottoms of the new and existing joists are properly aligned. This will help maintain a level floor surface.
- Apply construction adhesive: Applying construction adhesive between the new and existing joists will enhance the bond and provide additional support. Follow the manufacturer’s instructions for proper application.
- Use the right fasteners: Select the appropriate nails or screws based on the size and type of the joists. Ensure they are long enough to penetrate both the new and existing joists securely.
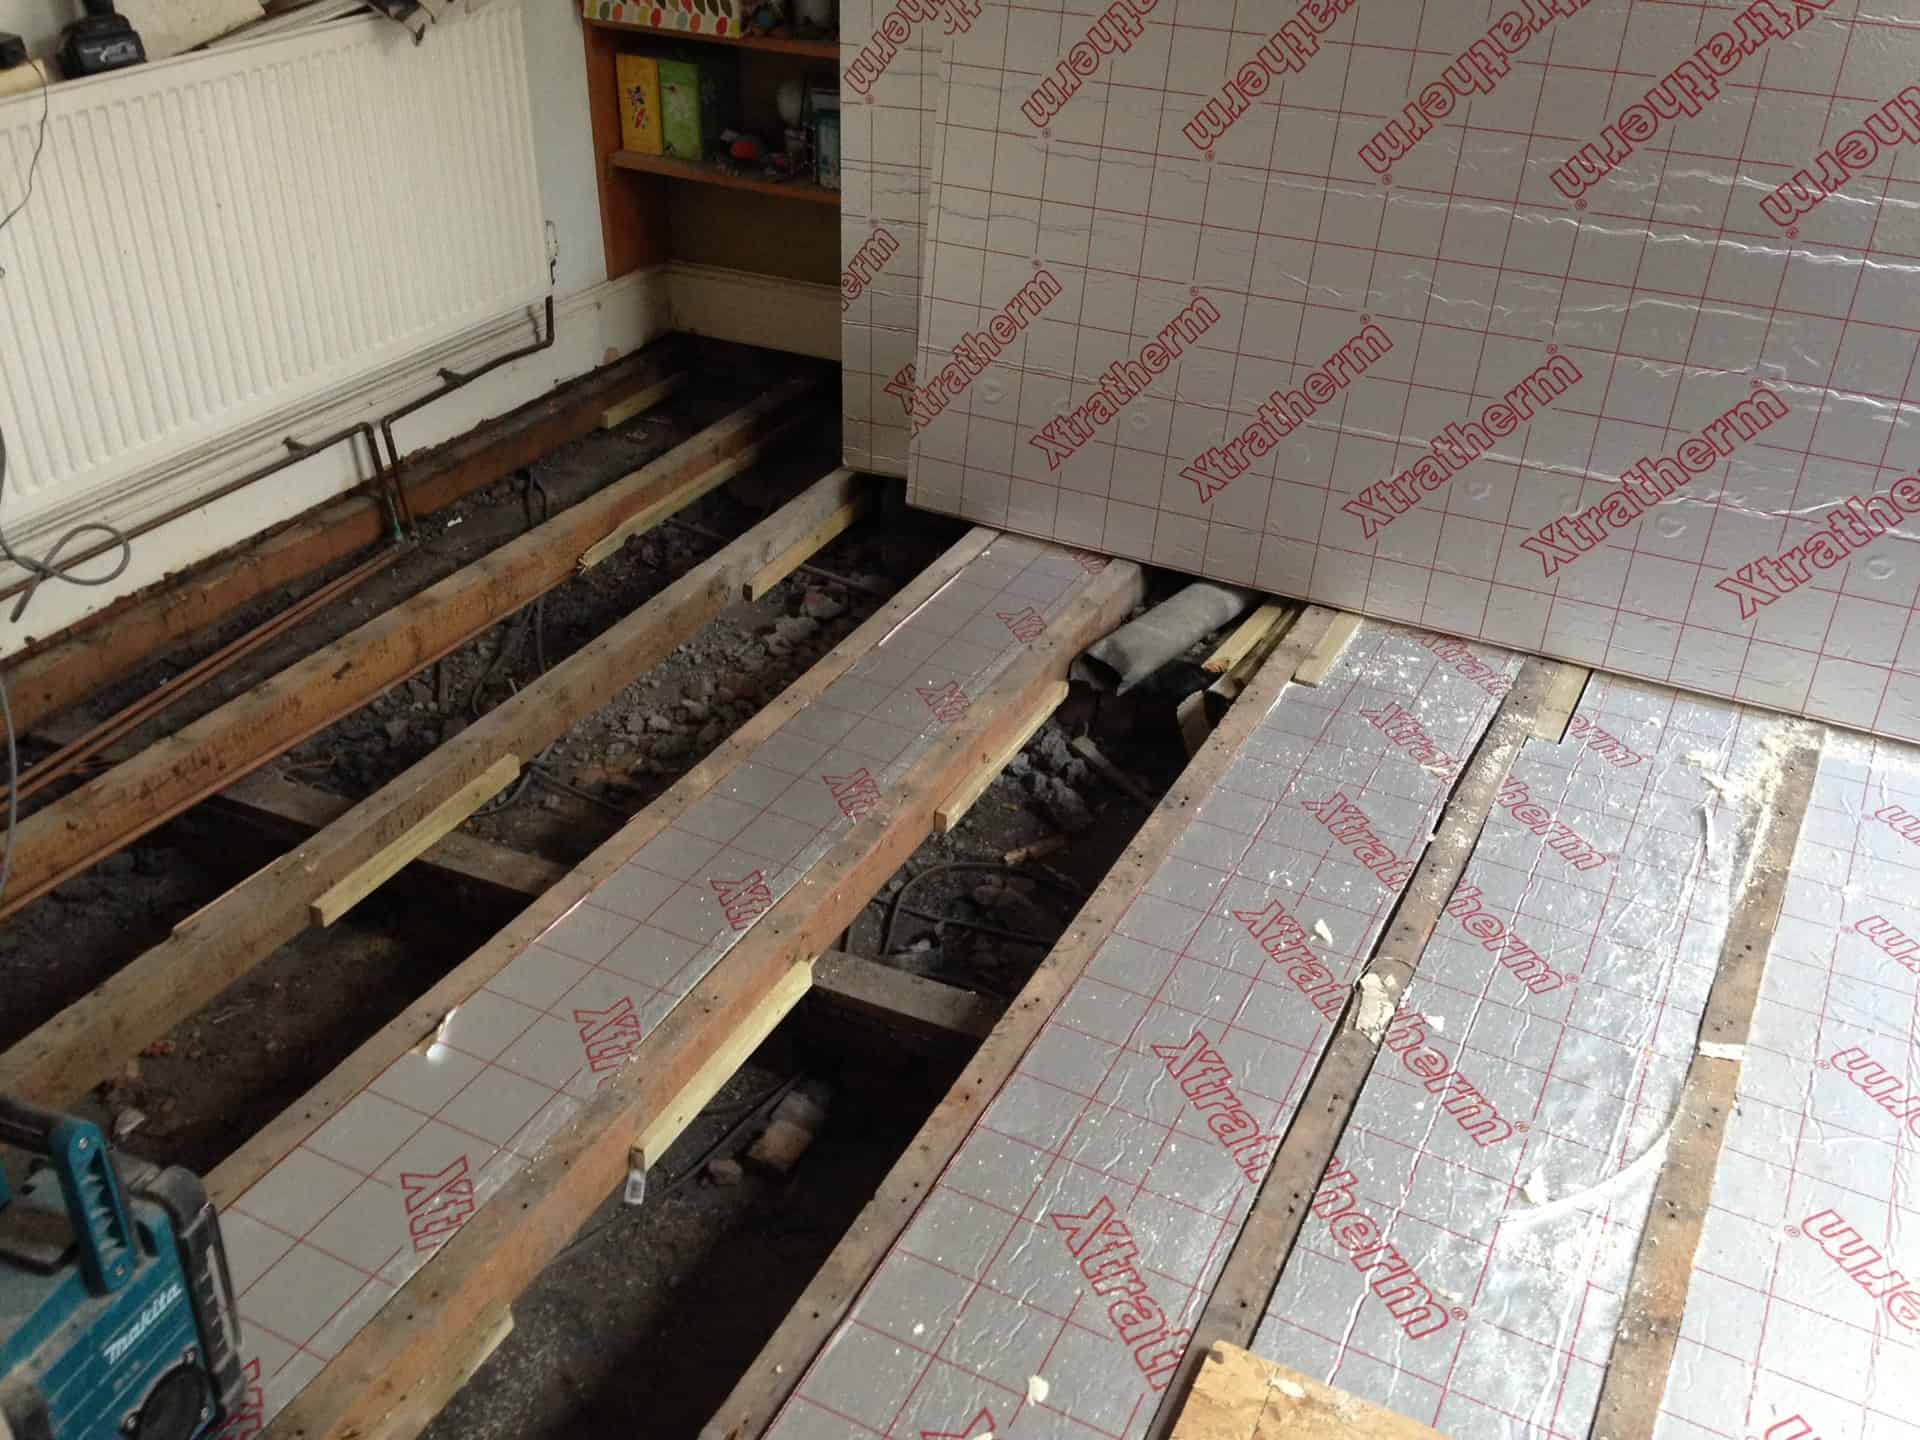
- Check for plumbing or electrical wiring: Before cutting into the floor or installing the new joists, make sure there are no hidden plumbing or electrical lines in the area. If in doubt, consult with professionals to locate and relocate any necessary utilities.
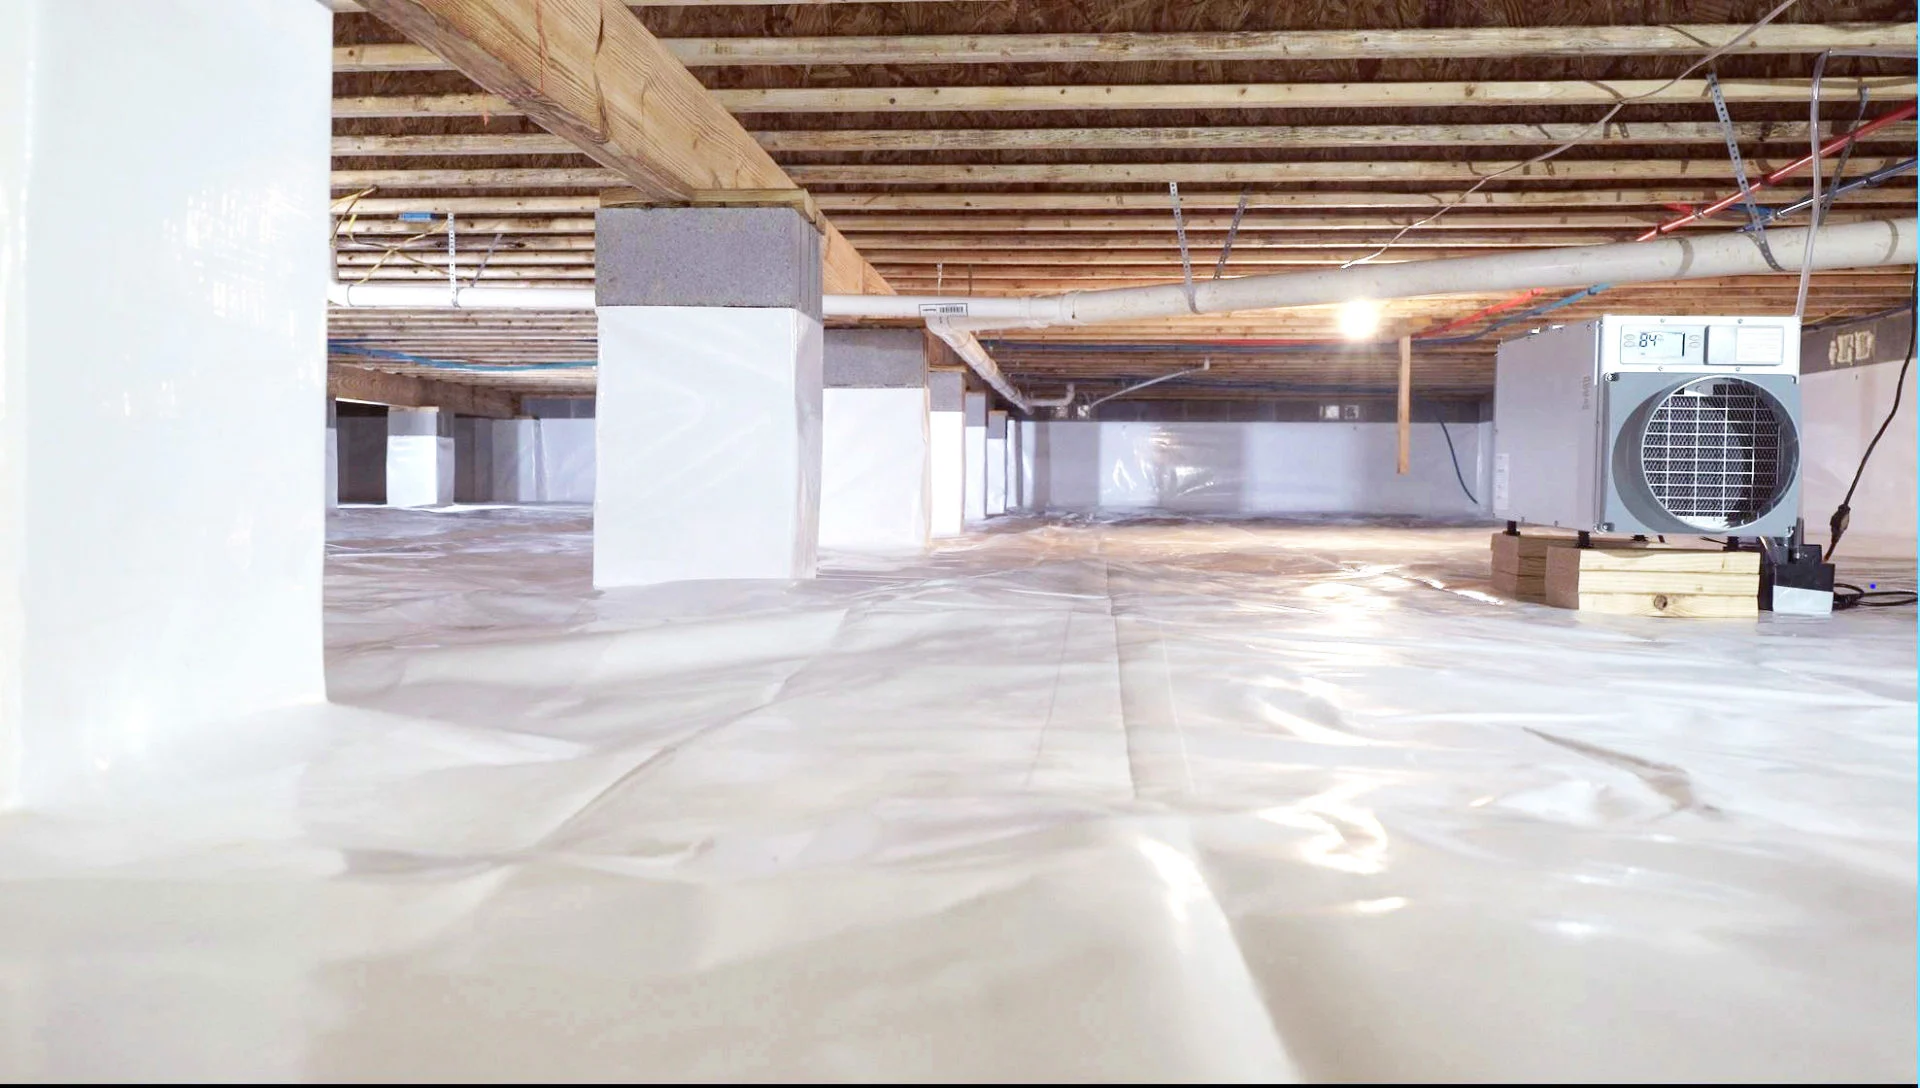
- Ensure proper ventilation: Adequate ventilation under the floor is essential to prevent moisture buildup and further damage to the joists. Consider installing ventilation systems or vents as part of the sistering process if necessary.
- Observe safety precautions: Always wear safety goggles and work gloves when using tools, especially when cutting or fastening joists. Follow proper safety procedures to prevent injuries while working.
- Monitor for signs of further damage: After completing the sistering process, periodically inspect the floor system for any signs of sagging, movement, or new damage. Promptly address any issues to prevent further deterioration.
Remember, if you are unsure about any aspect of the sistering process or encounter unexpected challenges, it’s best to seek professional assistance. A qualified contractor or structural engineer can provide guidance and ensure the structural integrity of your floor system is maintained.
In the concluding section, we will summarize the key points discussed in this article.
Conclusion
Sistering floor joists is a valuable technique for reinforcing weakened or damaged joists and restoring the stability of your floor system. By adding new joists alongside the existing ones, you can distribute the weight load more evenly and prevent further sagging or bending.
In this article, we have explored what sistering floor joists entails, why it might be necessary, the tools and materials required, as well as a step-by-step guide to help you through the process. We discussed the importance of assessing the condition of the joists, consulting with professionals, and following best practices to ensure a successful outcome.
Some key takeaways from this article include:
- Having a clear understanding of when and why you might need to sister floor joists is crucial for addressing structural issues effectively.
- Gathering the necessary tools and materials before starting the sistering process will help you work efficiently.
- Following a step-by-step guide and considering important tips and precautions will ensure a safe and successful outcome.
- Consulting with professionals, such as structural engineers or contractors, can provide expert guidance and ensure the best results.
Remember, proper maintenance and regular inspections are essential to preserve the integrity of your floor system. If you have any doubts or concerns about the condition of your floor joists, it’s always best to seek professional advice.
By understanding the process of sistering floor joists and taking proactive measures, you can maintain a strong and stable floor structure, ensuring the longevity and safety of your home or building.
Frequently Asked Questions about How To Sister Floor Joist
Was this page helpful?
At Storables.com, we guarantee accurate and reliable information. Our content, validated by Expert Board Contributors, is crafted following stringent Editorial Policies. We're committed to providing you with well-researched, expert-backed insights for all your informational needs.


0 thoughts on “How To Sister Floor Joist”