Articles
How To Find Floor Joists Under A Carpet
Modified: October 19, 2024
Learn how to find floor joists under a carpet with our informative articles. Discover the best methods and tools for a successful floor joist identification process.
(Many of the links in this article redirect to a specific reviewed product. Your purchase of these products through affiliate links helps to generate commission for Storables.com, at no extra cost. Learn more)
Introduction
When it comes to home improvement projects, knowing the location of floor joists is crucial. Whether you’re planning on installing a new floor, hanging heavy objects on the walls, or even just trying to figure out where to avoid when drilling, finding floor joists under a carpet can be a challenging task. But fear not! With the right tools and techniques, you can easily locate and mark the position of floor joists, even without having to remove the carpet.
In this article, we will guide you through a step-by-step process to find floor joists under a carpet. By following these simple instructions, you’ll have the confidence and accuracy to tackle any project that requires knowledge of your floor’s structural support system.
Key Takeaways:
- Locating floor joists under a carpet is achievable with the right tools and techniques, such as using a stud finder, knocking on the floor, and measuring from a known wall. These methods provide reliable results without the need to remove the carpet.
- Verifying the accuracy of your findings is crucial to confidently rely on the marked positions of the floor joists. Consulting professionals and using additional methods, like a flashlight or borescope, ensures a thorough and accurate joist locating process.
Read more: What Is A Floor Joist
Step 1: Gather the necessary tools
Before getting started, it’s essential to gather the right tools to ensure a successful joist locating process. Here are the tools you’ll need:
- A stud finder: Look for a stud finder that has the capability to detect wood or metal studs and joists. Some stud finders even have special features specifically designed for locating joists.
- A measuring tape: This will come in handy for measuring distances accurately.
- A flashlight or borescope (optional): If you want to get a closer look and visualize what’s beneath the carpet, a flashlight or borescope can be quite useful.
- A pencil or marker: You’ll need something to mark the positions of the joists once you’ve located them.
- Protective eyewear and gloves: Safety should always be a priority, so make sure to wear protective gear to prevent any potential injuries.
Having these tools at hand will make the process much smoother and more efficient. Once you’ve gathered everything you need, you’re ready to move on to the next step.
Step 2: Clear the area
Before you start locating the floor joists, it’s important to clear the area surrounding the carpet. Remove any furniture, rugs, or other items that may obstruct your access to the floor. This will give you a clear and unobstructed view of the carpet, making it easier to identify the floor joists.
Additionally, if there are any nails or screws sticking out of the carpet, carefully remove them to avoid any accidents or damage to the tools you’ll be using.
Clearing the area not only ensures your safety but also allows for more accurate and reliable results when locating the floor joists.
Once the area is cleared, you can move on to the next step of the process.
Step 3: Locate the edges of the floorboards
Before finding the exact position of the floor joists, it’s helpful to first identify the edges of the floorboards. This step will give you a starting point and help guide you in the right direction as you continue with the joist locating process.
To locate the edges of the floorboards, carefully examine the carpeted area. Look for any seams or patterns that indicate the presence of floorboards underneath. You may also notice a slight gap between the boards, especially if they are hardwood floors.
Once you’ve identified the edges, mark them lightly with a pencil or marker. These marks will serve as reference points for the subsequent steps.
It’s worth noting that floorboards are typically laid perpendicular to floor joists. Therefore, by locating the edges of the floorboards, you can make an educated guess about the general direction in which the joists run.
With the edges of the floorboards marked, you’re now ready to move on to the next step in the process of finding floor joists under a carpet.
Step 4: Use a stud finder
A stud finder can be a handy tool for locating floor joists under a carpet. While it is primarily used for finding wall studs, many modern stud finders also have a mode specifically designed for detecting joists.
Start by selecting the joist detection mode on your stud finder, if available. Place the stud finder against the carpet, starting at one of the marked edges of the floorboards. Slowly slide the stud finder across the carpet in a straight line, following the direction of the floorboards.
As you move the stud finder, it will beep or light up when it detects a change in density, indicating the presence of a joist. Take note of these indications and mark the locations on the carpet with a pencil or marker.
Repeat this process along the entire length of the floorboards, working your way across the room. Pay extra attention to depth indications on the stud finder, as they can give you a better sense of the joist’s position beneath the carpet.
Remember to keep the stud finder flat and level while scanning, as angling it may result in inaccurate readings.
Once you’ve finished scanning the area, step back and visually inspect the marked locations. You should see a pattern emerge, indicating the presence of floor joists under the carpet.
Using a stud finder can significantly expedite the process of finding floor joists, providing you with reliable and accurate results.
With the assistance of a stud finder, you’re now ready to move on to the next step in locating floor joists under a carpet.
Read more: How To Strengthen Floor Joists
Step 5: Look for visible nails or screws
Another method to find floor joists under a carpet is to search for visible nails or screws. In some cases, previous installations or repairs may have left behind visible fasteners that can serve as indicators of the joists’ location.
Start by carefully examining the carpeted area for any small metal heads sticking out. Pay close attention to areas near the walls or along the edges of the floorboards, as these are common spots where fasteners are attached.
If you spot a nail or screw, mark its location using a pencil or marker. You can use multiple markings to form a line or pattern, which can help determine the direction of the joists.
Keep in mind that nails or screws might not always be visible, especially if they’ve been covered by the carpet or carpet padding. However, if you are fortunate enough to find any, they can provide valuable clues about the position of the floor joists.
While this method may not be as reliable as using a stud finder, it’s worth trying as an additional step in your search for floor joists under a carpet.
After examining the area and marking the locations of visible nails or screws, you’re ready to proceed with the next step in locating the floor joists.
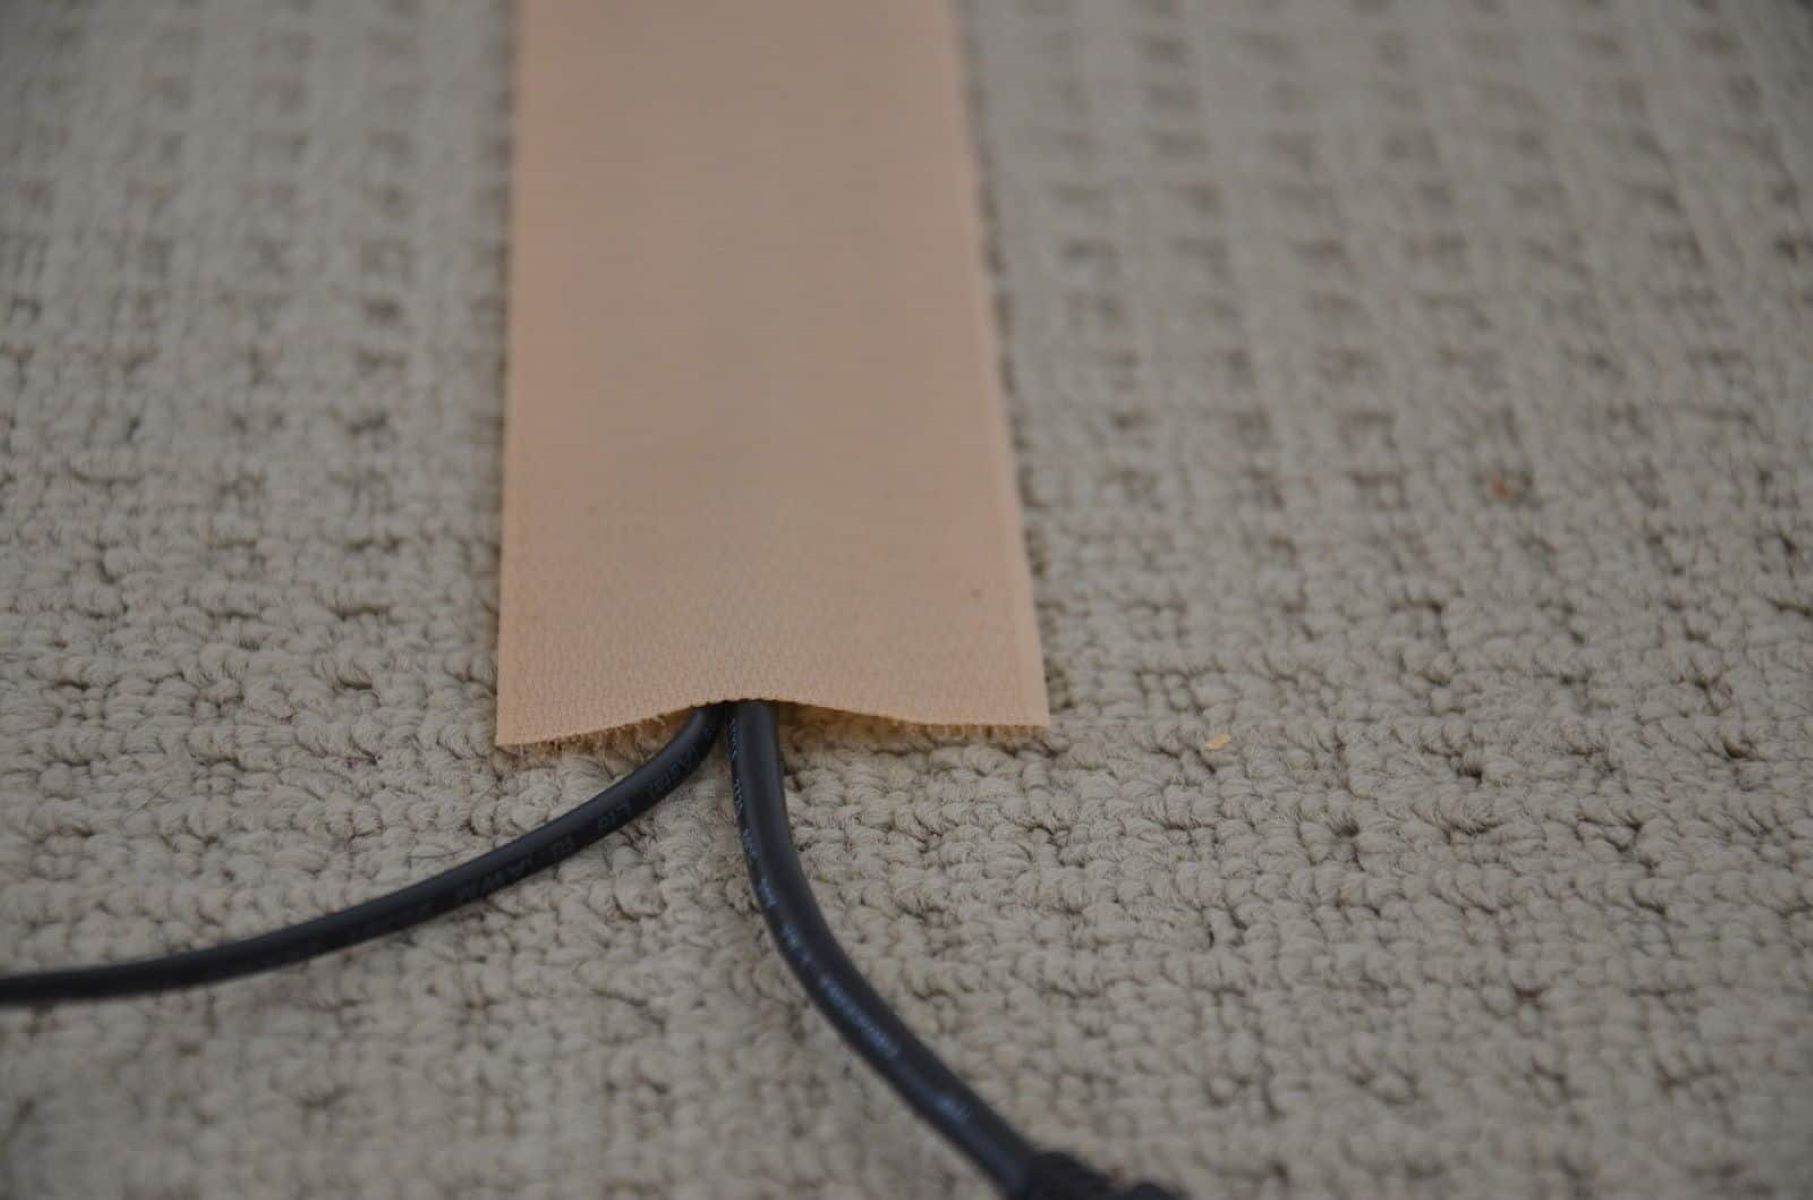
Use a stud finder to locate the floor joists under the carpet. Slide the stud finder along the floor until it indicates the presence of a joist, then mark its location for reference.
Step 6: Knock on the floor
If you’re unable to find visible nails or screws, don’t worry! There’s another simple and effective method to help locate floor joists under a carpet: knocking on the floor.
To get started, take a small mallet or even just your knuckles and gently tap on the carpeted area. Listen closely for variations in sound and feel for differences in resistance.
When you tap over a floor joist, you’ll typically hear a solid, slightly higher-pitched sound compared to areas between the joists. There may also be less give or bounce when you apply pressure.
Work your way across the carpet using light and consistent taps, paying attention to any changes in sound or resistance. As you tap, make sure to listen for a consistent pattern or rhythm that may indicate the position of the joists.
While this method may require a bit more patience and a good ear, it can be quite effective in helping you identify the general location of the floor joists under the carpet.
As you continue tapping and listening for variations in sound and resistance, mark the areas where you suspect the joists to be. These markings will serve as references when you move on to the next step.
With the knocking method explored, you’re now prepared to advance to the next step in your search for floor joists under a carpet.
Step 7: Measure from a known wall
Measuring from a known wall is an effective technique for locating floor joists under a carpet. By establishing a reference point, you can determine the approximate spacing between the joists and accurately mark their positions.
Start by selecting a wall that you know is parallel to the floor joists or that you suspect the joists to be running perpendicular to. This could be a exterior wall or a wall that is aligned with the direction of the floorboards.
Measure a fixed distance away from the wall, ideally around 16 inches or 24 inches, as these are common spacing intervals for floor joists. Use a measuring tape to mark the distance on the carpet.
Next, make additional measurements along the length of the wall, spacing them evenly based on your chosen interval (e.g., every 16 inches). Use the measuring tape to mark these points on the carpet as well.
By establishing a series of marks from a known reference point, you should start to see a repeating pattern emerge. These marks will likely align with the positions of the floor joists.
It’s important to note that this method assumes that the floor joists are evenly spaced. While this is generally the case in most buildings, there may be some variations, especially in older constructions. Therefore, it’s always a good idea to verify your findings using additional methods.
With the positions marked along the wall, you’re now ready to move on to the next step in locating floor joists under a carpet.
Step 8: Consider using a flashlight or borescope
In some cases, you may find it beneficial to use a flashlight or borescope to get a visual confirmation of the floor joists under the carpet. While this step is optional, it can provide additional insight and enhance the accuracy of your findings.
A flashlight can be used to shine light through the carpet. In areas where the carpet is thin or worn, you may be able to visually observe the floor joists. Look for slight indentations or shadows that indicate the presence of the joists.
If you want to take it a step further, consider using a borescope. A borescope is a small camera mounted on a flexible tube, allowing you to see hidden areas without having to remove the carpet. Insert the borescope through the carpet fibers and maneuver it to inspect the underlying structure.
When using a flashlight or borescope, be sure to move slowly and systematically across the area, observing for any signs of the floor joists. Take note of the locations as you go along.
Keep in mind that this method may not always be feasible or necessary, especially if you have already obtained accurate results using previous steps. However, it can be particularly useful in situations where you need visual confirmation or when the other methods have yielded inconclusive outcomes.
With the option to use a flashlight or borescope considered, you’re now ready to proceed to the next step in your search for floor joists under a carpet.
Read more: How To Fix Creaking Floors Under Carpet
Step 9: Mark the locations of the floor joists
After completing the previous steps and gathering all the necessary information, it’s time to mark the final positions of the floor joists on the carpet. This will serve as a visual guide for future reference and any projects that require knowledge of the joist locations.
Using a pencil or marker, carefully mark the spots where you have identified the floor joists. It’s a good practice to use a distinct symbol or color to differentiate these marks from other reference points you may have made during the process.
Start by marking the locations based on the findings from the stud finder, visible nails or screws, knocking on the floor, or measurements from a known wall. If you utilized multiple methods, compare the results to ensure consistency and accuracy.
It’s important to note that while these marks indicate the approximate positions of the floor joists, there may still be slight variations between them. Floor joists can sometimes deviate from perfectly straight lines, and old constructions may have irregular spacing.
If you used a borescope or flashlight to visually confirm the joist locations, incorporate any additional markings you made during that process as well.
Once you have marked all the locations on the carpet, step back and inspect the pattern. You should see a clear indication of the floor joists running beneath the surface.
With the positions of the floor joists marked, you’ve successfully completed this step in the process of finding floor joists under a carpet.
Step 10: Verify the accuracy of your findings
Before proceeding with any projects or relying on the marked locations of the floor joists, it’s crucial to verify the accuracy of your findings. This step is essential to ensure that you have identified the joists correctly and can confidently rely on the marked positions.
Start by double-checking your measurements and markings. Compare the locations you have marked with the results from different methods you used, such as the stud finder, visible nails or screws, knocking on the floor, or measurements from a known wall. Look for any inconsistencies or deviations that may require further investigation.
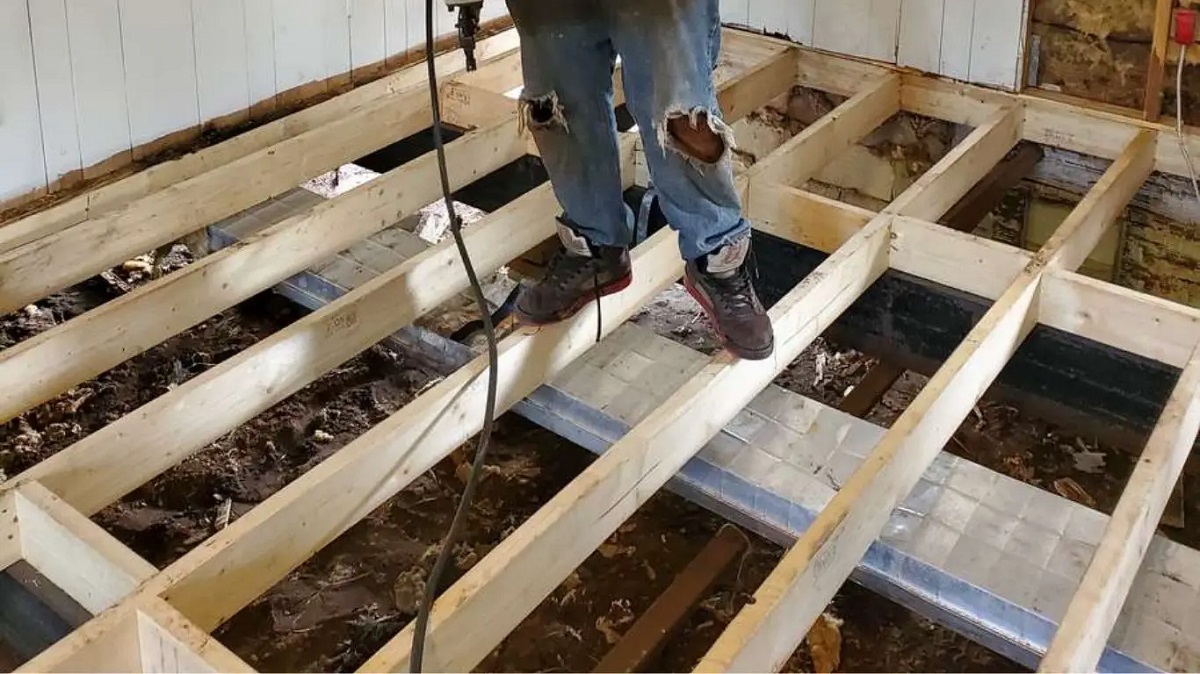
If you have access to the underside of the floor, such as a basement or crawl space, take the opportunity to visually inspect the joists from below. This will provide a direct confirmation of their locations and allow you to cross-reference with your marked positions. Look for any discrepancies and make adjustments if necessary.
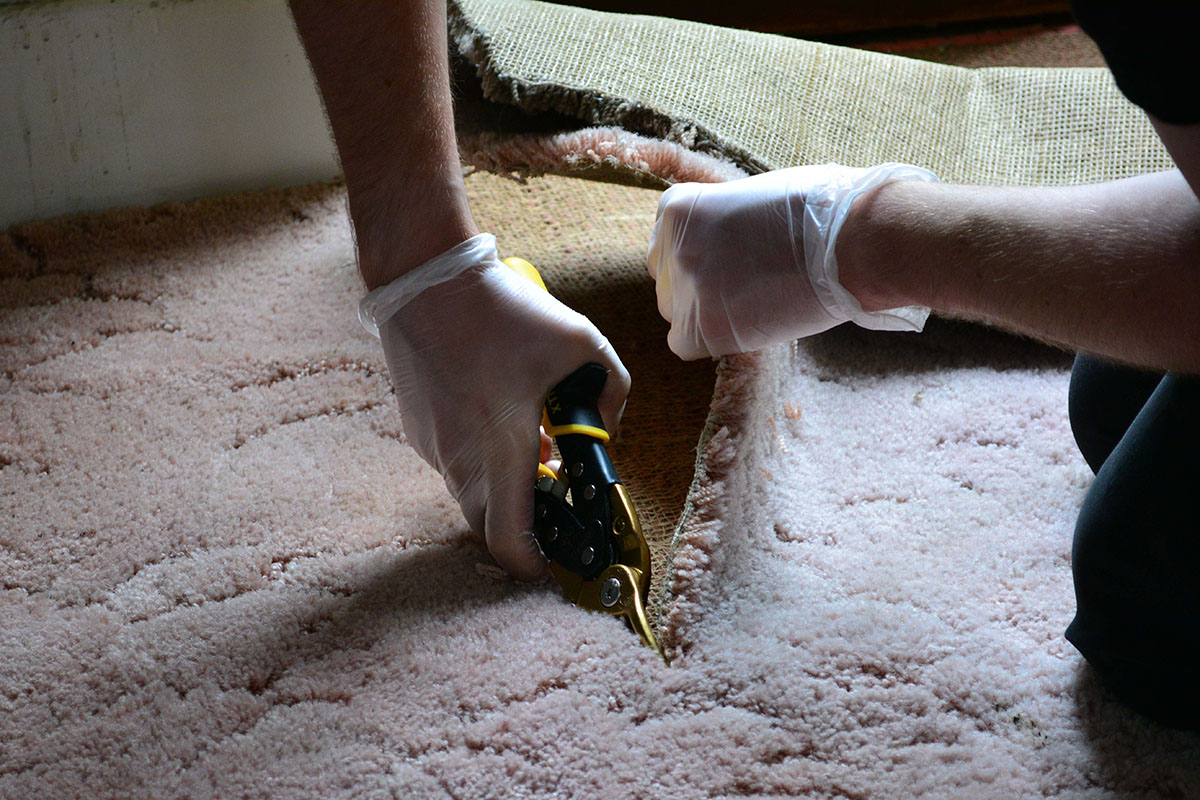
If you don’t have access to the underside of the floor, you can consider a test by making a small, discreet cut in the carpet along one of the marked locations. Carefully lift the carpet and examine the area to confirm the presence of a floor joist. If it aligns with your markings, you can be more confident in the accuracy of your findings.
Keep in mind that while these steps can help verify the accuracy of your findings, it’s always a good idea to consult with professionals or experienced individuals for guidance and confirmation.
By taking the time to verify the accuracy of your findings, you can proceed with confidence, knowing that you have correctly identified the positions of the floor joists under the carpet.
Conclusion
Locating floor joists under a carpet is an important skill that can empower you to undertake various home improvement projects with confidence. By following the step-by-step process outlined in this article, you can successfully find and mark the positions of the floor joists without having to remove the carpet.
From gathering the necessary tools to verifying the accuracy of your findings, each step in the process plays a crucial role in ensuring that you accurately locate the floor joists. Whether you relied on a stud finder, searched for visible nails or screws, knocked on the floor, measured from a known wall, or even used a flashlight or borescope, the combination of these techniques will provide you with reliable results.
It’s important to remember that while these methods are effective, there may be variations or unexpected factors in older constructions. It’s always a good idea to consult with professionals or experienced individuals to validate your findings and provide additional guidance.
Once you have marked the positions of the floor joists on the carpet, you’ll have a valuable reference for future projects. Whether you’re planning to install a new floor, hang heavy objects on the walls, or need to avoid drilling into a joist, having this knowledge will save you time, effort, and potentially costly mistakes.
Remember to approach the process with patience and diligence, taking the time to carefully mark the locations and verify their accuracy. By doing so, you can confidently navigate through your home improvement journey, knowing that you have a solid understanding of the structural support system beneath your carpeted floors.
Now that you have the tools, knowledge, and confidence, you’re ready to tackle any project that requires you to find floor joists under a carpet, all while maintaining the beauty and integrity of your flooring.
Frequently Asked Questions about How To Find Floor Joists Under A Carpet
Was this page helpful?
At Storables.com, we guarantee accurate and reliable information. Our content, validated by Expert Board Contributors, is crafted following stringent Editorial Policies. We're committed to providing you with well-researched, expert-backed insights for all your informational needs.