
Articles
How To Build A Metal Carport
Modified: September 1, 2024
Looking for articles on how to build a metal carport? Discover step-by-step guides and tips for constructing your own sturdy carport with our expert articles.
(Many of the links in this article redirect to a specific reviewed product. Your purchase of these products through affiliate links helps to generate commission for Storables.com, at no extra cost. Learn more)
How to Build a Metal Carport
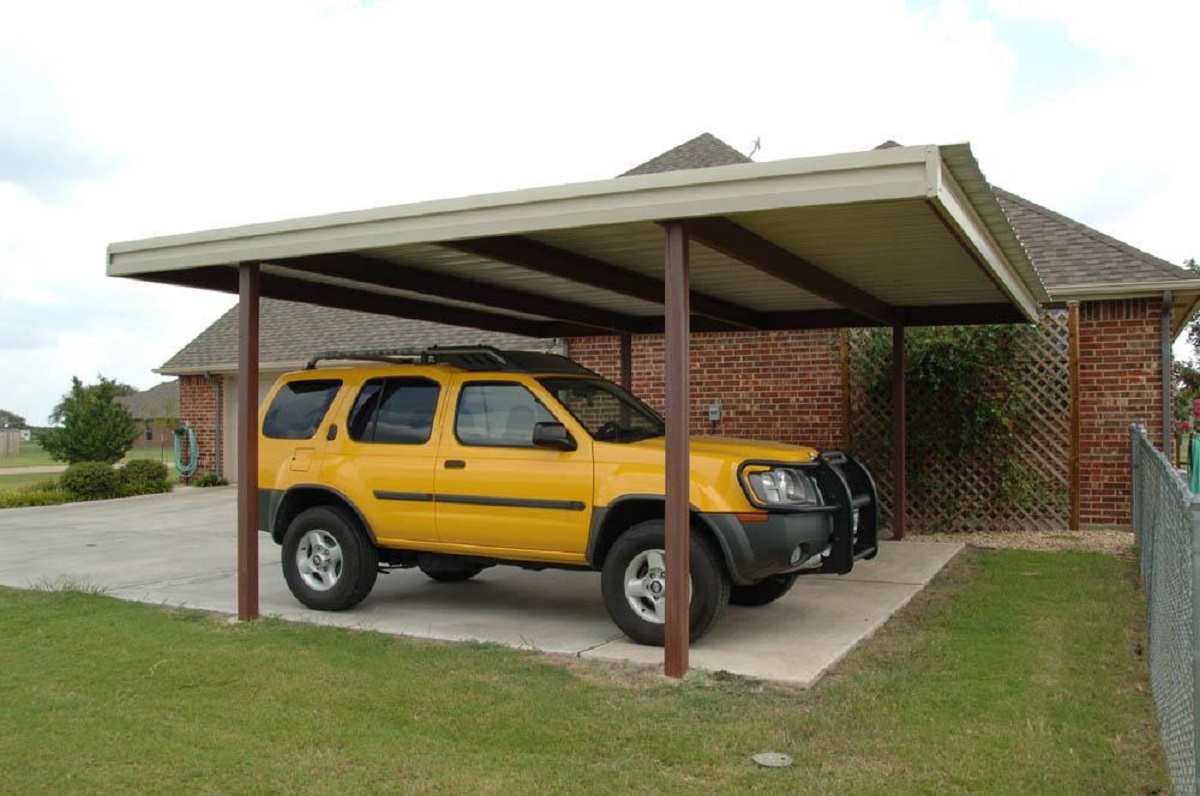
A metal carport offers a practical and cost-effective solution for protecting your vehicles from the elements. Whether you want to keep your cars, RV, or boats safe from sun, rain, or snow, building a metal carport can be a DIY project that saves you money and gives you the satisfaction of creating a structure to suit your needs.
In this article, we will guide you through the step-by-step process of building a metal carport, from site preparation to adding finishing touches.
Key Takeaways:
- Protect your vehicles with a DIY metal carport, from site preparation to finishing touches. Enjoy cost-effective, durable shelter with a variety of design options and easy relocation.
- Follow the step-by-step guide to build a sturdy and versatile metal carport. Prioritize safety, choose the right foundation, and add finishing touches for a functional and attractive structure.
Read more: How Much Is A Metal Carport
Step 1: Preparing the Site
The first step in building a metal carport is to prepare the site. Clear out any vegetation, debris, or obstacles from the area where the carport will be installed. Next, mark the boundaries of the carport using stakes and string to ensure you have a clear reference point.
Step 2: Gathering Materials and Tools
Before you begin building the carport, gather all the necessary materials and tools. You will need metal carport kit components, which typically include metal beams, roof panels, support posts, and hardware. Additionally, have tools like a drill, screwdriver, measuring tape, level, and ladder ready for the project.
Step 3: Setting the Foundation
The next step is to choose the right foundation for your carport. You have two primary options: concrete or ground anchors. If you opt for a concrete foundation, you will need to dig and pour concrete footings according to your carport’s dimensions. Alternatively, you can use ground anchors, which attach directly to the ground for a more flexible installation.
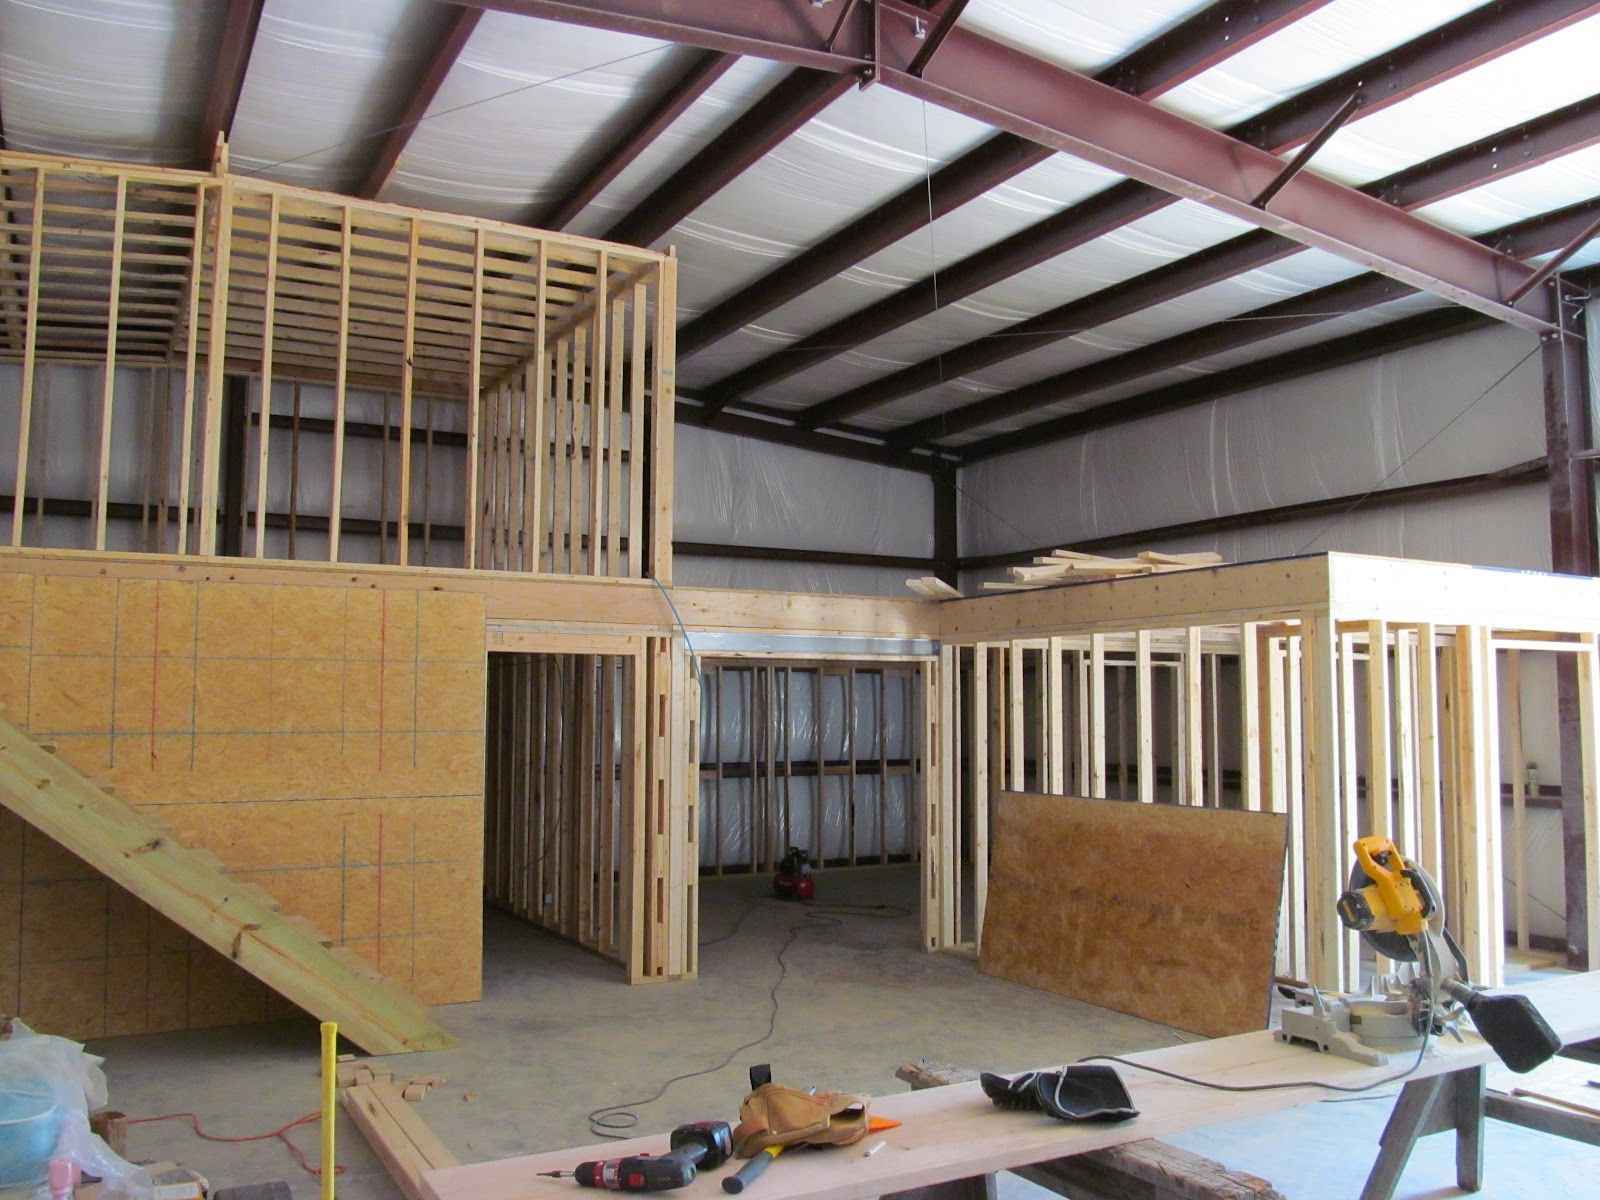
Step 4: Assembling the Frame
Once the foundation is in place, it’s time to assemble the carport frame. Start by sorting and organizing all the frame components according to the manufacturer’s instructions. Using the provided hardware, attach the frame sections, ensuring they are level and square. Check the instructions for specific guidelines on connecting the beams and support posts.
Read more: How To Build A Lean To Carport
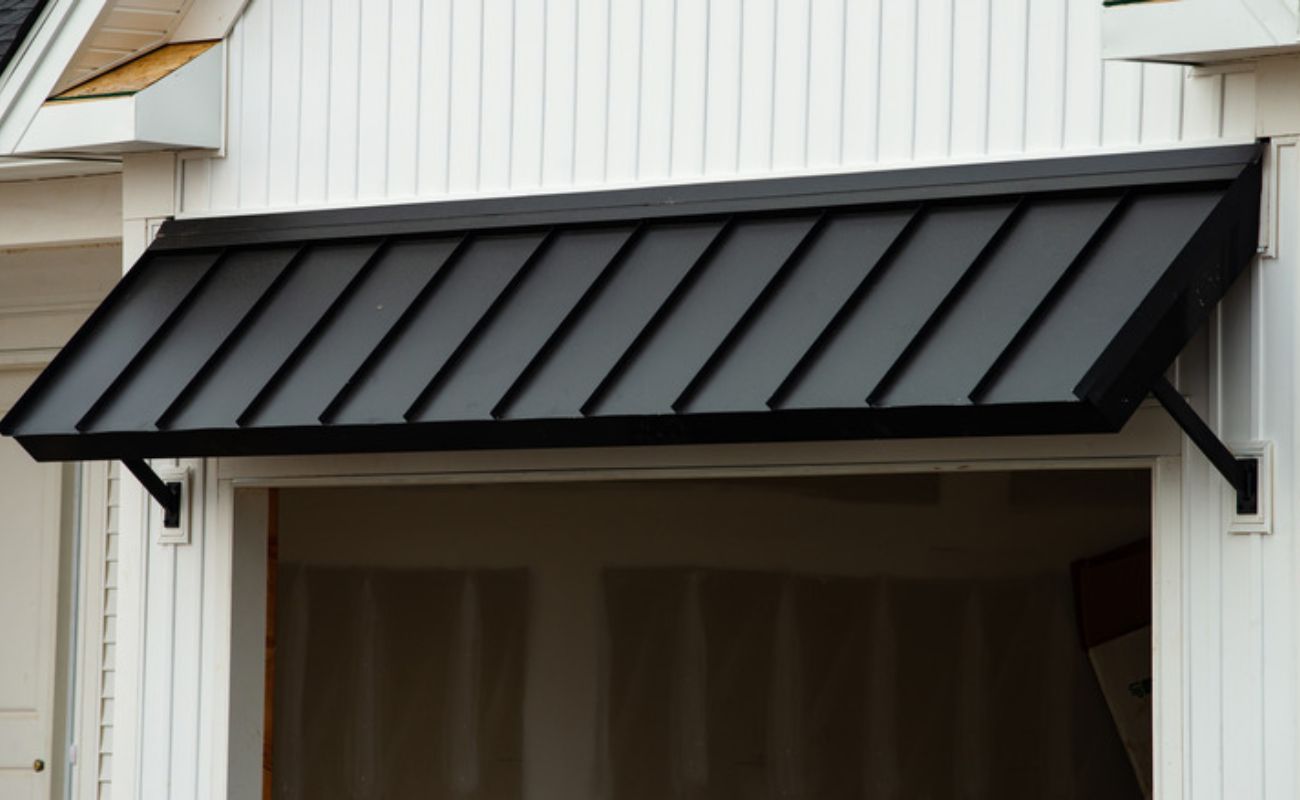
Step 5: Installing the Roof
After the frame is assembled, it’s time to install the roof. Consider the style of roof you want for your carport, such as gabled or flat. Position the roof panels according to the manufacturer’s guidelines, making sure they are securely fastened. It’s crucial to check for any gaps or leaks before proceeding to the next step.
Step 6: Adding the Sides and Panels
With the roof in place, it’s time to add the sides and panels to complete the carport. Measure and cut the panels to fit the height and width of the frame, taking into account any additional openings for doors or windows. Attach the panels securely to the frame, using appropriate screws or fasteners.
Step 7: Finishing Touches
Finally, add any finishing touches to enhance the appearance and functionality of your metal carport. This could include painting the metal components to prevent rust and corrosion or applying a protective coating for added durability. You may also want to consider adding gutters or downspouts to divert rainwater away from the carport.
With these steps completed, you have successfully built your metal carport. Remember to consider any local building codes and regulations before starting the project, and always follow the manufacturer’s instructions for the specific carport kit you are using. Now you can enjoy the benefits of having a sturdy and protective space to keep your vehicles safe and protected.
Introduction
Building a metal carport is a practical and affordable solution for protecting your vehicles from the elements. Whether you live in an area with harsh weather conditions or simply want to keep your vehicles safe from everyday wear and tear, a metal carport provides a sturdy and durable shelter.
Unlike building a traditional garage, constructing a metal carport is a relatively straightforward process that you can tackle as a DIY project. With the right materials, tools, and a bit of guidance, you can create a functional and long-lasting carport to meet your specific needs.
A metal carport offers several advantages over other types of shelters. First and foremost, metal carports are known for their durability. Made from steel or aluminum, these structures are designed to withstand the elements and resist rotting, warping, or fading. Additionally, metal carports require minimal maintenance compared to wooden structures.
Furthermore, building a metal carport can often be more cost-effective than other options. Metal carport kits are readily available, and they typically come with pre-cut and pre-drilled components, making assembly easier and faster. This not only saves you time, but it also reduces the overall cost of construction.
Moreover, a metal carport provides versatility. You can choose from a variety of sizes, styles, and roof designs to suit your preferences and the available space. Whether you need a simple single-vehicle carport or a larger structure to accommodate multiple vehicles or additional storage, there is a metal carport option to meet your requirements.
Perhaps one of the most significant advantages of a metal carport is its portability. Unlike a permanent garage, a metal carport can be disassembled and relocated if needed. This flexibility is particularly beneficial for those who may move residences or need to adjust the position of the carport on their property.
In this comprehensive guide, we will walk you through the step-by-step process of building a metal carport. From preparing the site to adding the finishing touches, we will provide detailed instructions and tips to ensure a successful and satisfactory project outcome.
Before beginning the construction process, it’s important to check with your local authorities and obtain any necessary permits or permissions for building a carport. Additionally, ensure that you have the necessary tools and equipment, and carefully follow the instructions provided with your specific carport kit.
Now, let’s get started with the first step: preparing the site for your new metal carport.
Key Takeaways:
- Protect your vehicles with a DIY metal carport, from site preparation to finishing touches. Enjoy cost-effective, durable shelter with a variety of design options and easy relocation.
- Follow the step-by-step guide to build a sturdy and versatile metal carport. Prioritize safety, choose the right foundation, and add finishing touches for a functional and attractive structure.
Read more: How Much Is A Metal Carport
Step 1: Preparing the Site
Before you begin building your metal carport, it’s crucial to prepare the site properly. This step ensures a level and secure foundation for your structure. Follow these sub-steps to clear the area and mark the boundaries:
Clearing the area
Start by clearing the site where you plan to install the metal carport. Remove any vegetation, rocks, debris, or other obstacles that may hinder the construction process. Clearing the area not only provides a clean slate for your carport but also helps prevent any potential damage to the structure in the future.
Use a rake or shovel to remove loose soil and debris from the surface. If there are weeds or grass, consider using a weed killer or manually remove them to ensure a clean and level area for the carport.
Marking the boundaries
Once the area is clear, you need to mark the boundaries of your metal carport. This step is crucial for determining the precise location and size of the structure. By marking the boundaries, you’ll have a reference point while installing the foundation and erecting the carport.
Using stakes and string, establish the corners and sides of the carport area. Measure and mark the desired width and length according to the dimensions of your carport. Use a tape measure to ensure accuracy in your measurements.
Consider the placement of your carport in relation to other structures on your property, such as your house, driveway, or existing buildings. Aim for a location that allows for convenient access and efficient use of space. It is advisable to leave adequate space around the carport for easy movement and future expansion if needed.
Take into account any local building codes or zoning restrictions that may impact the placement and size of your carport. Consult with your local permitting office to ensure compliance and avoid potential issues later on.
By clearing the area and marking the boundaries, you have completed the first step in building your metal carport. This preparation sets the stage for the subsequent stages, such as installing the foundation and assembling the frame.
In the next step, we will guide you through gathering the necessary materials and tools for the construction process.
Step 2: Gathering Materials and Tools
Before you start building your metal carport, it’s essential to gather all the necessary materials and tools. Having everything prepared will save you time and ensure a smoother construction process. Here are the key components you will need:
Read more: How Much To Build A Carport
List of Required Materials
1. Metal Carport Kit: This includes the metal beams, roof panels, support posts, and any additional components specific to your carport design. Ensure that you have the correct size and style of the carport kit that matches your needs.
2. Foundation Materials: Depending on the type of foundation you choose, you may need concrete and reinforcement bars or ground anchors. Check the manufacturer’s instructions or consult a professional for guidance on the appropriate foundation materials.
3. Fasteners and Hardware: You will need screws, bolts, washers, and other fasteners provided by the carport kit manufacturer. Make sure to have the right types and quantities based on the instructions provided.
4. Roofing Sealant: A roofing sealant is crucial for preventing leaks and securing the roof panels to the beams. Choose a high-quality sealant that is suitable for metal roofing.
5. Paint or Protective Coating: If desired, you may want to purchase paint or a protective coating to enhance the appearance and durability of your carport. Opt for products designed specifically for metal surfaces.
Necessary Tools for the Project
1. Power Drill: A power drill with the appropriate drill bits will come in handy for drilling pilot holes and attaching screws during the construction process.
2. Screwdriver: Ensure you have a screwdriver or a screwdriver bit for your power drill to tighten screws securely.
3. Measuring Tape: Accurate measurements are crucial for proper installation. Have a measuring tape on hand to ensure precise dimensions, especially during the layout and framing stages.
4. Level: To ensure that your carport is level throughout the construction process, use a spirit level or a laser level. This will help prevent any structural issues and ensure the stability of your carport.
5. Ladder: Depending on the height of your carport, you may need a ladder to reach higher areas during the assembly and installation process.
6. Safety Equipment: Always prioritize safety when working on any construction project. Wear protective gear such as gloves, safety glasses, and appropriate footwear. Additionally, have a first aid kit nearby in case of any minor injuries.
It’s crucial to note that the specific materials and tools needed may vary depending on the design and dimensions of your metal carport. Consult the instructions provided with your carport kit for a detailed list of required materials and tools, and always follow the manufacturer’s guidelines.
By gathering all the necessary materials and tools, you are ready to move on to the next step of setting the foundation for your metal carport.
Step 3: Setting the Foundation
The foundation is a critical component of your metal carport as it provides stability and support for the entire structure. In this step, we’ll guide you through choosing the right type of foundation for your carport and installing it properly.
Choosing the Right Foundation Type
There are two primary options for the foundation of your metal carport: concrete or ground anchors. The choice will depend on factors such as local building codes, soil conditions, and your personal preferences.
Concrete Foundation: If you opt for a concrete foundation, you will need to dig and pour concrete footings according to the dimensions of your carport. This type of foundation offers exceptional strength and stability. It’s ideal for heavier carports or situations where you want a permanent and immovable structure.
Ground Anchors: Ground anchors are a suitable alternative to concrete footings. They are metal stakes or augers that securely anchor your carport to the ground. Ground anchors are more flexible and easier to install compared to concrete. They are especially useful if you want the option to move or adjust the position of the carport in the future.
Read more: How To Build A Cheap Carport
Installing the Foundation
Once you have determined the foundation type, follow these general steps to install it:
Concrete Foundation:
- Dig holes for the concrete footings using a shovel or an auger. The depth and diameter of the holes will depend on the specific requirements outlined in the carport kit instructions or local building codes.
- Place wooden forms or molds for the footings in the holes, making sure they are level and square. Secure them in place using stakes or supports.
- Mix the concrete according to the manufacturer’s instructions. Fill the holes with the concrete mixture, ensuring that it completely fills the form and is evenly distributed.
- Smooth the concrete surface with a trowel and use a level to check for evenness and proper alignment. Allow the concrete to cure fully as per the recommended time provided by the manufacturer before proceeding to the next steps of construction.
Ground Anchors:
- Start by positioning the carport frame in the desired location on the ground.
- Using a mallet or hammer, drive the ground anchors into the soil through the designated anchor points on the carport frame. Ensure the anchors are fully embedded and secure, providing maximum stability.
- Attach the carport frame to the ground anchors using the provided hardware, such as bolts or clamps. Make sure all connections are tightened securely.
Remember to follow the specific instructions provided with your carport kit as installation procedures may vary. Additionally, always consider any local building codes and regulations when setting the foundation.
With the foundation in place, you’ve completed an essential step in building your metal carport. In the next step, we’ll guide you through assembling the frame of your carport.
Step 4: Assembling the Frame
Now that the foundation is set, it’s time to assemble the frame of your metal carport. This step involves sorting and organizing the components provided in your carport kit and securely attaching the frame sections together. Follow these steps for a successful assembly:
Sorting and Organizing Components
Before you begin assembly, take inventory of all the components included in your carport kit. Lay out all the pieces and hardware, ensuring that you have everything you need. Sort and group the components according to their sizes, shapes, and functions. This will make the assembly process more organized and efficient.
Refer to the manufacturer’s instructions or the provided assembly manual to identify each component and understand its specific role in the construction of the carport frame. Take note of any distinctive features or additional considerations mentioned in the instructions.
Attaching the Frame Sections
Once you have sorted and organized the components, you are ready to attach the frame sections. Follow these general steps to assemble the frame of your metal carport:
- Begin by attaching the support posts to the anchor points or pre-drilled holes in the foundation. Use the appropriate hardware provided in the carport kit, such as bolts or screws. Ensure the posts are securely fastened and are plumb (vertically straight) using a level.
- Next, attach the horizontal beams or trusses to the support posts. Align the holes or connection points on the beams with those on the support posts. Secure them using the provided hardware, ensuring a tight and stable connection.
- As you proceed, periodically check the alignment and levelness of the frame. Use a level to ensure the beams and posts are perfectly horizontal or vertical, depending on the design of your carport. Make any necessary adjustments to maintain the stability and structural integrity of the frame.
- Continue attaching the remaining frame sections, following the manufacturer’s instructions. This may involve connecting additional beams or trusses, depending on the design and size of your carport.
- Once all the frame sections are attached, double-check all the connections to ensure they are secure and properly tightened. Tighten any loose hardware, but be careful not to overtighten and risk damaging the components.
Throughout the assembly process, refer to the manufacturer’s instructions or assembly manual for any specific guidelines or tips related to your carport kit. Pay attention to any recommended methods for proper alignment, joint connections, or additional reinforcement, if necessary.
By sorting and organizing the components and successfully attaching the frame sections, you have completed a crucial step in building your metal carport. In the next step, we will guide you through the process of installing the roof.
Read more: How To Build A Lean To Carport
Step 5: Installing the Roof
After assembling the frame of your metal carport, it’s time to move on to the next step: installing the roof. The roof not only provides protection from the elements but also adds structural integrity to the overall carport. Follow these steps to successfully install the roof for your metal carport:
Choosing the Roof Style
Before you begin the installation process, consider the different roof styles available for metal carports. The roof style will not only impact the aesthetic appeal of your carport but also affect its functionality and ability to handle various weather conditions:
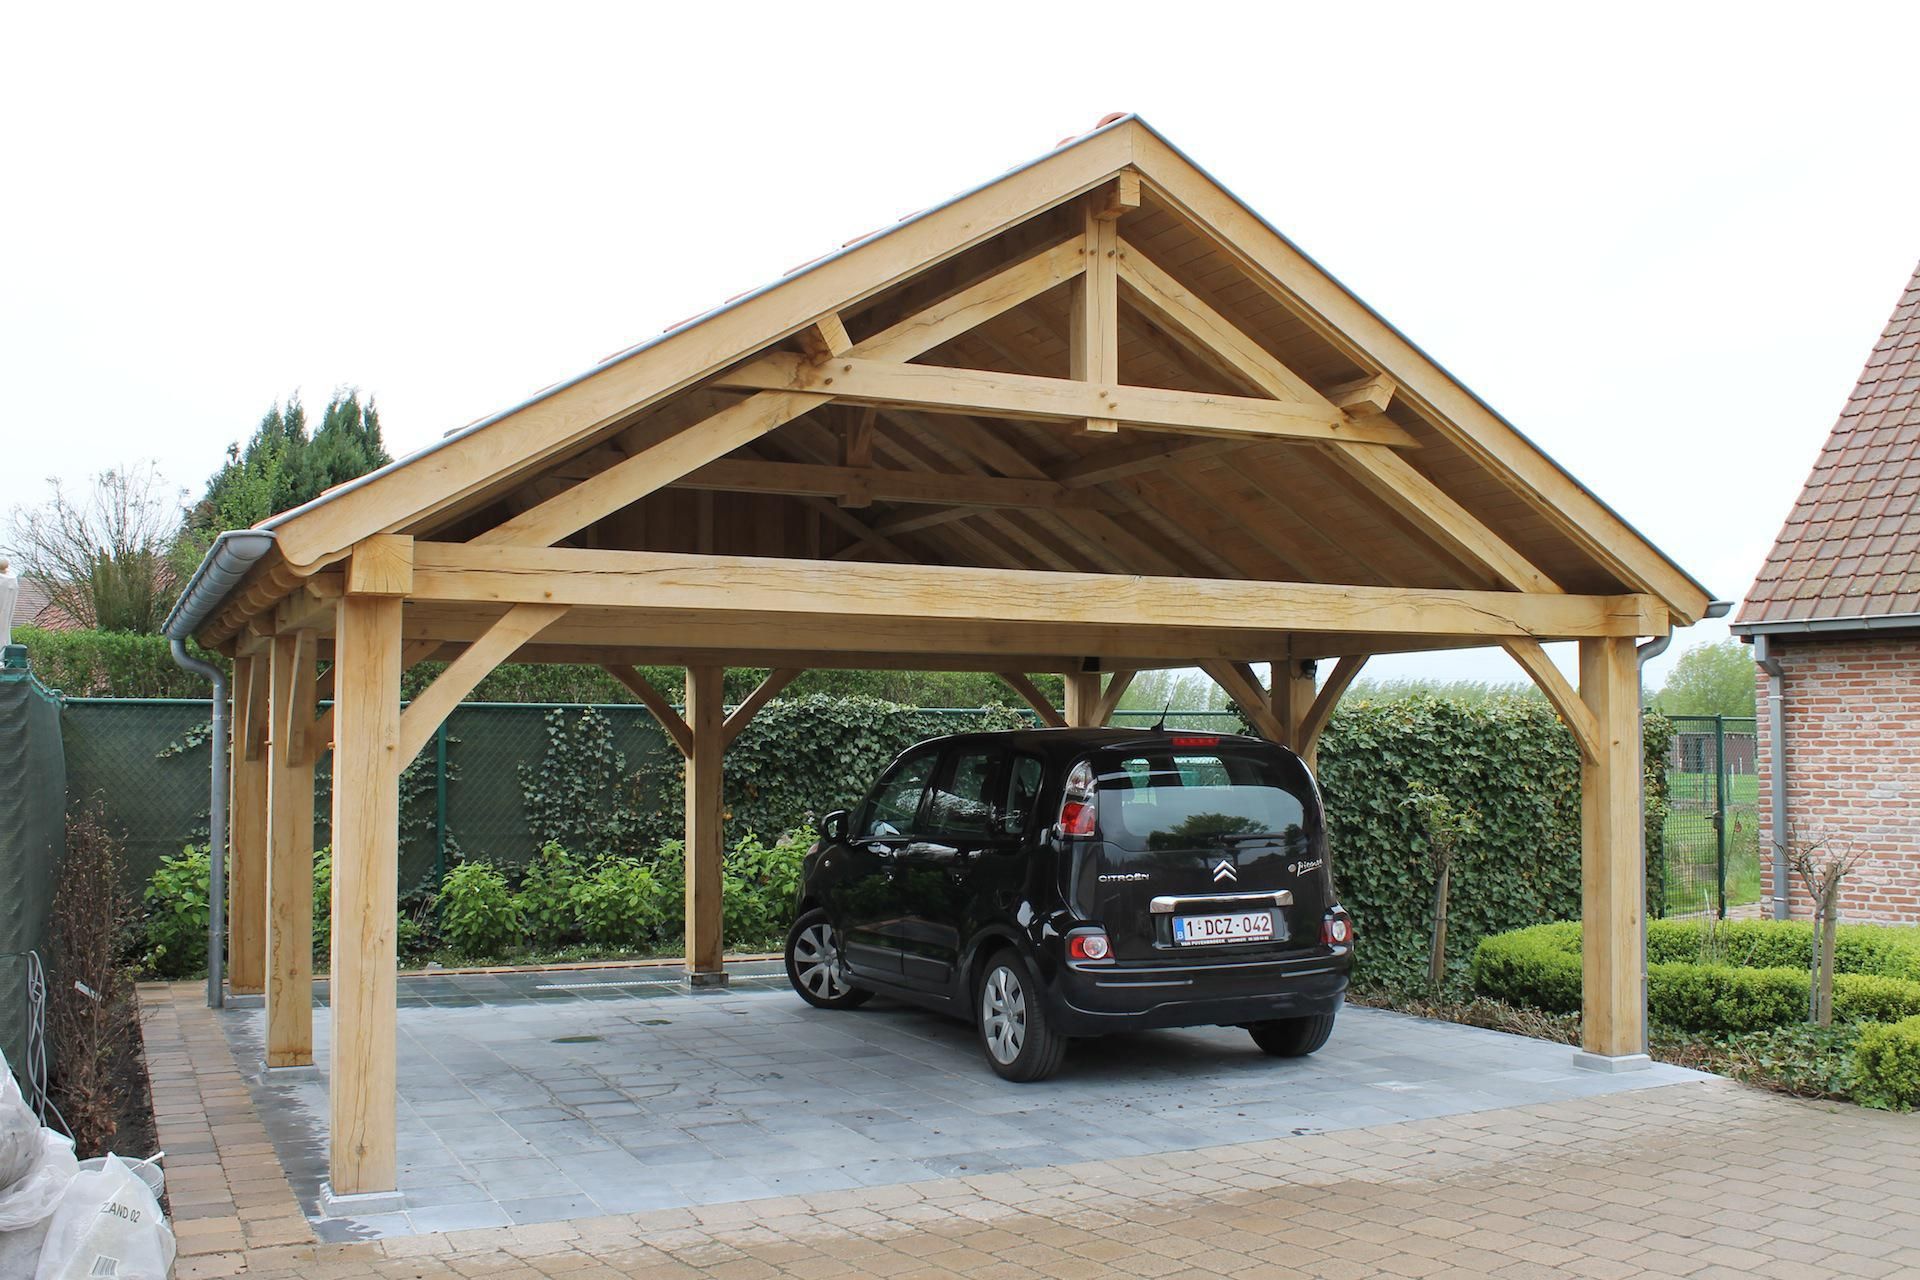
Gable Roof: A gable roof is a popular choice for carports due to its classic and visually appealing design. It features two sloping sides that meet at a ridge in the middle, forming a triangular shape. The gable roof provides efficient drainage of rainwater and snow, making it suitable for areas with heavy precipitation.
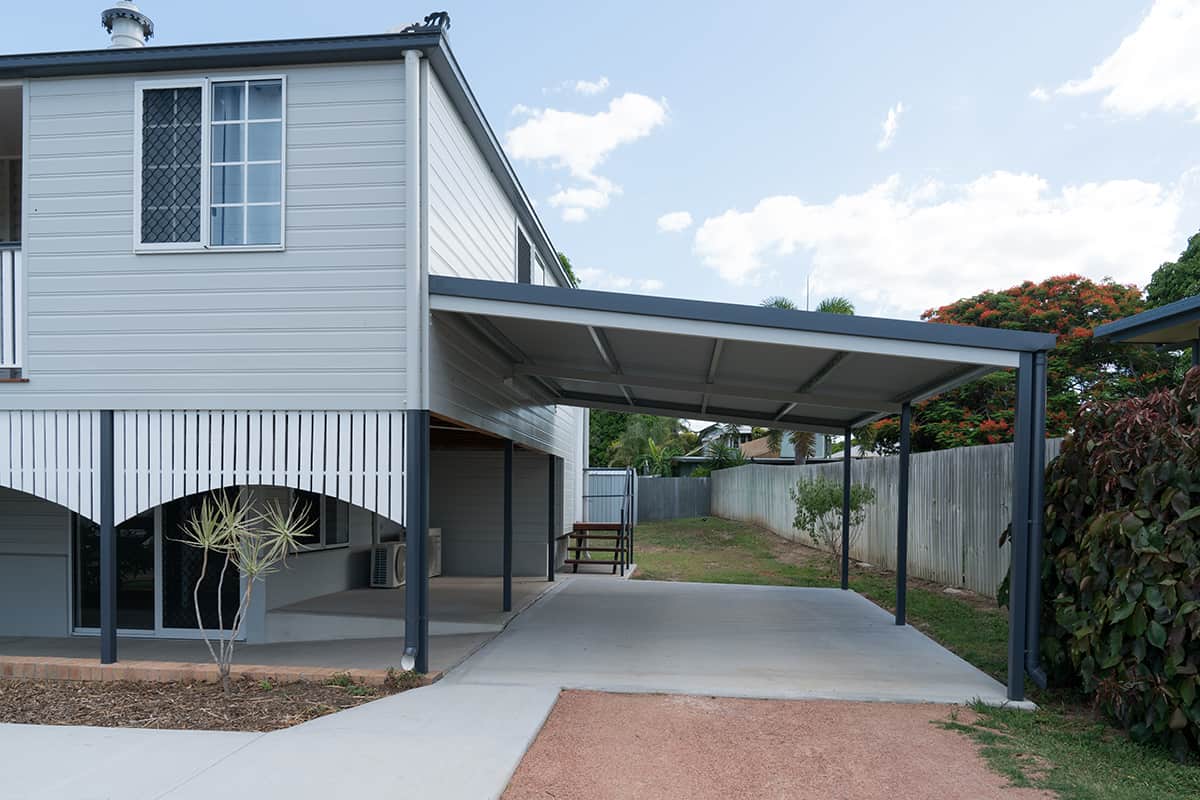
Flat Roof: A flat roof, as the name suggests, is horizontal or nearly horizontal. It offers a clean and minimalist look to your carport. While it may require more frequent maintenance to prevent water pooling, a properly installed and sealed flat roof can be an excellent option in climates with low precipitation.
Other Roof Styles: Depending on your carport kit, you may have additional roof style options available, such as hip roofs, single-slope roofs, or even custom designs. Consider your preferences, the architectural style of your property, and the climate in your area when choosing the roof style for your metal carport.
Securing the Roof Panels
Once you have chosen the roof style, follow these general steps to install and secure the roof panels:
- Start by positioning the first roof panel at one end of the carport. Ensure that it aligns properly with the edges and slopes of the frame. Use the recommended fasteners provided in the carport kit to secure the panel to the frame. Avoid overtightening the screws to prevent damage to the panel or frame.
- Continue installing the remaining roof panels, moving from one end of the carport to the other. Ensure that each panel overlaps with the previous one to prevent water infiltration. The amount of overlap required may vary depending on the manufacturer’s instructions or the specific design of your carport kit.
- Check each panel’s alignment and levelness as you progress. Use a level to ensure that the panels are perfectly horizontal or sloping as per the chosen roof style. Make any necessary adjustments to maintain a uniform and visually pleasing roofline.
- Secure each panel firmly, paying attention to the recommended screw placement outlined in the carport kit instructions. Ensure that all the panels are tightly attached to the frame to prevent any movement or shifting during inclement weather.
- Inspect the completed roof installation for any gaps, loose fasteners, or potential areas of water penetration. Apply a high-quality roofing sealant to these areas to ensure a watertight and weather-resistant roof.
Always follow the manufacturer’s instructions and specific recommendations provided with your carport kit during the roof installation process. Different carport kits may have variations in attachment methods or techniques, so consult the provided documentation for accurate guidelines.
By choosing the roof style and securely installing the roof panels, your metal carport is taking shape. In the next step, we will cover adding the sides and panels to complete the structure.
Step 6: Adding the Sides and Panels
With the roof of your metal carport installed, it’s time to move on to the next step: adding the sides and panels. This step will provide additional protection and enclosure for your carport. Follow these steps to successfully add the sides and panels to your carport:
Read also: 10 Best Metal Carport for 2025
Measuring and Cutting the Panels
The first task is to measure and cut the panels to fit the height and width of your carport frame. Follow these guidelines for accurate measurements and cutting:
- Start by measuring the height of each side of the carport frame. This measurement will determine the height of the side panels.
- Using a tape measure, measure the desired width between each vertical support post. Add a few inches to allow for an overlap and ensure proper coverage.
- Transfer the measurements to the metal panels, marking the dimensions with a marker or pencil.
- Using metal cutting tools like tin snips or a metal saw, carefully cut along the marked lines to create the individual panels. Take your time and use slow, steady strokes to achieve clean and accurate cuts.
- Ensure that all the panels are cut to the appropriate size, accounting for any openings, such as doors or windows, if applicable.
It’s important to double-check the measurements and make precise cuts to ensure a proper fit for the side panels. If in doubt, it is always better to measure twice and cut once.
Attaching the Sides and Panels
Once the panels are cut to size, follow these general steps to attach them to the frame:
- Start at one end of the carport and position the first panel against the frame, ensuring it aligns with the support posts and the top edge matches the height of the roof panels.
- Using the recommended screws or other fasteners provided in your carport kit, attach the panel to the frame. Begin at the top corners, drilling pilot holes if necessary, and then work your way down along the sides, periodically checking for levelness and alignment.
- Continue attaching the remaining side panels, ensuring they overlap properly at the corners. Use the same installation technique, fastening the panels securely to the frame using the provided hardware.
- If your carport has additional panels, such as front or back panels, follow the same procedure to attach them, ensuring proper alignment and levelness.
- Inspect the attached panels for any gaps, loose fasteners, or potential areas of water infiltration. Make any necessary adjustments or add additional sealant to ensure a secure and weather-resistant enclosure.
Throughout the process, refer to the manufacturer’s instructions or assembly manual for any specific guidelines or recommendations related to attaching the sides and panels. Each carport kit may have variations in attachment methods or specific techniques, so consult the provided documentation for accurate instructions.
By measuring and cutting the panels to fit and attaching them securely to the frame, your metal carport is reaching its final stages. In the next step, we will cover the finishing touches to complete the construction process.
Step 7: Finishing Touches
As you near the completion of your metal carport construction, it’s time to add the finishing touches. These final steps will enhance the appearance and longevity of your carport. Follow these guidelines for the finishing touches:
Adding Finishing Touches
Before considering any aesthetic enhancements, inspect the entire carport to ensure all components are securely attached and aligned properly. Check for any gaps, loose connections, or potential areas of concern. Make any necessary adjustments or repairs to ensure the carport is structurally sound.
Next, consider any additional features or accessories you’d like to add to your carport. This could include:
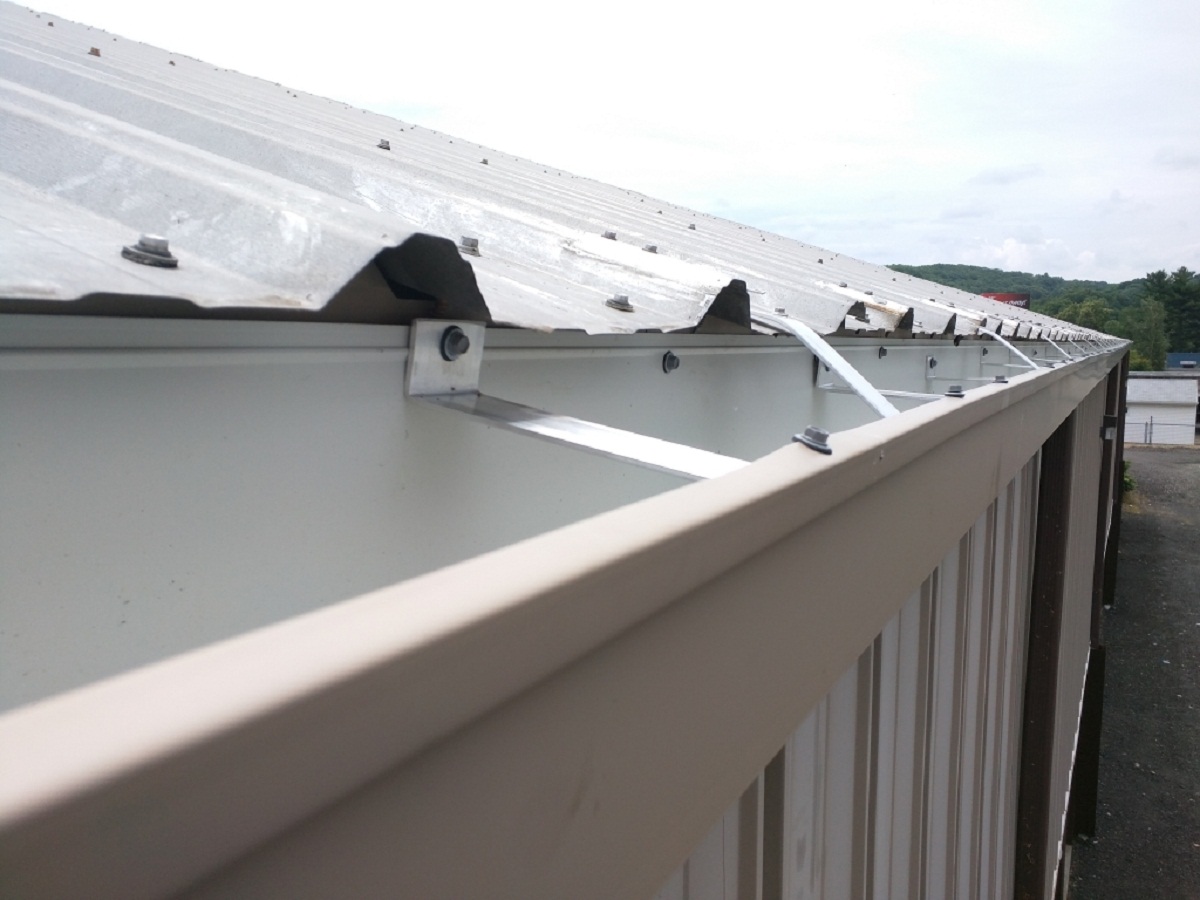
- Gutters and Downspouts: Depending on your location and local weather conditions, consider installing gutters and downspouts to divert rainwater away from the carport. This can help protect your vehicles and prevent water pooling or erosion around the carport’s foundation.
- Additional Lighting: If you plan to use your carport during darker hours, consider installing additional lighting fixtures. This can enhance visibility and increase security around your carport.
- Storage Solutions: Depending on your needs, you might consider adding storage solutions such as hooks, shelves, or cabinets to your carport for convenient storage of tools, equipment, or other items.
- Ventilation: Adequate ventilation is essential to prevent the buildup of moisture and condensation inside the carport. Consider adding vents or windows to promote airflow and minimize humidity levels.
Read more: How To Build A Carport Attached To House
Painting or Applying Protective Coating
One of the final steps in completing your metal carport is applying a protective coating or paint. Although metal carports are generally resistant to corrosion and rust, the application of a protective coating or paint can further enhance their durability and lifespan.
Before painting, it’s essential to prepare the surface properly. Clean the entire metal structure, removing any dirt, dust, or grease that may affect the adhesion of the coating or paint. If there are any areas of rust or corrosion, use a wire brush or sandpaper to remove the rust and smooth the surface. Ensure all surfaces are dry before applying the protective coating or paint.
Select a high-quality protective coating or paint designed specifically for metal surfaces. Consider factors such as weather resistance, UV protection, and durability. Follow the manufacturer’s instructions for proper application, including the recommended number of coats and drying times. Apply the coating or paint evenly, using a paintbrush, roller, or spray, according to your preference.
By applying a protective coating or paint, you not only enhance the appearance of your carport but also provide an additional layer of protection against corrosion and the elements. Regularly inspect the coating or paint over time and reapply as needed to maintain its effectiveness.
With the finishing touches complete, you have successfully built your metal carport. Step back and admire the final result—an attractive and functional structure that will provide years of reliable protection for your vehicles.
Remember to consult any local building codes or regulations and follow the manufacturer’s instructions and guidelines throughout the construction process. By doing so, you can ensure a safe and successful construction project.
When building a metal carport, make sure to properly anchor the structure to the ground to ensure stability and durability, especially in areas with strong winds or inclement weather.
Conclusion
Building a metal carport is a rewarding DIY project that provides practical protection for your vehicles while adding value to your property. The step-by-step process outlined in this guide has walked you through the entire construction journey, from preparing the site to adding the finishing touches. By following these guidelines and using a high-quality carport kit, you can create a durable and functional structure that meets your specific needs.
Throughout the construction process, it’s important to prioritize safety by wearing appropriate protective gear and following all relevant building codes or regulations. Take careful measurements, double-check your work, and consult the manufacturer’s instructions for accurate assembly guidelines.
By choosing the right foundation type, assembling the frame, installing the roof, adding the sides and panels, and applying the finishing touches, you have created a strong and secure metal carport. The numerous benefits of a metal carport include protection against the elements, versatility in design, portability, and cost-effectiveness.
Remember to regularly inspect your carport for any signs of wear or damage, and perform necessary maintenance to ensure its longevity. This includes checking for loose connections, addressing any rust or corrosion, and reapplying protective coatings as needed.
Whether you use your metal carport for parking vehicles, storing equipment, or as a versatile outdoor workspace, it will serve as a valuable addition to your property for years to come.
Enjoy the peace of mind knowing that your vehicles are shielded from the sun, rain, and snow, and take pride in the fact that you built a functional and stylish carport with your own hands.
Congratulations on completing your metal carport construction project!
Frequently Asked Questions about How To Build A Metal Carport
Was this page helpful?
At Storables.com, we guarantee accurate and reliable information. Our content, validated by Expert Board Contributors, is crafted following stringent Editorial Policies. We're committed to providing you with well-researched, expert-backed insights for all your informational needs.
0 thoughts on “How To Build A Metal Carport”