Articles
How To Store A Sewing Machine
Modified: October 28, 2024
Learn the best ways to store your sewing machine with these helpful articles. Protect your equipment and ensure it stays in top condition.
(Many of the links in this article redirect to a specific reviewed product. Your purchase of these products through affiliate links helps to generate commission for Storables.com, at no extra cost. Learn more)
Introduction
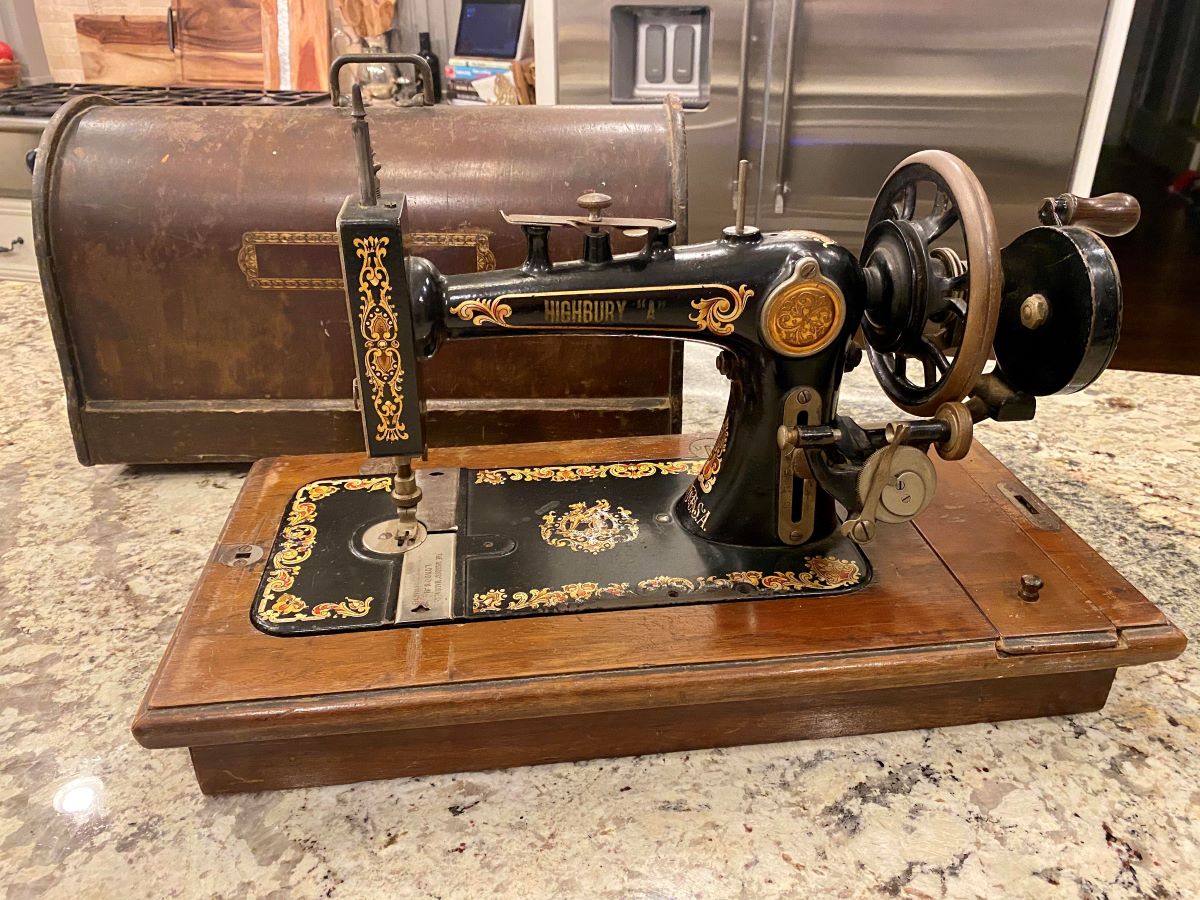
When it comes to sewing machines, proper storage is essential to maintain their functionality and prolong their lifespan. Whether you’re storing a sewing machine for a short period or an extended duration, taking the necessary steps to ensure its protection is crucial.
In this article, we will walk you through a step-by-step guide on how to store a sewing machine correctly. From gathering the necessary materials to cleaning and preparing the machine for storage, we’ve got you covered. We’ll also provide tips on choosing the proper storage location, covering and protecting the machine, and maintaining it during long-term storage.
By following these guidelines, you can rest assured that your sewing machine will be safe, protected, and ready for use whenever you need it.
Key Takeaways:
- Properly storing a sewing machine involves gathering materials, cleaning, preparing, choosing the right location, covering, and regular maintenance. These steps ensure its protection and longevity for future use.
- Selecting an ideal storage location, covering the machine, and performing regular maintenance are crucial for preserving a sewing machine’s functionality and extending its lifespan. Following these steps guarantees a well-protected and ready-to-use machine.
Read more: How To Store Sewing Patterns
Step 1: Gather the necessary materials
Before you begin the process of storing your sewing machine, it’s essential to gather all the necessary materials to ensure a smooth and organized process. Here are the materials you’ll need:
- Cleaning tools: Soft cloth or microfiber cloth, small brush, sewing machine cleaning solution or mild detergent
- Protective cover: Sewing machine cover, dust cover, or a clean and breathable fabric
- Storage container: Sturdy plastic container or sewing machine storage case
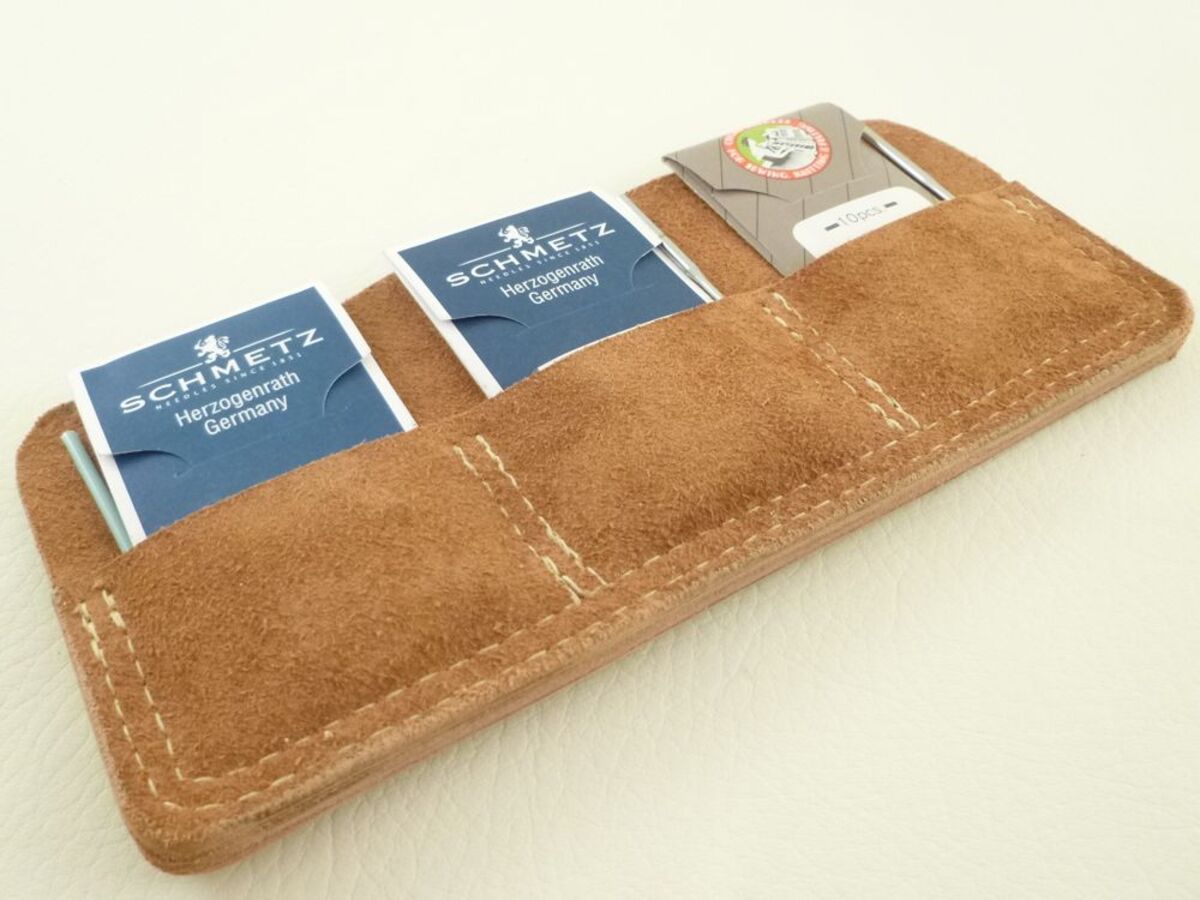
- Extra accessories: Extra bobbins, needles, presser feet, and any other sewing machine accessories you want to store along with your machine
Once you have gathered these materials, you’ll be ready to proceed to the next steps of cleaning and preparing your sewing machine for storage.
Step 2: Clean the sewing machine
Before storing your sewing machine, it’s crucial to clean it thoroughly to ensure that it’s free from dust, lint, and any other debris that could potentially cause damage or affect its performance. Follow these steps to clean your sewing machine:
- Unplug the machine: Ensure that the sewing machine is completely unplugged and disconnected from any power source before cleaning.
- Remove the needle and presser foot: Carefully remove the needle and presser foot from the machine. Set them aside in a safe place.
- Remove the bobbin case and bobbin: Open the bobbin case and remove it along with the bobbin. Inspect them for any lint or thread snags and clean them if necessary.
- Wipe down the machine: Using a soft cloth or microfiber cloth, gently wipe down the exterior of the sewing machine. Pay attention to areas that tend to collect dust, such as the tension discs, thread guides, and needle plate.
- Clean the feed dogs: Use a small brush to remove any lint or debris from the feed dogs. This area is responsible for moving the fabric during sewing, so it’s crucial to keep it clean and free from obstructions.
- Oil if necessary: If your sewing machine requires oiling, refer to the manufacturer’s instructions and apply oil to the designated areas. This helps to keep the machine functioning smoothly.
By taking the time to clean your sewing machine properly, you’ll be able to remove any accumulated dust or debris that could potentially affect its performance. This will ensure that your machine is in good condition when you next use it.
Step 3: Prepare the machine for storage
Once you have cleaned your sewing machine, it’s time to prepare it for storage. Proper preparation ensures that your machine remains protected and in good working condition while it’s not in use. Follow these steps:
- Reassemble any disassembled parts: Put the bobbin case, bobbin, needle, and presser foot back in place. Double-check that everything is securely assembled to avoid any potential damage during storage.
- Wind the thread properly: If there is any thread left on the machine, wind it correctly around the bobbin or thread holder to prevent tangling or knotting.
- Tension adjustment: Check the tension settings of your machine and make any necessary adjustments based on the manufacturer’s instructions. This will help prevent unnecessary strain on the machine’s parts during storage.
- Remove the foot pedal or power cord (if applicable): If your sewing machine has a detachable foot pedal or power cord, remove them and keep them in a safe place. This prevents any accidental damage or tangling.
- Take note of any specific storage instructions: Some sewing machines may have specific requirements for storage, such as positioning the needle in a certain way or disengaging specific functions. Refer to your machine’s manual for any specific guidelines.
By taking the time to properly prepare your sewing machine for storage, you’ll ensure that it’s in good condition and ready to use when you take it out again. This step is crucial to maintain the longevity and performance of your machine over time.
Step 4: Choose the proper storage location
Choosing the right storage location for your sewing machine is vital to keep it safe and protected. Consider the following factors when selecting the ideal storage spot:
- Avoid direct sunlight: Exposure to sunlight can cause the machine’s plastic parts to fade or become brittle over time. Choose a storage spot that is away from direct sunlight to prevent any damage.
- Temperature and humidity: Extreme temperature fluctuations and high humidity levels can adversely affect the sewing machine’s performance and lead to rust or corrosion. Select a storage area with stable temperature and humidity levels.
- Avoid damp or dusty areas: Moisture and dust can harm the inner components of the machine. Avoid storing the sewing machine in areas prone to moisture, such as the basement or garage, or in dusty spaces like an attic.
- Avoid areas with pests: Keep the sewing machine away from areas where pests like insects or rodents may infiltrate. These creatures can cause significant damage to the machine’s wiring or other parts.
- Consider storage containers: If you have space constraints or want additional protection, consider storing your sewing machine in a sturdy plastic container or a dedicated sewing machine storage case.
By choosing the right storage location that maintains consistent temperature and humidity levels, you’ll keep your sewing machine safe from potential damage and ensure its longevity.
When storing a sewing machine, be sure to clean and oil it according to the manufacturer’s instructions. Store it in a dry, cool place, and cover it to protect it from dust. Avoid storing it in direct sunlight or extreme temperatures.
Read more: How To Store Sewing Supplies
Step 5: Cover and protect the machine
Once you have chosen the ideal storage location for your sewing machine, it’s important to cover and protect it to prevent dust, dirt, and other potential hazards from damaging the machine. Follow these steps to cover and protect your sewing machine:
- Use a sewing machine cover: If your sewing machine came with a dedicated cover, use it to keep the machine protected from dust and debris. If you don’t have a specific cover, consider investing in a dust cover or use a clean and breathable fabric to cover the machine.
- Securely cover exposed areas: Ensure that all exposed areas of the sewing machine, such as the needle, presser foot, and bobbin area, are properly covered. This will prevent any dust or dirt from entering these sensitive parts.
- Avoid plastic coverings: While it may seem tempting to use a plastic cover to protect against moisture, it can trap condensation and cause damage to the machine. Stick to breathable fabric covers to prevent any potential moisture buildup.
- Secure the cover: Make sure the cover is securely in place and does not slip or move during storage. You can use elastic bands or fasteners to hold the cover firmly on the machine.
By properly covering and protecting your sewing machine, you’ll keep it shielded from dust, dirt, and other potential elements that could affect its performance and longevity.
Step 6: Store the machine in a safe and dry place
Now that your sewing machine is properly covered and protected, it’s time to store it in a safe and dry place. Follow these guidelines to ensure optimal storage conditions:
- Elevate the machine: Always store your sewing machine off the ground to protect it from potential water damage. Place it on a sturdy table or shelf to keep it elevated.
- Avoid storing near heat sources: Keep the sewing machine away from direct heat sources like radiators or heaters, as prolonged exposure to high temperatures can cause damage to the machine’s internal components.
- Ensure proper ventilation: Choose a storage area with adequate airflow to prevent the accumulation of moisture. Good ventilation helps to maintain an optimal storage environment for your sewing machine.
- Secure the storage location: If possible, lock or secure the storage area to prevent unauthorized access and accidental damage to the machine.
- Consider climate-controlled storage: If you live in a region with extreme weather conditions, consider storing your sewing machine in a climate-controlled storage unit to ensure stable temperature and humidity levels.
By storing your sewing machine in a safe and dry place, you’ll minimize the risk of damage from moisture, heat, or unwanted access, keeping your machine protected and functioning optimally.
Step 7: Regular maintenance tips for long-term storage
Even when your sewing machine is safely stored, it’s important to perform regular maintenance to ensure its longevity. Follow these maintenance tips for long-term storage:
- Check the machine periodically: Make it a habit to inspect your sewing machine every few months, even during storage. Look for any signs of damage or corrosion and address them promptly before they worsen.
- Oil the machine if needed: Depending on the type of sewing machine you have, it may require periodic oiling. Consult the manufacturer’s instructions on how often to oil your machine and follow the recommended guidelines.
- Run the machine occasionally: It’s beneficial to run your sewing machine for a few minutes every few months, even if you’re not using it for projects. This helps to keep the internal components lubricated and prevents them from seizing up.
- Keep the storage area clean: Regularly clean the storage area where your sewing machine is kept to prevent the accumulation of dust and debris. A clean environment helps to maintain the cleanliness of the machine as well.
- Store the machine upright: If possible, store your sewing machine in an upright position to prevent any potential damage from shifting or tipping over.
By following these regular maintenance tips, you can ensure that your sewing machine remains in good condition even during long-term storage. These simple steps will help preserve the functionality and extend the lifespan of your machine.
Conclusion
Properly storing your sewing machine is essential to maintain its performance and prolong its lifespan. By following the step-by-step guide outlined in this article, you can ensure that your sewing machine remains in optimal condition during storage and is ready for use whenever you need it.
From gathering the necessary materials to cleaning and preparing the machine, choosing the right storage location, and covering and protecting the machine, each step plays a crucial role in ensuring its safety. Additionally, performing regular maintenance and periodically checking the machine during storage will help prevent any potential issues and keep it in top shape.
Remember to select a storage location that offers stable temperature and humidity levels, away from direct sunlight, moisture, and pests. Use a proper cover to protect the machine from dust and debris and store it in a safe and dry place, preferably elevated off the ground.
By following these guidelines and incorporating regular maintenance, you can preserve the longevity of your sewing machine and enjoy its functionality for years to come. Whether you’re storing the machine for a short period or an extended duration, these steps will ensure that it remains well-protected and ready when you need it again.
So, take the time to properly store your sewing machine and enjoy the peace of mind knowing that it will be in excellent condition and ready for your next sewing project.
Frequently Asked Questions about How To Store A Sewing Machine
Was this page helpful?
At Storables.com, we guarantee accurate and reliable information. Our content, validated by Expert Board Contributors, is crafted following stringent Editorial Policies. We're committed to providing you with well-researched, expert-backed insights for all your informational needs.


0 thoughts on “How To Store A Sewing Machine”