Articles
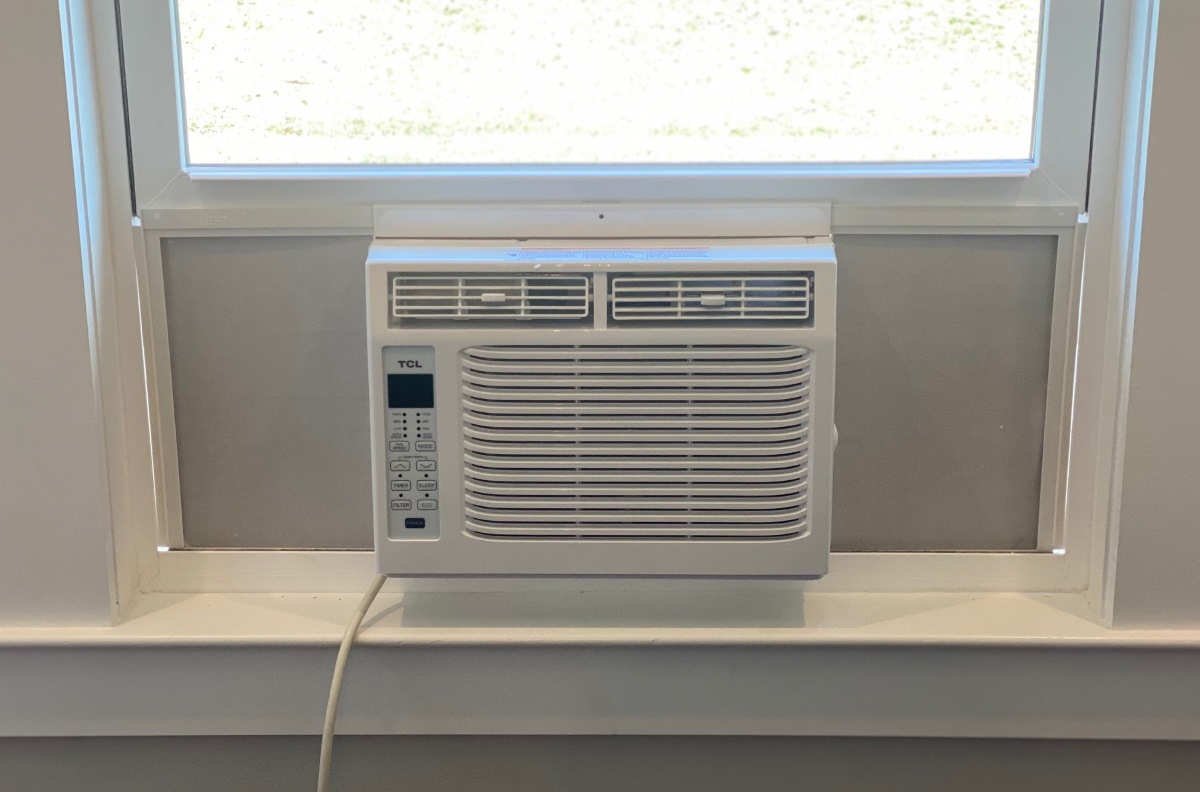
How To Store An Ac Unit
Modified: January 19, 2024
Learn effective ways to store an AC unit and protect it from damage. Discover helpful articles on proper AC unit storage techniques to prolong its lifespan.
(Many of the links in this article redirect to a specific reviewed product. Your purchase of these products through affiliate links helps to generate commission for Storables.com, at no extra cost. Learn more)
Introduction
Summer may be coming to an end, and it’s time to bid farewell to those long, hot days. As the temperature drops, you might be wondering what to do with your trusty AC unit until the next heatwave hits. Properly storing your AC unit during the off-season can help prolong its lifespan and ensure that it continues to work efficiently when you need it most.
In this article, we will guide you through the steps on how to store an AC unit properly. From cleaning and disassembling to wrapping and protecting, we will cover everything you need to know to keep your AC unit in top shape during its time in hibernation.
Before we dive into the detailed steps, it’s important to note that different types of AC units may have specific requirements for storage. Be sure to consult your manufacturer’s guidelines for any model-specific instructions. With that said, let’s get started!
Key Takeaways:
- Properly storing your AC unit during the off-season is crucial for maintaining its performance and extending its lifespan. From thorough cleaning to careful reinstallation, following these steps will ensure your unit stays in optimal condition.
- Choosing a suitable storage location, wrapping the AC unit for protection, and preparing for reinstallation are key steps in maintaining your AC unit. Regular maintenance and following manufacturer’s guidelines will help keep your unit in top shape.
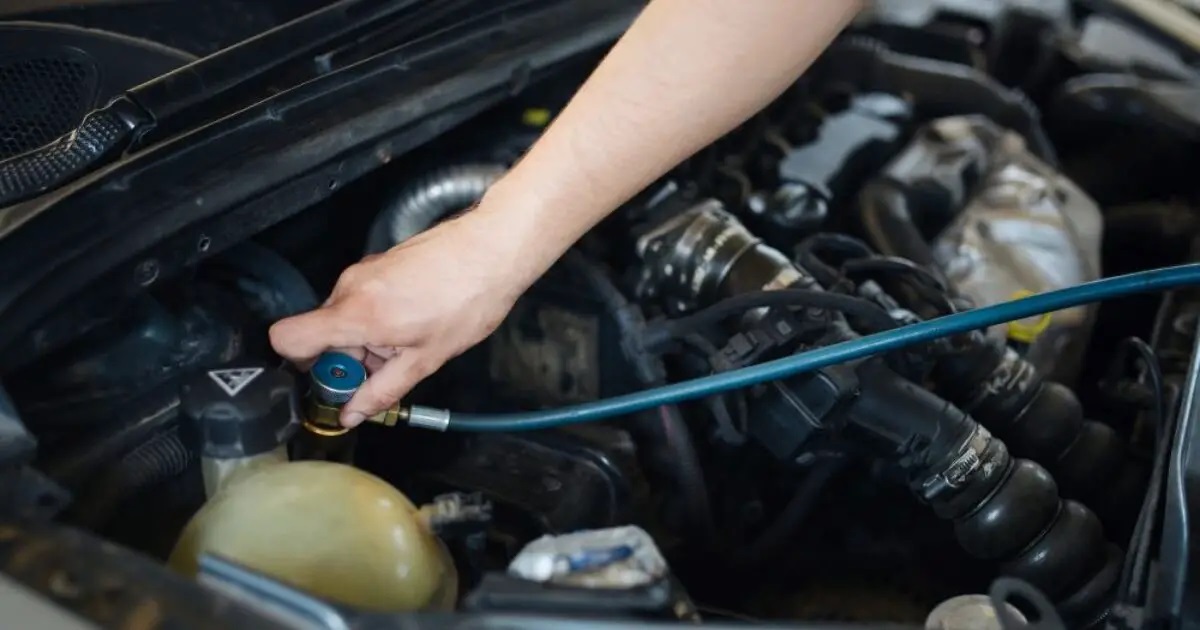
Read more: How Much Is An AC Recharge
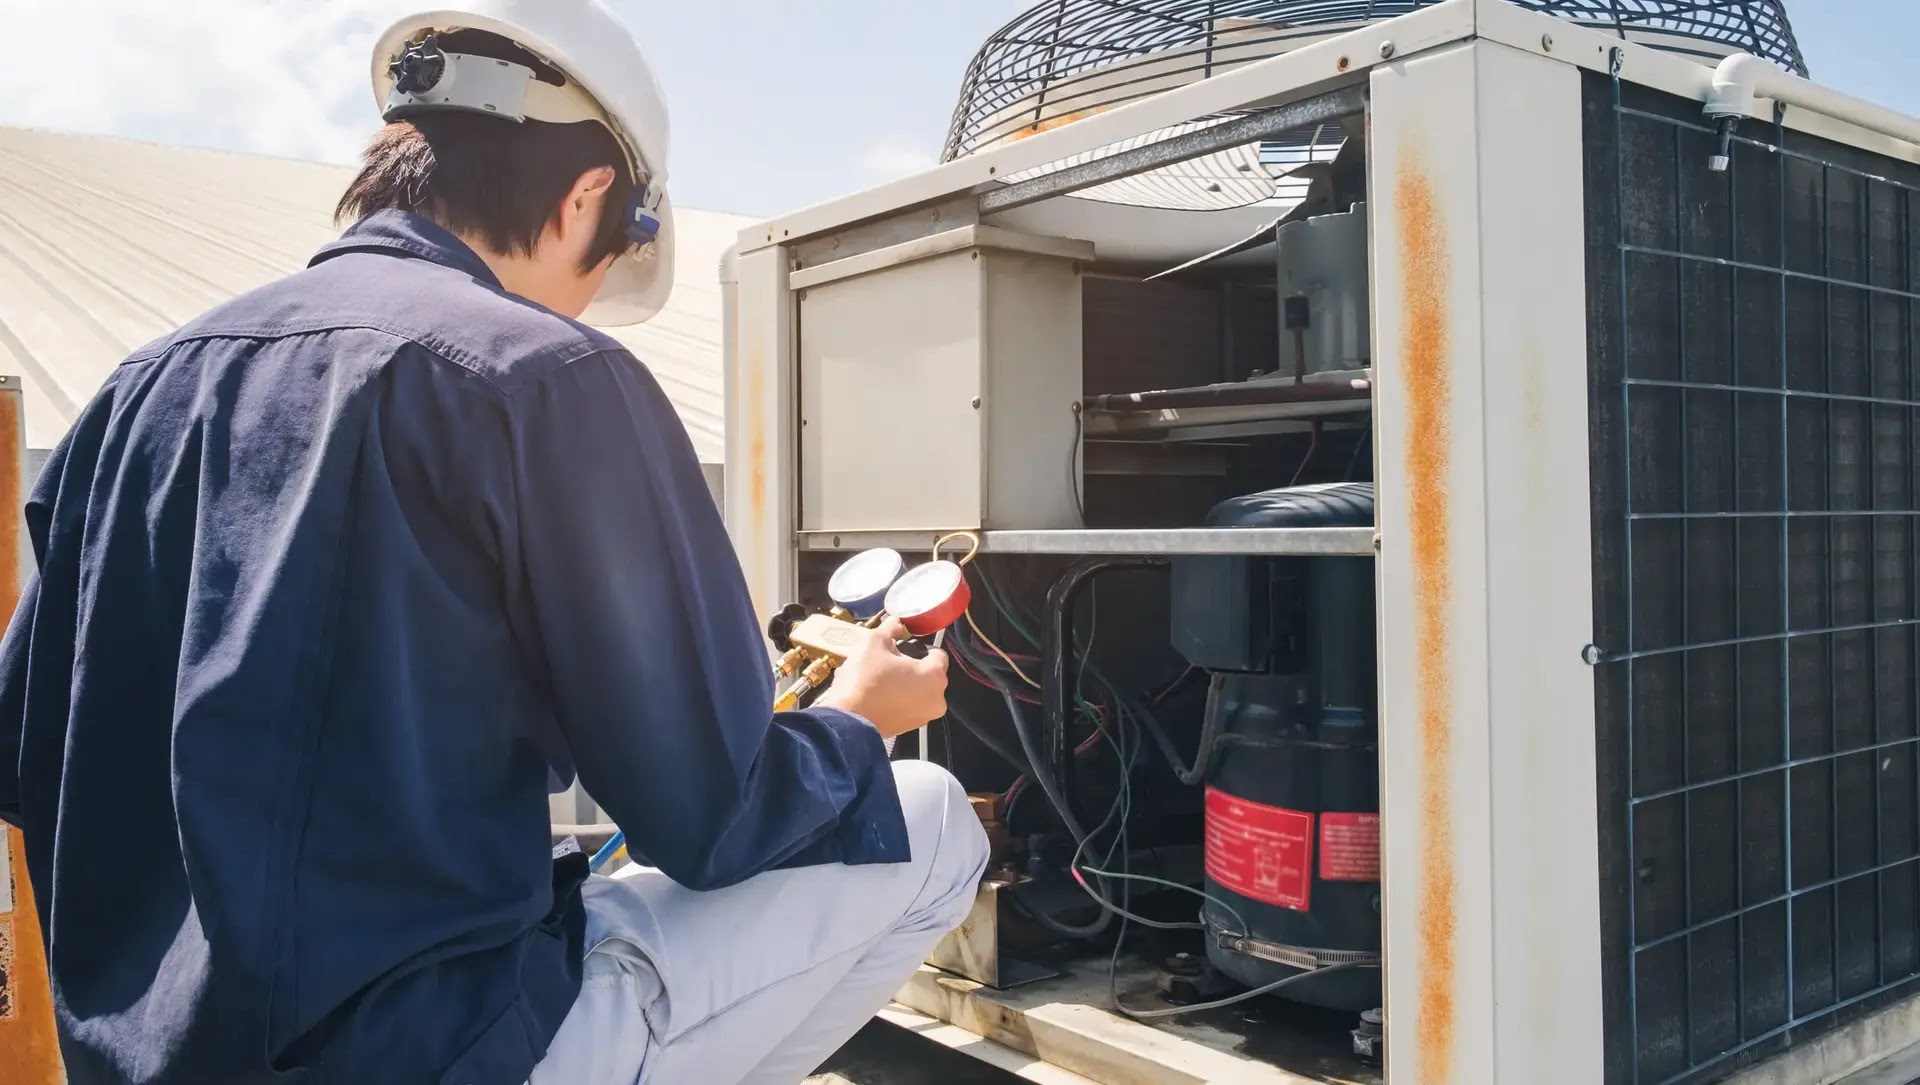
Step 1: Cleaning the AC Unit
The first step in preparing your AC unit for storage is to give it a thorough cleaning. Over time, dust, dirt, and debris can accumulate on the unit, which can hinder its performance and potentially cause damage if left untreated.
Start by turning off the power to the unit. This can usually be done by flipping the switch on the electrical panel or shutting off the circuit breaker dedicated to the AC unit. Once the power is off, you can safely begin the cleaning process.
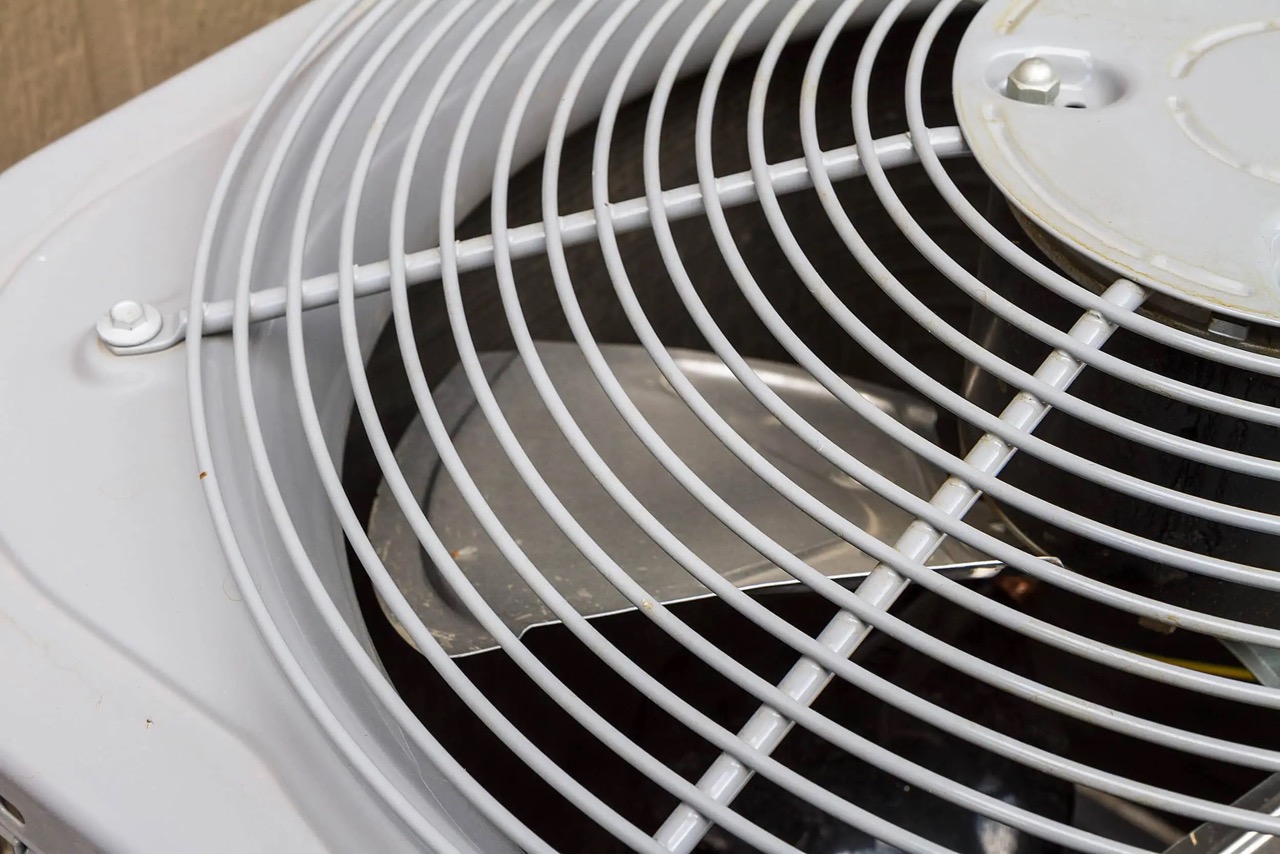
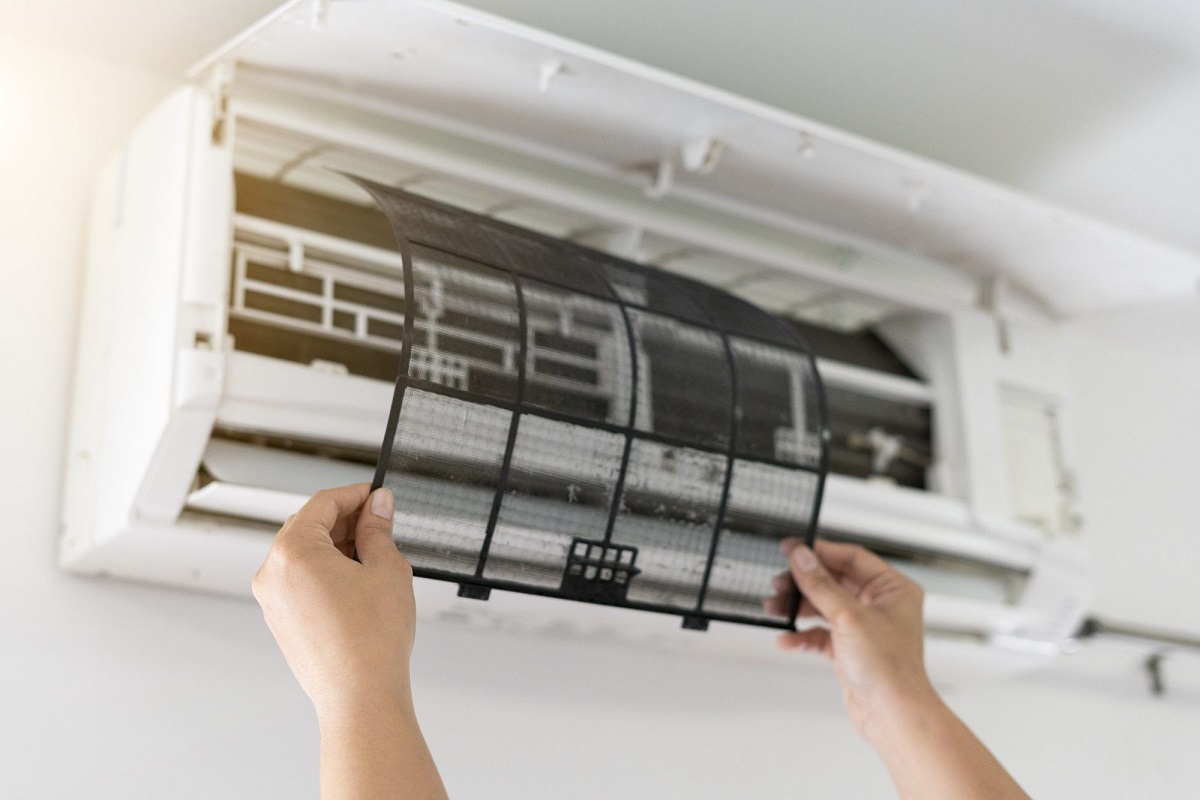
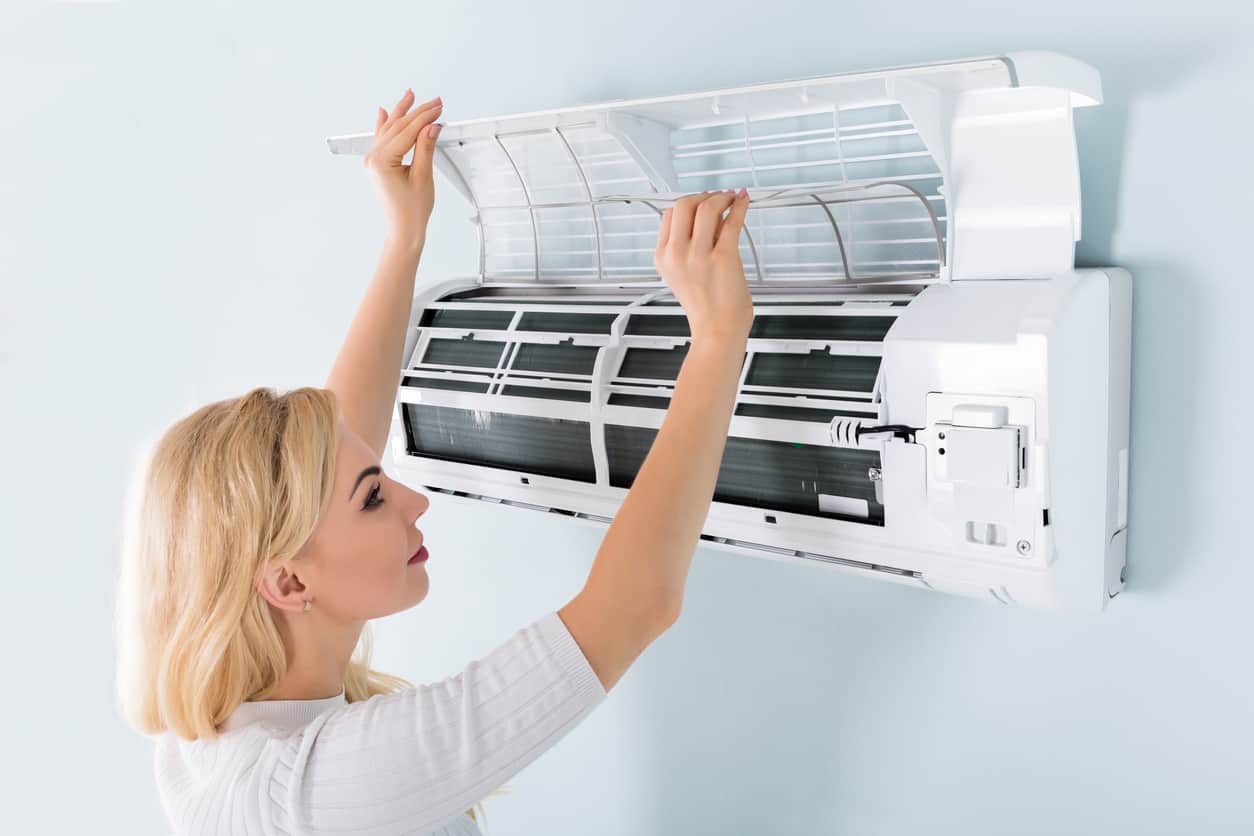
Use a soft brush or a vacuum cleaner with a brush attachment to gently remove dirt and debris from the unit’s exterior surfaces. Pay close attention to the fins and coils, as these areas can easily trap dust and grime. Avoid using excessive force or sharp objects that could damage the delicate components.
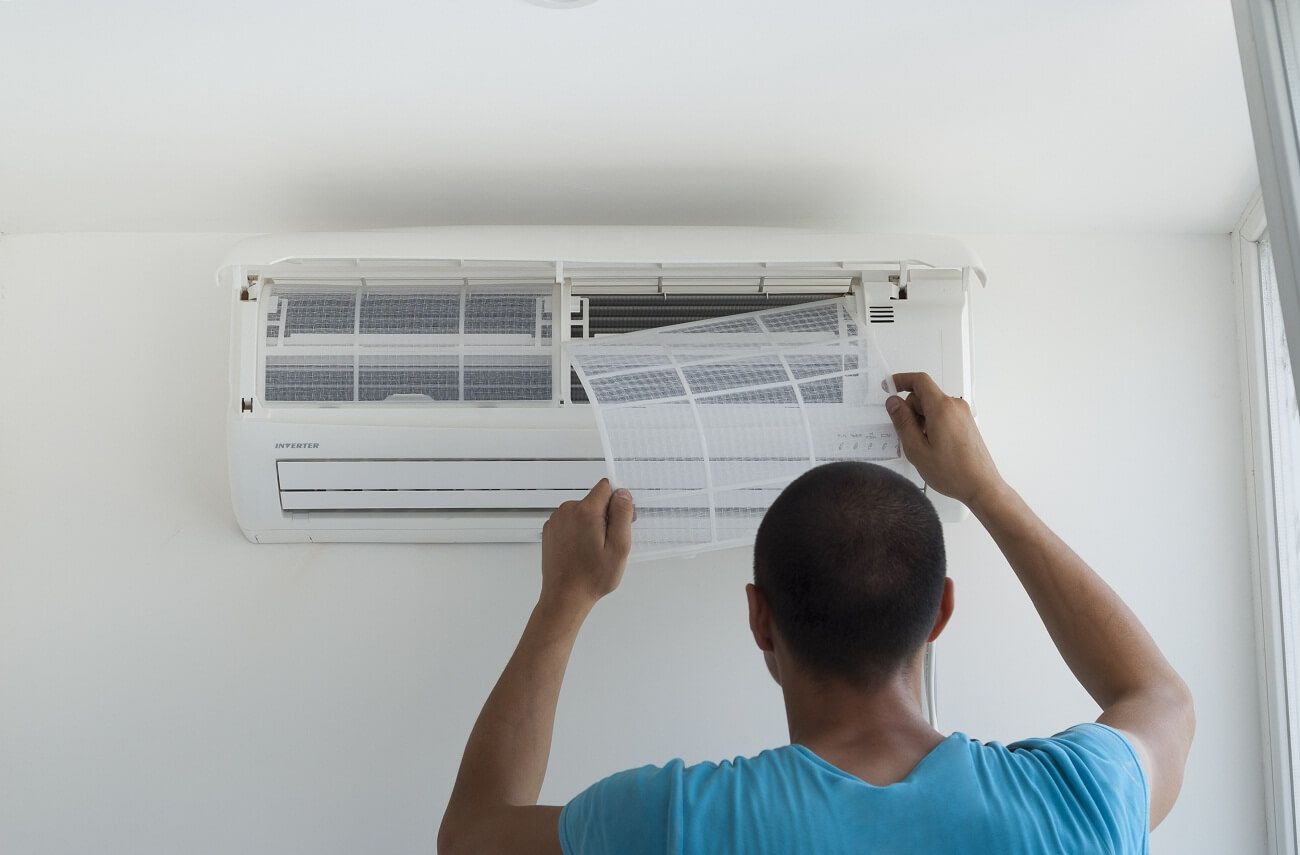
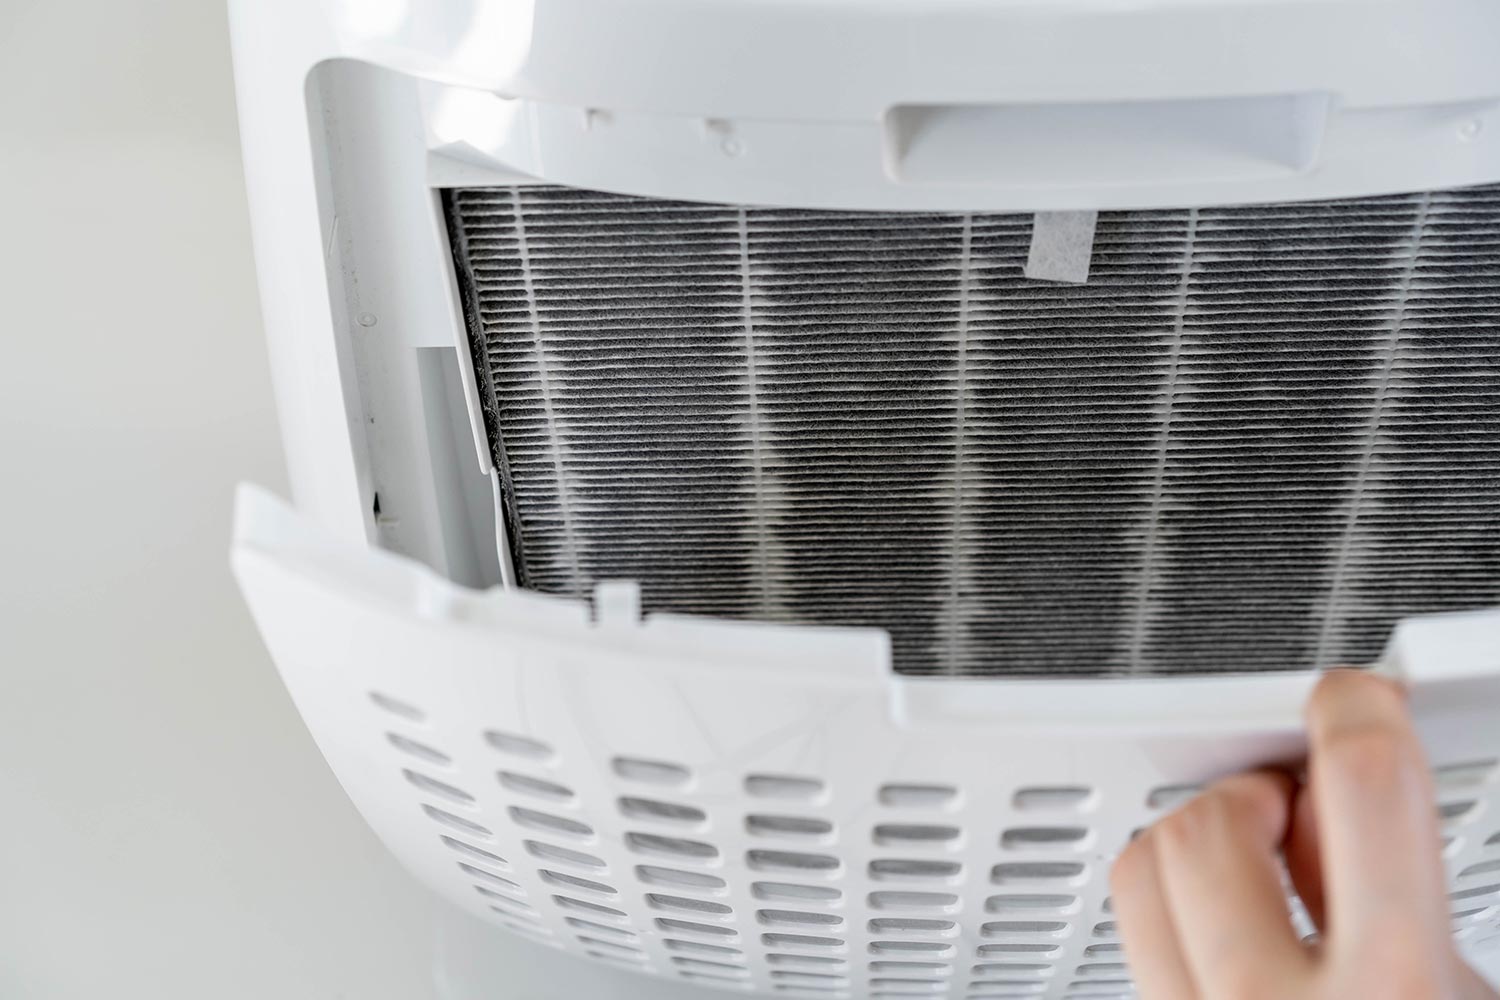
Next, it’s time to clean the filters. Remove the filters from the AC unit according to the manufacturer’s instructions. Most filters can be easily accessed by opening a panel or removing a front cover. Rinse the filters under running water to remove any dirt or debris. If the filters are heavily soiled, you may need to soak them in warm, soapy water to loosen the buildup. Once clean, allow the filters to dry completely before reinstalling them.
While cleaning the interior components, take care not to dislodge or damage any wires or connections. Use a damp cloth to wipe down the interior surfaces, removing any remaining dirt or dust. If you notice any signs of mold or mildew, you can use a mixture of water and vinegar to clean the affected areas.
Once you have completed the cleaning process, allow the AC unit to dry completely before moving on to the next step. This will help prevent any moisture from causing damage while the unit is in storage.
Step 2: Removing and Disassembling the AC Unit
Now that your AC unit is clean, it’s time to remove it from its installation spot and disassemble any removable components. This step is crucial to ensure that the unit is properly stored and protected during the off-season.
Start by turning off the power to the AC unit. As mentioned earlier, this can usually be done by flipping the switch on the electrical panel or shutting off the circuit breaker dedicated to the unit.
Next, carefully disconnect the AC unit from the electrical supply. This typically involves unscrewing a few connectors or wiring terminals. If you’re unsure about the disconnection process, consult the manufacturer’s instructions or consider hiring a professional for assistance.
After disconnecting the electrical supply, remove any mounting brackets or supports that are keeping the AC unit in place. These brackets are usually secured with screws or bolts. Take note of how the brackets were installed as you will need to reinstall them correctly later.
With the AC unit now free from its mounting spot, it’s time to disassemble any removable components. This may include removing the front panel, air intake grille, or any other detachable parts. Again, consult the manufacturer’s instructions for guidance on how to properly disassemble the unit.
As you disassemble the AC unit, store the removed components in a safe and secure location. You can use labeled ziplock bags or small containers to keep track of screws, bolts, or other small parts. This will make reassembly much easier when the time comes to reinstall the unit.
Once the AC unit is fully disassembled and the components are safely stored, you’re ready to move on to the next step of the storage process.
Step 3: Wrapping and Protecting the AC Unit
Now that you have cleaned and disassembled the AC unit, it’s time to wrap and protect it to ensure that it stays in optimal condition during storage.
Start by inspecting the unit for any signs of damage or wear. Check for cracks, dents, or loose parts that may need repair before storing. If you notice any issues, consider contacting a professional to evaluate and fix the problem.
Once you have assessed the condition of the AC unit, it’s time to wrap it for added protection. Start by using a plastic or vinyl cover that is specifically designed for air conditioning units. These covers can provide a barrier against dust, moisture, and insects that may try to infiltrate the unit.
In addition to the cover, you can also use bubble wrap or old blankets to provide some cushioning for the delicate components. Wrap these materials around the unit, paying special attention to the fins and coils. Secure them in place with tape or bungee cords to ensure that they stay in position during storage.
It’s important to choose materials that are breathable and allow air circulation to prevent the growth of mold or mildew. Avoid using materials like plastic sheets or tarps that can trap moisture inside the unit.
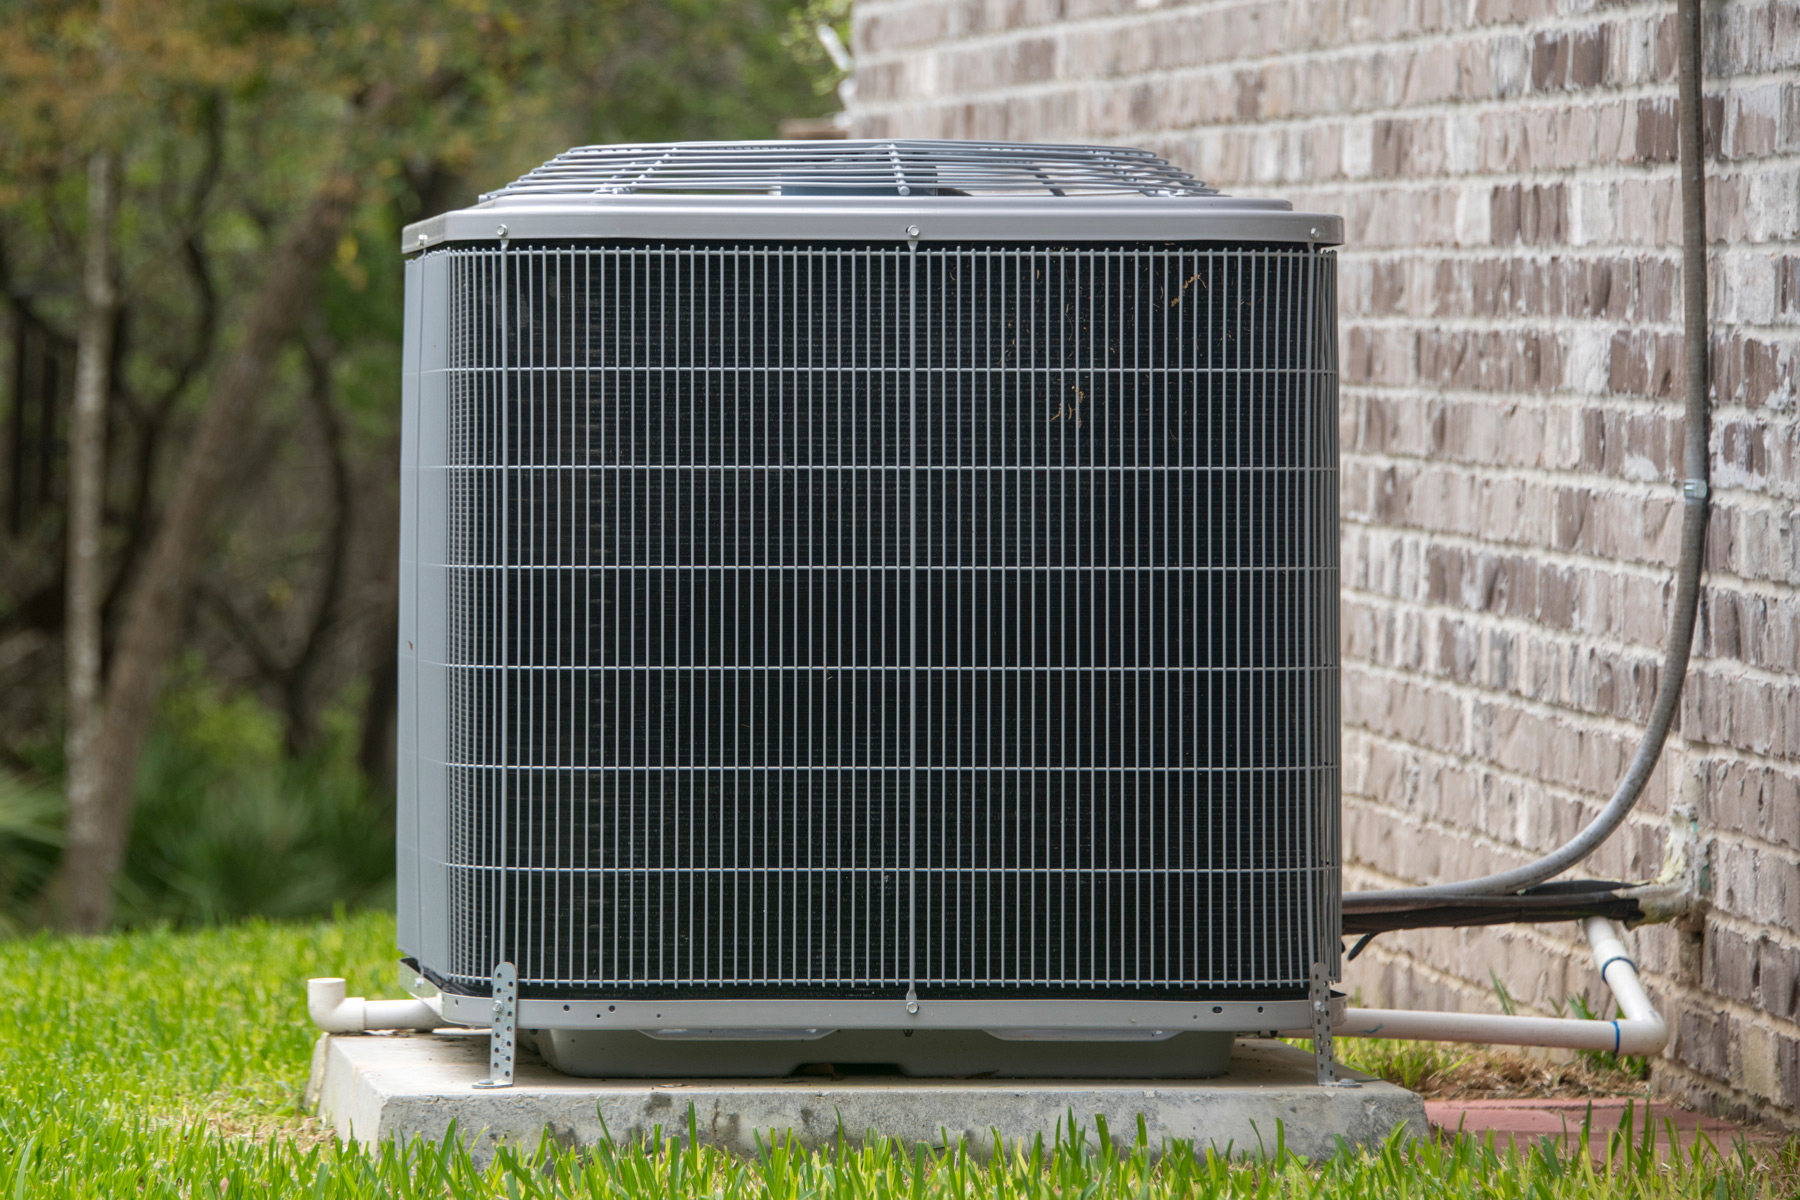
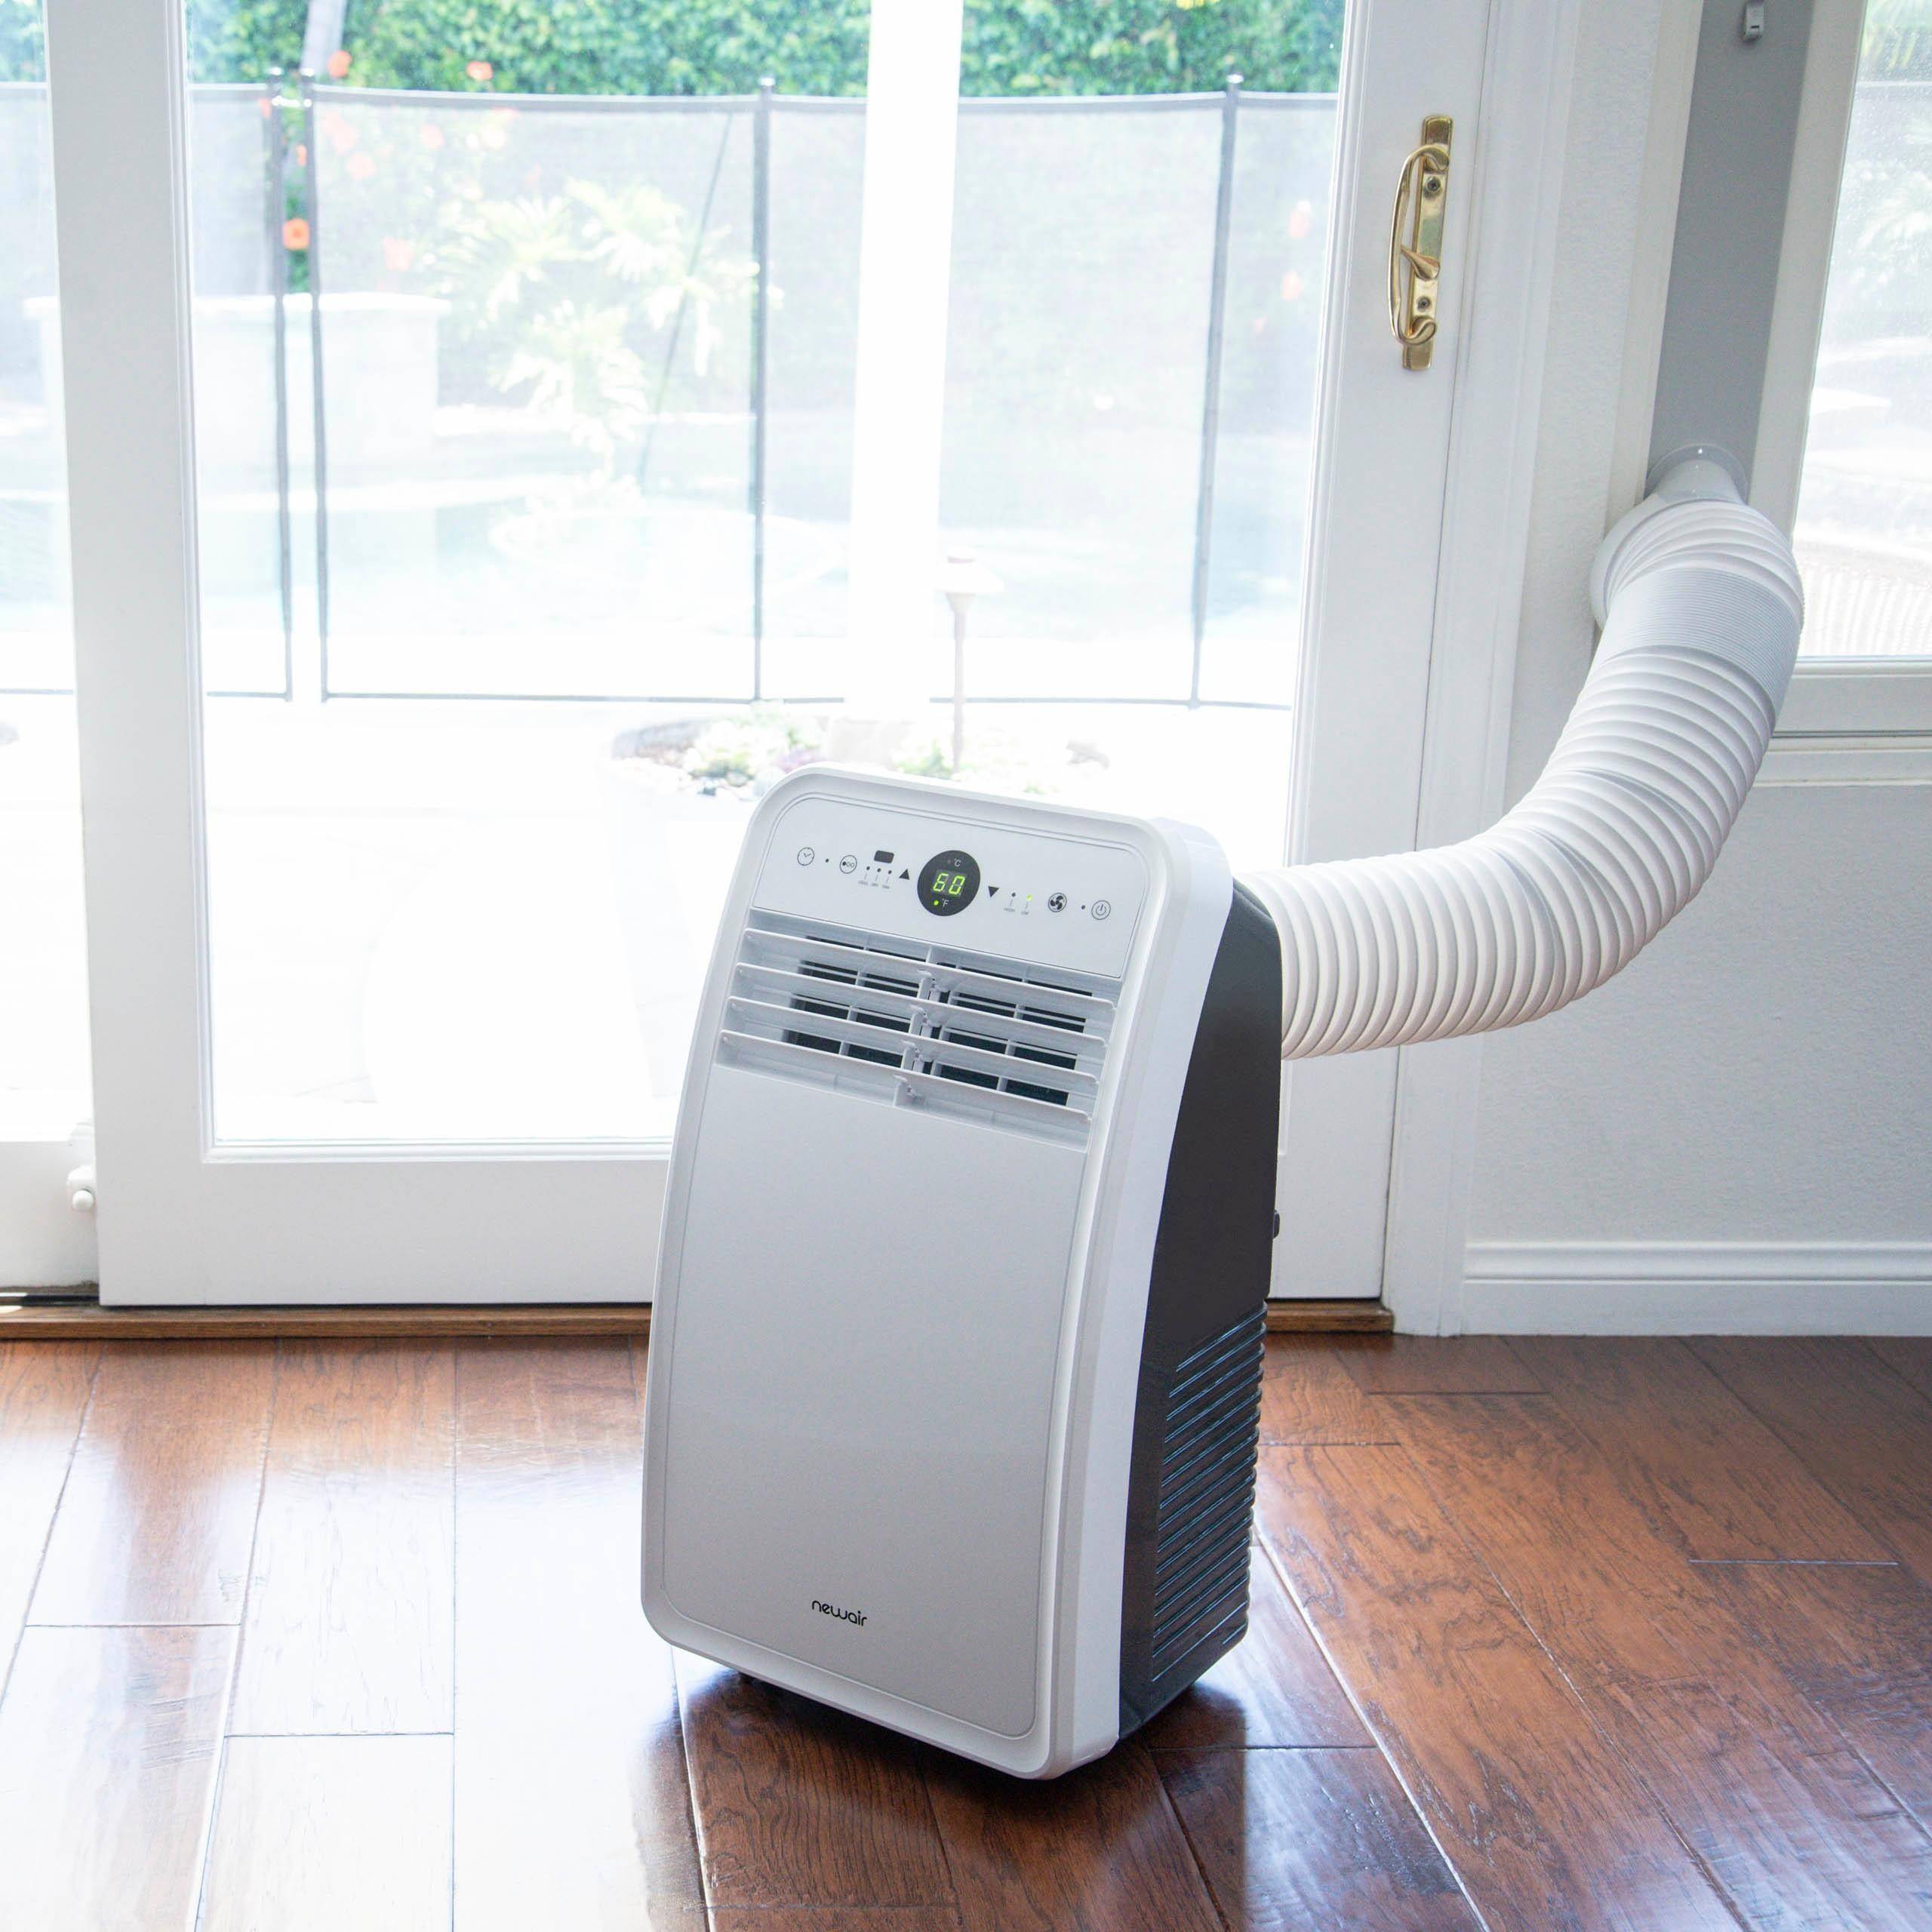
In cases where you are storing the AC unit outdoors, consider building a protective structure or using a dedicated storage container. This can provide additional protection against harsh weather elements, such as rain, snow, or extreme temperatures.
Remember to label the wrapped AC unit with its corresponding model or serial number. This will make it easier to identify and locate the unit when it’s time for reinstallation.
With the AC unit properly wrapped and protected, you’re ready to move on to the next step of storing it during the off-season.
When storing an AC unit, make sure to clean the filters and coils, remove any debris, and cover the unit with a waterproof cover to protect it from the elements. Additionally, store it in a dry, well-ventilated area to prevent mold and mildew growth.
Step 4: Storing the AC Unit
Now that your AC unit is cleaned, disassembled, and properly wrapped, it’s time to find the perfect storage spot for it during the off-season.
Choose a location that is cool, dry, and free from direct sunlight. Excessive heat or moisture can damage the internal components of the AC unit, so it’s important to find a storage area that maintains stable conditions.
If you have a dedicated storage room or a garage, that would be an ideal place to store the AC unit. Make sure the area is clean and free from any potential hazards, such as leaking pipes or chemical substances.
If you don’t have a suitable indoor space, you can consider storing the AC unit in a secure outdoor shed or storage unit. Just make sure that the shed or unit provides adequate protection against the elements.
When placing the AC unit in the storage area, keep it elevated off the ground to avoid contact with any potential moisture or pests. You can use wooden pallets or blocks to create a stable and elevated platform.
Ensure that the stored AC unit is not stacked or placed under any heavy objects that could potentially damage it. Give it enough space to breathe and avoid any obstructions around it.
While the unit is in storage, it’s a good idea to periodically check on it to ensure that it remains in good condition. Keep an eye out for any signs of moisture, pests, or damage. If you notice any issues, take the necessary steps to address them promptly.
By following these storage precautions, you can ensure that your AC unit stays safe and in good working condition until it’s time to reinstall it for the next summer season.
Read more: How Does A AC Compressor Work
Step 5: Preparing for Reinstallation
The off-season is almost over, and it’s time to prepare your AC unit for reinstallation. Follow these steps to make the reinstallation process smooth and hassle-free.
Start by carefully removing the protective coverings and any wrapping materials from the AC unit. Inspect the unit for any signs of damage or pests that may have found their way in. Clean the unit again if necessary before proceeding.
Next, gather all the components that were disassembled and stored during the off-season. Check that you have all the screws, bolts, and other small parts required for reassembly.
Refer to the manufacturer’s instructions to guide you through the reassembly process. Start by attaching the removable components that were removed, such as the front panel, air intake grille, or any other parts that were disassembled.
Once the components are securely in place, it’s time to reinstall the AC unit in its designated spot. Carefully lift and position the unit back into its mounting location, following the manufacturer’s guidelines for proper alignment.
Reattach any mounting brackets or supports that were removed during the disassembly process. Make sure to secure them tightly to ensure the unit is properly held in place.
Reconnect the electrical supply to the AC unit, following the manufacturer’s instructions. Double-check all the connections to ensure they are secure and properly aligned.
Once everything is reassembled and connected, it’s time to test the AC unit. Turn on the power and set the desired temperature to see if the unit is functioning properly. Listen for any unusual sounds or vibrations and monitor the unit for any leaks or issues.
If everything is working as expected, congratulations! Your AC unit is ready to keep you cool and comfortable during the upcoming warm months.
Remember to schedule regular maintenance and cleaning for your AC unit throughout the season to keep it in optimal condition and prolong its lifespan.
By following these steps for preparing your AC unit for reinstallation, you can ensure a smooth transition from storage to usage and enjoy the benefits of a well-maintained cooling system.
Conclusion
Properly storing an AC unit during the off-season is essential to maintain its performance and extend its lifespan. By following the steps outlined in this article, you can ensure that your AC unit remains in optimal condition until you need it again.
Starting with a thorough cleaning of the unit, removing any dirt and debris, is crucial to prevent any buildup that can hinder its performance. Disassembling the AC unit and storing the components safely will make reassembly easier when the time comes.
Wrapping the AC unit with a cover and providing cushioning with materials like bubble wrap will protect it from dust, moisture, and pests. Choosing a suitable storage location, preferably cool and dry, is vital to prevent any damage from excessive heat or humidity.
When it’s time to reinstall the AC unit, carefully remove the coverings and reassemble the components according to the manufacturer’s instructions. Reattach the unit to its mounting spot, reconnect the electrical supply, and test it to ensure that it’s functioning properly.
Regular maintenance and cleaning throughout the season are also important to keep the AC unit in good working order. Schedule professional maintenance checks, clean or replace filters regularly, and address any issues promptly to avoid any potential damage or inefficiency.
Remember, each AC unit may have specific storage and reinstallation requirements, so it’s important to consult the manufacturer’s guidelines for your particular model.
By following these steps and taking proper care of your AC unit, you can enjoy the benefits of a well-functioning cooling system for many summers to come.
Frequently Asked Questions about How To Store An Ac Unit
Was this page helpful?
At Storables.com, we guarantee accurate and reliable information. Our content, validated by Expert Board Contributors, is crafted following stringent Editorial Policies. We're committed to providing you with well-researched, expert-backed insights for all your informational needs.


0 thoughts on “How To Store An Ac Unit”