

Articles
How To Store Apple Turnovers
Modified: August 24, 2024
Learn how to properly store apple turnovers with these helpful articles. Find tips and tricks for keeping your pastries fresh and delicious.
(Many of the links in this article redirect to a specific reviewed product. Your purchase of these products through affiliate links helps to generate commission for Storables.com, at no extra cost. Learn more)
Introduction
Welcome to our guide on how to store apple turnovers! Apple turnovers are a delightful pastry treat that combines the tartness of apples with a flaky crust. Whether you’ve made a batch yourself or have leftovers from a bakery, knowing how to properly store apple turnovers can ensure that they stay fresh and delicious for as long as possible.
Apple turnovers are best enjoyed when they are freshly baked, with a warm filling and a crispy crust. However, sometimes you may find yourself with more turnovers than you can consume in one sitting. In such cases, proper storage is essential to maintain their taste and texture.
In this article, we will discuss the steps involved in storing apple turnovers in a way that preserves their flavor and appearance. We will cover everything from choosing the right ingredients to reheating them when you’re ready to enjoy them again. So let’s dive in!
Key Takeaways:
- Master the art of storing apple turnovers to enjoy their delicious flavors for longer. Choose the right ingredients, prepare with care, and store properly for a delightful treat anytime.
- Reheat stored apple turnovers to restore their flakiness and revive the apple filling. Whether in the oven, toaster oven, or microwave, enjoy a fresh-from-the-oven experience with each bite.
Read more: How To Store Apple
Choosing the Right Ingredients
When it comes to making apple turnovers, choosing the right ingredients is key to achieving the best flavor and texture. Here are a few things to keep in mind when selecting your ingredients:
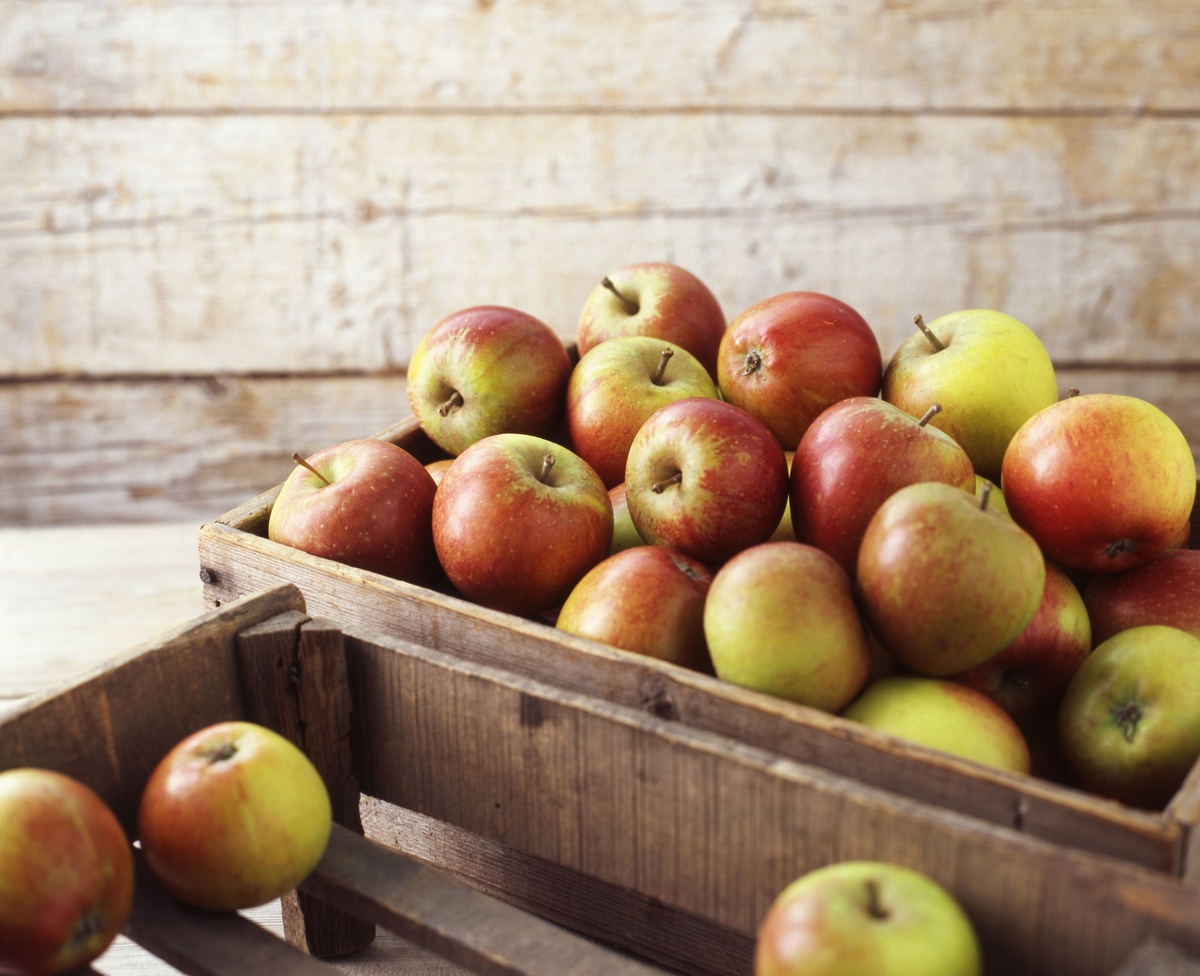
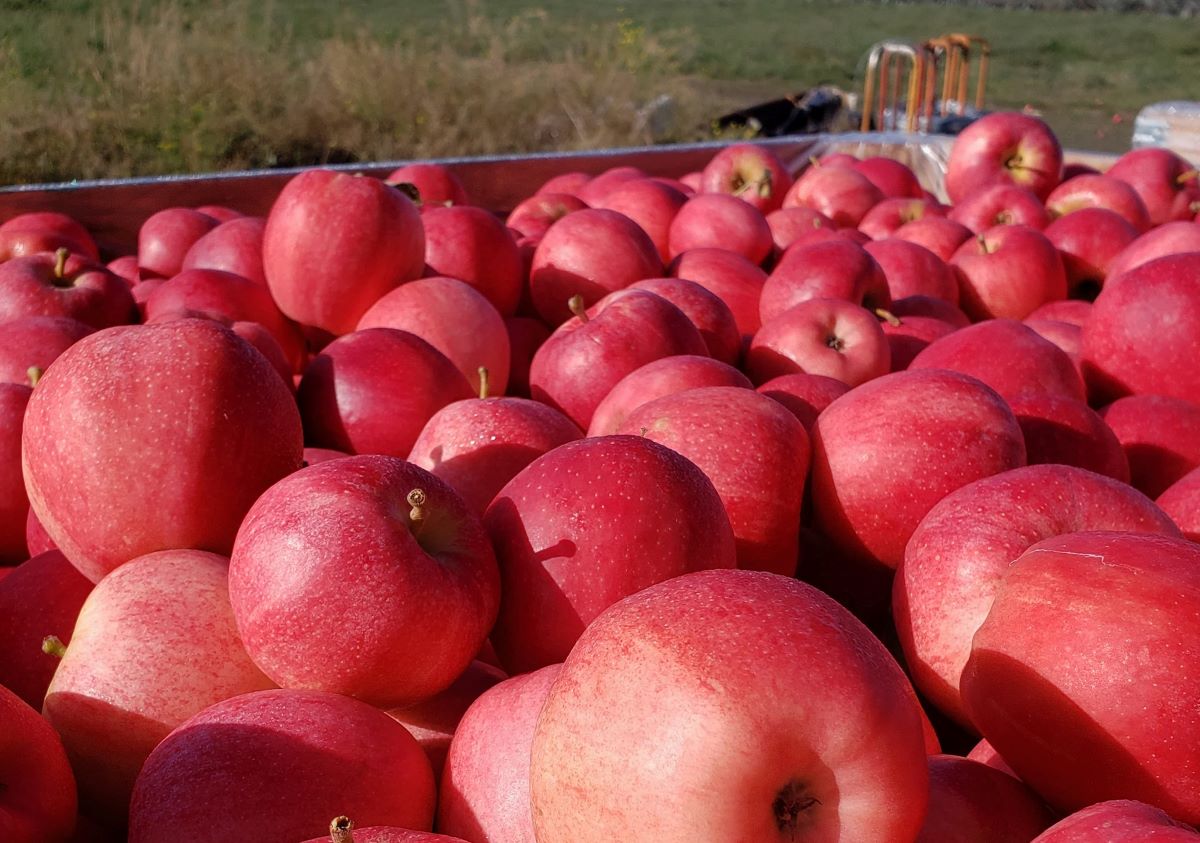
- Apples: Opt for apples that are crisp and slightly tart, such as Granny Smith or Honeycrisp. These varieties hold up well during baking and provide a nice contrast to the sweetness of the filling.
- Sugar: Use granulated sugar or brown sugar to sweeten the apple filling. Brown sugar adds a lovely caramel-like flavor to the turnovers.
- Spices: Cinnamon, nutmeg, and a pinch of cloves are classic spices that complement the flavor of apples. Feel free to adjust the amount to your preference.
- Lemon Juice: Adding a squeeze of lemon juice to the apple filling helps to prevent browning and adds a refreshing tang.
- Pastry Dough: You can either make your own pastry dough from scratch or use store-bought puff pastry or pie crust. Each option has its own advantages, so choose the one that suits your preference and the amount of time you have.
By selecting high-quality ingredients, you can ensure that your apple turnovers have a delicious, homemade taste. Take the time to choose fresh and flavorful apples and use the right combination of spices to enhance the overall flavor profile.
Preparing the Apple Filling
The apple filling is the heart of any apple turnover, so it’s important to prepare it with care and attention to achieve the perfect balance of flavors. Here’s how you can prepare the apple filling:
- Peel and chop the apples: Start by peeling the apples and removing the cores. Then, chop them into small, bite-sized pieces. You can cut them into slices or cubes, depending on your preference.
- Add sweeteners and spices: In a bowl, combine the chopped apples with sugar, spices (such as cinnamon and nutmeg), and a squeeze of lemon juice. Toss well to ensure that the apples are evenly coated.
- Cook the apple filling: Transfer the apple mixture to a saucepan and cook over medium heat until the apples are tender and the sugar has dissolved. Stir occasionally to prevent sticking and burning. The cooking time will depend on the texture you desire, but aim for a slightly softened consistency that still holds its shape.
- Cool the filling: Once the apple filling is cooked to your liking, remove it from the heat and let it cool completely. This step is crucial before assembling the turnovers to prevent the pastry from becoming soggy.
By following these steps, you can create a flavorful and perfectly cooked apple filling for your turnovers. The sweetness from the sugar, warmth from the spices, and tanginess from the lemon juice will all combine to create a delightful filling that complements the buttery pastry crust.
Making the Pastry Dough
Now that your apple filling is ready, it’s time to focus on the pastry dough. The pastry dough is what gives the turnovers their signature flaky texture and buttery flavor. Here’s how you can make the pastry dough:
- Mix the dry ingredients: In a mixing bowl, combine the all-purpose flour, salt, and sugar. Whisk them together to ensure even distribution of the ingredients.
- Cut in the butter: Add cold, diced butter to the dry mixture. Use a pastry cutter or your fingertips to cut the butter into the flour until the mixture resembles coarse crumbs. This process helps form flaky layers in the dough.
- Add liquid: Gradually add cold water or milk to the mixture, one tablespoon at a time. Mix gently with a fork until the dough starts to come together. Be careful not to overmix, as this can result in a tough dough.
- Knead the dough: Turn the dough out onto a lightly floured surface and knead it gently just until it forms a smooth ball. Avoid overworking the dough, as this can make it tough and result in less flakiness.
- Chill the dough: Wrap the pastry dough in plastic wrap and refrigerate it for at least 30 minutes or up to overnight. This chilling time allows the gluten to relax and the butter to solidify, resulting in a more tender and flaky crust.
Making your own pastry dough requires a little bit of patience and practice, but the results are worth it. The flaky and buttery crust will perfectly complement the sweet and tangy apple filling.
If you’re short on time or prefer a shortcut, you can also use store-bought puff pastry or pie crust for your apple turnovers. Just be sure to follow the package instructions for best results.
Assembling the Apple Turnovers
Now that both the apple filling and the pastry dough are ready, it’s time to bring them together and assemble your apple turnovers. Here’s how you can do it:
- Preheat the oven: Preheat your oven to the specified temperature in the recipe or to 375°F (190°C) for a general guideline.
- Roll out the dough: On a lightly floured surface, roll out the pastry dough into a large rectangle or circle, about 1/8 inch thick. Ensure that the dough is evenly rolled to achieve consistent turnovers.
- Cut the dough: Use a sharp knife or pastry cutter to cut the rolled-out dough into equally sized squares or circles, depending on the shape you prefer for your turnovers. Aim for a size of around 4-6 inches to allow enough space for the filling.
- Add the apple filling: Spoon a generous amount of the cooled apple filling onto one half of each dough square or circle, leaving a border around the edge.
- Fold the dough: Carefully fold the other half of the dough over the filling, creating a pocket. Press the edges together with your fingers or use a fork to seal the turnovers. This step ensures that the filling stays inside the turnovers while baking.
- Brush with egg wash: Lightly beat an egg in a small bowl and brush the top of each turnover with the egg wash. The egg wash will give the turnovers a shiny and golden brown finish.
- Make vent holes: Use a small knife or fork to make a few small vent holes on the top of each turnover. These holes allow steam to escape during baking and prevent the turnovers from becoming too soggy.
Once you have assembled all the turnovers, place them on a lined baking sheet, leaving some space in between to allow for even baking. Now, they are ready to go into the oven!
Assembling apple turnovers is a fun and creative process. You can experiment with different shapes and sizes, and even add a sprinkle of sugar or cinnamon on top for an extra touch of sweetness. Enjoy the process and get ready to indulge in delicious homemade turnovers!
Store apple turnovers in an airtight container at room temperature for up to 2 days. For longer storage, place them in the refrigerator for up to 5 days or in the freezer for up to 3 months. Reheat in the oven to maintain crispness.
Read more: How To Store Apples In Fridge
Baking the Apple Turnovers
After assembling your apple turnovers, it’s time to bake them to perfection. Baking not only cooks the pastry dough but also caramelizes the sugars in the filling, creating a deliciously golden and flavorful treat. Here’s how you can bake your apple turnovers:
- Preheat the oven: Make sure your oven is preheated to the specified temperature in the recipe or to 375°F (190°C) as a general guideline.
- Place turnovers in the oven: Carefully place the prepared turnovers onto a lined baking sheet or into a greased baking dish. Leave enough space between each turnover for airflow and even baking.
- Bake until golden brown: Bake the turnovers for about 20 to 25 minutes, or until they are golden brown and have a crispy crust. Keep a close eye on them during the last few minutes of baking to prevent over-browning.
- Check for doneness: To ensure that the turnovers are fully cooked, gently tap the crusts with your finger. They should sound hollow and crispy. Additionally, insert a toothpick into the center of one turnover to check that the apple filling is hot and cooked through.
- Remove from the oven and cool: Once the turnovers are done baking, remove them from the oven and transfer them to a wire rack to cool completely. This step is important before storing the turnovers to prevent condensation and sogginess.
Remember that baking times can vary depending on your oven and the size of the turnovers. It’s always a good idea to check for visual cues, such as a golden brown crust, as well as perform the tap and toothpick tests to ensure that the turnovers are baked to perfection.
Once the turnovers have cooled down, they are ready to be stored for later enjoyment or served immediately. The aroma of freshly baked apple turnovers is irresistible, and they make a delightful treat for any occasion!
Storing Apple Turnovers
Properly storing apple turnovers is key to maintaining their freshness and flavor. Whether you have leftovers or want to make them ahead of time, here are some tips for storing apple turnovers:
- Cool completely: Allow the apple turnovers to cool completely after baking before storing them. This will prevent condensation and soggy crusts.
- Choose airtight containers: Transfer the cooled turnovers to an airtight container. You can use a plastic container with a tight-sealing lid or wrap each turnover individually in plastic wrap. This helps to keep out air and moisture, preserving the quality of the turnovers.
- Refrigerate or freeze: Depending on the length of time you want to store the turnovers, you can either refrigerate them or freeze them. Refrigeration is ideal for short-term storage, up to 3-4 days. Freezing allows you to store them for a longer period, up to 3 months.
- Label and date: If you’re freezing the turnovers, it’s helpful to label the container or wrap with the date of preparation. This ensures that you can keep track of their freshness.
When refrigerating or freezing apple turnovers, it’s important to note that the texture and crispness of the crust may slightly change. However, they will still be enjoyable when properly reheated.
It’s worth mentioning that storing apple turnovers is best done without adding any glazes or toppings. These can become soggy and affect the overall quality of the turnovers when stored.
By following these storing guidelines, you can enjoy apple turnovers even days or weeks after baking them. They make for a convenient and delicious treat that can be enjoyed at any time!
Reheating Apple Turnovers
When you’re ready to enjoy your stored apple turnovers, it’s time to reheat them to bring back their fresh, warm, and flaky goodness. Here are a few methods to reheat apple turnovers:
- Oven: Preheat your oven to 350°F (175°C). Place the turnovers on a baking sheet and heat them for about 10 minutes, or until they are warmed through and the crust becomes crispy again. This method is great for larger batches of turnovers.
- Toaster oven: If you have a toaster oven, you can use it to reheat individual turnovers. Preheat the toaster oven to a medium setting, place the turnover on the rack or tray, and toast it for a few minutes until it is heated through and the crust is crispy.
- Microwave: If you’re short on time, you can use the microwave to reheat a single turnover. Place the turnover on a microwave-safe plate and heat it for 20-30 seconds on medium power. Be careful not to overheat, as the crust can become soggy.
Regardless of the method you choose, it’s essential to monitor the turnovers closely to avoid overheating. Remember, the goal is to warm them up without making them too soft or causing the crust to become soggy.
Once reheated, allow the turnovers to cool for a few minutes before taking a bite. Be cautious as the filling inside may become hot and can cause burns.
Reheating the turnovers will restore their flakiness, revive the apple filling, and give that fresh-from-the-oven experience. Enjoy them alone or pair them with a scoop of vanilla ice cream for an extra indulgent treat!
Conclusion
Apple turnovers are a delightful pastry treat that combines the sweetness of apples with a flaky crust. Whether you have freshly baked turnovers or leftovers, knowing how to store and reheat them properly will ensure that they stay fresh and delicious for longer.
When it comes to storing apple turnovers, it’s important to let them cool completely before transferring them to airtight containers. Whether you choose to refrigerate them for a few days or freeze them for longer-term storage, proper packaging will help preserve their quality.
When you’re ready to enjoy your stored apple turnovers, there are various methods to reheat them. Whether you use the oven, toaster oven, or microwave, the goal is to warm them through, restore their flakiness, and revive the apple filling without making the crust soggy.
Remember, by choosing the right ingredients, preparing the apple filling and pastry dough carefully, assembling the turnovers with precision, baking them to perfection, and storing them correctly, you can have the pleasure of enjoying apple turnovers that taste just as fabulous as when they were first made.
So next time you find yourself with a batch of apple turnovers, whether homemade or store-bought, you can confidently store and reheat them following these guidelines. Embrace the convenience of having freshly baked turnovers whenever you crave a sweet and comforting treat.
Now that you have mastered the art of storing and reheating apple turnovers, indulge in their delicious flavors and share this knowledge with your friends and family. Happy baking and savoring!
Frequently Asked Questions about How To Store Apple Turnovers
Was this page helpful?
At Storables.com, we guarantee accurate and reliable information. Our content, validated by Expert Board Contributors, is crafted following stringent Editorial Policies. We're committed to providing you with well-researched, expert-backed insights for all your informational needs.


0 thoughts on “How To Store Apple Turnovers”