Articles
How To Store Blink Video Locally
Modified: January 21, 2024
Learn how to store Blink video locally with these helpful articles. Preserve and access your footage easily using our step-by-step guides and tips.
(Many of the links in this article redirect to a specific reviewed product. Your purchase of these products through affiliate links helps to generate commission for Storables.com, at no extra cost. Learn more)
Introduction
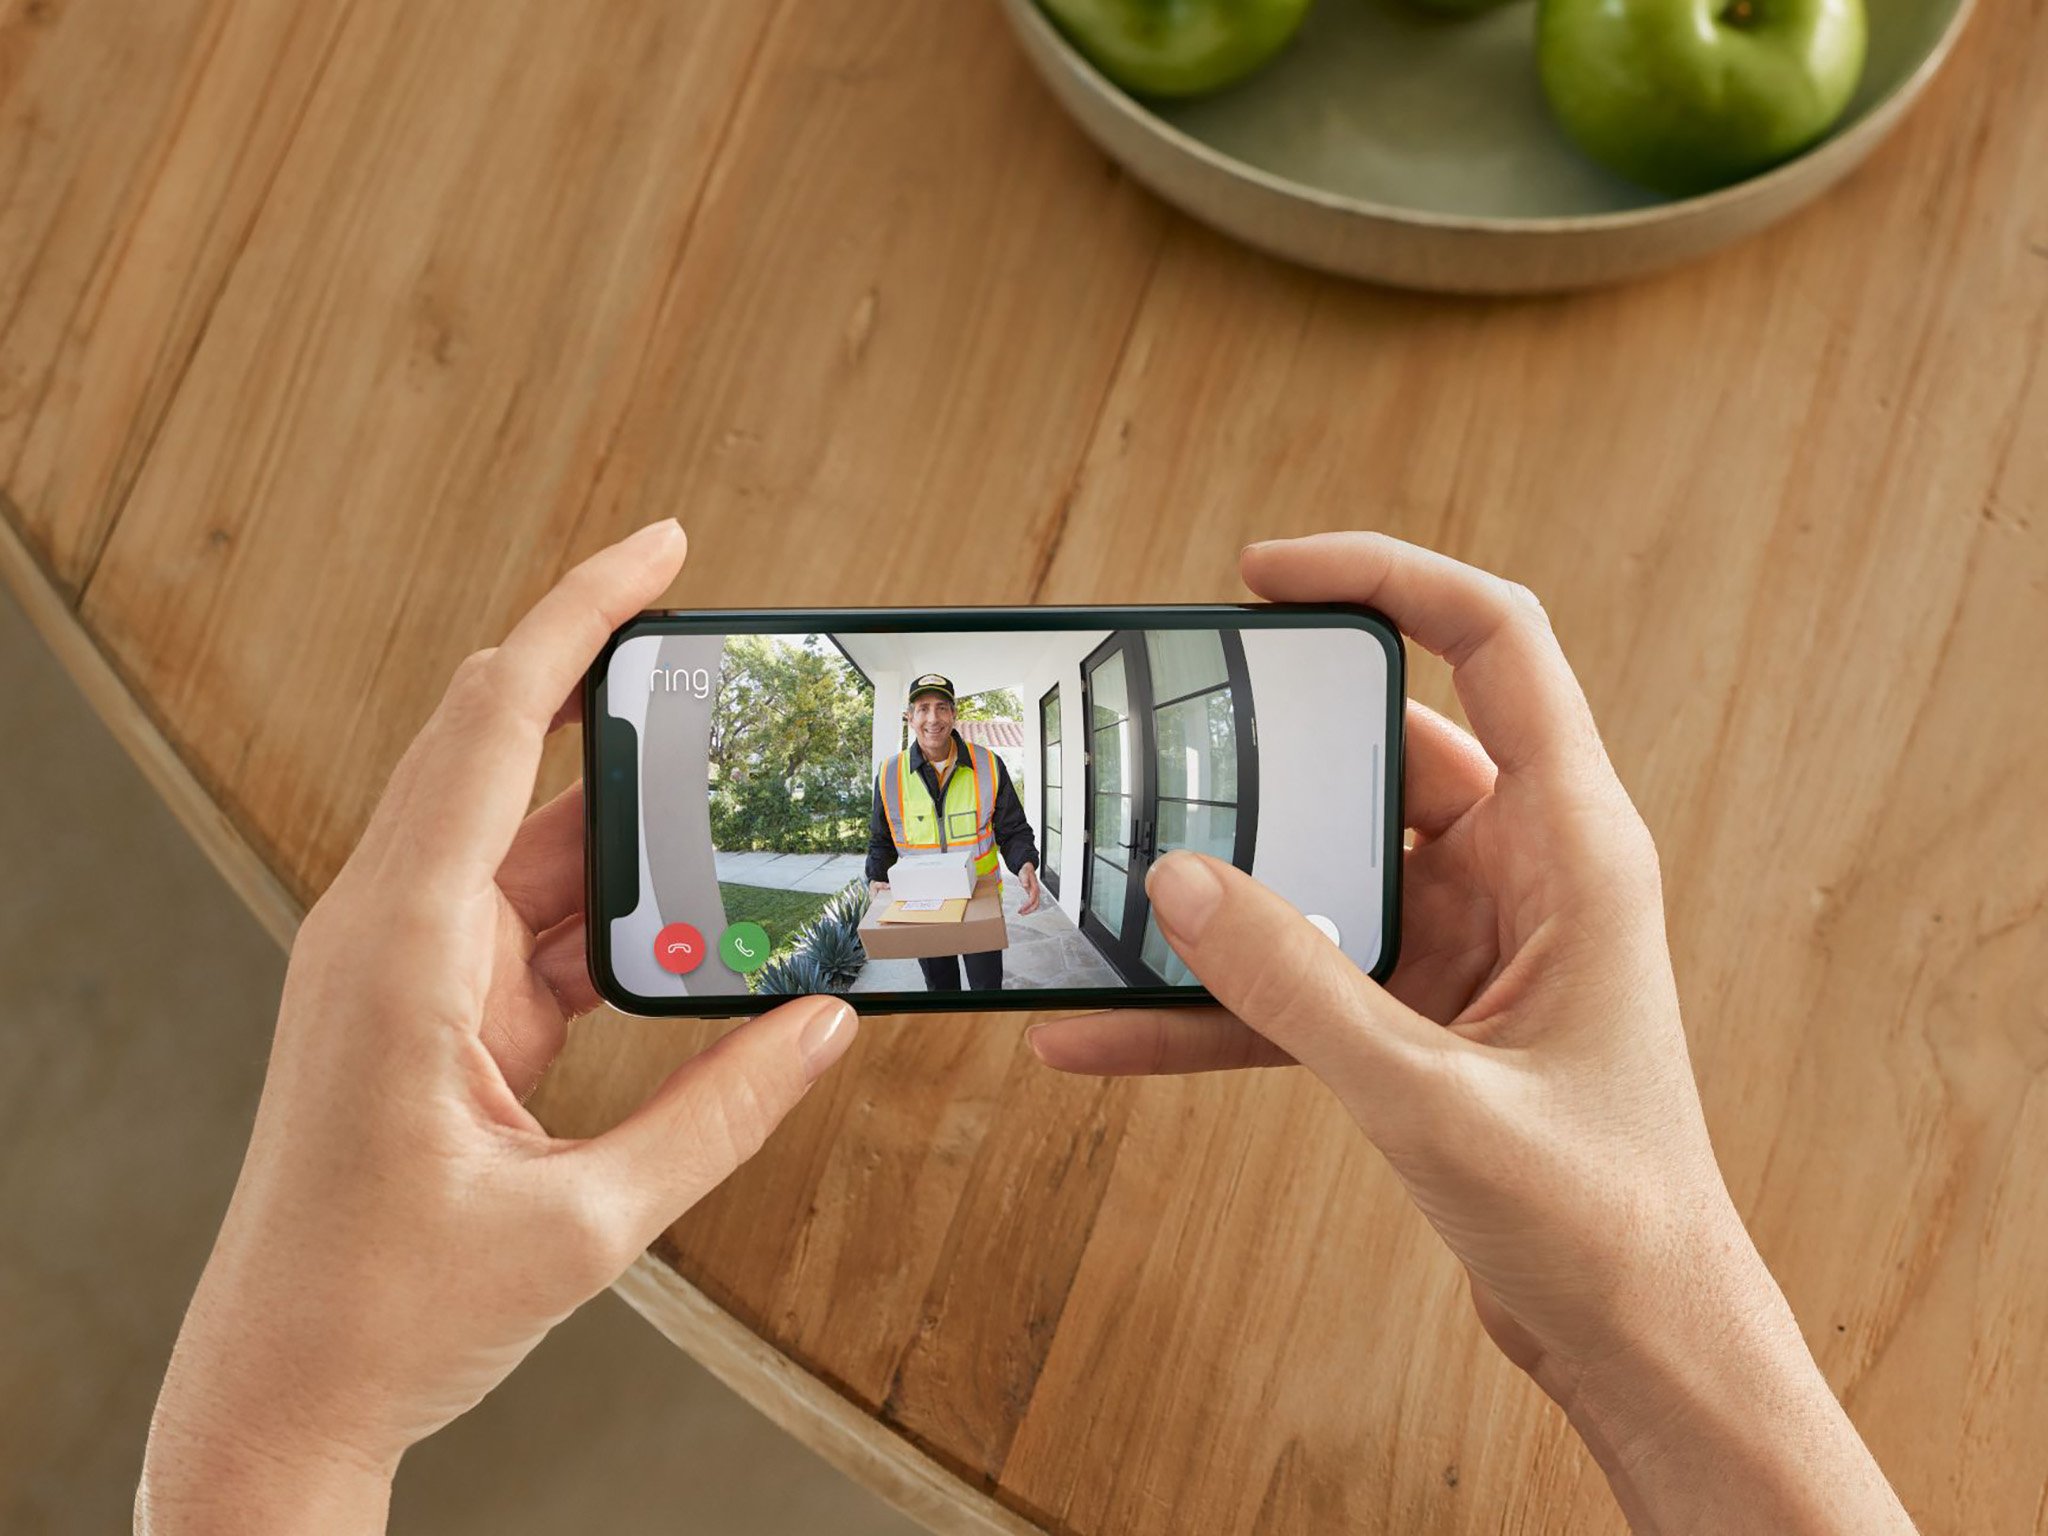
As technology continues to advance, home security systems have become increasingly popular. One such system, the Blink video camera, offers users the ability to monitor their homes remotely. However, one drawback of the Blink camera system is that it primarily stores video footage in the cloud. While this is convenient in some ways, it may not be ideal for everyone. This is where the option to store Blink video locally becomes invaluable.
Storing Blink video locally has several benefits. Firstly, it eliminates the need for a continuous internet connection to access and view recorded footage. Additionally, it provides users with greater control over their video data, ensuring that it remains private and secure. Furthermore, storing video locally allows for faster retrieval of footage, as it eliminates delays associated with streaming from the cloud.
In this article, we will discuss the requirements and steps involved in setting up local storage for Blink video. By following these instructions, you can take advantage of the benefits of local storage while still enjoying the convenience of the Blink camera system.
Key Takeaways:
- Storing Blink video locally offers enhanced privacy, continuous access, faster retrieval, cost savings, and greater control over video data, providing a more secure and customizable home security solution.
- Setting up local storage for Blink video involves selecting the right device, connecting the camera, configuring settings, and testing the setup, ensuring a seamless and reliable storage solution.
Read more: How To Store Blink Clips On Usb
Why Store Blink Video Locally?
While the Blink camera system offers the convenience of cloud storage for video footage, there are several reasons why you may prefer to store your Blink video locally:
- Privacy and Security: Storing video footage locally ensures that your recordings are not accessible to anyone else. With cloud storage, there is always a risk of unauthorized access or potential data breaches. By keeping your video data on a local storage device, you have more control over who can access it.
- Continuous Access: With cloud storage, a stable internet connection is necessary to access your video footage. This can be problematic if you have an unreliable internet connection or if you are in an area with limited connectivity. Storing Blink video locally allows you to access your footage consistently, regardless of internet availability.
- Faster Retrieval: Retrieving video footage from the cloud can sometimes involve delays due to buffering or network congestion. By storing the video locally, you can quickly access and review recordings without any delays.
- No Subscription Costs: While the Blink camera system offers free cloud storage for a limited amount of footage, additional storage requires a subscription. Storing video locally eliminates the need for a subscription, saving you money in the long run.
- Greater Control: By storing video locally, you have the freedom to customize your storage solution to meet your specific needs. You can choose the storage capacity, type of storage device, and backup options that work best for you.
Overall, storing Blink video locally provides greater privacy, continuous access, faster retrieval, cost savings, and more control over your video data. With these advantages in mind, let’s explore the requirements and steps involved in setting up local storage for your Blink camera system.
Requirements for Storing Blink Video Locally
Before setting up local storage for your Blink video, there are a few requirements to keep in mind:
- Local Storage Device: You will need a local storage device, such as an external hard drive or a network-attached storage (NAS) device. This device will act as the repository for your Blink video footage.
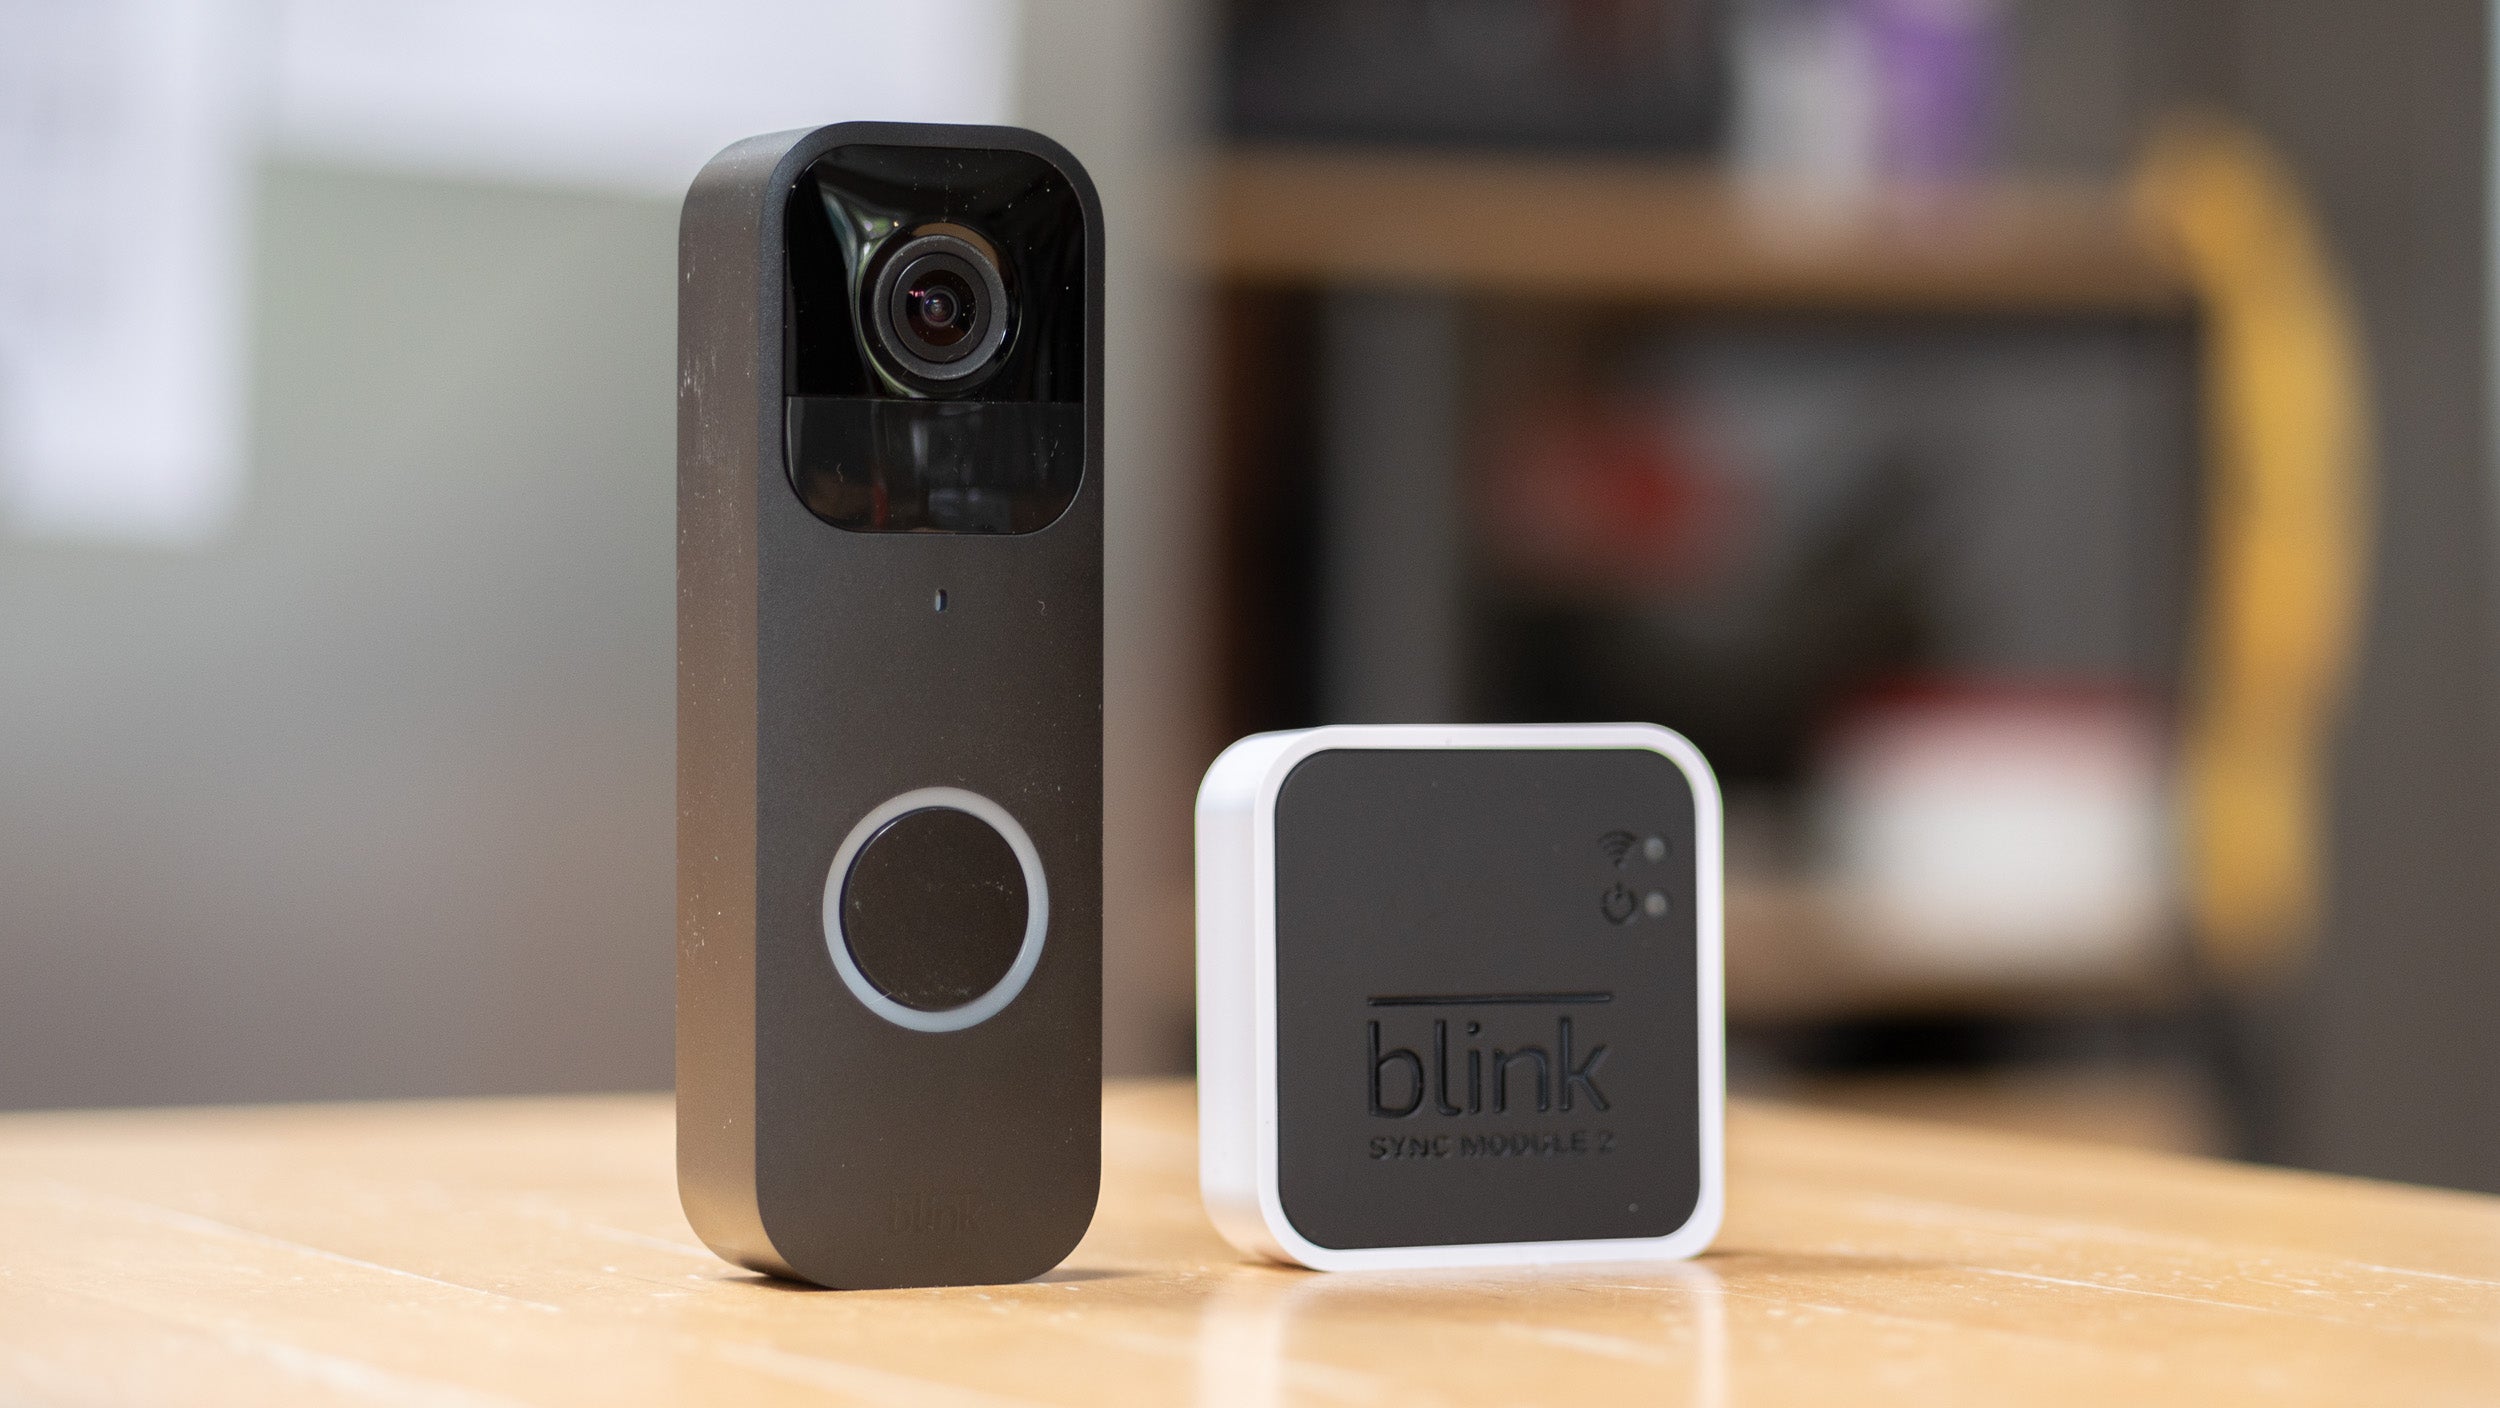
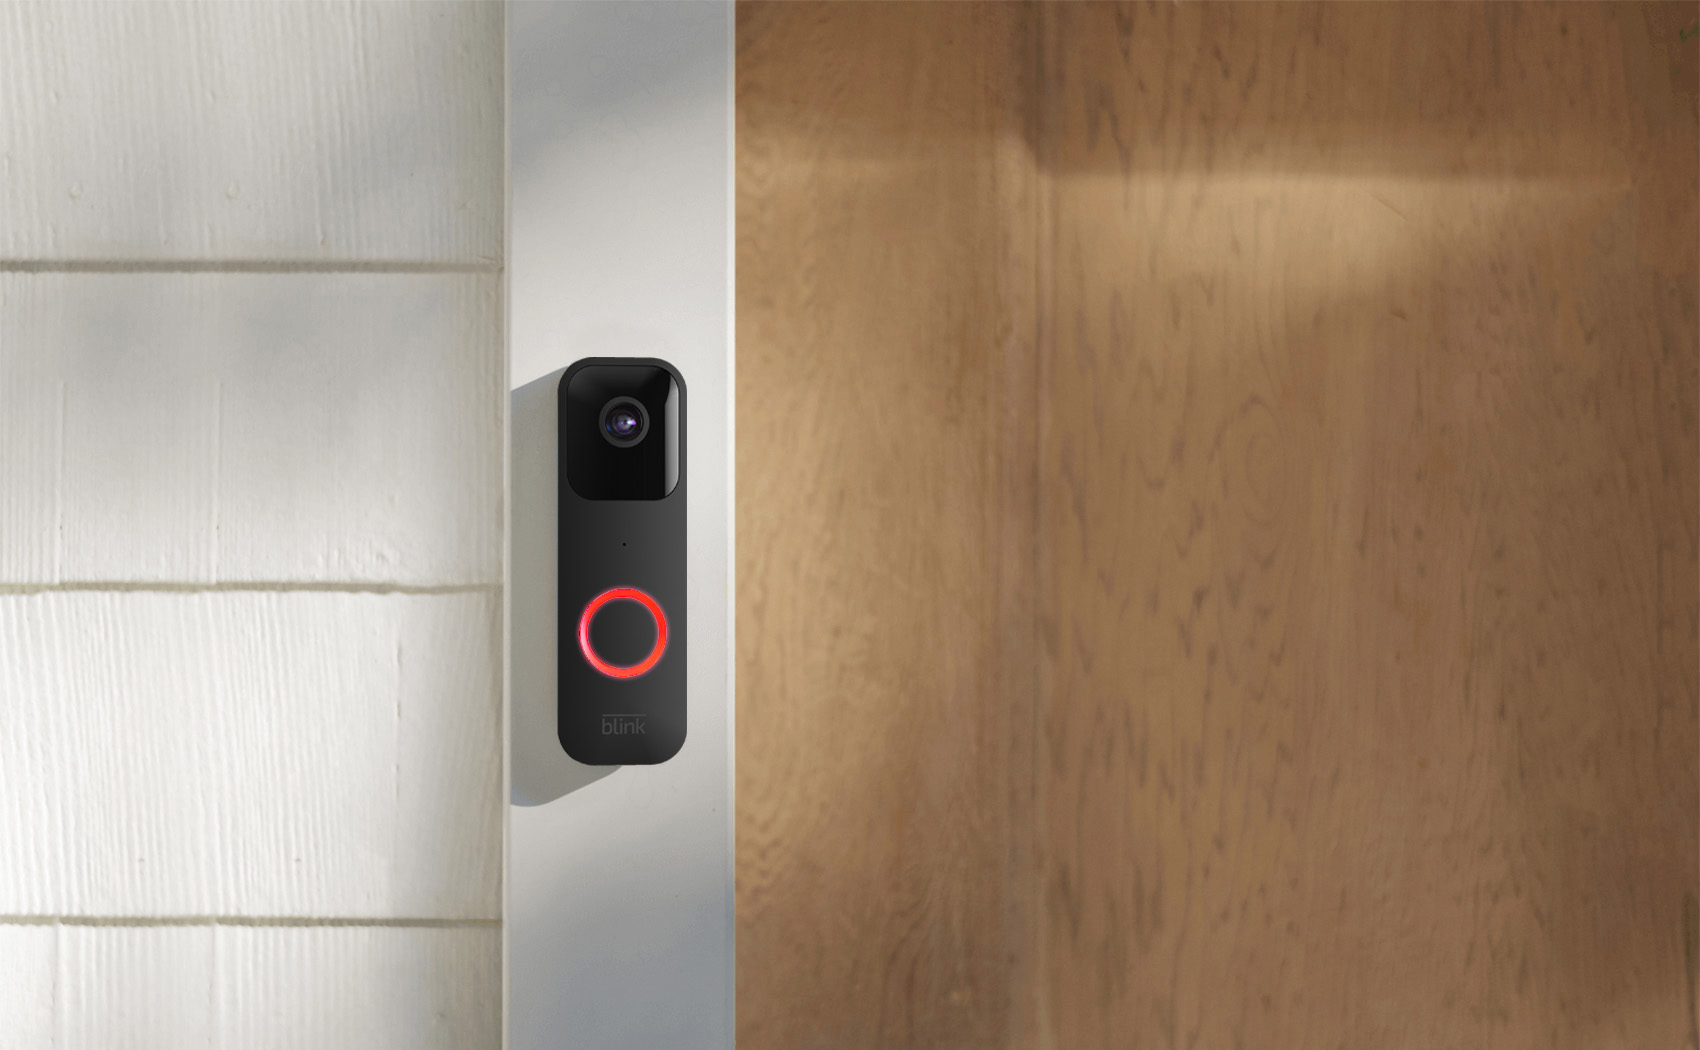
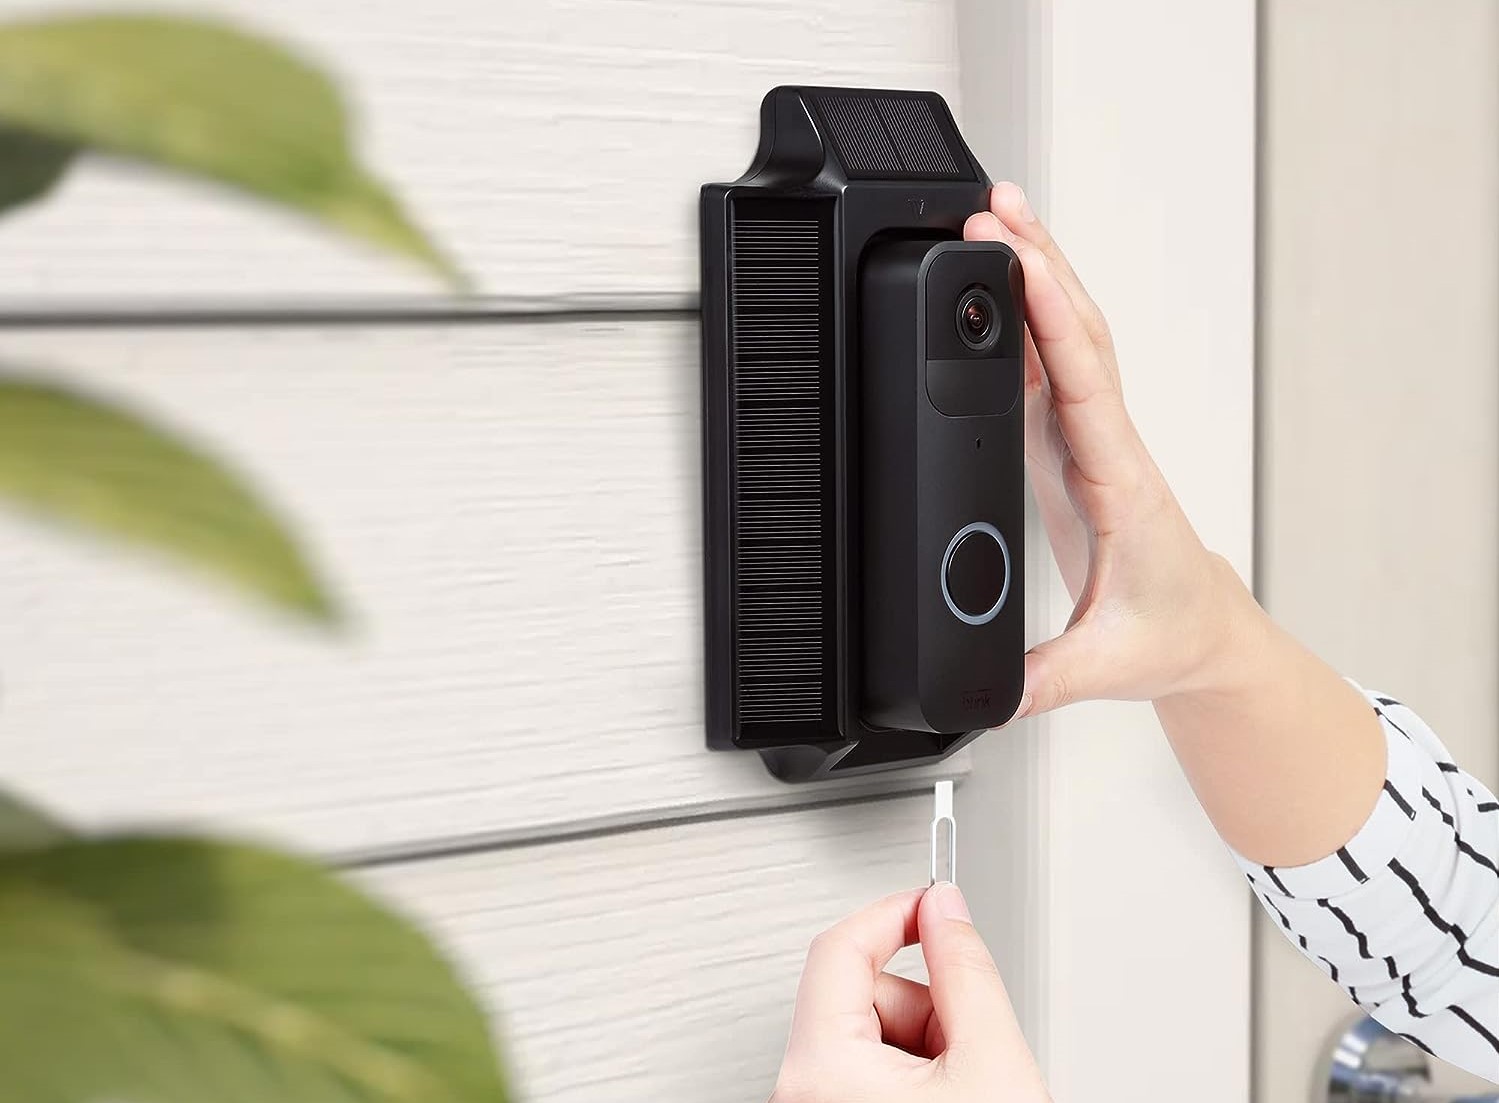
- Compatible Blink Camera: Not all Blink camera models support local storage. Make sure you have a Blink camera model that has the capability to store video locally. Check the Blink website or product documentation to confirm compatibility.
- Power Source: Ensure that your local storage device has a reliable and continuous power source. Some devices may require an external power supply, while others can be powered directly from the Blink camera.
- Network Connection: You will need a stable network connection to connect the Blink camera to your local storage device. This can be either a wired (Ethernet) or wireless (Wi-Fi) connection, depending on the capabilities of your local storage device and Blink camera.
- Sufficient Storage Capacity: Consider the amount of storage space you will need for your Blink video footage. This will depend on factors such as the number of Blink cameras you have, the resolution of the recordings, and the length of time you wish to keep the footage.
- Backup Solution: It is highly recommended to have a backup solution in place for your local storage. This can be in the form of an additional storage device, cloud storage, or a combination of both. Having a backup ensures that your video footage is protected in the event of hardware failure or other unforeseen circumstances.
By ensuring that you have a suitable local storage device, a compatible Blink camera, a reliable power source, a network connection, sufficient storage capacity, and a backup solution, you will have all the necessary requirements to set up local storage for your Blink video. Once you have gathered these components, you can proceed to the next steps of the setup process.
Step 1: Setting up a Local Storage Device
The first step in storing Blink video locally is to set up a suitable local storage device. Here’s how:
- Select the Right Device: Choose a local storage device that meets your needs and preferences. External hard drives and network-attached storage (NAS) devices are common options for local video storage. Consider factors such as storage capacity, compatibility with your Blink camera, and ease of use when making your selection.
- Prepare the Device: If you opt for an external hard drive, connect it to your computer and ensure it is properly formatted. Follow the manufacturer’s instructions for formatting the drive to the appropriate file system. If you are using a NAS device, consult the device’s manual to set it up on your local network.
- Allocate Storage Space: Determine how much storage space you want to allocate for Blink video footage. Consider the number of Blink cameras you have, the resolution of the recordings, and the duration for which you plan to store the footage. It’s recommended to leave some extra space for future expansion or unexpected recording needs.
- Set Up Security: Consider securing your local storage device to protect your video footage from unauthorized access. Enable password protection or encryption if available, and ensure that your device is kept in a secure location.
- Establish a Connection: Connect your local storage device to your home network if using a NAS device. If using an external hard drive, connect it to your computer or the appropriate Blink camera via USB. Ensure that the connection is stable and reliable for uninterrupted recording and retrieval of video footage.
- Test the Device: Verify that the local storage device is properly set up and functioning correctly. Transfer some sample files or test recordings to the device to ensure that it can store and retrieve the video footage successfully.
By following these steps, you will have successfully set up a local storage device for your Blink video footage. In the next step, we will discuss how to connect your Blink camera to the local storage device.
Step 2: Connecting Blink Camera to Local Storage Device
Once you have set up your local storage device, the next step is to connect your Blink camera to the device. Follow these instructions:
- Access Blink Camera Settings: Open the Blink app on your smartphone or tablet and navigate to the settings for your Blink camera.
- Select Local Storage Option: Look for the option to enable local storage or change the storage settings. This may be labeled differently depending on your Blink camera model or app version.
- Connect via USB or Network: Depending on the type of local storage device you have chosen, you will either need to connect the Blink camera directly to the device via USB or configure a network connection between them. Refer to the device’s manual or the Blink app for specific instructions on how to establish the connection.
- Configure Storage Options: Once the Blink camera is connected to the local storage device, you may have additional configuration options available. These may include setting the storage location, choosing the recording resolution, or specifying the duration and frequency of recordings. Customize these settings according to your preferences.
- Confirm Connection: After configuring the storage options, double-check that the Blink camera is successfully connected to the local storage device. The Blink app should indicate that the camera is now using local storage instead of cloud storage.
By connecting your Blink camera to the local storage device, you have established a direct link between the camera and the storage device. This enables the camera to store the video footage directly to the local storage, ensuring that it is not uploaded to the cloud. In the next step, we will discuss how to configure the camera settings specifically for local storage.
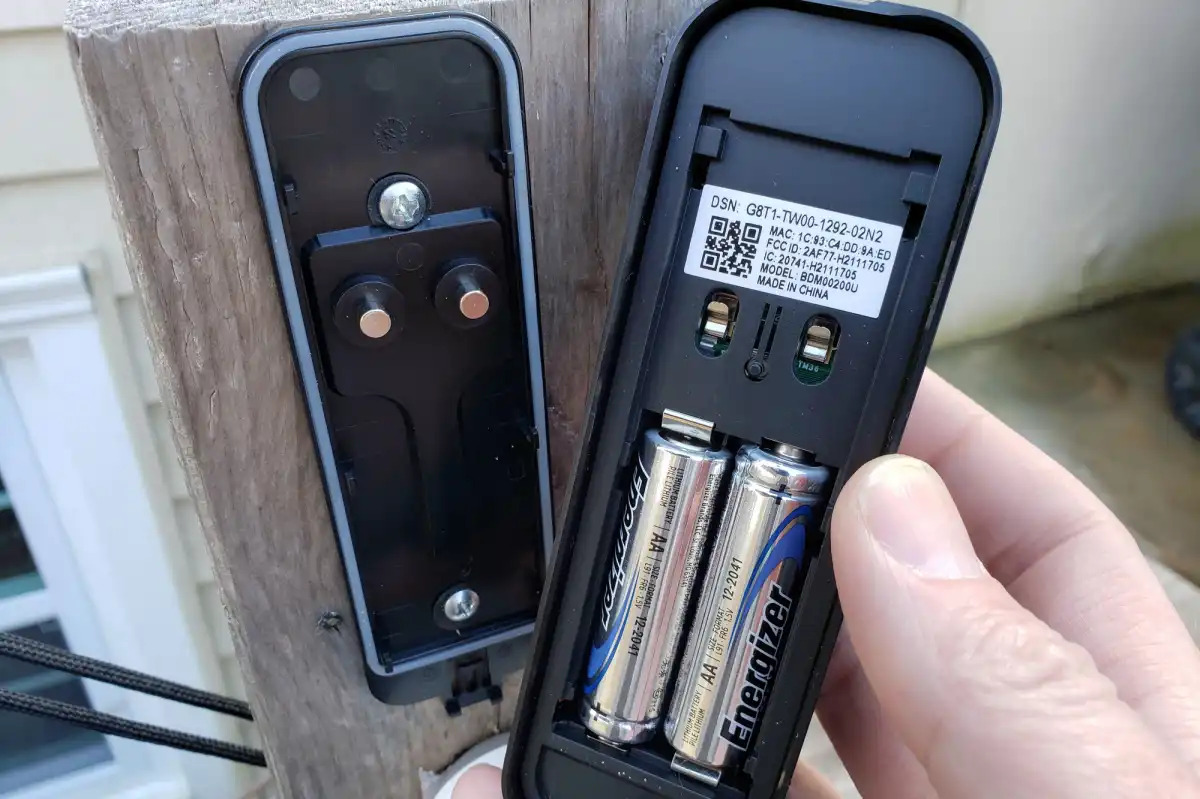
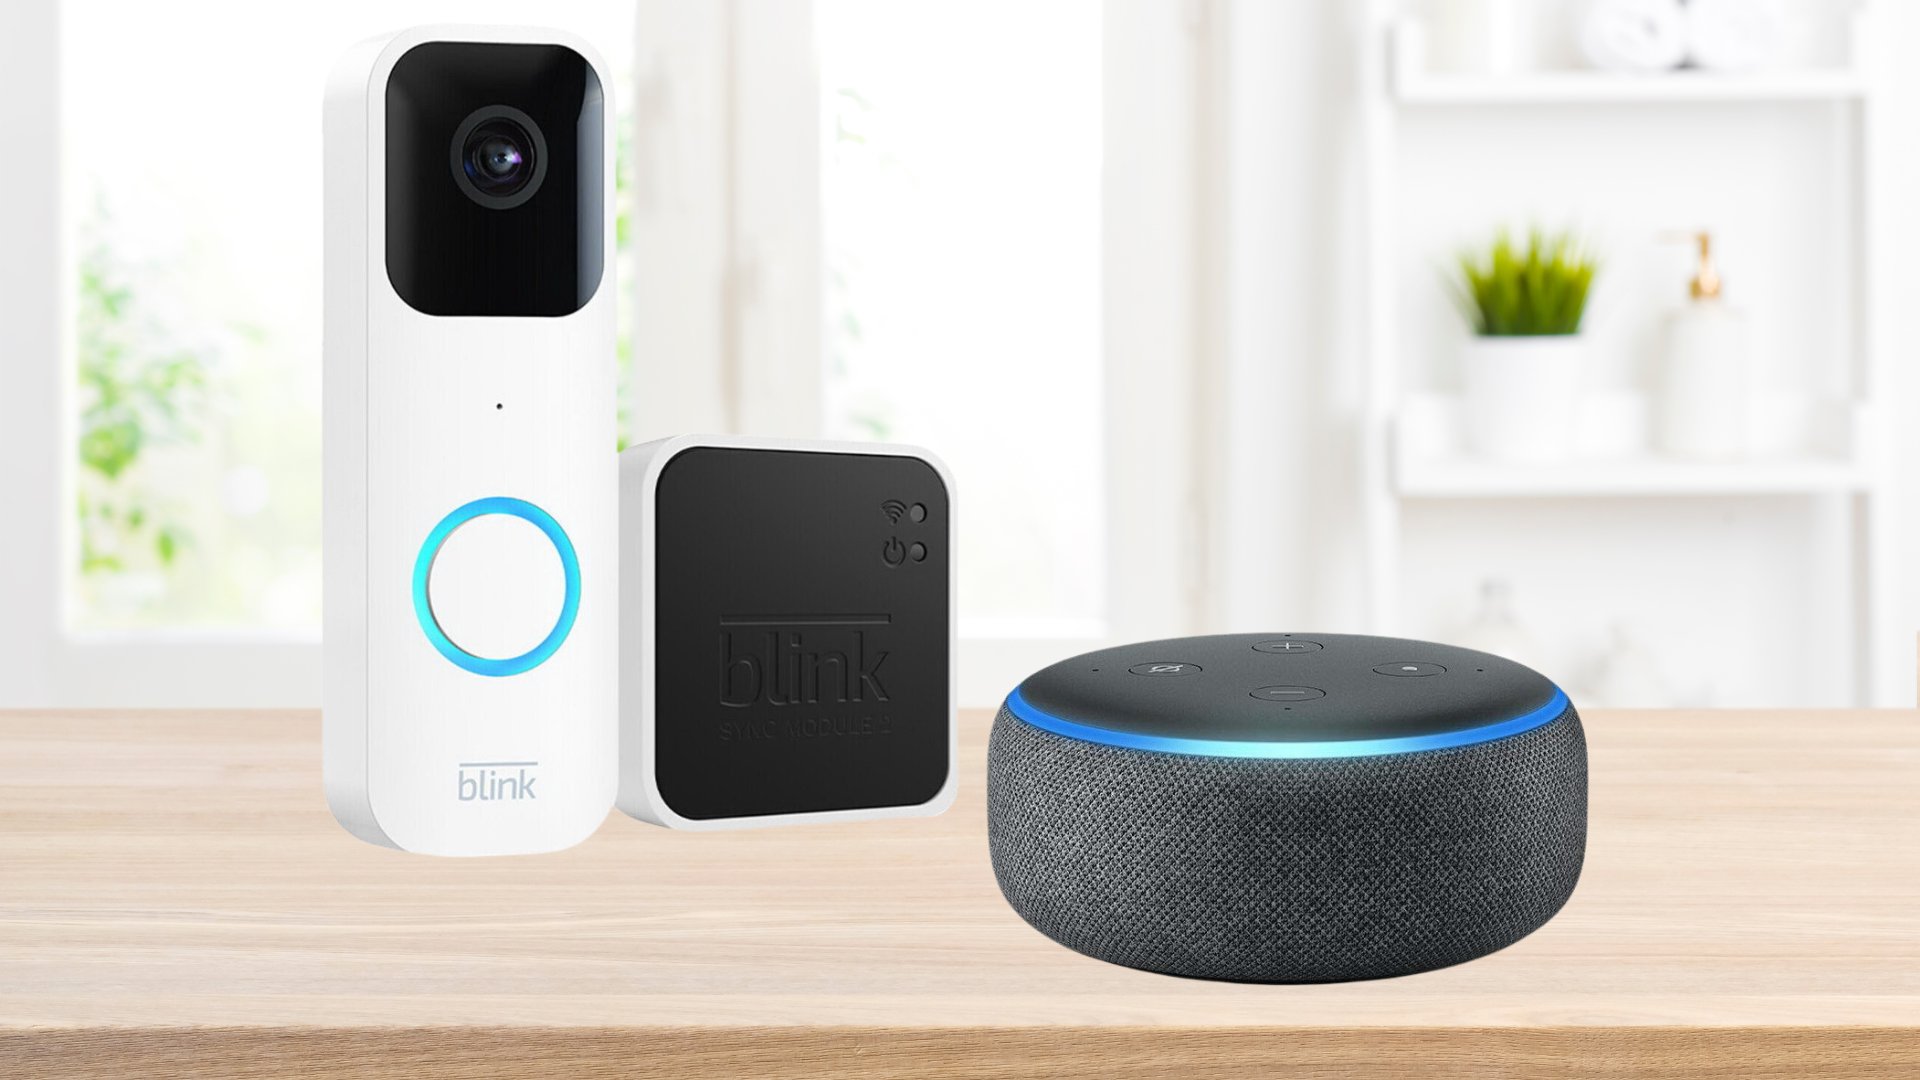
You can store Blink video locally by using a USB flash drive plugged into the Blink Sync Module. Simply insert the USB drive into the port on the module and set it up in the app. This will allow you to save video clips directly to the USB drive for easy access.
Read more: How To Hardwire Blink Doorbell
Step 3: Configuring Blink Camera Settings for Local Storage
Once you have connected your Blink camera to the local storage device, the next step is to configure the camera settings specifically for local storage. Follow these instructions:
- Access Camera Settings: Open the Blink app on your smartphone or tablet and navigate to the settings for your connected Blink camera.
- Enable Local Storage: Look for the option to enable local storage in the camera settings. This may be labeled as “Local Recording,” “SD Card Storage,” or something similar. Enable this feature to ensure that the camera saves video footage directly to the local storage device.
- Select Storage Device: If you have multiple storage devices connected to your network, choose the appropriate device from the list of available options. Make sure to select the local storage device that you have set up in the previous steps.
- Adjust Recording Settings: Depending on your camera model and app version, you may have additional options to customize the recording settings. This can include setting the video resolution, enabling motion detection, configuring recording schedules, or adjusting the duration of each recording. Customize these settings according to your preferences and specific requirements.
- Save and Apply Settings: Once you have configured the camera settings for local storage, save and apply the changes. The Blink app will confirm that the camera is now set up to store video footage directly to the local storage device.
By properly configuring the Blink camera settings for local storage, you ensure that the camera records and saves the video footage directly to the connected storage device. This eliminates the need for cloud storage and allows you to have full control over your video recordings. In the next step, we will discuss how to test the local storage setup to ensure it is functioning correctly.
Step 4: Testing the Local Storage Setup
After configuring the Blink camera settings for local storage, it is important to test the setup to ensure that it is functioning correctly. Follow these steps to test the local storage setup:
- Trigger Video Recording: Activate the Blink camera to capture a short video clip. This can be done by manually triggering the camera, using motion detection, or any other method specified in your camera settings.
- Verify Storage: Once the video is recorded, check the local storage device to ensure that the footage is saved successfully. Connect the storage device to a computer or access it through the Blink app to view the stored video clip. Make sure that it is accessible and plays back without any issues.
- Review Quality: Evaluate the quality of the video footage captured and stored on the local storage device. Check for any pixelation, distortion, or other quality issues that may affect the clarity of the recordings. Adjust the camera settings if necessary to achieve the desired video quality.
- Test Playback: Test the playback of the video footage directly from the local storage device. Ensure that you can easily navigate through the clips, play them back smoothly, and retrieve the specific recordings you need. If you encounter any playback issues, troubleshoot or adjust the settings accordingly.
- Check Storage Capacity: Monitor the storage capacity of the local storage device to ensure that it can accommodate your video recording needs. If the storage begins to reach its limit, consider adjusting the camera settings or expanding the storage capacity to prevent overwriting or loss of important footage.
By following these steps and testing the local storage setup, you can verify that the Blink camera is successfully recording and storing video footage to the connected local storage device. This gives you confidence in the reliability and functionality of your local storage solution. In the next section, we will discuss common issues that may arise during the setup and provide troubleshooting tips.
Troubleshooting Common Issues
While setting up local storage for your Blink camera, you may encounter some common issues. Here are a few troubleshooting tips to help you resolve them:
Issue: Camera not recognizing the local storage device.
Solution: Double-check the connection between the Blink camera and the local storage device. Ensure that the device is properly formatted, compatible with the camera, and connected via the correct method (e.g., USB or network connection). Restart both the camera and the storage device if needed.
Issue: Video footage not being saved to the local storage device.
Solution: Verify that you have enabled the local storage option in the Blink camera settings. Ensure that you have selected the correct storage device and that it has sufficient space available for storing the video footage. Test the storage device with another file transfer to confirm its functionality.
Issue: Playback issues or video quality problems.
Solution: Check the video resolution and compression settings on the Blink camera. Adjust these settings if necessary to improve video quality and reduce playback issues. Ensure that the local storage device is capable of handling the selected video resolution. If playback problems persist, try accessing the footage from a different device or player.
Issue: Insufficient storage capacity for long-term recording.
Solution: Monitor the storage capacity of your local storage device regularly. If it is running out of space sooner than expected, consider adjusting the camera settings to lower the video resolution, shorten the recording duration, or use motion detection to reduce the amount of footage being captured. Alternatively, expand the storage capacity by adding additional drives or upgrading to a larger storage device.
Issue: Inconsistent network connection between the camera and storage device.
Solution: If you are using a network-attached storage (NAS) device, ensure that it is connected to a stable and reliable network. Verify that the Blink camera and the storage device are both connected to the same network and that there are no network issues causing interruptions in the connection. Consider using a wired connection instead of Wi-Fi if possible. Restarting the devices or reconfiguring the network settings may also help resolve network connection issues.
If you continue to experience problems with your local storage setup for Blink camera video, consult the Blink documentation or reach out to the manufacturer’s customer support for further assistance. They will be able to provide more detailed troubleshooting steps based on your specific setup and circumstances.
By troubleshooting common issues and resolving them promptly, you can ensure a smooth and reliable local storage setup for your Blink camera system.
Conclusion
Storing Blink video locally provides numerous advantages, including enhanced privacy and security, continuous access to footage, faster retrieval, cost savings, and greater control over your video data. By following the steps outlined in this article, you can successfully set up local storage for your Blink camera system and enjoy these benefits.
First, ensure that you have the necessary requirements, including a local storage device, a compatible Blink camera, a reliable power source, a network connection, sufficient storage capacity, and a backup solution. These elements will form the foundation of your local storage setup.
Next, proceed with setting up the local storage device, connecting your Blink camera to the device, configuring the camera settings for local storage, and testing the setup to ensure everything is functioning correctly. Through these steps, you establish a direct link between the camera and the local storage, allowing for the direct recording and storage of video footage without relying on the cloud.
If you encounter any issues during the setup process, refer to the troubleshooting tips provided in this article. These tips will help you address common issues and ensure a seamless local storage experience for your Blink camera system.
By storing Blink video locally, you gain greater control over your video data and eliminate potential concerns associated with cloud storage. You can access your footage at any time, regardless of internet connectivity, and have peace of mind knowing that your video recordings are stored securely and privately. Additionally, you have the flexibility to customize your storage solution to meet your specific needs and expand as necessary.
Overall, local storage for Blink video enhances the functionality and usability of your home security system. Invest the time and effort into setting it up properly, and you will enjoy the benefits of increased privacy, faster access to footage, and more control over your video data.
Frequently Asked Questions about How To Store Blink Video Locally
Was this page helpful?
At Storables.com, we guarantee accurate and reliable information. Our content, validated by Expert Board Contributors, is crafted following stringent Editorial Policies. We're committed to providing you with well-researched, expert-backed insights for all your informational needs.

0 thoughts on “How To Store Blink Video Locally”