Articles
How To Make Sd Card Default Storage
Modified: January 19, 2024
Learn how to set the SD card as your default storage for hassle-free data management. Optimize your device's storage capacity with this step-by-step guide.
(Many of the links in this article redirect to a specific reviewed product. Your purchase of these products through affiliate links helps to generate commission for Storables.com, at no extra cost. Learn more)
Introduction
When it comes to storing data on your device, having enough storage space is always a concern. Whether you have a smartphone, tablet, or even a digital camera, running out of storage can be frustrating and limiting. Fortunately, most devices these days offer the option to expand storage using an SD card.
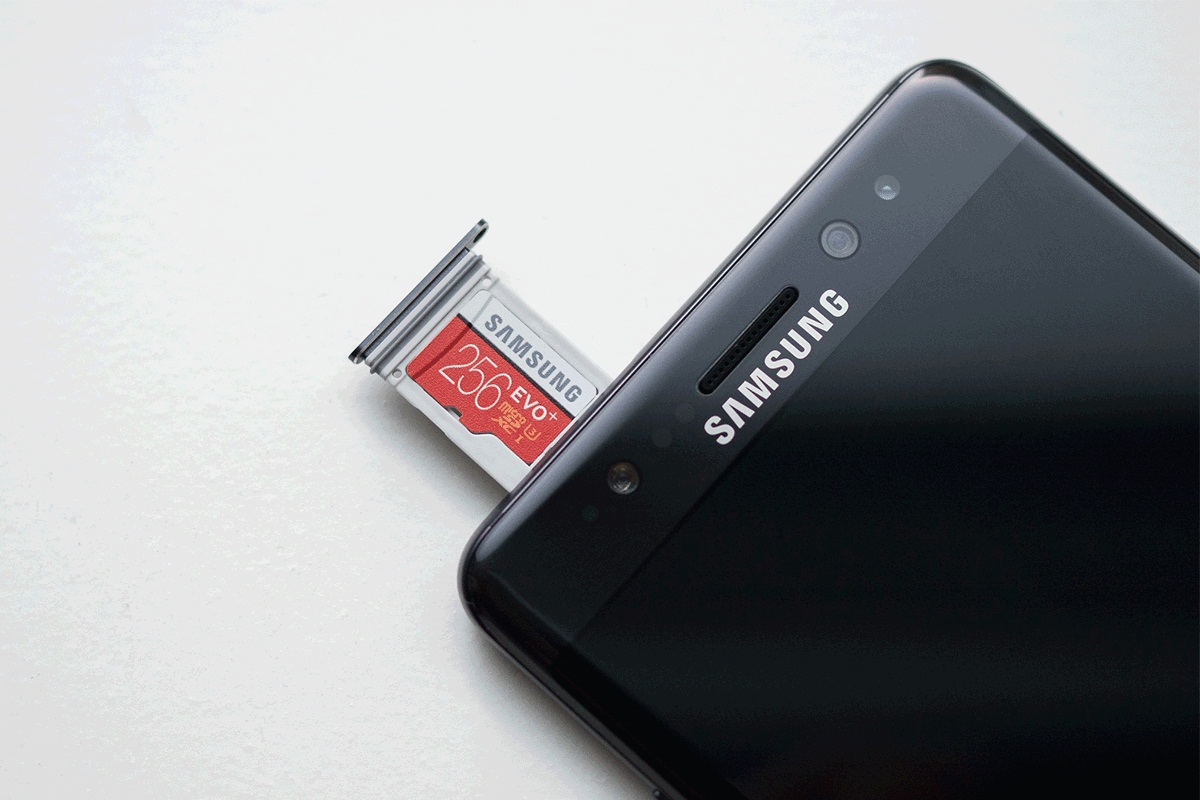
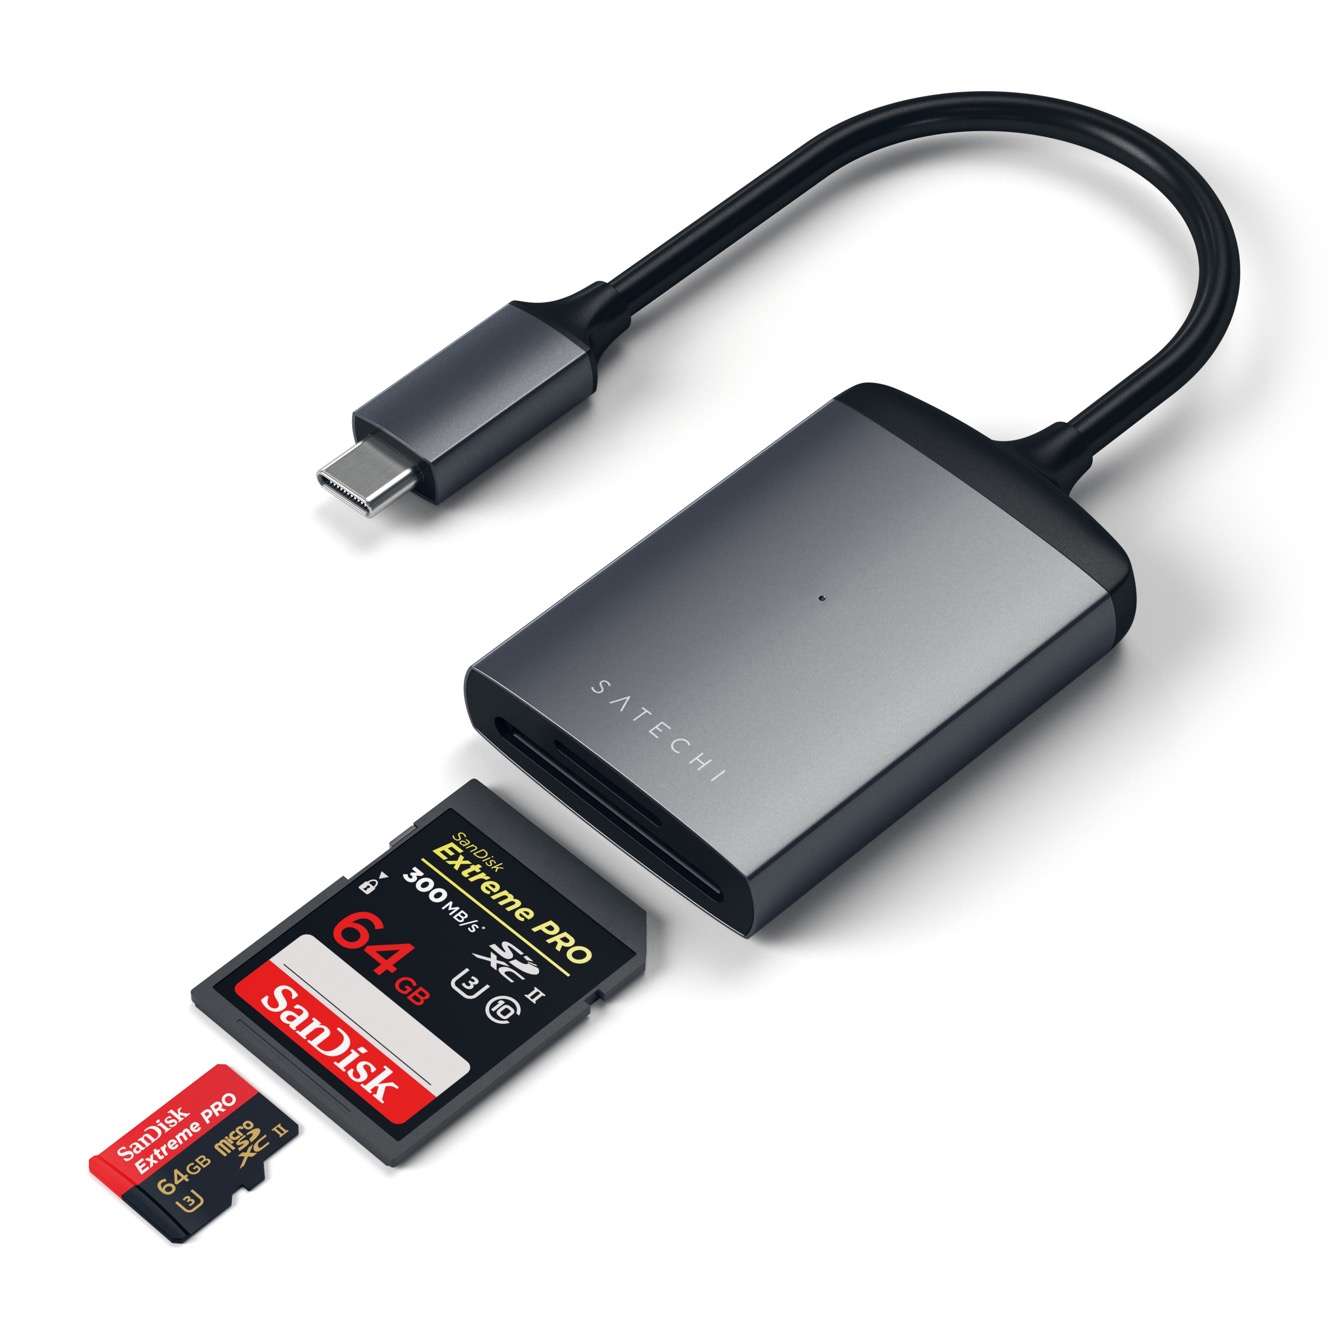
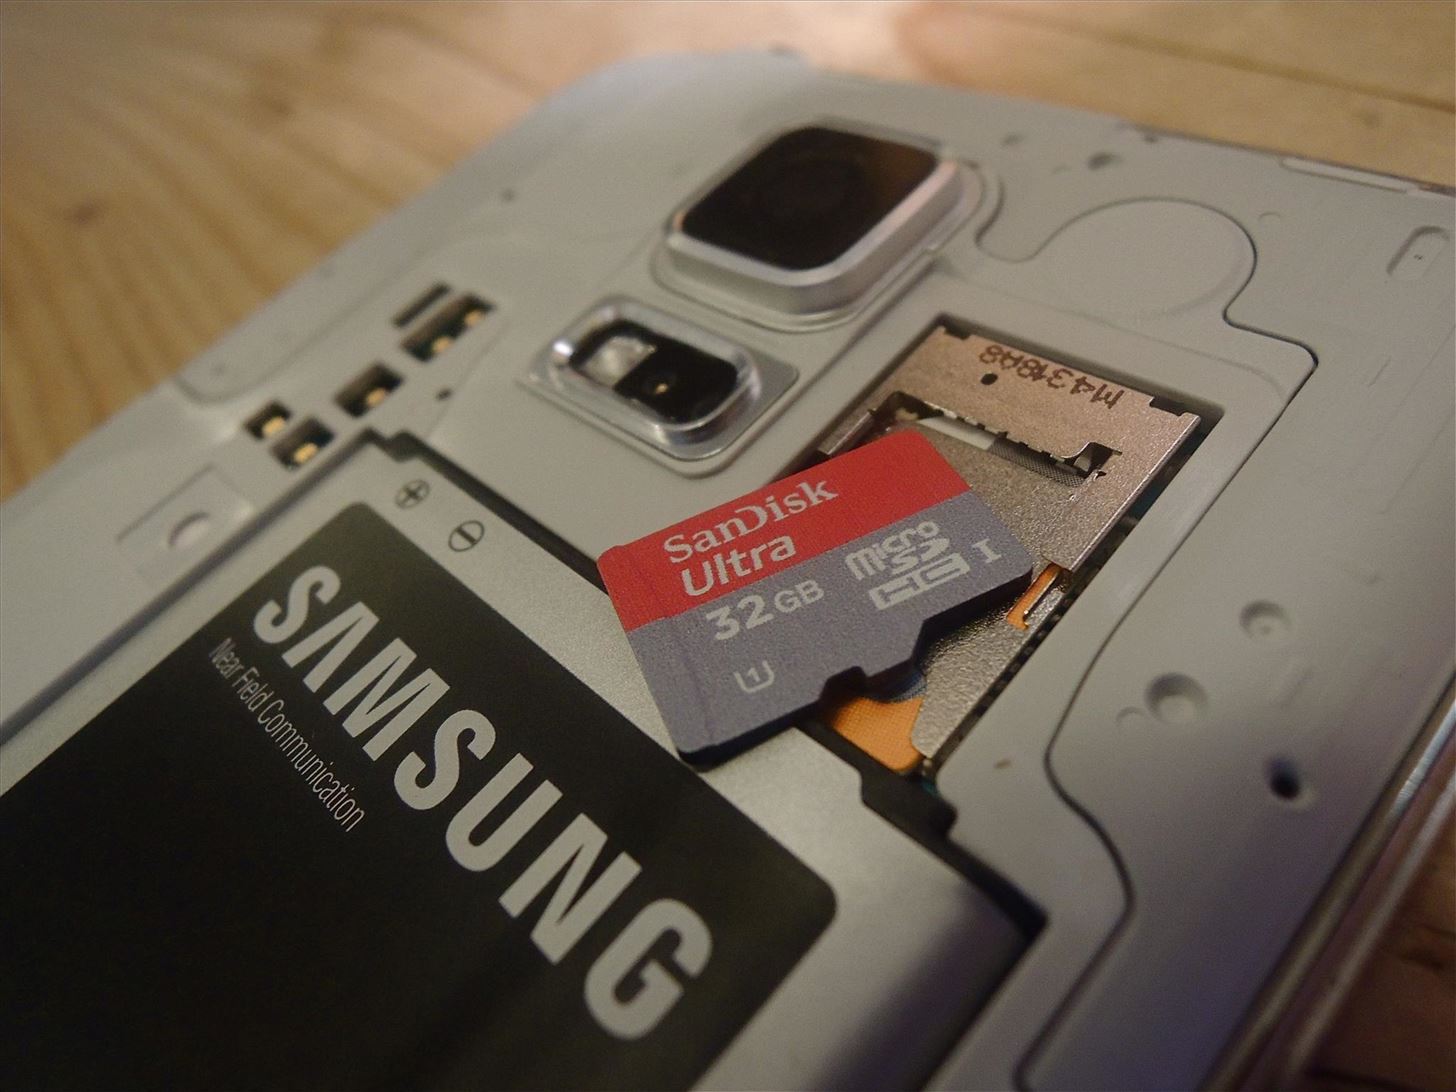
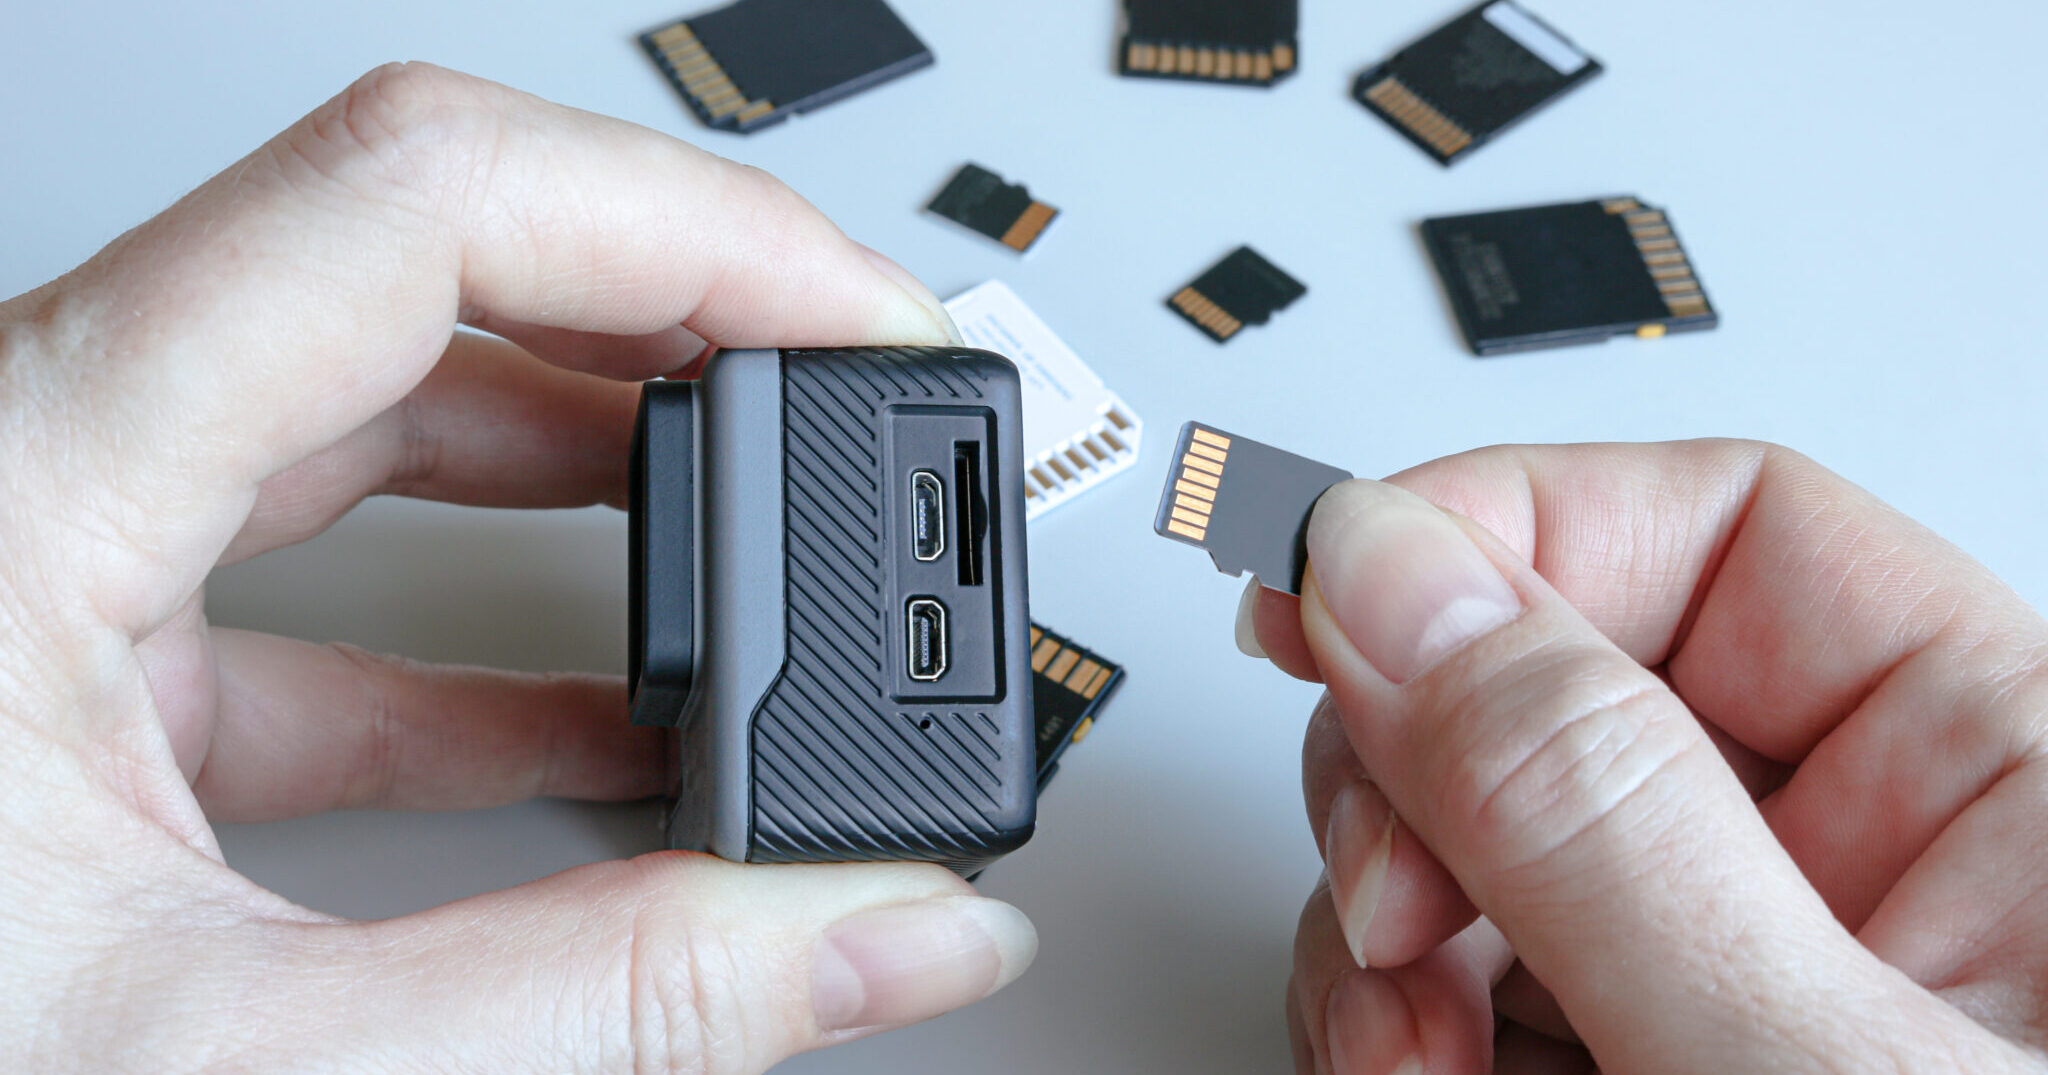
An SD (Secure Digital) card is a small, portable storage medium that allows you to significantly increase your device’s storage capacity. It is a convenient solution for those who frequently download apps, capture photos and videos, or store large files on their devices.
By default, most devices save data to internal storage, which may fill up quickly. However, you can change the default storage option to an SD card, enabling you to store your files, apps, and media directly on the card. This can not only free up precious space on your internal storage but also provide a convenient way to transport your data between devices.
In this article, we will guide you through the process of making an SD card the default storage option on your device. We will cover everything from understanding the default storage options to troubleshooting common issues. So, without further ado, let’s get started with our step-by-step guide!
Key Takeaways:
- Expand your device’s storage by making an SD card the default storage option. Free up internal space, manage data more flexibly, and enjoy a seamless user experience across various devices.
- Ensure a smooth transition to using an SD card as default storage by understanding storage options, checking available space, and troubleshooting common issues. Maximize your device’s storage potential hassle-free.
Read more: How Important Are SD Cards?
Understanding Default Storage Options
Before we dive into the process of setting an SD card as the default storage option, it’s important to understand the different storage options available on your device.
When it comes to storage, most devices have two primary options: internal storage and external storage.
Internal Storage: This refers to the built-in storage capacity of your device. It is the primary storage space where the operating system, pre-installed apps, and system files are located. Internal storage is generally non-removable, and its capacity varies depending on the device model.
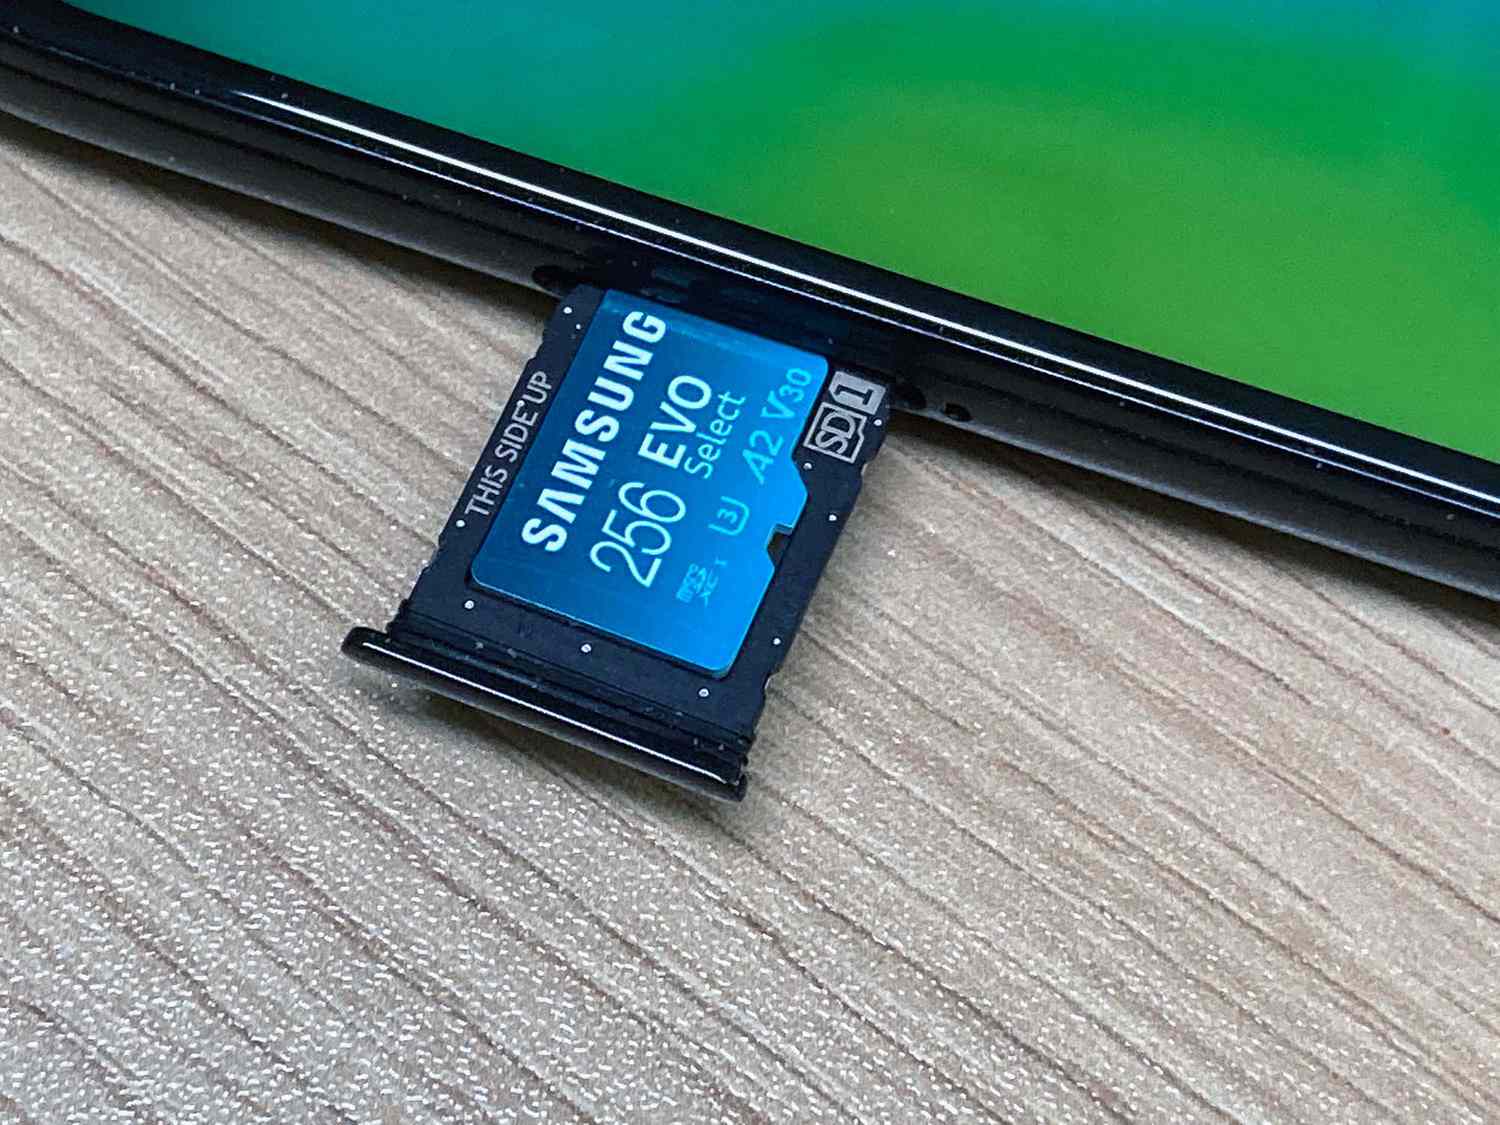
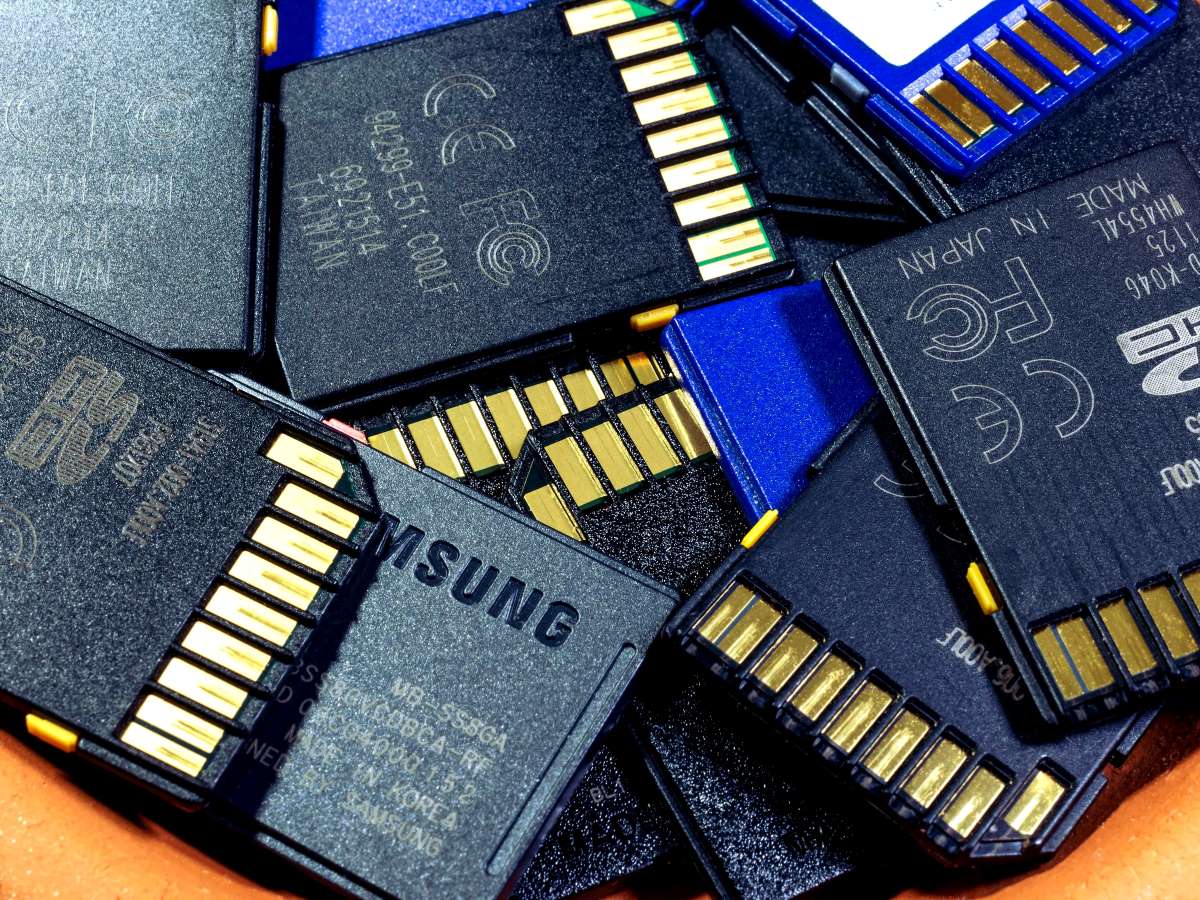
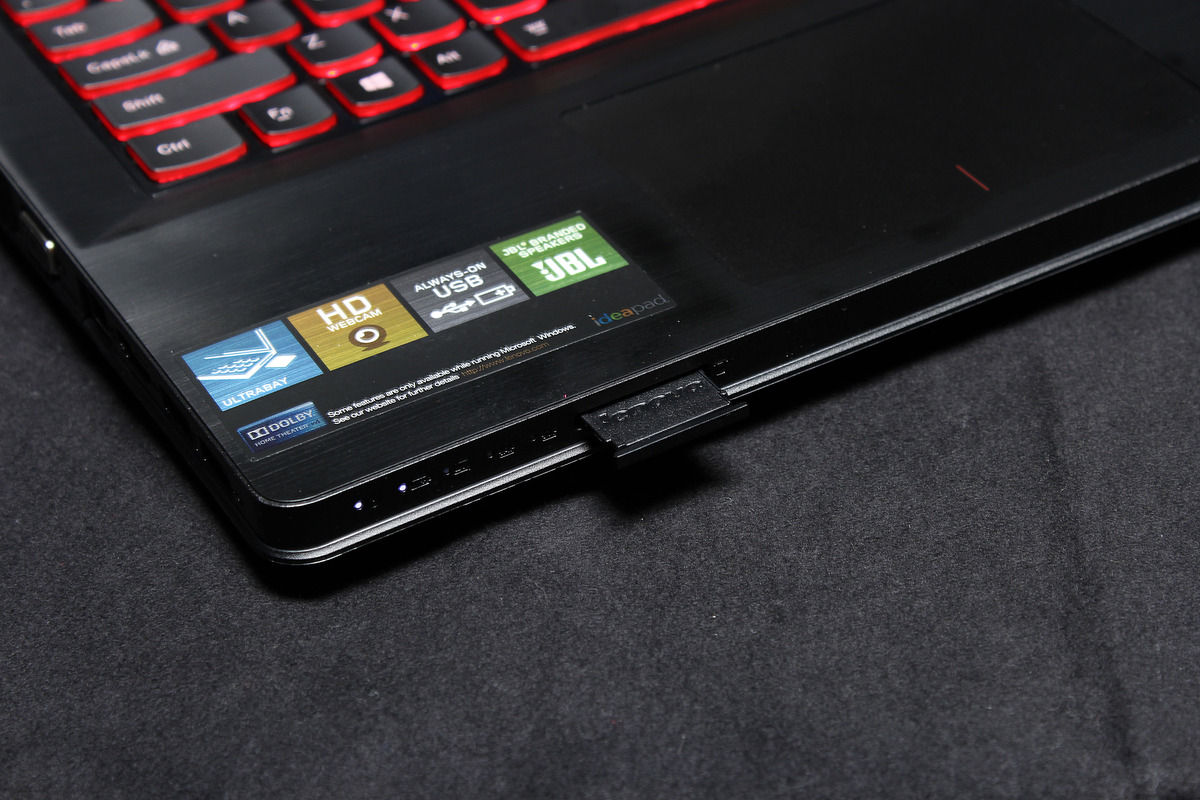
External Storage: External storage includes removable storage options like SD cards. These cards come in various capacities and can be easily inserted or removed from your device. In addition to SD cards, other external storage options may include USB flash drives or external hard drives.
By default, most devices are set to save data to the internal storage. This means that when you download apps, save files, or capture media, it is automatically stored on the device’s internal memory.
However, with the option to use external storage, you have the flexibility to offload data from your internal storage and save it directly to an SD card. This can help extend the available storage space and prevent your device from running out of storage.
It’s important to note that not all devices have external storage options or support the use of SD cards. Be sure to check your device’s specifications or user manual to confirm its compatibility with external storage.
Now that you have a good understanding of the default storage options, let’s move on to the next step – checking the available storage on your device.
Checking Available Storage on Your Device
Before you proceed with setting the SD card as the default storage option, it is essential to check the available storage on your device. This will give you an idea of how much space you have left and whether you need to free up some storage before making the change.
The process of checking available storage may vary slightly depending on the operating system of your device. Here are the general steps to follow:
For Android Devices:
- Go to the Settings menu on your Android device. You can usually find it in the app drawer or by swiping down from the top of the screen and tapping the gear icon.
- Scroll down and tap on “Storage” or “Storage & USB” (the naming may differ depending on your device).
- You will see a breakdown of the storage usage on your device. It will show you how much space is used and how much is available on both internal storage and any connected external storage, such as an SD card.
For iOS Devices (iPhone or iPad):
- Open the Settings app on your iOS device. You can find it on your home screen.
- Tap on “General” and then select “iPhone Storage” or “iPad Storage.”
- A list of all your installed apps will appear, along with the amount of storage they are using. At the top, you will see an overview of your total available storage.
Once you have checked the available storage, take note of how much space is remaining on your device. If the available storage is limited, it might be a good idea to delete unnecessary files or uninstall unused apps to free up space before proceeding.
Now that you have an idea of your device’s storage status, let’s move on to preparing your SD card for use as the default storage option.
Preparing Your SD Card
Before you can set your SD card as the default storage option, you’ll need to ensure that it is properly prepared and ready for use. Here are the steps to follow to prepare your SD card:
- Format the SD card: Formatting your SD card will erase any existing data on it and create a file system that is compatible with your device. To format your SD card, insert it into your device’s SD card slot and follow these steps:
- For Android Devices:
- Go to the Settings menu on your Android device
- Scroll down and tap on “Storage” or “Storage & USB”
- Under the SD card section, tap on “Format” or “Format SD card”
- Follow the on-screen prompts to confirm the formatting process
- For iOS Devices (iPhone or iPad):
- Insert the SD card into an SD card reader or adapter
- Connect the SD card reader or adapter to your iOS device using the appropriate connector (e.g., Lightning to SD card adapter)
- Open the Files app on your iOS device
- Under the Locations section, tap on “Browse”
- Select your SD card from the list of available locations
- Tap on “Select” in the top-right corner
- Tap on the three-dot menu icon (…) and select “Format”
- For Android Devices:
- Backup any important data: Before formatting your SD card, make sure to back up any important data to a separate location. This will help prevent the loss of valuable files in case of accidental deletion or formatting.
- Remove the SD card: Once the formatting process is complete, safely remove the SD card from your device.
Once you have prepared your SD card, it is now ready to be set as the default storage option. In the next section, we will guide you through the process of making the SD card the default storage on your device.
To make an SD card the default storage on an Android device, go to Settings > Storage > SD card > Set as default storage. This will ensure that new apps and media are saved to the SD card by default.
Setting the SD Card as Default Storage
Now that you have prepared your SD card, it’s time to set it as the default storage option on your device. The steps to do this may vary depending on your device’s operating system. Here’s a general guide:
- For Android Devices:
- Insert the SD card into your Android device’s SD card slot.
- Go to the Settings menu on your device.
- Scroll down and tap on “Storage” or “Storage & USB.”
- Tap on “SD Card” or “Portable Storage.”
- Look for the option to “Format” or “Erase” the SD card. This step may be necessary if the SD card was previously used on another device.
- Once the SD card is formatted, you should see an option to set it as the default storage. Tap on it to enable the option.
- Follow any additional prompts or instructions to complete the process.
- For iOS Devices (iPhone or iPad):
- Insert the SD card into an SD card reader or adapter.
- Connect the SD card reader or adapter to your iOS device using the appropriate connector (e.g., Lightning to SD card adapter).
- Open the Files app on your iOS device.
- Under the Locations section, tap on “Browse.”
- Select your SD card from the list of available locations.
- Tap on the three-dot menu icon (…) and select “Edit.”
- Toggle on the option to “On My [Device]”.
- Tap on “Done” to save the changes.
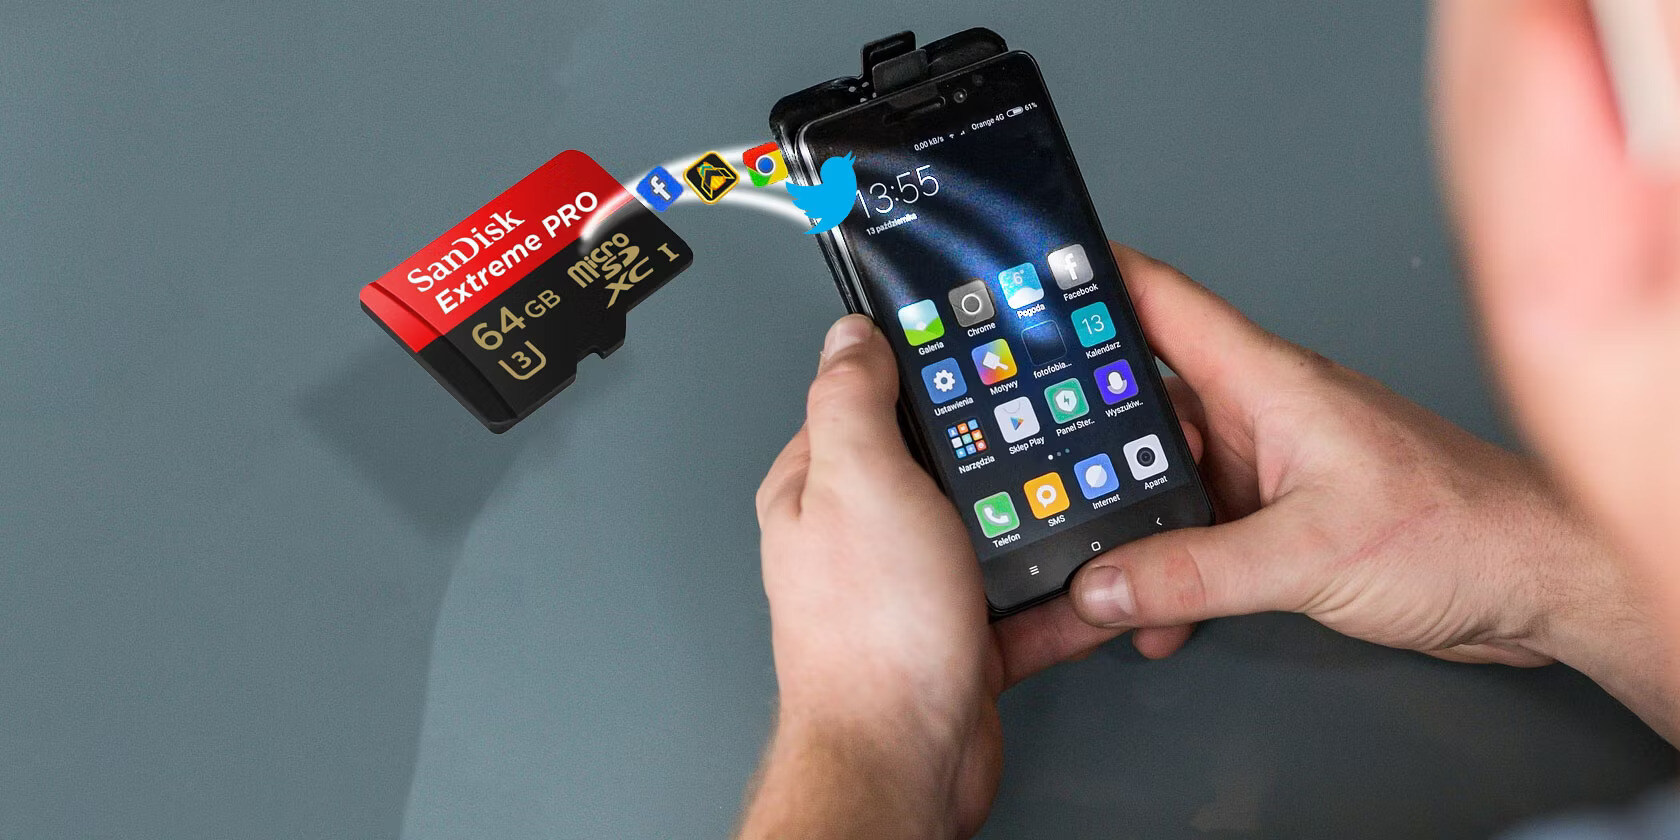
Once you have successfully set the SD card as the default storage, any new files, apps, or media that you download or create will be automatically saved to the SD card instead of the internal storage. This will free up space on your device’s internal memory and help you better manage your storage needs.
Next, we will learn how to verify the default storage setting to ensure that the changes have been successfully applied.
Read also: 14 Best Sd Card Storage For 2024
Verifying the Default Storage Setting
After setting the SD card as the default storage option, it is important to verify that the changes have been successfully applied. This will ensure that any new files, apps, or media are indeed being saved to the SD card. Here’s how you can verify the default storage setting:
- For Android Devices:
- Go to the Settings menu on your Android device.
- Scroll down and tap on “Storage” or “Storage & USB.”
- Check the “Default storage location” or similar option.
- Ensure that the SD card or external storage is selected as the default option.
- For iOS Devices (iPhone or iPad):
- Open the Settings app on your iOS device.
- Tap on “General” and then select “iPhone Storage” or “iPad Storage.”
- Scroll down and check the available space under the “Storage” section.
- If the available space has increased significantly after setting the SD card as the default storage, it indicates that the changes have been successfully applied.
Additionally, you can also perform a quick test by downloading a small file or capturing a photo or video. If the file is saved directly to the SD card, it confirms that the SD card has indeed become the default storage option on your device.
If, at any point, you wish to change the default storage back to the internal memory or switch to a different external storage option, you can revisit the storage settings and make the necessary adjustments.
With the default storage setting verified, you can now enjoy the benefits of having additional storage space on your device and continue to store files, apps, and media on your SD card.
In case you encounter any issues during this process, let’s walk through some troubleshooting tips in the next section.
Troubleshooting Common Issues
While setting an SD card as the default storage option is a relatively straightforward process, you may encounter some common issues along the way. Here are a few troubleshooting tips to help you address these issues:
- SD Card Not Detected: If your device does not recognize the SD card, try the following steps:
- Remove the SD card from the device and reinsert it to ensure a proper connection.
- Make sure that the SD card is properly formatted and compatible with your device.
- Check for any physical damage or corruption on the SD card and consider using a different SD card if needed.
- Option to Set Default Storage Not Available: In some cases, certain devices or operating systems may not provide the option to set the default storage. Here are a few things you can try:
- Update your device’s operating system to the latest version, as newer updates may introduce this feature.
- Check for any firmware updates for your device, as these updates may enable additional storage options.
- Consult the user manual or support documentation for your device to determine if this feature is available.
- Performance Issues: If you notice any performance issues after setting the SD card as the default storage, such as slower app loading times or laggy data access, try the following:
- Ensure that the SD card has sufficient free space available. A nearly full SD card can cause performance issues.
- Consider using a high-speed SD card with a faster data transfer rate to improve performance.
- Regularly clean up unnecessary files and apps from both the internal storage and the SD card to optimize performance.
If you continue to experience issues or have specific questions about setting the SD card as the default storage on your device, it may be helpful to reach out to the device manufacturer’s support team or consult community forums for assistance.
With these troubleshooting tips in mind, you should be able to overcome common issues and enjoy the benefits of using an SD card as the default storage on your device.
Let’s wrap up the article in the next section.
Conclusion
Expanding the storage capacity of your device by setting an SD card as the default storage option can greatly enhance your user experience. With the ability to save files, apps, and media directly to the SD card, you can free up space on your device’s internal storage and have more flexibility in managing your data.
In this article, we have covered the steps to understand default storage options, check available storage on your device, prepare your SD card, set the SD card as default storage, and verify the default storage setting. We have also shared troubleshooting tips for common issues that may arise during the process.
It is important to note that the steps and options may vary depending on your device’s operating system and manufacturer. It is always recommended to consult your device’s user manual or reach out to the manufacturer’s support for specific instructions.
Remember, when setting the SD card as the default storage, it is crucial to back up any important data and format the SD card beforehand to ensure compatibility with your device.
By following the steps outlined in this article, you can effectively utilize your SD card as the primary storage option, optimizing the storage capacity of your device and alleviating storage limitations.
We hope this guide has been helpful to you. If you have any further questions or need additional assistance, feel free to seek support from your device’s manufacturer or online communities dedicated to your specific device model.
Thank you for reading, and we wish you success in setting your SD card as the default storage option!
Frequently Asked Questions about How To Make Sd Card Default Storage
Was this page helpful?
At Storables.com, we guarantee accurate and reliable information. Our content, validated by Expert Board Contributors, is crafted following stringent Editorial Policies. We're committed to providing you with well-researched, expert-backed insights for all your informational needs.


0 thoughts on “How To Make Sd Card Default Storage”