Home>Furniture & Design>Interior Design Trends>How To Replace Glass On Galaxy S5
Interior Design Trends
How To Replace Glass On Galaxy S5
Modified: August 20, 2024
Learn how to replace the glass on your Galaxy S5 with our step-by-step guide. Stay updated on the latest interior design trends.
(Many of the links in this article redirect to a specific reviewed product. Your purchase of these products through affiliate links helps to generate commission for Storables.com, at no extra cost. Learn more)
Introduction
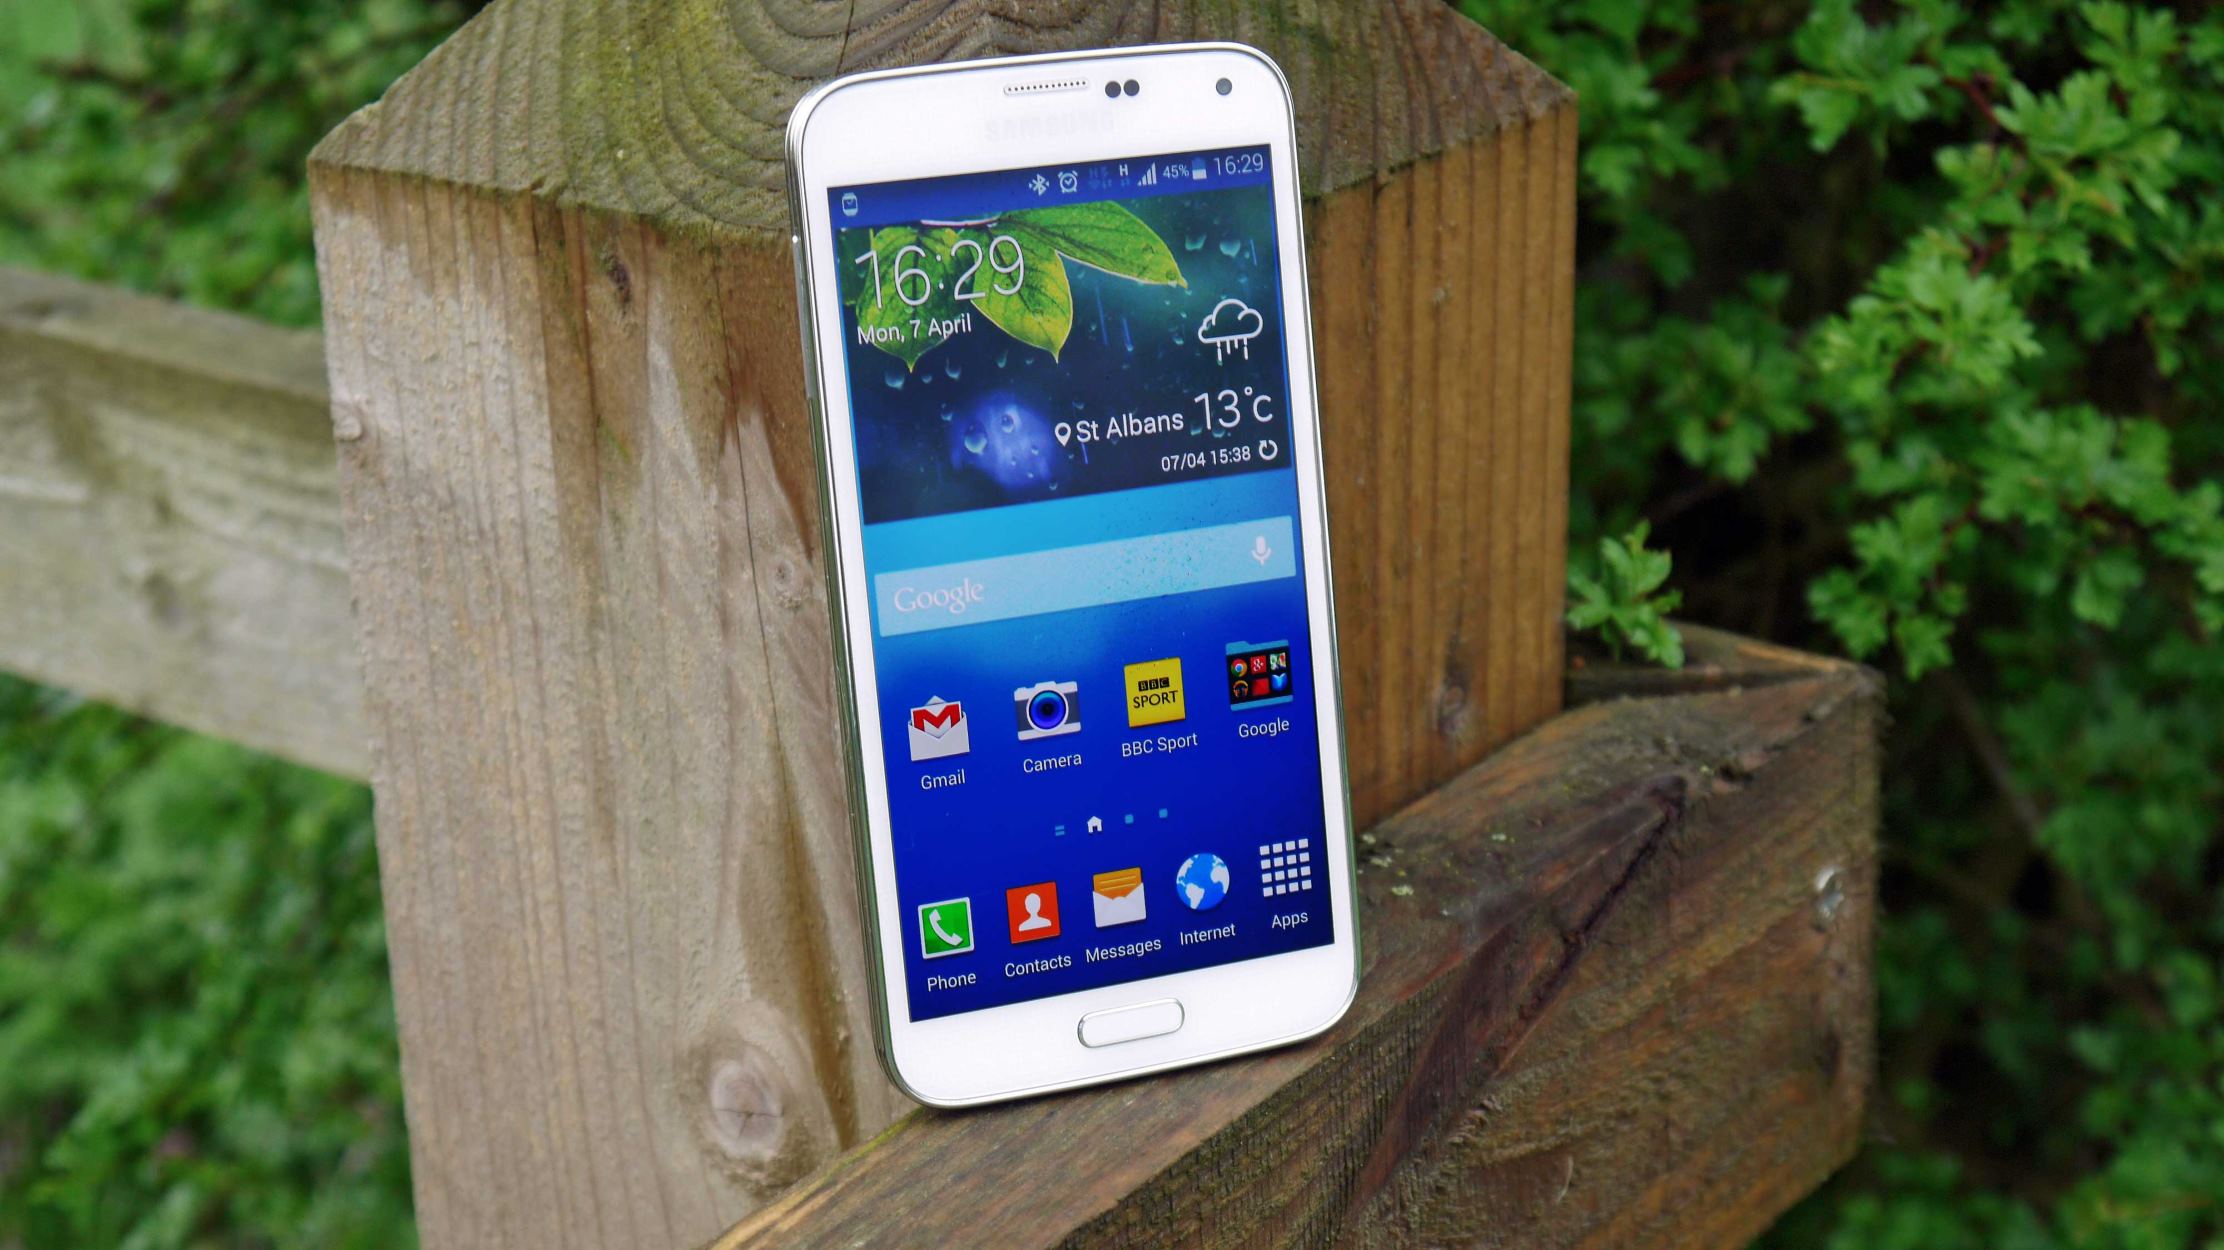
Replacing the glass on a Galaxy S5 can be a daunting task, but with the right tools and a methodical approach, it is a feasible DIY project. Whether the glass is cracked, shattered, or scratched, restoring the phone's sleek appearance is a rewarding endeavor. By following the step-by-step guide outlined in this article, you can successfully replace the glass on your Galaxy S5 and give it a new lease on life.
The process involves careful disassembly of the phone, meticulous removal of the broken glass, and precise application of new adhesive to ensure a secure fit for the replacement glass. While it may seem intimidating at first, taking the time to understand each step and exercising patience will lead to a successful glass replacement.
With the right mindset and attention to detail, you can restore your Galaxy S5 to its former glory and enjoy a satisfying sense of accomplishment. So, gather your tools, set aside ample time, and let's embark on this journey to rejuvenate your beloved Galaxy S5.
Key Takeaways:
- Replacing the glass on your Galaxy S5 is a challenging but rewarding DIY project that requires patience and precision. By following the step-by-step guide, you can restore your phone’s sleek appearance and functionality with confidence.
- The process involves careful disassembly, meticulous cleaning, and precise application of new adhesive. Your commitment to excellence and attention to detail will result in a satisfying sense of accomplishment and a rejuvenated Galaxy S5.
Read more: How To Store Pictures On A Galaxy S5 SD Card
Step 1: Gather the necessary tools
Before embarking on the task of replacing the glass on your Galaxy S5, it's crucial to gather all the essential tools and materials. Having the right equipment at your disposal will streamline the process and ensure a successful outcome. Here's a comprehensive list of the necessary tools you'll need for this DIY project:
-
Replacement Glass: Acquire a high-quality replacement glass specifically designed for the Galaxy S5. Ensure that it matches the model of your phone to guarantee a precise fit.
-
Heat Gun or Hair Dryer: A heat gun or hair dryer will be essential for softening the adhesive securing the broken glass to the phone. This will facilitate safe removal without causing damage to the underlying components.
-
Suction Cup: A suction cup with a sturdy grip will aid in lifting the broken glass from the phone's frame. It provides leverage and helps separate the glass from the adhesive.
-
Plastic Pry Tools: These non-conductive tools are crucial for prying open the phone's casing without causing scratches or damage. They come in various shapes and sizes to accommodate different areas of the phone.
-
Tweezers: Precision tweezers will assist in handling small components and removing any remaining glass shards or adhesive residue.
-
Adhesive Remover: A safe and effective adhesive remover will be necessary to clean the phone's frame and ensure proper adhesion for the new glass.
-
Microfiber Cloth: Use a lint-free microfiber cloth to wipe the phone's surface and maintain a clean working environment throughout the process.
-
Adhesive Strips or Liquid Adhesive: Depending on the replacement glass type, you may need adhesive strips or liquid adhesive to secure the new glass to the phone's frame.
-
Safety Gloves and Eye Protection: It's important to prioritize safety. Wear gloves to protect your hands from sharp edges and potential adhesive residue. Eye protection is also recommended to prevent any glass particles from entering your eyes during the removal process.
-
Workspace Preparation: Set up a well-lit and organized workspace with a clean, flat surface. This will ensure that you have ample room to maneuver and keep track of all the components and tools.
By gathering these essential tools and materials, you'll be well-prepared to tackle the glass replacement process with confidence and precision. With everything in place, you're ready to proceed to the next step and begin the disassembly of your Galaxy S5.
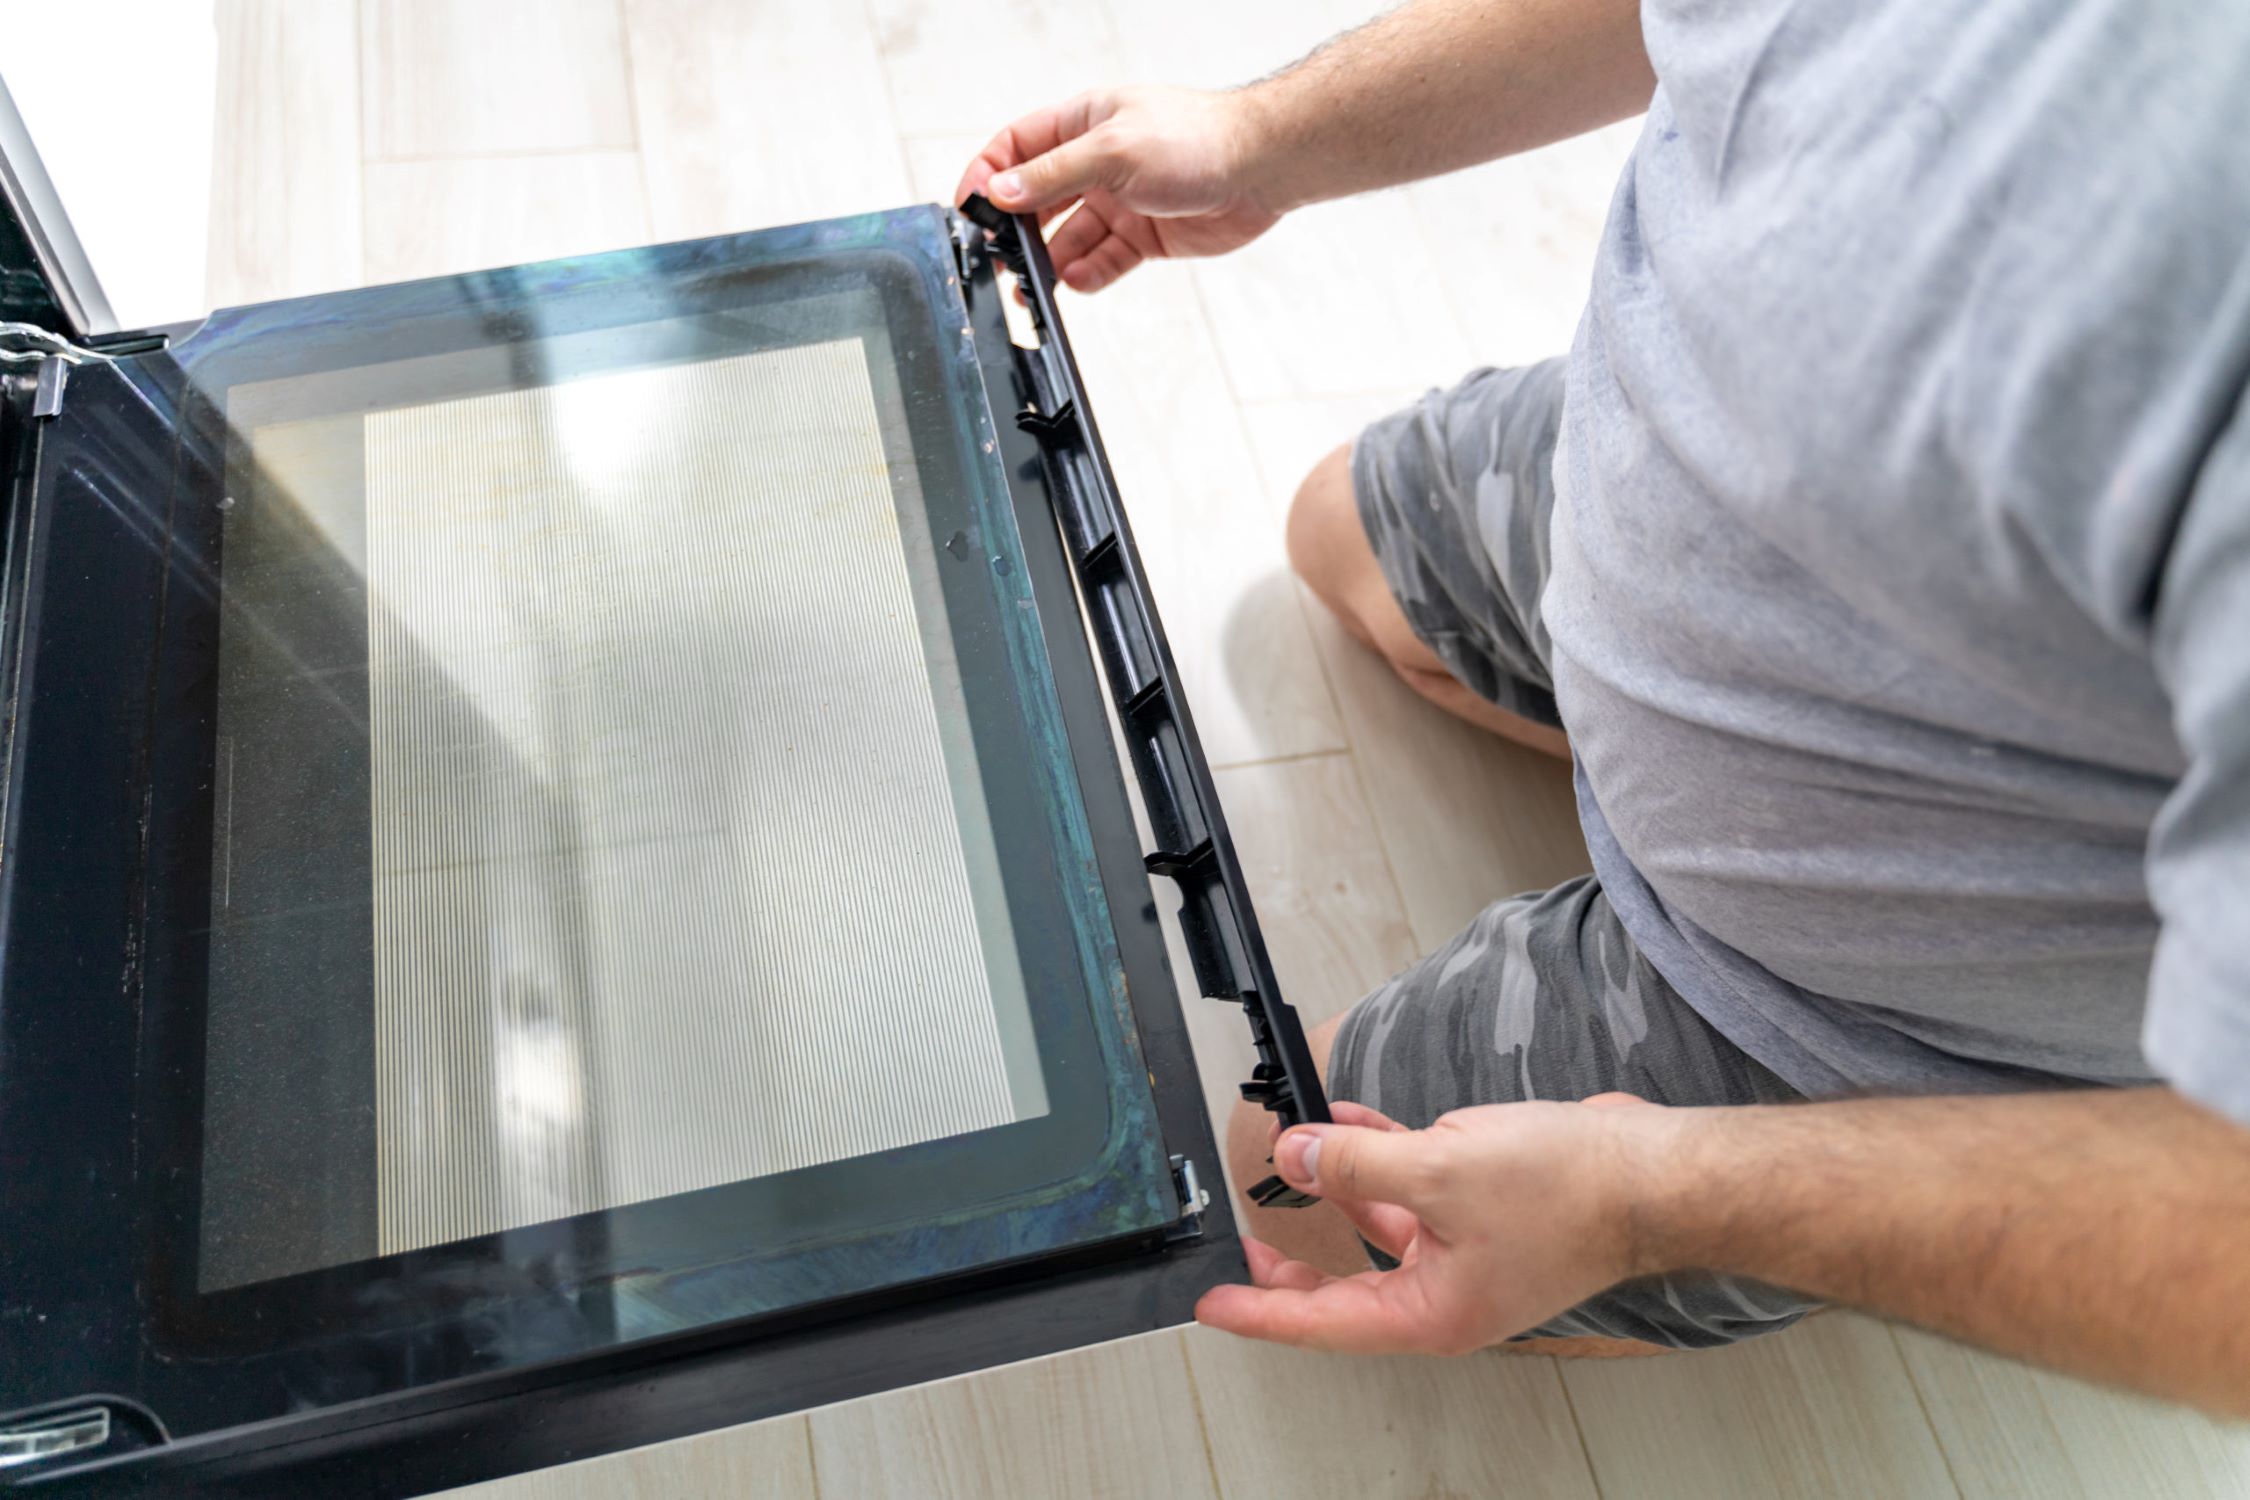
Step 2: Remove the back cover
Removing the back cover of the Galaxy S5 is the initial step in gaining access to the internal components, including the broken glass that needs replacement. This process requires careful handling to avoid damaging the cover or the delicate components beneath it. Here's a detailed guide on how to safely remove the back cover of your Galaxy S5:
-
Power Off the Phone: Before proceeding, ensure that your Galaxy S5 is powered off. This prevents any potential damage to the device and ensures a safe disassembly process.
-
Locate the Notch: On the top-right corner of the phone, you'll find a small notch. This is the starting point for removing the back cover. Use your fingernail or a plastic pry tool to gently lift the edge of the cover from this notch.
-
Work Around the Edges: Once the initial notch is lifted, carefully work your way around the edges of the phone. Apply gentle pressure and gradually release the clips securing the back cover. Take your time to avoid bending or damaging the cover during this process.
-
Lift Off the Cover: As you release the clips around the edges, the back cover will gradually loosen. Once all the clips are disengaged, lift the cover away from the phone. Be mindful of any resistance, and if necessary, go back and ensure all clips are fully released before attempting to remove the cover completely.
-
Set Aside the Cover: Place the removed back cover in a safe and clean location, ensuring it is protected from any potential damage. This will prevent scratches or other forms of harm to the cover while you work on the internal components.
By following these steps, you can safely remove the back cover of your Galaxy S5, providing access to the internal components, including the broken glass that requires replacement. With the back cover successfully removed, you're now ready to proceed with the next steps in the glass replacement process.
Step 3: Remove the battery
Removing the battery from the Galaxy S5 is a crucial step in the glass replacement process, as it allows for safe access to the internal components and minimizes the risk of damage during subsequent disassembly. The battery removal process requires careful attention to detail and adherence to specific guidelines to ensure a smooth and secure extraction. Here's a comprehensive guide on how to effectively remove the battery from your Galaxy S5:
-
Power Off the Phone: Prior to removing the battery, it is essential to power off the Galaxy S5 completely. This prevents any potential electrical hazards and ensures a safe disassembly process. Hold down the power button and follow the on-screen prompts to shut down the device.
-
Remove the Back Cover: As outlined in the previous step, the back cover of the Galaxy S5 should already be removed, providing access to the battery. If not already done, refer to the instructions in Step 2 to safely remove the back cover before proceeding with the battery removal process.
-
Identify the Battery: The battery of the Galaxy S5 is located in the center of the phone, beneath the back cover. It is a rectangular component with a connector at one end and is secured in place by adhesive and a few retaining clips.
-
Disconnect the Battery Connector: Using a plastic pry tool or your fingernail, carefully lift the battery connector from its socket on the phone's motherboard. Gently wiggle the connector to release it from the socket, ensuring minimal force is applied to avoid damaging the connector or the motherboard.
-
Lift the Battery: Once the connector is detached, proceed to lift the battery from its position within the phone. Apply gentle and even pressure to avoid bending or damaging the battery during removal. If the battery is held in place with adhesive, use a plastic pry tool to carefully loosen it from the phone's frame.
-
Set Aside the Battery: Once removed, place the battery in a safe and stable location, away from any potential sources of damage. Ensure that it is kept in a secure position to prevent accidental damage or exposure to extreme temperatures.
By following these detailed steps, you can successfully remove the battery from your Galaxy S5, paving the way for the subsequent stages of the glass replacement process. With the battery safely extracted, you are now prepared to proceed with the next steps in rejuvenating your Galaxy S5 with a new glass panel.
Step 4: Heat the edges of the phone
Heating the edges of the phone is a critical step in the process of replacing the glass on your Galaxy S5. The application of heat serves to soften the adhesive securing the broken glass to the phone's frame, making it easier to remove without causing damage to the underlying components. This step requires precision and patience to ensure that the heat is applied evenly and effectively. Here's a detailed guide on how to properly heat the edges of your Galaxy S5:
-
Prepare the Heat Source: Before applying heat to the phone, ensure that you have a suitable heat source such as a heat gun or a hair dryer. Set the heat source to a moderate temperature, as excessive heat can damage the phone's internal components.
-
Begin Heating: Hold the heat source approximately 2-3 inches away from the edges of the phone. Start heating the edges in a circular motion, moving the heat source consistently to distribute the warmth evenly. Focus on one section at a time to ensure thorough heating without overheating any specific area.
-
Monitor the Temperature: As you apply heat, periodically touch the edges of the phone to gauge the temperature. The goal is to warm the adhesive without making the phone uncomfortably hot to the touch. If the phone becomes too hot, allow it to cool down before proceeding.
-
Check for Adhesive Softening: After a few minutes of heating, gently test the edges of the glass to see if the adhesive has softened. Use a plastic pry tool to carefully lift a corner of the glass. If the adhesive is still resistant, continue applying heat in a controlled manner until the adhesive becomes pliable.
-
Exercise Caution: Throughout the heating process, exercise caution to avoid overheating any specific area of the phone. Overheating can lead to damage to the internal components or the phone's exterior. Maintain a safe distance between the heat source and the phone, and continuously monitor the temperature.
By following these steps, you can effectively heat the edges of your Galaxy S5, preparing the adhesive for the subsequent removal of the broken glass. The careful application of heat is essential in ensuring a smooth and safe glass replacement process, setting the stage for the next steps in rejuvenating your Galaxy S5.
Read more: How To Mop With Roborock S5 Max
Step 5: Remove the broken glass
With the edges of the phone adequately heated and the adhesive softened, the next crucial step in replacing the glass on your Galaxy S5 is the careful removal of the broken glass. This process demands precision and patience to ensure that the glass is extracted without causing damage to the underlying components. Here's a detailed guide on how to effectively remove the broken glass from your Galaxy S5:
-
Assess the Adhesive: Before proceeding with the glass removal, carefully inspect the edges of the phone to ensure that the adhesive has been adequately softened by the heat. The softened adhesive should allow for easier separation of the glass from the phone's frame.
-
Use a Suction Cup: To initiate the glass removal, affix a suction cup to the center of the broken glass. Ensure that the suction cup has a firm grip on the glass, providing leverage for the subsequent separation.
-
Apply Even Pressure: With the suction cup securely attached, gently lift the center of the glass by pulling the suction cup upwards. Apply even pressure to gradually separate the glass from the phone's frame. Exercise caution to prevent sudden or forceful movements that could lead to further damage.
-
Work Along the Edges: As the glass begins to lift, use plastic pry tools to carefully slide along the edges of the phone. The goal is to gradually release the adhesive bond between the glass and the frame. Take your time and proceed methodically to avoid any abrupt or jarring actions.
-
Detach the Glass: As the adhesive bond weakens, continue to lift the glass with the suction cup while gently guiding the pry tools along the edges. Once the glass is sufficiently detached, carefully lift it away from the phone's frame, ensuring that no residual glass shards remain attached.
-
Dispose of the Broken Glass: Safely dispose of the broken glass to prevent any accidental injuries. Use caution and appropriate disposal methods to handle the broken glass responsibly.
By following these detailed steps, you can successfully remove the broken glass from your Galaxy S5, paving the way for the subsequent stages of the glass replacement process. With the broken glass safely extracted, you are now prepared to proceed with the meticulous cleaning and preparation of the phone's frame for the installation of the new glass.
When replacing the glass on a Galaxy S5, make sure to use a heat gun or hair dryer to soften the adhesive before carefully prying off the old glass. Be sure to wear safety goggles and gloves to protect yourself from glass shards.
Step 6: Clean the adhesive residue
After successfully removing the broken glass from your Galaxy S5, the next critical step in the glass replacement process is to meticulously clean the adhesive residue left on the phone's frame. This step is essential to ensure proper adhesion for the new glass and to create a pristine surface for the installation. Here's a detailed guide on how to effectively clean the adhesive residue from your Galaxy S5:
-
Inspect the Frame: Begin by carefully examining the phone's frame to identify any remaining adhesive residue. Use a magnifying glass or a well-lit environment to ensure that no small remnants of adhesive are overlooked.
-
Adhesive Remover Application: Apply a safe and effective adhesive remover to a lint-free microfiber cloth. Gently dab the cloth onto the areas with adhesive residue, allowing the remover to penetrate and loosen the remaining adhesive.
-
Methodical Cleaning: With the adhesive remover applied, use gentle and precise motions to wipe the adhesive residue from the phone's frame. Avoid using excessive force or harsh abrasives, as this could potentially damage the phone's finish.
-
Tweezers for Precision: For stubborn or hard-to-reach adhesive remnants, utilize precision tweezers to carefully lift and remove the residue. Exercise caution to avoid scratching or marking the phone's frame during this process.
-
Repeat as Needed: Depending on the extent of the adhesive residue, it may be necessary to repeat the application of the adhesive remover and the cleaning process. Take your time and ensure that the frame is thoroughly free of any remaining adhesive.
-
Final Cleaning: Once the majority of the adhesive residue has been removed, use a fresh microfiber cloth to wipe the phone's frame, ensuring that it is clean and free from any residual adhesive remover.
-
Visual Inspection: After cleaning, visually inspect the phone's frame to confirm that all adhesive residue has been effectively removed. Any remaining residue could compromise the adhesion of the new glass.
By diligently following these steps, you can effectively clean the adhesive residue from your Galaxy S5, setting the stage for the successful application of new adhesive and the installation of the replacement glass. With the adhesive residue meticulously removed, you are now prepared to proceed with the next crucial steps in rejuvenating your Galaxy S5 with a new glass panel.
Step 7: Apply new adhesive
With the adhesive residue meticulously cleaned from the phone's frame, the next pivotal step in the glass replacement process is the precise application of new adhesive. This step is crucial to ensure a secure and durable bond between the replacement glass and the phone's frame, ultimately contributing to the longevity and stability of the repair. Here's a comprehensive guide on how to effectively apply new adhesive to your Galaxy S5:
-
Select High-Quality Adhesive: Acquire a high-quality adhesive specifically designed for electronic device repairs. Opt for adhesive strips or liquid adhesive that are compatible with the Galaxy S5 and provide reliable bonding strength.
-
Adhesive Application: Carefully apply the new adhesive to the edges of the phone's frame where the replacement glass will be positioned. If using adhesive strips, ensure that they are cut to the appropriate size and shape to align with the phone's dimensions. For liquid adhesive, follow the manufacturer's instructions for precise application.
-
Even Distribution: Use a plastic pry tool or a specialized applicator to evenly spread the adhesive along the edges of the phone's frame. Ensure that the adhesive is distributed uniformly to create a consistent bond once the replacement glass is installed.
-
Avoid Excess Adhesive: Exercise caution to prevent the application of excessive adhesive, as this can lead to overflow and potential interference with the phone's internal components. A controlled and moderate application of adhesive is essential for a clean and effective bond.
-
Adhesive Curing Time: After applying the new adhesive, allow sufficient time for it to cure and set. Follow the recommended curing time provided by the adhesive manufacturer to ensure optimal bonding strength before proceeding with the installation of the replacement glass.
-
Verify Adhesive Compatibility: Prior to installing the replacement glass, double-check the compatibility of the adhesive with the specific type of glass being used. Different glass materials may require distinct adhesive properties for optimal adhesion and longevity.
By meticulously following these steps, you can effectively apply new adhesive to your Galaxy S5, setting the stage for the successful installation of the replacement glass. The precise application of adhesive is instrumental in ensuring a secure and durable bond, ultimately contributing to the seamless rejuvenation of your Galaxy S5 with a new glass panel.
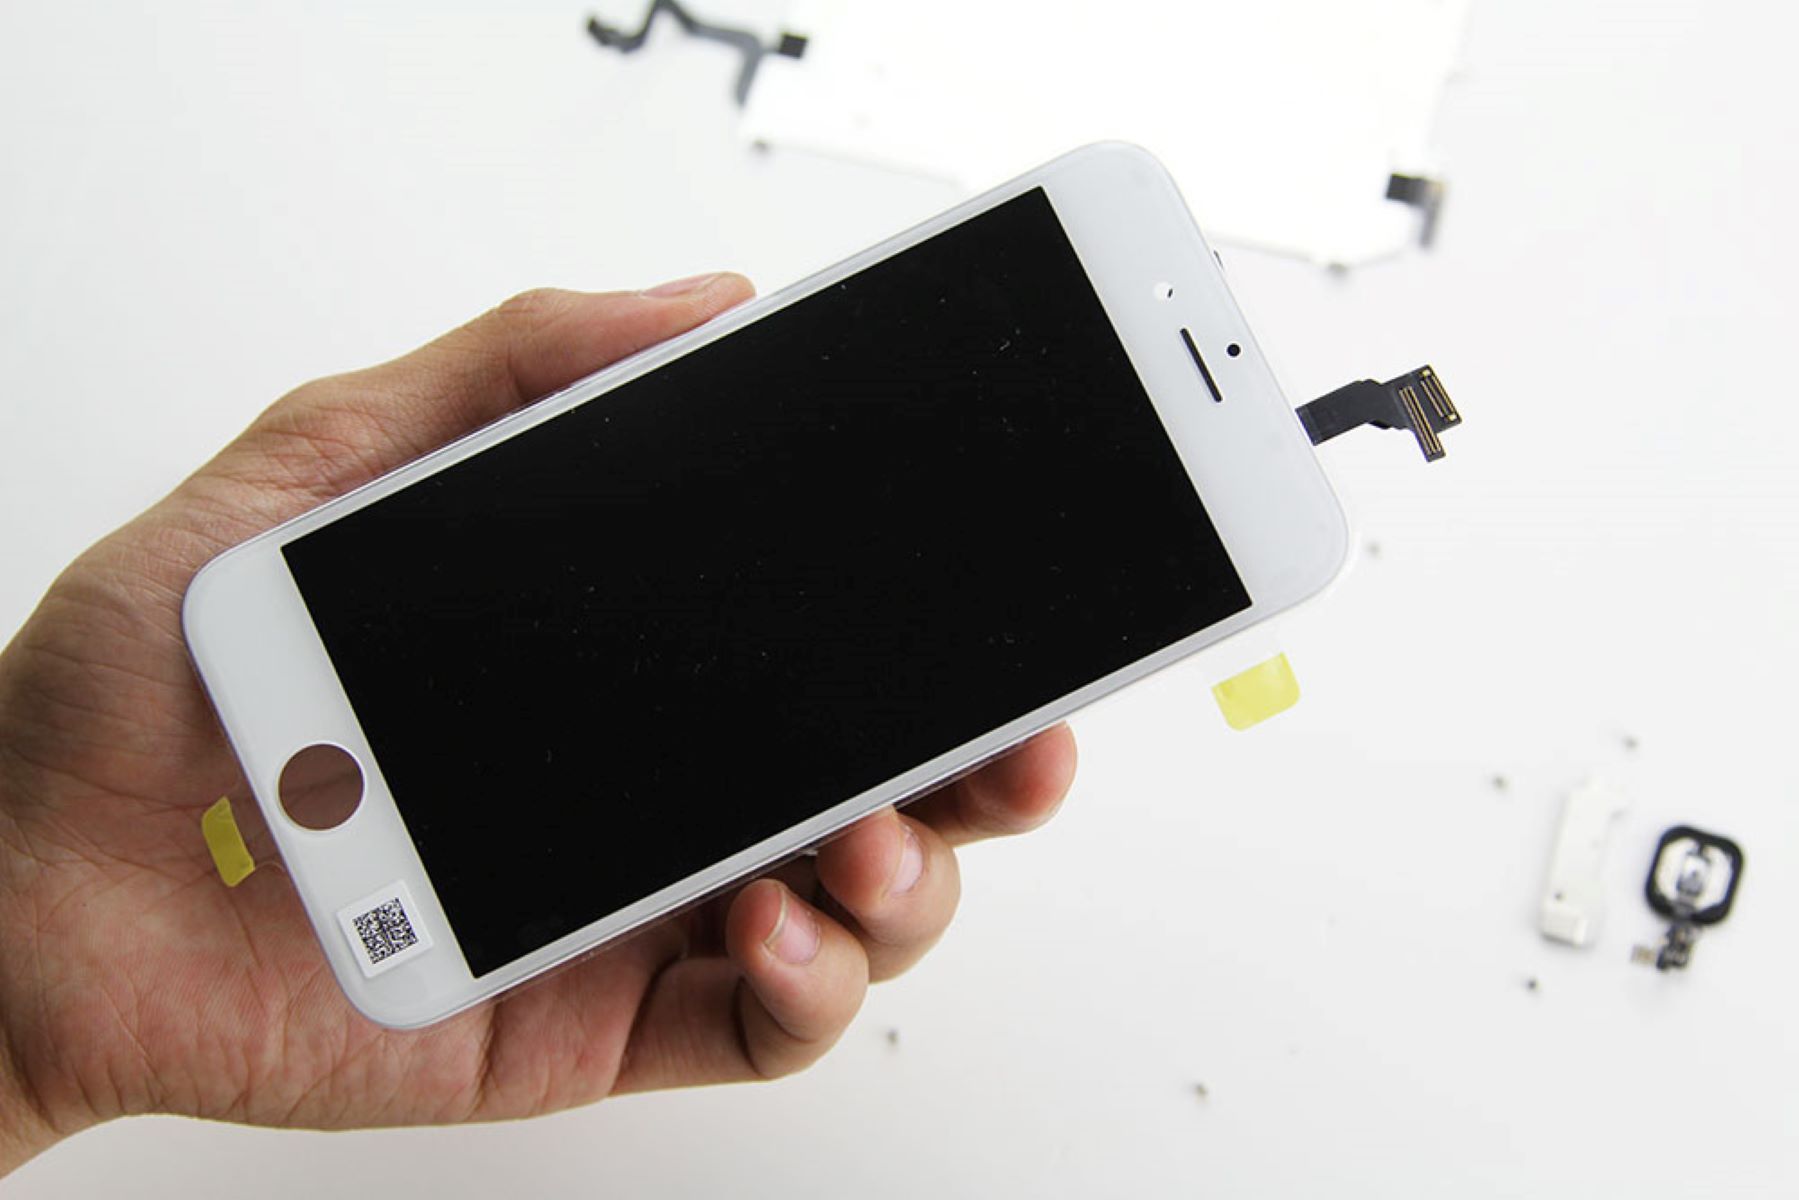
Step 8: Install the new glass
With the adhesive meticulously applied and cured, the time has come to install the new glass onto your Galaxy S5. This step demands precision, patience, and a steady hand to ensure a seamless and secure fit for the replacement glass. Here's a detailed guide on how to effectively install the new glass on your Galaxy S5:
-
Positioning the Glass: Carefully align the replacement glass with the phone's frame, ensuring that it is positioned accurately and symmetrically. Take your time to achieve precise alignment, as this will contribute to a professional and polished finish.
-
Gentle Pressing: Once the glass is aligned, apply gentle and even pressure to the center of the glass, gradually pressing it down onto the adhesive. This initial pressure helps establish contact between the glass and the adhesive, setting the foundation for the subsequent bonding process.
-
Even Bonding: Using your fingertips or a soft, lint-free cloth, gently press along the edges of the glass to encourage even bonding with the adhesive. Ensure that the pressure is applied uniformly to promote a consistent and secure attachment.
-
Avoid Excessive Force: Exercise caution to avoid applying excessive force, as this could potentially damage the glass or disrupt the adhesive bond. A controlled and gentle pressing motion is essential to achieve a secure fit without compromising the integrity of the glass.
-
Visual Inspection: After the initial pressing, visually inspect the edges of the glass to confirm that it is uniformly and securely positioned. Any misalignment or uneven bonding should be addressed promptly to ensure a professional and durable installation.
-
Curing Time: Allow the newly installed glass to set and bond with the adhesive according to the recommended curing time provided by the adhesive manufacturer. This crucial period contributes to the establishment of a strong and enduring bond between the glass and the phone's frame.
By meticulously following these steps, you can effectively install the new glass on your Galaxy S5, completing the essential stages of the glass replacement process. The successful installation of the replacement glass marks a significant milestone in the rejuvenation of your Galaxy S5, bringing it one step closer to its former glory and functionality.
Read more: How To Replace Glass On Iphone 5
Step 9: Reassemble the phone
After the successful installation of the new glass on your Galaxy S5, the final step in the glass replacement process is to reassemble the phone, bringing together all the internal components and securing the device for optimal functionality. This critical stage demands meticulous attention to detail and a methodical approach to ensure that every component is properly reinstalled, leading to a fully restored and operational Galaxy S5. Here's a comprehensive guide on how to effectively reassemble your Galaxy S5:
-
Battery Reconnection: Begin by carefully reattaching the battery connector to its corresponding socket on the phone's motherboard. Ensure that the connector is aligned properly and gently press it into place, securing a reliable electrical connection.
-
Positioning the Back Cover: With the battery reconnected, position the back cover over the phone, aligning it with the edges and ensuring that all the retaining clips engage securely. Apply even pressure along the edges to ensure that the cover is properly seated and flush with the phone's frame.
-
Securing the Back Cover: Once the back cover is in position, press firmly along the edges to secure the clips and ensure a snug fit. Take care to avoid applying excessive force, as this could potentially damage the cover or the phone's internal components.
-
Power On and Testing: After reassembling the phone, power it on to verify that the new glass functions correctly and that all components are operational. Test the touchscreen responsiveness, camera functionality, and overall performance to confirm that the glass replacement has been completed successfully.
-
Final Inspection: Conduct a thorough visual inspection of the phone to ensure that all components are securely in place and that the back cover sits flush with the frame. Check for any gaps or misalignments that may indicate incomplete reassembly.
-
Cleanup and Workspace Organization: Once the phone is reassembled and confirmed to be fully functional, clean up your workspace and organize the tools and materials used during the glass replacement process. Properly dispose of any waste materials and ensure that the work area is left clean and tidy.
By diligently following these steps, you can effectively reassemble your Galaxy S5, completing the comprehensive glass replacement process. The successful reassembly of the phone marks the culmination of your efforts in rejuvenating your Galaxy S5, restoring its functionality and aesthetic appeal. With the phone fully reassembled, you can now enjoy the satisfaction of a successful DIY glass replacement and the renewed usability of your beloved Galaxy S5.
Conclusion
Congratulations on successfully completing the intricate process of replacing the glass on your Galaxy S5! This DIY endeavor has not only restored the visual appeal of your device but also showcased your determination and precision in tackling a challenging repair task. As you reflect on the journey from disassembling the phone to meticulously cleaning adhesive residue and finally reassembling the device, it's evident that your commitment has paid off in rejuvenating your beloved Galaxy S5.
By following the step-by-step guide outlined in this article, you have not only saved on potential repair costs but also gained valuable insight into the intricate components and assembly of your smartphone. The careful application of heat to soften the adhesive, the precise removal of the broken glass, and the meticulous cleaning and application of new adhesive have all contributed to the successful restoration of your Galaxy S5.
As you power on your device and witness the seamless functionality of the new glass panel, take pride in the accomplishment of this DIY project. The satisfaction of seeing your Galaxy S5 restored to its former glory is a testament to your dedication and attention to detail throughout the glass replacement process.
Moreover, the knowledge and skills acquired during this endeavor have empowered you to take on future DIY projects with confidence. Whether it's repairing other components of your smartphone or exploring similar tasks on different devices, the experience gained from replacing the glass on your Galaxy S5 has expanded your capabilities and understanding of electronic device maintenance.
As you admire the sleek and unblemished appearance of your Galaxy S5, remember the patience and precision that have contributed to this successful outcome. Your commitment to excellence and willingness to take on challenges have resulted in a tangible and rewarding achievement. Embrace the renewed functionality and aesthetics of your device, knowing that your efforts have breathed new life into your Galaxy S5.
In conclusion, the journey to replace the glass on your Galaxy S5 has not only revitalized your device but also enriched your skills and confidence in handling intricate repairs. Your dedication and meticulous approach have culminated in a successful DIY endeavor, leaving you with a sense of accomplishment and a rejuvenated Galaxy S5 ready to serve you once again.
Frequently Asked Questions about How To Replace Glass On Galaxy S5
Was this page helpful?
At Storables.com, we guarantee accurate and reliable information. Our content, validated by Expert Board Contributors, is crafted following stringent Editorial Policies. We're committed to providing you with well-researched, expert-backed insights for all your informational needs.


0 thoughts on “How To Replace Glass On Galaxy S5”