Home>Articles>How To Change The Battery In A Smoke Detector On A High Ceiling
Articles
How To Change The Battery In A Smoke Detector On A High Ceiling
Modified: August 27, 2024
Learn how to easily change the battery in a smoke detector on a high ceiling with our helpful articles. Ensure your home's safety and peace of mind.
(Many of the links in this article redirect to a specific reviewed product. Your purchase of these products through affiliate links helps to generate commission for Storables.com, at no extra cost. Learn more)
Introduction
A smoke detector is an essential safety device in any home or building, as it alerts occupants to the presence of smoke or fire. Over time, the batteries in smoke detectors will need to be changed to ensure the device continues to function properly. While changing the battery in a smoke detector on a regular ceiling can be a relatively simple task, doing so on a high ceiling can present additional challenges. However, with the right tools and techniques, it is still possible to change the battery safely and efficiently.
Before attempting to change the battery, it is important to gather the necessary materials and familiarize yourself with the type of smoke detector you have. Some detectors have removable covers, while others may require the entire unit to be taken down from the ceiling. Additionally, preparing a safe working environment and using the appropriate tools, such as an extension pole or ladder, will make the process much smoother.
In this article, we will guide you through a step-by-step process on how to change the battery in a smoke detector on a high ceiling. By following these instructions and taking the necessary precautions, you can ensure that your smoke detector remains functional and continues to keep you and your loved ones safe.
Key Takeaways:
- Changing the battery in a smoke detector on a high ceiling requires gathering the right materials, identifying the detector type, and creating a safe working environment. Using an extension pole or ladder is crucial for safe access.
- After safely removing the cover, disconnecting and replacing the old battery, and reattaching the cover, testing the smoke detector is essential for ensuring proper functionality. Regular maintenance and testing are vital for a safe home or building.
Step 1: Gather necessary materials
The first step in changing the battery in a smoke detector on a high ceiling is to gather all the necessary materials. Having everything ready beforehand will save you time and ensure a smooth process. Here are the materials you will need:
- A new battery compatible with your smoke detector
- A sturdy ladder or extension pole
- A small screwdriver (if needed)
- A flashlight
Ensure that the new battery you have is the correct size and type for your specific smoke detector model. Check the manual or label on the detector for this information.
The ladder or extension pole should be tall enough to reach your high ceiling comfortably. Make sure it is stable and secure before climbing up.
The small screwdriver may be required if your smoke detector has a cover that needs to be unscrewed. Some detectors have a tab or latch instead, so a screwdriver may not be necessary.
A flashlight will come in handy for illuminating the area around the smoke detector and providing better visibility during the process.
Once you have gathered all these materials, you are ready to proceed to the next step.
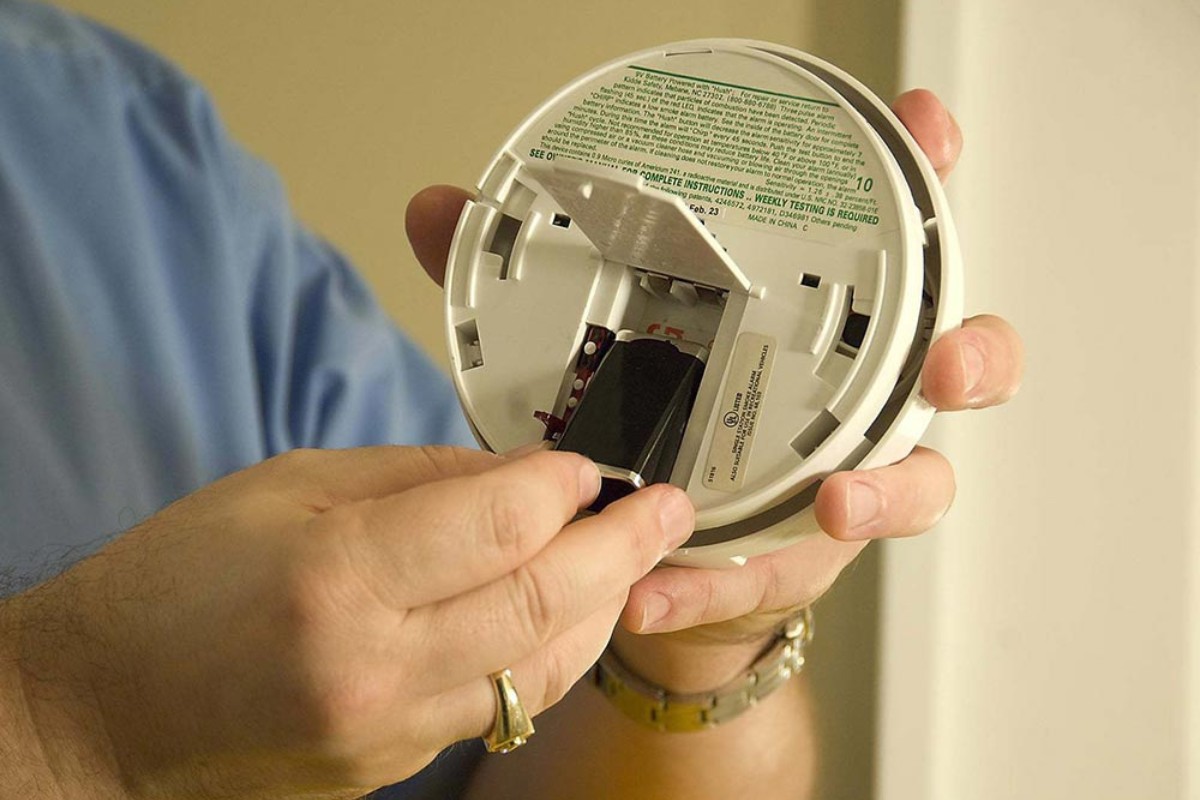
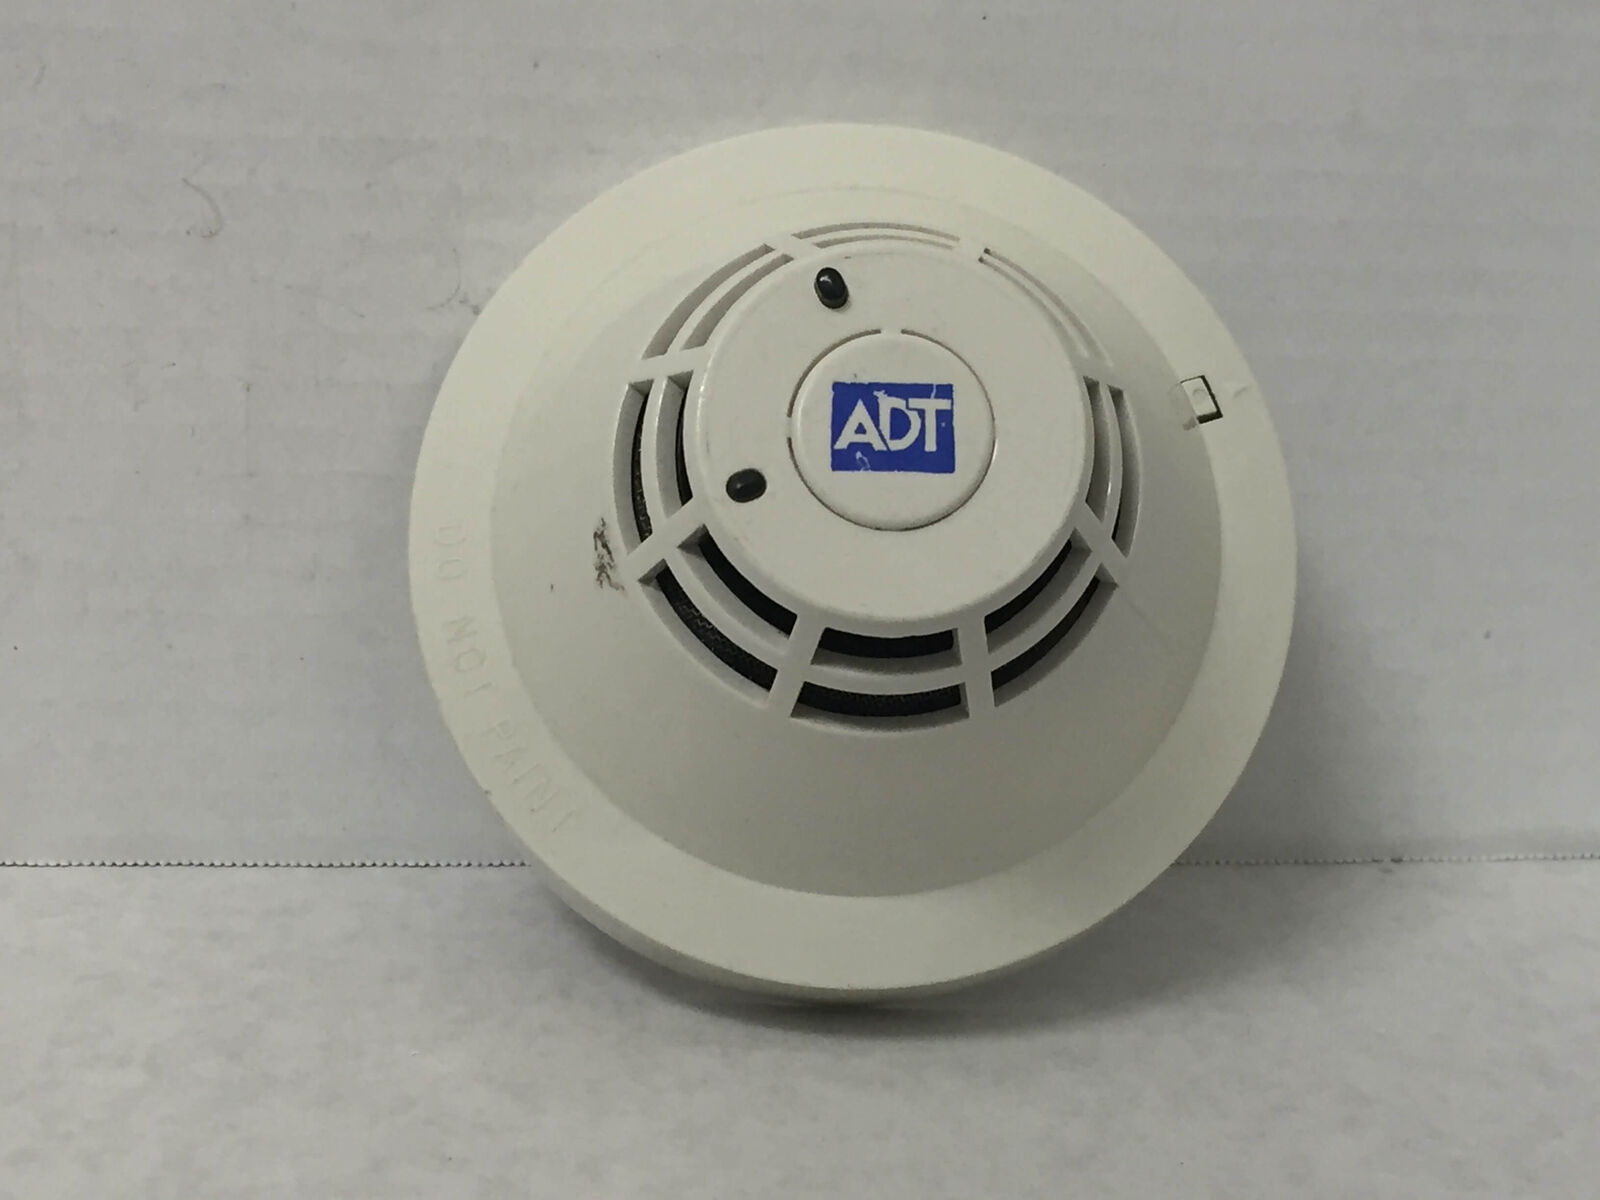
Step 2: Identify the type of smoke detector
Before you begin the battery replacement process, it is important to identify the type of smoke detector you have. This will help you determine the specific steps and tools required to remove the cover and access the battery compartment.
Smoke detectors come in different designs, and their batteries may be accessed in various ways. Here are the common types:
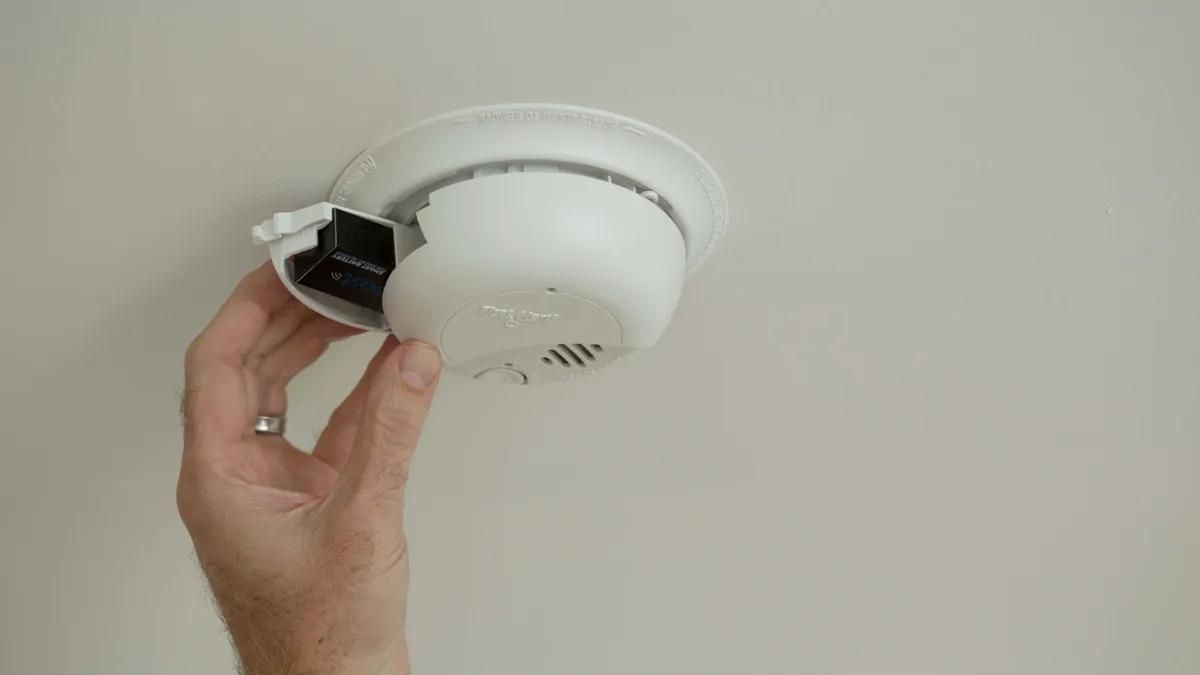
- Removable cover: Some smoke detectors have a removable cover that can be easily lifted or twisted off. These models typically have a battery compartment located under the cover. You will need to remove the cover to access the battery.
- No visible screws: Certain smoke detectors have a cover that snaps or slides off without any visible screws. These models usually have a latch or tab that needs to be released to open the cover.
- Screwed cover: A few smoke detectors have a cover that is secured with screws. To access the battery, you will need to unscrew these covers using a small screwdriver.
To determine the type of smoke detector you have, visually inspect it and look for any screws, latches, or tabs. If you cannot determine the method of cover removal, refer to the manual that came with the smoke detector or visit the manufacturer’s website for instructions.
Understanding the type of smoke detector you have will ensure that you approach the battery replacement process correctly and avoid any unnecessary complications.
Once you have identified the type of smoke detector you own, you can proceed to the next step accordingly.
Step 3: Prepare a safe working environment
Before you begin the process of changing the battery in a smoke detector on a high ceiling, it is crucial to prepare a safe working environment. This will help prevent accidents and ensure that the task is completed smoothly. Here are some important steps to follow:
- Clear the area: Remove any furniture or objects that may obstruct your access to the smoke detector. Clearing the space below the detector will provide a safe working zone and prevent any potential tripping hazards.
- Inform others: Let anyone in the vicinity know that you will be working on the smoke detector. This will prevent someone from accidentally bumping into the ladder or extension pole while you are working.
- Secure the ladder or extension pole: If you are using a ladder, choose one that is stable and secure. Make sure all legs are firmly planted on the ground and that the ladder is fully extended to reach the high ceiling. If you are using an extension pole, position it correctly and ensure it is firmly locked in place.
- Ensure proper lighting: Make sure the area around the smoke detector is well-lit. If necessary, use a flashlight to illuminate the area for better visibility.
- Use personal protective equipment (PPE): Depending on the situation, it may be advisable to wear safety glasses or gloves to protect yourself from any potential hazards.
By taking these precautions and creating a safe working environment, you can minimize the risk of accidents and work comfortably on changing the battery in your smoke detector.
Once you have prepared a safe working environment, you are ready to move on to the next step.
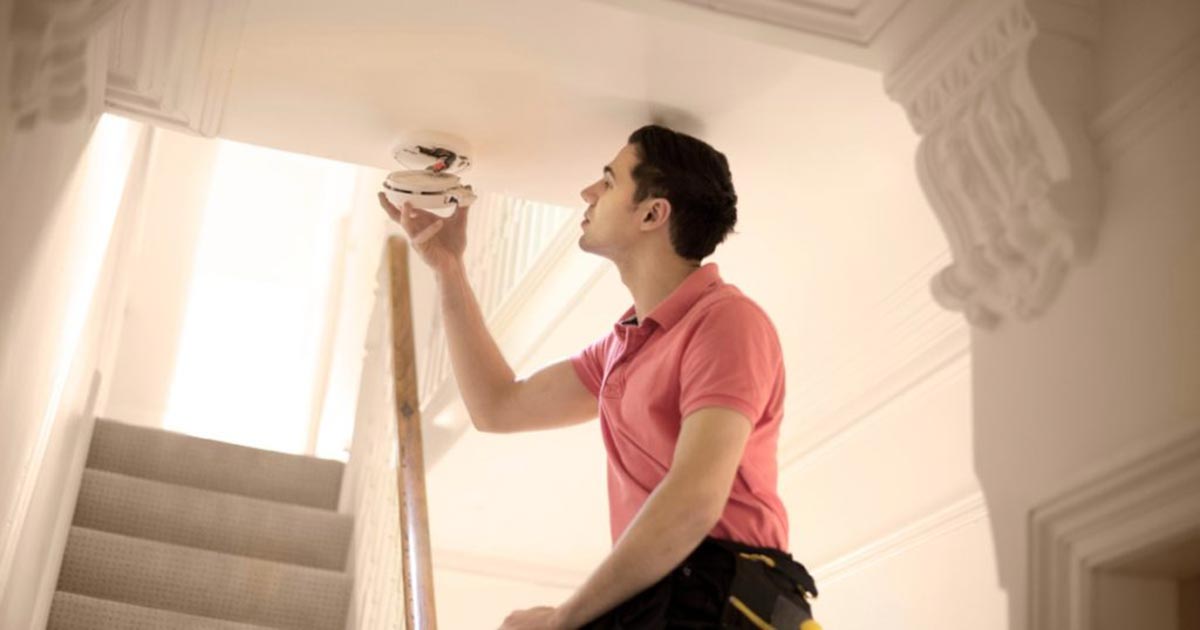
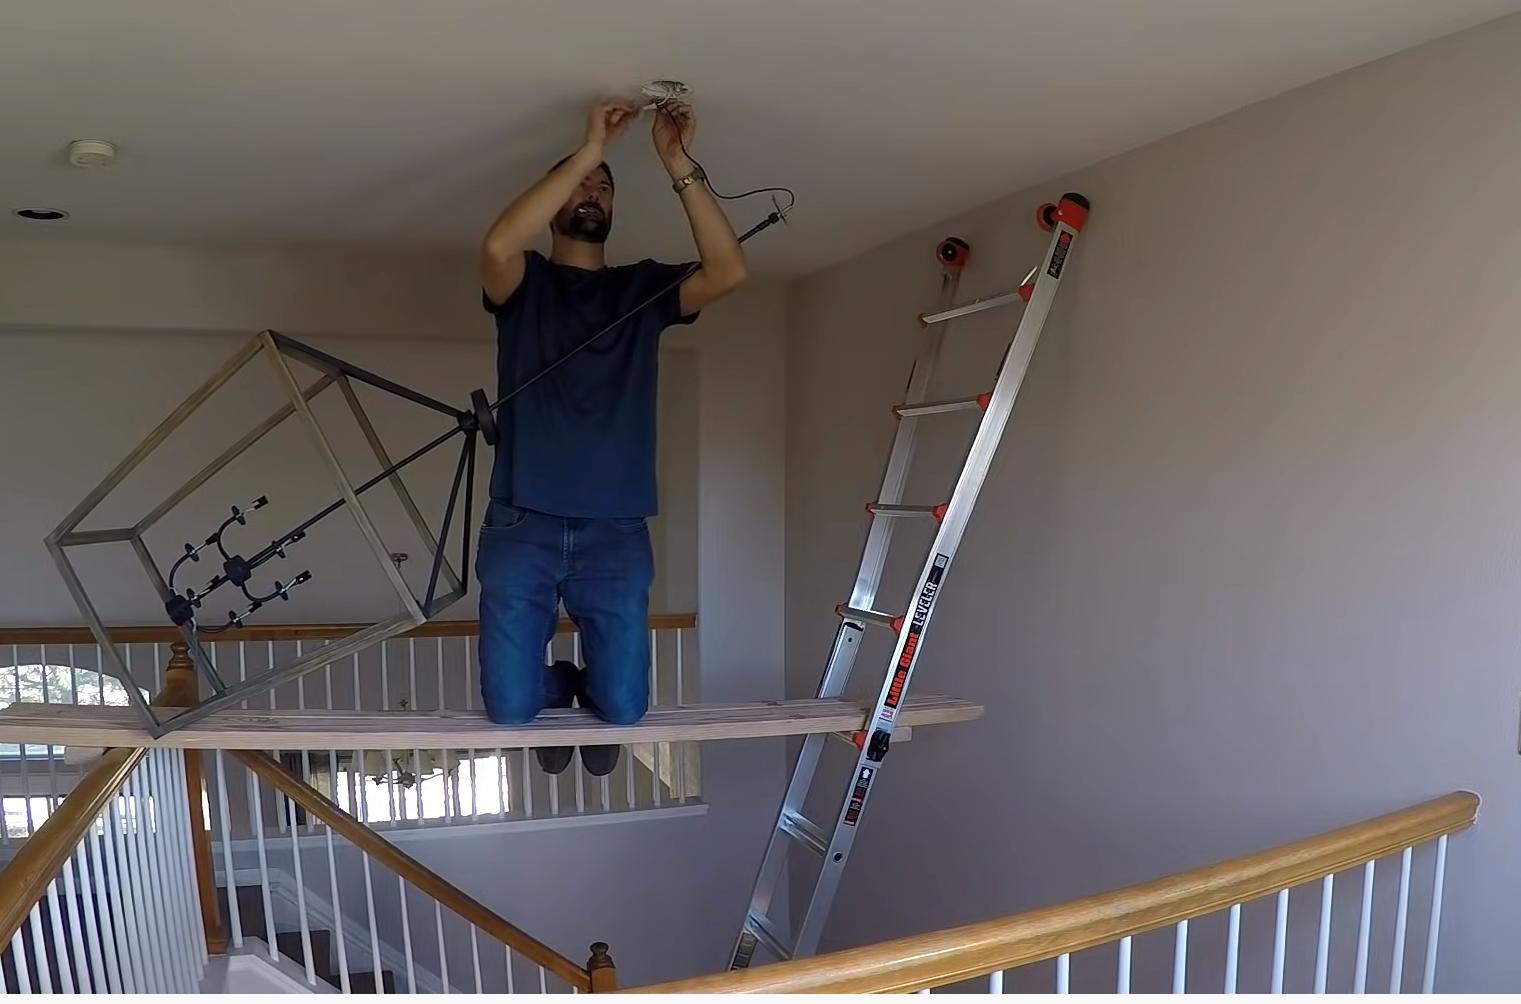
Step 4: Use an extension pole or ladder
When changing the battery in a smoke detector on a high ceiling, you will need to use an extension pole or a ladder to reach the device. This step-by-step guide will help you navigate this process safely and effectively:
- If you are using an extension pole, ensure that it is long enough to reach the smoke detector comfortably. Choose a sturdy and reliable pole that can securely hold your tools and accessories.
- If you are using a ladder, select one that is appropriate for the height of your ceiling. Make sure the ladder is placed on a level and stable surface to avoid any accidents.
- Position the extension pole or ladder directly beneath the smoke detector, ensuring that it is aligned properly. The pole or ladder should allow you to reach the smoke detector without straining or overreaching.
- Before climbing the ladder or using the extension pole, double-check its stability. Ensure that all parts are locked in place and that it can support your weight without wobbling.
- If you are using an extension pole, attach any necessary tools or accessories, such as a screwdriver or an attachment specifically designed for smoke detector covers.
- Climb the ladder or extend the pole carefully, maintaining balance and stability throughout the process. Keep your center of gravity centered and your body positioned in a safe and secure manner.
Remember to take your time and be cautious when using either an extension pole or a ladder. Safety should be the utmost priority during this step.
Once you have successfully positioned yourself with the extension pole or ladder, you are ready to proceed to the next step of removing the smoke detector cover.
Step 5: Remove the smoke detector cover
With the ladder or extension pole in place, it’s time to remove the smoke detector cover to access the battery compartment. Follow these steps to safely remove the cover:
- Carefully position yourself in front of the smoke detector, ensuring that you have a clear view of the cover.
- Inspect the smoke detector cover for any screws, latches, or tabs. Depending on the model, you may need to unscrew the cover using a small screwdriver or release a latch or tab to open it.
- If there are screws, use the appropriate screwdriver to carefully unscrew them. Make sure to keep track of the screws and place them somewhere safe to avoid losing them during the process.
- If there are latches or tabs, press or slide them in the designated direction to release the cover. Apply gentle pressure while doing so to avoid damaging the smoke detector.
- Once you have successfully released the cover, gently lift or twist it off, depending on the type of smoke detector. Be mindful not to apply excessive force that could damage the device or cause it to fall off the ceiling.
- Set the cover aside in a safe place, ensuring that it doesn’t get damaged or misplaced.
It’s important to exercise caution during this step to avoid any accidental damage to the smoke detector or injuries to yourself. If you encounter any difficulties removing the cover, refer to the manufacturer’s instructions or seek professional assistance.
With the smoke detector cover removed, you are now ready to proceed to the next step of disconnecting the old battery.
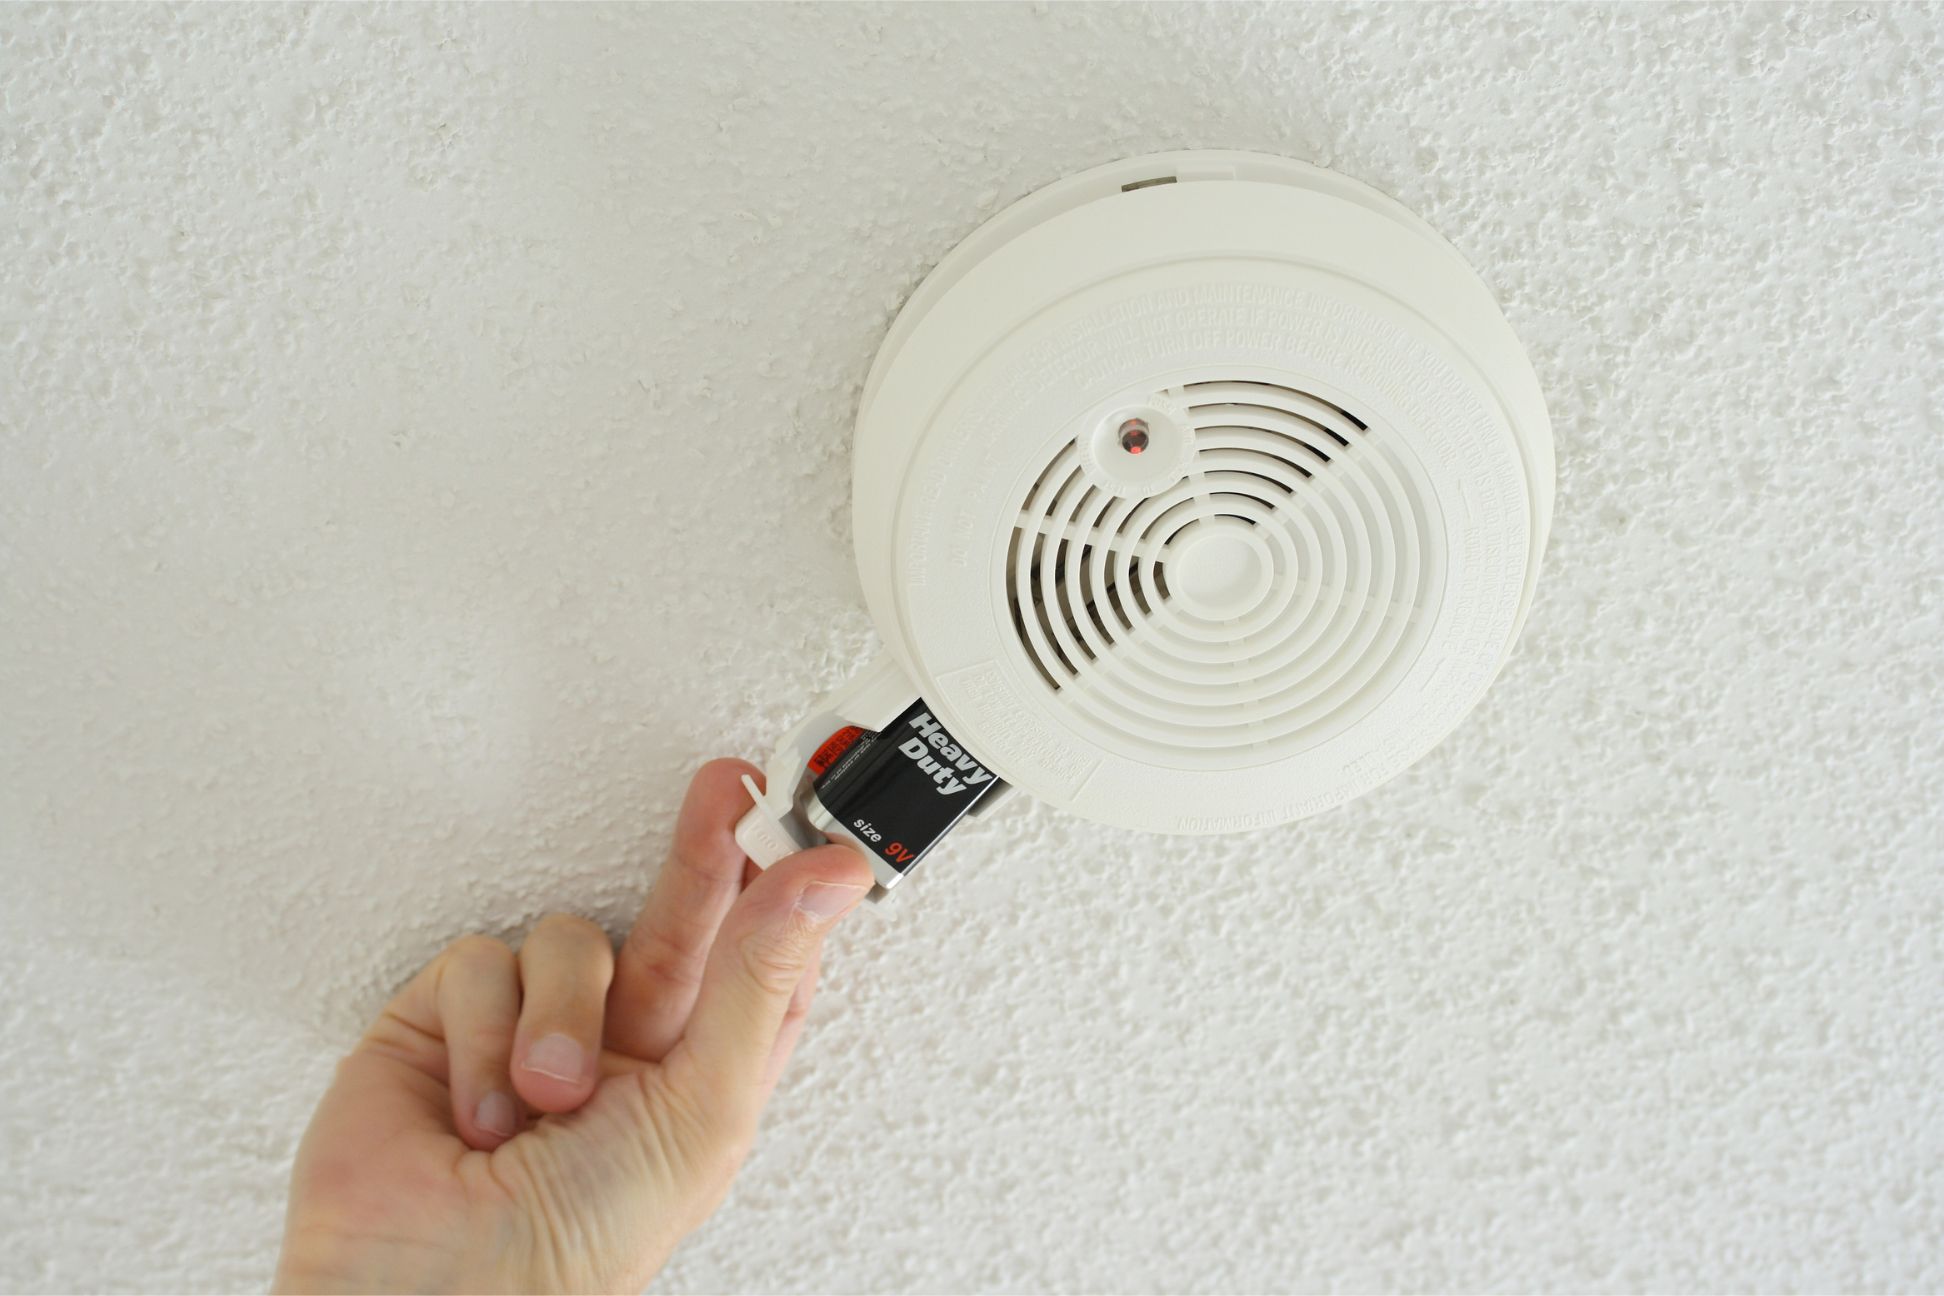
Use a stable ladder to reach the smoke detector. Twist the detector counterclockwise to remove it from the base. Replace the old battery with a new one, then reattach the detector to the base by twisting it clockwise. Test the detector to ensure it’s working properly.
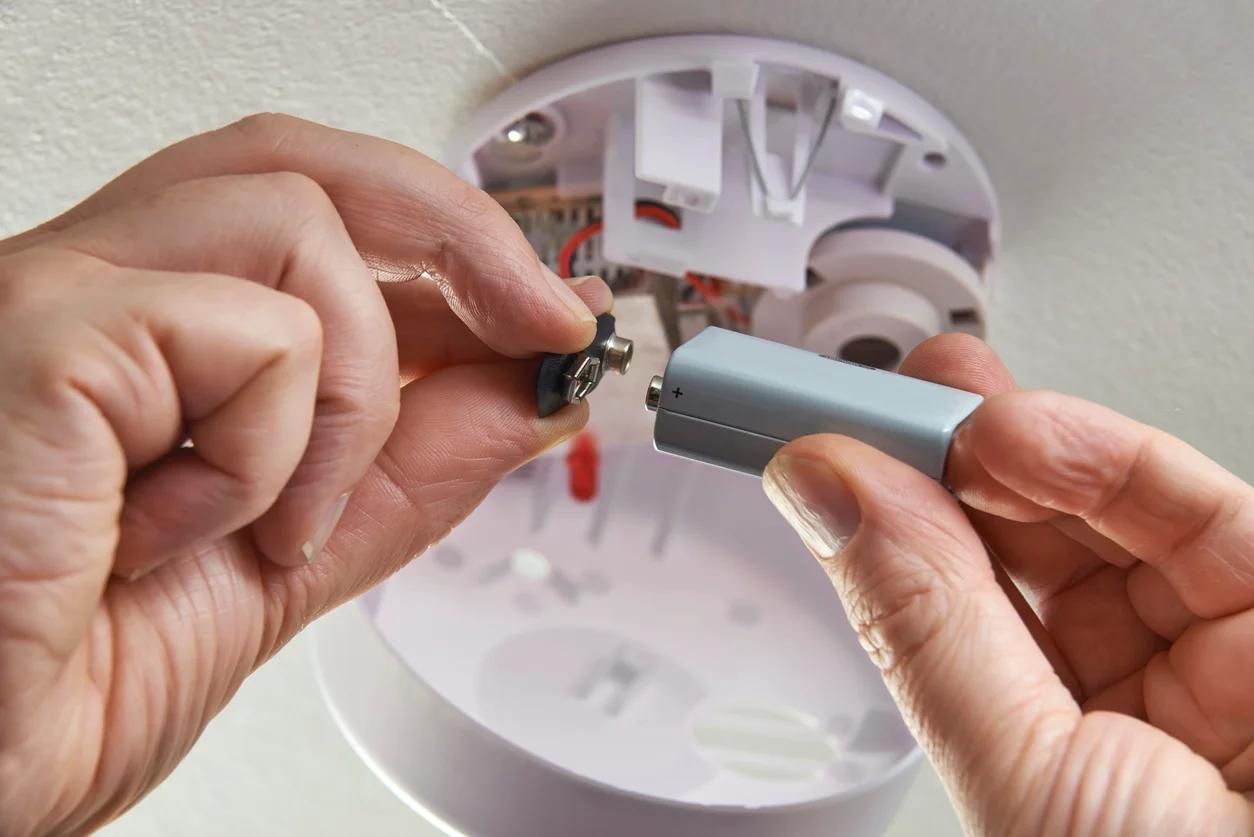
Step 6: Disconnect the old battery
Now that you have successfully removed the smoke detector cover, it’s time to disconnect the old battery from the device. Follow these steps to ensure a safe and efficient process:
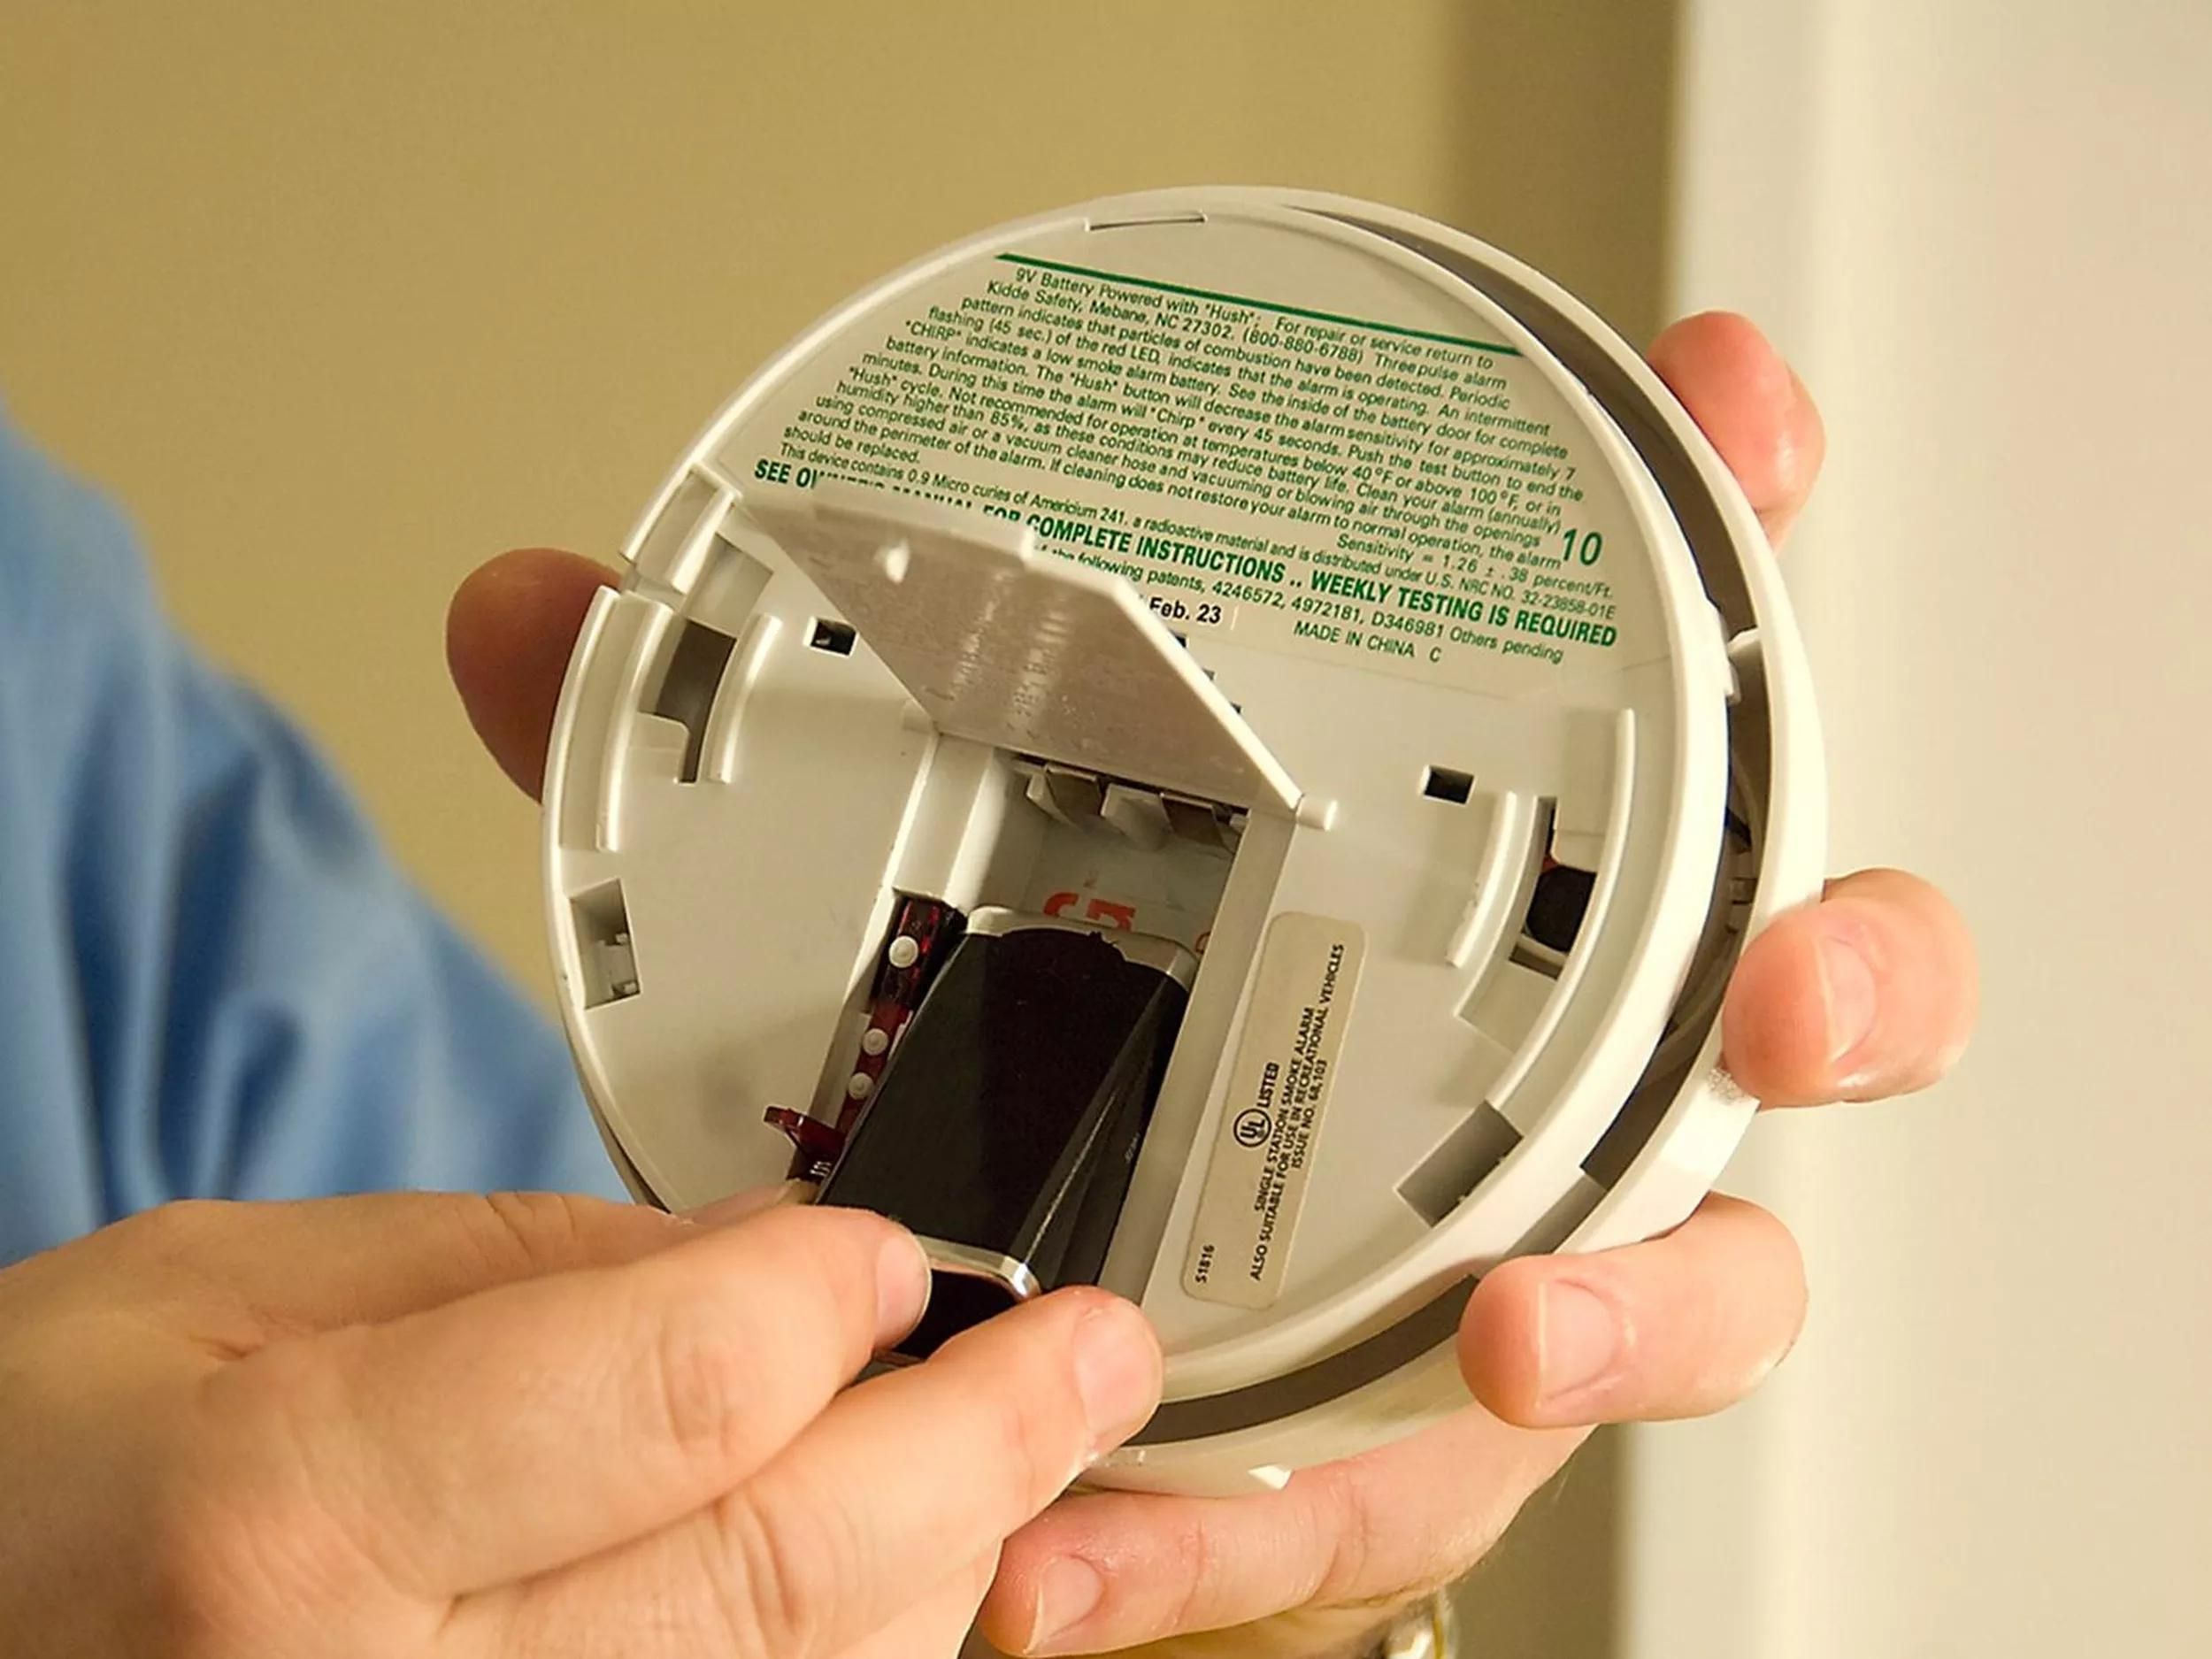
- Locate the battery compartment inside the smoke detector. It is typically located near the center or on one side of the device.
- Identify how the battery is connected to the smoke detector. Some models have a simple snap-on connector, while others may have a small wire harness.
- If there is a snap-on connector, gently grip the sides of the connector and pull it straight out to disconnect the battery. Avoid pulling on the wires as this could damage them.
- If there is a wire harness, carefully grasp the connector and gently wiggle it from side to side while pulling it away from the battery compartment. Take note of how the wires are connected to the battery for easy reinstallation later.
- Once the battery is disconnected, set it aside in a safe place. It is important to properly dispose of old batteries in accordance with local regulations.
Throughout this step, be cautious not to apply excessive force that could damage the smoke detector or its components. If you encounter any difficulties in disconnecting the old battery, refer to the manufacturer’s instructions or seek professional assistance.
With the old battery successfully disconnected, you are ready to move on to the next step of installing the new battery.
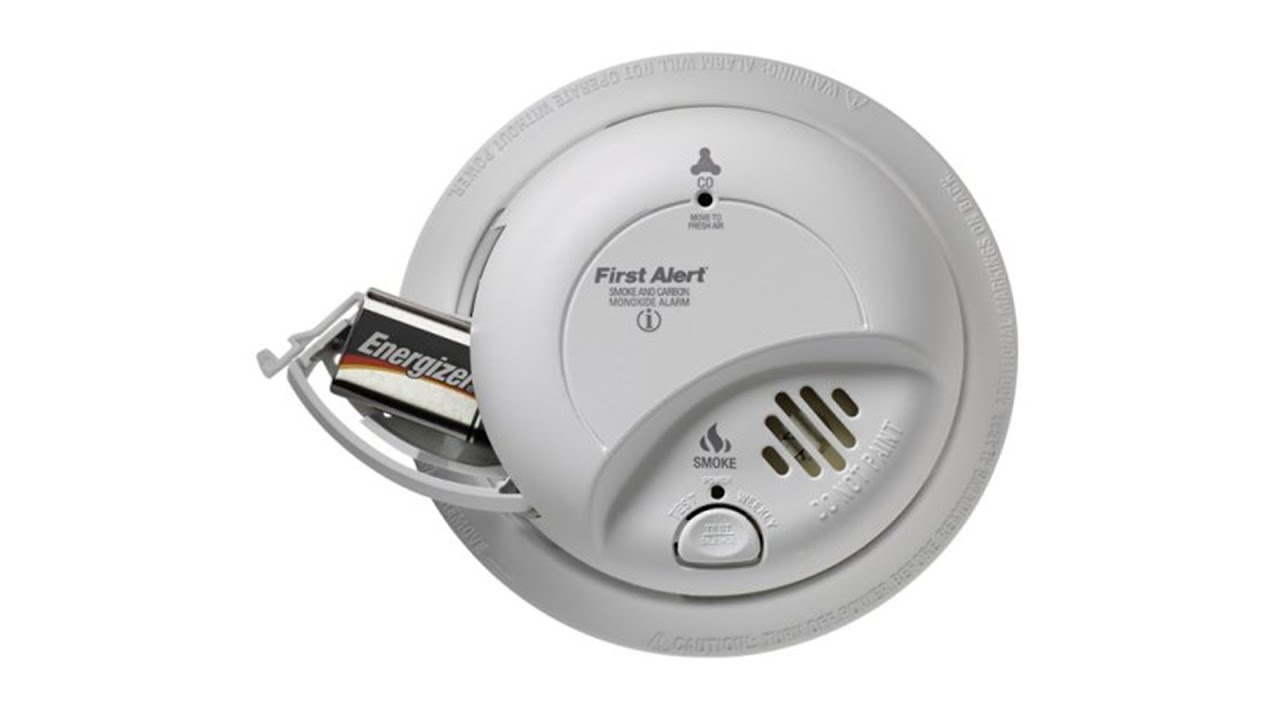
Step 7: Install the new battery
With the old battery safely disconnected, it’s time to install the new battery into the smoke detector. Follow these steps to ensure a proper installation:
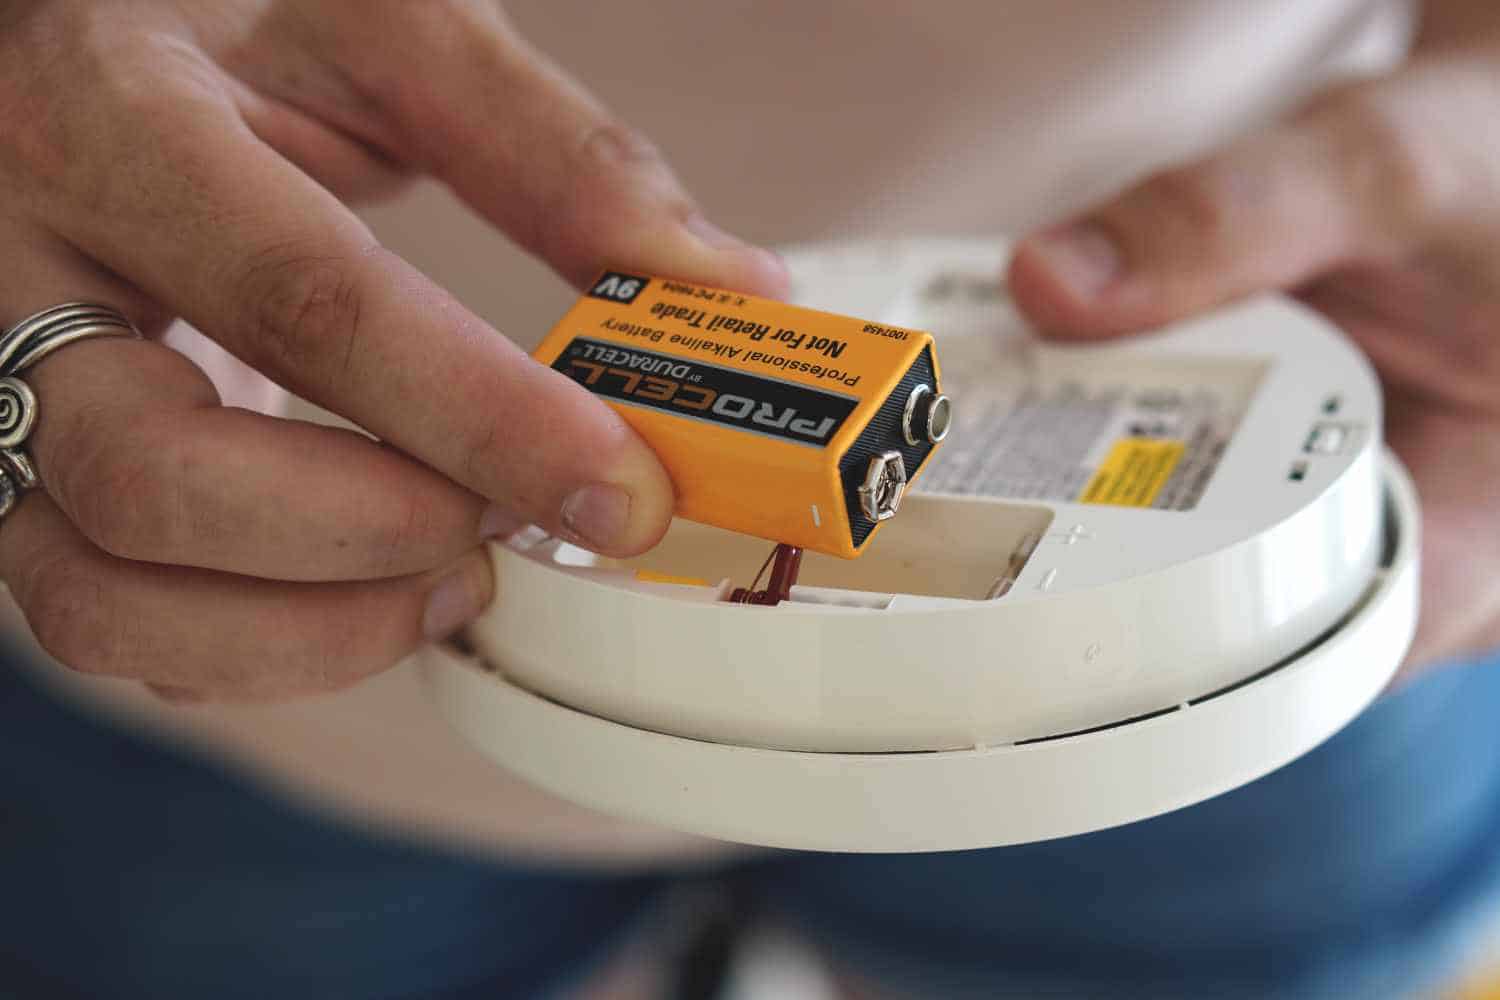
- Take the new battery out from its packaging. Ensure that it is the correct size and type for your smoke detector. Refer to the manual or label on the detector for the specific battery requirements.
- Inspect the battery compartment inside the smoke detector. Clean out any dust or debris that may have accumulated to ensure a good connection.
- Hold the new battery with the correct polarity, aligning the positive (+) and negative (-) ends according to the markings inside the battery compartment.
- If the battery has a snap-on connector, align it with the corresponding connector in the battery compartment, and gently press it in until it clicks into place.
- If there is a wire harness, reattach the wires to the battery terminals, ensuring the correct polarity. Gently push the connector onto the terminals until it is secure.
- Give the battery a slight tug to ensure that it is firmly connected and securely in place.
Ensure that the new battery is properly installed to ensure the optimal functioning of your smoke detector. It is also recommended to check the expiration date on the battery to ensure long-lasting performance.
Once the new battery is securely in place, you are now ready to proceed to the next step and reattach the smoke detector cover.
Step 8: Reattach the smoke detector cover
Now that you have installed the new battery, it’s time to reattach the smoke detector cover. Follow these steps to securely fasten the cover back onto the device:
- Position yourself in front of the smoke detector, ensuring that you have a clear view of the battery compartment.
- Take the smoke detector cover and align it properly with the device. Pay attention to any notches, alignment markers, or tabs that indicate the correct orientation.
- If the cover has screws, carefully insert them into the designated holes and use a screwdriver to tighten them securely. Be careful not to overtighten, as this could damage the cover or the device.
- If the cover uses latches or tabs, press or slide them into their corresponding slots until you hear or feel a click, indicating that the cover is securely in place.
- Give the cover a gentle tug or twist to ensure that it is properly attached and won’t come loose easily.
Ensure that the smoke detector cover is correctly and securely reattached to prevent it from falling off in the future. This will also maintain the device’s functionality and keep it protected from dust and debris.
With the smoke detector cover successfully reattached, you are now ready to proceed to the next step of testing the smoke detector.
Step 9: Test the smoke detector
After changing the battery and reattaching the smoke detector cover, it is crucial to test the device to ensure it is functioning properly. Here are the steps to test your smoke detector:
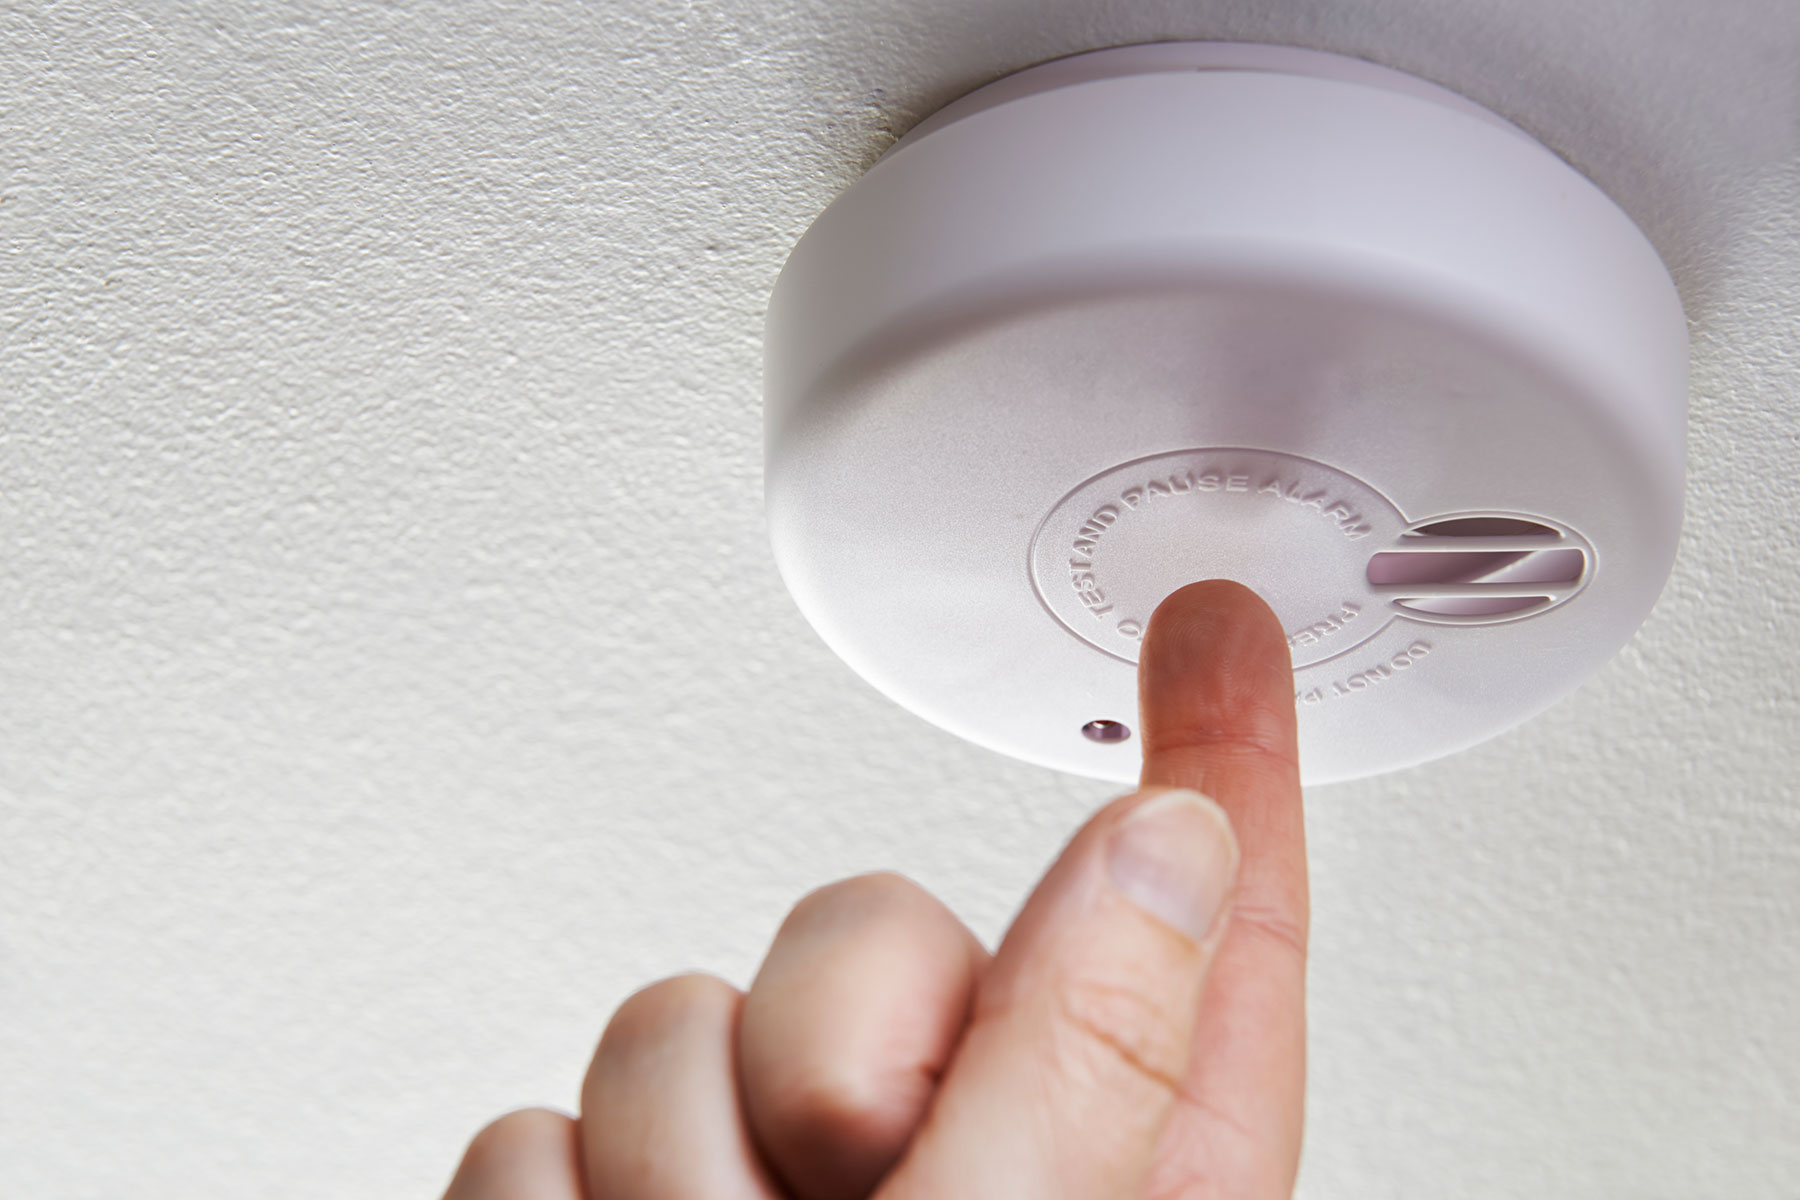
- Locate the “test” button on the smoke detector. It is usually labeled and easily accessible.
- Press and hold the “test” button for a few seconds. This will simulate the presence of smoke and trigger the alarm.
- Listen for the alarm sound, which should be loud and distinct. If you hear a weak or muffled sound, check the battery connection and ensure proper installation.
- Observe the indicator light, if applicable. It should flash or illuminate, indicating that the smoke detector is operational.
- After testing, release the “test” button to stop the alarm. Some smoke detectors may have a short delay before the alarm stops.
Testing your smoke detector regularly, not just after changing the battery, is crucial for your safety. It ensures that the device can effectively detect smoke or fire and provide an early warning system.
If the smoke detector fails to sound the alarm or shows any signs of malfunction, consult the manufacturer’s manual or contact a professional to address the issue.
By following these steps and conducting regular tests, you can have peace of mind knowing that your smoke detector is in proper working condition, keeping you and your loved ones safe from potential fire hazards.
Conclusion
Changing the battery in a smoke detector on a high ceiling may seem like a daunting task, but with the right tools and techniques, it can be done safely and efficiently. By following the step-by-step process outlined in this article, you can ensure that your smoke detector remains in optimal working condition, providing you with reliable protection against smoke and fire.
Remember to gather all the necessary materials, identify the type of smoke detector you have, and prepare a safe working environment before beginning the battery replacement process. Use an extension pole or ladder to reach the smoke detector on the high ceiling, making sure to take proper precautions throughout.
Once you have removed the smoke detector cover, disconnect the old battery, and install the new one, ensuring the correct polarity. Reattach the smoke detector cover securely, being mindful of any screws, latches, or tabs. Finally, test the smoke detector to ensure proper functionality and sound detection.
Regularly changing the battery in your smoke detector and performing tests are essential to maintaining a safe environment in your home or building. It is recommended to replace the batteries in your smoke detector at least once a year or as per the manufacturer’s instructions.
By following these guidelines, you can ensure the reliable operation of your smoke detector and help protect yourself, your loved ones, and your property from potential fire hazards. Remember, safety should always be a top priority when working with smoke detectors or any other electrical devices.
Stay vigilant, stay safe, and be proactive in maintaining the functionality of your smoke detector. Regular maintenance and battery replacement will help ensure the effective operation of this vital safety device.
Frequently Asked Questions about How To Change The Battery In A Smoke Detector On A High Ceiling
Was this page helpful?
At Storables.com, we guarantee accurate and reliable information. Our content, validated by Expert Board Contributors, is crafted following stringent Editorial Policies. We're committed to providing you with well-researched, expert-backed insights for all your informational needs.


0 thoughts on “How To Change The Battery In A Smoke Detector On A High Ceiling”