Home>Construction & Tools>Building Materials>How To Take Down A Brick Chimney
Building Materials
How To Take Down A Brick Chimney
Modified: August 22, 2024
Learn how to safely and efficiently dismantle a brick chimney using the right building materials and techniques. Find step-by-step instructions and tips.
(Many of the links in this article redirect to a specific reviewed product. Your purchase of these products through affiliate links helps to generate commission for Storables.com, at no extra cost. Learn more)
Introduction
Removing a brick chimney can be a challenging yet rewarding project. Whether you’re renovating your home, replacing an old chimney, or simply looking to open up space, taking down a brick chimney requires careful planning, preparation, and execution. This comprehensive guide will walk you through the process, from assessing the structure to safely removing the bricks and disposing of debris. By following these steps and adhering to safety precautions, you can successfully dismantle a brick chimney while minimizing risks and maximizing efficiency.
Before embarking on this endeavor, it’s essential to prioritize safety, gather the necessary tools and materials, and thoroughly assess the condition of the chimney. With the right approach and attention to detail, you can tackle this project with confidence and achieve the desired results. Let’s delve into the essential steps and considerations for safely and effectively taking down a brick chimney.
Key Takeaways:
- Safety is key when removing a brick chimney. Prioritize protective gear, stability assessment, and debris management to minimize risks and ensure a safe demolition process.
- Methodical planning and systematic execution are crucial for successful chimney removal. Assess the structure, gather necessary tools, and dispose of debris responsibly to achieve satisfying results.
Read more: How To Build A Brick Chimney
Safety Precautions
Prior to initiating any demolition work on a brick chimney, it’s paramount to prioritize safety. The process of dismantling a chimney involves inherent risks, including falling debris, unstable structures, and exposure to potentially harmful materials. To mitigate these hazards, observe the following safety precautions:
- Protective Gear: Wear appropriate personal protective equipment, including gloves, safety goggles, a hard hat, and a dust mask, to safeguard against potential injuries and respiratory irritants.
- Stability Assessment: Ensure the overall stability of the chimney structure before commencing any work. Look for signs of structural damage, such as cracks, leaning sections, or compromised mortar joints, and proceed with caution if any instability is detected.
- Secure the Work Area: Clear the vicinity around the chimney to create a safe work zone, restricting access to unauthorized individuals and pets. Use caution tape or barriers to delineate the area and prevent accidental entry.
- Ladder Safety: If using ladders or scaffolding, ensure that they are set up on stable, level ground and secured against the chimney to prevent accidental slips or falls.
- Debris Management: Implement measures to contain falling debris, such as installing temporary overhead protection or using catchment devices to minimize the risk of injury to yourself and others.
- Electrical Safety: Identify and disconnect any electrical wiring or fixtures connected to the chimney to eliminate the risk of electrical hazards during the demolition process.
- Professional Assistance: If you are unsure about any aspect of the chimney removal process, consider consulting with a qualified structural engineer or demolition expert to assess the safety of the project and provide guidance.
By adhering to these safety precautions, you can significantly reduce the likelihood of accidents and injuries while undertaking the task of removing a brick chimney.
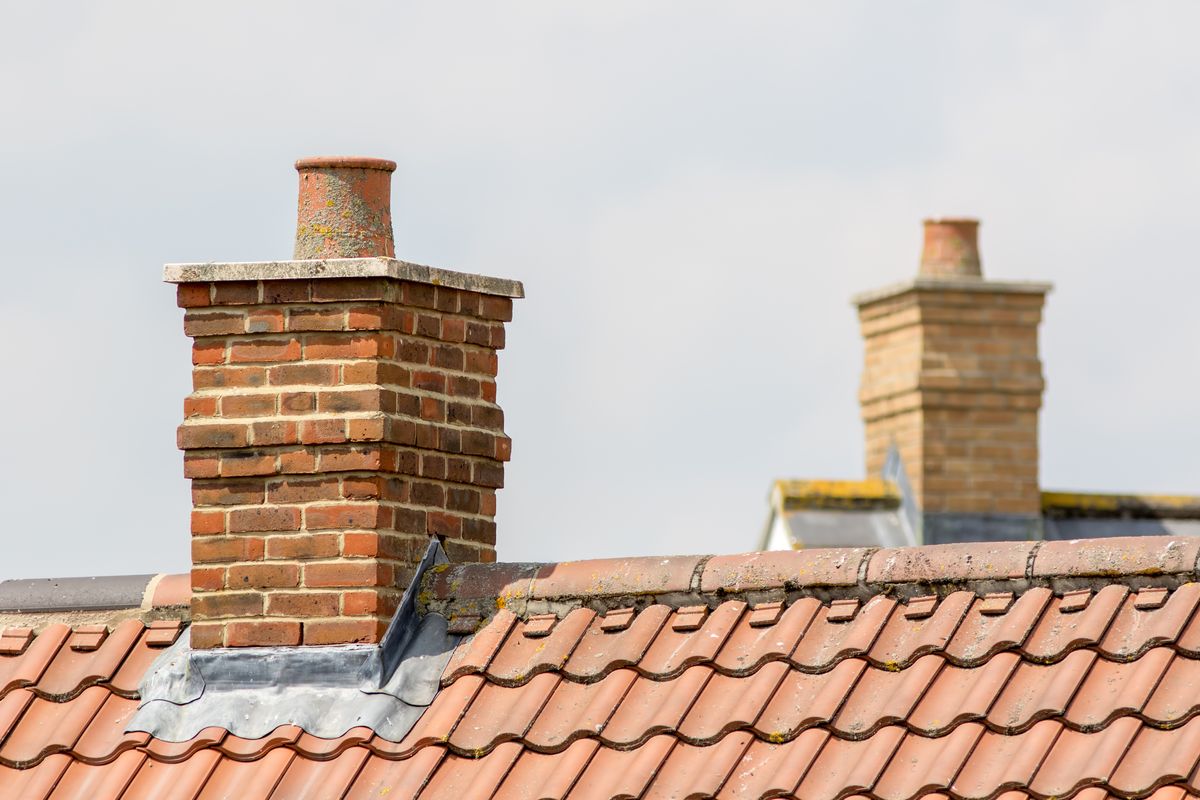
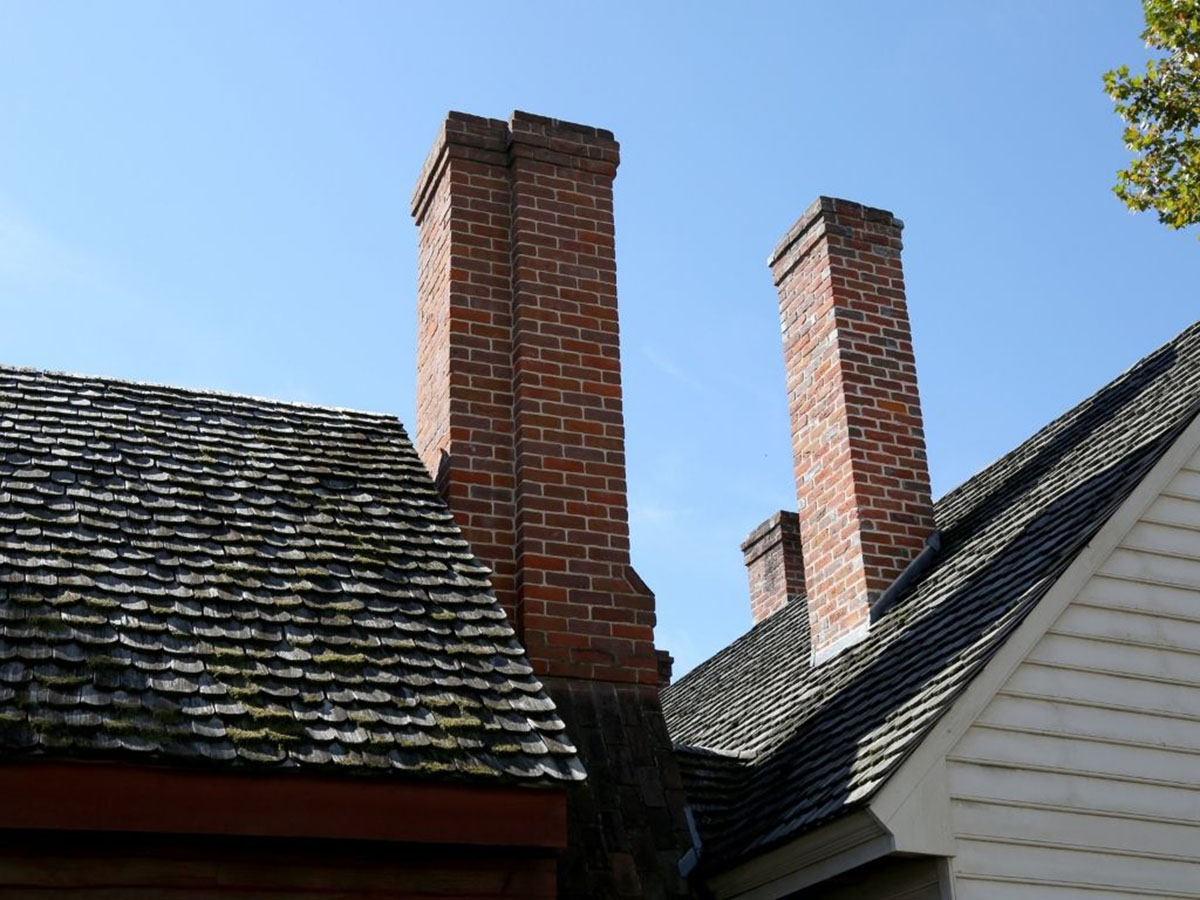
Assessing the Structure
Prior to commencing the removal of a brick chimney, a comprehensive assessment of the structure is essential to ensure a well-informed approach and to identify any potential challenges that may arise during the demolition process. Here are the key steps to consider when assessing the chimney’s structure:
- Visual Inspection: Begin by visually examining the exterior and interior of the chimney. Look for signs of deterioration, such as cracks, spalling bricks, or mortar erosion. Pay close attention to the chimney’s vertical alignment and overall condition.
- Foundation Examination: Assess the condition of the chimney’s foundation and its connection to the building structure. Check for any signs of settlement, shifting, or damage that could compromise the stability of the chimney.
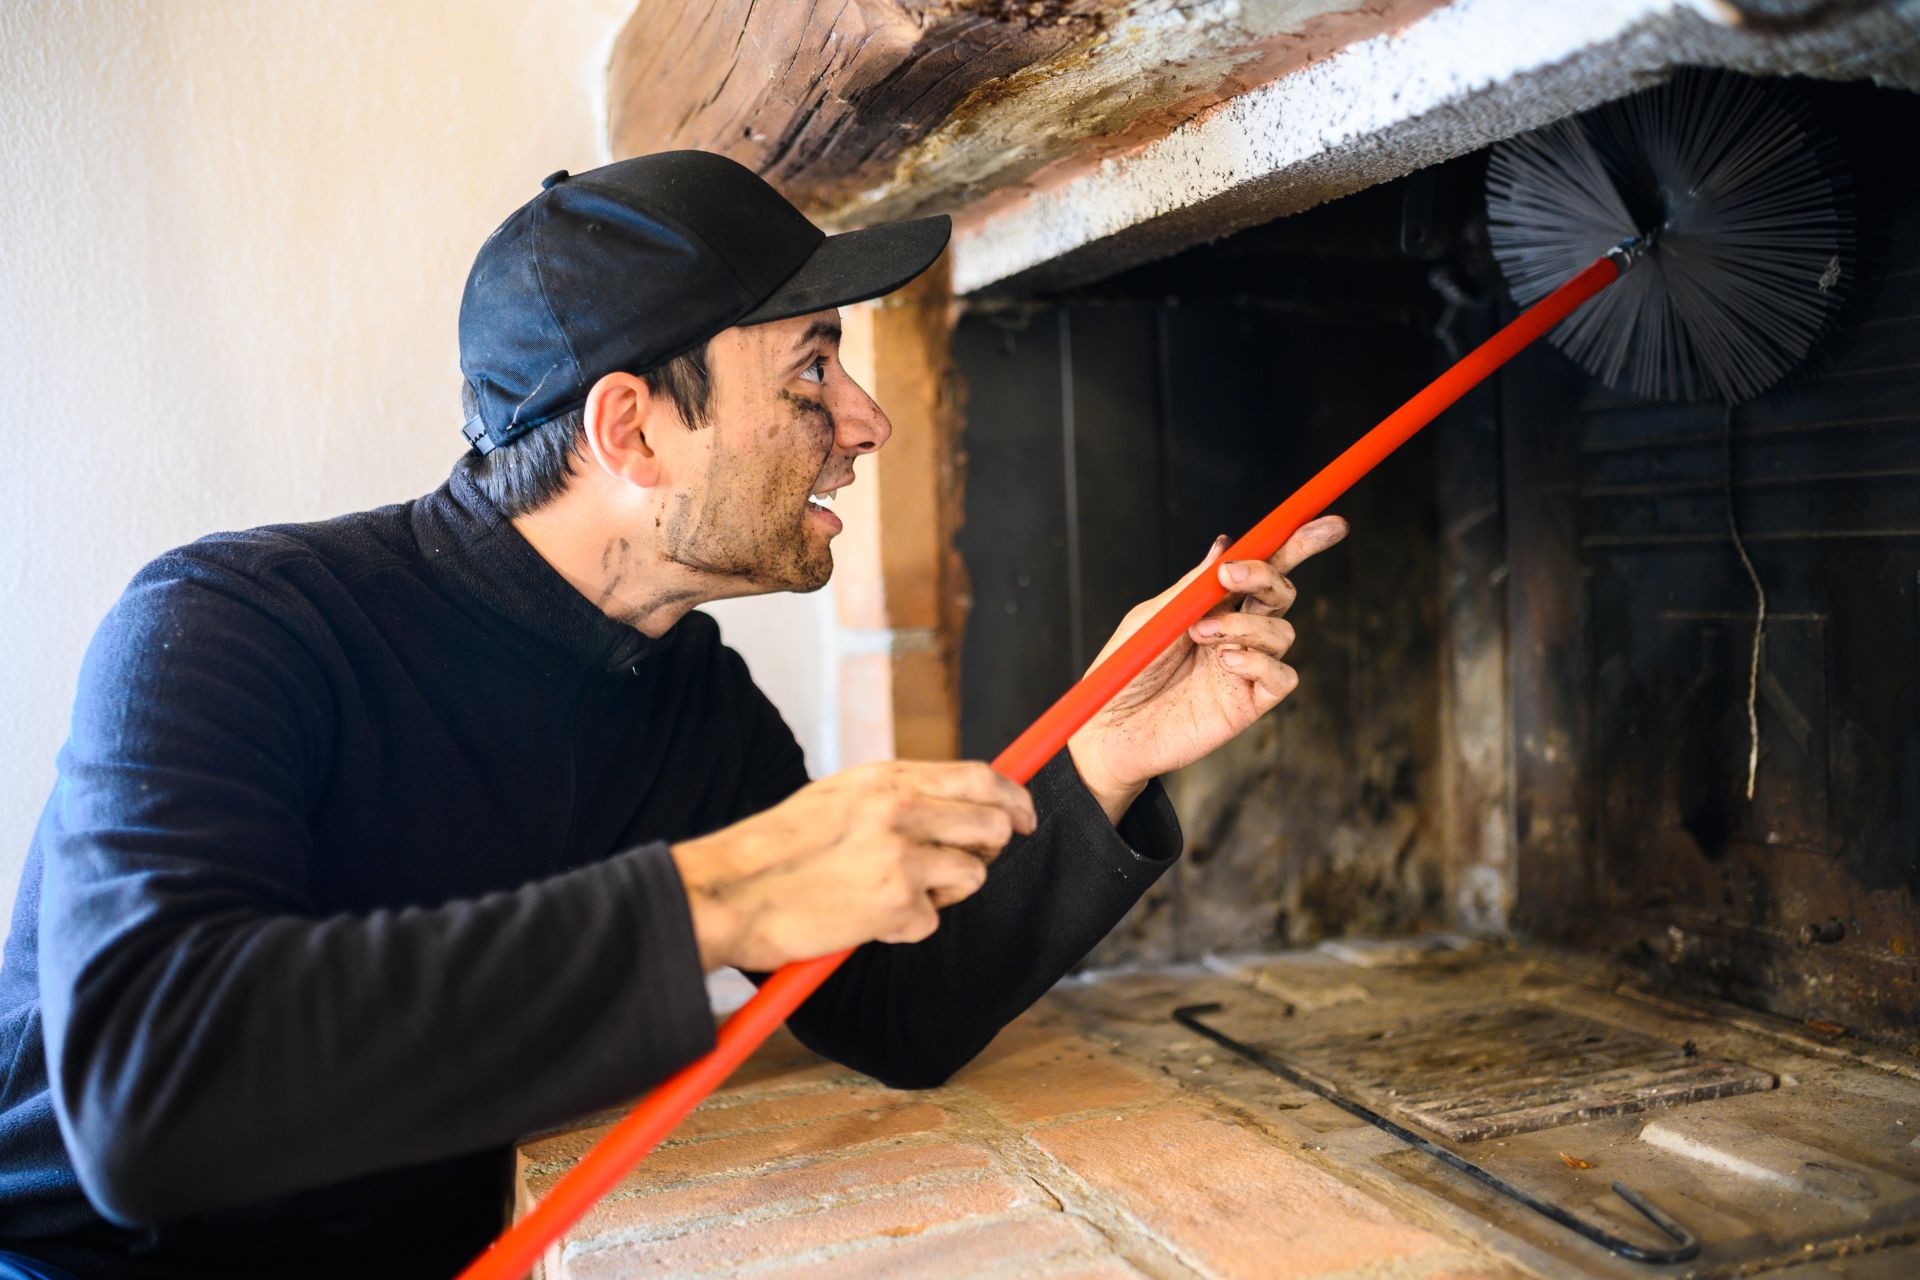
- Interior Evaluation: If accessible, inspect the interior of the chimney, such as the flue and surrounding components. Look for evidence of water damage, creosote buildup, or any structural issues that may impact the removal process.
- Structural Integrity: Determine the structural integrity of the chimney by evaluating the mortar joints, brick bonding, and overall stability. Note any areas of concern, such as loose bricks, deteriorated mortar, or sections exhibiting significant wear and tear.
- Professional Assessment: If you have any doubts about the structural integrity of the chimney, consider enlisting the expertise of a qualified structural engineer or building professional to conduct a thorough assessment and provide informed recommendations.
By carefully evaluating the condition and stability of the chimney, you can gain valuable insights into the scope of work required and make informed decisions regarding the demolition approach, safety measures, and necessary tools and materials.
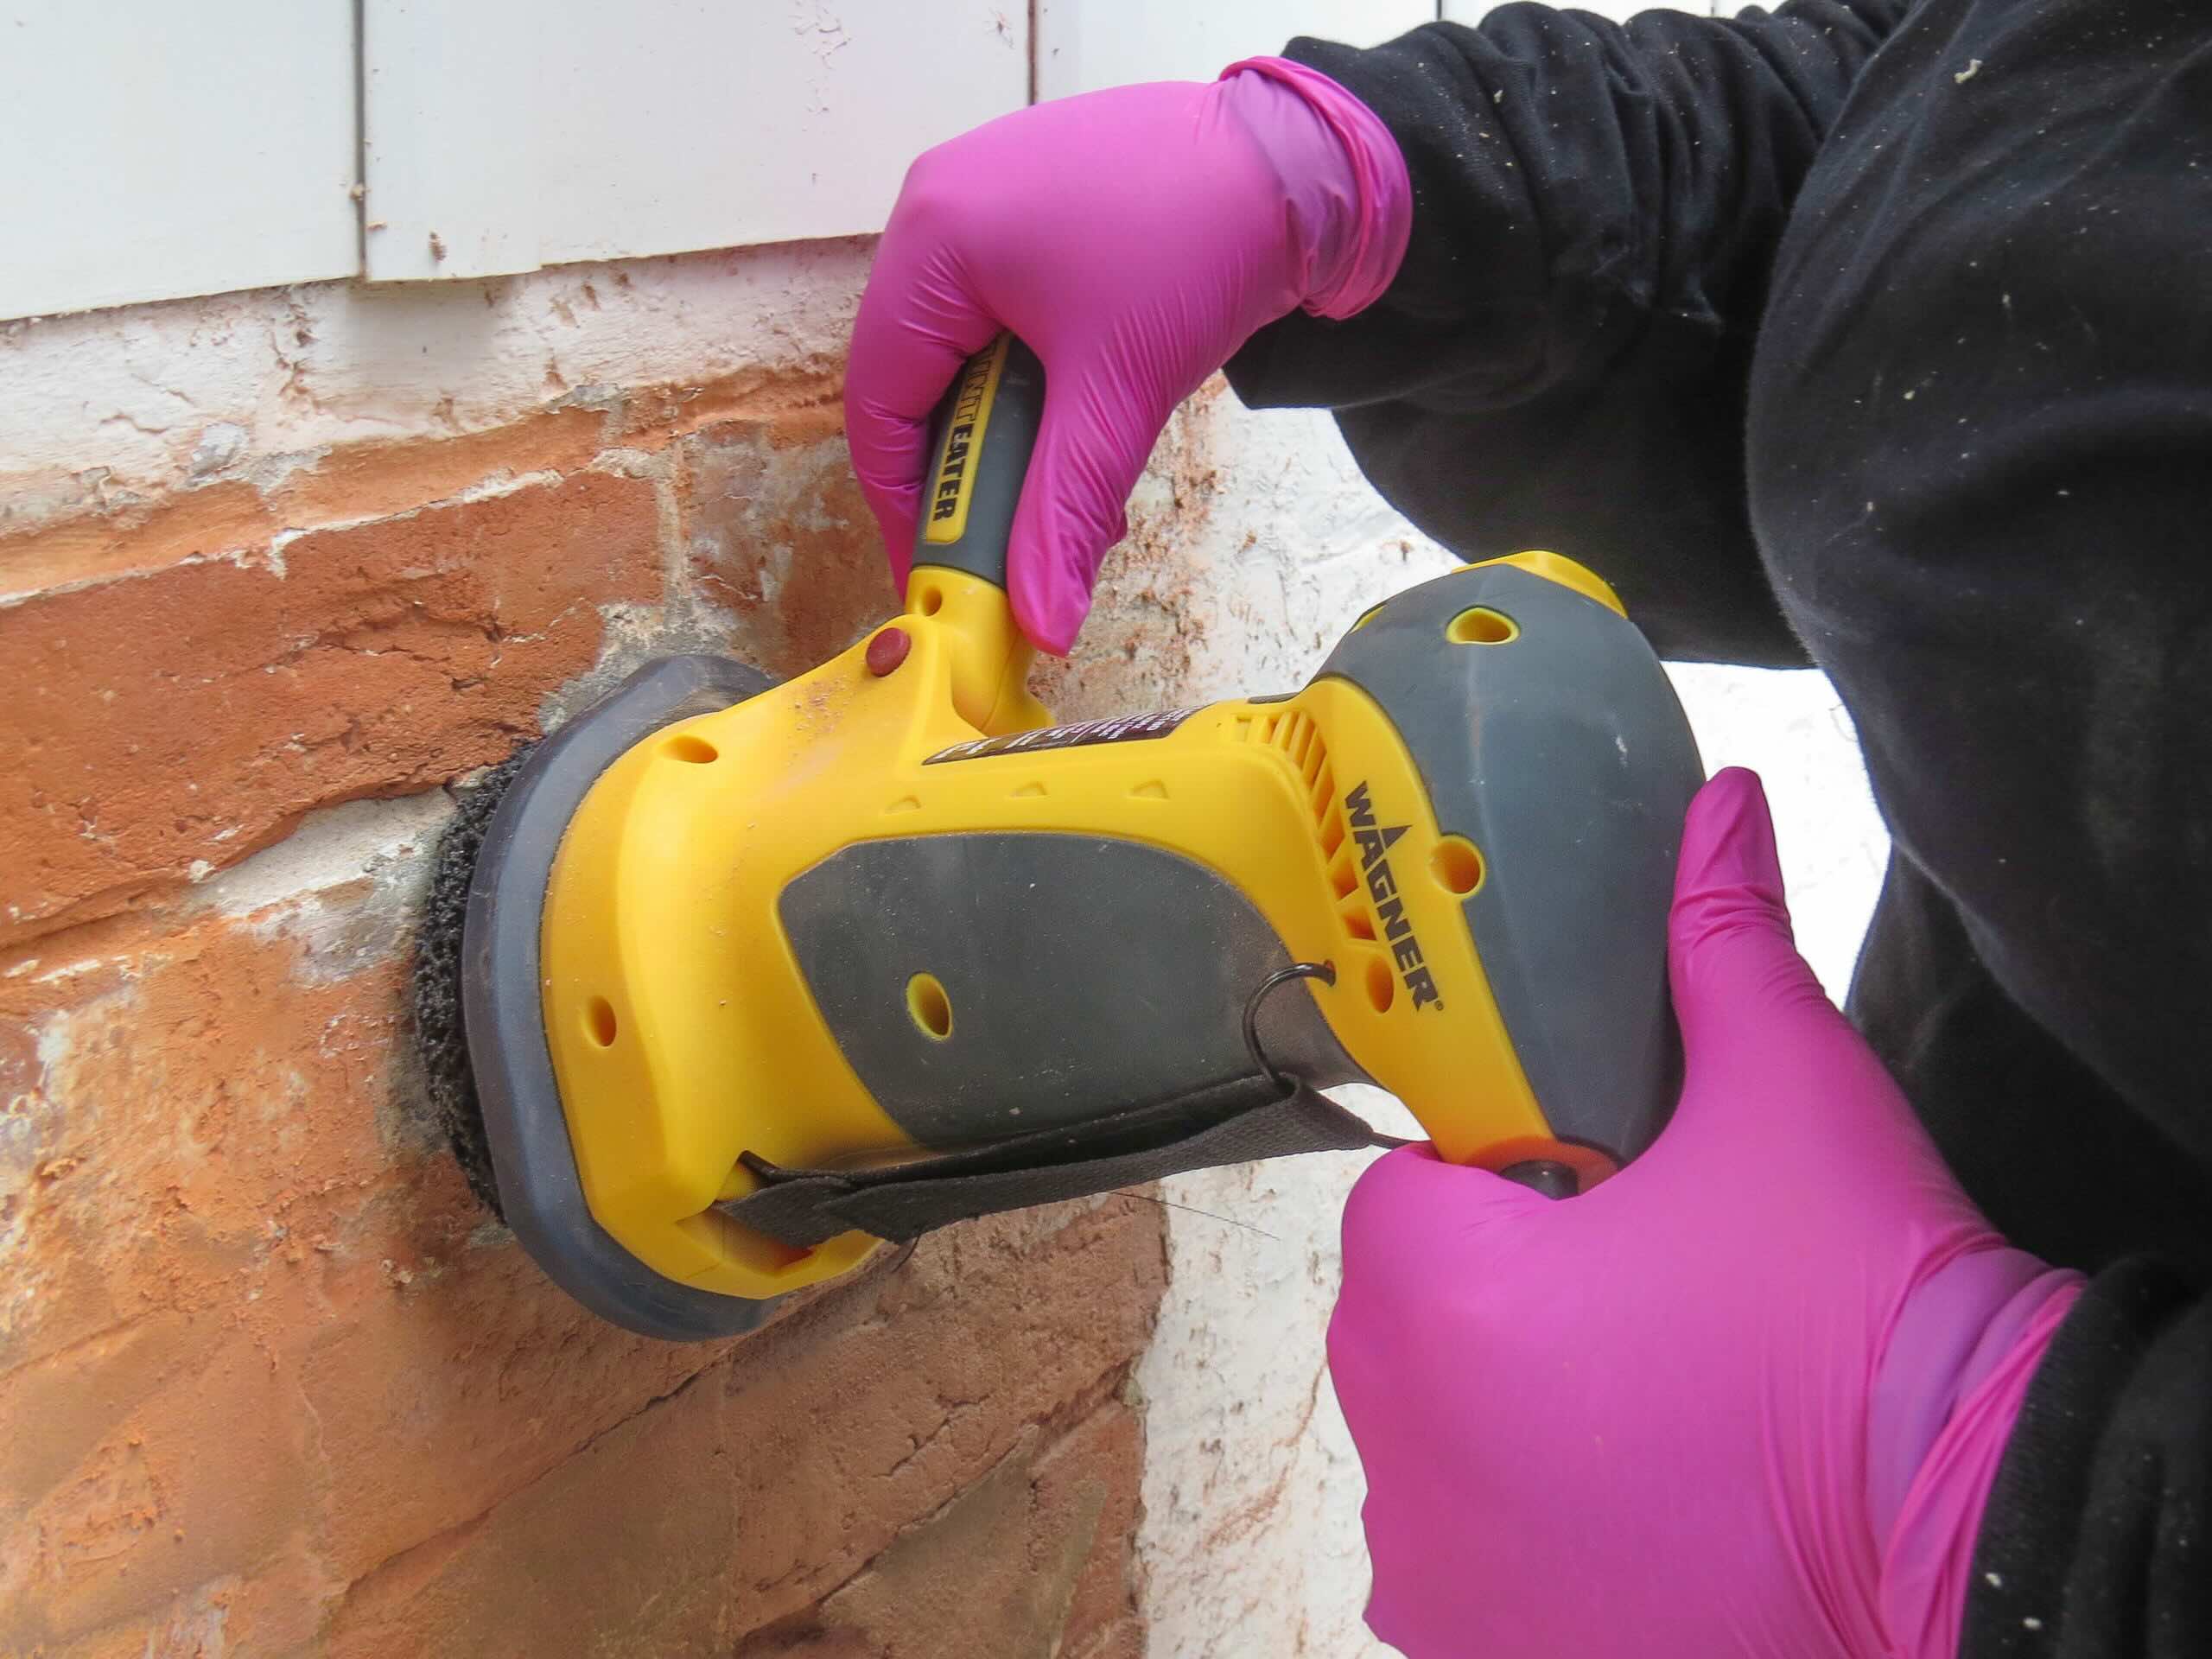
Gathering Necessary Tools and Materials
Before embarking on the removal of a brick chimney, it’s crucial to assemble the requisite tools and materials to facilitate a safe and efficient demolition process. The following items are essential for this undertaking:
- Protective Gear: Ensure you have appropriate personal protective equipment, including heavy-duty gloves, safety goggles, a hard hat, and a dust mask, to safeguard against potential hazards such as falling debris and airborne particles.
- Demolition Tools: Acquire a set of specialized demolition tools, such as a heavy-duty sledgehammer, a chisel or brick bolster, and a pry bar, to aid in the dismantling of the chimney structure.
- Scaffolding or Ladders: Depending on the height of the chimney, secure stable scaffolding or sturdy ladders to provide safe access to the upper sections of the structure.
- Debris Containment: Implement measures to contain falling debris, such as heavy-duty tarpaulins, temporary overhead protection, or catchment devices, to minimize the risk of injury and facilitate the cleanup process.
- Debris Removal Equipment: Arrange for a suitable means of debris removal, such as a wheelbarrow, a sturdy tarp, or a small dumpster, to facilitate the disposal of bricks and other materials.
- Waste Disposal Containers: Secure appropriate waste disposal containers or bags for the collection and removal of debris, adhering to local regulations and disposal guidelines.
- Utility Disconnection: If applicable, ensure that any utility connections, such as gas lines or electrical wiring, associated with the chimney are safely disconnected by qualified professionals before commencing the demolition work.
- Materials for Temporary Support: Consider obtaining materials for constructing temporary support structures, such as timber bracing or shoring equipment, to reinforce adjacent walls or areas impacted by the chimney removal.
By gathering these essential tools and materials in advance, you can streamline the demolition process, enhance safety measures, and ensure that you are adequately equipped to tackle the project effectively.
Before starting, make sure to obtain any necessary permits and consult with a professional to ensure safety. Use a sledgehammer or jackhammer to carefully remove the bricks from the top down, and dispose of the debris properly. Always wear protective gear and work with a partner for safety.
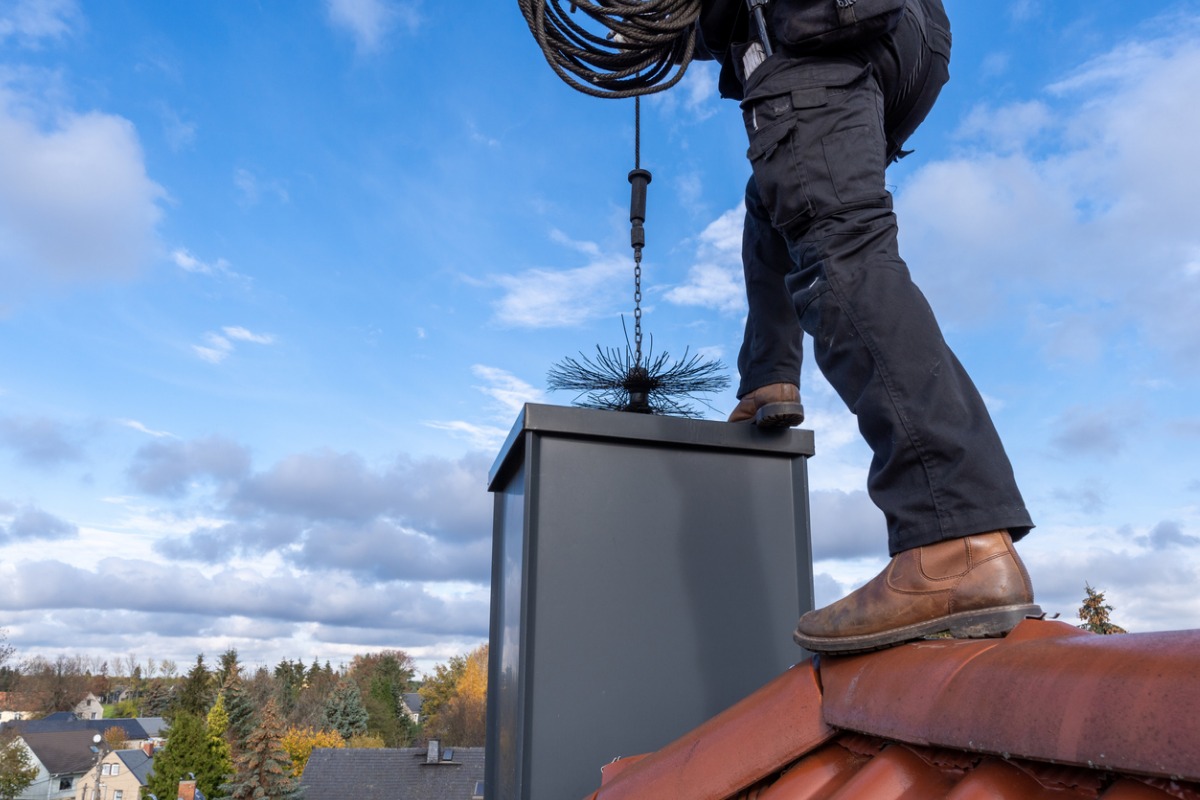
Removing the Chimney Bricks
The process of removing the bricks from a chimney involves careful planning and systematic execution to ensure safety and efficiency. Here’s a step-by-step guide to effectively dismantling the chimney bricks:
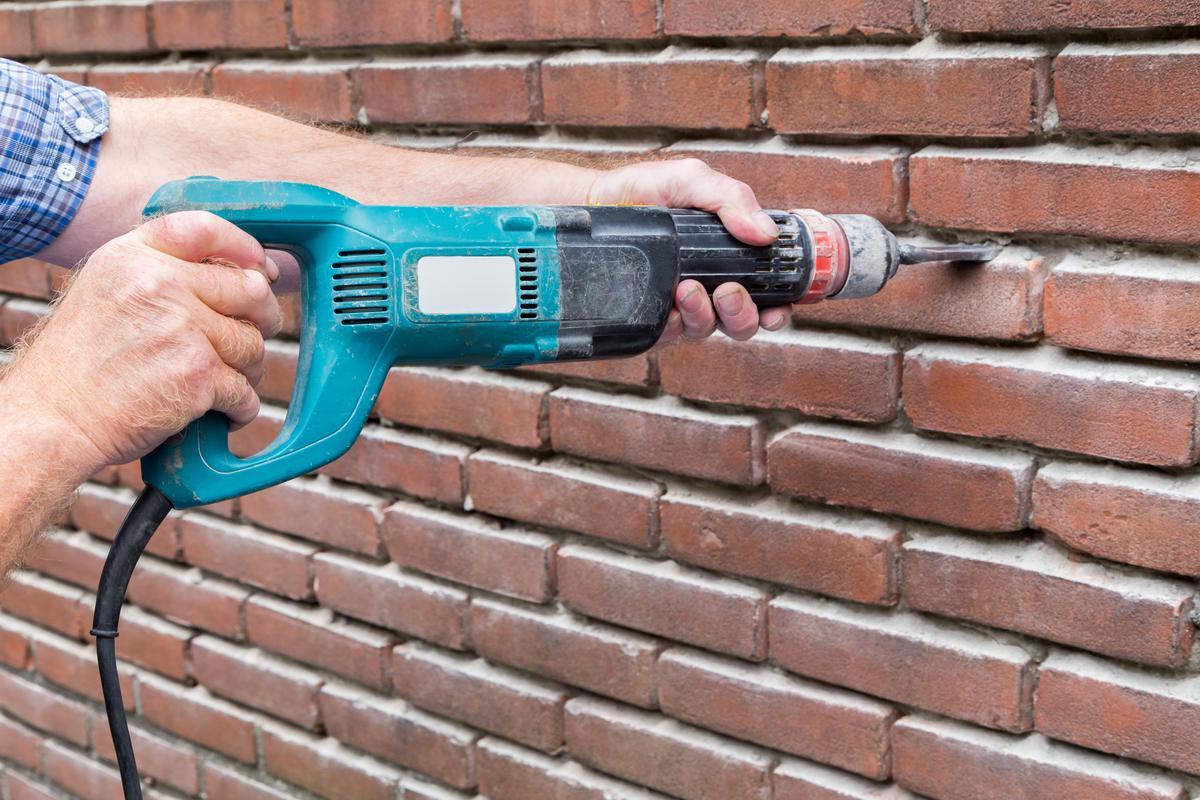
- Top-Down Approach: Begin at the top of the chimney and work your way down. Using a heavy-duty sledgehammer and a chisel or brick bolster, carefully dislodge the topmost course of bricks, ensuring that the surrounding area is clear of obstructions and that adequate safety measures are in place to prevent falling debris.
- Mortar Removal: Once the top course of bricks is removed, focus on chipping away the mortar from the exposed area using a chisel or appropriate masonry tools. Exercise caution to avoid damaging adjacent surfaces or compromising the structural integrity of the chimney.
- Systematic Dismantling: Proceed to remove the bricks in a systematic manner, working one course at a time. Utilize a pry bar to carefully dislodge each brick, taking care to avoid unnecessary force that could lead to unintended damage or hazards.
- Safe Disposal: As you remove the bricks, place them in designated containers or on a heavy-duty tarp to facilitate their safe disposal. Exercise caution when handling the bricks to prevent strain or injury, and consider enlisting assistance for heavier or awkwardly positioned bricks.
- Structural Assessment: Periodically assess the stability of the remaining chimney structure as bricks are removed. Look for any signs of shifting or instability, and consider reinforcing or shoring up adjacent areas if necessary to maintain structural integrity.
- Debris Management: Continuously manage falling debris by employing catchment devices, temporary overhead protection, or other suitable measures to minimize the risk of injury and facilitate the cleanup process.
By following these systematic steps and exercising caution throughout the brick removal process, you can effectively dismantle the chimney while prioritizing safety and minimizing potential hazards.
Read more: How To Repair Brick Chimney
Removing the Chimney Base
Once the bricks have been successfully removed, the next phase involves dismantling the chimney base and addressing any remaining structural components. Here’s a comprehensive guide to safely and effectively remove the chimney base:
- Clearing the Surrounding Area: Ensure that the immediate vicinity around the chimney base is clear of debris, tools, and obstructions to provide unobstructed access for the dismantling process.
- Assessing the Base: Evaluate the condition of the chimney base, including the footing, support structure, and any remaining masonry elements. Identify any areas of concern, such as deteriorated mortar, damaged bricks, or potential hazards.
- Dismantling Support Structures: If the chimney base is interconnected with other structural components, such as adjacent walls or support beams, take the necessary precautions to safely disengage and remove any connecting elements, ensuring structural stability throughout the process.
- Demolition Tools: Utilize appropriate demolition tools, such as a heavy-duty sledgehammer, a pry bar, and a chisel, to systematically disassemble the chimney base. Exercise caution to avoid unnecessary force that could lead to unintended damage or hazards.
- Methodical Dismantling: Begin by carefully removing the bricks or masonry components from the base, working methodically to dislodge and clear the area of debris. Exercise patience and precision to avoid compromising the safety and integrity of the surrounding structure.
- Reinforcement and Stabilization: As the base is dismantled, periodically assess the stability of the surrounding areas and implement reinforcement measures, such as temporary shoring or bracing, to ensure structural integrity and minimize potential risks.
- Debris Disposal: As the chimney base is disassembled, promptly collect and dispose of the debris in designated containers or on a heavy-duty tarp, adhering to local waste disposal regulations and guidelines.
By following these systematic steps and exercising caution throughout the chimney base removal process, you can effectively address the remaining structural elements while prioritizing safety and methodical execution.
Disposing of Debris
Proper disposal of debris generated from the dismantling of a brick chimney is essential to ensure a clean and safe work environment. Here’s a comprehensive approach to managing and disposing of the debris:
- Containment and Collection: Utilize heavy-duty tarpaulins, debris catchment devices, or designated containers to collect and contain the debris as it is generated during the chimney removal process. Implement measures to prevent the spread of debris beyond the immediate work area.
- Segregation of Materials: Separate the debris into distinct categories, such as bricks, mortar, and other masonry components, to facilitate efficient disposal and recycling. This segregation can aid in responsible waste management and recycling efforts.
- Waste Disposal Regulations: Adhere to local waste disposal regulations and guidelines regarding the proper handling and disposal of construction debris. Familiarize yourself with any specific requirements for the disposal of masonry materials and associated waste.
- Debris Removal: Arrange for the timely removal of the debris from the work site using appropriate means, such as a rented dumpster, a waste removal service, or a designated waste disposal facility. Ensure that the chosen disposal method aligns with local regulations and environmental standards.
- Recycling Opportunities: Explore opportunities for recycling or repurposing the masonry debris, such as concrete and brick materials, through local recycling centers or specialized facilities. Responsible disposal and recycling can contribute to sustainable waste management practices.
- Cleanup and Restoration: Once the debris has been effectively removed from the site, conduct a thorough cleanup to clear any remaining traces of masonry materials and restore the area to its pre-demolition condition. This may involve sweeping, washing, and restoring the surrounding surfaces.
- Site Inspection: After the debris has been cleared and the site is restored, conduct a final inspection to ensure that all waste materials have been appropriately disposed of and that the work area is safe and free of residual debris.
By meticulously managing and disposing of the debris in accordance with established guidelines and environmental best practices, you can contribute to a clean and responsible approach to waste management following the removal of a brick chimney.
Conclusion
Removing a brick chimney requires careful planning, meticulous execution, and a steadfast commitment to safety. By adhering to the essential safety precautions, thoroughly assessing the structure, and gathering the necessary tools and materials, you can lay a solid foundation for a successful demolition process. The systematic removal of the chimney bricks and base, coupled with responsible debris disposal, ensures that the project is carried out with precision and environmental consciousness.
Throughout the entire process, it is crucial to prioritize safety at every stage, from the initial assessment to the final cleanup. The utilization of proper personal protective equipment, adherence to structural stability assessments, and the implementation of safe demolition techniques are paramount in safeguarding both the individuals involved and the surrounding environment.
As you embark on the journey of taking down a brick chimney, remember that patience and methodical execution are key. Each step, from the initial assessment to the final debris disposal, plays a critical role in ensuring a smooth and successful demolition process.
By following the comprehensive guidelines outlined in this article, you can confidently tackle the task of removing a brick chimney while minimizing risks, maximizing efficiency, and contributing to a clean and safe work environment. Whether you are renovating your home, upgrading your chimney, or seeking to create open space, this endeavor, when approached with care and attention to detail, can yield satisfying results and contribute to the overall improvement of your property.
Frequently Asked Questions about How To Take Down A Brick Chimney
Was this page helpful?
At Storables.com, we guarantee accurate and reliable information. Our content, validated by Expert Board Contributors, is crafted following stringent Editorial Policies. We're committed to providing you with well-researched, expert-backed insights for all your informational needs.


0 thoughts on “How To Take Down A Brick Chimney”