Home>Home Appliances>Home Automation Appliances>How To Take Thermostat Off The Wall
Home Automation Appliances
How To Take Thermostat Off The Wall
Modified: February 24, 2024
Learn the step-by-step process of removing a thermostat from the wall in your home automation appliances. Follow our guide for easy and safe removal.
(Many of the links in this article redirect to a specific reviewed product. Your purchase of these products through affiliate links helps to generate commission for Storables.com, at no extra cost. Learn more)
Introduction
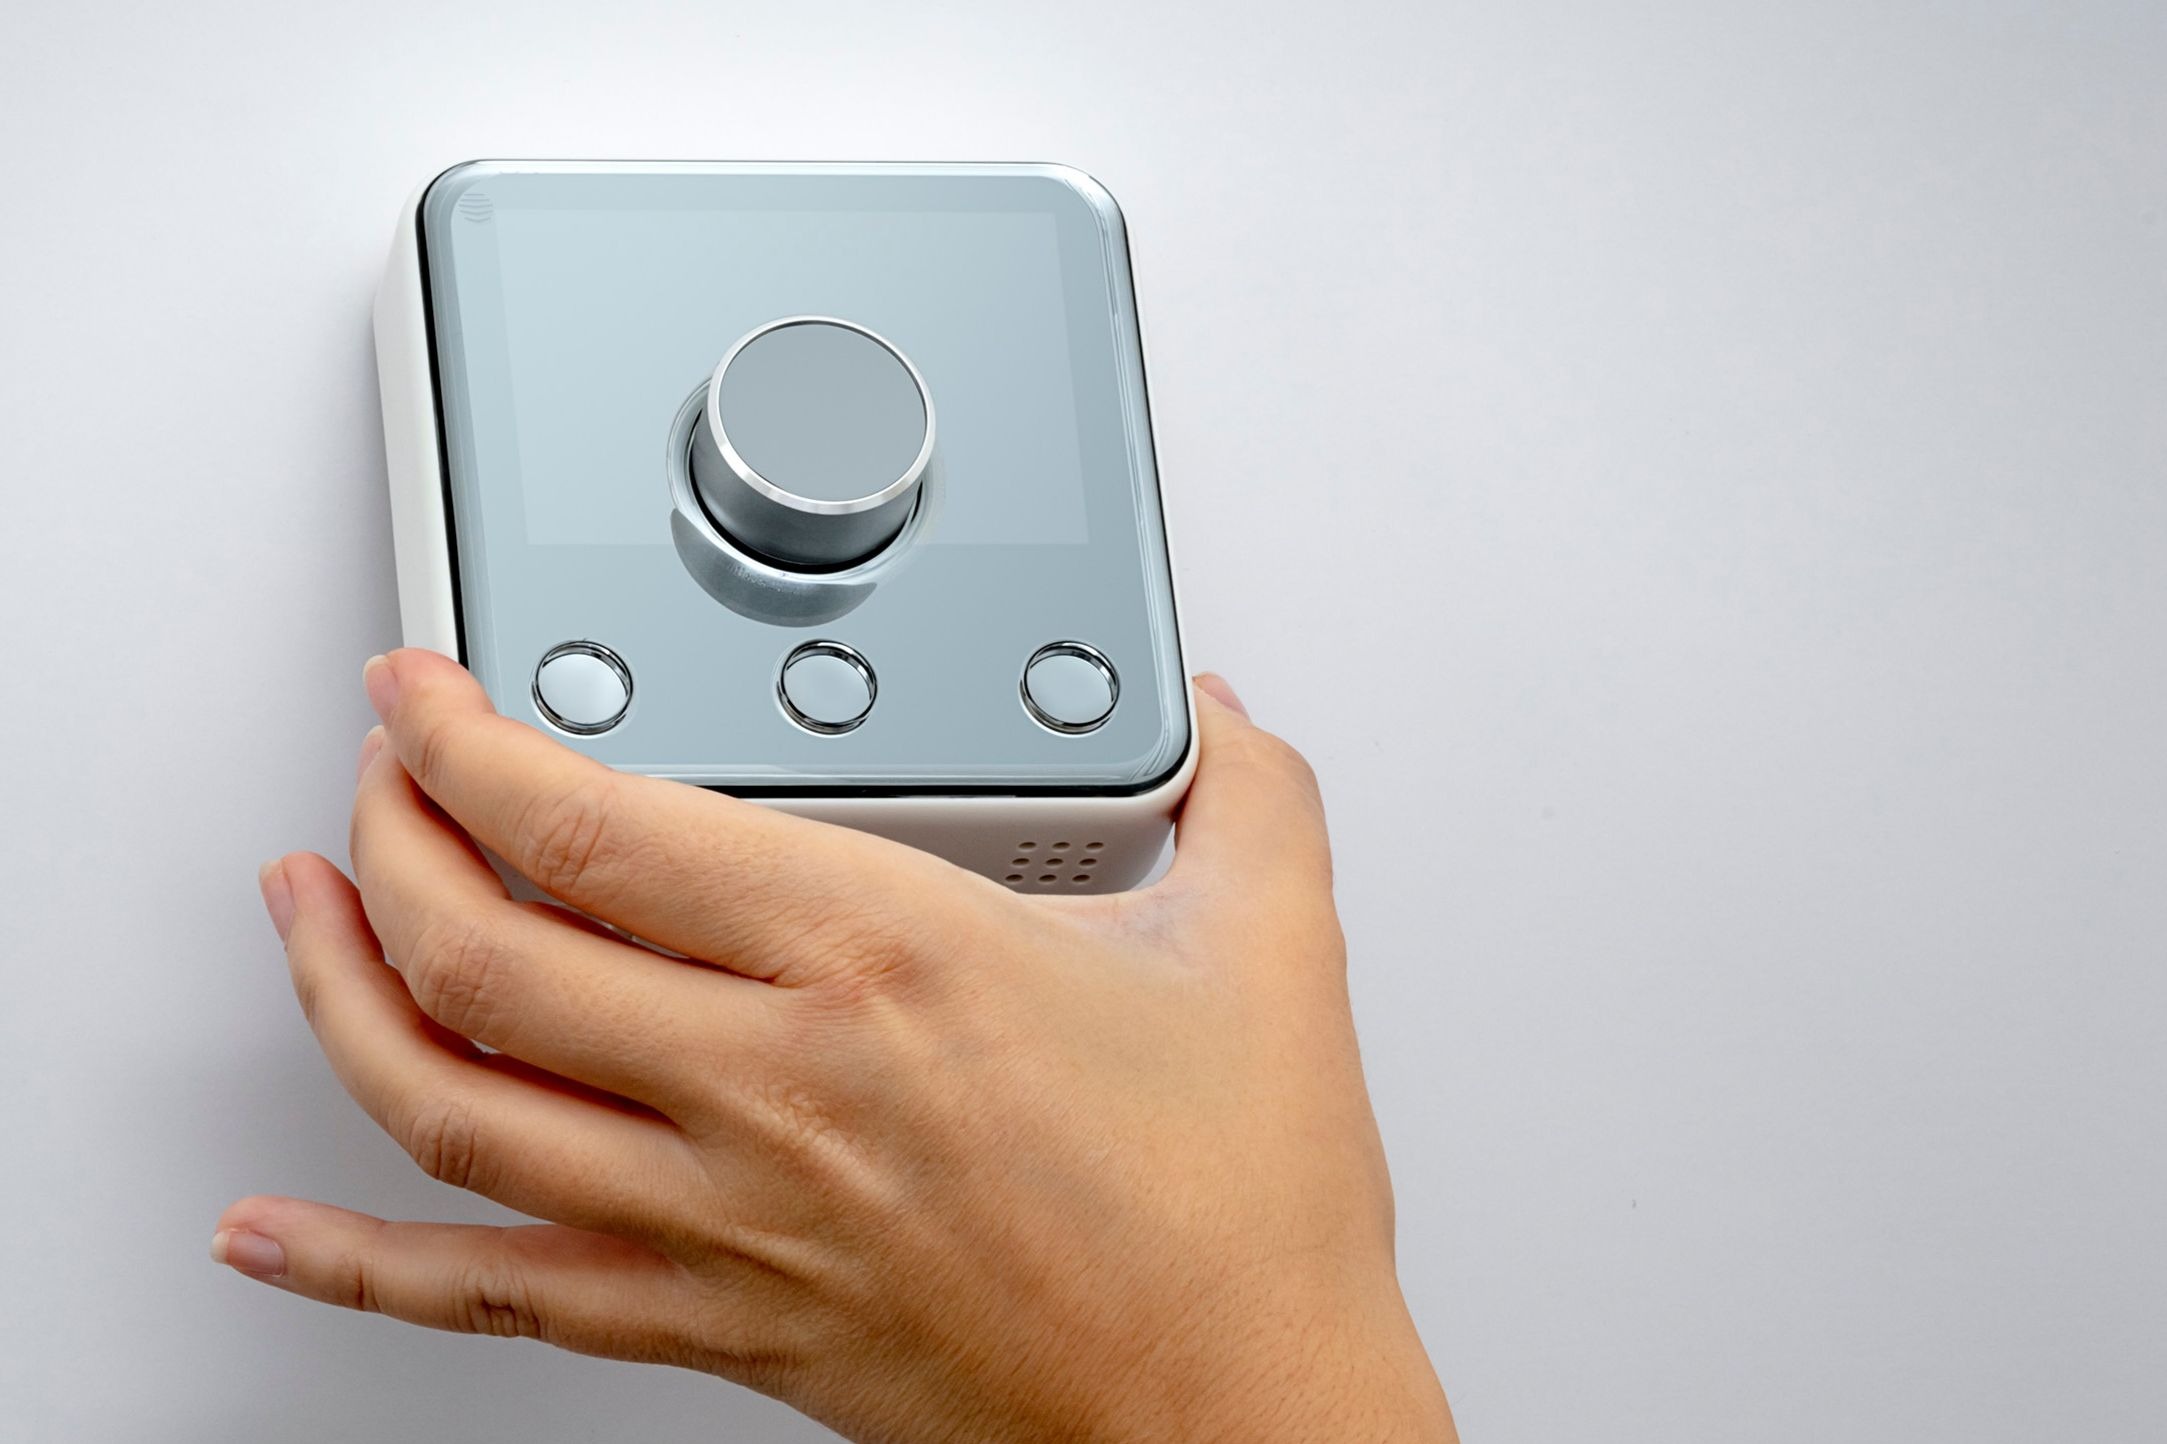
Removing a thermostat from the wall may seem like a daunting task, but with the right guidance and a bit of know-how, it can be a straightforward process. Whether you're looking to upgrade to a new smart thermostat, repaint your walls, or simply need to replace a malfunctioning unit, knowing how to safely remove a thermostat is essential.
In this comprehensive guide, we'll walk you through the step-by-step process of taking a thermostat off the wall. From gathering the necessary tools and materials to safely disconnecting the wires and preparing the wall for any subsequent work, we've got you covered. By following these instructions, you'll be equipped with the knowledge and confidence to tackle this home improvement task with ease.
So, grab your toolkit, put on your DIY hat, and let's dive into the process of removing a thermostat from the wall.
Key Takeaways:
- Safely removing a thermostat from the wall requires gathering tools, turning off power, disconnecting wires, and cleaning the wall for future installations. Safety and organization are key!
- With the right tools and careful steps, anyone can confidently remove a thermostat from the wall, prepare the area for future use, and enhance their home with new installations.
Read more: How To Take Off A Chandelier
Tools and Materials Needed
Before you begin the process of taking a thermostat off the wall, it’s important to gather the necessary tools and materials. Here’s a list of items you’ll need:
- Screwdriver set: To remove the screws holding the thermostat in place.
- Masking tape: For labeling the wires to ensure correct reconnection.
- Voltage tester: To ensure the power is off before disconnecting the thermostat.
- Clean cloth: For wiping down the wall and the thermostat components.
- Drywall putty and a putty knife: If you plan to patch any holes or imperfections in the wall.
- Paint and paintbrush: If you intend to touch up the wall after removing the thermostat.
Additionally, it’s crucial to have the user manual for your specific thermostat on hand. This will provide valuable insights into the wiring and installation details, ensuring a smooth removal process.
By having these tools and materials ready, you’ll be well-prepared to tackle the task of removing your thermostat from the wall efficiently and safely.
Turn off Power
Before you begin removing the thermostat from the wall, it’s essential to ensure that the power to the unit is completely turned off. This step is crucial for your safety and to prevent any electrical mishaps during the removal process.
Here’s how to safely turn off the power:
- Locate the Circuit Breaker: Identify the circuit breaker that controls the power supply to your thermostat. This is typically found in your home’s electrical panel.
- Switch Off the Circuit: Once you’ve located the correct circuit, switch it off to cut the power supply to the thermostat. It’s a good practice to double-check that the power is indeed off by attempting to adjust the temperature on the thermostat. If the display remains off, you’ve successfully cut the power.
- Use a Voltage Tester: For an additional layer of safety, use a voltage tester to ensure that there is no electrical current running to the thermostat. This small, handheld device can detect the presence of electrical voltage, providing peace of mind before proceeding with the removal.
By following these steps to turn off the power, you’ll minimize the risk of electrical accidents and create a safe environment to continue with the removal process. Remember, safety always comes first when working with electrical components in your home.
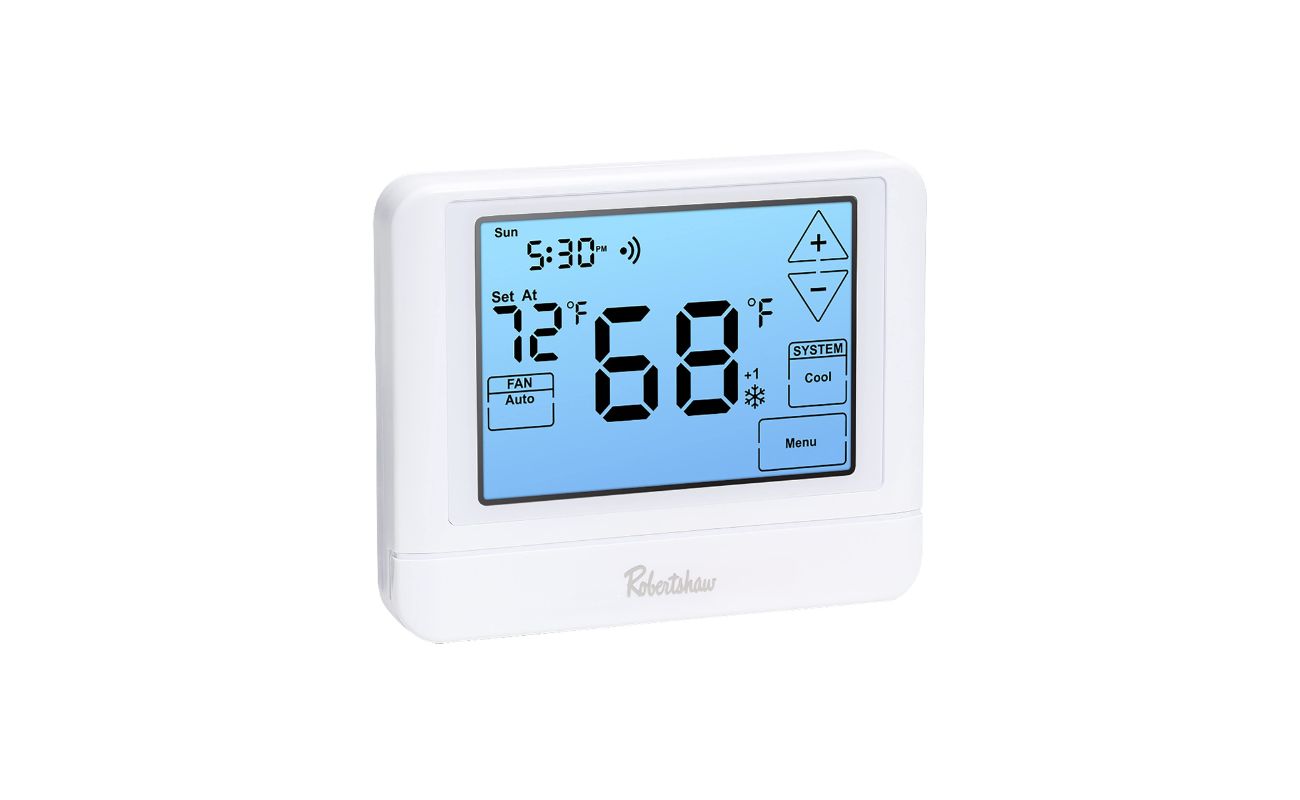
Remove the Thermostat Cover
With the power safely turned off, you can now proceed to remove the cover of the thermostat. This step will expose the wiring and mounting plate, allowing for easier access to the components that need to be disconnected.
Here’s a simple guide to removing the thermostat cover:
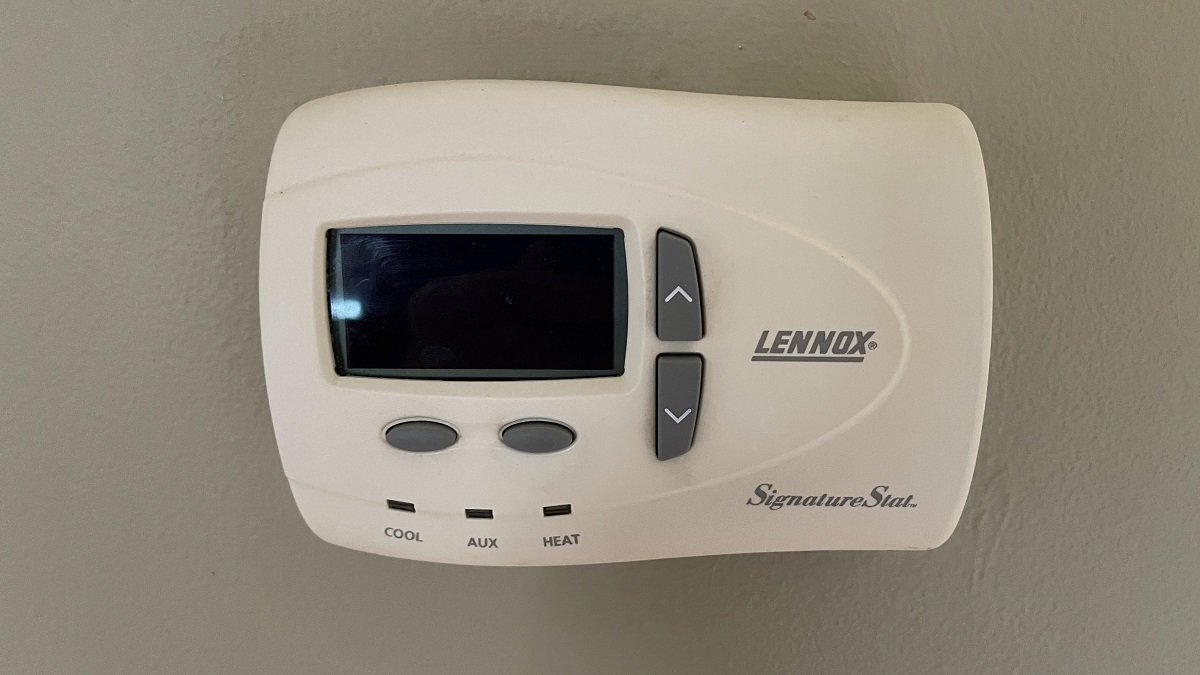
- Identify the Mounting Clips: Take a close look at the thermostat cover to locate the mounting clips or screws that secure it to the wall. These are typically found at the top and bottom of the cover.
- Use the Screwdriver: If your thermostat cover is secured with screws, carefully use the appropriate screwdriver from your set to loosen and remove them. Keep the screws in a safe place, as you’ll need them for reassembly.
- Gently Pry the Cover: Once the screws are removed, gently pry the cover away from the wall. Be cautious not to apply excessive force, as this may damage the cover or the wall surface. If your thermostat cover uses mounting clips, carefully release them by applying gentle pressure to free the cover from the wall.
- Inspect the Wiring: As the cover is removed, take a moment to inspect the wiring and the mounting plate. Ensure that all components are visible and easily accessible for the next steps of the removal process.
By following these steps, you’ll successfully remove the cover of the thermostat, setting the stage for the subsequent tasks of disconnecting the wires and removing the mounting plate. With the cover out of the way, you’re one step closer to completing the removal process.
Before removing the thermostat, turn off the power to the heating/cooling system. Then, gently pull the thermostat cover off the wall to access the mounting screws. Use a screwdriver to remove the screws and carefully disconnect the wires.
Disconnect the Wires
Now that the thermostat cover is removed and the wiring is exposed, the next crucial step in taking the thermostat off the wall is disconnecting the wires. This process requires careful attention to ensure that the wires are properly labeled and safely detached from the thermostat.
Follow these steps to disconnect the wires from the thermostat:
- Label the Wires: Using masking tape and a marker, label each wire according to its terminal designation on the thermostat. This step is essential for accurate reconnection later on. Common labels include “R” for power, “C” for common, “Y” for cooling, “W” for heating, and “G” for the fan.
- Loosen the Terminal Screws: With the wires labeled, use the screwdriver to loosen the terminal screws that secure the wires to the thermostat. Turn the screws counterclockwise to release the wires, taking care not to damage the conductors or the terminals.
- Disconnect the Wires: Once the terminal screws are sufficiently loosened, carefully disconnect each labeled wire from its respective terminal. Pay close attention to the colors and labels to ensure accurate reconnection during the installation of a new thermostat or any subsequent work.
- Secure the Wires: After the wires are detached, gently guide them through the opening in the mounting plate or wall. Keep the wires organized and avoid letting them fall back into the wall cavity to simplify the reinstallation process.
By following these steps, you’ll effectively disconnect the wires from the thermostat, setting the stage for the next phase of removing the mounting plate and preparing the wall for any necessary touch-ups. Taking the time to label and disconnect the wires with care will streamline the reinstallation process and minimize the risk of errors.
Read more: How To Take Off Gutters
Remove the Mounting Plate
With the wires safely disconnected and organized, the next step in taking the thermostat off the wall is to remove the mounting plate. This component secures the thermostat to the wall and houses the wiring that connects it to the HVAC system.
Follow these steps to remove the mounting plate:
- Loosen the Mounting Screws: Using the appropriate screwdriver from your set, carefully loosen the mounting screws that secure the plate to the wall. Typically, these screws are located at the top and bottom of the plate. As you loosen them, be sure to support the plate to prevent it from falling once the screws are removed.
- Detach the Plate: Once the screws are loosened, gently pull the mounting plate away from the wall. Take care to guide the wires through the opening in the plate as you remove it. If the plate is connected to the HVAC wiring, handle it with caution to avoid any strain on the wires or terminals.
- Inspect the Wall Cavity: With the mounting plate removed, take a moment to inspect the wall cavity behind it. Ensure that the opening is clean and free of debris, and check for any signs of damage or deterioration that may require attention before installing a new thermostat or making any wall repairs.
By following these steps, you’ll successfully remove the mounting plate, allowing for a clear view of the wall and the HVAC wiring. This sets the stage for the final steps of cleaning and preparing the wall for any necessary touch-ups or subsequent installations. With the mounting plate out of the way, you’re one step closer to completing the process of removing the thermostat from the wall.
Clean and Prepare the Wall
With the thermostat and its components removed, it’s essential to clean and prepare the wall for any necessary touch-ups or future installations. This step ensures that the wall surface is in optimal condition and ready for any subsequent work that may follow the removal of the thermostat.
Here’s how to clean and prepare the wall:
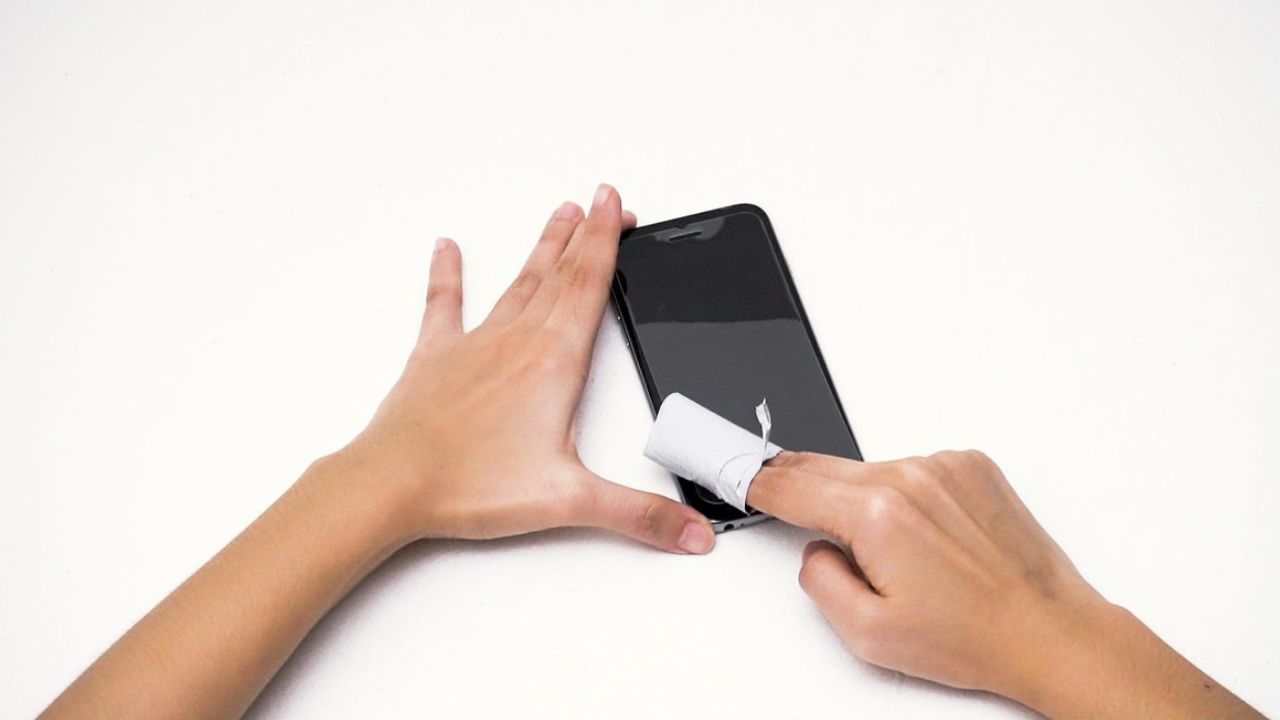
- Remove Dust and Debris: Use a clean cloth or a duster to remove any dust, debris, or loose particles from the wall surface. Pay particular attention to the area where the thermostat was mounted, as it may have accumulated dust and grime over time.
- Inspect for Damage: Take a close look at the wall surface to check for any signs of damage, such as small holes, scratches, or imperfections. If necessary, consider using drywall putty and a putty knife to fill in any minor blemishes and create a smooth, even surface.
- Touch-Up Paint (Optional): If the wall behind the thermostat shows signs of discoloration, scratches, or paint wear, you may choose to touch up the area with matching paint. Use a small paintbrush to carefully apply the paint, blending it with the surrounding wall for a seamless finish.
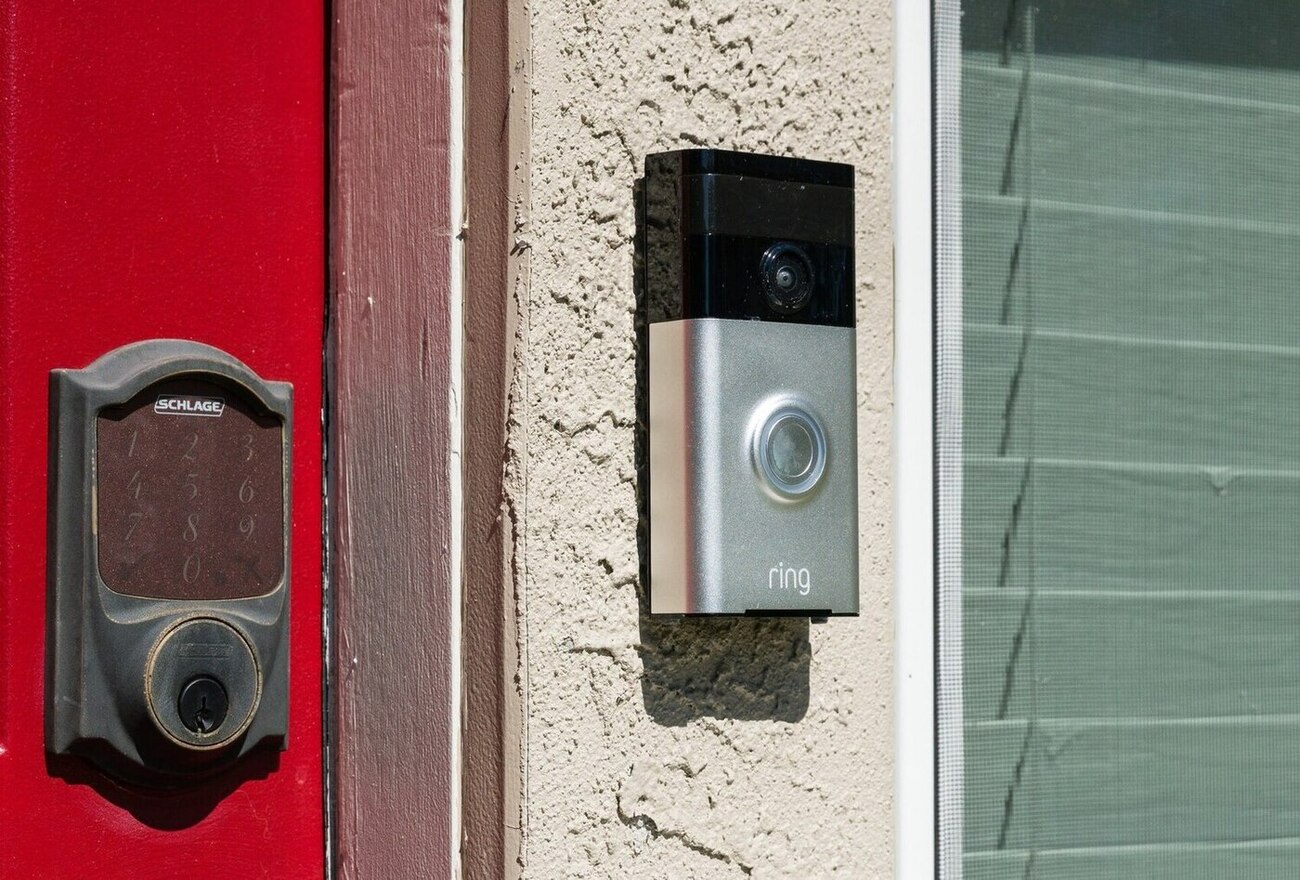
- Plan for Future Installations: If you intend to install a new thermostat or any other wall-mounted device in the same location, take note of the wiring and mounting options. Consider whether any adjustments or enhancements to the wall surface may be necessary to accommodate the new installation.
By following these steps to clean and prepare the wall, you’ll ensure that the area previously occupied by the thermostat is primed for any future work. Whether you’re planning to install a new thermostat, make cosmetic touch-ups, or simply maintain a tidy wall surface, taking the time to clean and prepare the area is a valuable final step in the process of removing the thermostat from the wall.
Conclusion
Congratulations! You’ve successfully navigated the process of taking a thermostat off the wall. By following the step-by-step guide outlined in this article, you’ve gained the knowledge and confidence to safely remove the thermostat and prepare the wall for any subsequent work.
From gathering the necessary tools and materials to turning off the power, removing the thermostat cover, disconnecting the wires, removing the mounting plate, and cleaning and preparing the wall, you’ve tackled each step with precision and care.
Whether you’re upgrading to a new smart thermostat, making wall repairs, or simply refreshing the wall surface, the skills and insights you’ve acquired in this process will serve you well in your home improvement endeavors.
As you reflect on your accomplishment, remember the importance of safety when working with electrical components, the value of careful organization when dealing with wiring, and the satisfaction of preparing a clean and pristine wall surface for future projects.
With the thermostat removed and the wall prepped, you’re now ready to embark on the next phase of your home improvement journey, equipped with the knowledge and skills to tackle new installations or enhancements with confidence.
So, take a moment to appreciate your accomplishment, and look forward to the exciting possibilities that lie ahead as you continue to enhance and personalize your living space.
Frequently Asked Questions about How To Take Thermostat Off The Wall
Was this page helpful?
At Storables.com, we guarantee accurate and reliable information. Our content, validated by Expert Board Contributors, is crafted following stringent Editorial Policies. We're committed to providing you with well-researched, expert-backed insights for all your informational needs.


0 thoughts on “How To Take Thermostat Off The Wall”