Articles
How To Tell If An LED Bulb Is Blown
Modified: January 8, 2024
Learn how to identify if an LED bulb is blown with helpful tips and information. Discover common signs and symptoms to ensure your articles shine brightly.
(Many of the links in this article redirect to a specific reviewed product. Your purchase of these products through affiliate links helps to generate commission for Storables.com, at no extra cost. Learn more)
Introduction
LED bulbs have revolutionized the way we illuminate our homes and businesses. With their energy efficiency, long lifespan, and impressive brightness, LED bulbs have become a popular choice for lighting solutions. However, like any other electronic device, LED bulbs can sometimes experience issues, including being blown.
In this article, we will delve into the world of LED bulbs and explore how to tell if an LED bulb is blown. We will discuss the signs that indicate a blown LED bulb, methods for visually inspecting and testing the bulb, and steps to take for replacing a blown LED bulb.
Whether you are a homeowner troubleshooting a flickering light or a business owner wanting to ensure optimal lighting in your workspace, understanding whether an LED bulb is blown can save you time and money in the long run. So, let’s dive in and learn how to identify a blown LED bulb.
Key Takeaways:
- Signs of a blown LED bulb include flickering, reduced brightness, complete loss of light, and visible physical damage. Visual inspection and testing methods can help confirm the status of the bulb for efficient replacement.
- When replacing a blown LED bulb, ensure safety by switching off the power, allowing the bulb to cool, selecting a suitable replacement, and following proper installation procedures. Dispose of the blown bulb responsibly to protect the environment.
Read more: How To Tell If An LED Bulb Is Dimmable
Understanding LED Bulbs
Before we delve into the signs of a blown LED bulb, let’s first understand what LED bulbs are and how they work. LED stands for Light Emitting Diode, which is a semiconductor device that emits light when an electric current passes through it.
Unlike traditional incandescent bulbs that use heating filaments to produce light, LED bulbs rely on a completely different mechanism. Inside an LED bulb, there are tiny diodes made of semiconducting material. When an electric current flows through these diodes, they release energy in the form of light.
LED bulbs have gained popularity due to several key advantages. First and foremost, they are highly energy-efficient compared to traditional bulbs. LED bulbs consume significantly less energy, which translates into reduced electricity bills and a lower carbon footprint.
Furthermore, LED bulbs have an impressive lifespan. On average, LED bulbs can last up to 25,000 to 50,000 hours, which is far longer than incandescent bulbs. This longevity not only saves money on replacements but also reduces environmental waste.
Another notable characteristic of LED bulbs is their brightness. LED bulbs can produce a much more intense and focused light compared to traditional bulbs, making them ideal for various applications, such as task lighting or accent lighting.
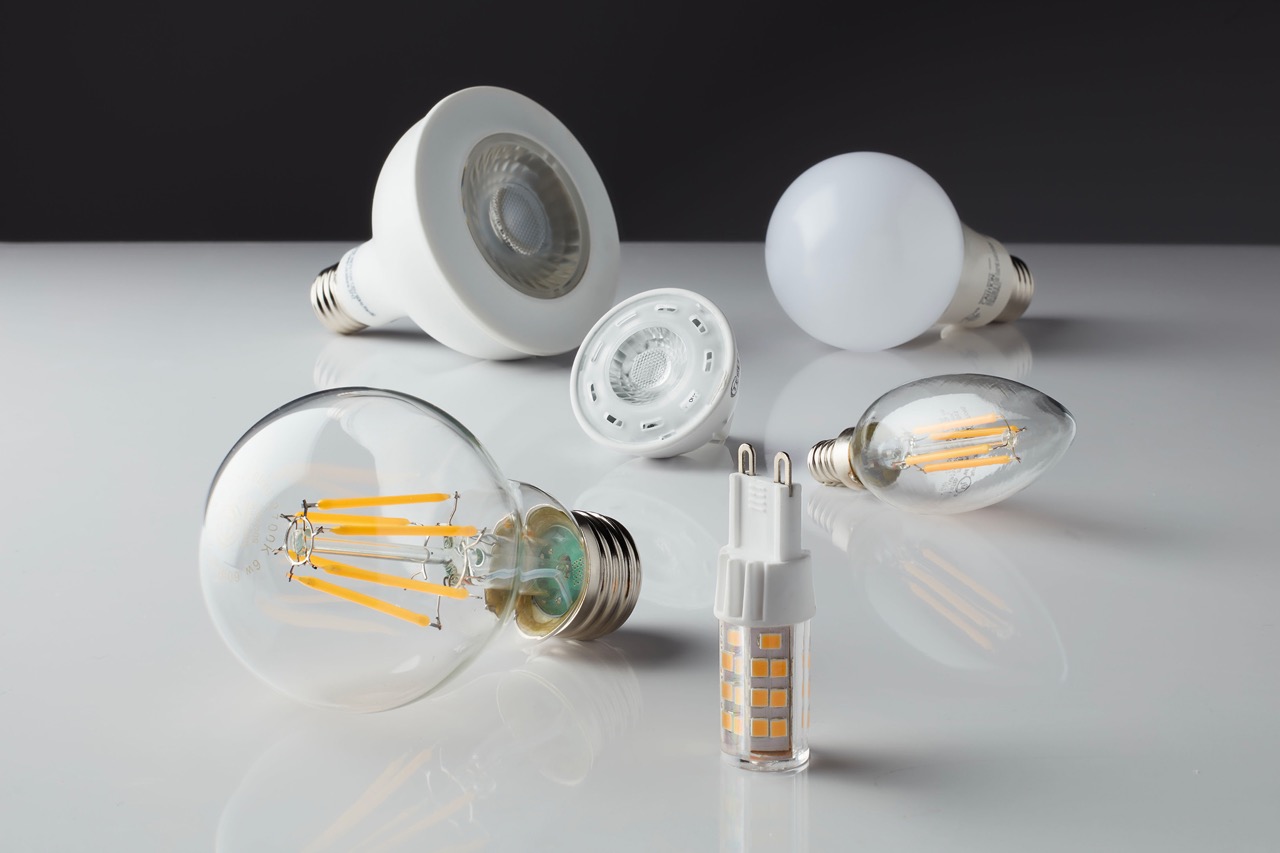
LED bulbs are available in a variety of shapes, sizes, and colors, allowing for greater flexibility in lighting design. Whether you need a soft warm white light for creating a cozy ambiance or a cool white light for a bright and energetic atmosphere, LED bulbs can meet your specific requirements.
Now that we understand the basics of LED bulbs, let’s move on to exploring the signs that indicate a blown LED bulb.
Signs of a Blown LED Bulb
When an LED bulb is blown, it means that it is no longer functioning properly and needs to be replaced. Here are the key signs to look out for when determining if an LED bulb is blown:
- Flickering or unstable light: If you notice that the light from the LED bulb is flickering or unstable, it could be a sign of a blown bulb. LED bulbs are designed to provide consistent and stable illumination, so any flickering or fluctuation in brightness is an indication of a problem.
- Dim or significantly reduced brightness: A blown LED bulb may produce significantly less light than it used to. If you find that the brightness of the bulb has noticeably decreased, it could be a sign that the LED elements inside the bulb have deteriorated or failed.
- Complete loss of light: The most obvious sign of a blown LED bulb is when it no longer emits any light at all. If you switch on the bulb but no light comes out, it is highly likely that the bulb has reached the end of its lifespan or has encountered a technical failure.
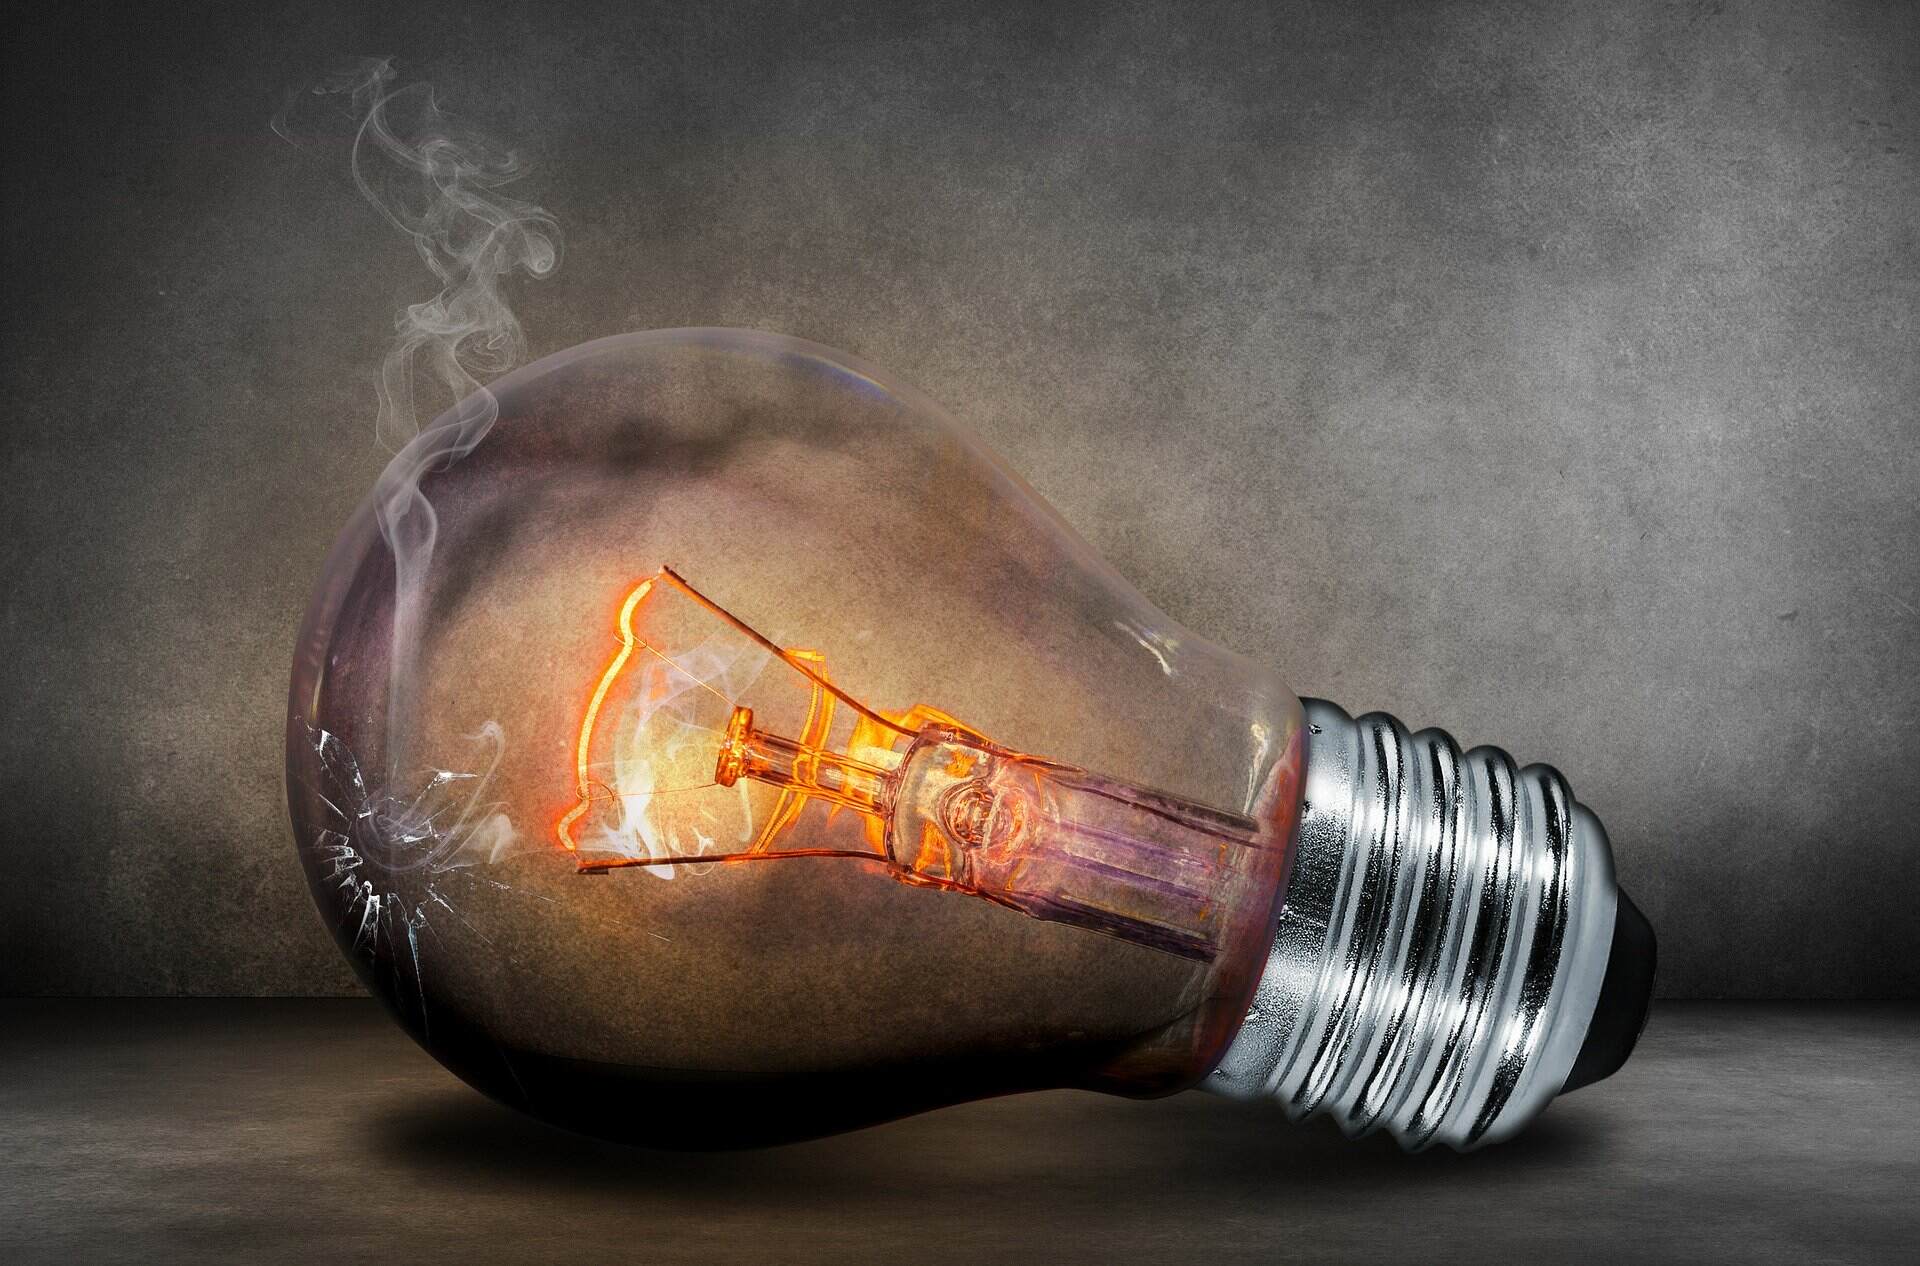
- Visible physical damage: Inspect the bulb for any visible physical damage, such as cracks, discoloration, or burn marks. These signs of damage could indicate that the LED elements inside the bulb have been compromised, leading to a blown bulb.
It’s important to note that these signs may not always guarantee that the LED bulb is blown. Some issues, such as flickering or dimming, could be caused by other factors like poor electrical connections or incompatible dimmer switches. Nevertheless, if you notice any of these signs, it is worth investigating further to determine whether the LED bulb needs to be replaced.
In the next section, we will explore the methods for visually inspecting and testing an LED bulb to confirm whether it is blown.
Visual Inspection
Performing a visual inspection is a straightforward method to determine if an LED bulb is blown. Here are the steps to follow:
- Switch off the power: Before inspecting the LED bulb, make sure to switch off the power to the fixture or the room where the bulb is installed. This step ensures your safety and avoids any potential electrical hazards.
- Remove the bulb carefully: Gently twist or unscrew the LED bulb from its socket. Be cautious not to apply excessive force or twist too hard, as this may damage the bulb or the fixture.
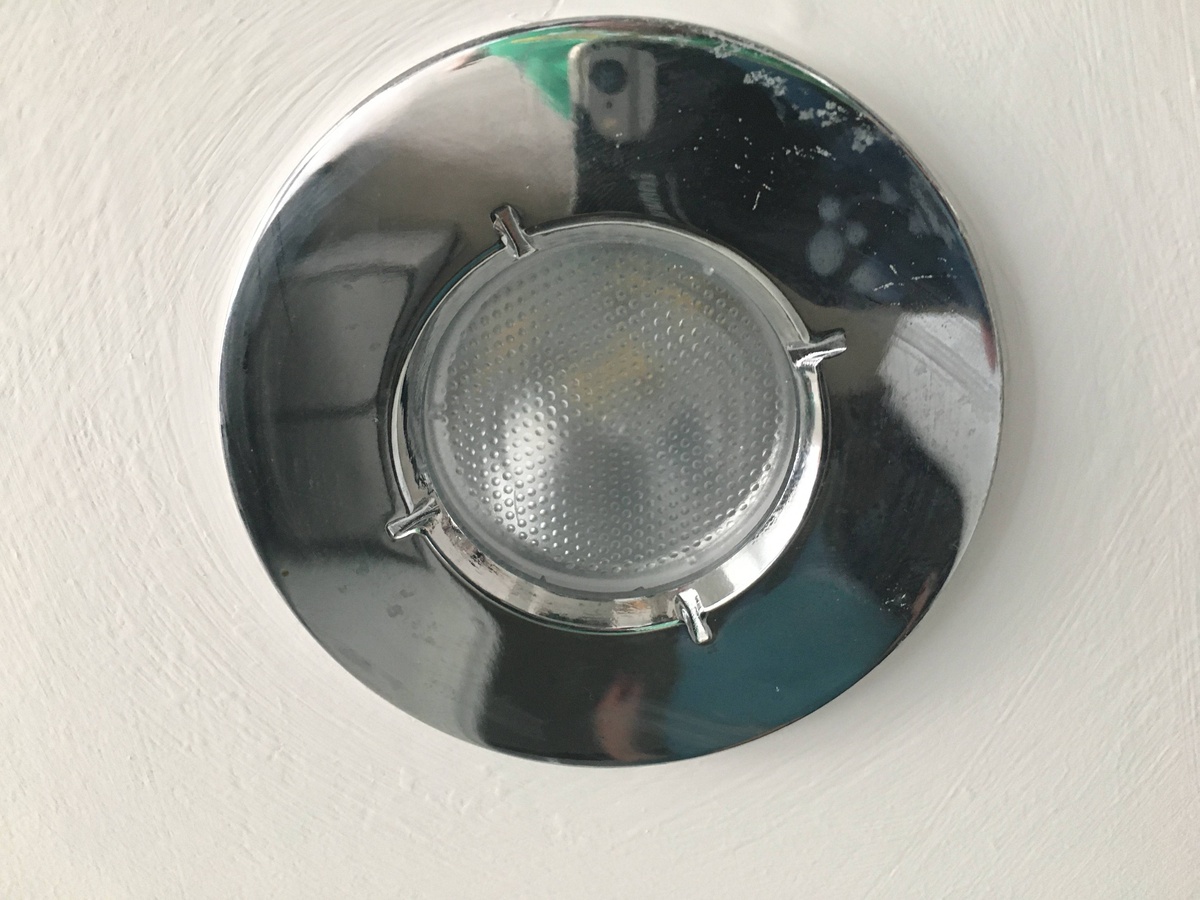
- Check for physical damage: Examine the LED bulb for any visible signs of physical damage. Look for cracks, chips, discoloration, or burn marks on the bulb’s surface. These signs indicate that the LED elements inside may have been damaged, leading to a blown bulb.
- Inspect the connections: Take a close look at the connections on the base of the LED bulb. Ensure that the metal connectors are intact and free from corrosion or damage. Faulty connections can disrupt the flow of electricity and cause the bulb to malfunction.
- Compare with a known working bulb: If you have another LED bulb of the same type and specifications, compare it with the one you suspect is blown. Install the known working bulb into the same socket to see if it functions properly. If the known working bulb lights up, it confirms that the initially suspected bulb is indeed blown.
By visually inspecting the LED bulb and checking for any physical damage or faulty connections, you can gain a better understanding of whether the bulb is blown or not. However, keep in mind that visual inspection alone may not always provide conclusive evidence. To further confirm the status of the LED bulb, you may need to perform a testing procedure, which we will discuss in the next section.
If an LED bulb is not lighting up, try testing it in a different fixture to see if the issue is with the bulb or the fixture. If it still doesn’t work, it may be blown and need to be replaced.
Testing the LED Bulb
While a visual inspection can provide some insights, it is essential to perform a more thorough testing procedure to confirm whether an LED bulb is blown or not. Here are a few methods you can use to test the LED bulb:
- Using a multimeter: A multimeter is a versatile tool that can measure various electrical properties. Set your multimeter to the resistance or continuity mode and touch the probes to the metal connectors at the base of the LED bulb. If the multimeter shows a reading close to zero or beeps, it indicates that the LED bulb is conducting electricity, confirming that it is not blown. Conversely, if the multimeter does not show any reading or beeping sound, it suggests that the LED bulb is blown and needs to be replaced.
- Substitute testing: If you have access to a fixture with a known working LED bulb, you can test the suspected blown LED bulb by substituting it with the working one. Install the suspected blown LED bulb into the functioning fixture and switch on the power. If the bulb does not emit light or exhibits the same issues as before, it is likely that the LED bulb is indeed blown.
- External power source: In some cases, you may be able to connect the LED bulb to an external power source to test its functionality. Follow the manufacturer’s guidelines or consult a professional to ensure you use the correct voltage and wiring. If the LED bulb does not light up or exhibits abnormal behavior when connected to the external power source, it is a clear indication of a blown bulb.
It is crucial to exercise caution when testing LED bulbs, especially when dealing with electrical connections and power sources. If you are uncertain about the testing process, it is recommended to seek assistance from a professional or an electrician to ensure safety and accuracy.
Once you have determined that the LED bulb is indeed blown, it’s time to move on to the final step: replacing the bulb.
Read more: How To Tell If A Light Bulb Has A Camera
Replacing a Blown LED Bulb
When you have confirmed that an LED bulb is blown and needs to be replaced, it’s important to follow these steps to ensure a smooth and safe replacement process:
- Switch off the power: As a safety precaution, turn off the power to the fixture or the room where the blown LED bulb is located. This prevents any potential electrical shocks or accidents during the replacement process.
- Allow the bulb to cool: Depending on how long the bulb has been in use, it may still retain some heat. Give it a few minutes to cool down before attempting to remove it.
- Remove the blown bulb: Carefully twist or unscrew the blown LED bulb in a counterclockwise direction to remove it from the socket. Be gentle when handling the bulb to avoid damaging other components or risking injury.
- Select a replacement LED bulb: Choose a new LED bulb that matches the specifications of the old one. Consider the desired brightness, color temperature, and any specific requirements for the fixture or application.
- Install the new LED bulb: Insert the new LED bulb into the socket and rotate it clockwise until it is securely in place. Ensure that it is tightly fitted and aligned properly.
- Switch on the power: Once the new LED bulb is installed, you can turn on the power to test it. Make sure the bulb lights up properly and functions as expected.
It’s worth noting that LED bulbs are typically designed for specific purposes and may require specific installation procedures. Always refer to the manufacturer’s instructions or consult a professional if you are unsure about the installation process.
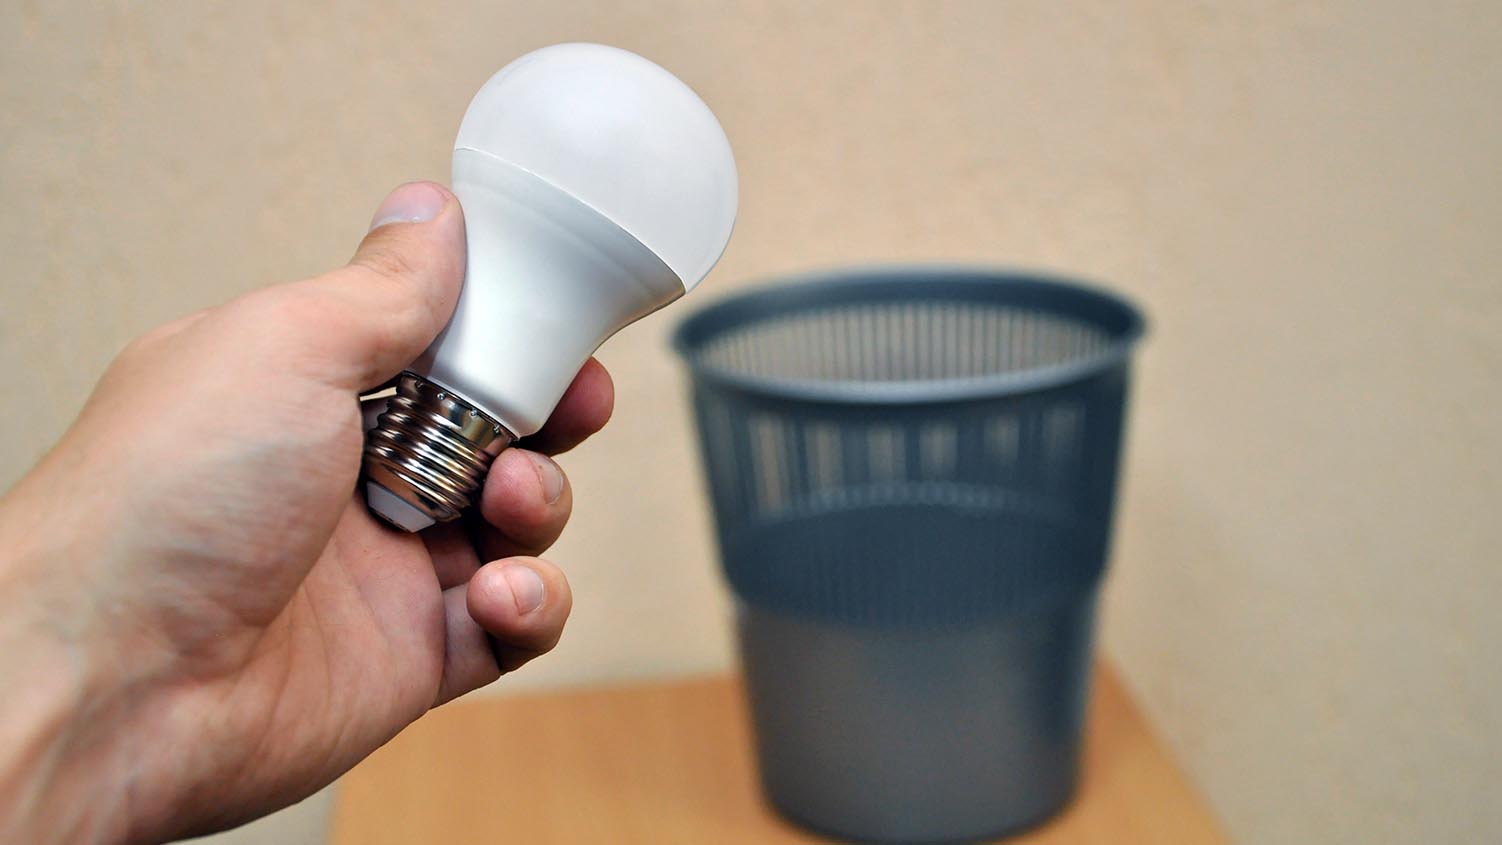
Lastly, it is essential to dispose of the blown LED bulb responsibly. LED bulbs contain electronic components and materials that can be harmful to the environment if not disposed of properly. Check local regulations for the correct disposal methods or consider recycling options available in your area.
With the blown LED bulb successfully replaced, you can now enjoy the efficient and bright lighting once again.
Conclusion
LED bulbs have become a popular choice for lighting solutions due to their energy efficiency, long lifespan, and impressive brightness. However, like any electronic device, LED bulbs can experience issues, including being blown. By understanding the signs of a blown LED bulb, visually inspecting and testing the bulb, and knowing how to replace it, you can ensure optimal lighting performance in your home or business.
Signs such as flickering or unstable light, dim or reduced brightness, complete loss of light, and visible physical damage can indicate a blown LED bulb. Performing a visual inspection by carefully examining the bulb for damage and checking the connections can further confirm if the bulb is blown.
For a more thorough examination, you can use a multimeter to test the LED bulb’s conductivity or try substituting it with a known working bulb. If the LED bulb fails these tests or exhibits abnormal behavior when connected to an external power source, it is likely that the bulb is indeed blown.
When replacing a blown LED bulb, remember to switch off the power, allow the bulb to cool, carefully remove the blown bulb, select a suitable replacement, install it securely, and then switch on the power to test its functionality.
By being aware of the signs of a blown LED bulb and knowing how to properly inspect, test, and replace it, you can ensure that your lighting remains efficient, effective, and reliable. Don’t forget to dispose of the blown LED bulb responsibly, following local regulations and recycling options.
With this knowledge in hand, you can confidently tackle any blown LED bulb situation and keep your space bright and well-illuminated.
Frequently Asked Questions about How To Tell If An LED Bulb Is Blown
Was this page helpful?
At Storables.com, we guarantee accurate and reliable information. Our content, validated by Expert Board Contributors, is crafted following stringent Editorial Policies. We're committed to providing you with well-researched, expert-backed insights for all your informational needs.


0 thoughts on “How To Tell If An LED Bulb Is Blown”