Articles
How To Find Bad LED Bulb In Christmas Lights
Modified: August 19, 2024
Looking for articles on how to find a bad LED bulb in your Christmas lights? Discover helpful tips and tricks to ensure your holiday decorations shine bright!
(Many of the links in this article redirect to a specific reviewed product. Your purchase of these products through affiliate links helps to generate commission for Storables.com, at no extra cost. Learn more)
Introduction
Christmas lights are an integral part of holiday decorations, bringing warmth and cheer to homes and streets. LED Christmas lights have gained popularity due to their energy efficiency and vibrant colors. However, like any electrical device, LED bulbs can sometimes malfunction or fail to work. When one LED bulb goes out, it can affect the entire string of lights, making it important to identify and replace the faulty bulb.
In this article, we will guide you on how to find a bad LED bulb in your Christmas lights. We will discuss common issues with LED Christmas lights, the process of identifying a bad bulb, the tools needed for the task, and provide a step-by-step guide to efficiently find and replace the faulty LED bulb.
If you want to keep your holiday decorations shining bright, continue reading to learn how to troubleshoot and fix bad LED bulbs in your Christmas lights.
Key Takeaways:
- Efficiently troubleshoot and fix bad LED bulbs in Christmas lights by understanding common issues, identifying faulty bulbs, and using the right tools. Follow a systematic approach to restore the luminosity of your holiday decorations.
- Streamline the process of finding bad LED bulbs with tips such as starting from the middle, using visual clues, testing spare bulbs, and enlisting help. Don’t let non-functional LED bulbs dim your holiday spirit – take action and restore the festive ambiance.
Read more: How To Change A Christmas Light Bulb
Common Issues with LED Christmas Lights
While LED Christmas lights are known for their durability, efficiency, and long lifespan, they can still experience common issues that may cause individual bulbs or even the entire string to stop working. Understanding these common issues will help you diagnose and fix your LED Christmas lights more efficiently. Here are some of the most frequent problems:
1. Loose Connections: Over time, the connections between LED bulbs and the wiring can become loose due to constant handling and exposure to weather conditions. Loose connections can disrupt the flow of electricity, causing individual bulbs or sections of the string to stop working. 2. Corroded Contacts: Moisture and outdoor elements can lead to corrosion in the contact points of the LED bulbs and wiring. Corroded contacts can prevent the flow of electricity and result in non-functional bulbs or sections. 3. Faulty Bulbs: Occasionally, LED bulbs may have manufacturing defects or internal damage, which can cause them to malfunction or stop working altogether. One faulty bulb can affect the whole string of lights. 4. Overloading: If you connect too many LED light strings end-to-end or plug them into an outlet with limited power capacity, you can overload the circuit. Overloading can trip the circuit breaker and cause the lights to go out. 5. Power Supply Issues: Problems with the power supply, such as fluctuations or surges, can damage the LED lights and cause them to stop working. Unstable power can also lead to LED bulbs flickering or shining dimly.
By being aware of these common issues, you can pinpoint the cause of the problem and take the necessary steps to fix your LED Christmas lights.
Identifying a Bad LED Bulb
Identifying a bad LED bulb is crucial for troubleshooting and fixing your Christmas lights. Here are some signs that indicate a bad LED bulb:
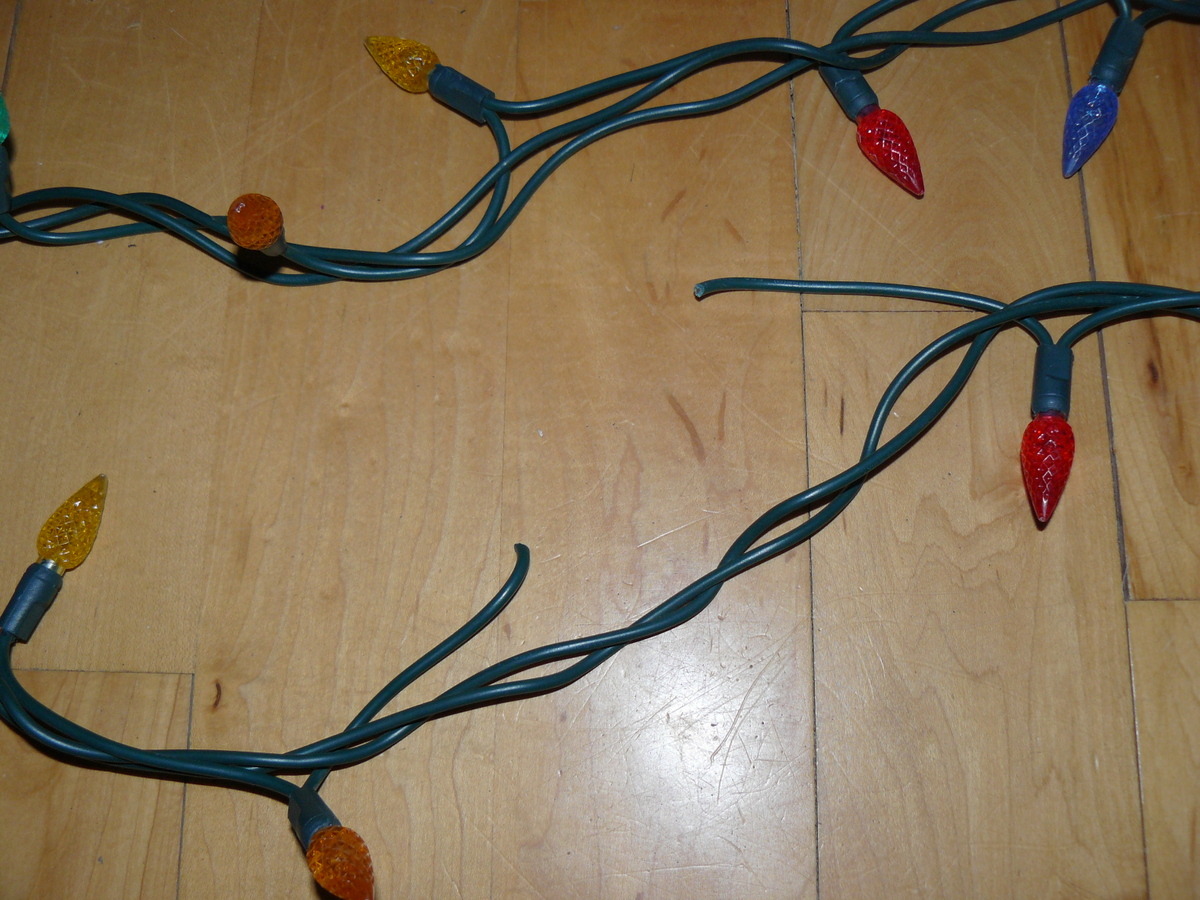
1. Complete Darkness: If an entire section or string of LED lights is completely dark, the problem is likely a bad LED bulb. The absence of any light output suggests that no power is reaching that particular bulb. 2. Flickering Lights: If the LED lights are flickering or flashing inconsistently, it may indicate a bad bulb. Flickering can occur when the connection between the bulb and the wiring is loose or when the bulb is damaged. 3. Dim or Discolored Light: A dim or discolored LED bulb compared to the rest of the string can indicate a faulty bulb. If the bulb appears darker or emits a different hue than the surrounding bulbs, it is likely damaged or defective. 4. Bulb Inspection: Carefully examine each LED bulb for physical damage, such as cracks or breakage. Additionally, check for loose connections or signs of corrosion on the bulb contacts or wiring.
It’s important to note that bad LED bulbs can impact the functionality of the entire string of lights. As such, identifying and replacing the faulty bulb is crucial for restoring the full luminosity of your Christmas lights.
Tools Needed for Finding Bad LED Bulbs
Before you begin the process of finding bad LED bulbs in your Christmas lights, you’ll need a few tools to assist you in the task. Having the right tools on hand will make the process quicker and more efficient. Here are some essential tools:
1. Replacement Bulbs: It is advisable to have some replacement LED bulbs on hand before you start troubleshooting. This way, you can immediately replace any faulty bulbs you come across during the inspection. 2. Voltage Tester: A voltage tester is a handy tool for checking if electricity is reaching a particular LED bulb. It helps you determine if the problem lies with the bulb or with the wiring. 3. Needle-Nose Pliers: Needle-nose pliers are useful for holding and manipulating tiny parts, such as bulb connectors or wires. They provide better grip and make it easier to detach and reattach bulbs. 4. Wire Cutters and Strippers: Wire cutters and strippers are essential for repairing or replacing wiring, especially if there are loose connections or corroded contacts. They allow you to remove damaged sections of wire and reestablish proper connections. 5. Insulation Tape: Insulation tape is essential for securing loose connections and protecting wiring from exposure to moisture or outdoor elements. It helps maintain the integrity and safety of your Christmas lights.
By having these tools readily available, you will be well-equipped to find and fix bad LED bulbs in your Christmas lights efficiently. Remember to exercise caution and pay attention to safety precautions while working with electrical components.
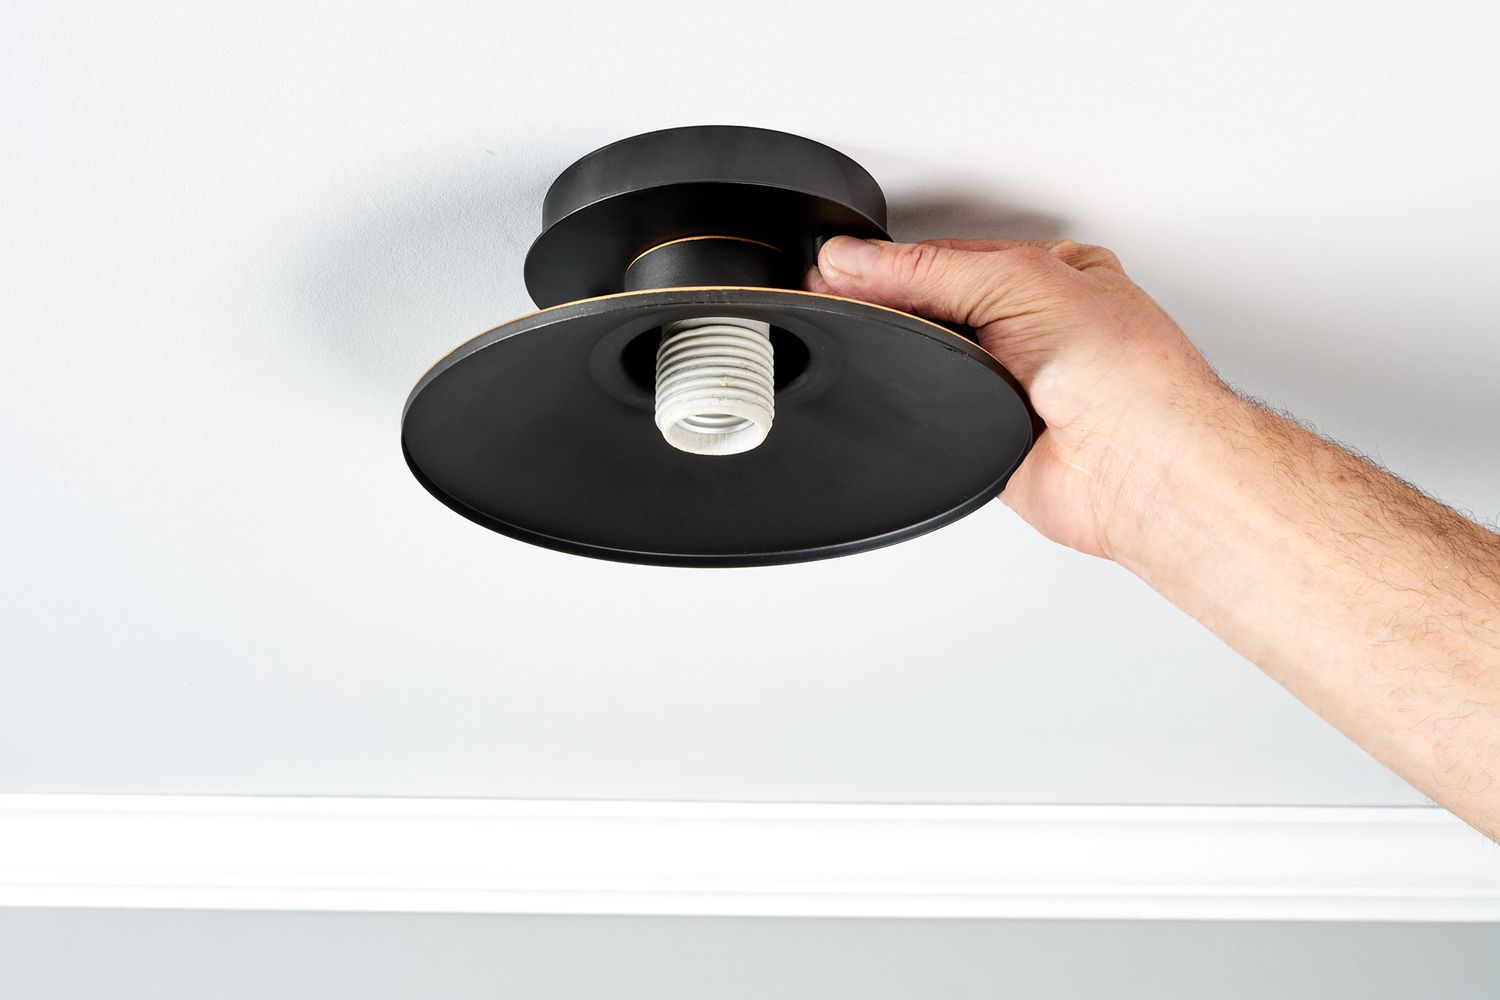
Use a voltage tester or a replacement bulb to identify the bad LED bulb in your Christmas lights. Simply test each bulb until you find the one that is not working.
Step-by-Step Guide to Find Bad LED Bulbs
Now that you have an understanding of the common issues with LED Christmas lights, know how to identify a bad LED bulb, and have the necessary tools, let’s dive into the step-by-step process of finding bad LED bulbs:
Step 1: Prepare your Work Area: Set up a clean and well-lit work area where you can comfortably inspect the LED lights. Ensure that you have ample space to spread out the lights and perform the necessary tasks. Step 2: Plug in the LED Lights: Plug in the LED lights and turn them on to see if there are any sections that are not lighting up or are flickering. This initial visual inspection will give you a general idea of the areas that need further investigation. Step 3: Inspect the Bulbs: Carefully examine each LED bulb for physical damage, such as cracks or breakage. Check for loose connections or signs of corrosion on the bulb contacts or wiring. Remove any damaged bulbs and replace them with the spare bulbs you have on hand. Step 4: Use the Voltage Tester: If the visual inspection does not identify the faulty bulb, use a voltage tester to check if electricity is reaching each LED bulb. Simply touch the tester to the contacts of the LED bulb and observe if it registers any voltage. If a bulb is not receiving electricity, it is likely the culprit. Step 5: Replace Faulty Bulbs: Once you have determined which LED bulbs are faulty, remove them from the socket and replace them with new bulbs. Ensure that the replacement bulbs are of the same size and specifications as the original ones. Step 6: Test the Lights: After replacing the faulty bulbs, plug in the LED lights again and test if the entire string is lighting up properly. If any sections are still not working, repeat the process to find and replace any remaining bad LED bulbs.
By following these step-by-step instructions, you will be able to systematically find and replace bad LED bulbs in your Christmas lights, restoring their brightness and ensuring a beautifully lit holiday display.
Read more: What Is A Light Bulb
Tips for Efficiently Finding Bad LED Bulbs
While troubleshooting and finding bad LED bulbs in your Christmas lights can be a meticulous task, there are some tips and tricks that can help you streamline the process. Here are some tips to efficiently find bad LED bulbs:
1. Start from the Middle: When inspecting the LED lights, it’s best to start from the middle of the string and work your way towards the end. This way, if you find any faulty bulbs, you can fix them and continue your inspection without having to backtrack. 2. Use Visual Clues: Look for visual clues like dark sections or flickering lights to identify potential problem areas. This can help you narrow down the search and pinpoint the faulty bulbs more quickly. 3. Test Bulbs from Spare Sections: If you have spare sections of LED lights, you can test individual bulbs from those sections to check if they are working. This can help you determine if the problem lies with the bulb or with the wiring of the main string. 4. Teamwork: Enlist the help of a partner or family member to make the process faster and more efficient. One person can inspect the bulbs while the other replaces and tests them. Having another set of eyes can help catch any missed faulty bulbs. 5. Keep Track: Make a note or keep a mental record of the bulbs that you have found to be faulty. This will help you avoid double-checking already inspected bulbs and prevent you from accidentally missing any bad bulbs. 6. Check the Fuse: In some cases, the issue with LED Christmas lights may be due to a blown fuse. Locate the fuse in the plug of the light string and replace it if necessary. This simple step can save you the trouble of replacing multiple bulbs unnecessarily. 7. Test the Outlet: If you have tested and replaced multiple bulbs, and the lights still do not work, check the outlet with a different electrical device to ensure it is functioning properly. It’s possible that the problem lies with the power source rather than the LED lights themselves.
By following these tips, you can expedite the process of finding bad LED bulbs in your Christmas lights, saving time and ensuring that your holiday decorations shine brightly.
Conclusion
When it comes to LED Christmas lights, finding and replacing bad LED bulbs is a necessary task to keep your holiday decorations glowing bright. By understanding the common issues, knowing how to identify a bad LED bulb, and having the right tools, you can efficiently troubleshoot and fix any malfunctioning lights.
Throughout this article, we have discussed the common issues with LED Christmas lights, including loose connections, corroded contacts, faulty bulbs, overloading, and power supply issues. We have also provided a step-by-step guide to help you find and replace bad LED bulbs, along with some tips for efficient troubleshooting.
Remember to prepare your work area, inspect the LED bulbs for physical damage and loose connections, use a voltage tester to check for electricity flow, replace faulty bulbs, and test the lights to ensure they are functioning properly. By following these steps and tips, you can quickly restore the full brightness of your Christmas lights.
With the right approach and a little patience, you’ll be able to find and fix any bad LED bulbs, bringing back the joyful and festive ambiance that Christmas lights create.
So, don’t let a few non-functional LED bulbs dampen your holiday spirit. Take action, follow the steps outlined in this article, and soon your Christmas lights will be shining brilliantly once again.
Frequently Asked Questions about How To Find Bad LED Bulb In Christmas Lights
Was this page helpful?
At Storables.com, we guarantee accurate and reliable information. Our content, validated by Expert Board Contributors, is crafted following stringent Editorial Policies. We're committed to providing you with well-researched, expert-backed insights for all your informational needs.


0 thoughts on “How To Find Bad LED Bulb In Christmas Lights”