
Articles
How To Tie-Dye A Pillowcase
Modified: August 20, 2024
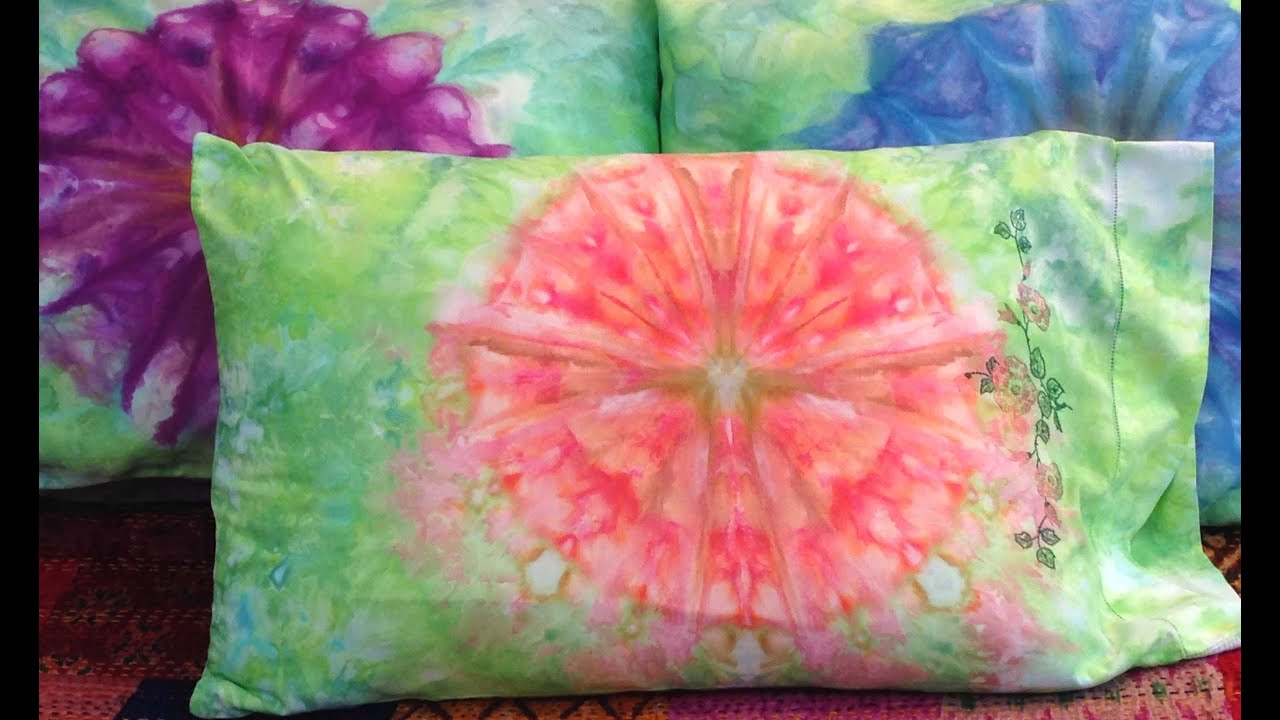
Learn the step-by-step process of tie-dyeing a pillowcase with this informative article. Discover various techniques to create vibrant and unique patterns on your pillowcases.
(Many of the links in this article redirect to a specific reviewed product. Your purchase of these products through affiliate links helps to generate commission for Storables.com, at no extra cost. Learn more)
Introduction
Have you ever wanted to add a unique and vibrant touch to your home decor? Look no further than tie-dyeing! Tie-dyeing is a fun and creative way to transform plain and ordinary items into colorful works of art. And one of the easiest and most versatile items to tie-dye is a pillowcase. Whether you want to update your bedroom with a personalized touch or create a one-of-a-kind gift for someone special, tie-dyeing a pillowcase is the perfect project.
In this step-by-step guide, we will walk you through the process of tie-dyeing a pillowcase, from preparing the fabric to achieving eye-catching designs. With a few simple materials and a little bit of creativity, you’ll have a beautiful tie-dyed pillowcase that will brighten up any space.
Before we dive into the instructions, let’s gather the materials you’ll need for this project.
Key Takeaways:
- Transform plain pillowcases into vibrant works of art with tie-dyeing. From preparation to dye application, unleash your creativity and add a personalized touch to your home decor.
- Experiment with spiral, bullseye, and stripe designs to create unique tie-dye pillowcases. Set the dye for long-lasting vibrancy and enjoy your colorful, one-of-a-kind creations.
Read more: How To Tie-Dye A Tablecloth
Materials Needed
Before you start tie-dyeing your pillowcase, make sure you have the following materials:
- A plain white or light-colored pillowcase
- Tie-dye kit (includes dye bottles, gloves, rubber bands, and instructions)
- Plastic squeeze bottles (if not included in the tie-dye kit)
- Plastic tablecloth or garbage bags (to protect your work surface)
- Plastic wrap or a large plastic bag (to wrap the pillowcase)
- Plastic or metal spoons (for mixing the dye)
- Hot water
- Mixing containers (plastic or glass)
- Optional: Fabric dye fixative (to help set the colors and prevent fading)
You can find tie-dye kits at most craft stores or online. These kits usually contain all the necessary colors and instructions to get started. However, if you prefer, you can also purchase individual dye bottles and mix your own colors.
Once you have gathered all your materials, it’s time to prepare the pillowcase for tie-dyeing.
Preparing the Pillowcase
Before you can start the tie-dyeing process, it is important to properly prepare the pillowcase to ensure the best results. Follow these steps to prepare the fabric:
- Wash the pillowcase: Start by washing the pillowcase using mild detergent. This will remove any dirt, oils, or sizing that may be present on the fabric. Avoid using fabric softener as it can leave a residue that may affect the absorption of the dye.
- Dampen the pillowcase: Once the pillowcase is clean, dampen it with water. This will help the dye penetrate the fibers more evenly.
- Smooth out any wrinkles: Lay the pillowcase on a flat surface and smooth out any wrinkles. Wrinkles can interfere with the tie-dyeing process and affect the appearance of the final design.
- Place a plastic tablecloth or garbage bags: To protect your work surface from dye stains, lay down a plastic tablecloth or open garbage bags.
Now that your pillowcase is prepared, it’s time to move on to creating the tie-dye design!
Creating the Tie-Dye Design
The beauty of tie-dye is that you can get creative and experiment with different designs. Here are a few popular tie-dye techniques you can try:
- Spiral: Lay the pillowcase flat and pinch the center. Twist the fabric in a circular motion until it forms a tight spiral. Secure the spiral with rubber bands, creating sections for the dye.
- Bullseye: Pinch the fabric in the center and pull it up. Secure the top with a rubber band, creating a “tower” shape. Add additional rubber bands at intervals along the height of the tower, dividing it into sections for dyeing.
- Stripes: Fold the pillowcase accordion-style, creating parallel folds. Place rubber bands at regular intervals along the folded fabric to create stripes or patterns.
- Tie-dye shapes: Use plastic or metal items, like marbles or coins, to create unique patterns. Place the item on the fabric and wrap it tightly with rubber bands to secure it in place.
Remember, the design will depend on your personal preference and creativity. Feel free to experiment with different techniques and create your own unique patterns.
Once you have chosen your design, secure the fabric with rubber bands to keep it in place during the dyeing process. Make sure the rubber bands are tight enough to prevent the dye from seeping into unwanted areas, but not too tight that they restrict the flow of the dye.
Now that your design is ready, it’s time to move on to applying the dye!
After tying your pillowcase, apply dye in sections for a vibrant and unique pattern. Let the dye set for 6-8 hours before rinsing and washing.
Applying the Dye
Now comes the exciting part – applying the dye to your tie-dye design! Follow these steps to achieve vibrant and colorful results:
- Put on gloves: Before handling the dye, put on the gloves provided in your tie-dye kit. This will protect your hands from staining.
- Prepare the dye: If your tie-dye kit includes pre-mixed dye, skip this step. Otherwise, mix the dye according to the instructions on the package. Use plastic or metal spoons to mix the dye powders with warm water until they dissolve completely.
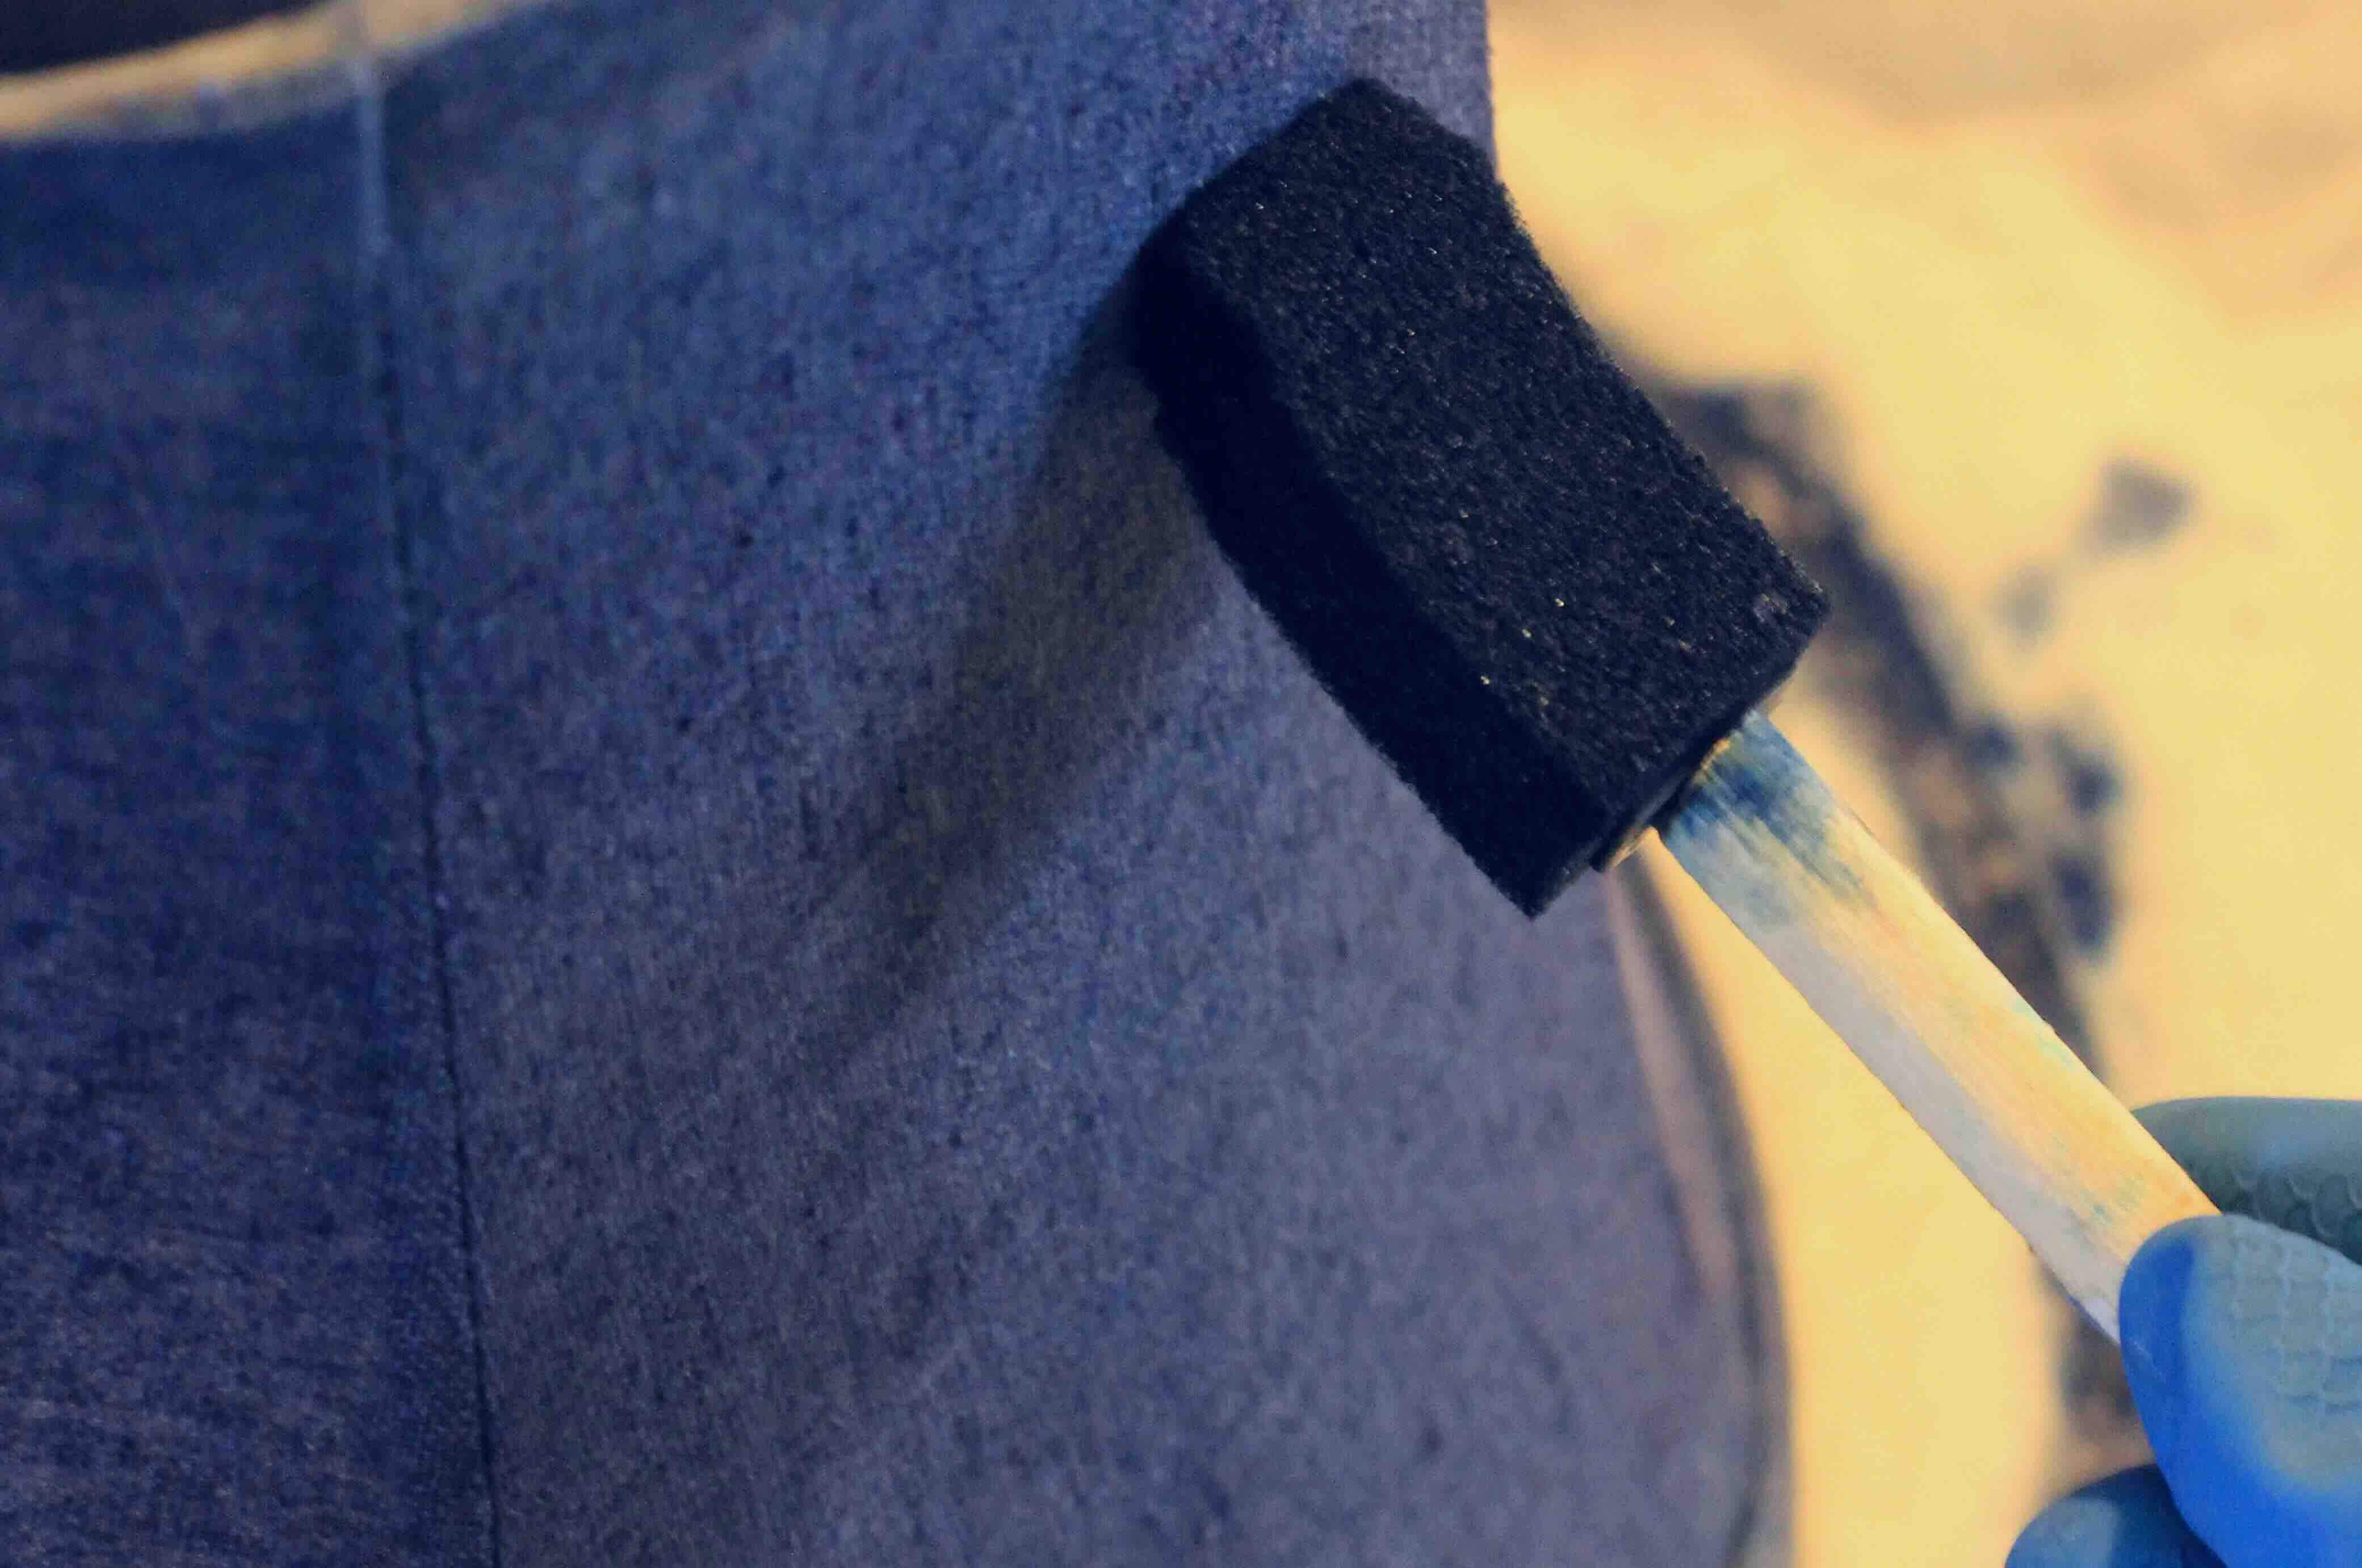
- Apply the dye: Using the squeeze bottles or a spoon, apply the dye to the sections created by the rubber bands. Be generous with the dye, making sure to saturate the fabric completely. Use a variety of colors to create a vibrant and eye-catching design.
- Flip the pillowcase: Once you have applied the dye to one side, gently flip the pillowcase over and repeat the process on the other side. This will ensure that both sides of the pillowcase are equally colorful.
- Allow the dye to penetrate: After applying the dye, let the pillowcase sit for the recommended time mentioned in your tie-dye kit instructions. This allows the dye to penetrate the fibers and develop vibrant colors.
Remember to work on a plastic tablecloth or garbage bags to protect your work surface from any dye splatters. Additionally, be mindful of the colors you choose and how they interact with each other to achieve the desired effect.
Once the dye has had enough time to penetrate, it’s time to move on to the next step: setting the dye.
Read more: How To Tie-Dye A Blanket
Setting the Dye
Setting the dye is an important step in the tie-dyeing process as it helps to ensure that the colors remain vibrant and long-lasting. Follow these steps to set the dye:
- Cover the pillowcase: Once you have finished applying the dye, cover the pillowcase with plastic wrap or place it inside a large plastic bag. This will help to trap heat and moisture, which is necessary for setting the dye.
- Let it sit: Allow the pillowcase to sit undisturbed for the time specified in your tie-dye kit instructions. This can range from a few hours to overnight.
- Heat set with an iron (optional): For even better color retention, you can heat set the dye using an iron. Set the iron to the appropriate temperature for the fabric and press it onto the dyed areas of the pillowcase for a few minutes. This step will help to further bond the dye to the fabric.
After setting the dye, it’s time to wash and dry the pillowcase to remove any excess dye and reveal the final result!
Washing and Drying the Pillowcase
Once you have completed the tie-dye process and set the dye, it’s time to wash and dry the pillowcase. Follow these steps to ensure the colors remain vibrant and the fabric is ready for use:
- Remove the rubber bands: Carefully remove the rubber bands from the pillowcase. Take your time to avoid smudging the colors.
- Rinse the pillowcase: Start by rinsing the pillowcase under cold water. Continue rinsing until the water runs clear and all excess dye is removed. This step helps to prevent color bleeding and ensures that the colors remain vibrant.
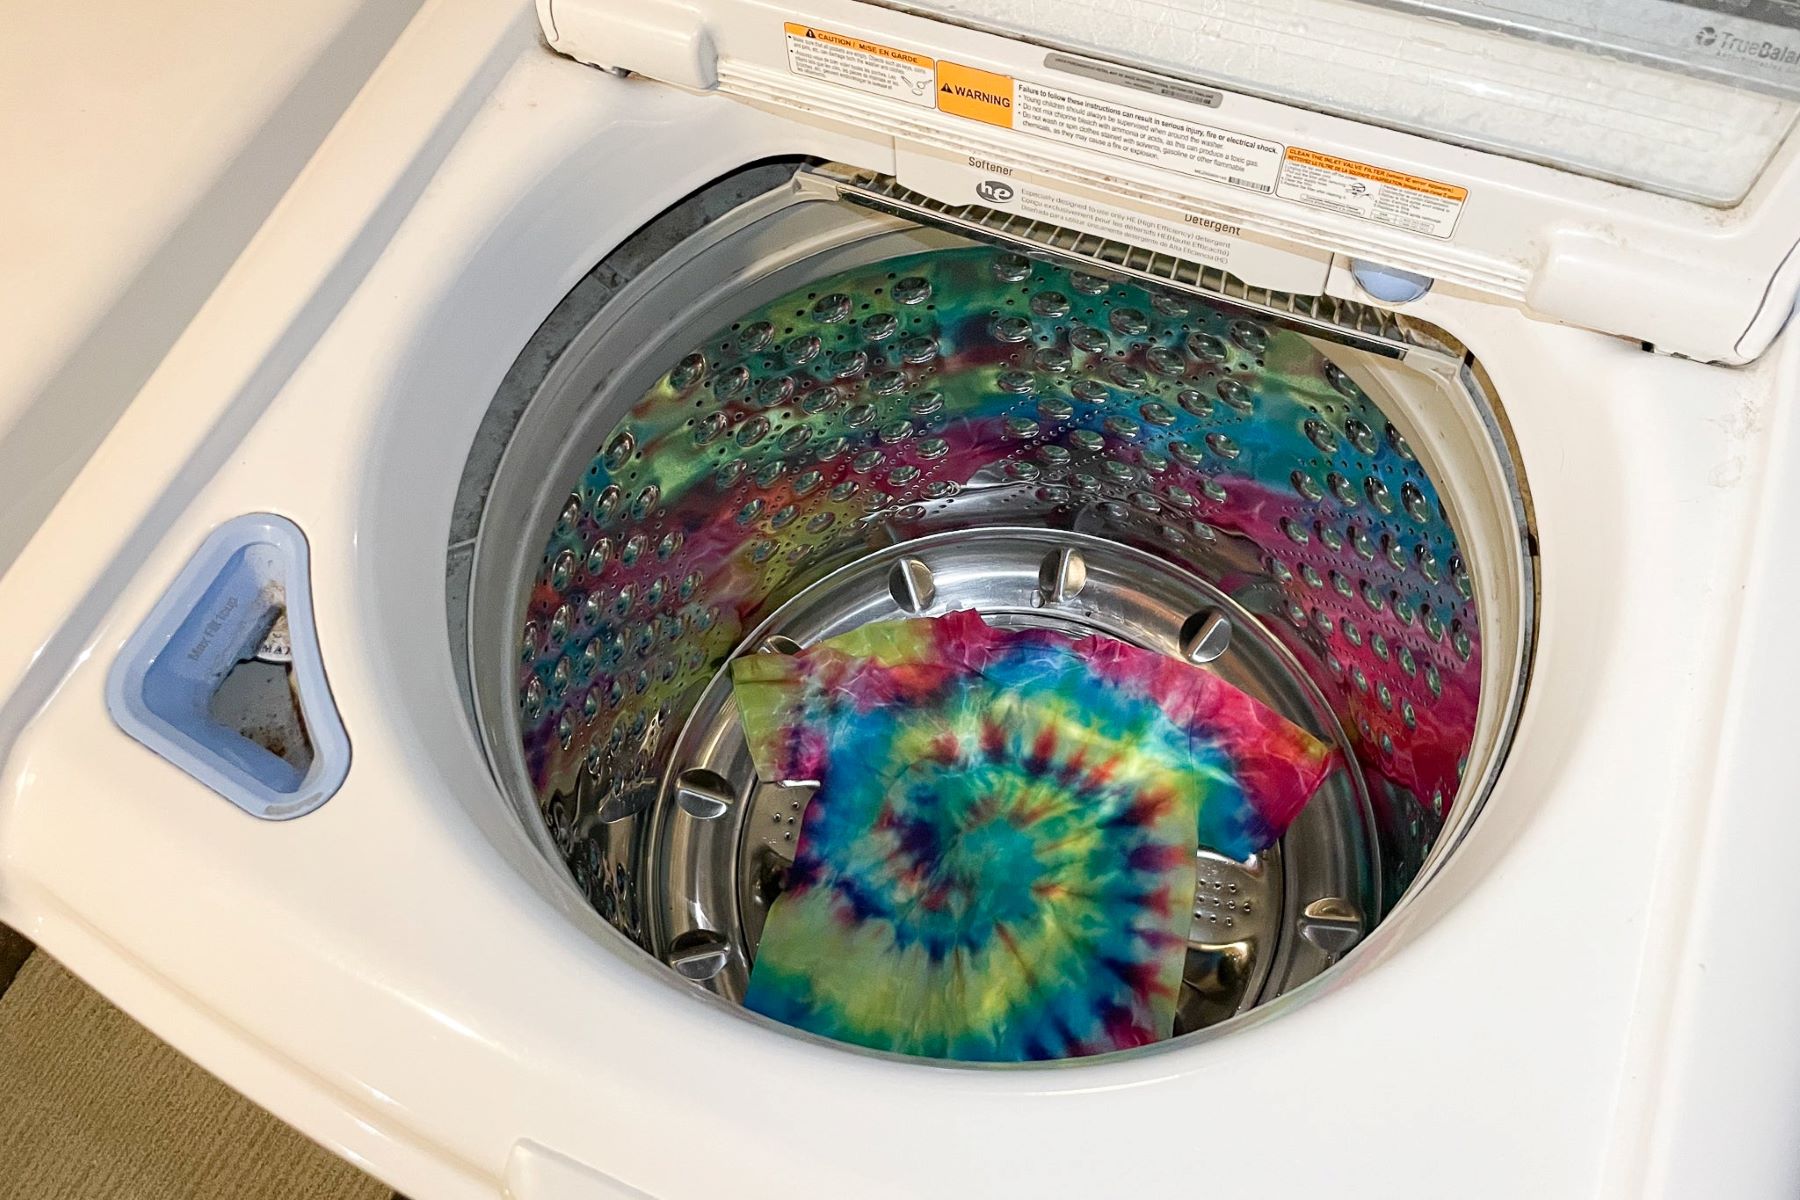
- Machine wash (optional): If your tie-dye kit instructions recommend machine washing, place the pillowcase in a washing machine on a gentle cycle. Use cold water and a mild detergent. This will help to remove any remaining dye and leave the fabric clean and ready for use.
- Dry the pillowcase: After washing, either air dry the pillowcase or tumble dry it on a low heat setting. Avoid exposing the tie-dyed fabric to direct sunlight as this can cause fading.
- Enjoy your tie-dyed pillowcase: Once the pillowcase is dry, it’s ready to use! Admire the vibrant colors and the unique design you have created.
Remember, when washing your tie-dyed pillowcase in the future, it’s best to wash it separately or with similar colors to avoid color bleeding.
Now that you know how to tie-dye a pillowcase, you can unleash your creativity and add a colorful touch to your home decor or create thoughtful gifts for your loved ones!
Happy tie-dyeing!
Conclusion
In conclusion, tie-dyeing a pillowcase is a fun and creative way to add a personalized touch to your home decor. With just a few simple materials and a touch of creativity, you can transform a plain and ordinary pillowcase into a vibrant and eye-catching work of art.
Starting with the preparation of the pillowcase by washing and dampening it, you can then move on to creating unique tie-dye designs. Whether you prefer spirals, bullseyes, stripes, or experimenting with various shapes, the possibilities are endless. The key is to secure the fabric with rubber bands to create distinct sections for dye application.
Applying the dye is the exciting part where you can let your creativity run wild. Use the squeeze bottles or spoons to generously apply the dye to each section, ensuring full saturation of the fabric. Flip the pillowcase over to cover both sides with your chosen colors, creating a visually stunning design.
Once the dye has been applied, it is important to set it to ensure that the colors remain vibrant and long-lasting. Covering the pillowcase with plastic wrap or placing it in a plastic bag will help trap heat and moisture, allowing the dye to properly set. For even better results, you can heat set the dye with an iron.
After setting the dye, it’s time to wash away any excess dye and reveal the final masterpiece. Rinse the pillowcase under cold water until the water runs clear, and optionally machine wash it on a gentle cycle with mild detergent. Finally, air dry or tumble dry on a low heat setting, and your tie-dyed pillowcase is ready to be enjoyed.
Tie-dyeing a pillowcase offers a great opportunity for creative expression and personalization. Whether you want to update your bedroom decor, add a pop of color to your living room, or create a unique gift for a loved one, tie-dyeing is a versatile and crafty activity.
So, gather your materials, unleash your creativity, and get ready to create stunning tie-dyed pillowcases that will bring joy and color to your home. Happy tie-dyeing!
Frequently Asked Questions about How To Tie-Dye A Pillowcase
Was this page helpful?
At Storables.com, we guarantee accurate and reliable information. Our content, validated by Expert Board Contributors, is crafted following stringent Editorial Policies. We're committed to providing you with well-researched, expert-backed insights for all your informational needs.




0 thoughts on “How To Tie-Dye A Pillowcase”