Articles
How To Transition Flooring At Top Of Stairs
Modified: August 31, 2024
Discover the best articles on how to seamlessly transition flooring at the top of your stairs. Learn expert tips and techniques for a beautiful and safe staircase renovation.
(Many of the links in this article redirect to a specific reviewed product. Your purchase of these products through affiliate links helps to generate commission for Storables.com, at no extra cost. Learn more)
Introduction
Transitioning flooring at the top of stairs is a crucial aspect of any staircase remodel or installation project. It not only serves a functional purpose by providing a smooth and safe transition between different types of flooring, but it also plays a significant role in the overall aesthetic appeal of your staircase.
When it comes to flooring transitions at the top of stairs, there are various options and methods available. Understanding these options and knowing how to choose the right transition method for your specific staircase is essential to achieve a seamless and visually pleasing result.
In this article, we will delve into the importance of transitioning flooring at the top of stairs and explore the different types of transition options available. We will also provide you with a step-by-step guide on how to successfully transition flooring at the top of stairs, along with some tips, precautions, and common mistakes to avoid. So let’s jump right in.
Key Takeaways:
- Transitioning flooring at the top of stairs is essential for safety, aesthetics, and structural integrity. Understanding the importance, assessing options, and choosing the right method are crucial for a seamless and visually appealing transition.
- Proper installation techniques, attention to detail, and regular maintenance are key to achieving a successful and long-lasting transition. Avoiding common mistakes and seeking professional help when needed can ensure a flawless result.
Read more: How To Install Floor Transition Strip
Understanding the Importance of Transitioning Flooring at the Top of Stairs
Transitioning flooring at the top of stairs is more than just a matter of aesthetics; it is a crucial safety measure that ensures a smooth and secure transition between different floor surfaces. The top of stairs is a high-traffic area that is prone to accidents if proper transitions are not installed.
One of the primary reasons to transition flooring at the top of stairs is to prevent tripping hazards. When there is a sudden change in floor height or type at the top of the stairs, it can be challenging to navigate, especially for elderly individuals and young children. Installing a well-designed transition helps to minimize the risk of accidents and ensures a seamless transition between different flooring materials.
Another key reason for transitioning flooring at the top of stairs is to maintain the integrity of the stair structure. Stairs are designed with specific measurements and dimensions, and altering the flooring abruptly without a proper transition can disrupt the stability and functionality of the staircase. By using appropriate transition methods, you can preserve the structural integrity of the stairs while seamlessly blending the different flooring materials.
Furthermore, transitioning flooring at the top of stairs enhances the overall aesthetic appeal of your staircase. The transition strip not only provides a smooth visual transition but can also add a touch of elegance and sophistication. It allows you to showcase your unique style and tie together the different design elements of your home.
Lastly, proper flooring transitions at the top of stairs can help to reduce the noise that can be generated when walking up or down the stairs. A well-installed transition strip can act as a buffer, absorbing some of the sound and preventing it from resonating throughout the house. This can significantly contribute to a quieter and more peaceful living environment.
Overall, understanding the importance of transitioning flooring at the top of stairs is crucial for both safety and aesthetics. By carefully selecting the transition method and ensuring its proper installation, you can create a seamless and visually appealing staircase while providing a secure and smooth transition between different flooring materials.
Assessing the Different Types of Flooring Transition Options
When it comes to transitioning flooring at the top of stairs, there are several options to choose from. The right choice will depend on various factors, including the types of flooring involved, your personal preferences, and the overall design of your staircase. Let’s explore some of the common transition options:
- Threshold Transition: This type of transition involves using a threshold strip, usually made of metal or wood, to create a smooth bridge between two different floor surfaces. It is commonly used when transitioning between rooms or areas with distinct flooring materials, such as carpet and hardwood.
- T-Molding Transition: T-molding is often used when transitioning between two surfaces of roughly equal height, such as laminate or tile. It gets its name from its T-shaped profile, with one side designed to slot into the gap between the two floor surfaces while the other side provides a seamless transition.
- Reducer Transition: A reducer strip is typically used when transitioning from a higher flooring material to a lower one, such as from hardwood to vinyl or carpet. It creates a gradual slope between the two surfaces, providing a smooth and visually pleasing transition.
- Flush Transition: As the name suggests, a flush transition is achieved by leveling both floor surfaces to the same height. It works best when the flooring materials are similar or can be easily matched in terms of thickness and installation method, such as two types of hardwood flooring.
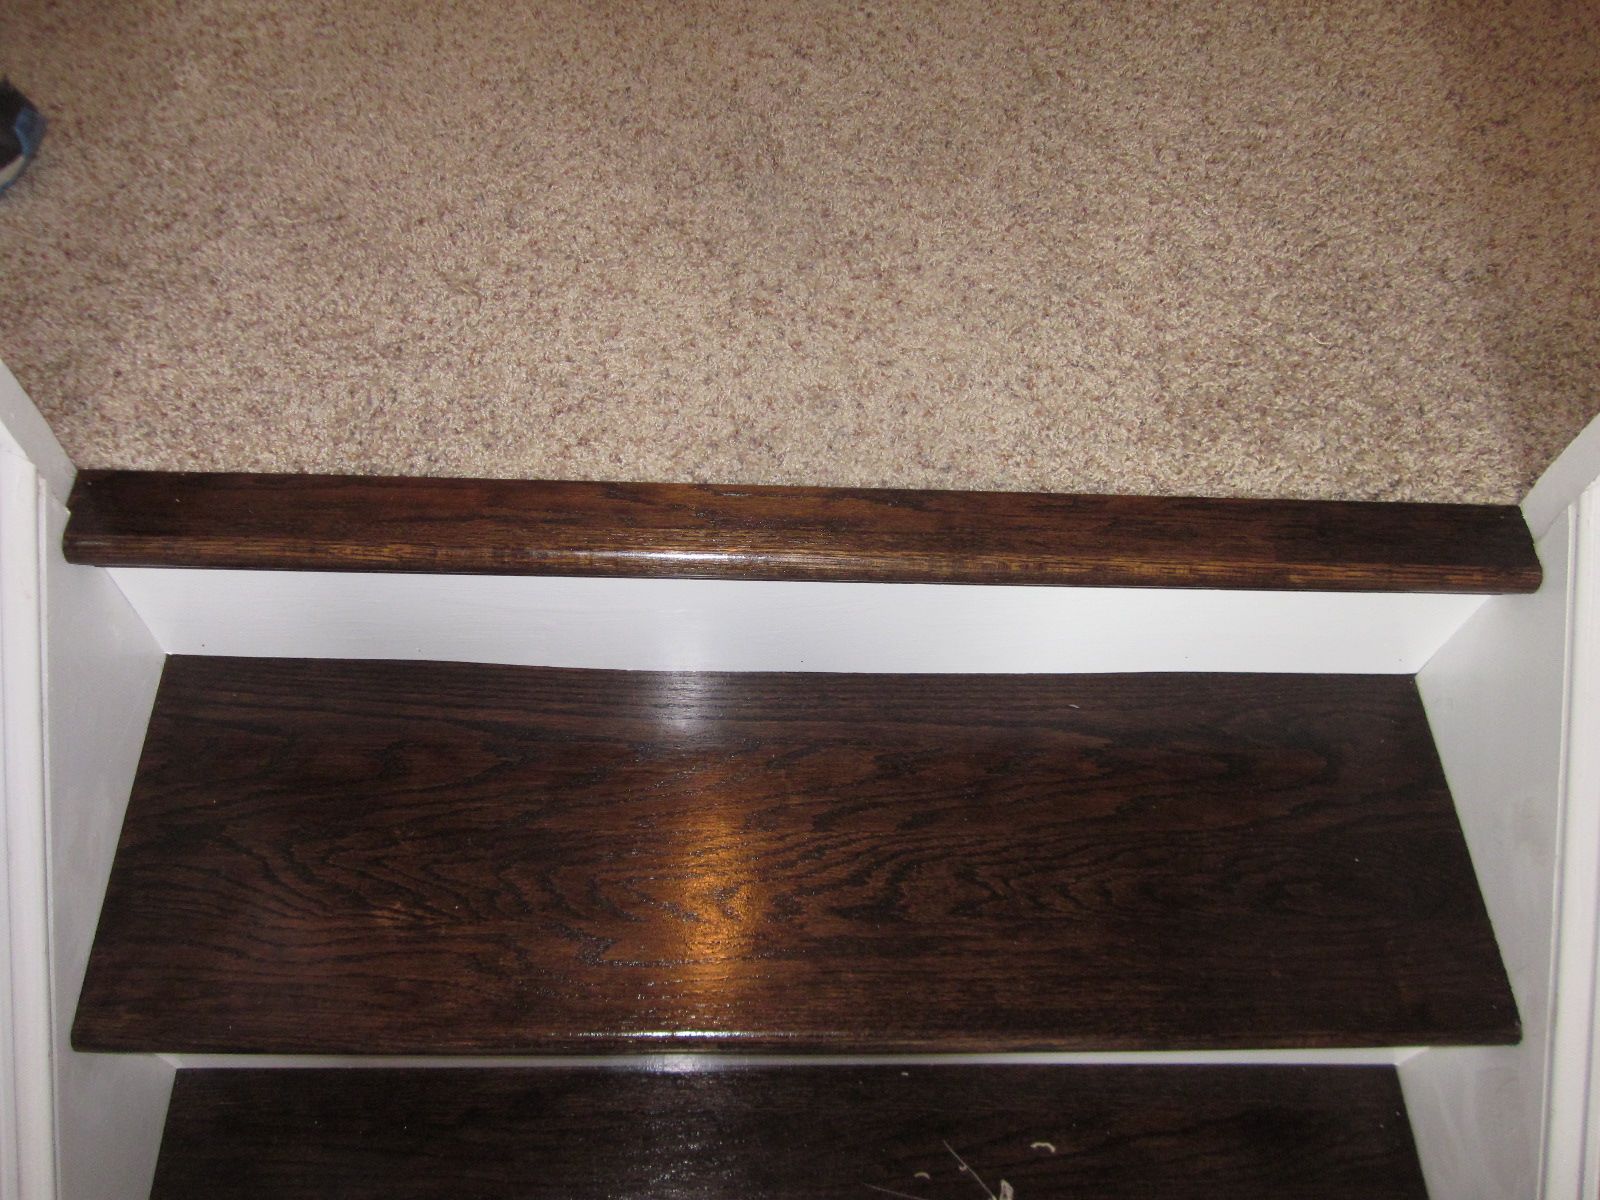
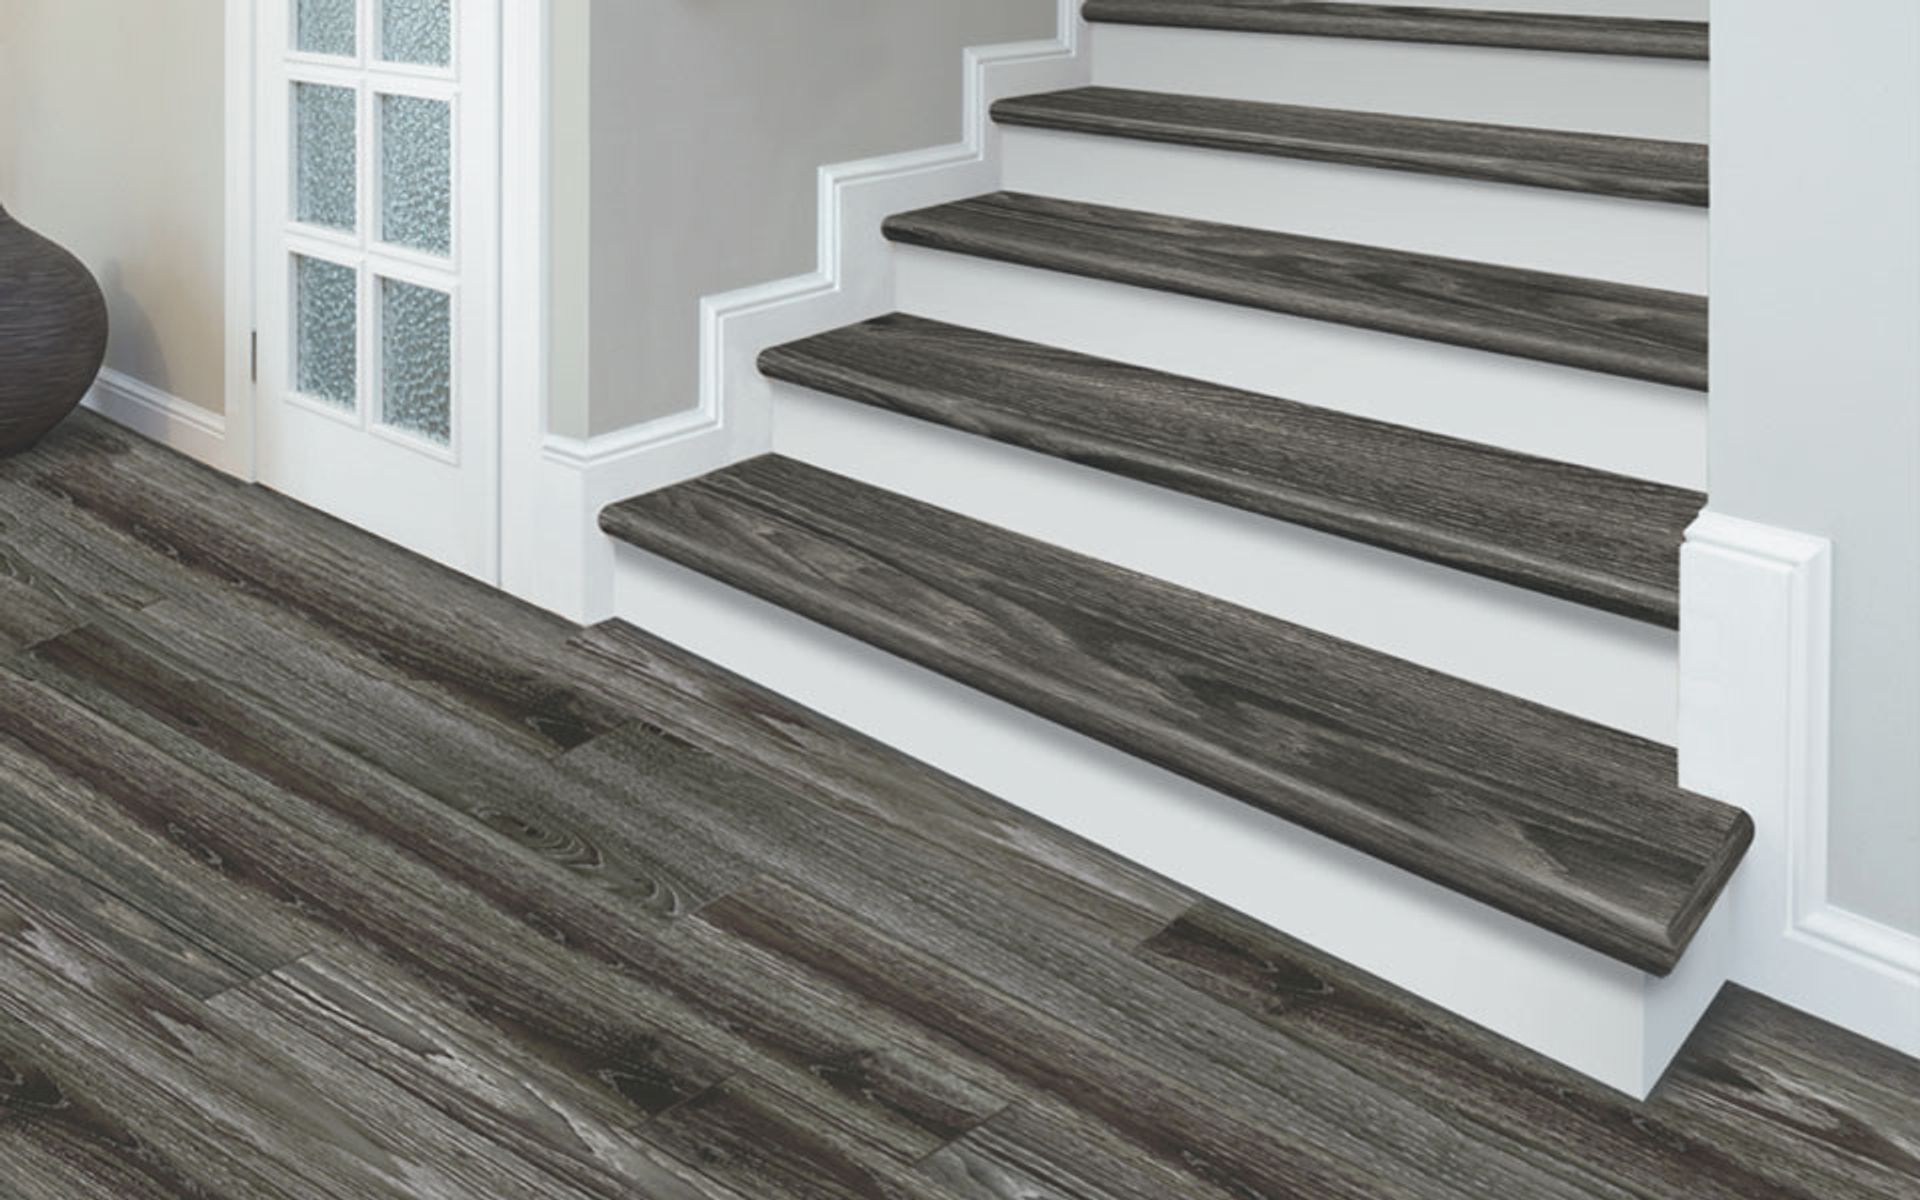
- Stair Nose Transition: Stair nose, also known as bullnose, is specifically designed for transitioning from a landing or top step to the flooring on the staircase itself. It creates a rounded edge to prevent tripping hazards and provides a seamless transition from the top step to the rest of the stairs.
These are just a few examples of the various flooring transition options available. Each option has its own unique characteristics and suitability for different scenarios. It is important to consider factors such as the height difference between the floor surfaces, the materials involved, and the overall design aesthetic when choosing the right transition method for your staircase.
Now that we have assessed the different types of flooring transition options, let’s move on to understanding how to choose the most suitable method for your staircase.
Choosing the Right Transition Method for your Staircase
When it comes to choosing the right transition method for your staircase, there are several factors to consider. Taking the time to assess these factors will help ensure that you select the most suitable option for your specific needs. Here are some key considerations:
- Height Difference: Measure and determine the height difference between the two flooring materials. This will help determine which transition method is best suited to bridge the gap between them. For larger height differences, a reducer or threshold transition might be necessary, while for smaller height differences, a T-molding or flush transition may suffice.
- Materials: Consider the types of flooring materials involved. Some transitions work better with certain materials. For example, a stair nose transition is ideal for stairs with carpet or hardwood flooring, while a reducer strip is more suitable for transitioning between hardwood and vinyl or carpet.
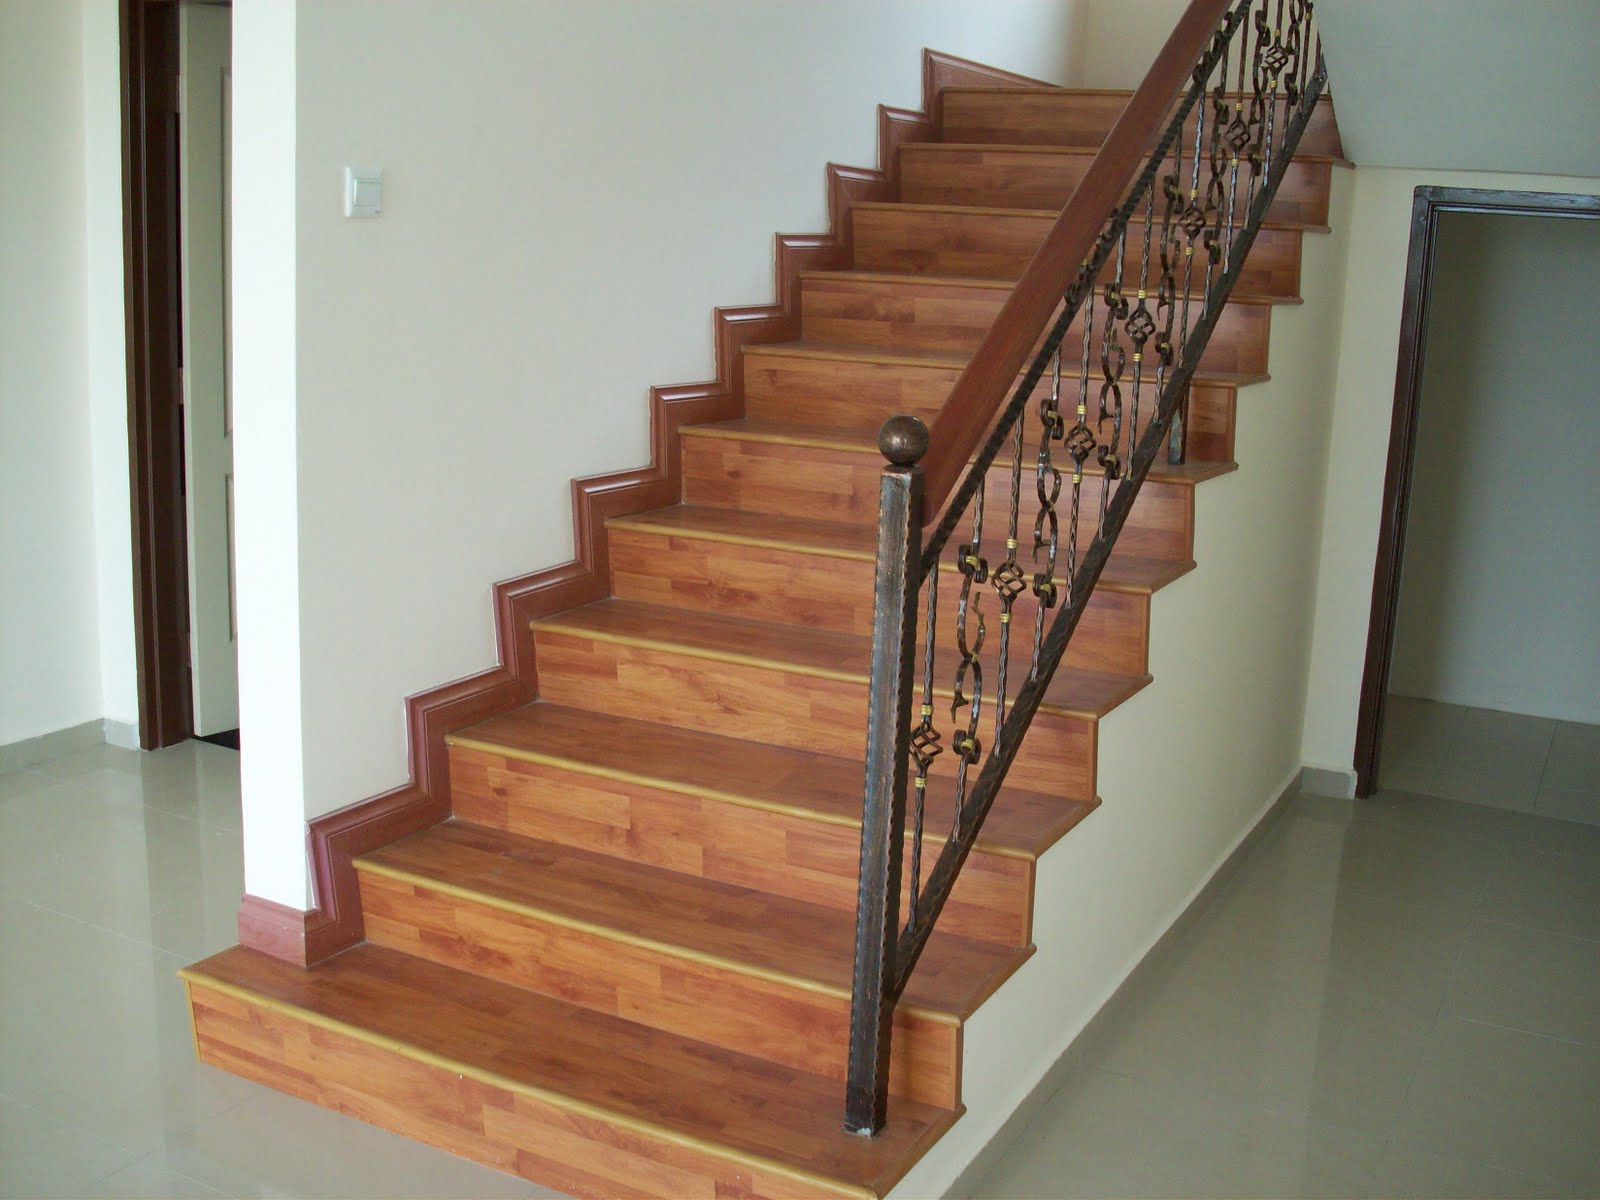
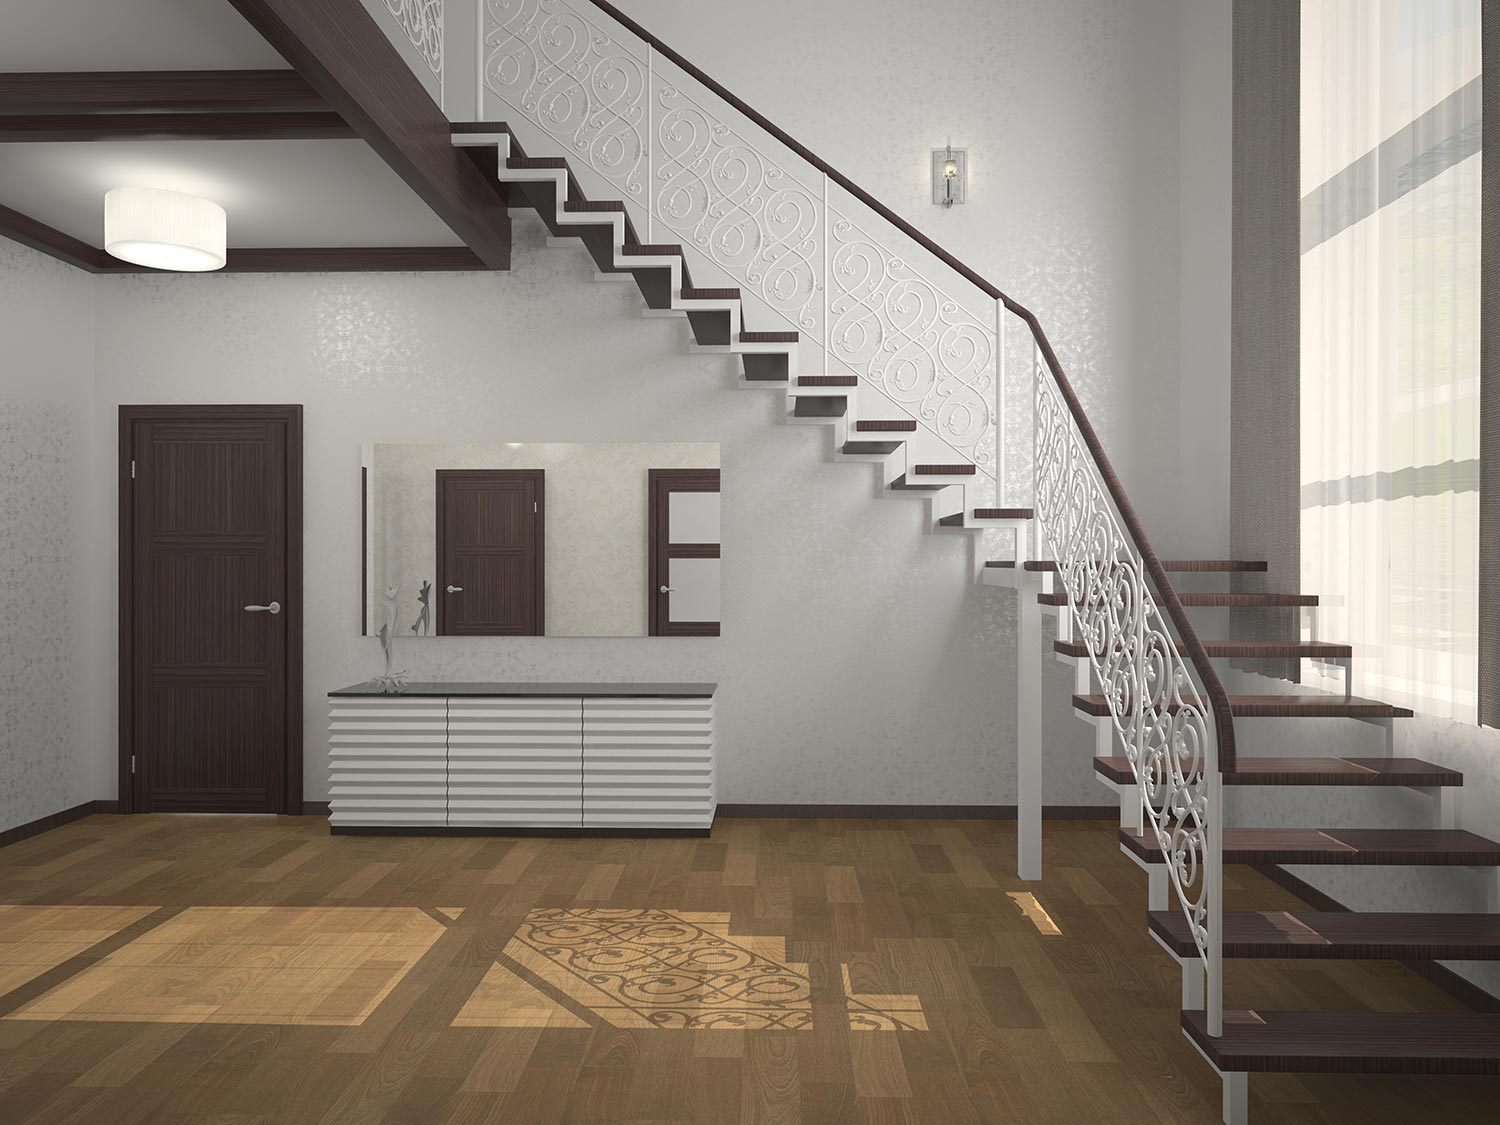
- Stair Design: Take into account the design and style of your staircase. Look for transition options that complement the overall aesthetic and harmonize with the existing design elements. For instance, if your staircase has a traditional look, a wooden threshold or stair nose transition can enhance its classic charm.
- Safety: Prioritize safety when choosing a transition method. Ensure that the selected option provides a smooth and secure transition, eliminating tripping hazards or loose parts. Consider whether any additional features, such as an anti-slip surface, are necessary to enhance the safety of your staircase.
- Installation: Evaluate the complexity of the installation process. Different transition methods require varying levels of expertise and tools for installation. If you are comfortable with DIY projects, you may opt for a simpler installation method. However, for more intricate transitions or if you lack experience, it might be best to hire a professional for proper installation.
- Budget: Finally, consider your budget. Some transition methods may be more cost-effective than others. Balance your desired aesthetic outcome with your financial limitations to find the right transition option that fits your budget.
By considering these factors, you can narrow down the options and choose the right transition method for your staircase. Remember, the goal is to achieve a seamless and visually appealing transition while ensuring safety and functionality.
Now that you have a better understanding of how to choose the right transition method, let’s move on to the practical steps on how to transition flooring at the top of stairs.
Consider using a T-molding or threshold to transition flooring at the top of stairs. This will create a smooth and safe transition between different types of flooring.
Step-by-Step Guide on How to Transition Flooring at the Top of Stairs
Transitioning flooring at the top of stairs may seem like a daunting task, but with the right guidance and proper tools, it can be a relatively straightforward process. Follow this step-by-step guide to achieve a seamless and secure transition:
- Gather the Necessary Tools: Before you begin, ensure you have the appropriate tools and materials. These may include a measuring tape, pencil, utility knife, transition strips, adhesive, nails or screws, and a saw if any trimming is necessary.
- Measure and Plan: Measure the width and length of the transition area at the top of the stairs. This will help determine the size and type of transition strip you need. Consider the height difference, material type, and the transition method you have chosen.
- Cut the Transition Strip: If the transition strip is too long for the width of the stairs, use a saw or utility knife to trim it to the correct length. Ensure the strip fits snugly against the two flooring materials, allowing for a seamless transition.
- Prepare the Surface: Clean the surface of both floor materials to ensure they are free from dust, dirt, and debris. This will help the adhesive bond securely to the surfaces and create a durable transition.
- Apply Adhesive: Apply a thin layer of adhesive to the back of the transition strip, following the manufacturer’s instructions. Make sure to cover the entire surface that will come in contact with the flooring materials.
- Position the Transition Strip: Carefully place the transition strip in the desired location at the top of the stairs, ensuring it aligns perfectly with the edge of each flooring material. Press down firmly to ensure proper adhesion.
- Secure the Transition Strip: Depending on the type of transition strip you are using, secure it in place using appropriate nails or screws. Follow the manufacturer’s instructions for proper installation, ensuring the strip is securely fastened to prevent any movement.
- Allow for Proper Drying: Allow sufficient time for the adhesive to dry and bond completely before subjecting the transition strip to regular foot traffic. This will ensure a strong and long-lasting transition.
- Clean and Finish: After the adhesive has dried, clean the transition strip and surrounding area to remove any excess adhesive or debris. Finish the transition by applying any necessary finishing touches, such as staining or painting, to match the aesthetic of your staircase.
Following these steps will help you successfully transition flooring at the top of stairs. However, it is essential to refer to the specific instructions provided by the manufacturer of your chosen transition strip and adhesive to ensure proper installation.
Now that you know how to transition flooring at the top of stairs, let’s move on to some essential tips and precautions to consider for a successful transition.
Read more: How To Decorate Landing At Top Of Stairs
Tips and Precautions for a Successful Transition
Transitioning flooring at the top of stairs requires attention to detail and careful execution to ensure a successful and long-lasting result. Here are some valuable tips and precautions to consider during the transition process:
- Take accurate measurements: Measure the transition area precisely to ensure the transition strip fits snugly. Take note of any variations in floor height, as this will impact the type of transition method you choose.
- Choose high-quality materials: Invest in high-quality transition strips and adhesives to ensure durability and longevity. Cheap or low-quality materials may not provide a secure transition and may deteriorate over time.
- Ensure proper surface preparation: Clean the surface of both flooring materials thoroughly before applying adhesive. Proper surface preparation will enhance the adhesion and prevent the transition strip from becoming loose or damaged.
- Follow the manufacturer’s instructions: Read and follow the instructions provided by the manufacturer of the transition strip and adhesive. They will provide specific guidelines on installation, drying time, and any additional precautions to take.
- Secure the transition strip adequately: Use nails, screws, or other appropriate fasteners to secure the transition strip to the stairs. This will prevent movement or shifting, ensuring a stable and secure transition.
- Allow sufficient drying time: Patience is key when it comes to allowing the adhesive to dry. Follow the recommended drying time provided by the manufacturer before subjecting the transition strip to regular foot traffic.
- Maintain cleanliness: Regularly clean the transition strip and the surrounding area to remove dirt, debris, and any spills. This will help prolong the lifespan of the transition and maintain its visual appeal.
- Consider professional installation: If you are unsure about your DIY skills or have a complex stair design, it may be best to hire a professional to ensure a flawless and secure transition.
- Stay vigilant for potential hazards: Periodically inspect the transition area for any signs of damage, loose parts, or tripping hazards. Promptly address any issues to maintain a safe and visually appealing transition.
By following these tips and taking the necessary precautions, you can achieve a successful transition and enjoy a seamless and secure flooring transition at the top of your stairs.
Now, let’s move on to some common mistakes to avoid when transitioning flooring at the top of stairs.
Common Mistakes to Avoid when Transitioning Flooring at the Top of Stairs
Transitioning flooring at the top of stairs can be a challenging task, especially if you’re not familiar with the process. To ensure a smooth and successful transition, it’s important to be aware of common mistakes and avoid them. Here are some common pitfalls to watch out for:
- Inaccurate measurements: Failing to measure accurately can lead to a transition strip that is either too short or too long. Always double-check your measurements before cutting or installing the transition strip.
- Poor material selection: Not all transition strips and adhesives are created equal. Using low-quality or incompatible materials can result in poor adhesion, instability, or a mismatched appearance. Invest in high-quality materials that are suitable for your specific flooring types and design requirements.
- Inadequate surface preparation: Neglecting to clean and prepare the surfaces properly before applying adhesive can compromise the bond and result in a weak or loose transition. Ensure both flooring surfaces are clean, dry, and free from debris or residues that can hinder proper adhesion.
- Rushing the drying process: Rushing the drying process can cause the transition strip to shift or detach from the flooring materials. Follow the manufacturer’s instructions and allow sufficient drying time before subjecting the transition area to regular foot traffic.
- Improper installation: Incorrectly installing the transition strip can lead to gaps, unevenness, or an insecure transition. Follow the manufacturer’s installation guidelines, use the recommended fasteners, and ensure the strip is securely fixed to both flooring materials.
- Ignoring safety considerations: Safety should always be a priority when transitioning flooring at the top of stairs. Failing to choose a suitable transition method or neglecting to address potential tripping hazards can result in accidents. Consider the height difference, material compatibility, and the overall stability and safety of the transition.
- Skipping regular maintenance: Once the transition is installed, it’s important to regularly inspect and maintain it. Neglecting to clean the transition strip or failing to address any signs of wear and tear can compromise its performance and lifespan.
- Lack of attention to detail: Transitioning flooring at the top of stairs requires careful attention to detail. Be meticulous in your measurements, cuts, and alignment to ensure a seamless and visually pleasing transition.
- Not seeking professional help when needed: If you are unsure about the installation process or have a complex stair design, it is advisable to seek professional assistance. They have the expertise and experience to handle intricate transitions and ensure a flawless result.
Avoiding these common mistakes will help you achieve a smooth and successful transition at the top of your stairs while ensuring safety, stability, and aesthetic appeal.
With this knowledge in mind, you are now equipped to tackle the task of transitioning flooring at the top of stairs with confidence. Happy transitioning!
[End of document]
Conclusion
Transitioning the flooring at the top of stairs is a crucial step in staircase remodel or installation projects. It not only ensures a smooth and safe transition between different types of flooring but also enhances the overall aesthetic appeal of your staircase. By understanding the importance of transitioning flooring at the top of stairs and assessing the different types of transition options available, you can make an informed decision about the most suitable method for your specific staircase.
Choosing the right transition method involves considering factors such as height difference, materials, stair design, safety, installation complexity, and budget. A well-planned and properly executed transition will create a seamless and visually appealing connection between different flooring materials, enhancing the functionality and aesthetic appeal of your staircase.
Following a step-by-step guide and considering valuable tips and precautions can help you successfully transition flooring at the top of stairs. Accurate measurements, proper surface preparation, secure installation, and allowing for adequate drying time are critical to achieving a long-lasting and secure transition. Additionally, avoiding common mistakes and regularly maintaining the transition area will ensure its longevity and safety.
Remember, if you are uncertain about the transition process or have a complex staircase design, it may be wise to seek professional assistance. They have the expertise and experience to handle intricate transitions and ensure a flawless result.
In conclusion, transitioning flooring at the top of stairs is both a functional and aesthetic consideration. By understanding the importance, assessing the options, choosing the right method, and following proper installation techniques, you can achieve a seamless and visually pleasing transition that enhances the safety, stability, and overall appeal of your staircase.
Now that you have a comprehensive understanding of transitioning flooring at the top of stairs, it’s time to put your knowledge into practice and create a stunning and secure transition for your staircase.
[End of document]
Now that you've mastered how to transition flooring at the top of your stairs, why not delve deeper into stair design? Our next feature tackles what is tread on stairs, providing you with all you need to know about this critical component. Gain insights into choosing the perfect stair tread, ensuring safety and style on every step. Don’t miss out on elevating your staircase knowledge!
Frequently Asked Questions about How To Transition Flooring At Top Of Stairs
Was this page helpful?
At Storables.com, we guarantee accurate and reliable information. Our content, validated by Expert Board Contributors, is crafted following stringent Editorial Policies. We're committed to providing you with well-researched, expert-backed insights for all your informational needs.


0 thoughts on “How To Transition Flooring At Top Of Stairs”