Home>Articles>How To Install A Carpet To Tile Transition Strip
Articles
How To Install A Carpet To Tile Transition Strip
Modified: October 20, 2024
Learn how to install a carpet to tile transition strip in this informative article. Enhance the look of your space with this simple and effective DIY project.
(Many of the links in this article redirect to a specific reviewed product. Your purchase of these products through affiliate links helps to generate commission for Storables.com, at no extra cost. Learn more)
Introduction
Welcome to our comprehensive guide on how to install a carpet to tile transition strip. Whether you are upgrading your flooring, replacing an existing transition strip, or simply want to add a finishing touch to your space, installing a carpet to tile transition strip can give your home a polished and professional look.
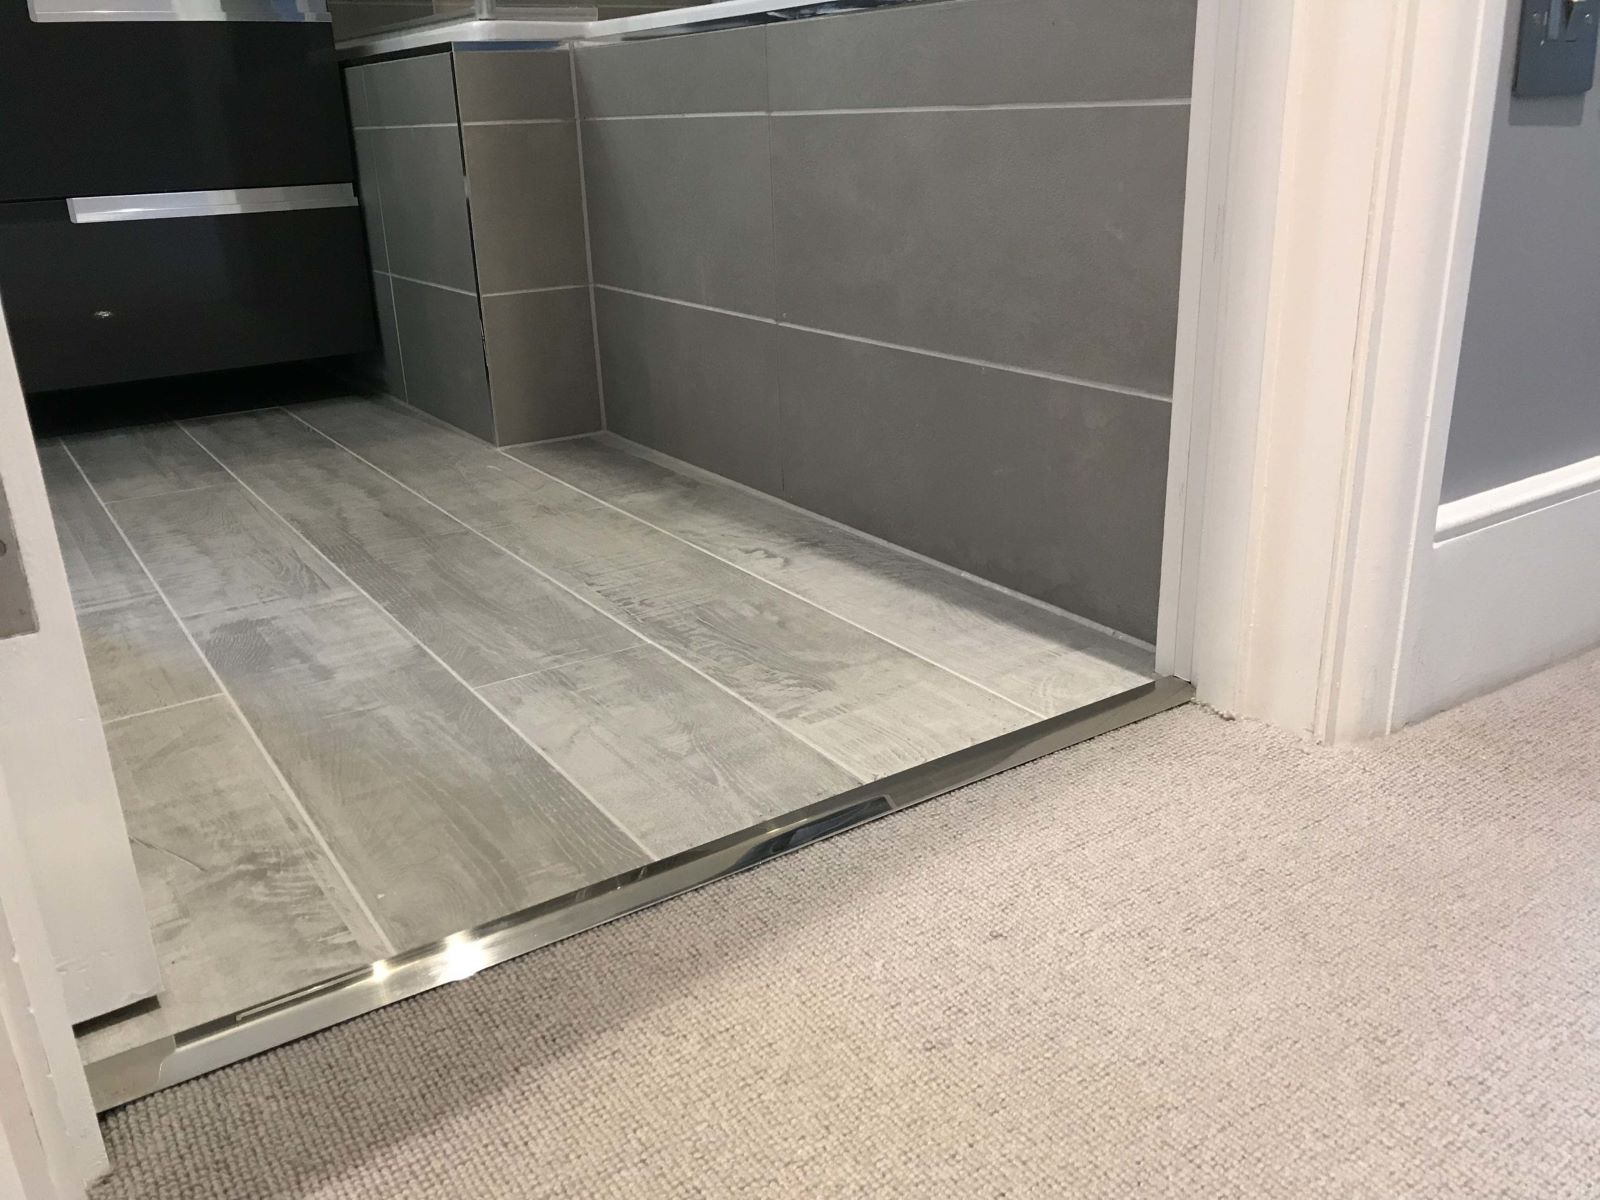
A carpet to tile transition strip is a narrow strip that is installed between carpeted and tiled areas. Its purpose is to create a smooth and seamless transition between the two different flooring materials, while also serving to protect the edges of the carpet and tile.
Installing a transition strip may seem like a daunting task, but with the right materials and a step-by-step approach, you can achieve professional-looking results. In this guide, we will walk you through the process of measuring, cutting, and installing a carpet to tile transition strip.
Before we dive into the installation process, let’s take a look at the materials you will need:
Key Takeaways:
- Achieve a professional and seamless transition between carpet and tile by measuring, cutting, and securing a transition strip. Follow the steps to enhance the appearance and functionality of your flooring.
- Ensure a secure fit and trim excess carpet for a polished finish. By following the installation process, you can achieve a smooth and professional transition between carpet and tile.
Read more: How To Install Carpet Tiles
Materials Needed
Before you begin the installation process, gather the following materials:
- Tape Measure: A tape measure will be required to accurately measure the length of the transition strip.
- Transition Strip: Purchase a carpet to tile transition strip that matches the height and width of your specific carpet and tile.
- Hacksaw or Miter Saw: You will need a hacksaw or miter saw to cut the transition strip to the desired length.
- Adhesive: Depending on the type of transition strip, you may need adhesive to secure it to the subfloor.
- Screwdriver: A screwdriver may be necessary if the transition strip requires screws for installation.
- Carpet Knife: A carpet knife will be needed to trim any excess carpet.
- Pencil: Use a pencil to mark the measurements and cut lines on the transition strip.
- Safety Glasses: It’s always important to prioritize safety, so wear safety glasses to protect your eyes during the installation process.
Ensure that you have all these materials ready and easily accessible before you begin the installation process. This will help you complete the installation smoothly and efficiently.
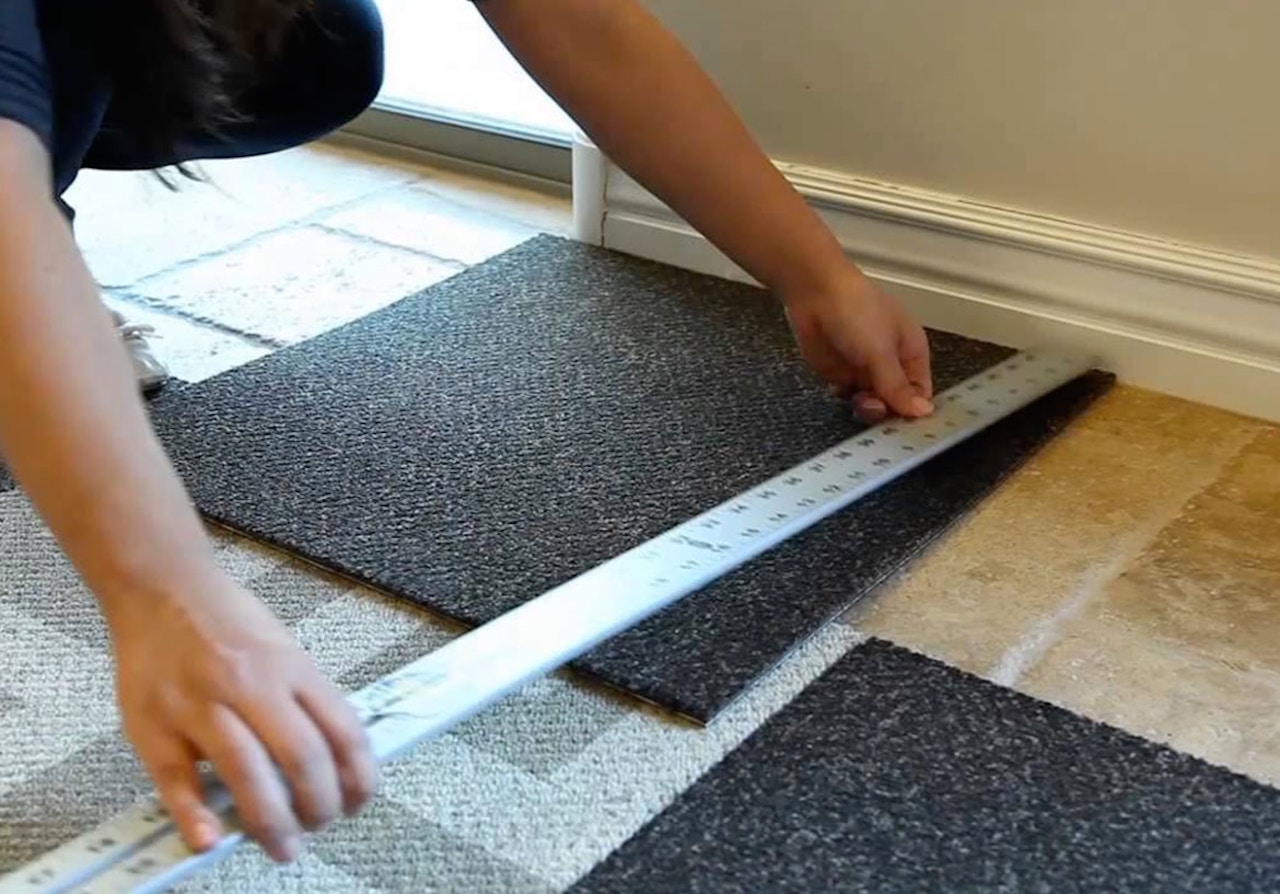
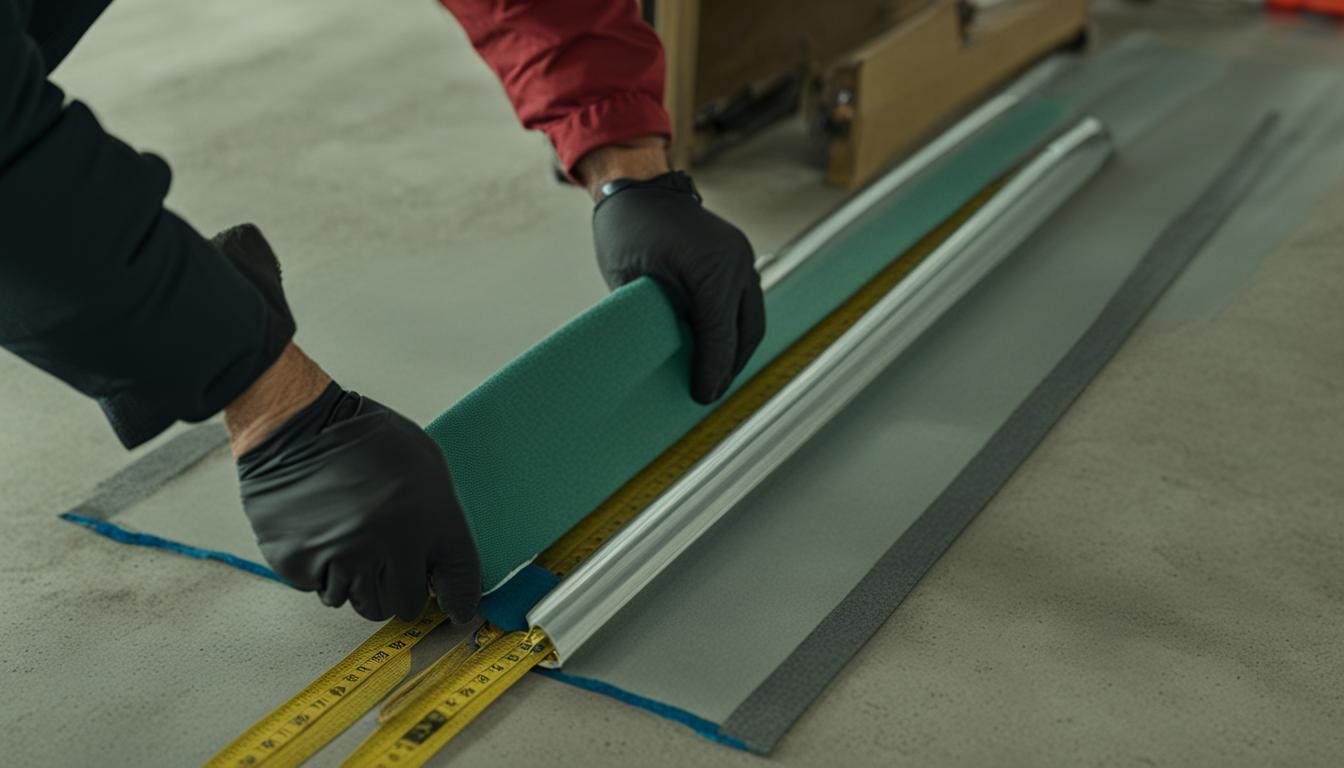
Step 1: Measure and Cut the Transition Strip
The first step in installing a carpet to tile transition strip is to accurately measure the length and width of the area where the strip will be installed. Use a tape measure to measure the distance between the two flooring materials.
Once you have determined the length, transfer that measurement onto the transition strip. Use a pencil to mark the cut line on the strip, ensuring that it is aligned with the measurement.
Before cutting the transition strip, make sure to take into account any additional length needed for an overlap on either end. Keep in mind that it is better to cut the strip slightly longer than necessary, as you can always trim it down later.
Next, using a hacksaw or miter saw, carefully cut along the marked line to create a clean and precise cut. Take your time and ensure that the cut is straight and even.
After cutting the transition strip to the desired length, test its fit by placing it between the carpet and tile. Make any necessary adjustments to the length or width to achieve a snug fit.
Remember to wear safety glasses while cutting the transition strip to protect your eyes from any flying debris.
Once you are satisfied with the fit of the transition strip, proceed to the next step: preparing the subfloor.
Step 2: Prepare the Subfloor
Preparing the subfloor is an important step in ensuring a stable and secure installation of the carpet to tile transition strip. Follow these instructions to properly prepare the subfloor:
1. Start by cleaning the subfloor thoroughly. Remove any dust, dirt, or debris that may prevent the transition strip from adhering properly.
2. Examine the subfloor for any protrusions or uneven areas. Use a floor leveling compound or sandpaper to smooth out any rough patches or high spots. This will help create a level surface for the transition strip to sit on.
3. If the subfloor is concrete, ensure that it is completely dry and free from moisture. Moisture can interfere with the adhesive and cause the transition strip to lift or become dislodged over time. Use a moisture barrier if necessary.
4. If the subfloor is wooden, check for loose or squeaky floorboards. Secure any loose boards with screws, and use a floor leveling compound to fix any uneven areas.
5. Measure and mark the position of the transition strip on the subfloor. Take into account any additional length needed for an overlap on either end.
Once you have prepared the subfloor, you are ready to move on to the next step: attaching the transition strip to the subfloor.
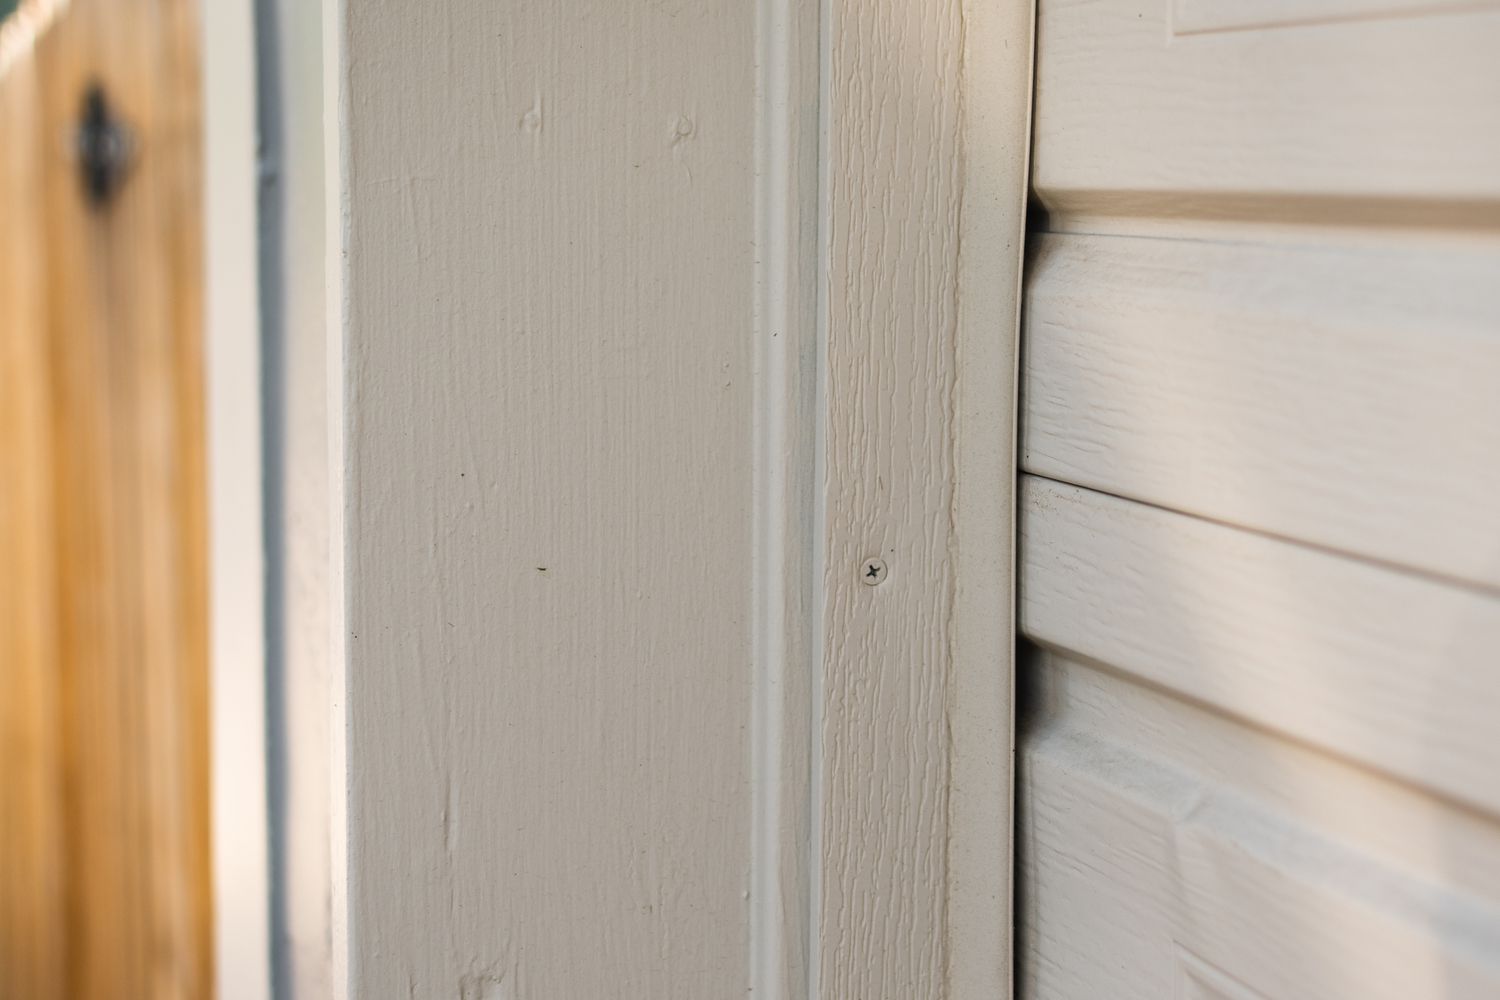
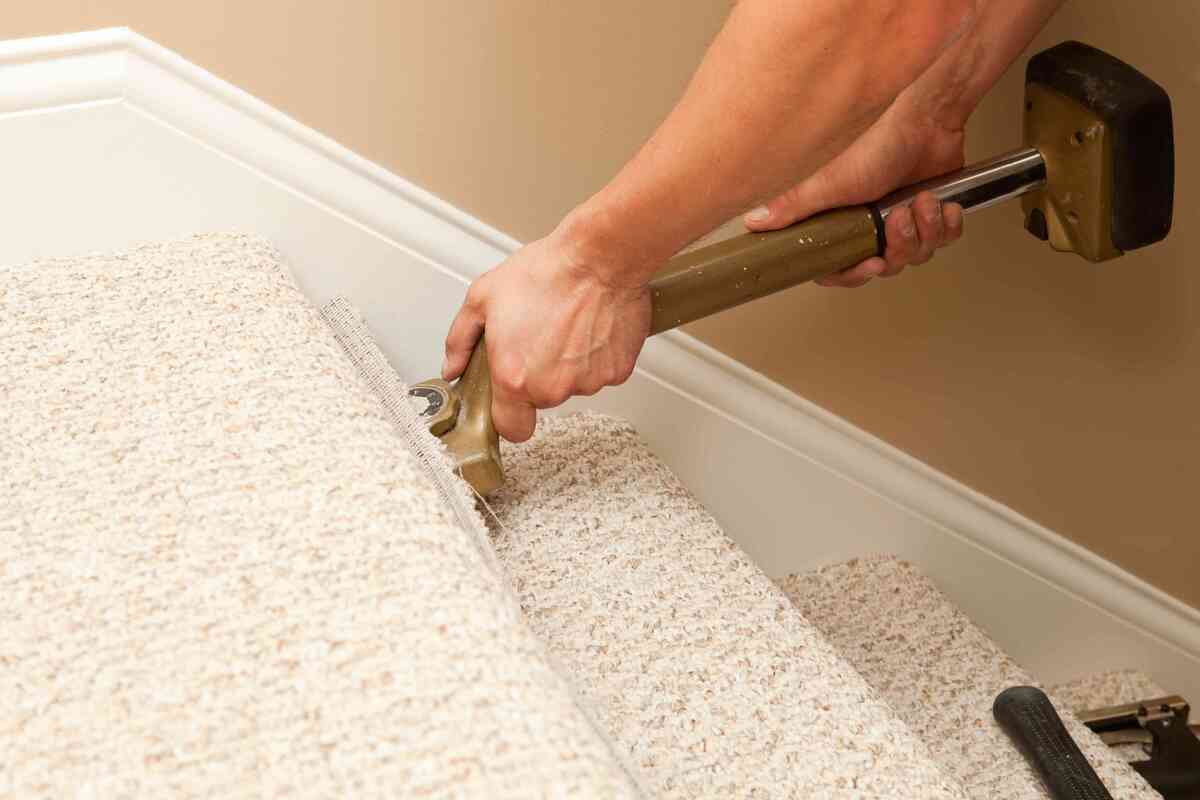
Step 3: Attach the Transition Strip to the Subfloor
Now that you have prepared the subfloor, it’s time to attach the carpet to tile transition strip. Follow these steps to ensure a secure installation:
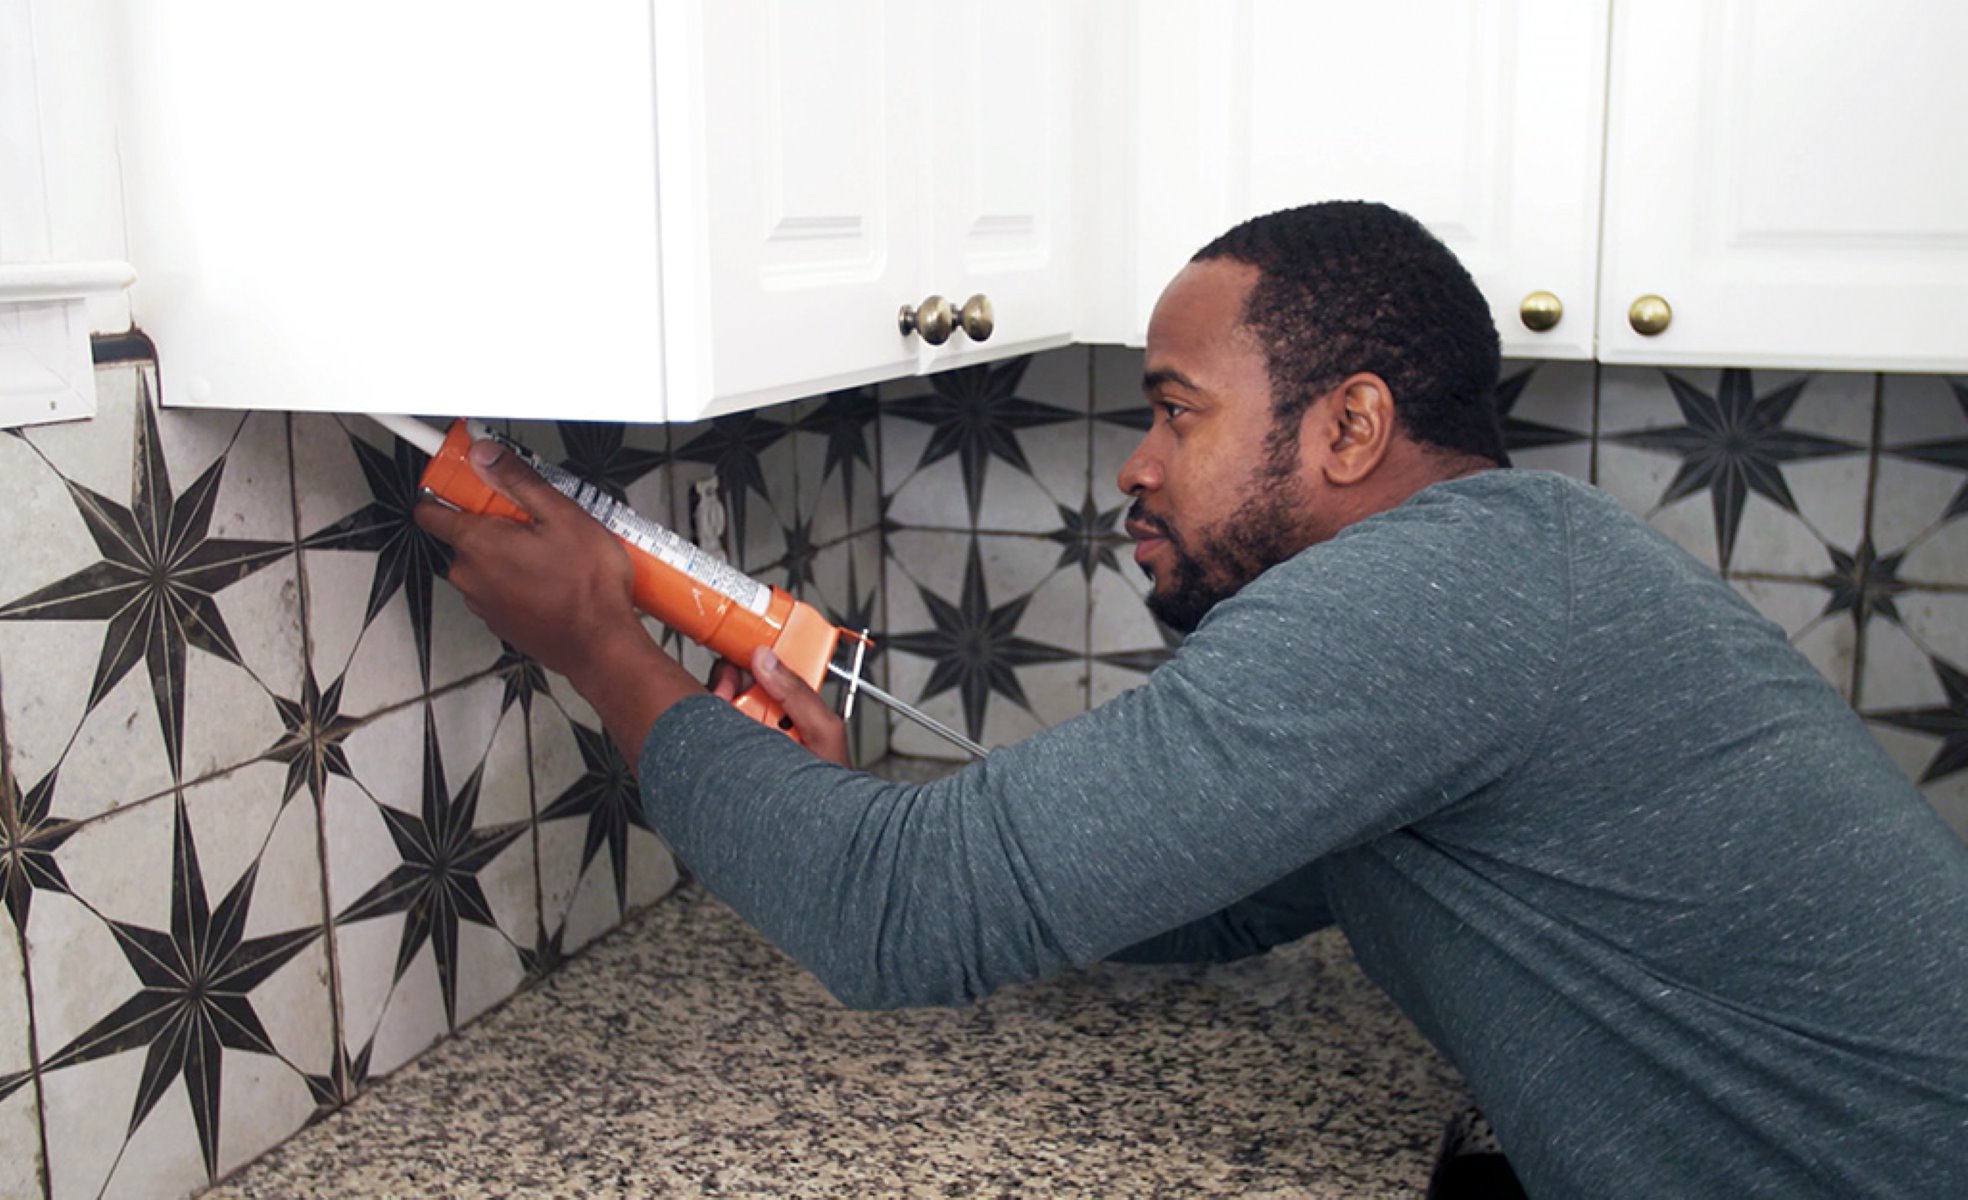
- Apply an adhesive: Depending on the type of transition strip you have, you may need to apply adhesive to the subfloor. Follow the manufacturer’s instructions to determine the appropriate adhesive and apply it evenly along the bottom of the transition strip.
- Position the transition strip: Carefully place the transition strip onto the subfloor, aligning it with the marked position. Press it firmly into place, ensuring that it is level and secure.
- If the transition strip requires screws: Some transition strips may require screws for added stability. If this is the case, use a screwdriver to insert the screws through the pre-drilled holes in the strip and into the subfloor. Make sure the screws are flush with the surface of the strip.
- Check for proper alignment: After securing the transition strip, check to ensure that it is aligned properly with the edge of the carpet and tile. Run your hand along the strip to verify that it is flush with both surfaces.
Take your time during this step to ensure that the transition strip is correctly positioned and securely attached. This will promote a professional and seamless transition between the carpet and tile.
Once the transition strip is firmly in place, move on to the next step: installing the carpet over the strip.
When installing a carpet to tile transition strip, make sure to measure and cut the strip to fit the doorway, and use adhesive or screws to secure it in place for a seamless and professional finish.
Read more: How To Install Floor Transition Strip
Step 4: Install the Carpet over the Strip
With the transition strip securely attached to the subfloor, it’s time to install the carpet over the strip. Follow these steps to achieve a smooth and seamless transition:
- Position the carpet: Start by positioning the edge of the carpet over the transition strip. Ensure that the carpet is aligned with the edge of the strip, with no gaps or overlaps.
- Press down firmly: Use your hands or a carpet roller to press down firmly on the carpet, ensuring that it adheres to the transition strip and lays flat.
- Work your way along the strip: Continue pressing down on the carpet as you work your way along the length of the transition strip. Pay attention to any wrinkles or bubbles and smooth them out as you go.
- Use a carpet knife if necessary: If the carpet extends beyond the transition strip, use a carpet knife to trim any excess. Cut along the edge of the strip, being careful not to cut into the strip itself.
As you install the carpet, take care to maintain a consistent tension and avoid stretching or pulling it too tightly. This will ensure a more seamless transition and prevent any damage to the carpet or strip.
Once the carpet is installed over the strip, move on to the next step: ensuring a secure fit.
Step 5: Ensure a Secure Fit
Ensuring a secure fit is crucial for the longevity and stability of the carpet to tile transition strip. Follow these steps to make sure the strip is securely in place:
- Inspect the strip: Take a close look at the transition strip to ensure it is properly aligned and firmly attached to the subfloor. Check for any gaps or areas that may require adjustment.
- Test the stability: Gently walk along the transition strip to test its stability. If it feels loose or wobbly, use adhesive or screws to reinforce the attachment.
- Check the edges: Examine the edges of the carpet and tile where they meet the transition strip. Make sure they are flush and seamless, with no gaps or loose edges.
- Tap it down: If you notice any areas of the strip that are slightly raised, use a rubber mallet or a block of wood and a hammer to tap it down into place. Be gentle to avoid damaging the strip or surrounding flooring.
Taking the time to ensure a secure fit will not only improve the overall appearance of the transition area but also prevent any tripping hazards or damage to the carpet and tile.
Once you are satisfied with the secure fit of the transition strip, move on to the final step: trimming any excess carpet if necessary.
Step 6: Trim Excess Carpet if Necessary
After installing the carpet over the transition strip, you may find that there is excess carpet extending beyond the strip. Trimming this excess will ensure a neat and professional finish. Follow these steps to trim the excess carpet:
- Assess the carpet overhang: Take a close look at the area where the carpet meets the edge of the transition strip. Determine how much excess carpet needs to be trimmed.
- Mark the cutting line: Use a straightedge or ruler to mark a cutting line on the carpet. This line should align with the edge of the transition strip.
- Cut along the marked line: With a sharp carpet knife, carefully cut along the marked line. Hold the knife at a slight angle to create a beveled edge, which will help the carpet blend smoothly with the strip.
- Remove the excess carpet: Once you have completed the cut, gently remove the excess carpet. Dispose of it properly.
- Inspect the trim: Inspect the trimmed carpet and make sure it fits snugly against the transition strip. If there are any imperfections or gaps, use the carpet knife to correct them.
Take your time while trimming the excess carpet to ensure a clean and precise cut. Remember to exercise caution and follow proper safety procedures while handling the carpet knife.
With the excess carpet trimmed and the transition area fully finished, you can now step back and admire your newly installed carpet to tile transition strip. It not only enhances the aesthetics of your space but also provides a smooth and secure transition between the different flooring materials.
Congratulations on completing the installation process!
Conclusion
Installing a carpet to tile transition strip is a relatively simple process that can significantly enhance the appearance and functionality of your flooring. By following the steps outlined in this guide, you can achieve a professional and seamless transition between carpet and tile.
Remember to gather all the necessary materials before starting the installation process. This includes a tape measure, transition strip, saw, adhesive, screwdriver, carpet knife, pencil, and safety glasses.
Measure and cut the transition strip to the appropriate length, ensuring a perfect fit. Prepare the subfloor by cleaning it thoroughly and addressing any uneven areas or protrusions. Attach the transition strip to the subfloor, using adhesive or screws if required, and ensure it is aligned properly.
Install the carpet over the strip, pressing down firmly to promote adhesion and smooth out any wrinkles or bubbles. Trim any excess carpet that extends beyond the transition strip, ensuring a clean and precise edge.
Finally, inspect the entire installation to ensure a secure fit and make any necessary adjustments. Tap down any raised areas and ensure that the edges of the carpet and tile blend seamlessly with the transition strip.
By following these steps, you can achieve a professional and seamless carpet to tile transition that enhances the overall appearance and functionality of your space. Now you can enjoy your beautifully finished flooring for years to come.
Whether you are a DIY enthusiast or a homeowner looking to give your space a polished look, installing a carpet to tile transition strip is a rewarding and achievable project. So grab your tools, gather the materials, and transform your flooring with this simple and effective installation process.
Remember, if you have any concerns or are unsure about any step, it’s always best to consult a professional for assistance. They can offer guidance and expertise to ensure a successful installation. Happy renovating!
Ready to tackle more projects to spruce up your home? If you enjoyed mastering carpet to tile transitions, you’ll love diving into our guide on DIY Home Improvement. Filled with practical tips, this guide demystifies renovations, empowering you to enhance every corner of your living space. Additionally, for those considering a flooring upgrade, our detailed review of Home Renovation options outlines the top choices in hardwood floors, helping you make informed decisions that transform your home’s aesthetics and functionality.
Frequently Asked Questions about How To Install A Carpet To Tile Transition Strip
Was this page helpful?
At Storables.com, we guarantee accurate and reliable information. Our content, validated by Expert Board Contributors, is crafted following stringent Editorial Policies. We're committed to providing you with well-researched, expert-backed insights for all your informational needs.