Articles
How To Turn On Beko Ice Maker
Modified: October 19, 2024
Learn how to activate the ice maker on your Beko appliance effortlessly with our informative articles. Discover step-by-step instructions and troubleshooting tips.
(Many of the links in this article redirect to a specific reviewed product. Your purchase of these products through affiliate links helps to generate commission for Storables.com, at no extra cost. Learn more)
Introduction
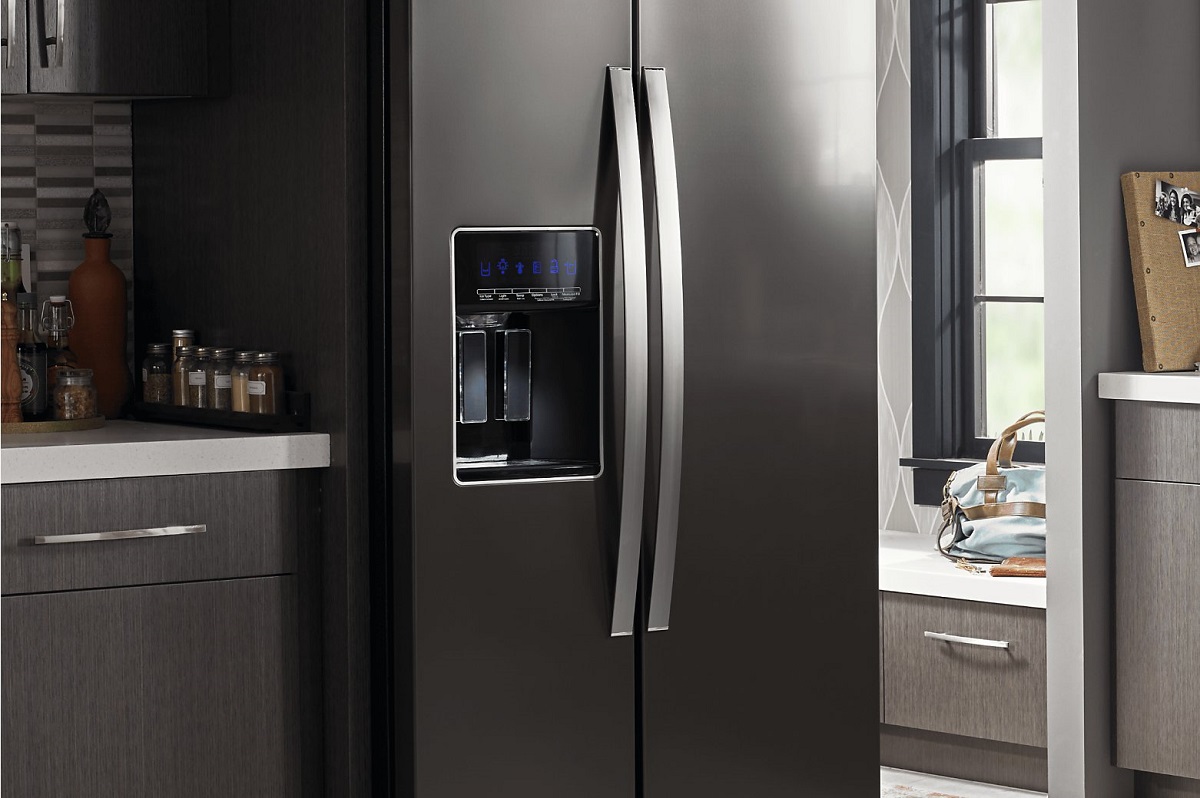
Welcome to the world of convenience and luxury with the Beko Ice Maker. Whether you’re hosting a party or enjoying a refreshing drink on a sunny day, having a steady supply of ice can make all the difference. In this article, we will guide you through the process of turning on your Beko Ice Maker, ensuring that you can enjoy an endless flow of ice whenever you need it.
The Beko Ice Maker is designed to be easy to use and install, allowing you to have ice at your fingertips without any hassle. By following a few simple steps, you’ll have your ice maker up and running in no time. So let’s dive in and get started!
Key Takeaways:
- Enjoy endless ice with Beko Ice Maker by following simple steps to check, connect, and activate. Customize settings for perfect ice and troubleshoot common issues for a hassle-free experience.
- Embrace convenience and luxury with Beko Ice Maker. Easily turn it on, adjust settings, and troubleshoot issues for a seamless ice-making experience. Regular maintenance ensures long-lasting performance.
Read more: How To Turn Ice Maker On
Step 1: Checking the Ice Maker
Before you begin the process of turning on your Beko Ice Maker, it’s important to make sure that everything is in order. This step will help you identify any potential issues and address them before proceeding.
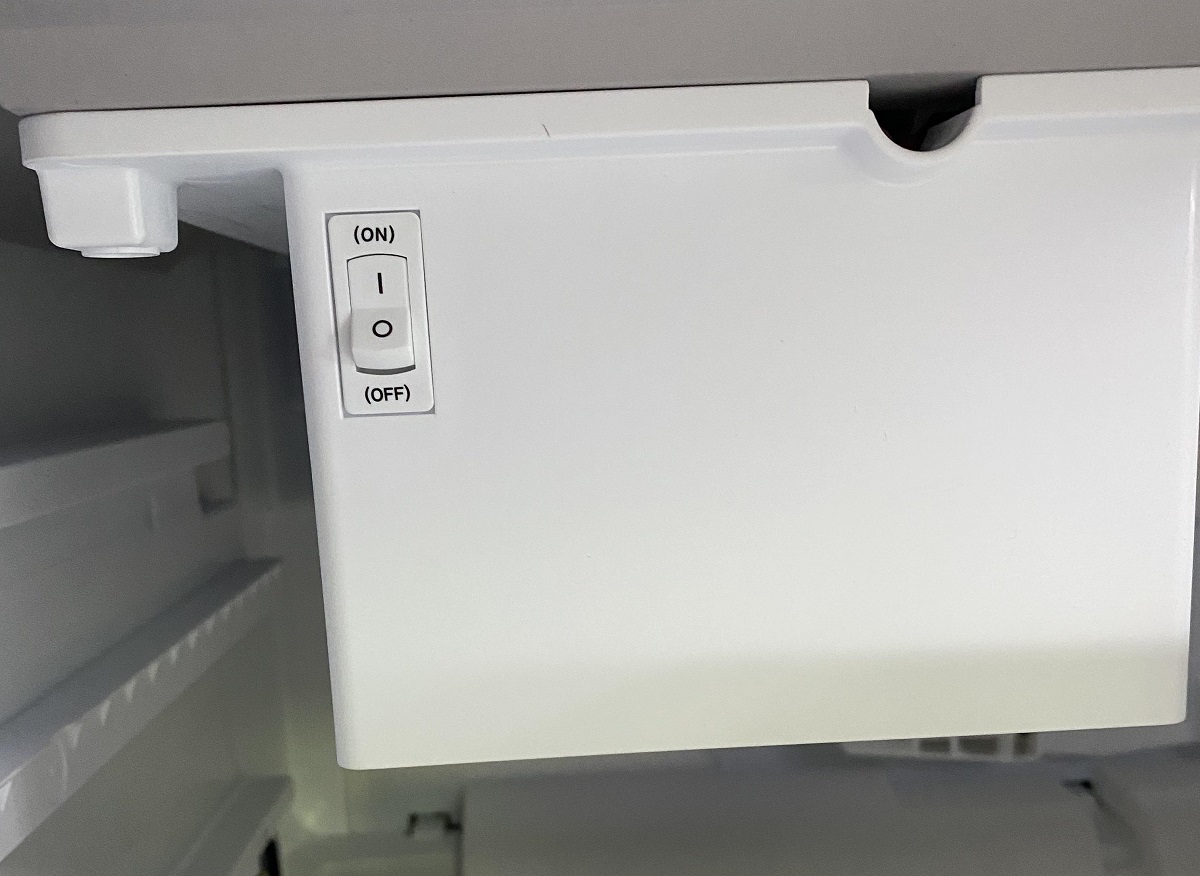
First, ensure that the ice maker is properly connected to a power source. Check the power cord and make sure it is securely plugged into an outlet. If the ice maker has a power switch, ensure that it is in the “Off” position for now.
Next, inspect the water supply line that connects to the ice maker. Check for any kinks or leaks in the line. If you notice any damage, it’s important to address it before proceeding. A damaged water line can prevent the ice maker from functioning properly.
Additionally, take a look at the ice maker’s water inlet valve. This valve controls the flow of water into the ice maker. Ensure that the valve is in the open position and not closed or partially closed. If you find any issues with the water inlet valve, consult the manufacturer’s manual for troubleshooting instructions or contact Beko customer support for assistance.
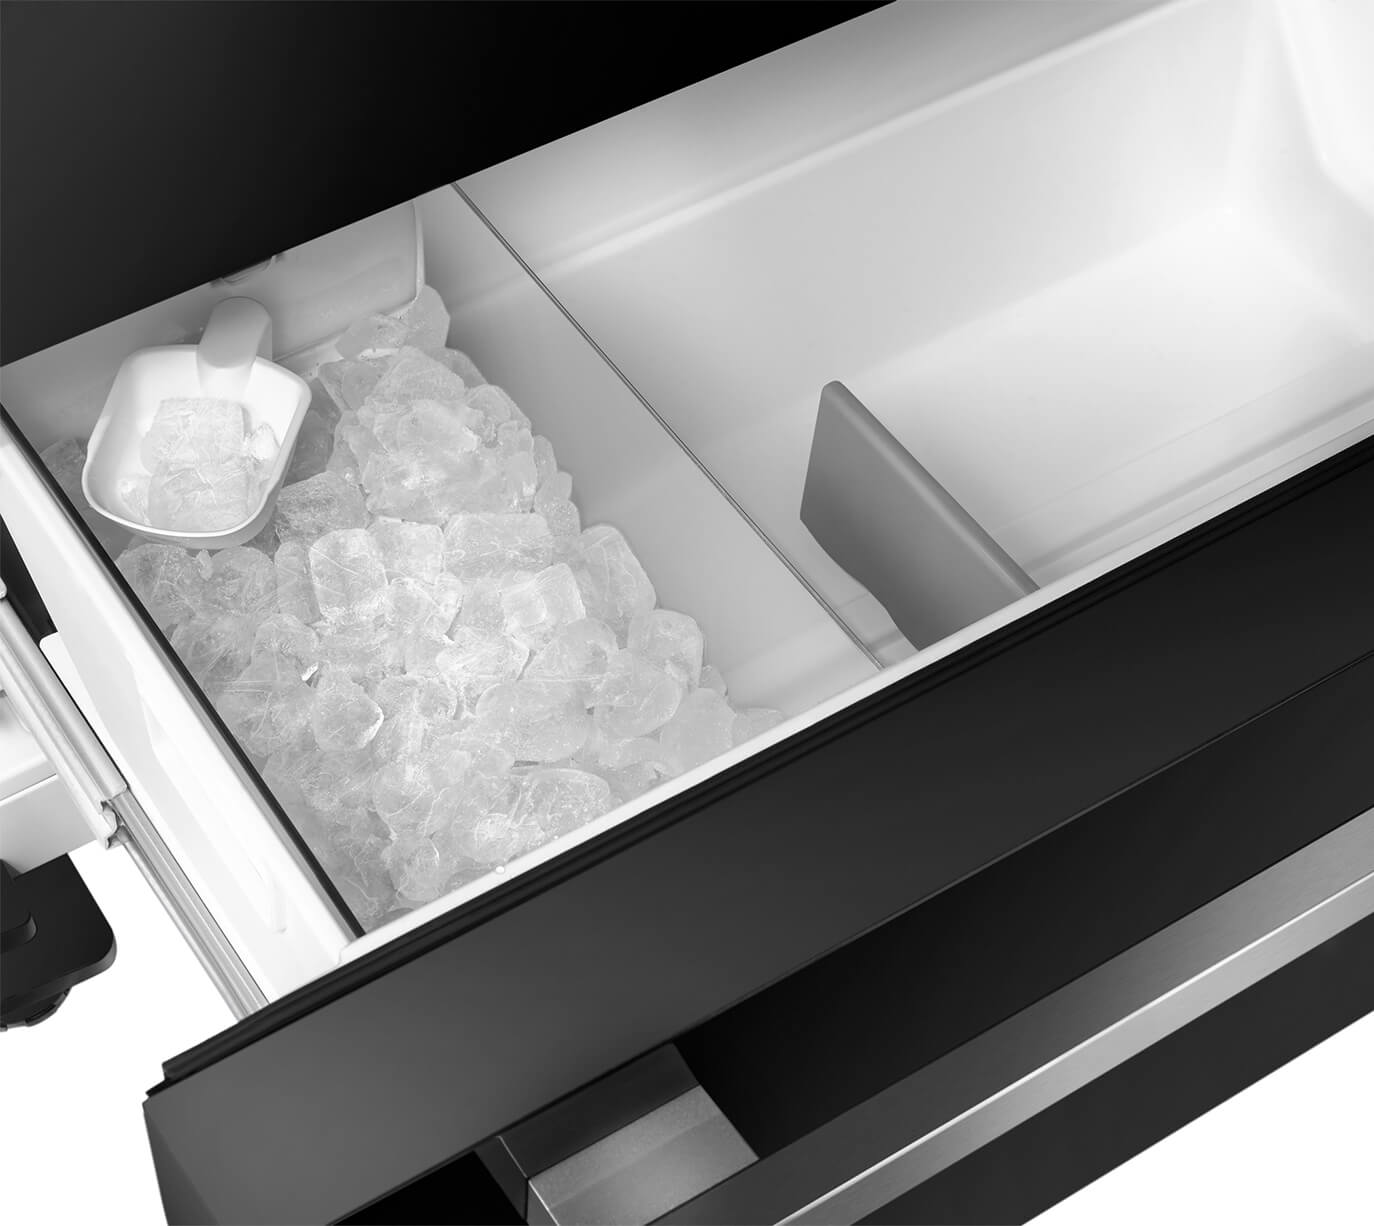
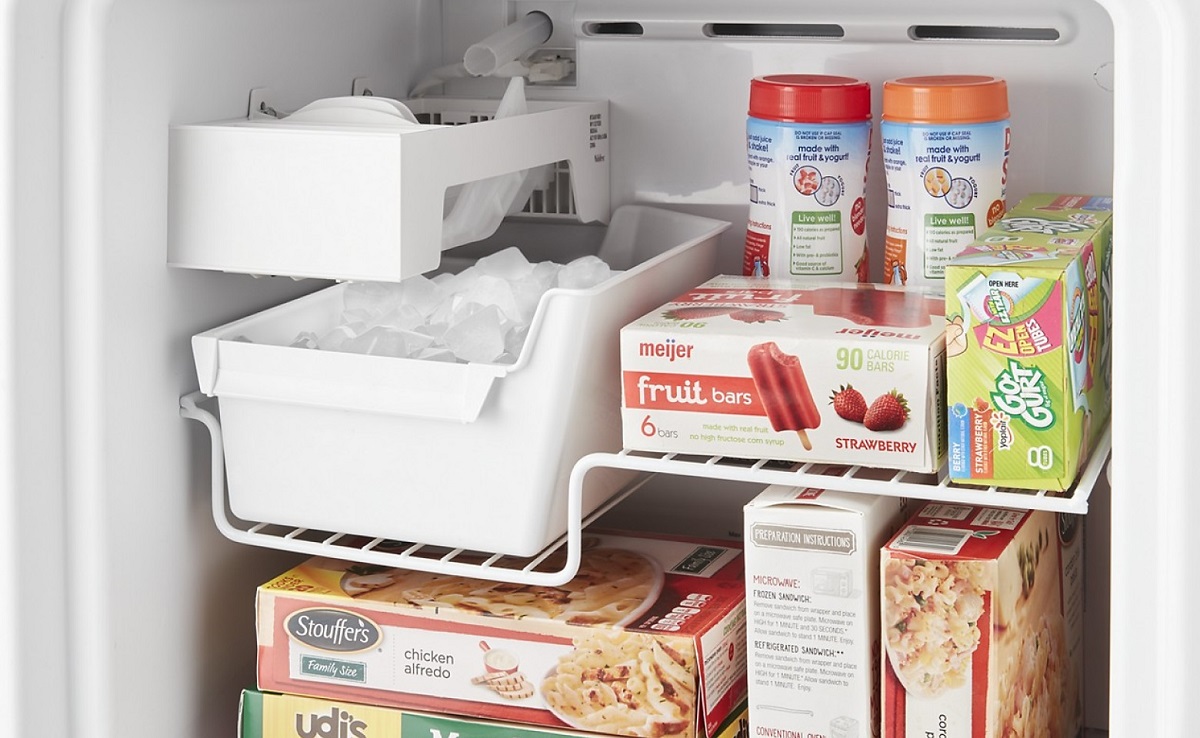
Lastly, inspect the ice maker’s ice bin or storage tray. Make sure it is clean and free from any debris or obstructions. A dirty or blocked ice bin can prevent the ice maker from producing ice efficiently. Clean the bin if necessary, following the manufacturer’s instructions.
By checking these critical components of your Beko Ice Maker, you can ensure that everything is in working order before moving forward. Taking the time to perform this step will help prevent any potential problems and ensure a smooth activation process for your ice maker.
Step 2: Connecting the Ice Maker
Now that you’ve checked the ice maker and ensured everything is in order, it’s time to connect it to the appropriate water source. Follow these steps to ensure a proper connection:
1. Position the ice maker: Find a suitable location for your ice maker. It should be near a water source, such as a sink or a water line. Ensure there is enough space for the ice maker to operate comfortably and for you to access the ice when needed.
2. Connect the water inlet valve: Locate the water supply line on the back of the ice maker. Take one end of the water supply line and connect it to the water inlet valve. Use a wrench or pliers to tighten the connection, ensuring there are no leaks.
3. Connect the other end of the water supply line: Depending on the setup of your water source, connect the other end of the water supply line to the appropriate water source. This may involve connecting to a water line under the sink or a dedicated water line for the ice maker.
4. Secure the connections: Once the water supply line is connected at both ends, double-check that the connections are secure and tight. This will prevent any leaks and ensure a steady water flow to the ice maker.
Now that your Beko Ice Maker is properly connected to the water source, you’re ready to move on to the next step of activating the ice maker.
Note: If you’re unsure about connecting the ice maker to the water source, it’s recommended to consult the manufacturer’s instructions or seek assistance from a professional plumber. They can provide guidance specific to your situation and ensure a secure connection.
Step 3: Turning On the Ice Maker
With the ice maker connected to the water source, it’s time to turn it on and start the ice-making process. Follow these steps to activate your Beko Ice Maker:
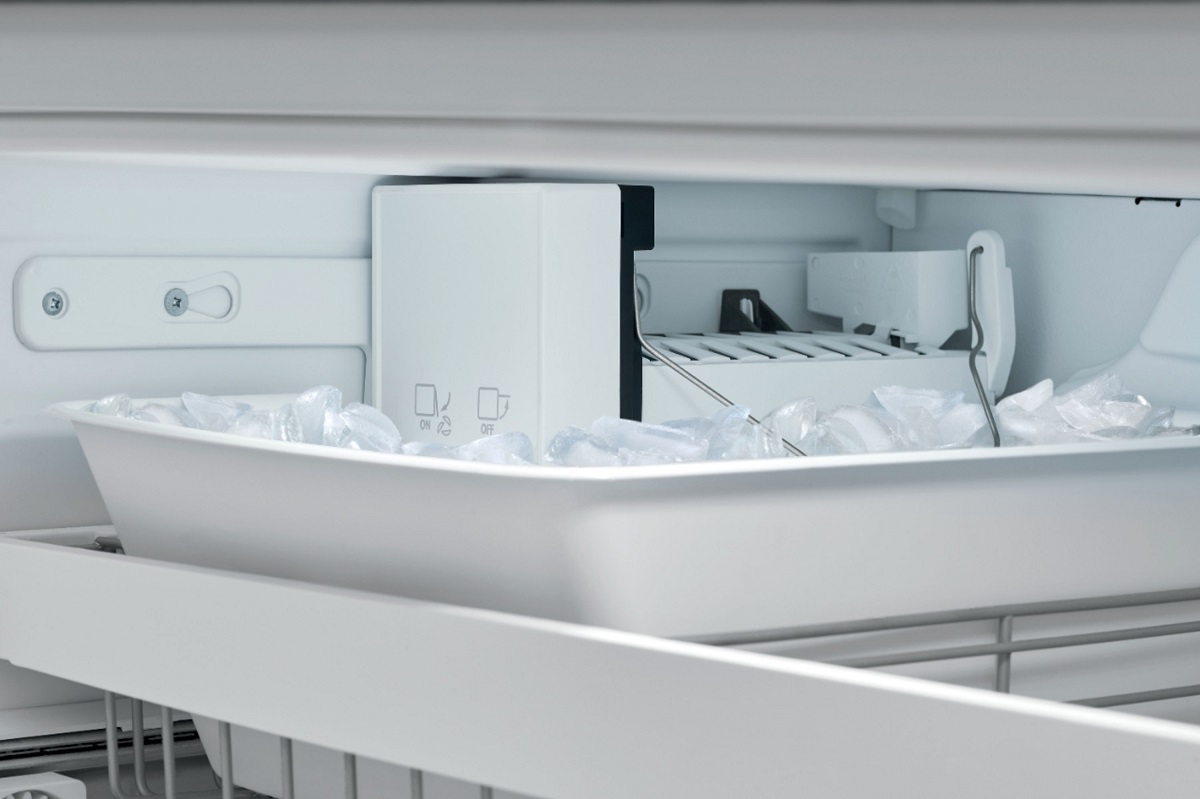
1. Locate the power switch: On your ice maker, locate the power switch. It is usually located on the side or back of the ice maker. Flip the switch to the “On” position. This will supply power to the ice maker and initiate its operation.
2. Patience is key: It’s important to note that it may take some time for the ice maker to start producing ice. The time it takes can vary depending on the model and the ambient conditions. Be patient and allow the ice maker to go through its initial startup process.
3. Monitor the water flow: As the ice maker starts up, keep an eye on the water flow into the ice maker. You should see water entering the ice maker’s ice tray or mold. This is an indication that the water supply is properly connected and functioning.
4. Wait for the first batch of ice: The ice maker will typically need a few hours to produce its first batch of ice. During this time, it’s crucial to refrain from opening the ice maker’s door or tampering with the ice trays. Allow the ice maker to work undisturbed to ensure optimal ice production.
5. Test the ice production: After the initial waiting period, check if the ice maker has produced ice. Open the ice maker’s door and inspect the ice bin or tray. If you see ice cubes or a layer of ice, congratulations! Your Beko Ice Maker is up and running.
By following these steps, you’ll be able to activate your Beko Ice Maker and start enjoying a steady supply of ice. Remember to be patient during the initial startup period, as it may take some time for the ice maker to begin producing ice. Once it does, you’ll have ice readily available for all your needs.
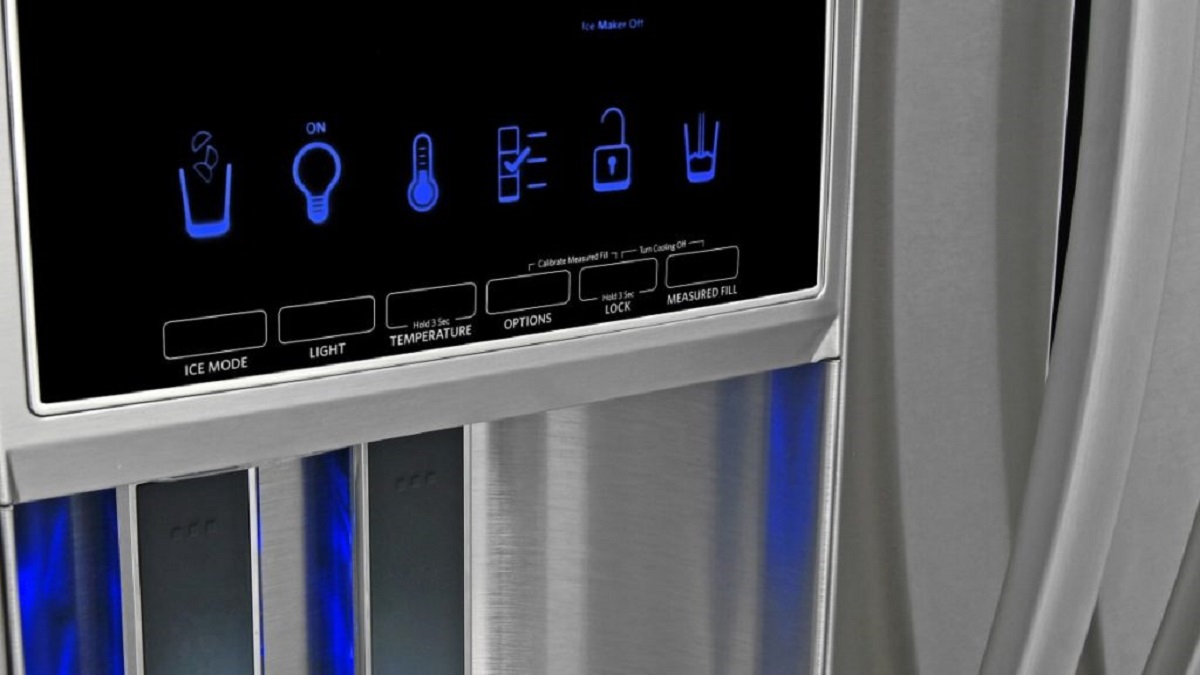
To turn on the Beko ice maker, locate the power switch on the control panel and ensure it is in the “on” position. Then, press the ice maker button to activate the ice making function.
Step 4: Adjusting Ice Maker Settings
Once your Beko Ice Maker is turned on and producing ice, you may want to customize the settings to better suit your preferences. Follow these steps to adjust the ice maker settings:
1. Temperature control: Some ice makers allow you to adjust the temperature settings to control the hardness and consistency of the ice cubes. Refer to the manufacturer’s instructions to learn how to adjust the temperature on your specific model. Experiment with different settings to find the perfect balance for your ice preferences.
2. Ice cube size: Many ice makers offer the option to select the size of the ice cubes. This allows you to customize the ice according to your needs. Most models have buttons or switches to change the size setting. Simply press the corresponding button to adjust the size to your liking.
3. Speed of ice production: Depending on your ice maker’s capabilities, you may have the option to adjust the speed at which ice is produced. This feature can be useful if you need ice quickly or want to conserve energy. Consult the manufacturer’s instructions to learn how to adjust the production speed on your particular model.
4. Cleaning and maintenance: Regular cleaning and maintenance are essential for optimal performance and longevity of your ice maker. Check the manufacturer’s instructions for recommended cleaning procedures and frequency. Some ice makers have a cleaning mode or indicator to assist with the process. Follow these instructions to keep your ice maker in top condition.
By adjusting the settings on your Beko Ice Maker, you can personalize the ice production to suit your preferences. Whether it’s the size of the ice cubes or the speed of production, these settings allow you to have full control over the ice-making process.
Keep in mind that not all ice makers have adjustable settings, so refer to the manufacturer’s manual for specific instructions on your model. Additionally, it’s important to regularly clean and maintain your ice maker to ensure maximum performance and hygienic ice production.
Read more: How To Turn Off An Ice Maker
Step 5: Troubleshooting Common Issues
While your Beko Ice Maker is designed to provide you with a smooth and hassle-free ice-making experience, there may be times when you encounter some issues. Here are some common problems and their potential solutions:
1. No ice production: If your ice maker is not producing any ice, first check the water supply. Ensure that the water line is properly connected and the water supply is turned on. If the water supply is functioning correctly, check the ice maker’s water inlet valve for any blockages. Clean or replace the valve if necessary. Additionally, make sure the ice maker’s temperature setting is not too high, as this can affect ice production.
2. Small or misshapen ice cubes: If your ice cubes are smaller than usual or have an irregular shape, it may indicate an issue with the water flow. Check the water pressure to ensure it is at an optimal level. Low water pressure can result in smaller or misshapen ice cubes. If the water pressure is sufficient, examine the ice maker’s water filter for any clogs or obstructions. Replace the filter if needed.
3. Ice maker is noisy: Ice makers can sometimes produce noise during operation. However, if the noise is excessively loud or unusual, it may indicate a problem. Check for any loose or faulty components within the ice maker, such as the fan motor or compressor. Tighten or replace these parts as necessary. If the noise persists, contact Beko customer support for further assistance.
4. Leaking water: If you notice water leaking from your ice maker, it’s important to address the issue promptly. Check the water inlet valve and connections for any leaks or loose fittings. Tighten the connections or replace any damaged components. If the issue persists, it may be necessary to contact a professional technician for further inspection and repairs.
5. Ice tastes or smells strange: If the ice from your Beko Ice Maker has an unusual taste or odor, it could be due to impurities in the water supply or a dirty ice maker. Clean the ice maker thoroughly according to the manufacturer’s instructions. If the problem persists, consider installing a water filtration system to improve the quality of the water used in the ice production process.
Remember, if you encounter any issues with your Beko Ice Maker that you are unable to resolve on your own, it’s always recommended to consult the manufacturer’s manual or contact Beko customer support for assistance. They will be able to provide you with further troubleshooting steps or arrange for professional intervention if needed.
Conclusion
Congratulations! You have successfully learned how to turn on your Beko Ice Maker and ensure a constant supply of ice whenever you need it. By following the steps outlined in this article, you have completed the necessary checks, connected the ice maker to a water source, activated it, adjusted the settings according to your preferences, and learned how to troubleshoot common issues.
The Beko Ice Maker provides convenience and luxury, making it a fantastic addition to any home or office space. With its user-friendly design, you can enjoy ice cubes of your desired size and hardness, all with just the push of a button.
Remember to regularly clean and maintain your ice maker to ensure efficient performance and hygienic ice production. By following the manufacturer’s instructions and practicing good maintenance habits, you can extend the lifespan of your ice maker and enjoy high-quality ice for years to come.
If you encounter any difficulties or have specific questions about your Beko Ice Maker, don’t hesitate to refer to the manufacturer’s manual or reach out to Beko’s customer support. They are well-equipped to provide you with further guidance and assistance.
Now, sit back, relax, and enjoy the convenience and pleasure that your Beko Ice Maker brings. Whether it’s cooling down a refreshing beverage or serving guests at a social gathering, your ice maker will provide you with the convenience and luxury you deserve.
Now that you've got your Beko ice maker up and running, maintaining its cleanliness and efficiency is key to enjoying refreshing, crystal-clear ice. Don't miss our guide on proper care and routine cleaning of refrigerator ice makers. Packed with practical tips, you'll learn how to keep this essential appliance in top shape, ensuring it continues to function smoothly and extends its lifespan. Routine maintenance isn't just about cleanliness; it's about preserving your appliance's performance and efficiency over time.
Frequently Asked Questions about How To Turn On Beko Ice Maker
Was this page helpful?
At Storables.com, we guarantee accurate and reliable information. Our content, validated by Expert Board Contributors, is crafted following stringent Editorial Policies. We're committed to providing you with well-researched, expert-backed insights for all your informational needs.

0 thoughts on “How To Turn On Beko Ice Maker”