Articles
How To Upgrade Tile Countertops
Modified: August 16, 2024
Learn how to upgrade your tile countertops with these helpful articles. Discover tips, tricks, and step-by-step guides for a successful renovation.
(Many of the links in this article redirect to a specific reviewed product. Your purchase of these products through affiliate links helps to generate commission for Storables.com, at no extra cost. Learn more)
Introduction
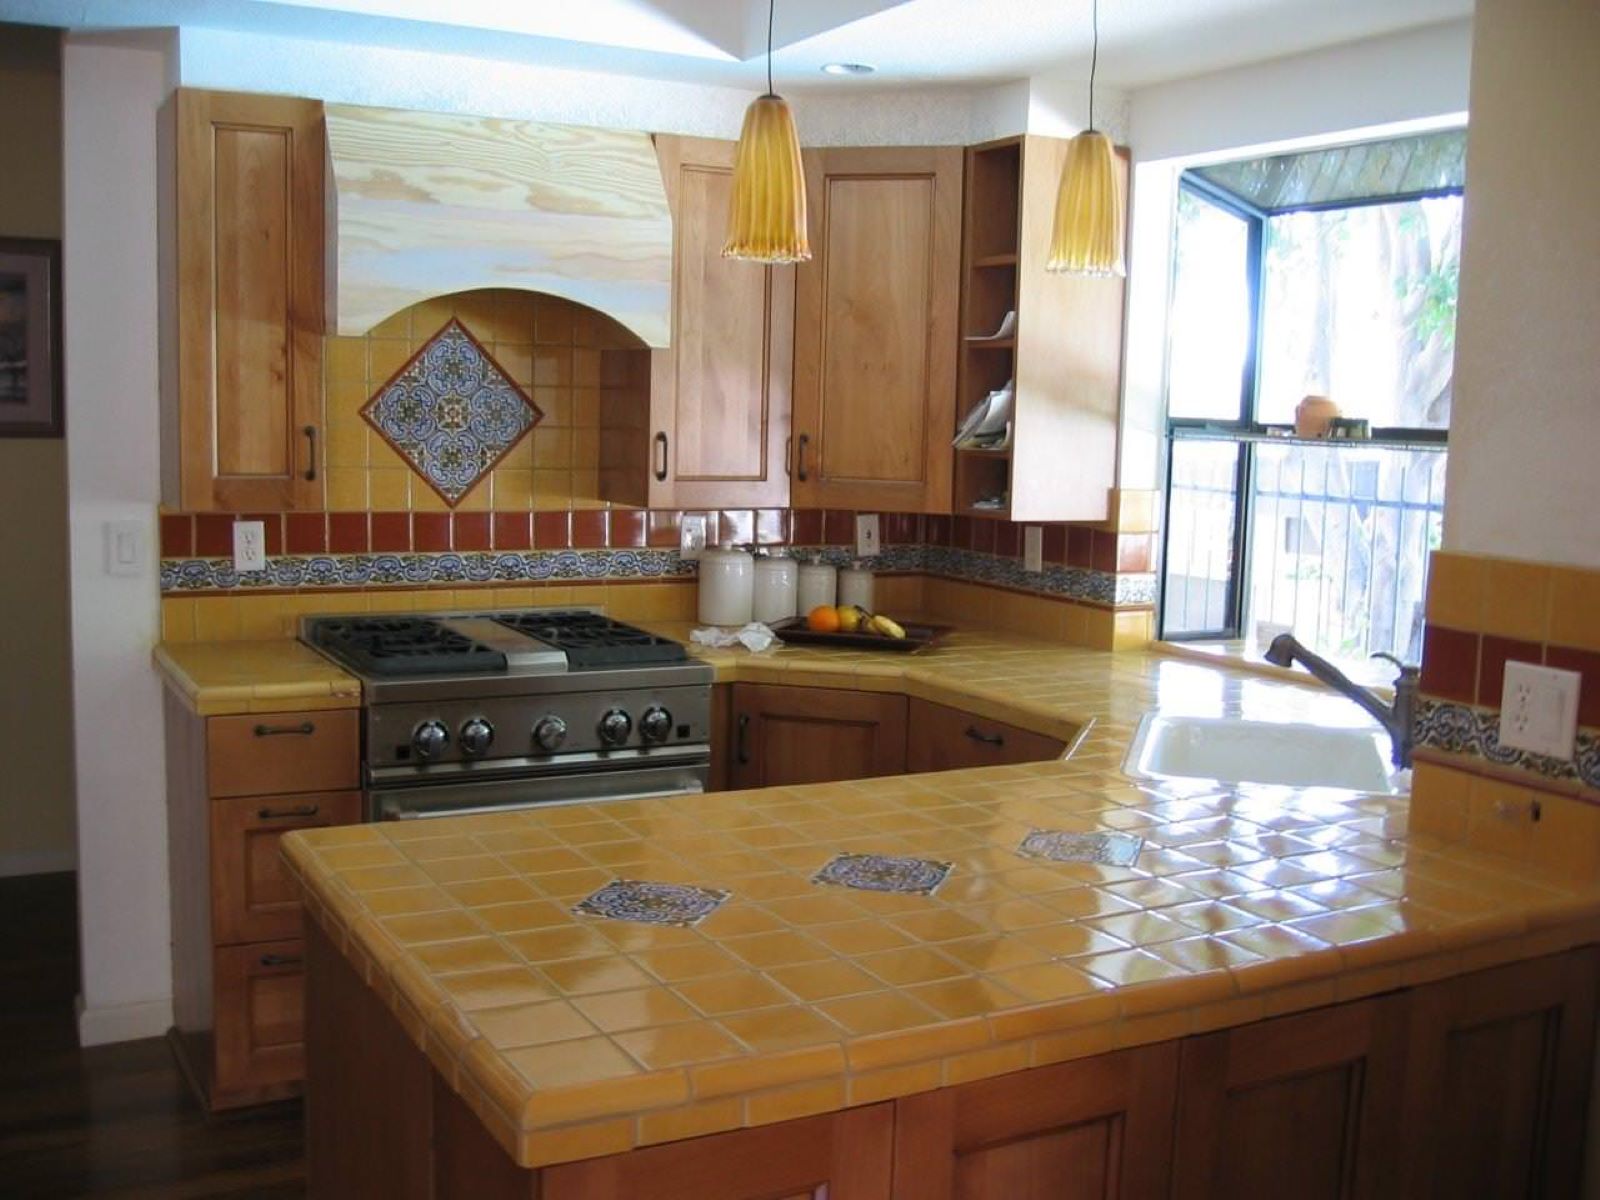
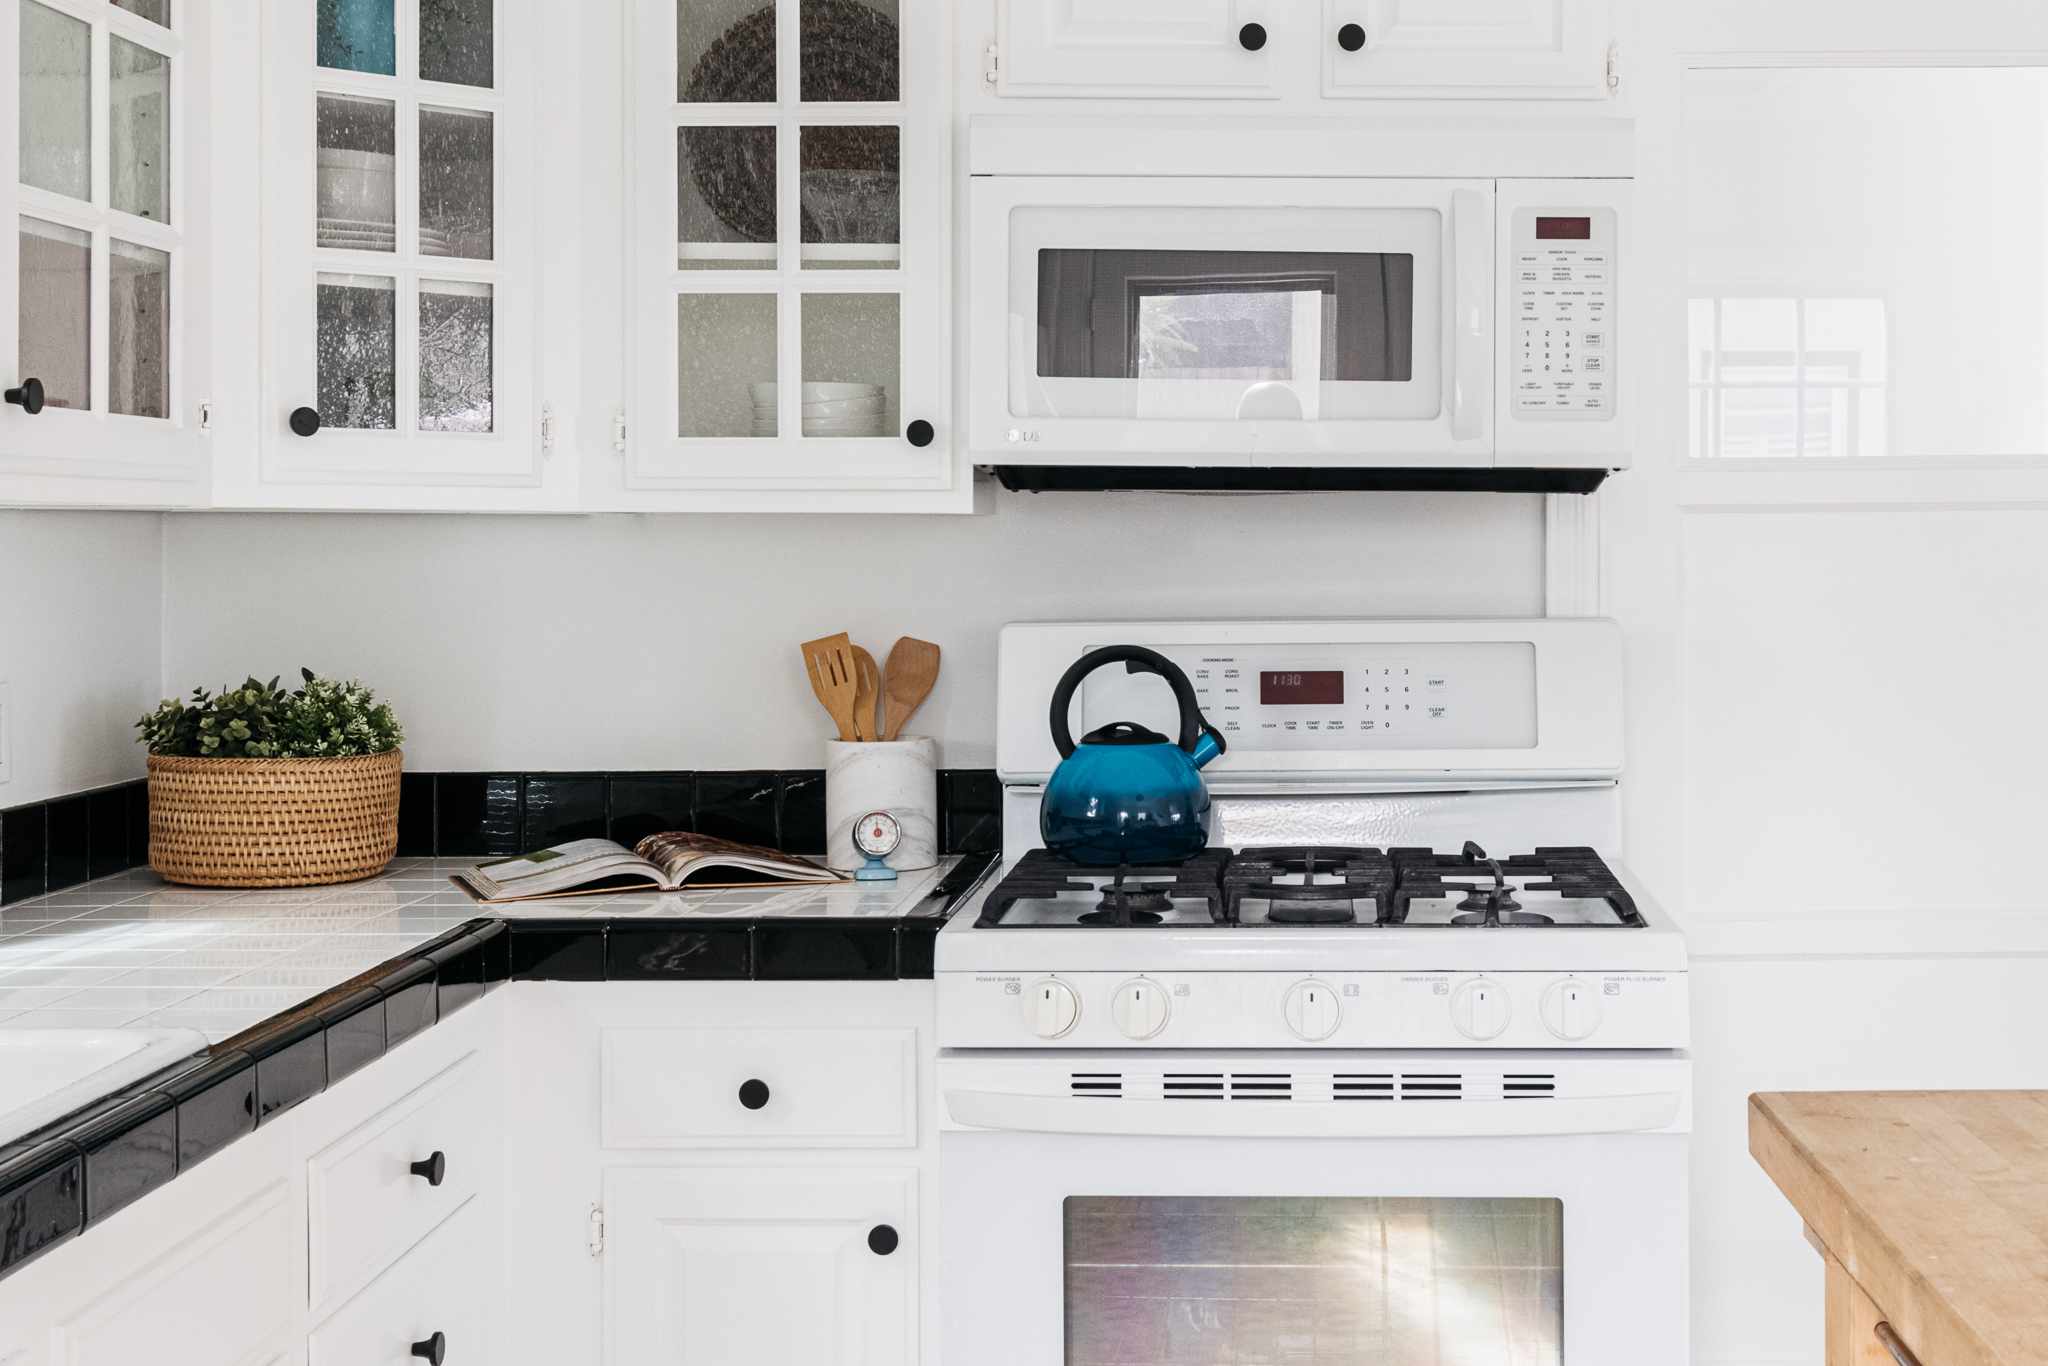
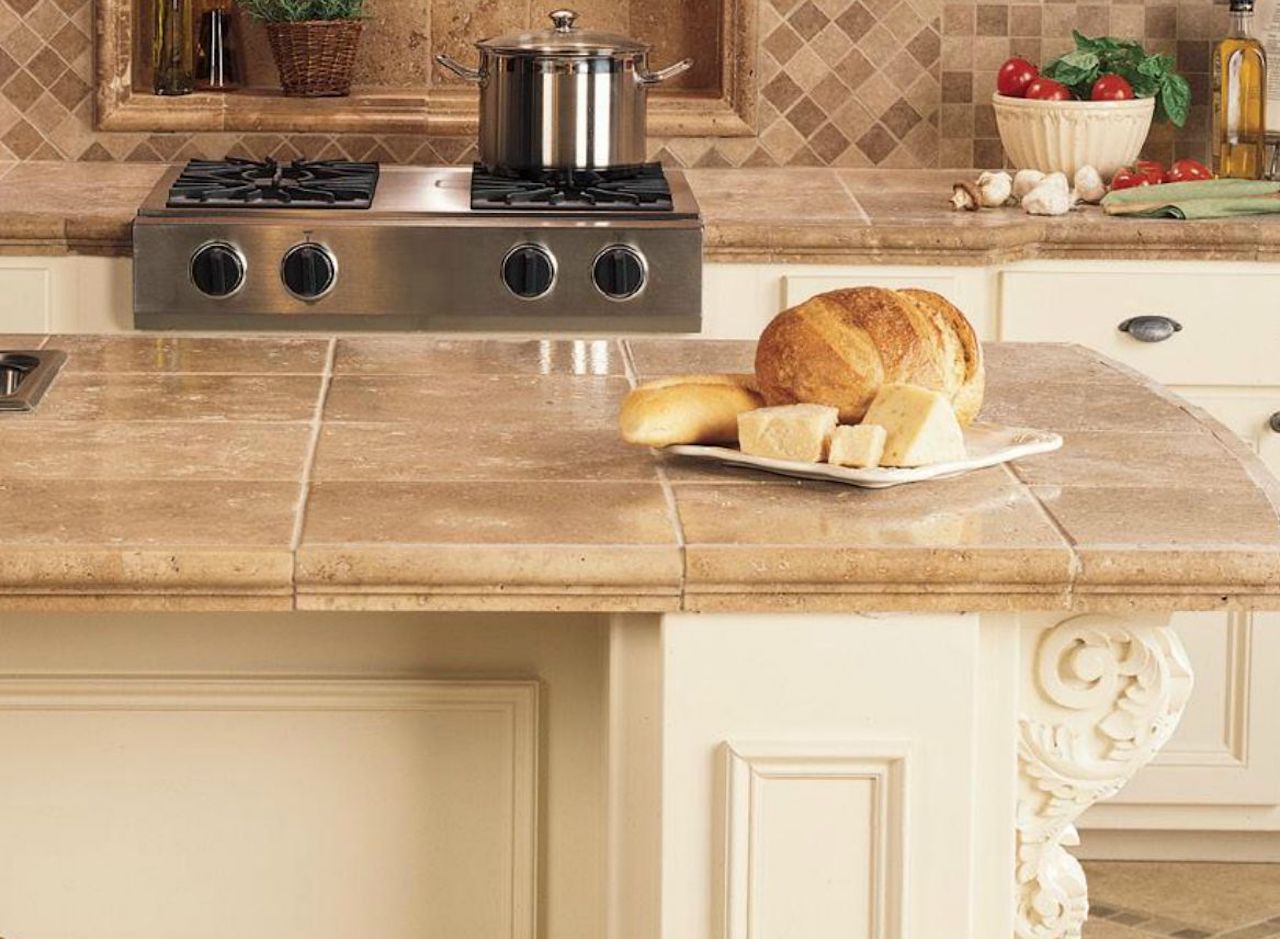
Welcome to this comprehensive guide on how to upgrade tile countertops! If you’re looking to refresh the look of your kitchen or bathroom, replacing the old and worn-out tiles on your countertops can make a significant difference. Not only will it enhance the appearance of the space, but it can also increase the value of your home.
Before we dive into the step-by-step process of upgrading your tile countertops, let’s first understand the reasons why you might consider undertaking this project. Over time, tiles can crack, chip, or become discolored, detracting from the overall aesthetics of your kitchen or bathroom. Additionally, outdated tile patterns and colors can make your space look dated and less appealing.
By replacing your old tiles with new ones, you have the opportunity to choose a design that better suits your style and preferences. Whether you’re aiming for a modern and sleek look or a warm and inviting ambiance, selecting the right tiles can transform the entire appearance of your countertops.
Before starting this project, it’s essential to gather all the tools and materials you’ll need. This will ensure a smooth and efficient process without any interruptions. Some of the key items you’ll require include a hammer, chisel, adhesive, grout, tile spacers, a trowel, a sponge, and a tile cutter. Additionally, make sure you have protective gear such as safety glasses and gloves to ensure your safety throughout the process.
Throughout this guide, we’ll walk you through each step of the process, providing you with expert tips and insights to help you achieve professional-looking results. By following this guide, you’ll be able to upgrade your tile countertops with confidence and enjoy the beautiful and revamped look of your kitchen or bathroom.
Now that you understand the importance of upgrading your tile countertops and have prepared yourself with the necessary tools, let’s move on to the first step of the process: preparing the work area.
Key Takeaways:
- Upgrade your tile countertops to refresh your space and increase your home’s value. Follow the step-by-step guide for professional-looking results and enjoy a beautiful, revitalized kitchen or bathroom.
- Attention to detail, patience, and precision are key in successfully upgrading your tile countertops. From preparation to finishing touches, create a polished and durable transformation for your space.
Step 1: Preparing the Work Area
Before you begin removing the old tiles and installing the new ones, it’s crucial to properly prepare the work area. This step will ensure that you have a clean and organized space to work in, making the entire process much smoother.
Here are some important steps to follow when preparing your work area:
- Clean the countertops: Start by thoroughly cleaning your existing tile countertops. Remove any dirt, grease, or other debris using a mild cleanser and a sponge. Make sure to dry the surface completely before moving on to the next step.
- Remove any loose tiles: Inspect the existing tiles for any loose or damaged ones. Use a putty knife or a chisel to gently pry them off the countertop. Make sure to wear safety glasses and gloves during this process to protect yourself from any flying debris.
- Protect surrounding areas: Cover any adjacent surfaces, cabinets, or appliances that may be at risk of getting damaged or dirty during the tile removal process. Use plastic sheets or drop cloths to protect these areas and secure them in place using masking tape.
- Turn off the power: If your tile countertops have electrical outlets or switches, make sure to turn off the power supply to avoid any accidents during the removal process. It’s always better to be safe than sorry.
- Open windows or use ventilation: Tile removal can generate dust and debris, so it’s a good idea to open windows or use a fan for proper ventilation. This will help keep the air clean and prevent the accumulation of dust in your living space.
By following these steps, you’ll ensure that your work area is clean, safe, and well-prepared for the tile removal and installation process. Once you’ve completed the necessary preparations, you’re ready to move on to the next step: removing the old tiles.
Step 2: Removing the Old Tiles
Now that you have prepared your work area, it’s time to start removing the old tiles from your countertops. Removing the old tiles may require some effort and patience, but with the right tools and techniques, you can successfully complete this step.
Here’s a step-by-step guide on how to remove the old tiles:
- Start at the edge: Begin by identifying a loose tile or one that’s already cracked and chipped. This will serve as your starting point. Use a putty knife or a chisel to gently lift the tile away from the countertop.
- Continue with neighboring tiles: Once you’ve removed the first tile, work your way through the neighboring tiles. Use the putty knife or chisel to carefully pry them off the countertop. Be cautious not to apply too much force as you might damage the surface underneath.
- Remove stubborn tiles: Some tiles may be more difficult to remove, especially if they are firmly adhered to the countertop. In such cases, use a hammer and a chisel to break the tile into smaller pieces. Start from the center of the tile and carefully work your way towards the edges.
- Remove adhesive residue: After removing all the tiles, you may notice adhesive residue on the countertop. Use a scraper or putty knife to gently scrape away the remaining adhesive. Make sure to wear gloves and safety glasses during this process to protect yourself from any sharp edges or debris.
- Clean the surface: Once all the tiles and adhesive residue have been removed, clean the surface of the countertop thoroughly. Use a mild cleanser and a sponge to remove any leftover debris, dust, or adhesive particles.
It’s important to note that the difficulty of removing the old tiles may vary depending on factors such as the type of adhesive used and the condition of the tiles. If you encounter any stubborn tiles or face difficulties during the removal process, don’t hesitate to seek professional help or consult with a reputable tile expert.
With the old tiles successfully removed, you’re now ready to move on to the next step: preparing the surface for the installation of the new tiles.
Step 3: Preparing the Surface
Now that you have removed the old tiles, it’s time to prepare the surface of your countertops for the installation of the new tiles. Properly preparing the surface ensures that the new tiles will adhere securely and provide a smooth and long-lasting finish.
Follow these steps to prepare the surface for the installation of the new tiles:
- Inspect the surface: Thoroughly inspect the countertop surface for any cracks, unevenness, or damage. If you notice any significant issues, it’s recommended to repair or level the surface before proceeding further.
- Fill cracks and holes: Use a high-quality filler or epoxy to fill in any cracks, holes, or imperfections on the countertop. Follow the manufacturer’s instructions for the specific product you are using. Allow the filler to dry and then smooth it out using sandpaper.
- Sand the surface: Lightly sand the entire surface of the countertop to create a rough texture. This helps the adhesive bond better with the surface. Use fine-grain sandpaper and ensure that all areas are sanded evenly.
- Clean the surface: After sanding, clean the surface thoroughly to remove any dust or debris. Use a damp cloth or sponge to wipe away any residue. It’s important to have a clean and dry surface before proceeding to the next step.
- Apply a primer: Depending on the type of countertop material and the adhesive you’re using, applying a primer may be necessary. Check the instructions provided by the adhesive manufacturer or consult with a professional to determine if a primer is required for your specific situation.
Properly preparing the surface is crucial for a successful tile installation. It ensures that the new tiles will adhere securely and prevents any issues such as tiles coming loose or grout cracking over time.
Once you have completed the necessary surface preparation steps, you’re now ready to move on to the exciting part: installing the new tiles onto your countertops!
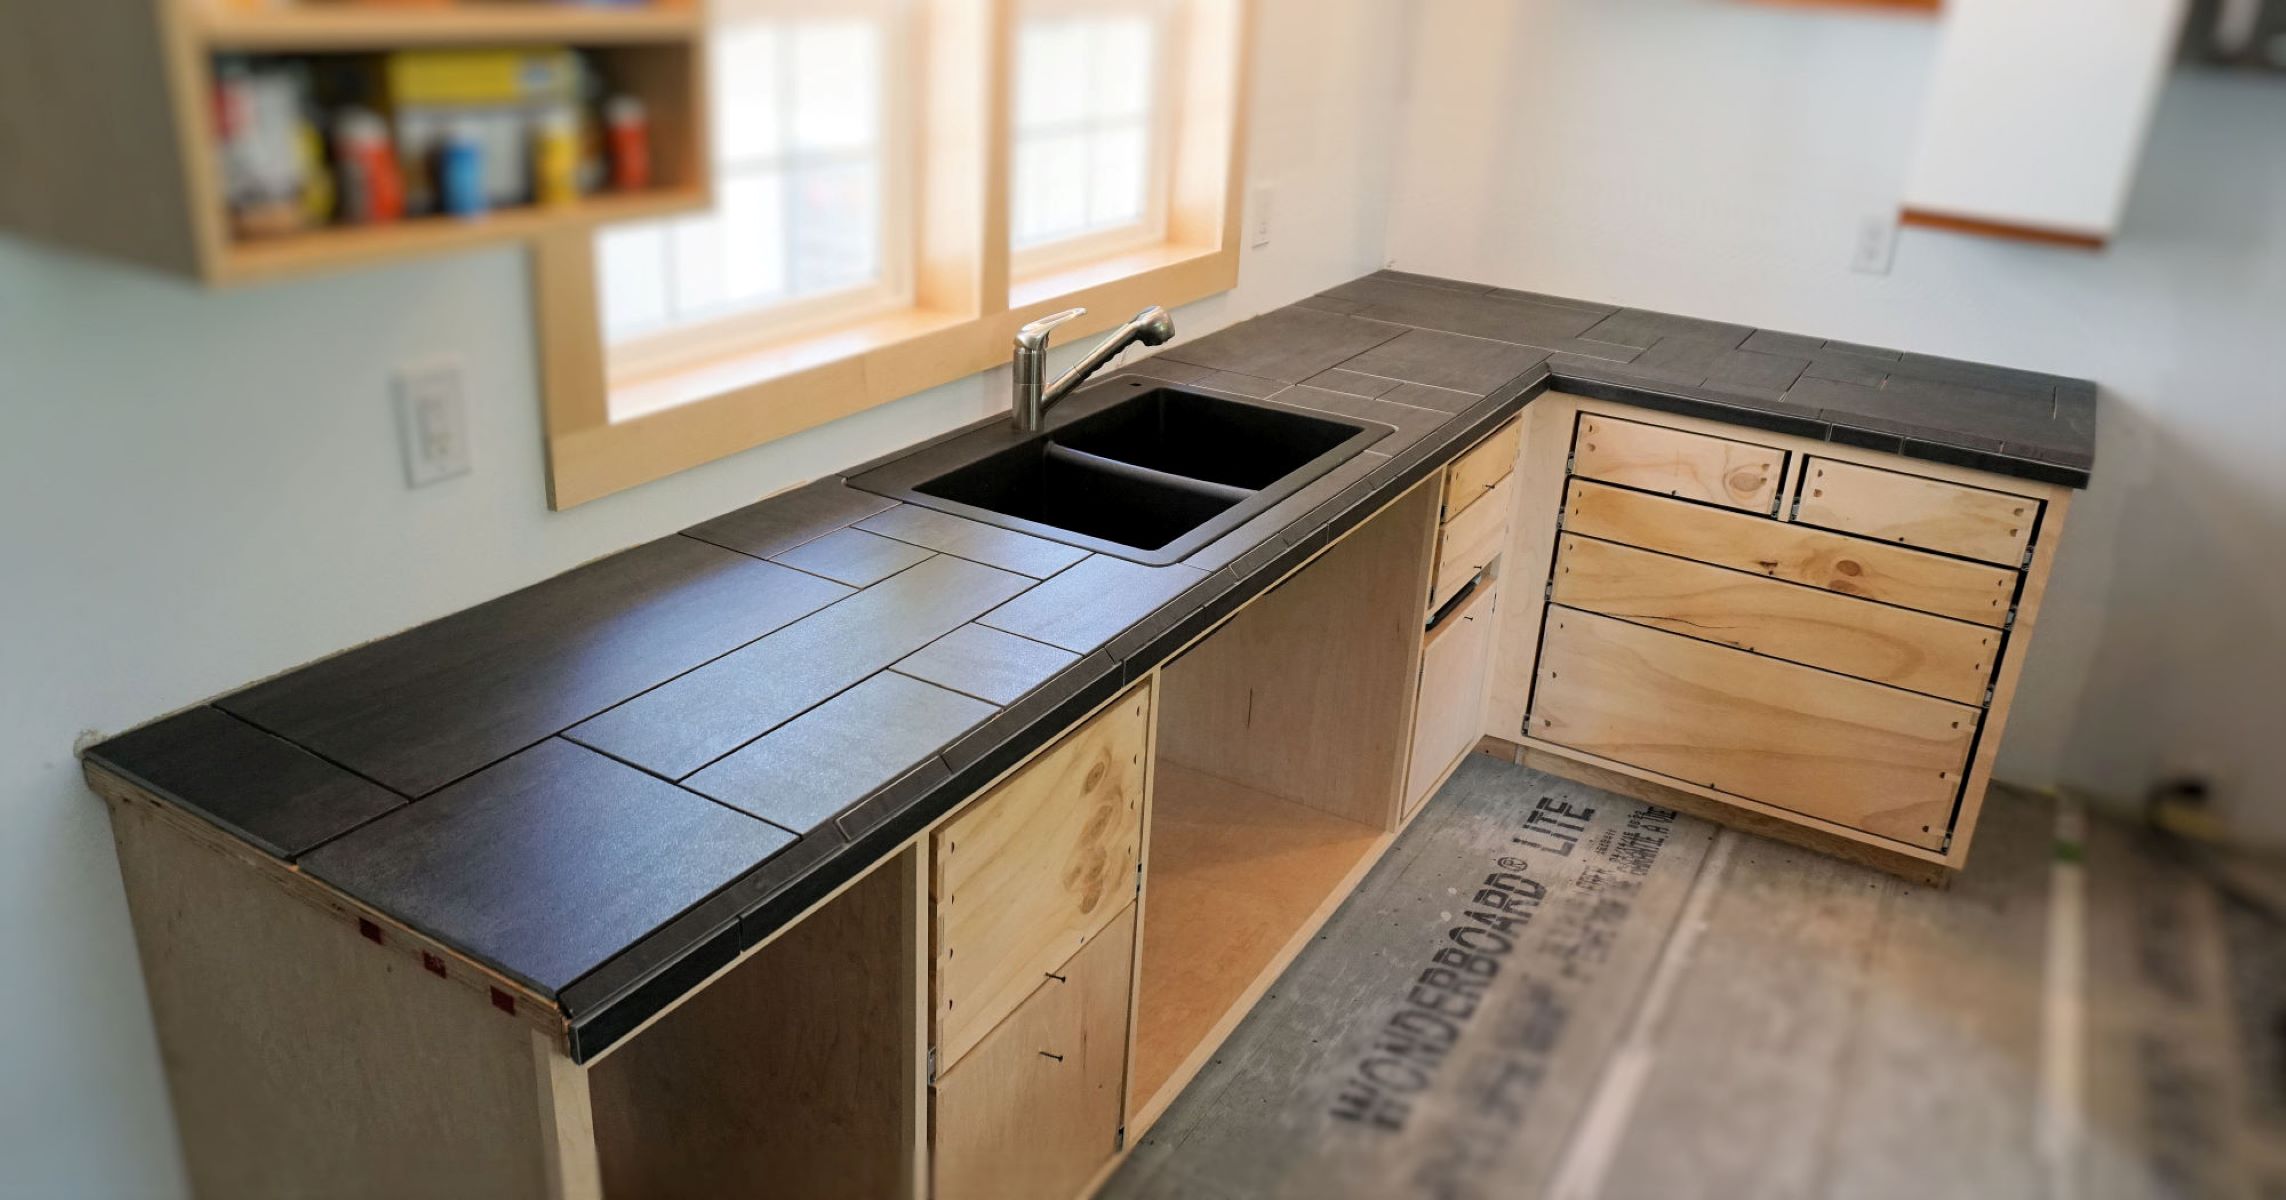
Step 4: Installing the New Tiles
With the surface prepared and ready, it’s time to start installing the new tiles onto your countertops. This step requires precision and attention to detail to ensure a seamless and professional-looking result.
Follow these steps to install the new tiles:
- Plan the layout: Before applying adhesive, plan the layout of the tiles. Determine the starting point and consider factors such as the size and shape of the tiles, the grout lines, and any patterns or designs you want to create. Use tile spacers to ensure even spacing between each tile.
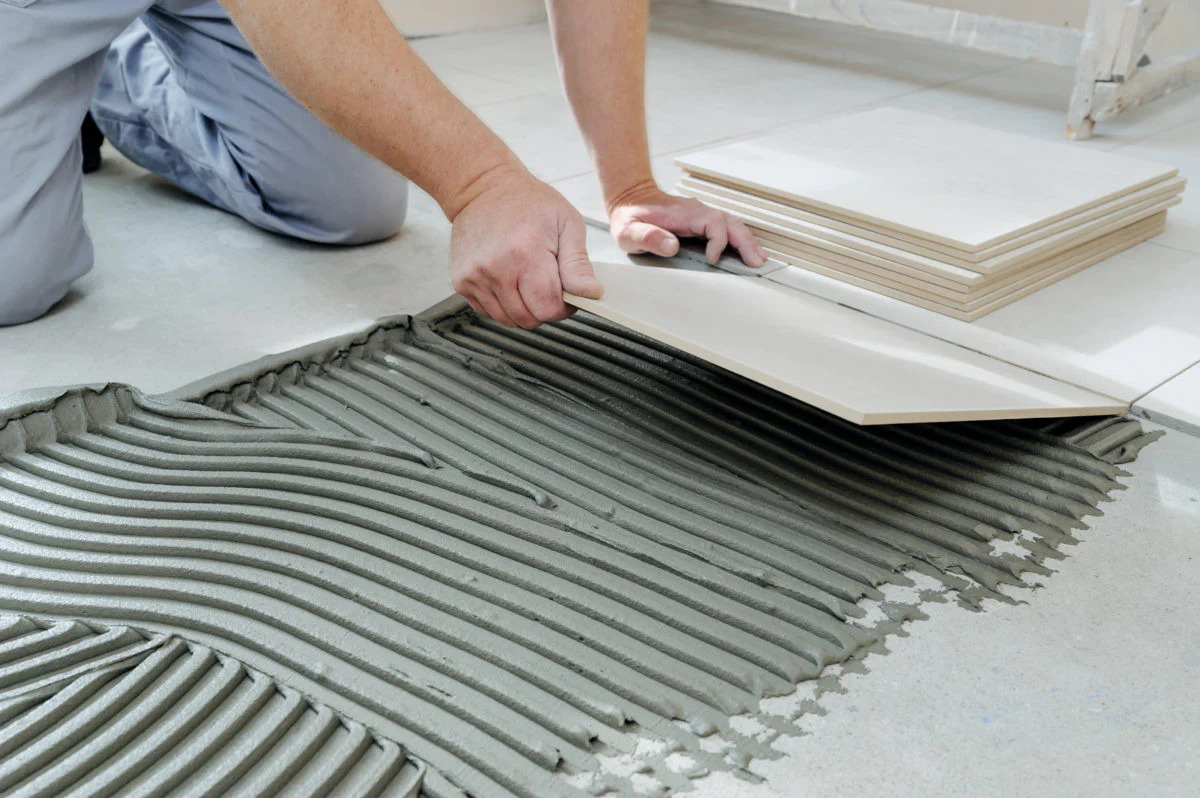
- Apply adhesive: Using a notched trowel, apply a thin layer of tile adhesive to the countertop surface. Spread the adhesive evenly, making sure the entire area is covered. Work in small sections to prevent the adhesive from drying out too quickly.
- Place the tiles: Carefully place each tile onto the adhesive, pressing down firmly to ensure proper adhesion. Use tile spacers to maintain consistent spacing between each tile. Check the level periodically to ensure that the tiles are straight and even.
- Continue the process: Repeat the process of applying adhesive and placing the tiles until you have covered the entire countertop area. Take your time and be mindful of the pattern and spacing as you work your way across.
- Trim tiles if necessary: If you encounter areas where the tiles need to be trimmed to fit along edges or corners, use a tile cutter to make the necessary cuts. Measure carefully and ensure a precise fit before applying adhesive and placing the trimmed tiles.
Remember to work efficiently and avoid applying adhesive to an area larger than you can cover with tiles within the specified drying time. This will help ensure optimal adhesion and prevent the adhesive from drying out before you can place the tiles.
Once all the tiles are in place, allow the adhesive to dry and cure according to the manufacturer’s instructions before moving on to the next step. This usually takes about 24 to 48 hours, but it’s important to consult the adhesive product for the specific drying time.
With the new tiles securely in place, you’re one step closer to enjoying your beautifully transformed countertops. The next step in the process is grouting the tiles, which will help fill the gaps and provide a finished look.
Consider using a tile paint or epoxy kit to upgrade your tile countertops. These kits can provide a cost-effective way to give your countertops a fresh new look without the expense of replacing the tiles.
Read more: How To Clean Tile Countertops
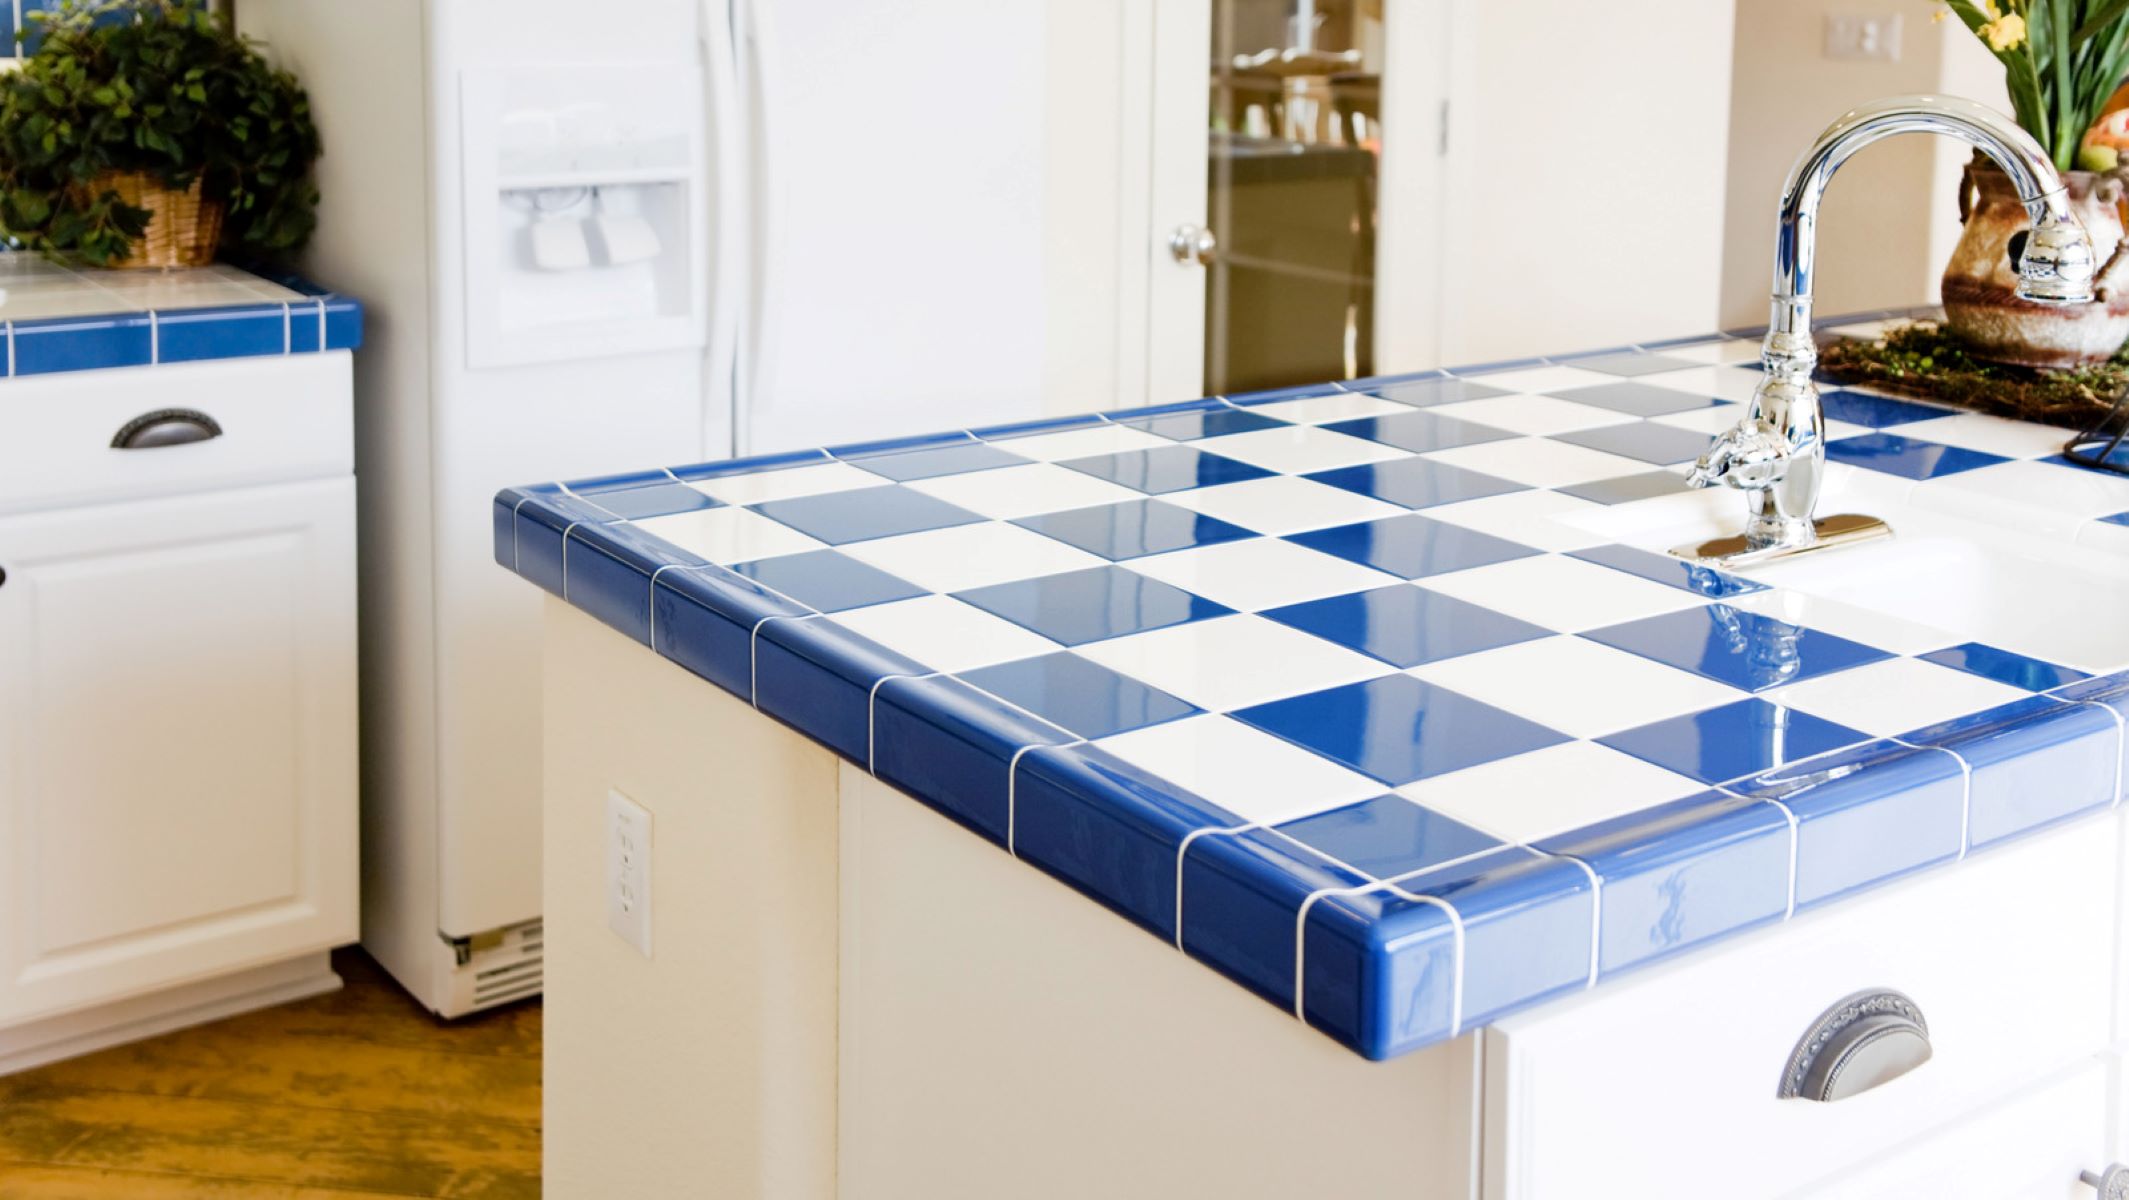
Step 5: Grouting the Tiles
After the adhesive has dried and the tiles are securely in place on your countertops, it’s time to move on to the next step: grouting the tiles. Grout helps fill the gaps between the tiles, creating a cohesive and finished look while providing stability and protection.
Follow these steps to effectively grout the tiles:
- Select the grout: Choose a grout color that complements your tiles and desired aesthetic. There are different types of grout available, such as sanded grout for wider gaps and unsanded grout for smaller gaps. Refer to the manufacturer’s instructions to ensure you select the appropriate grout for your project.
- Mix the grout: Follow the instructions on the grout packaging to mix the grout properly. Use a clean bucket and add water gradually, stirring until you achieve a smooth and consistent consistency. Allow the grout mixture to rest for a few minutes before using it.
- Apply the grout: Using a grout float or a rubber grout applicator, spread the grout over the tiles, pressing it into the gaps. Hold the float at a 45-degree angle and work diagonally across the tiles to ensure complete coverage. Remove excess grout from the surface of the tiles as you go.
- Clean the tiles: Once you’ve applied the grout, wait for about 15-20 minutes for the grout to set. Then, use a damp sponge to gently wipe away any excess grout from the tiles. Rinse the sponge frequently and avoid applying too much pressure to prevent removing the grout from the gaps.
- Final cleaning: After wiping away the excess grout, allow the grout to cure for the time specified on the grout packaging. Once it’s fully cured, use a clean cloth or towel to polish the tiles and remove any remaining grout haze. This will leave your tiles looking clean and pristine.
It’s important to note that grouting requires attention to detail and precision. Take your time during this step to ensure the grout is evenly applied and the tiles are properly cleaned. This will result in a professional-looking finish that enhances the overall appearance of your countertops.
Once the grout has fully cured and the tiles are clean and polished, you’re almost done! The next step is sealing the grout, which is essential for maintaining its durability and preventing stains and discoloration.
Step 6: Sealing the Grout
After grouting the tiles and allowing the grout to fully cure, the next important step in the process is sealing the grout. Sealing the grout helps protect it from stains, moisture, and discoloration, ensuring its longevity and preserving the overall appearance of your tiled countertops.
Follow these steps to effectively seal the grout:
- Choose the right sealer: There are various types of grout sealers available, such as penetrating sealers and surface sealers. Select a sealer that is suitable for the type of grout you have and the specific requirements of your project. Refer to the manufacturer’s instructions for the recommended sealer.
- Prepare the surface: Before applying the sealer, ensure that the grout and tiles are clean and free from any dust, debris, or residual grout. Use a soft brush or a damp cloth to gently clean the surface, and allow it to dry completely.
- Apply the sealer: Follow the instructions on the sealer packaging for the specific application process. Typically, the sealer can be applied using a brush, roller, or sponge. Ensure that the sealer is evenly applied to the grout lines, covering them thoroughly.
- Remove excess sealer: After applying the sealer, allow it to penetrate the grout for the recommended time specified by the manufacturer. Then, using a clean cloth or towel, gently wipe away any excess sealer from the surface of the tiles. Be careful not to disturb the freshly applied sealer on the grout lines.
- Allow the sealer to cure: After removing the excess sealer, allow the grout sealer to cure for the time specified by the manufacturer. This may take a few hours or even a day, depending on the specific sealer. Avoid exposing the newly sealed grout to moisture or heavy traffic during this curing period.
Sealing the grout is a vital step in protecting your tiled countertops and maintaining their cleanliness and appearance over time. It creates a barrier against stains, moisture, and dirt, making your countertops easier to clean and keeping the grout lines looking fresh and new.
Once the grout sealer has fully cured, you’re almost done with your tile countertop upgrade! The final step involves some finishing touches to complete the transformation.
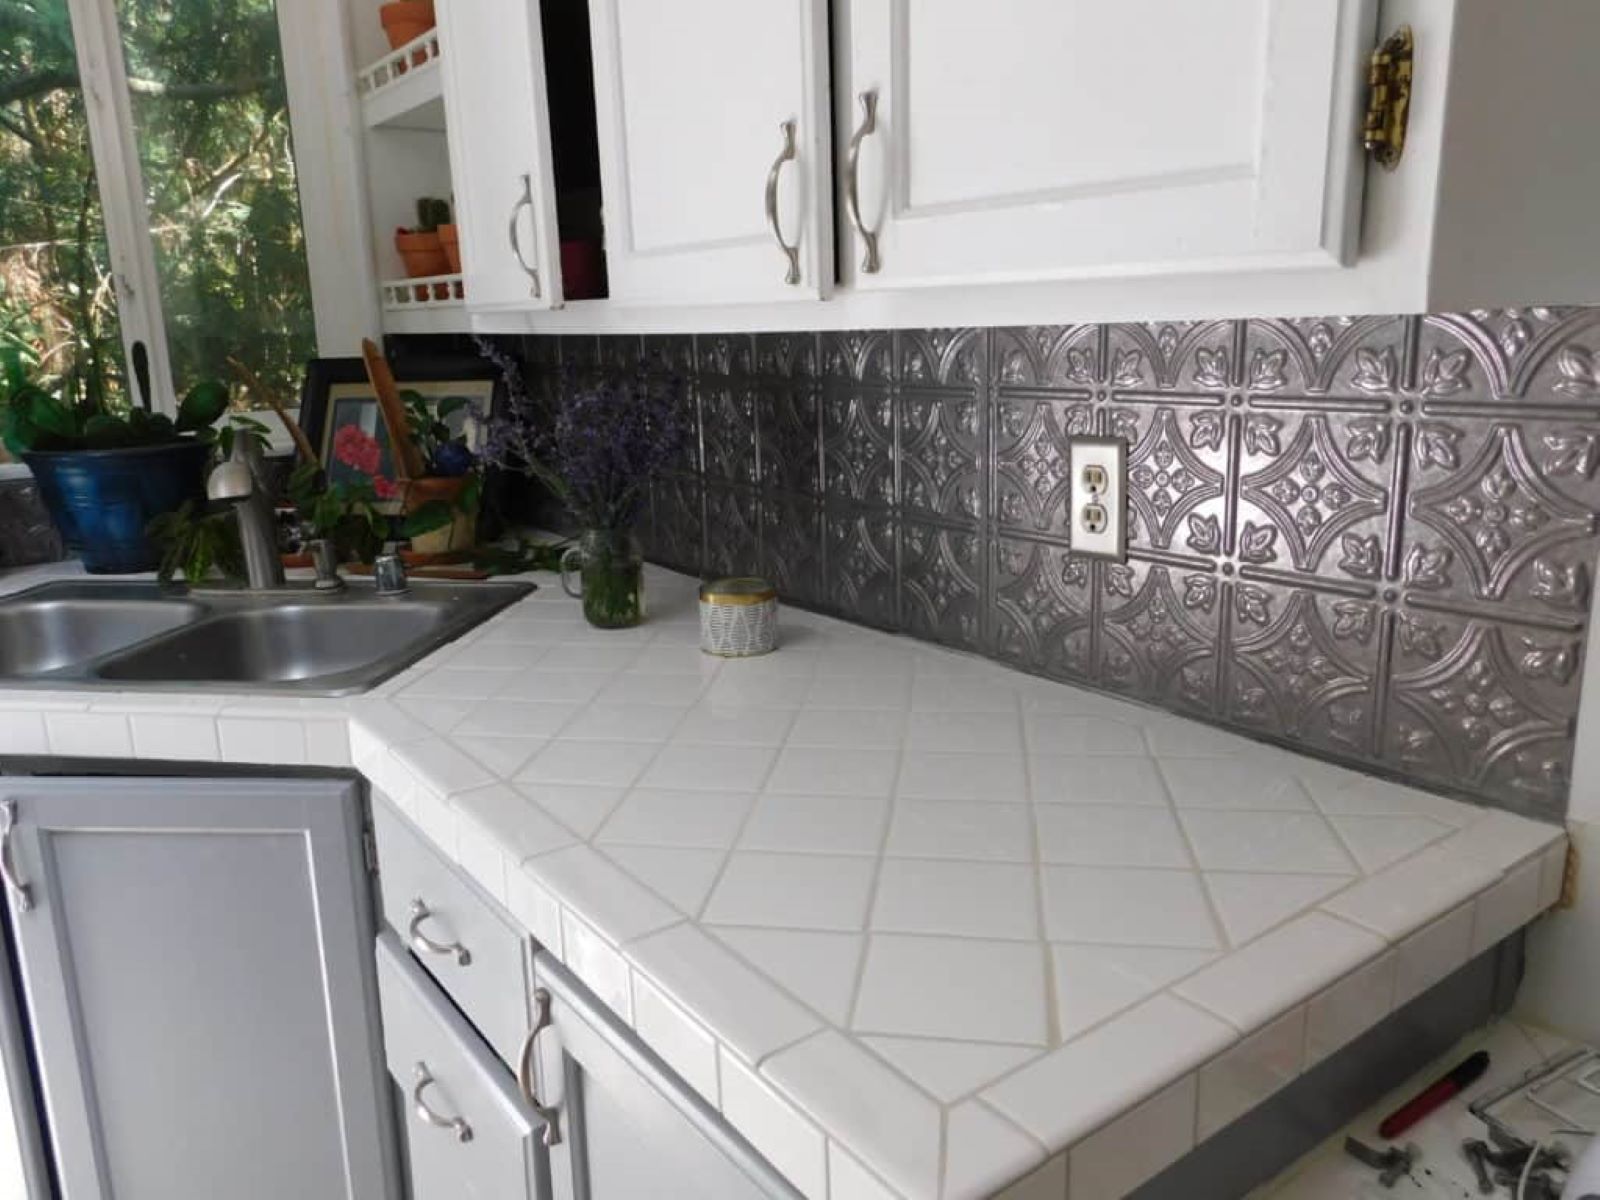
Step 7: Finishing Touches
Congratulations! You’re now at the final step of your tile countertop upgrade – adding the finishing touches to complete the transformation. These final touches will enhance the overall appearance of your countertops and give them a polished and professional look.
Here are some essential finishing touches to consider:
- Clean and polish the tiles: Wipe down the tiles with a clean, damp cloth or sponge to remove any dust or residue. Use a tile-friendly cleaner to give them a final clean and polish, ensuring they shine and look their best.
- Apply caulk: Apply a thin line of caulk along the edges where the countertop meets the wall or any other surfaces. Caulking not only provides a clean and finished look but also seals any gaps, preventing water or debris from getting in.
- Consider trim or edge tiles: If desired, add trim or edge tiles to frame the perimeter of your countertops. This can give them a more defined and polished appearance.
- Accessorize: Consider adding some accessories or decorative items to enhance the overall look of your updated countertops. This could include a stylish soap dispenser, a decorative tray, or potted plants.
By paying attention to these finishing touches, you’ll elevate the visual appeal of your newly upgraded tile countertops and create a cohesive and stylish space in your kitchen or bathroom.
Remember, it’s important to regularly maintain and clean your tile countertops to keep them looking their best. Follow the manufacturer’s recommendations for care and maintenance, and address any spills or stains promptly to prevent them from setting into the grout.
With the completion of these finishing touches, your tile countertop upgrade project is now successfully finished! Step back and admire your hard work and enjoy the refreshed and revitalized look of your kitchen or bathroom.
Now that you’ve learned how to upgrade tile countertops, you have the skills and knowledge to tackle this project with confidence. Remember to take your time, follow the steps carefully, and don’t hesitate to seek professional assistance if needed.
Happy countertop upgrading!
Conclusion
Congratulations on completing the tile countertop upgrade! By following the steps outlined in this comprehensive guide, you have successfully transformed the look of your kitchen or bathroom and added value to your home.
We began by discussing the importance of upgrading tile countertops and the reasons why you might consider undertaking this project. We then delved into each step of the process, from preparing the work area and removing the old tiles to preparing the surface, installing the new tiles, grouting, sealing, and adding the finishing touches. Each step plays a crucial role in achieving professional-looking results.
Throughout this guide, we emphasized the importance of attention to detail, precision, and patience. By taking the time to properly prepare the work area, remove the old tiles, and prepare the surface, you set a solid foundation for a successful tile countertop upgrade.
Installing the new tiles, grouting, and sealing the grout were all vital steps in creating a beautiful and durable finished product. With the tiles securely in place, the grout fills the gaps and provides stability, while the sealing process ensures its longevity and protects against stains and discoloration.
We also discussed the importance of the finishing touches, such as cleaning and polishing the tiles, applying caulk, and considering trim or edge tiles. These small details can make a significant difference in the overall appearance and polished look of your newly upgraded tile countertops.
Now that your tile countertop upgrade is complete, it’s important to take care of your newly updated countertops. Follow the manufacturer’s recommendations for maintenance, regularly clean and polish the tiles, and address any spills or stains promptly to keep them looking their best.
By completing this project, you have not only transformed the look and feel of your kitchen or bathroom but also added value to your home. Enjoy the refreshed and revitalized space you have created, and take pride in your accomplishment.
Thank you for following this comprehensive guide on how to upgrade tile countertops. We hope this resource has provided you with the knowledge and confidence to undertake this project and achieve professional-looking results.
Happy countertop upgrading and enjoy your beautiful new space!
Frequently Asked Questions about How To Upgrade Tile Countertops
Was this page helpful?
At Storables.com, we guarantee accurate and reliable information. Our content, validated by Expert Board Contributors, is crafted following stringent Editorial Policies. We're committed to providing you with well-researched, expert-backed insights for all your informational needs.


0 thoughts on “How To Upgrade Tile Countertops”