
Articles
How To Use An Ice Cream Maker
Modified: October 20, 2024
Discover expert articles on how to use an ice cream maker and create delicious frozen treats at home. Unlock the secrets to perfecting your favorite flavors with our comprehensive guides and tips.
(Many of the links in this article redirect to a specific reviewed product. Your purchase of these products through affiliate links helps to generate commission for Storables.com, at no extra cost. Learn more)
Introduction
Welcome, ice cream enthusiasts, to the wonderful world of homemade ice cream! There’s something truly magical about indulging in a creamy, flavorful scoop of ice cream that you’ve made with your own hands. And what better way to achieve this delicious delight than by using an ice cream maker?
An ice cream maker is a must-have appliance for any ice cream lover. It allows you to create custom flavors, control the ingredients, and experiment with different combinations and add-ins. Whether you have a sweet tooth or a penchant for exotic flavors, the possibilities are endless when it comes to homemade ice cream.
In this article, we will guide you through the process of using an ice cream maker, from choosing the right one for your needs to mastering the art of creating smooth and creamy ice cream. So, put on your apron, gather your favorite ingredients, and let’s dive into the world of homemade ice cream!
Key Takeaways:
- Master the art of homemade ice cream by choosing the right ice cream maker, preparing ingredients, and monitoring the churning and freezing process for creamy, customized delights.
- Elevate your ice cream game with mix-ins, proper storage, and maintenance of your ice cream maker. Troubleshoot common issues and unleash your creativity for delightful frozen creations.
Read more: How To Use The Kitchenaid Ice Cream Maker
Choosing the Right Ice Cream Maker
When it comes to selecting an ice cream maker, there are a few factors to consider. These factors will help you find the perfect match for your preferences and needs. Here are some key points to keep in mind:
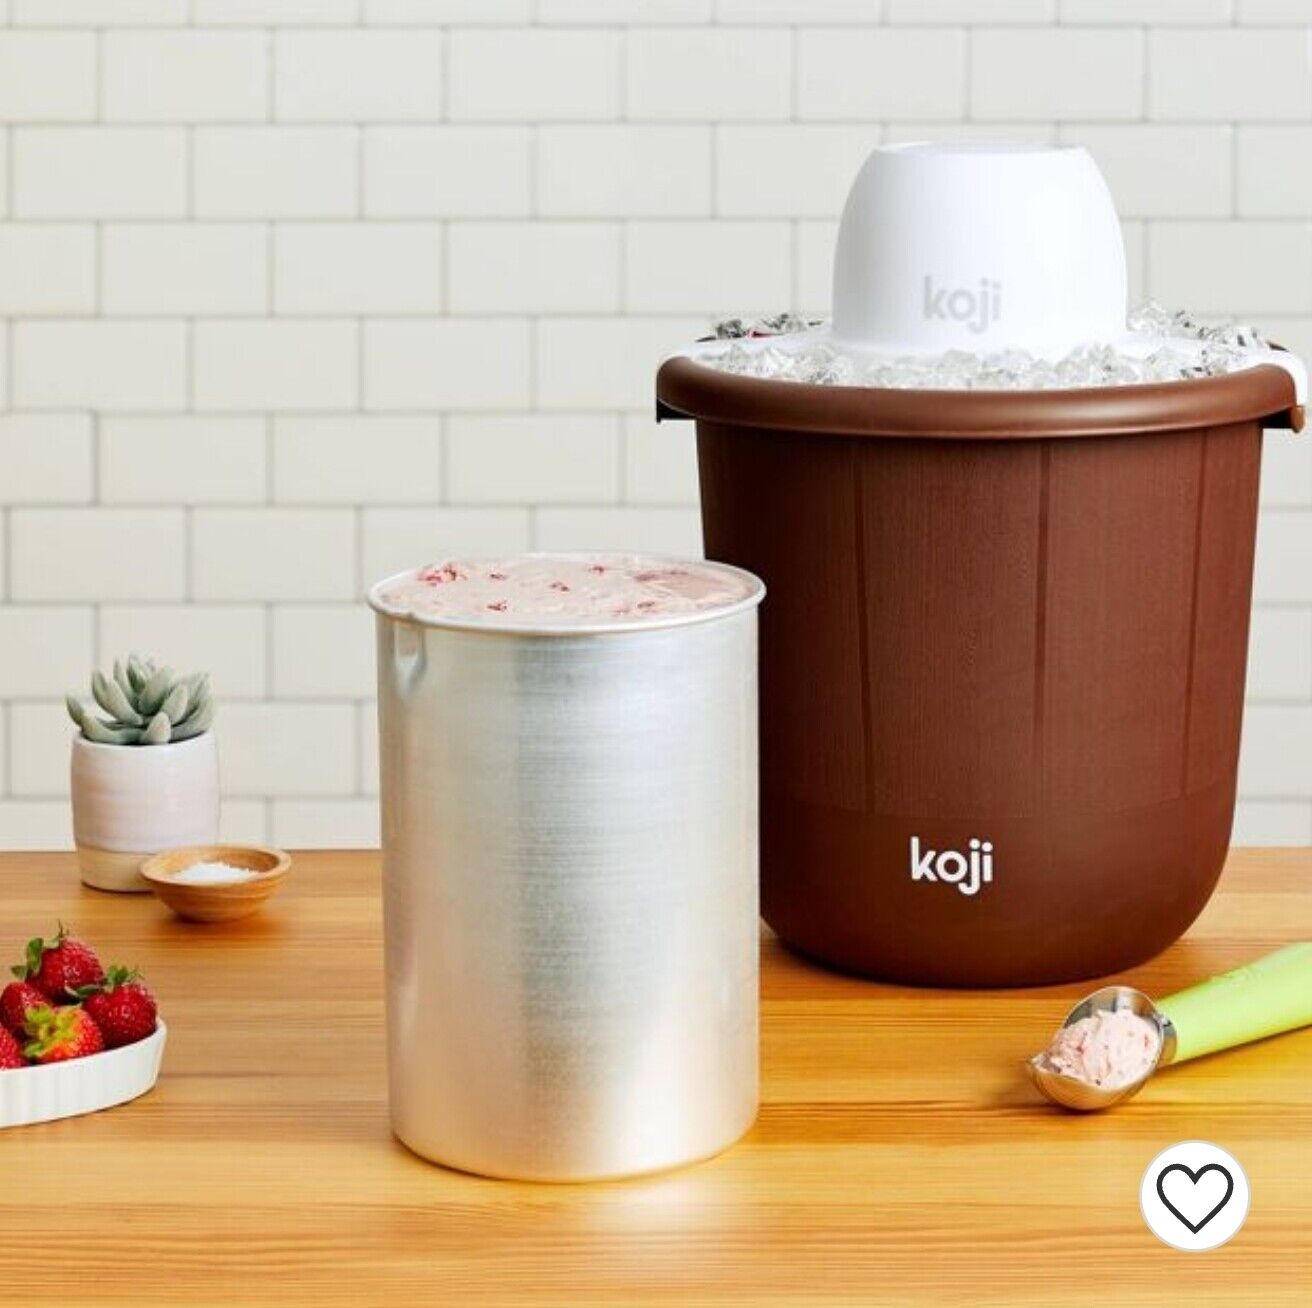
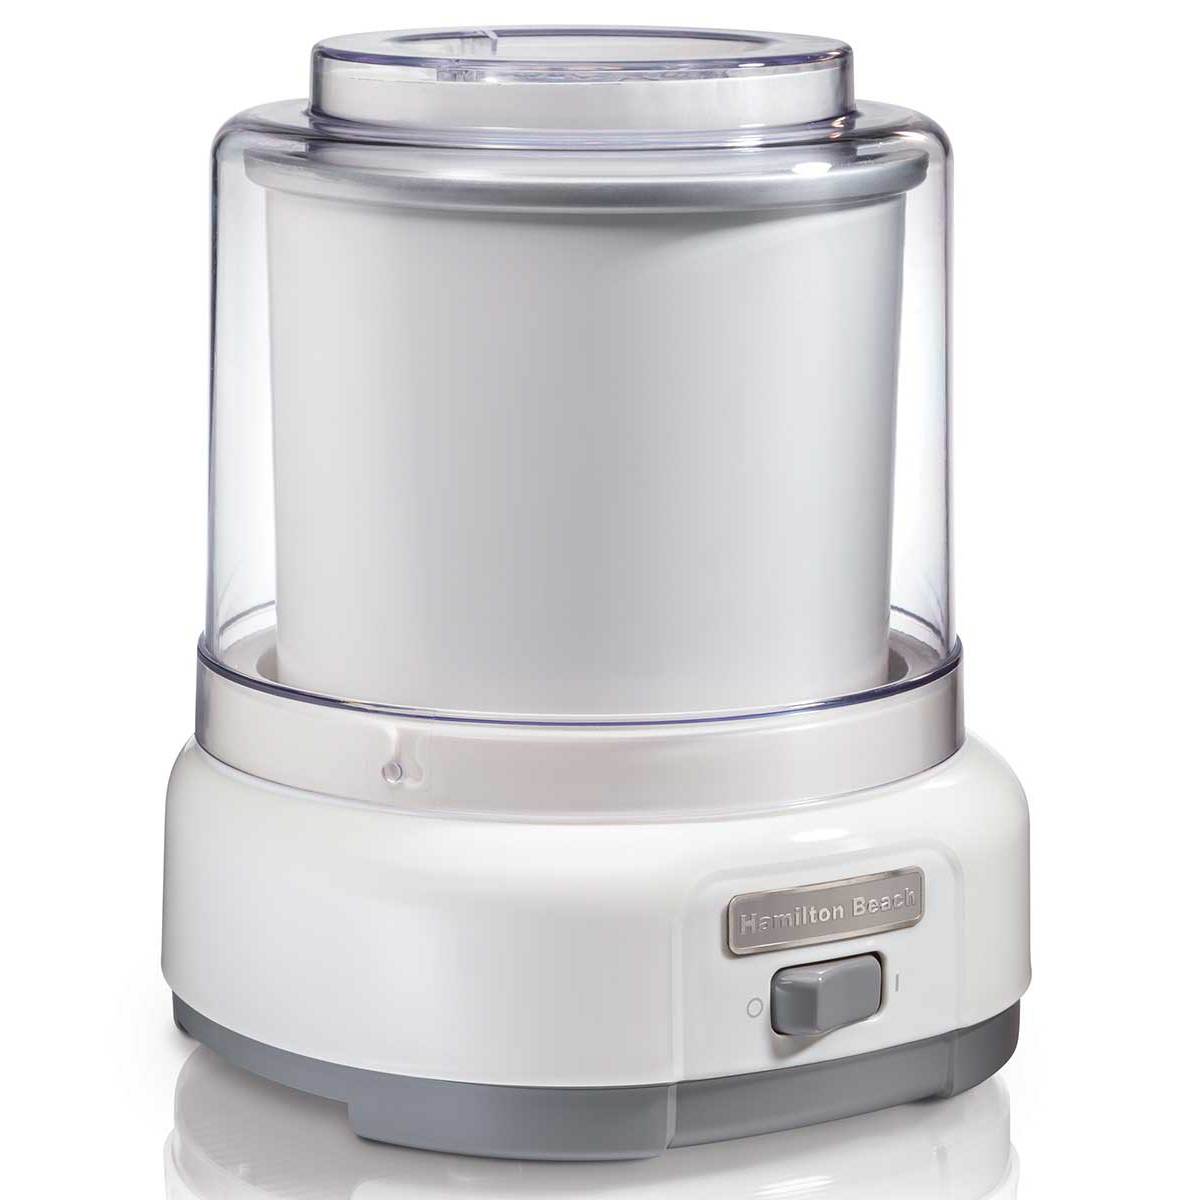
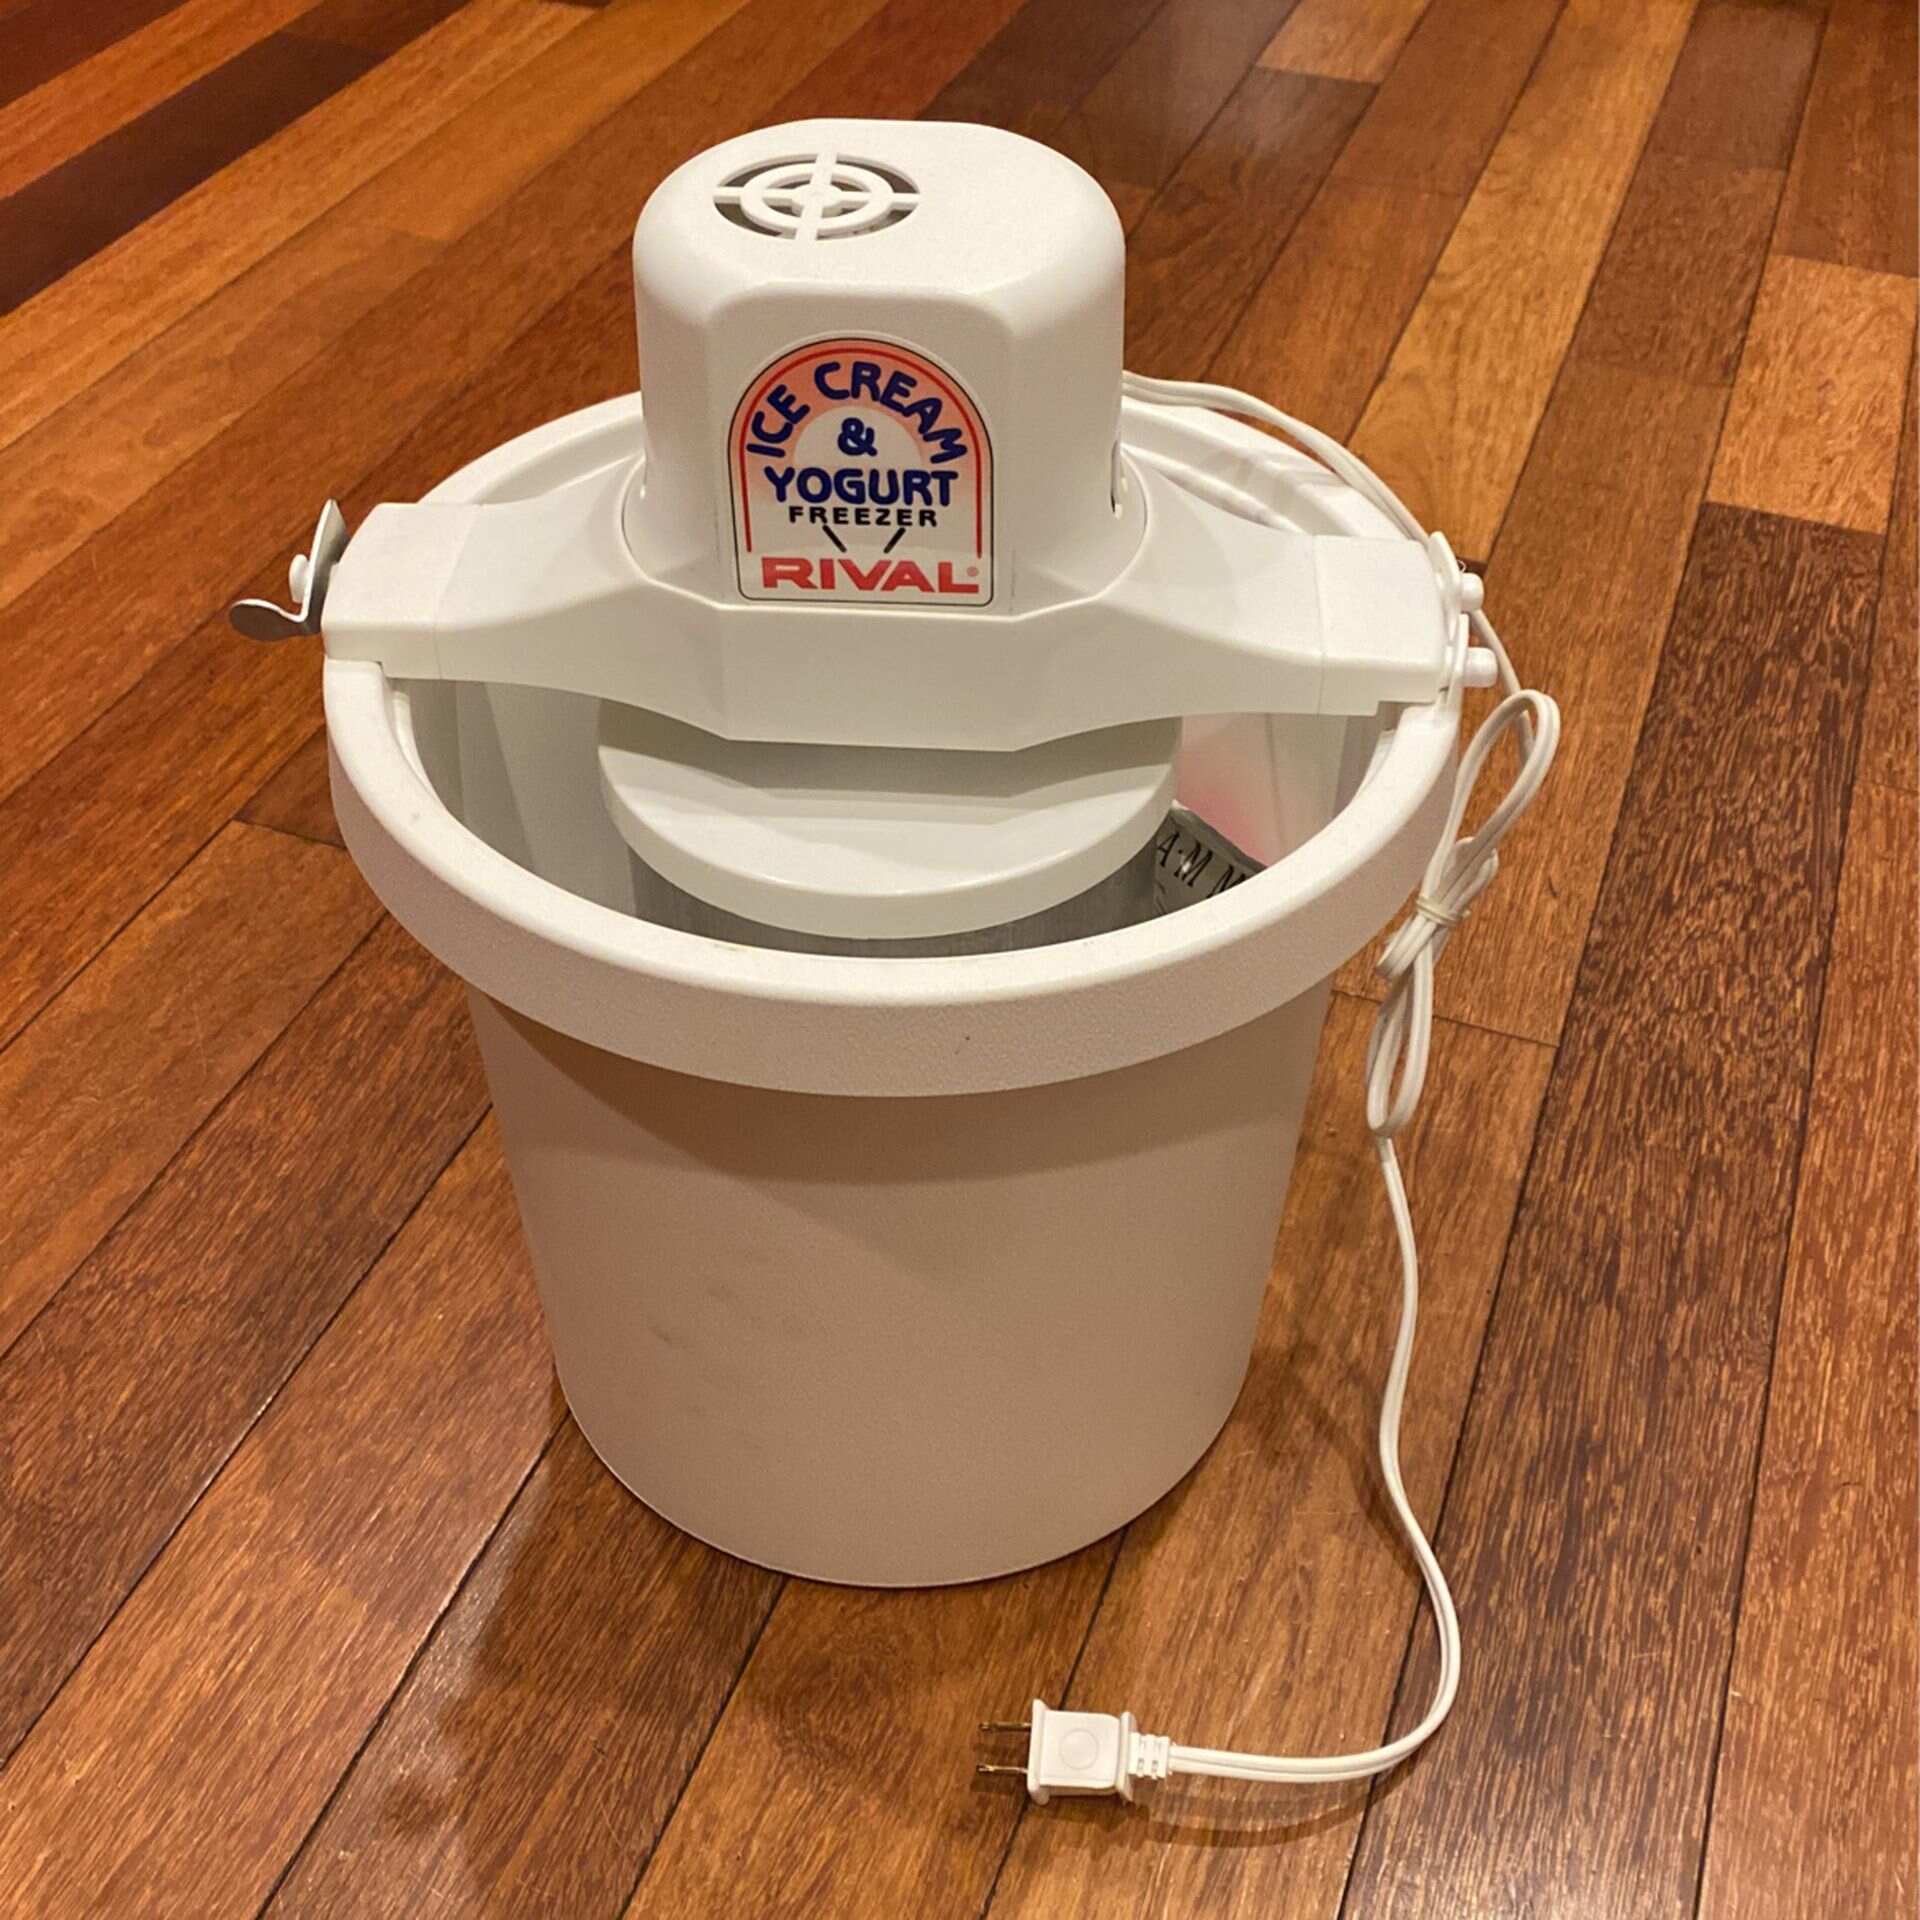
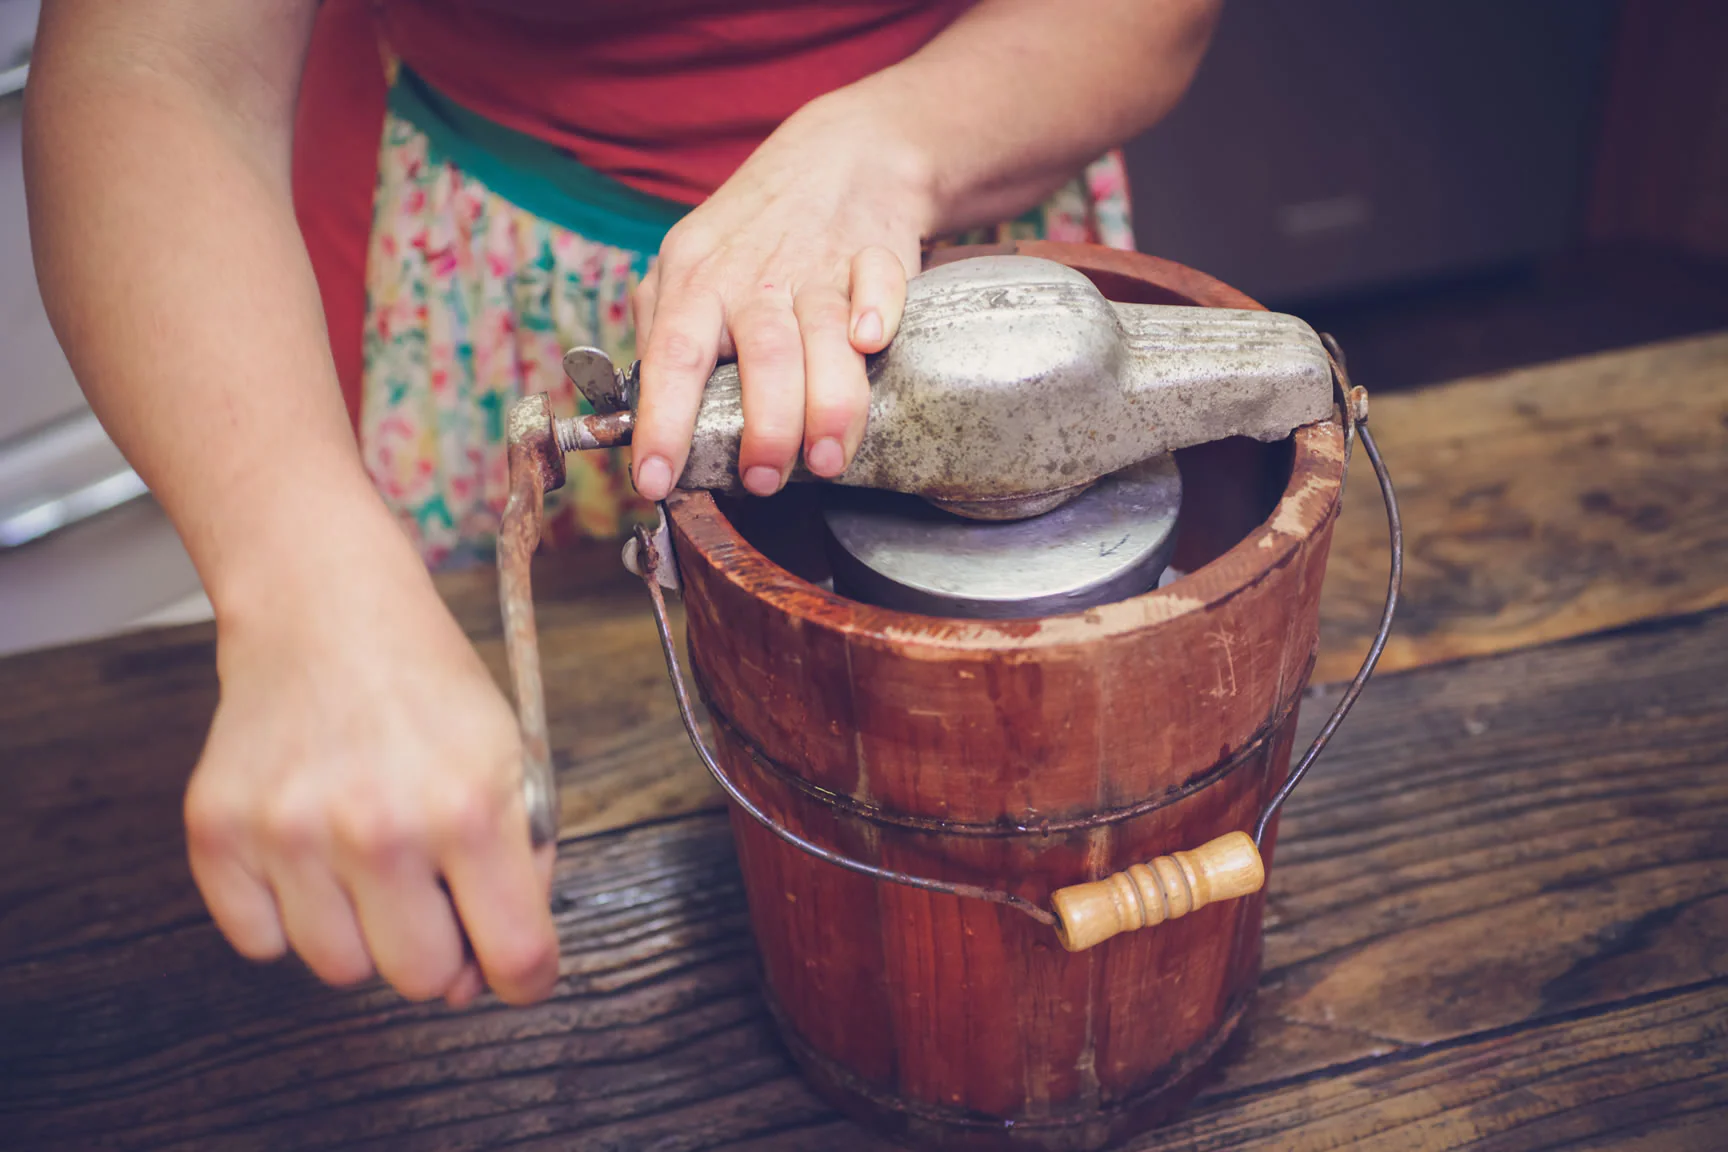
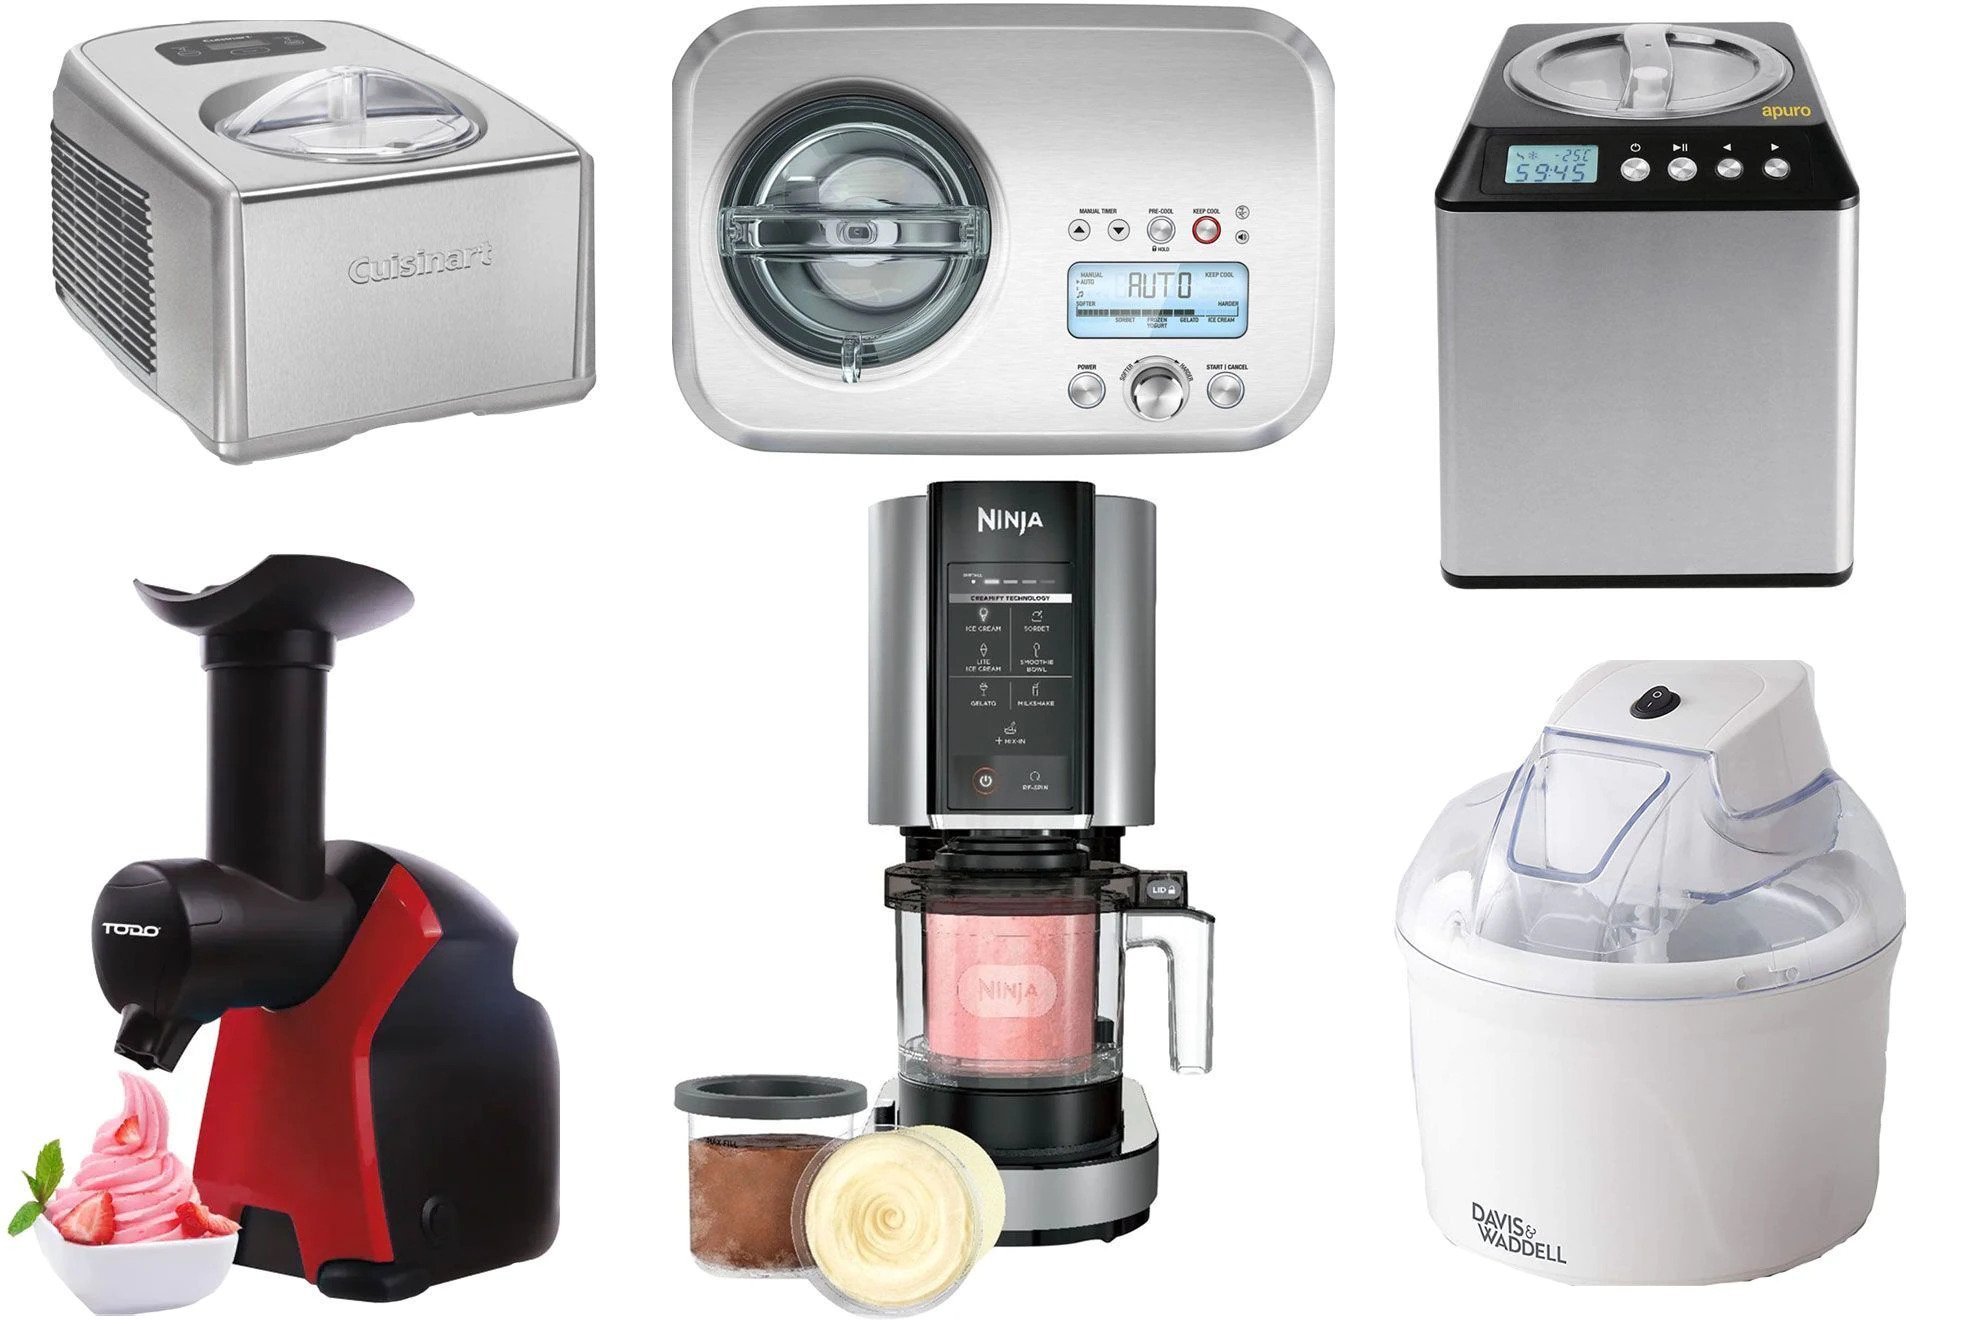
- Type of Ice Cream Maker: There are different types of ice cream makers available, including traditional models with a canister that needs to be frozen in advance, compressor models that do not require pre-freezing, and even manual crank models. Consider which type suits your lifestyle and preferences.
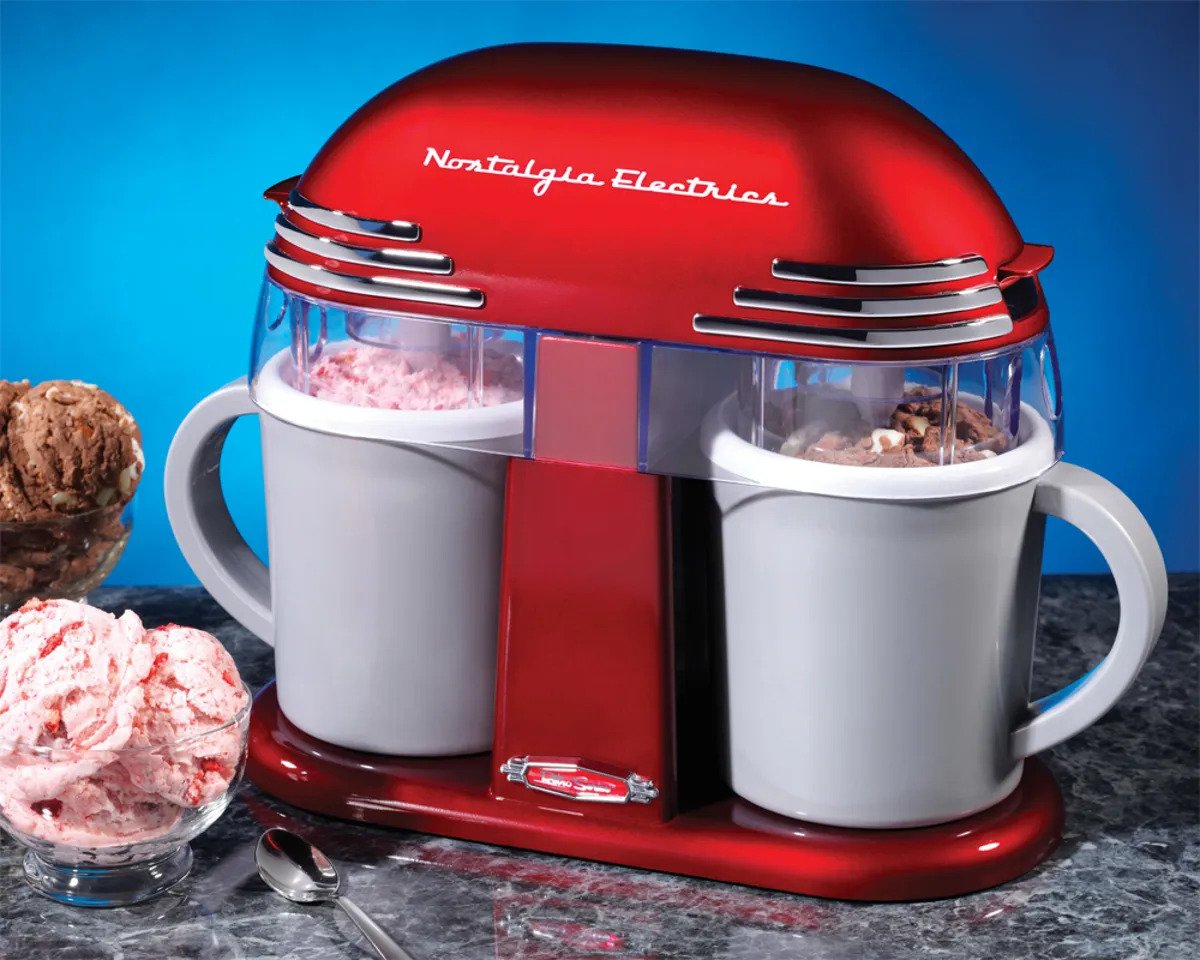
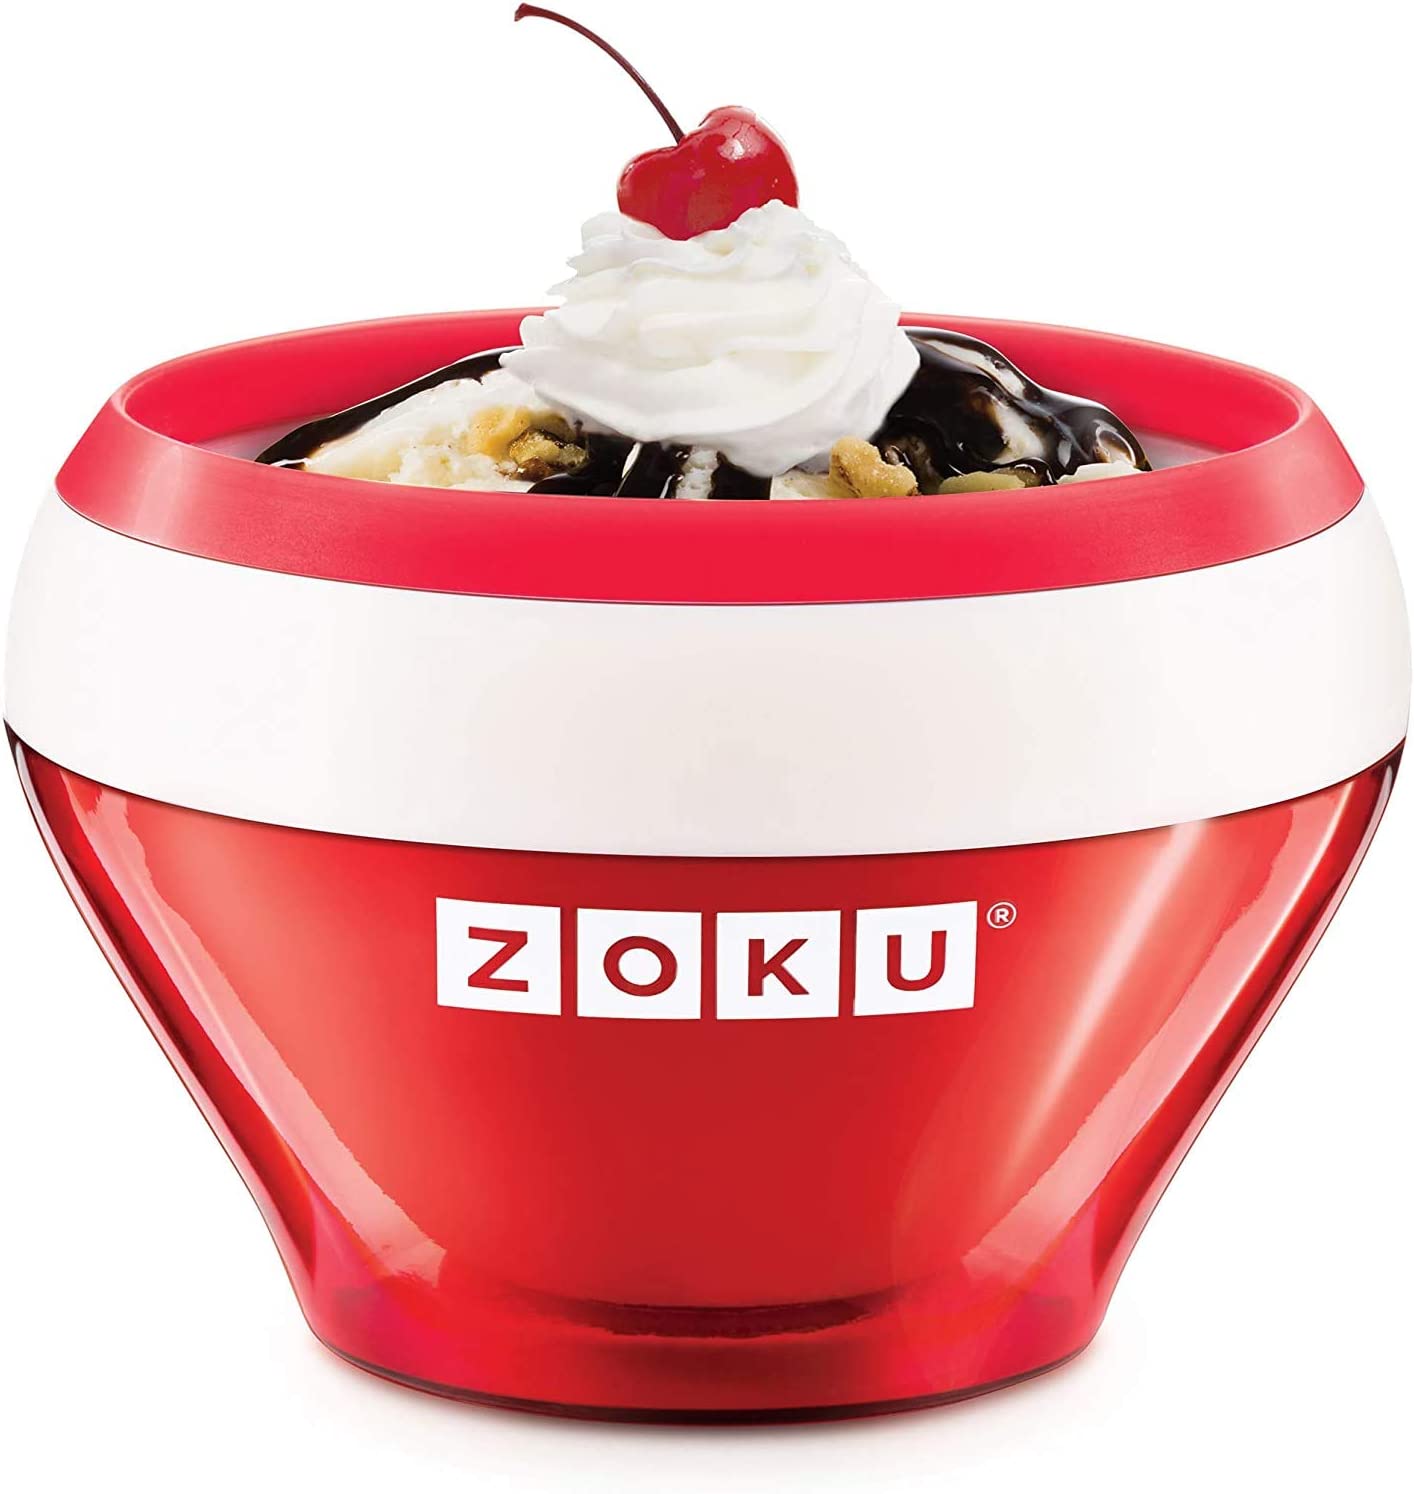
- Capacity: Think about how much ice cream you plan to make at once. Ice cream makers come in a variety of sizes, from small personal models that make a few servings to larger models that can accommodate a whole tub of ice cream.
- Freezing Time: If you opt for a canister-style ice cream maker, keep in mind that some models may require longer freezing times for the canister. If you’re eager to start making ice cream right away, consider a model that has a shorter freezing time.
- Durability and Quality: Look for ice cream makers made of high-quality materials that can withstand frequent use. Stainless steel or heavy-duty plastic models are often recommended for their durability.
- Extra Features: Some ice cream makers come with additional features such as timers, LCD displays, or built-in mix-in compartments. While these features may increase the price, they can also enhance your ice cream making experience.
Once you have considered these factors, it’s time to start browsing for ice cream makers. Read reviews, compare prices, and make an informed decision based on your budget and personal preferences. Investing in a high-quality ice cream maker will ensure that you can enjoy delicious homemade ice cream for years to come.
Preparing the Ingredients
Before you can begin creating your own homemade ice cream, it’s important to gather and prepare all the necessary ingredients. Here are the key steps for preparing the ingredients:
- Gather the Base Ingredients: The base of most ice cream recipes consists of cream, sugar, and flavorings. Depending on the recipe, you may also need milk, eggs, or alternative dairy-free ingredients. Check the recipe you plan to use and gather all the required ingredients.
- Measure and Mix the Ingredients: Once you have all the ingredients, it’s time to measure them according to the recipe. Use a kitchen scale or measuring cups/spoons to accurately measure the quantities. Then, follow the recipe instructions to combine the ingredients in a mixing bowl.
- Add Flavorings and Mix-Ins: To take your ice cream to the next level, consider adding flavorings and mix-ins. Common flavorings include vanilla extract, cocoa powder, or fruit purees. Mix-ins can range from chocolate chips and nuts to cookie dough or fresh fruit. Be creative and experiment with different combinations!
- Chill the Mixture: After mixing the ingredients, it’s crucial to chill the mixture before adding it to the ice cream maker. Ideally, refrigerate the mixture for at least 2-4 hours or overnight. This step helps the flavors meld together and allows for a smoother texture.
Preparing the ingredients is an essential step in the ice cream making process. Taking the time to measure accurately, mix well, and chill the mixture will greatly enhance the flavor and texture of your homemade ice cream. So, get your ingredients ready and let’s move on to the next step – setting up the ice cream maker!
Setting Up the Ice Cream Maker
Now that you have prepared the ingredients, it’s time to set up your ice cream maker. Follow these steps to ensure a successful setup:
- Clean and Freeze the Canister (if applicable): If you are using a canister-style ice cream maker, make sure the canister is clean and dry before freezing it. Check the manufacturer’s instructions for the recommended freezing time, as it can vary from 6 to 24 hours.
- Assemble the Ice Cream Maker: If your ice cream maker has detachable parts, make sure to assemble them according to the manufacturer’s instructions. This usually involves attaching the paddle or dasher to the motor base.
- Place the Chilled Mixture in the Refrigerator: Take the chilled ice cream mixture out of the refrigerator and give it a good stir. This will ensure that any ingredients that may have settled are mixed evenly. Let the mixture sit at room temperature for a few minutes to soften slightly.
- Insert the Canister (if applicable): If you are using a canister-style ice cream maker, remove the frozen canister from the freezer and insert it into the ice cream maker. Make sure it is securely placed in the machine.
- Turn on the Ice Cream Maker: Plug in your ice cream maker and turn it on. Some models may have specific settings or buttons to choose from, so refer to the user manual for instructions. The machine should start rotating the canister or dasher.
Setting up the ice cream maker properly is crucial for achieving the perfect consistency and texture of your homemade ice cream. Take a moment to double-check that everything is assembled correctly, and then you’re ready for the next step – adding the ice cream mixture to the machine!
Adding the Mixture
With the ice cream maker set up and ready to go, it’s time to add your prepared ice cream mixture. Follow these steps to ensure a smooth and successful addition:
- Turn on the Ice Cream Maker: If you haven’t already done so, turn on the ice cream maker to start the churning process. This will ensure that the mixture begins to freeze and become creamy.
- Pour the Mixture into the Machine: Slowly pour the chilled ice cream mixture into the opening of the ice cream maker. Take care not to overfill the machine, as the mixture will expand as it freezes. Leave some space at the top to allow for proper churning.
- Secure the Lid: Place the lid securely on the ice cream maker. This will help prevent any ice crystals or unwanted particles from entering the mixture as it churns.
- Churn According to the Manufacturer’s Instructions: Each ice cream maker has specific instructions for churning times. Follow the recommended churning time provided in the user manual or recipe. Typically, it takes about 20-30 minutes for the ice cream to reach the desired consistency.
During the churning process, the mixture will gradually freeze and thicken, transforming into a creamy and delicious ice cream. Be patient and avoid opening the lid too frequently, as this can slow down the freezing process. Now, sit back, relax, and let the ice cream maker do its magic!
Read more: How To Use Ninja Ice Cream Maker
Churning the Ice Cream
The churning process is one of the most crucial steps in making homemade ice cream. It helps incorporate air into the mixture, giving the ice cream its creamy texture. Follow these steps to ensure successful churning:
- Allow Sufficient Churning Time: The recommended churning time can vary depending on the ice cream maker and the recipe. Typically, it takes around 20-30 minutes for the ice cream to reach the desired consistency. Refer to the manufacturer’s instructions or recipe to determine the optimal churning time.
- Monitor the Ice Cream’s Progress: Keep an eye on the ice cream as it churns. You should notice that the mixture thickens and expands in volume. It will begin to resemble soft-serve ice cream. The texture should be smooth and creamy.
- Avoid Over-Churning: While it’s important to churn the ice cream until it reaches the desired consistency, be careful not to over-churn. Over-churning can result in an icy texture or even butter-like consistency. To avoid this, constantly monitor the ice cream’s progress and stop the churning process at the right time.
- Perform a Spoon Test: To determine if the ice cream is ready, perform a spoon test. Dip a spoon into the mixture and lift it up. If the ice cream clings to the spoon and has a thick, smooth texture, it is likely ready. If it’s too runny, continue churning for a little longer.
- Remember the Mixture Will Continue to Freeze: Keep in mind that once you transfer the ice cream to a freezer-safe container, it will continue to freeze and firm up. Therefore, it’s okay if the ice cream is slightly softer than the desired consistency during churning.
Churning the ice cream is an exciting stage of the process. As you observe the mixture transforming into a velvety, creamy masterpiece, you’ll be just moments away from enjoying your homemade ice cream. Once you’re satisfied with the churning, it’s time to move on to the next step – monitoring the freezing process!
When using an ice cream maker, make sure the freezer bowl is completely frozen before starting. This will ensure that the ice cream mixture freezes properly and results in a creamy texture.
Monitoring the Freezing Process
After churning the ice cream, it’s time to transfer it to a freezer-safe container and monitor the freezing process. This step ensures that your ice cream reaches the perfect firmness and consistency. Follow these guidelines to monitor the freezing process effectively:
- Transfer the Ice Cream to a Freezer-Safe Container: Carefully transfer the churned ice cream from the ice cream maker to a container with an airtight lid. Use a spatula to scrape as much of the ice cream as possible from the machine. This container will be used to further freeze the ice cream and allow it to reach the desired texture.
- Smooth the Surface: Once the ice cream is in the container, use the back of a spoon or a spatula to smooth the surface. This will help create an even texture and prevent ice crystals from forming on top.
- Place the Container in the Freezer: Cover the container with the lid and place it in the freezer. Make sure to position it on a flat surface to prevent any uneven freezing. It’s recommended to keep the freezer temperature at around -18°C (0°F) for optimal ice cream conservation.
- Set a Timer for Regular Checks: It’s important to check on the ice cream periodically while it freezes. Set a timer for every 30 minutes and check the consistency of the ice cream during each interval. This will help you determine when it reaches your desired level of firmness.
- Prevent Ice Crystal Formation: To prevent ice crystals from forming, periodically stir the partially frozen ice cream mixture. This breaks up any large ice crystals and ensures a smoother texture. Alternatively, some ice cream makers have a “keep cool” function, which rotates the container at a slow speed to prevent ice crystals from forming.
The freezing process can take several hours, depending on the recipe and your desired level of firmness. However, keep in mind that homemade ice cream does not contain the same stabilizers as store-bought varieties, so it may become harder in the freezer. If that happens, simply let it sit at room temperature for a few minutes before serving to soften.
With regular checks and proper monitoring, you can achieve the perfect consistency for your homemade ice cream. Once it reaches your desired firmness, it will be ready to be enjoyed. But before we dive into indulging in our creations, let’s explore the optional step of adding mix-ins to take our ice cream to the next level!
Adding Mix-ins (Optional)
Adding mix-ins to your homemade ice cream is a fun and creative way to customize your flavors and add an extra element of deliciousness. Whether you prefer chunks of chocolate, swirls of caramel, or a burst of fruit, mix-ins can elevate your ice cream to new heights. Here’s how to incorporate mix-ins into your frozen treat:
- Choose Your Mix-ins: Consider the flavors and textures that would complement your ice cream base. Popular mix-ins include crushed cookies, chopped nuts, candy pieces, fruit purees, chocolate chips, or caramel swirls. The possibilities are endless, so get creative and choose mix-ins that appeal to your taste buds.
- Prep Your Mix-ins: Depending on the mix-ins you’ve chosen, you may need to prepare them before adding them to the ice cream. For example, if you’re using fresh fruit, chop or puree it. If you’re adding chocolate chunks, chop them into smaller pieces. This will ensure that the mix-ins distribute evenly throughout the ice cream.
- Add Mix-ins During Churning: The best time to add the mix-ins is during the last few minutes of churning. Once your ice cream has reached the desired consistency, slowly pour in the prepared mix-ins while the machine is still running. This ensures that the mix-ins are evenly distributed throughout the ice cream.
- Avoid Over-Mixing: When adding mix-ins, be careful not to over-mix the ice cream. Over-mixing can cause the mix-ins to break apart or become incorporated too much, resulting in a loss of texture and distinct flavors. Just mix until they are evenly distributed.
- Transfer and Freeze: After adding the mix-ins, quickly transfer the ice cream along with the mix-ins to a freezer-safe container. Smooth the surface and cover it with an airtight lid. Place the container back in the freezer and allow the ice cream to fully freeze and set.
Adding mix-ins to your homemade ice cream allows you to customize each scoop and create unique flavor combinations. Whether it’s adding a crunchy texture or a burst of fruity goodness, mix-ins can take your ice cream to the next level of deliciousness.
Now that you’ve added your mix-ins, it’s time to move on to the final steps of transferring and storing your homemade ice cream. Keep reading to ensure that your ice cream stays fresh and ready to be enjoyed!
Transferring and Storing the Ice Cream
After your homemade ice cream has been churned and mix-ins have been added, it’s important to properly transfer and store it to maintain its freshness and texture. Follow these steps to ensure your ice cream stays delicious:
- Transfer the Ice Cream: Using a spatula or ice cream scoop, transfer the churned ice cream from the container of your ice cream maker into a freezer-safe storage container. Make sure the container has an airtight lid to prevent any air or moisture from getting in.
- Smooth the Surface: Once the ice cream is transferred, use the back of a spoon or a spatula to smooth the surface. This helps create an even texture and prevents ice crystals from forming on top. It will also make it easier to scoop the ice cream when serving.
- Label and Date the Container: To keep track of your ice cream flavors and storage time, label the container with the flavor and the date it was made. This will help you rotate your ice cream stock and ensure you enjoy it at its freshest.
- Store in the Freezer: Place the container with the ice cream in the freezer. Make sure it is positioned on a flat surface to ensure even freezing. It’s best to store the ice cream towards the back of the freezer, where the temperature tends to be more consistent.
- Freeze for Optimal Time: Homemade ice cream typically has a shelf life of about 1-2 weeks in the freezer. However, for the best taste and texture, try to consume it within the first week. The longer it stays in the freezer, the more ice crystals may form, affecting the quality of the ice cream.
Properly transferring and storing your homemade ice cream ensures that it maintains its creamy texture and delicious flavor. When you’re ready to enjoy a scoop, simply remove the container from the freezer, let it sit for a few minutes to soften slightly, and indulge in your homemade frozen treat.
Now that we’ve covered the process of transferring and storing the ice cream, let’s move on to the final step – cleaning and maintaining your ice cream maker.
Read more: How To Use Whynter Ice Cream Maker
Cleaning and Maintaining the Ice Cream Maker
Keeping your ice cream maker clean and well-maintained ensures its longevity and prepares it for the next batch of delicious homemade ice cream. Follow these essential steps to clean and maintain your ice cream maker:
- Unplug and Disassemble: Before cleaning, make sure to unplug your ice cream maker from the power source. Disassemble any removable parts, such as the canister, paddle, or dasher, as specified by the manufacturer’s instructions.
- Hand Wash the Removable Parts: Wash the removable parts in warm, soapy water. Use a sponge or a soft-bristle brush to gently scrub away any residue or sticky spots. Rinse thoroughly and dry completely before reassembling.
- Clean the Motor Base: Wipe down the motor base with a slightly damp cloth to remove any spills or drips. Avoid submerging the motor base in water or using abrasive cleaners, as this may damage the electrical components.
- Store Properly: Once the ice cream maker is clean and dry, store it in a cool, dry place. If the machine has a cord, wrap it neatly to prevent any tangles or damage.
- Follow Manufacturer’s Recommendations: Different ice cream makers may have specific cleaning and maintenance instructions. Refer to the user manual provided by the manufacturer for any specific care recommendations.
- Perform Regular Maintenance: Regularly inspect your ice cream maker for signs of wear or damage. Ensure all components are in good condition and functioning properly. If any parts seem worn or broken, contact the manufacturer for replacement options.
By following these cleaning and maintenance practices, you can prolong the lifespan of your ice cream maker and ensure it continues to churn out delightful ice cream for years to come.
Now that you’re equipped with the knowledge of cleaning and maintaining your ice cream maker, troubleshooting issues that may arise can further enhance your ice cream making experience. Let’s explore some common troubleshooting tips in the next section.
Troubleshooting Tips
While making homemade ice cream is a delightful experience, it’s not uncommon to come across some challenges along the way. Here are some troubleshooting tips to help you overcome common issues and ensure a successful ice cream making process:
- Ice Cream Not Freezing: If your ice cream isn’t freezing properly, check that the freezer bowl or canister is fully frozen before starting. Make sure it has been in the freezer for the recommended amount of time as stated in the manufacturer’s instructions. Additionally, ensure your freezer is set to the proper temperature for optimal freezing.
- Ice Cream Too Soft: If your ice cream turns out softer than desired after churning and freezing, it may be due to a few factors. Make sure you added the correct amount of fat (such as cream) to the mixture for a creamy texture. Churn the ice cream for the recommended amount of time as specified in the recipe. Additionally, double-check that your freezer is set to the optimal temperature to freeze the ice cream properly.
- Ice Cream Has Ice Crystals: Ice crystals can form in ice cream if it freezes too slowly or if it’s stored improperly. To prevent ice crystals, ensure that your ice cream mixture is chilled adequately before churning. Also, transfer the churned ice cream to a container with an airtight lid, removing any excess air. Place it in the coldest part of the freezer to freeze it as quickly as possible.
- Inconsistent Texture: If your ice cream has a grainy or icy texture, it may be due to over-churning or too much air being incorporated during the churning process. Follow the recommended churning time for your specific ice cream maker and avoid excessive mixing. Using a higher fat content or adding stabilizers (such as a small amount of corn syrup) to the mixture can also help improve the texture.
- Unpleasant Odor or Taste: If your ice cream has an unpleasant odor or taste, it may be due to improper storage or contamination. Make sure your storage containers are clean and sterilized before transferring the ice cream. Avoid storing the ice cream alongside strong-smelling foods that could transfer flavors. If the odor persists, it may be a sign of spoiled ingredients, so ensure the freshness of your ingredients.
Remember, troubleshooting is a normal part of the ice cream making process. By identifying and addressing these common issues, you can perfect your homemade ice cream and create delightful frozen treats to enjoy.
Now that we’ve covered troubleshooting tips, it’s time to wrap up our journey through the wonderful world of using an ice cream maker.
Conclusion
Congratulations! You’ve now mastered the art of using an ice cream maker to create delicious homemade ice cream. With the right equipment, fresh ingredients, and a little bit of creativity, you can indulge in the sweet and creamy flavors of your own unique frozen creations.
We started our journey by understanding the importance of choosing the right ice cream maker for your needs and preferences. Whether you opt for a traditional canister-style model or a modern compressor machine, finding the right one sets the foundation for a successful ice cream-making experience.
Next, we explored the process of preparing the ingredients and mixing the perfect ice cream base. From measuring and mixing to adding flavorings and mix-ins, you learned how to customize your creations and experiment with a variety of flavors and textures.
Setting up the ice cream maker and adding the ice cream mixture were the next steps in our adventure. By properly assembling the machine and pouring in the mixture, you ensured that the freezing process would commence, transforming the mixture into a smooth and creamy ice cream.
We then dived into the churning process, where you patiently watched as the mixture thickened and expanded in volume, taking on the consistency of soft-serve ice cream. With careful monitoring and avoiding over-churning, you achieved the perfect texture and taste.
After churning, we discussed the importance of monitoring the freezing process to ensure the ice cream reaches the desired level of firmness. By periodically checking and stirring the ice cream, you prevented the formation of ice crystals and ensured a smooth and enjoyable texture.
Adding mix-ins was an optional step that allowed you to unleash your creativity and take your ice cream to new heights. From chocolate chunks to fruit swirls, you have the freedom to customize your ice cream and surprise your taste buds with exciting flavors and textures.
Transferring and storing the ice cream properly was key to maintaining its freshness and quality. By smoothly transferring the ice cream to an airtight container and storing it in the freezer, you ensured that it would stay delicious for days to come.
We also covered the essential steps of cleaning and maintaining your ice cream maker, ensuring its longevity and continued performance. Regular cleaning and proper storage will ensure that your ice cream maker is always ready for your next ice cream-making adventure.
Lastly, we explored troubleshooting tips to help you overcome common challenges along the way. From ice cream that won’t freeze to inconsistent textures, these tips will guide you in troubleshooting and finding solutions, so you can achieve the perfect batch of homemade ice cream every time.
Now that you have all the knowledge and tools, unleash your creativity and let your taste buds guide you on a journey of ice cream exploration. Discover new flavors, combinations, and techniques to create delightful frozen treats that will impress family and friends.
So, grab your favorite ice cream recipes, fire up that ice cream maker, and let the magic unfold. Enjoy the satisfaction of sharing a bowl of velvety homemade ice cream that you have crafted with love and passion. Happy churning!
Frequently Asked Questions about How To Use An Ice Cream Maker
Was this page helpful?
At Storables.com, we guarantee accurate and reliable information. Our content, validated by Expert Board Contributors, is crafted following stringent Editorial Policies. We're committed to providing you with well-researched, expert-backed insights for all your informational needs.


0 thoughts on “How To Use An Ice Cream Maker”