
Articles
How To Use An Old Fashioned Ice Cream Maker
Modified: October 20, 2024
Discover the charm of making homemade ice cream with an old-fashioned ice cream maker. Check out our informative articles to learn how to use this timeless kitchen appliance.
(Many of the links in this article redirect to a specific reviewed product. Your purchase of these products through affiliate links helps to generate commission for Storables.com, at no extra cost. Learn more)
Introduction
Who doesn’t love a scoop of creamy, homemade ice cream on a hot summer day? While modern ice cream makers offer convenience and speed, there’s something nostalgic and charming about using an old-fashioned ice cream maker. Not only does it bring back memories of simpler times, but it also allows you to have complete control over the ingredients and flavors you want to create.
In this article, we’ll guide you through the step-by-step process of using an old-fashioned ice cream maker. From gathering the necessary supplies to enjoying the final result, we’ll cover every detail to ensure you have a successful homemade ice cream experience.
So, dust off that vintage ice cream maker and get ready to indulge in the ultimate frozen treat!
Key Takeaways:
- Enjoy the nostalgia and control of homemade ice cream with an old-fashioned ice cream maker. Gather supplies, prepare the maker, and savor the sweet rewards of a bygone era.
- Create creamy, customizable ice cream at home. Chill the mixture, set up the maker, and indulge in the ultimate frozen treat. Get creative with flavors and toppings for a delightful experience.
Read more: How To Use The Kitchenaid Ice Cream Maker
Step 1: Gathering the Supplies
The first step in using an old-fashioned ice cream maker is gathering all the necessary supplies. Here are the items you’ll need:
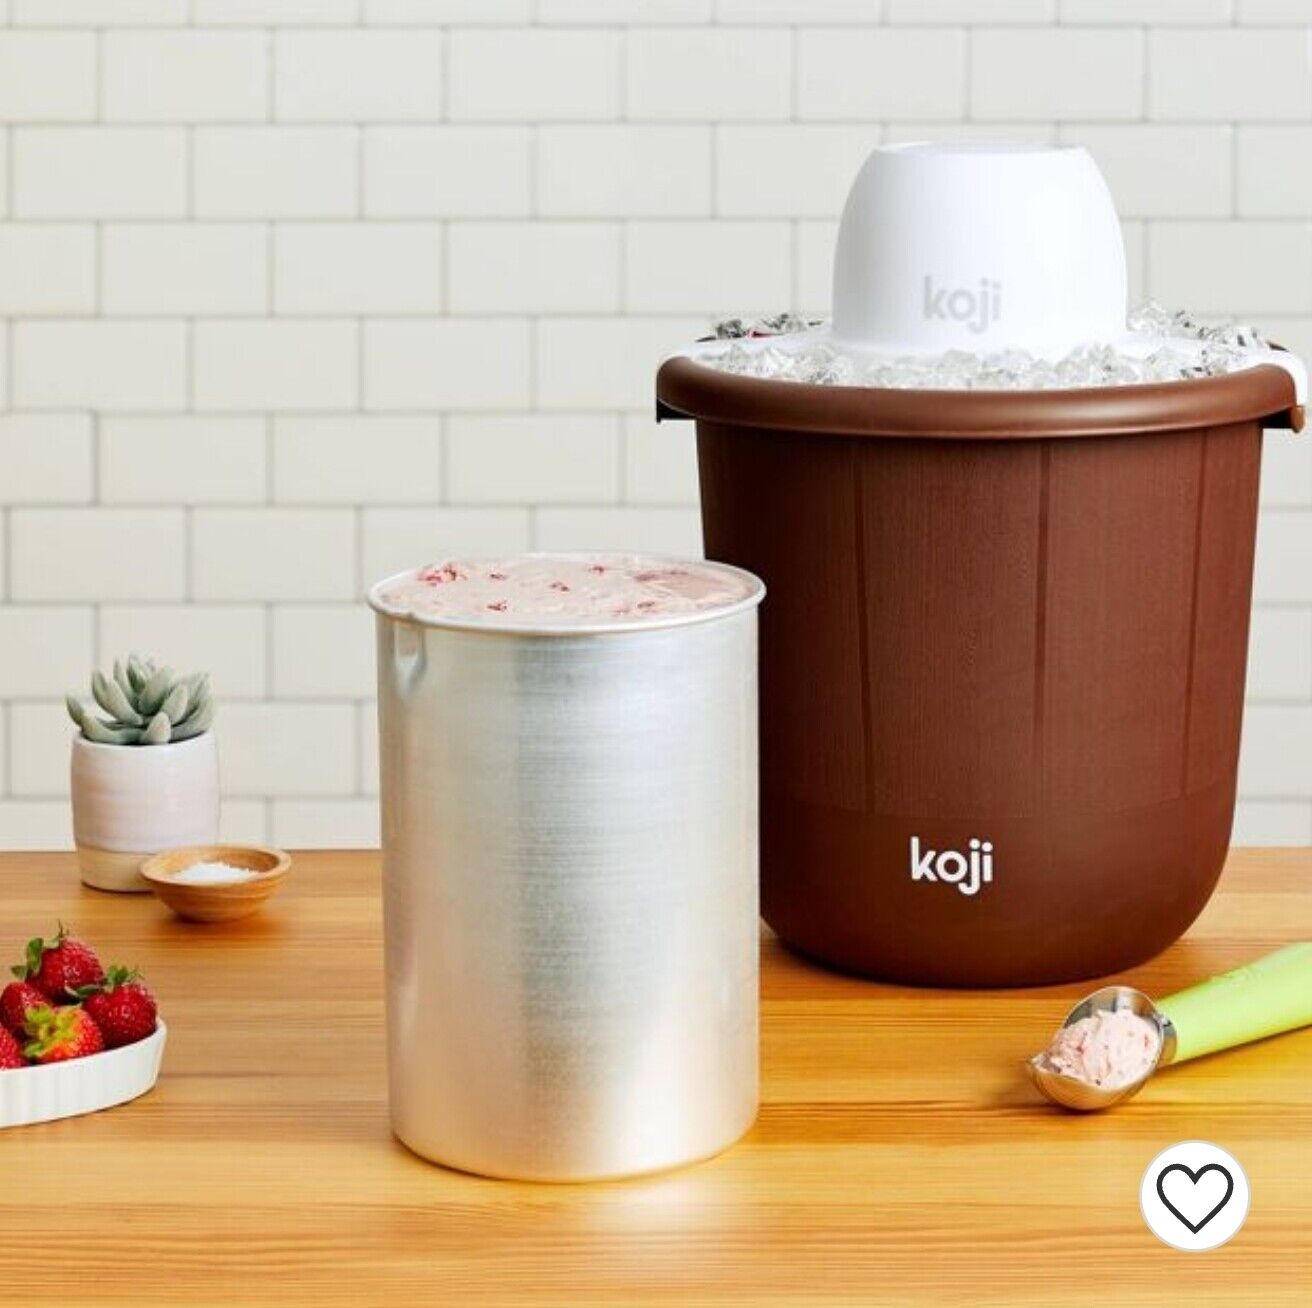
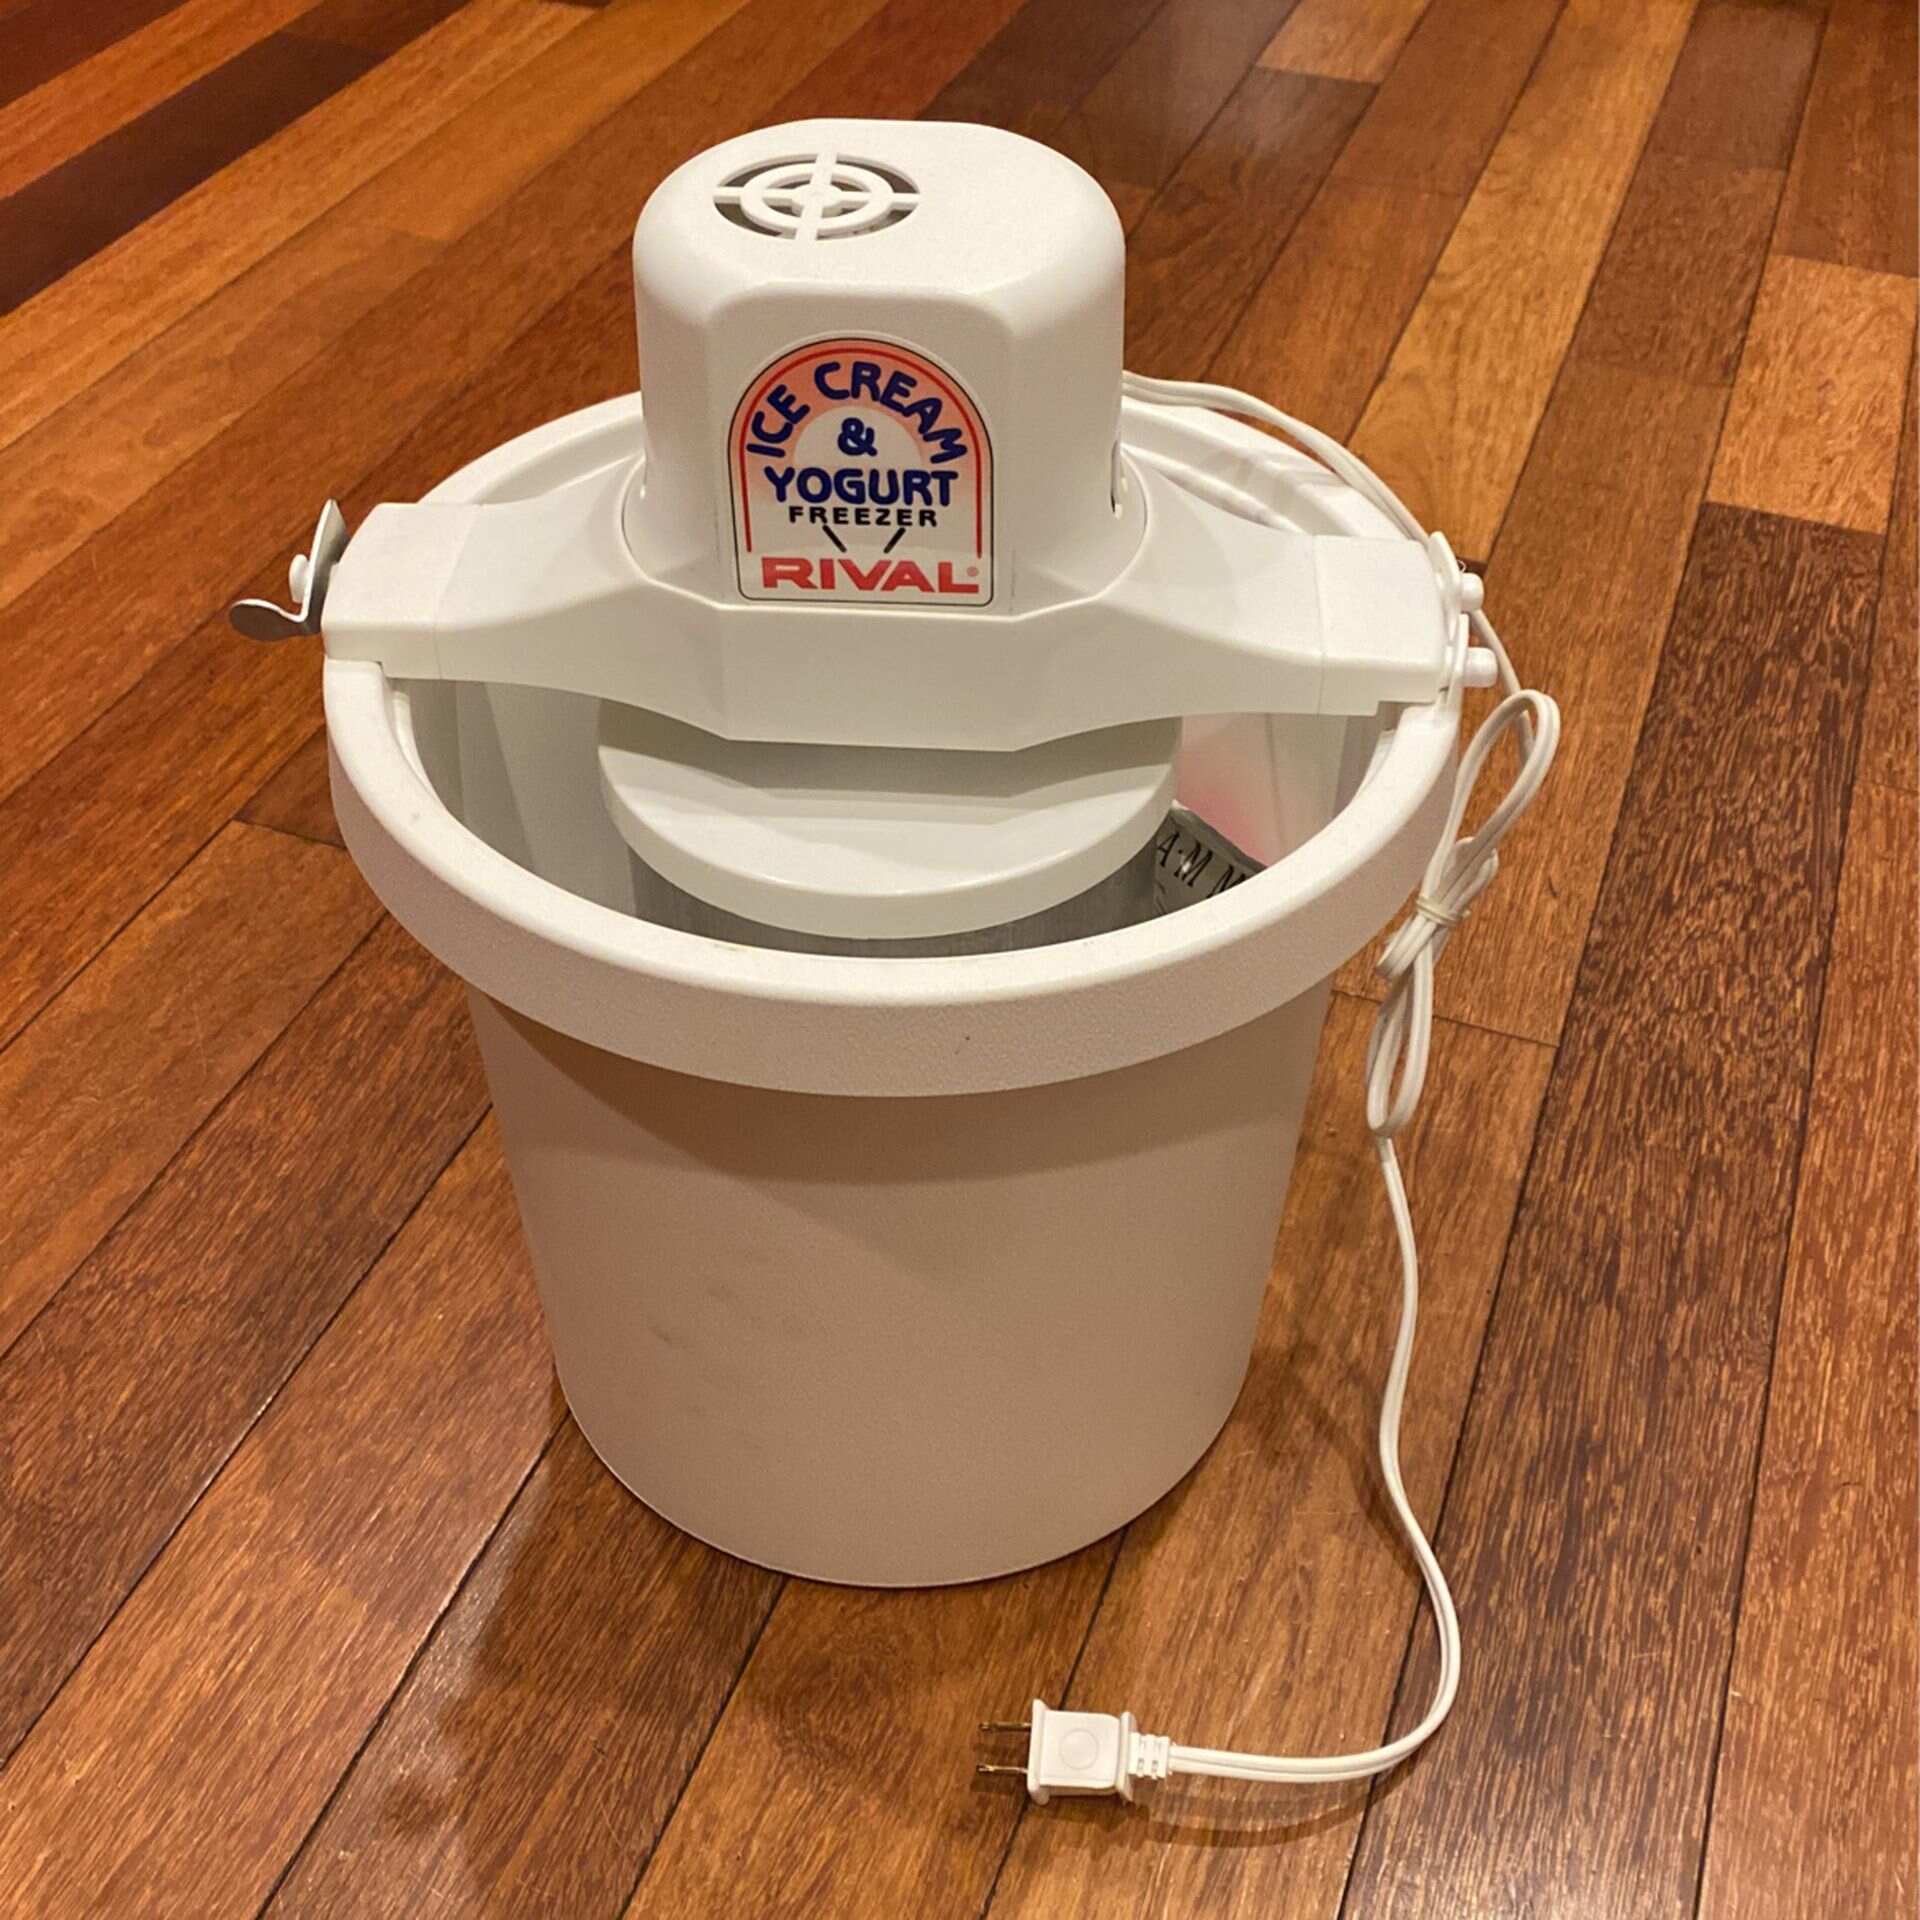
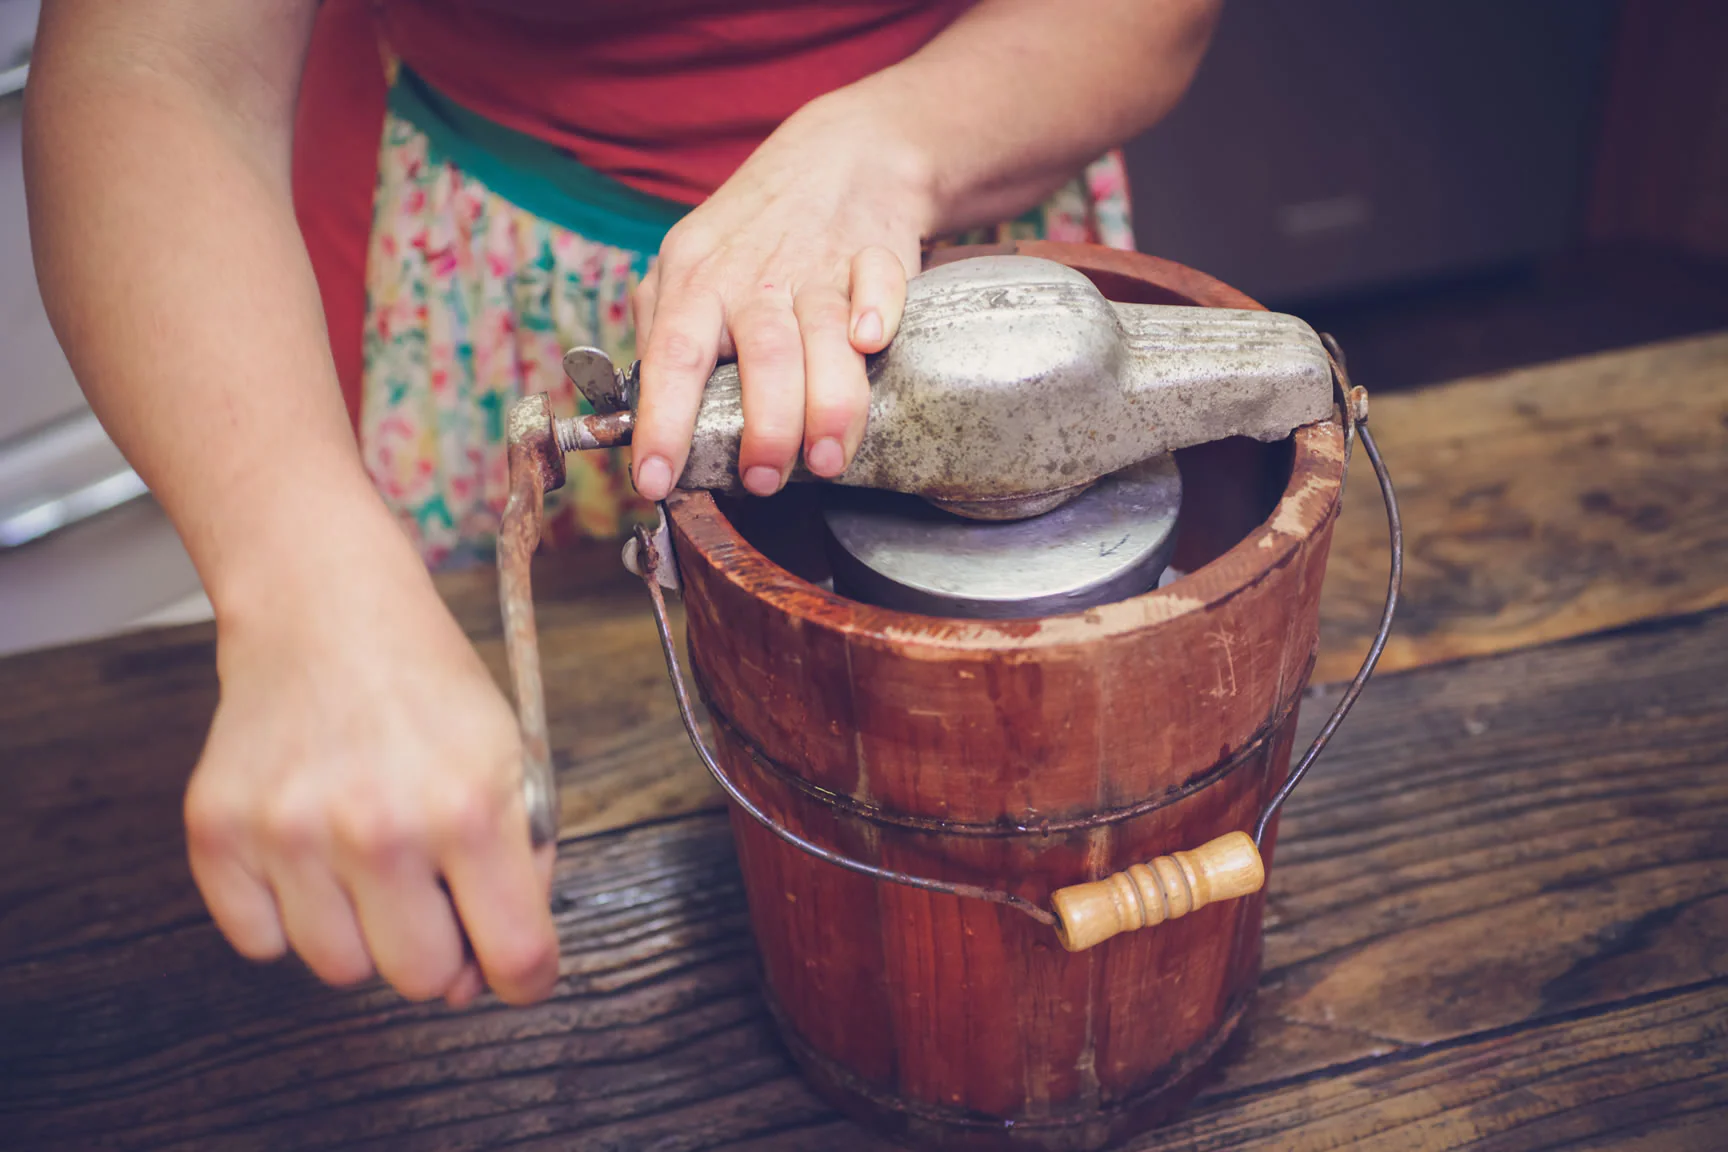
- Ice Cream Maker: Look for a vintage ice cream maker that consists of a metal canister, a hand crank, and an outer bucket. You can find these at antique stores, online marketplaces, or even inherit one from your family.
- Ice and Rock Salt: Traditional ice cream makers require a mixture of ice and rock salt to create the necessary freezing temperature. The rock salt helps lower the freezing point of the ice, enabling it to freeze the ice cream mixture.
- Ice Cream Ingredients: Depending on your recipes and preferences, gather the ingredients for your ice cream base. This may include milk, cream, sugar, eggs, vanilla extract, fruits, or any other flavorings.
- Bowls and Utensils: You’ll need mixing bowls, a whisk or electric mixer, a spatula, and measuring cups and spoons to prepare and combine the ice cream ingredients.
- Ice Cream Containers: Don’t forget to have some clean, airtight containers ready to store the freshly churned ice cream once it’s done.
- Optional Add-ons: If you want to get creative with your ice cream making, consider gathering additional toppings, such as chocolate chips, nuts, sprinkles, or sauces.
Before you begin, make sure all your supplies are clean and in good condition. It’s important to have everything ready and within reach to ensure a smooth and efficient ice cream making process.
Step 2: Preparing the Ice Cream Maker
Once you have gathered all the necessary supplies, it’s time to prepare the ice cream maker. Here’s what you need to do:
- Inspect the Ice Cream Maker: Check the ice cream maker for any signs of damage or wear. Ensure that the canister and the outer bucket are clean and free from any residue.
- Freeze the Canister: Most old-fashioned ice cream makers require you to freeze the canister beforehand. Place the canister in the freezer for at least 24 hours, or as instructed by the manufacturer. This ensures that it is well chilled and ready for the ice cream making process.
- Assemble the Ice Cream Maker: Once the canister is properly frozen, assemble the ice cream maker according to the instructions provided. This usually involves placing the canister in the outer bucket and securing it with any necessary attachments.
- Position the Crank: Ensure that the hand crank is properly inserted into the lid or the top of the canister. This will be used to churn and mix the ice cream during the freezing process.
- Place the Bucket: Set up the ice cream maker in a location where you’ll have plenty of space to crank the hand crank comfortably. It’s also important to have access to a power source if your ice cream maker requires electricity for any additional functions, such as a motorized crank or freezer unit.
By carefully preparing the ice cream maker before starting, you’ll ensure that the machine is ready to churn the ice cream mixture into a delicious frozen treat.
Step 3: Assembling the Ice Cream Ingredients
Now that the ice cream maker is prepared, it’s time to assemble the ice cream ingredients. Follow these steps to create a delicious ice cream base:
- Gather your Ingredients: Take out all the ingredients you need for your ice cream recipe. This typically includes milk, cream, sugar, and any flavorings you want to add, such as vanilla extract or cocoa powder.
- Measure and Mix: Use measuring cups and spoons to accurately measure the quantities of each ingredient. Start by pouring the desired amount of milk and cream into a mixing bowl. Then, add the sugar and any flavorings your recipe calls for.
- Whisk or Mix: Use a whisk or an electric mixer to thoroughly combine the ingredients. Whisk until the sugar is completely dissolved and the mixture is smooth and well incorporated. The goal is to create a homogeneous mixture that will freeze evenly.
- Taste Test: Once the mixture is well mixed, take a moment to taste it and adjust the flavors if necessary. If you prefer a sweeter ice cream, you can add more sugar. Get creative and experiment with different extracts or add-ins to personalize the flavor to your liking.
Remember, the quality of your ice cream base will greatly impact the flavor and texture of the final product. Take your time to ensure that the ingredients are properly measured and mixed, resulting in a delectable ice cream base.
Step 4: Chilling the Ice Cream Mixture
After assembling the ice cream ingredients, it’s important to chill the mixture before transferring it to the ice cream maker. Follow these steps to properly chill the ice cream mixture:
- Cover and Refrigerate: Pour the ice cream mixture into an airtight container or cover the mixing bowl tightly with plastic wrap. Place it in the refrigerator and allow the mixture to chill for at least 2-4 hours, or even overnight. This step is crucial as it helps the flavors meld together and the mixture to become cold, resulting in a creamier texture.
- Stir Occasionally: During the chilling process, it’s a good idea to give the mixture a stir every 30 minutes to promote even cooling and prevent any separation. This helps ensure a consistent texture throughout the ice cream base.
- Prep Your Ice and Salt: While the ice cream mixture chills, prepare the ice and rock salt for the ice cream maker. Crush the ice into small pieces and mix it with the rock salt in a separate container. The rock salt helps lower the freezing temperature of the ice, allowing it to efficiently freeze the ice cream mixture.
Chilling the ice cream mixture not only enhances the flavors but also ensures that the mixture is cold enough to freeze properly in the ice cream maker. Remember, patience is key during this step as it takes time for the flavors to develop and for the mixture to reach the right temperature.
Read more: How To Use Ninja Ice Cream Maker
Step 5: Setting Up the Ice Cream Maker
Now that your ice cream mixture is chilled, it’s time to set up the ice cream maker for the churning process. Follow these steps to properly set up your old-fashioned ice cream maker:
- Place the Outer Bucket: Start by placing the outer bucket on a stable and flat surface. Ensure that it’s clean and free from any debris.
- Insert the Canister: Take the frozen canister out of the freezer and insert it securely into the outer bucket. Make sure it fits snugly and is in an upright position. This is where the ice cream mixture will be placed for churning.
- Add the Ice and Salt: Surround the canister with layers of crushed ice and rock salt. Start with a layer of ice, then sprinkle a generous amount of rock salt. Continue layering until the ice reaches the top of the canister. The ice and salt create a freezing environment that allows the ice cream mixture to freeze properly.
- Secure the Lid: Once the ice and salt are added, place the lid tightly on the ice cream maker. This helps contain the ice and salt mixture and prevents any unwanted leakage during the churning process.
Setting up the ice cream maker correctly is essential for successful ice cream making. Ensure that the canister is securely placed, and the ice and salt are layered properly to create the ideal freezing conditions.
Before using an old-fashioned ice cream maker, make sure the canister is fully frozen. Also, pre-chill your ice cream mixture for best results.
Step 6: Adding the Ice Cream Mixture
With the ice cream maker set up, it’s time to add the chilled ice cream mixture. Here’s how to do it:
- Take out the chilled ice cream mixture from the refrigerator.
- Give the mixture a good stir to ensure it is well mixed and any ingredients have not settled at the bottom.
- Pour the ice cream mixture into the frozen canister of the ice cream maker. Be careful not to overfill it as the mixture will expand during the churning process.
- Leave a small gap at the top to allow room for expansion and the addition of the churning paddle or dasher.
- Securely place the lid back on the ice cream maker and ensure it is tightly closed.
By adding the chilled ice cream mixture to the canister, you are now ready to start the churning process and transform the mixture into a creamy and delectable ice cream!
Step 7: Starting the Ice Cream Maker
With the ice cream mixture added, it’s time to start the ice cream maker and initiate the churning process. Follow these steps to begin:
- Ensure that the crank or motorized component is securely attached to the lid or top of the ice cream maker.
- If you have a hand-cranked ice cream maker, position yourself comfortably in front of the ice cream maker and place one hand on the crank handle.
- Gently and steadily turn the crank in a clockwise motion. The ice cream mixture will start to churn and freeze as you turn the handle.
- If you have a motorized ice cream maker, simply turn on the power and let the machine do the churning for you. Follow the manufacturer’s instructions to operate the motorized component.
- Continue to crank or let the machine churn until the ice cream mixture thickens to the desired consistency. This typically takes around 15-30 minutes, but it may vary depending on the type and model of your ice cream maker.
During this step, you’ll start to see the magic happening as the ice cream base transforms into a creamy and frozen treat. Whether you’re manually turning the crank or relying on a motorized feature, it’s important to maintain a steady rhythm to ensure even churning and freezing.
Step 8: Monitoring and Adjusting the Process
While the ice cream maker does its job, it’s crucial to monitor and make adjustments as needed to achieve the best results. Here’s how to effectively monitor and adjust the churning process:
- Keep an Eye on the Consistency: As the ice cream churns, watch the consistency of the mixture. It should gradually thicken and become creamy. You can periodically remove the lid and check the texture using a spoon or spatula.
- Adjust the Churning Time: The churning time may vary depending on various factors, including the recipe, ambient temperature, and the type of ice cream maker. If the mixture is not thickening as expected, continue churning for a few more minutes. Conversely, if it reaches the desired consistency before the recommended time, you can stop the churning process.
- Check the Ice and Salt: During the churning process, keep an eye on the level of ice and salt surrounding the canister. If the ice melts too quickly or the salt begins to dissolve, you may need to add more ice and salt to maintain the ideal freezing conditions.
- Scrape the Sides: As the ice cream churns, the mixture may stick to the sides of the canister. Use a spatula or spoon to scrape down the sides periodically to ensure even freezing and a smooth texture.
- Test for Doneness: Towards the end of the churning process, it’s a good idea to try a small portion of the ice cream to check for doneness. The ice cream should have a creamy and smooth texture without any graininess. If it’s not quite there yet, continue churning until it reaches the desired consistency.
By carefully monitoring the churning process and making adjustments as needed, you’ll ensure that your homemade ice cream turns out perfectly creamy and delicious.
Read more: How To Use Whynter Ice Cream Maker
Step 9: Removing and Storing the Ice Cream
Once your ice cream reaches the desired consistency, it’s time to remove it from the ice cream maker and store it properly. Follow these steps to ensure your homemade ice cream stays fresh and delicious:
- Turn Off the Ice Cream Maker: If you have a motorized ice cream maker, stop the machine by switching off the power. If you have a hand-cranked ice cream maker, carefully remove the crank from the lid or top.
- Remove the Lid: Undo the lid of the ice cream maker and lift it off to reveal the churned ice cream inside.
- Scrape the Ice Cream: Use a spatula or spoon to scrape the churned ice cream from the sides of the canister, ensuring you get every last bit.
- Transfer to Storage Containers: Spoon the freshly churned ice cream into clean, airtight storage containers. Opt for containers specifically designed for freezing if possible. This helps minimize the formation of ice crystals and keeps the ice cream fresh for a longer period.
- Seal and Freeze: Once the ice cream is transferred to the storage containers, seal them tightly to prevent air and moisture from entering. Place the containers in the freezer and let the ice cream harden for at least 4-6 hours, or overnight.
When storing your homemade ice cream, it’s essential to keep it in the coldest part of your freezer to maintain its texture and prevent it from melting. Enjoy your delicious homemade ice cream at any time by simply scooping it out from the storage containers.
With these steps, you can successfully remove and store your homemade ice cream, allowing you to enjoy it for days to come.
Conclusion
Using an old-fashioned ice cream maker may require a bit of effort and patience, but the end result is well worth it. Making homemade ice cream allows you to customize flavors, control ingredients, and indulge in a truly nostalgic experience. By following the step-by-step process outlined in this article, you’ll be able to create delicious and creamy ice cream right in the comfort of your own home.
Remember to gather all the necessary supplies, prepare the ice cream maker, assemble the ingredients, chill the mixture, set up the ice cream maker, add the ice cream mixture, start the churning process, monitor and adjust as needed, and finally, remove and store the ice cream once it’s ready.
Whether you’re enjoying a classic vanilla, experimenting with unique flavor combinations, or adding your favorite toppings, homemade ice cream is sure to delight your taste buds and bring joy to everyone who enjoys it.
So, why not dust off that old-fashioned ice cream maker and start creating your own frozen masterpiece? With a little time and effort, you’ll be savoring the sweet rewards of homemade ice cream in no time. Enjoy the journey, get creative with your flavors, and indulge in the simple pleasures of a bygone era!
Frequently Asked Questions about How To Use An Old Fashioned Ice Cream Maker
Was this page helpful?
At Storables.com, we guarantee accurate and reliable information. Our content, validated by Expert Board Contributors, is crafted following stringent Editorial Policies. We're committed to providing you with well-researched, expert-backed insights for all your informational needs.


0 thoughts on “How To Use An Old Fashioned Ice Cream Maker”