
Articles
How To Use Biscuit Dough In A Waffle Iron
Modified: August 20, 2024
Discover creative ways to use biscuit dough in a waffle iron in our informative articles. Learn tasty recipes and tips for delicious waffle-making!
(Many of the links in this article redirect to a specific reviewed product. Your purchase of these products through affiliate links helps to generate commission for Storables.com, at no extra cost. Learn more)
Introduction
If you’re a fan of both biscuits and waffles, you’re in for a treat! Combining the light and fluffy texture of waffles with the deliciousness of biscuit dough can result in a mouthwatering and unique culinary experience. Using biscuit dough in a waffle iron allows you to elevate the traditional waffle recipe and create a delightful twist that will impress your family and friends.
Whether you’re looking to spice up your weekend brunch or surprise your loved ones with a special breakfast, using biscuit dough in a waffle iron is a simple yet innovative idea that can take your waffle game to the next level. Not only does it add a new dimension of flavor, but it also creates a delightful contrast between a crispy exterior and a soft, buttery interior.
In this article, we will guide you through the process of using biscuit dough in a waffle iron, from preparing the dough to serving the delicious biscuit waffles. So, grab your apron and let’s get started on this waffle adventure!
Key Takeaways:
- Elevate your waffle game by using biscuit dough in a waffle iron for a delightful twist that impresses family and friends with its crispy exterior and soft, buttery interior.
- Get creative in the kitchen and customize biscuit waffles to suit your taste preferences, whether you prefer sweet toppings like syrup and fruit or savory combinations like fried chicken and bacon.
Read more: How To Store Unused Biscuit Dough
Preparing the Biscuit Dough
The first step in creating biscuit waffles is to prepare the biscuit dough. You can either make your own homemade biscuit dough from scratch or use store-bought biscuit dough for convenience. Here’s a simple recipe to make your own biscuit dough:
- In a mixing bowl, combine 2 cups of all-purpose flour, 1 tablespoon of baking powder, 1/2 teaspoon of salt, and 1/4 cup of cold unsalted butter. Using your fingertips or a pastry cutter, cut the butter into the dry ingredients until the mixture resembles coarse crumbs.
- Slowly pour in 3/4 cup of cold milk while stirring the mixture with a fork. Continue stirring until the dough comes together.
- Transfer the dough onto a lightly floured surface and knead it gently for a minute or two until it becomes smooth and elastic.
- Shape the dough into a ball and cover it with plastic wrap. Allow it to rest in the refrigerator for at least 15 minutes to relax the gluten and enhance the dough’s texture.
If you prefer the convenience of store-bought biscuit dough, simply follow the instructions on the packaging. There are plenty of brands available in the market that offer refrigerated or frozen biscuit dough that can work perfectly for this recipe.
Once you have your biscuit dough ready, it’s time to move on to the next step: preheating the waffle iron.
Preheating the Waffle Iron
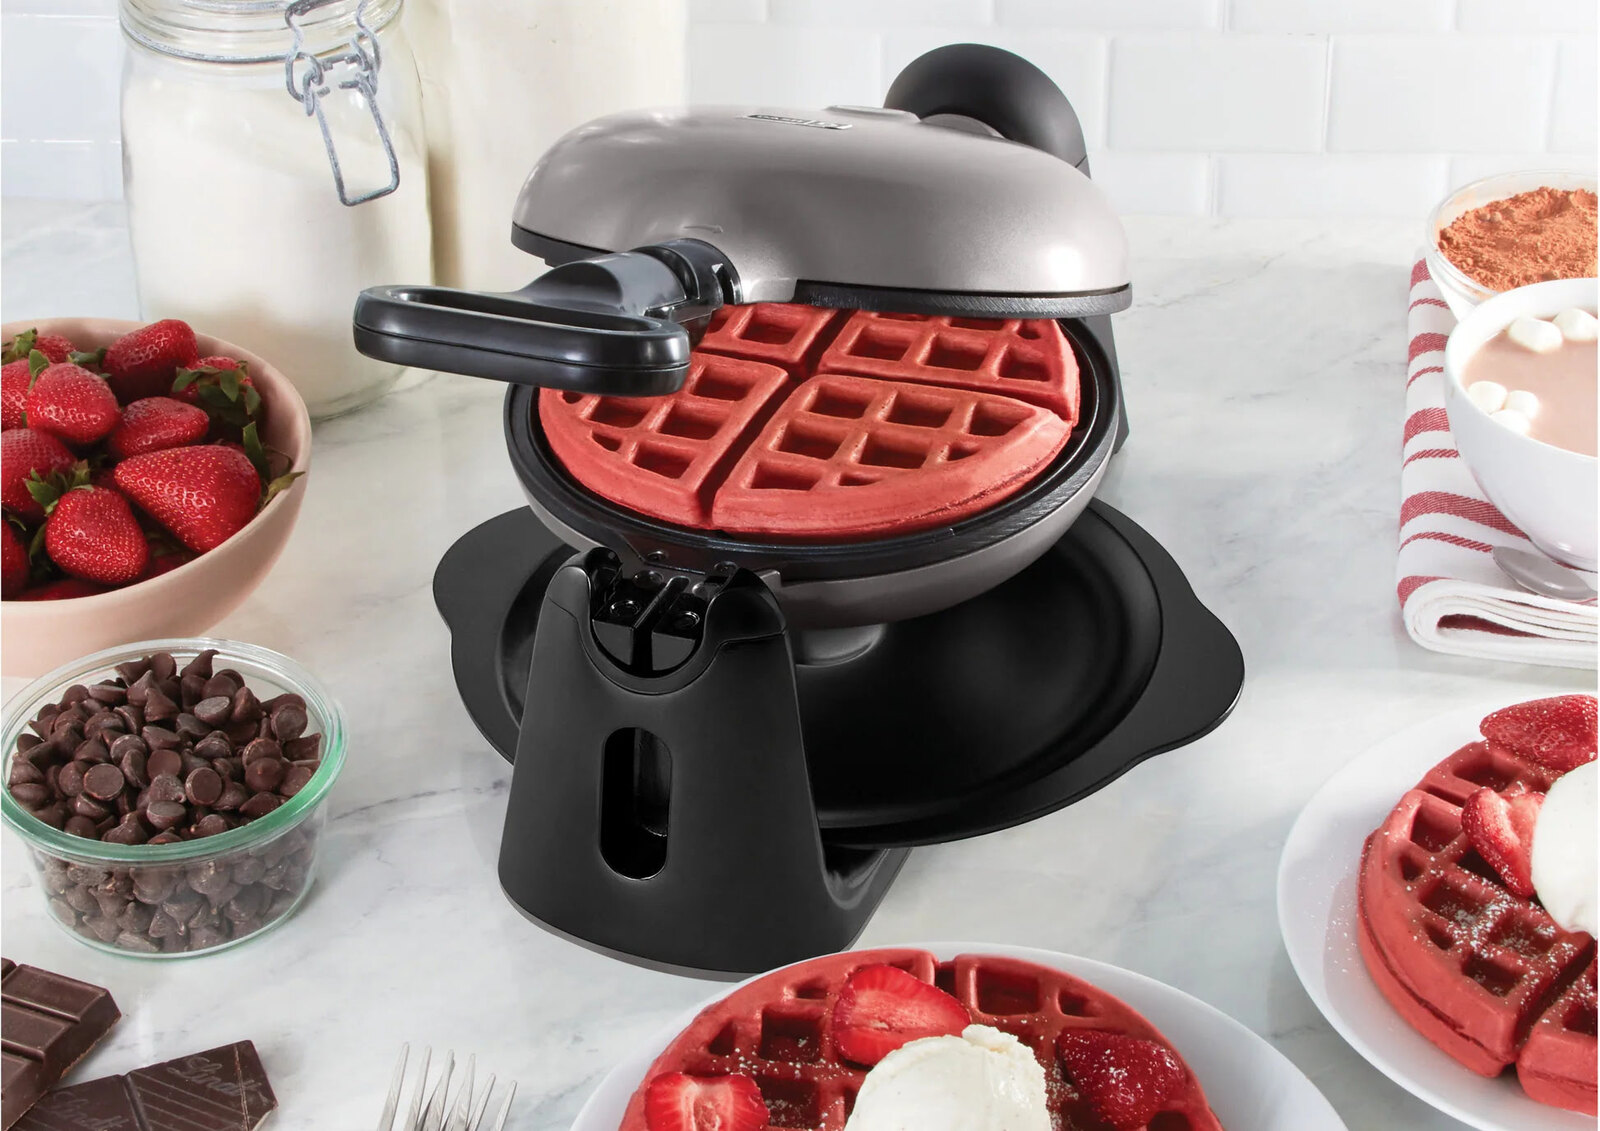
Before you start cooking the biscuit waffles, it’s important to preheat your waffle iron properly. This ensures that the waffles cook evenly and achieve that perfect golden brown color.
Here’s how you can preheat your waffle iron:
- Start by plugging in your waffle iron and turning it on.
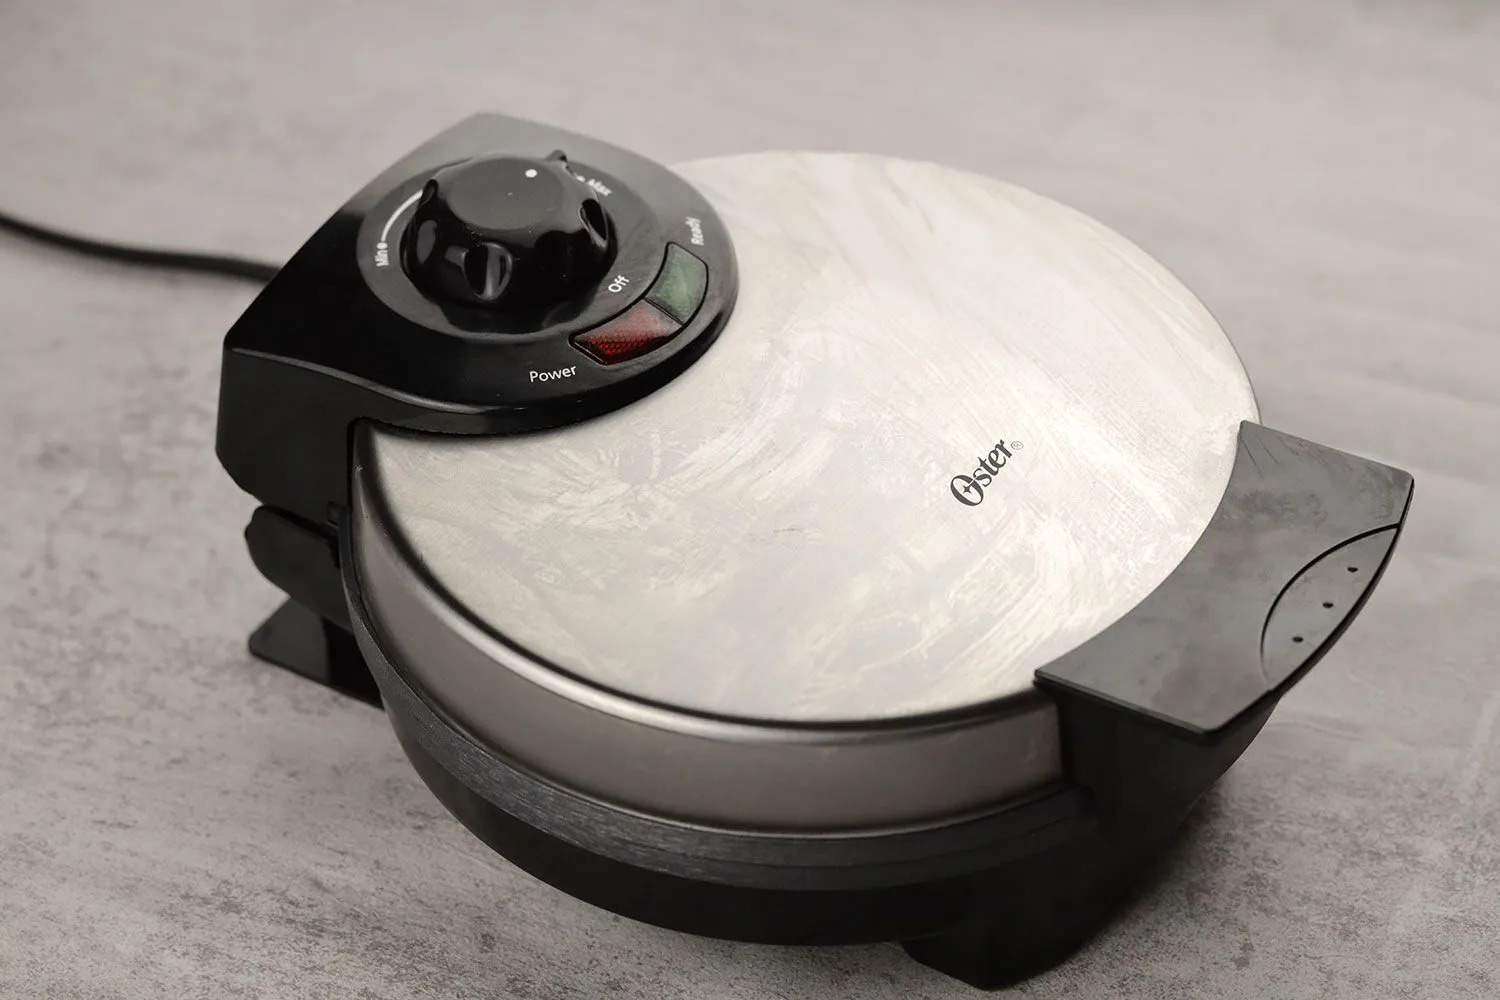
- Most waffle irons have a temperature control dial. Set it to medium-high heat or the recommended setting for baking biscuits or waffles.
- Allow the waffle iron to heat up for a few minutes until it reaches the desired temperature. It’s advisable to follow the manufacturer’s instructions for preheating time and temperature.
While the waffle iron is preheating, you can use this time to prepare any toppings or fillings you plan to serve with your biscuit waffles. Fresh berries, whipped cream, maple syrup, and powdered sugar are all delicious options to consider.
Once your waffle iron is adequately preheated and your toppings are ready, it’s time to move on to the next step: placing the biscuit dough in the waffle iron!
Placing the Biscuit Dough in the Waffle Iron
Now that your waffle iron is preheated and ready to go, it’s time to start cooking the biscuit waffles. Follow these steps to ensure success:
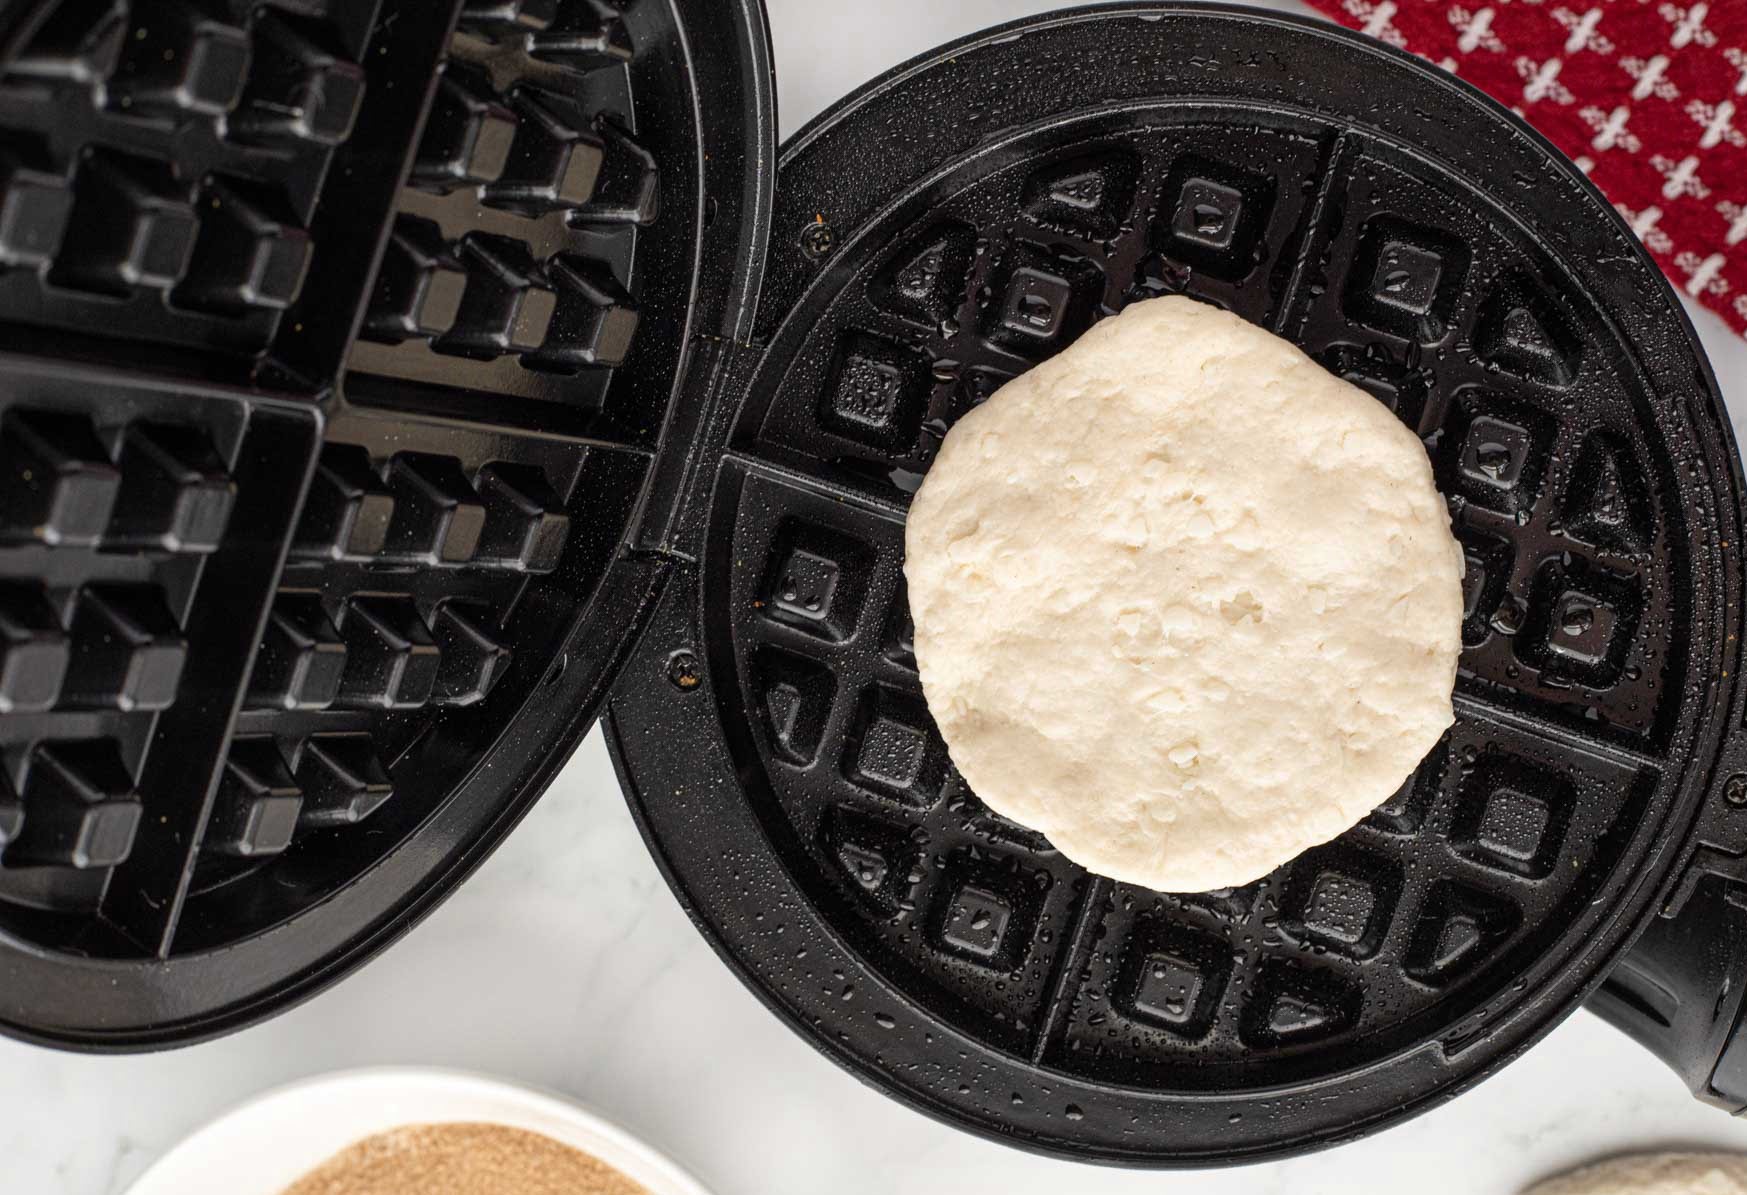
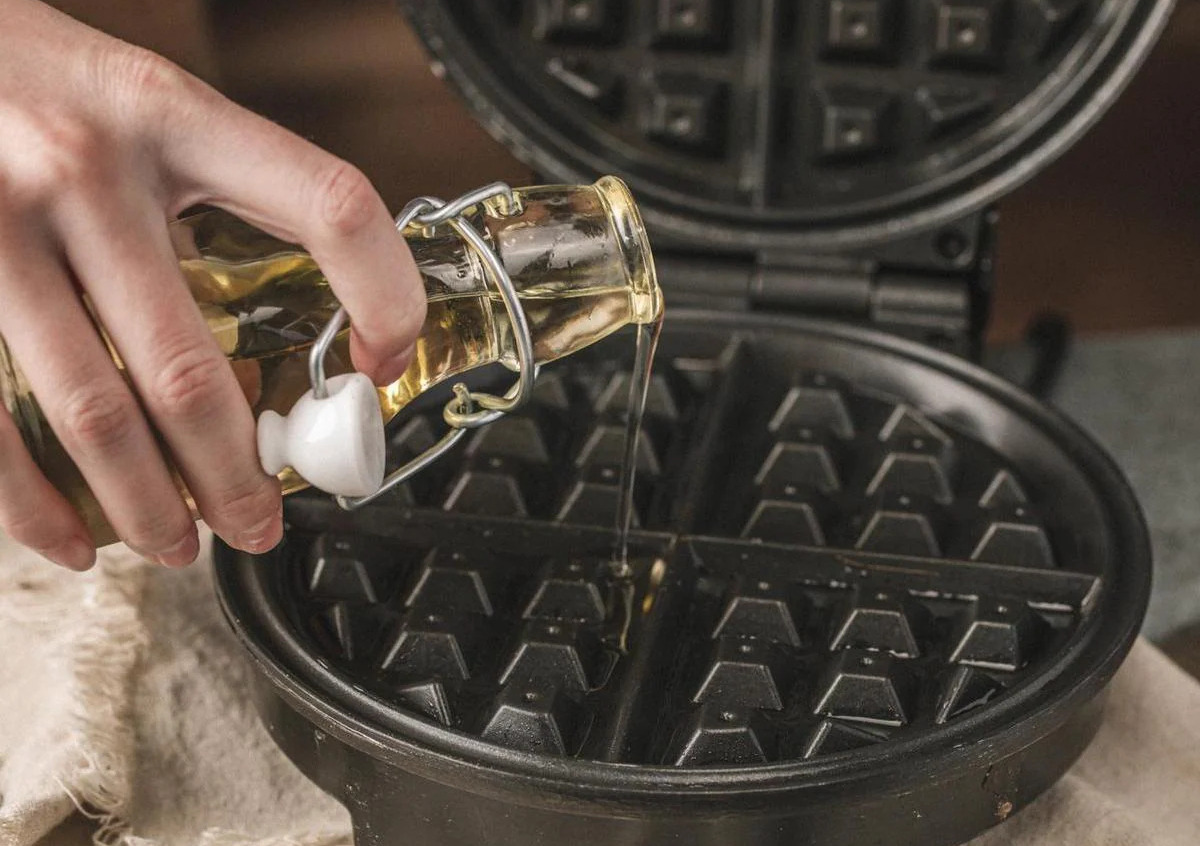
- Open the waffle iron and generously spray or brush the surface with cooking oil or melted butter. This will prevent the biscuit dough from sticking to the iron and help achieve a crispy exterior.
- Take a portion of the prepared biscuit dough, roughly the size of a golf ball or as per your preference. You can also divide the dough into smaller pieces if you prefer bite-sized waffles.
- Place the biscuit dough onto the preheated waffle iron, making sure to leave some space between each dough ball. The dough will spread and rise as it cooks, so it’s important not to overcrowd the waffle iron.
- Gently close the lid of the waffle iron, applying a bit of pressure to flatten the dough slightly. Be cautious not to press too hard, as this may cause the dough to become overly compressed.
- Allow the biscuit dough to cook in the waffle iron for 3-5 minutes or until golden brown and cooked through. Cooking time may vary depending on your waffle iron and desired level of crispiness.
While the first batch of biscuit waffles is cooking, you can continue placing the remaining dough onto the waffle iron to ensure a continuous flow of delicious waffles.
Once the biscuit waffles are cooked to perfection, it’s time to move on to the next step: removing them from the waffle iron.
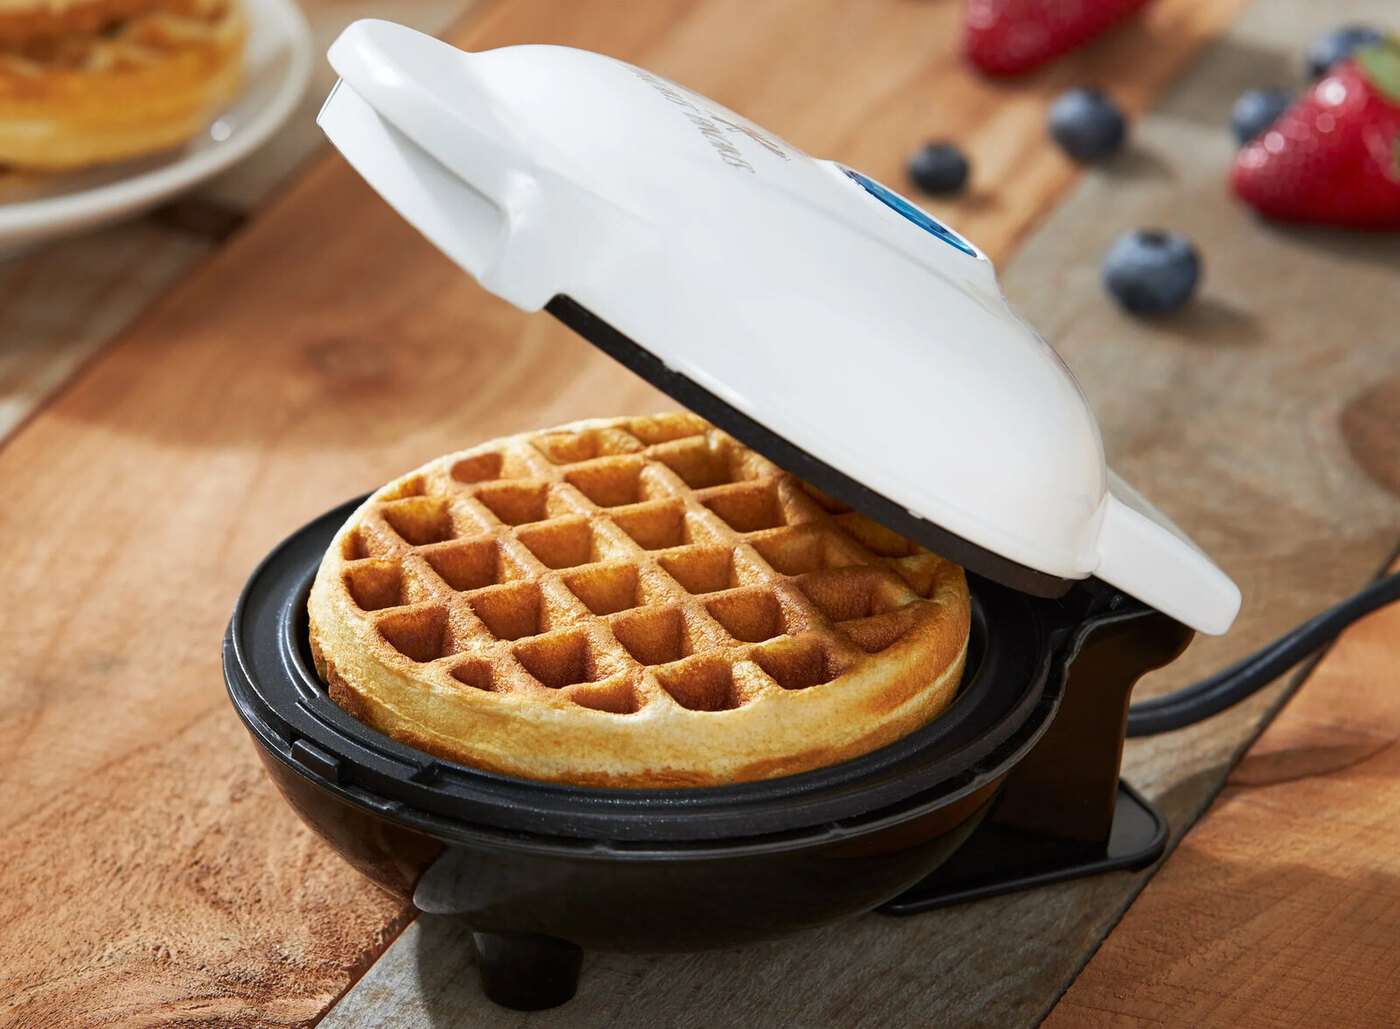
Make sure to preheat the waffle iron and lightly grease it before adding the biscuit dough. Cook until golden brown and crispy for delicious waffle-shaped biscuits.
Cooking the Biscuit Waffles
Cooking the biscuit waffles requires a bit of patience and finesse to achieve the perfect balance between a crispy exterior and a fluffy interior. Here are some tips to ensure your biscuit waffles turn out delicious:
- Keep an eye on the cooking time: The cooking time for biscuit waffles can vary depending on the size and thickness of the dough. It’s important to monitor the waffles closely and adjust the cooking time accordingly. Start by following the recommended cooking time provided by the waffle iron manufacturer and make adjustments based on the appearance and texture of the waffles.
- Avoid opening the waffle iron too early: It’s tempting to peek at the waffles while they are cooking. However, opening the waffle iron prematurely can disrupt the cooking process and result in unevenly cooked waffles. Only open the waffle iron when you think the waffles are close to being done, and use a spatula or tongs to gently lift the edge of a waffle to check if it’s golden brown.
- Don’t overcook the waffles: Overcooking the biscuit waffles can lead to dry and tough waffles. Keep in mind that the dough is already partially cooked, so it’s important to bake them until they are just cooked through, without drying them out.
- Experiment with different cooking times: If you prefer a crispy waffle, you can increase the cooking time slightly. On the other hand, if you prefer a softer waffle, you can reduce the cooking time. The beauty of using biscuit dough in a waffle iron is that you have the flexibility to customize the cooking time to suit your personal preferences.
Once you have mastered the art of cooking the biscuit waffles to your desired level of crispiness, it’s time to move on to the next step: removing them from the waffle iron.
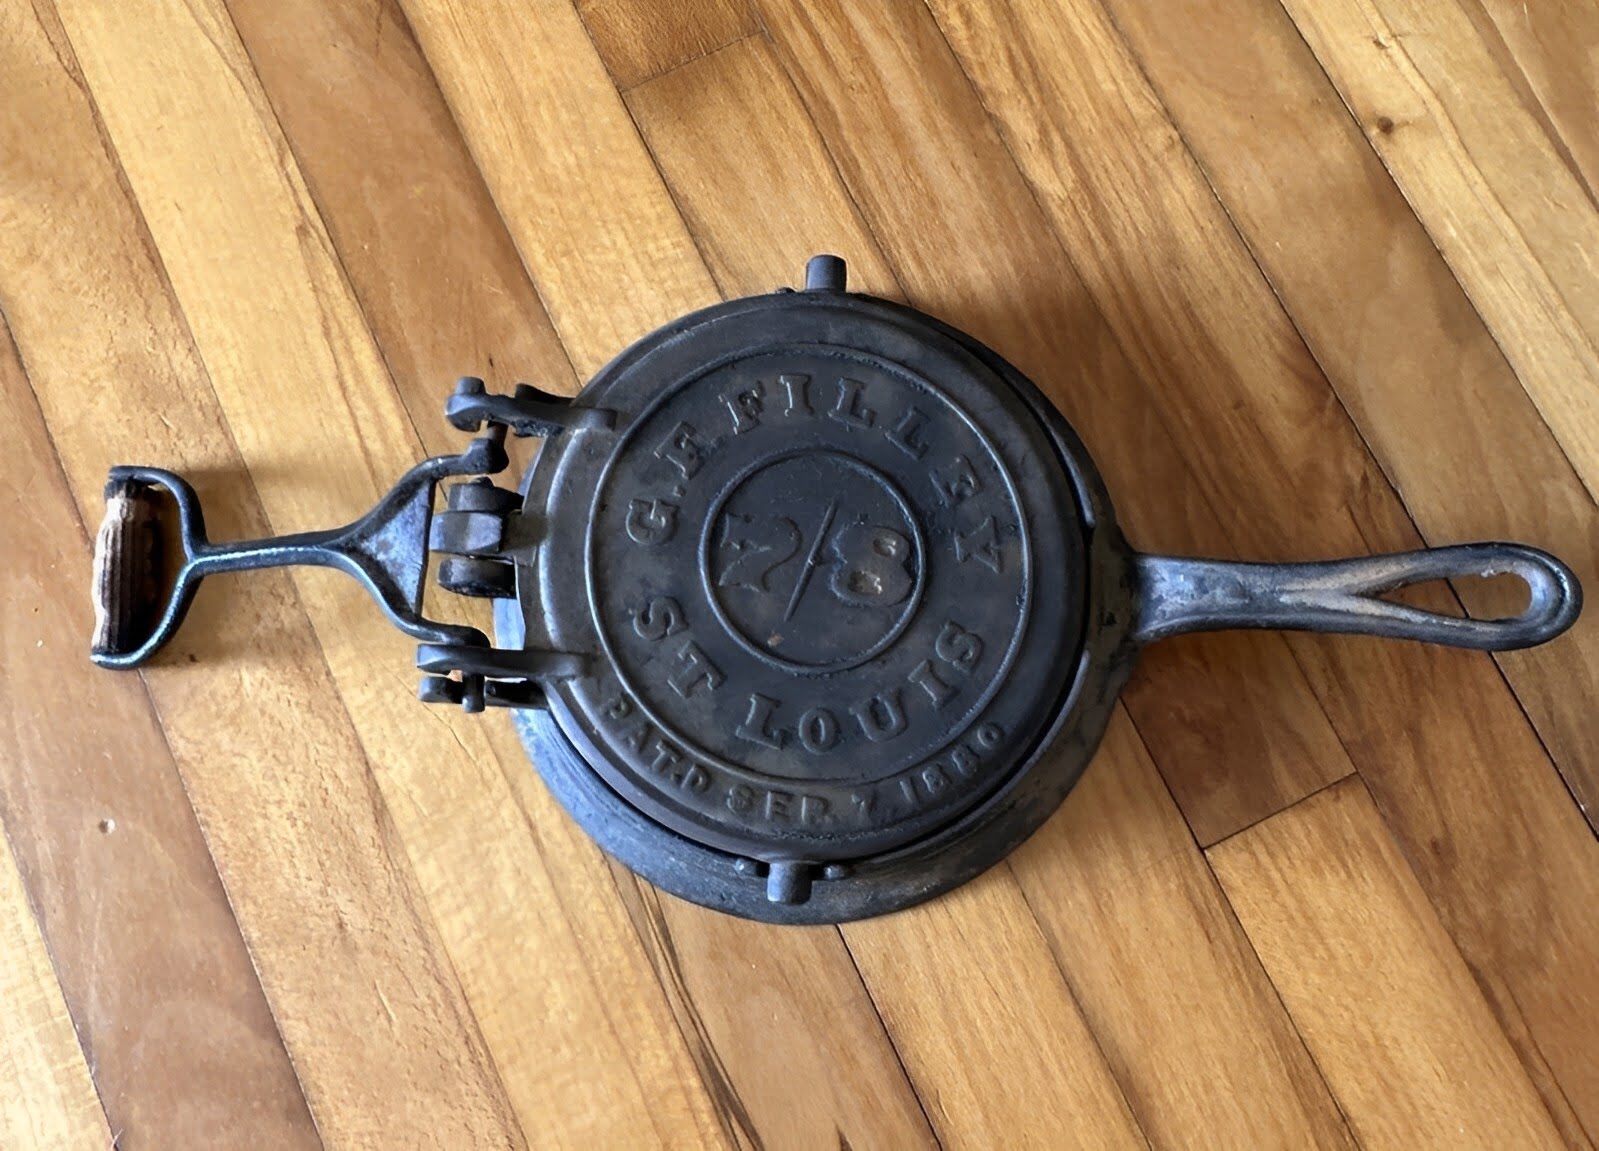
Read more: How To Use A Cast Iron Waffle Iron
Removing the Biscuit Waffles from the Waffle Iron
Removing the biscuit waffles from the waffle iron requires a gentle touch to ensure they don’t get damaged or fall apart. Follow these steps to safely remove the waffles:
- Once the biscuit waffles are cooked to your liking, carefully open the waffle iron using oven mitts or heat-resistant gloves to protect your hands from the hot surfaces.
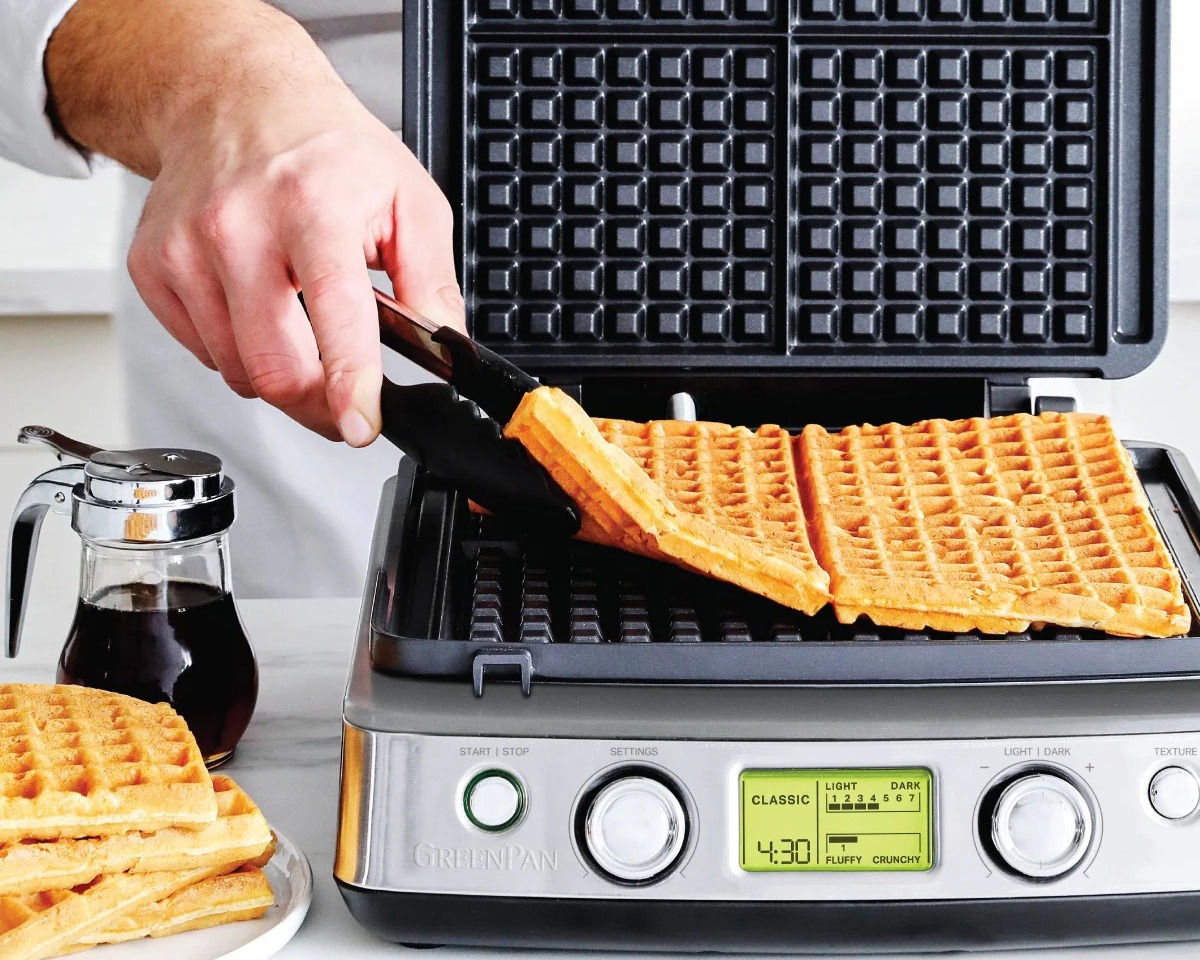
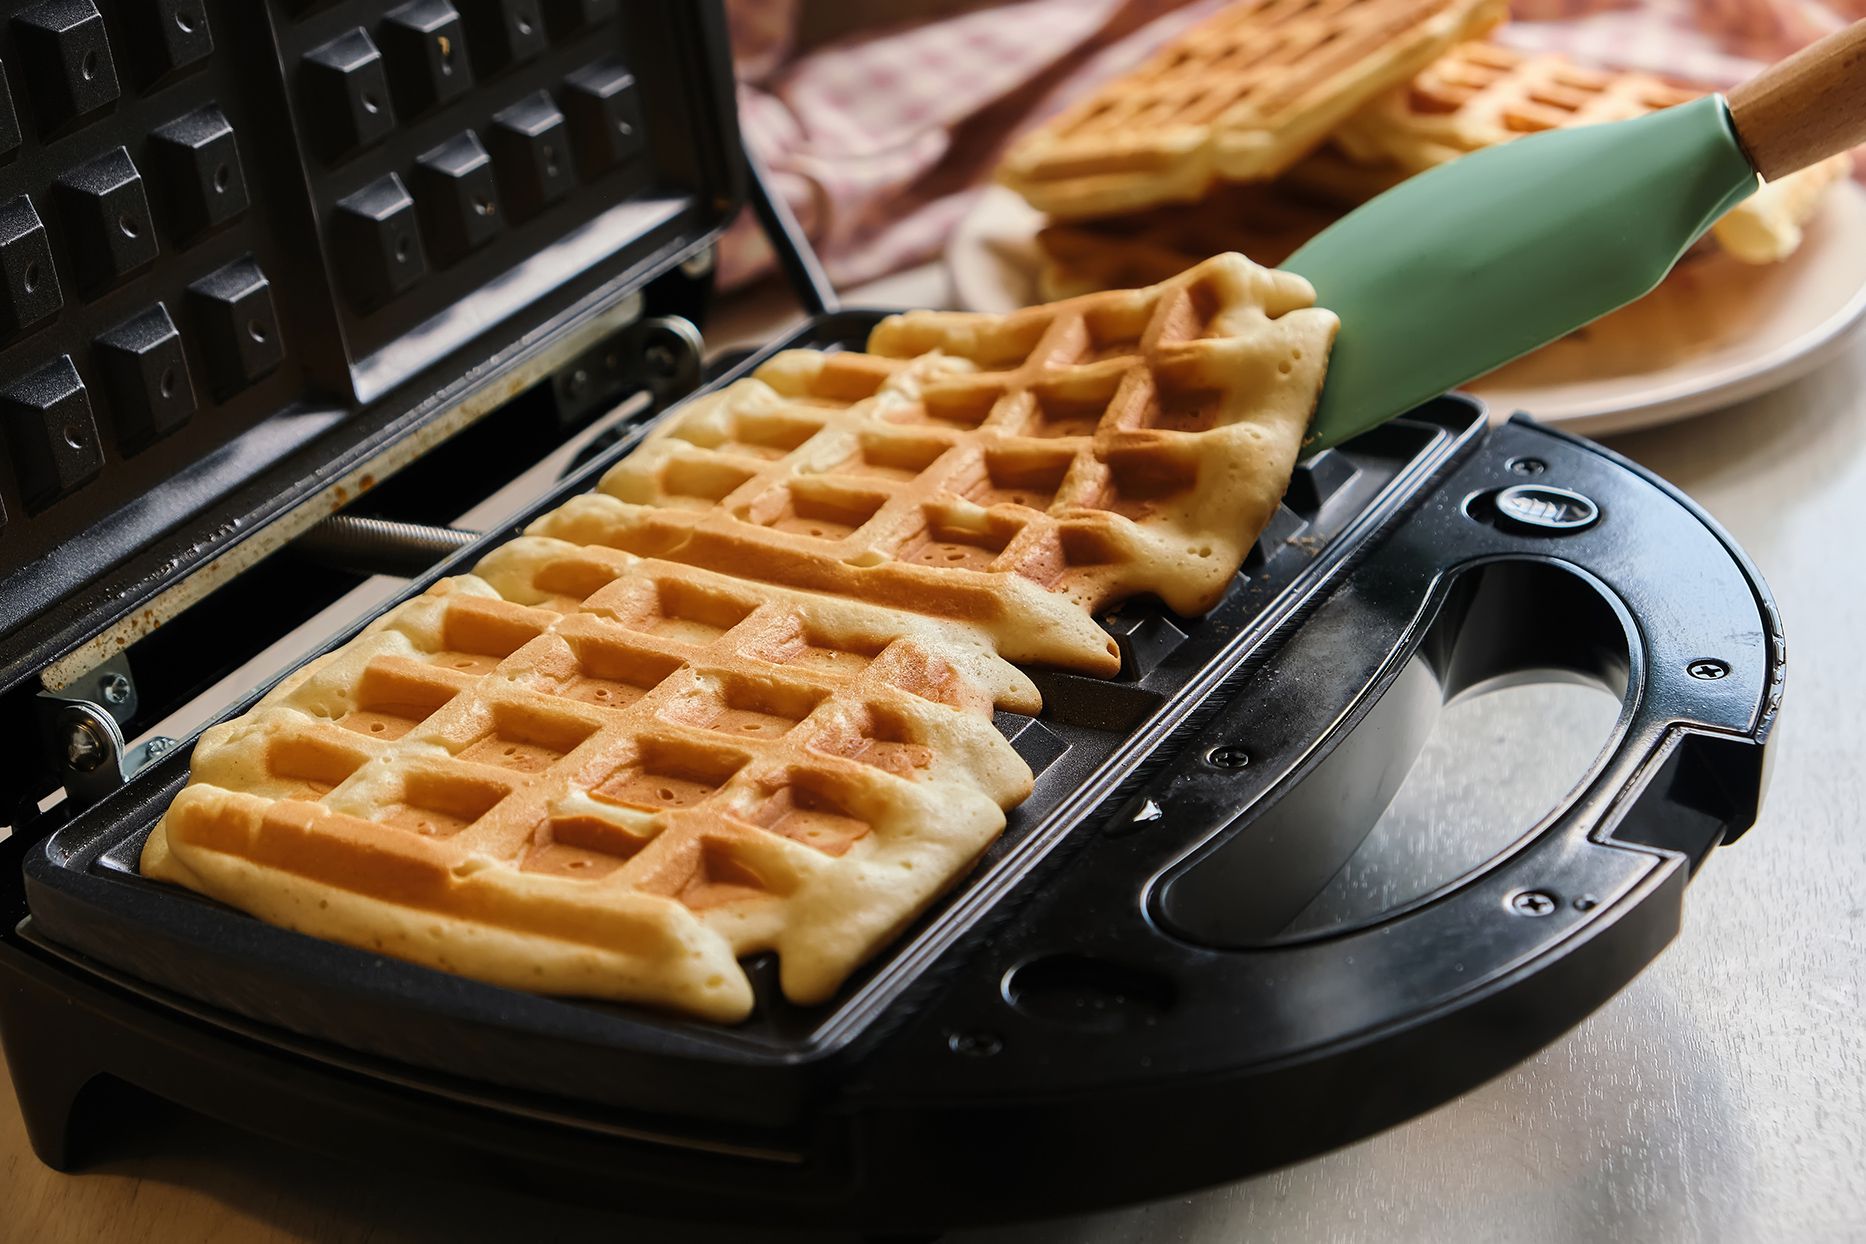
- Using a heat-resistant spatula or tongs, gently lift the waffles from the waffle iron. Start from the outer edges and work your way towards the center to ensure the waffles come out intact.
- Transfer the removed waffles to a cooling rack or a plate lined with a paper towel to absorb any excess oil or moisture.
- Repeat the process with the remaining biscuit dough until all the waffles are cooked and removed from the waffle iron.
It’s important to note that the freshly removed biscuit waffles may be delicate and slightly soft at first. As they cool down, they will become firmer and develop a nice crispy texture on the outside.
Now that you have your freshly cooked biscuit waffles ready, it’s time for the best part: serving and enjoying them!
Serving and Enjoying the Biscuit Waffles
Now that you have prepared the biscuit waffles with your waffle iron, it’s time to bring them to the table and indulge in their deliciousness. Here are some serving suggestions and ideas to enhance your biscuit waffle experience:
- Top with your favorite syrups and spreads: Drizzle your biscuit waffles with maple syrup, honey, chocolate sauce, or any other sweet treat of your choice. You can also spread some butter, Nutella, peanut butter, or fruit preserves to add extra flavor.
- Add some fruit: Fresh fruits like strawberries, blueberries, or bananas can provide a refreshing and nutritious touch to your biscuit waffles. You can either slice them and place them on top of the waffles or create a fruit compote or sauce to serve alongside.
- Get creative with toppings: Let your imagination run wild and experiment with various toppings. Sprinkle some powdered sugar, chopped nuts, or shredded coconut for added texture and visual appeal. You can even add a dollop of whipped cream or a scoop of ice cream for an indulgent treat.
- Pair with savory ingredients: Biscuit waffles can be a versatile base for savory ingredients as well. Serve them with fried chicken, bacon, eggs, or avocado for a hearty breakfast or brunch option. The combination of the crispy waffle and savory flavors creates a delightful contrast.
Remember to serve the biscuit waffles immediately after cooking to enjoy them at their best. The crispy exterior and the soft, fluffy interior will provide a delightful combination of textures and flavors.
Lastly, don’t forget to savor every bite and share this delightful treat with your loved ones. Biscuit waffles are not only an excellent addition to your breakfast or brunch menu but also a great option for a weekend treat or a special occasion.
Once you have enjoyed these delectable biscuit waffles, you can store any leftovers in an airtight container or resealable bag. The waffles can be reheated in a toaster or oven to regain their warmth and crispiness.
So go ahead, get creative, and enjoy the wonderful combination of biscuit dough and waffle iron magic with these delightful biscuit waffles!
Conclusion
Using biscuit dough in a waffle iron is a fantastic way to elevate your waffle game and create a unique and delicious treat. By combining the light and fluffy texture of waffles with the flavorful and buttery goodness of biscuit dough, you can create a delightful twist that will surely impress your family and friends.
In this article, we have explored the process of using biscuit dough in a waffle iron from start to finish. We learned how to prepare the biscuit dough, preheat the waffle iron, place the dough in the iron, cook the waffles to perfection, and finally, remove them from the waffle iron. We also discussed different ways to serve and enjoy the biscuit waffles, from sweet toppings like syrup and fruit to savory combinations like fried chicken and bacon.
Using biscuit dough in a waffle iron offers flexibility and creativity in the kitchen. You can experiment with different flavors by adding herbs, spices, or even cheese to the biscuit dough. The possibilities are endless, and you can customize the waffles to suit your personal taste preferences.
Whether you’re looking to spice up your breakfast routine, impress your guests with a unique brunch option, or simply indulge in a delicious treat, biscuit waffles are a fantastic choice. They are a delightful combination of crispy and fluffy textures, and the buttery taste of the biscuit dough makes them absolutely irresistible.
So, the next time you want to take your waffle experience to the next level, don’t hesitate to use biscuit dough in a waffle iron. Get creative in the kitchen, enjoy the process of making these tasty treats, and delight in the smiles on the faces of everyone who gets to enjoy them.
Now that you have all the knowledge and inspiration, it’s time to grab your waffle iron, whip up some biscuit dough, and embark on a delicious waffle adventure!
Frequently Asked Questions about How To Use Biscuit Dough In A Waffle Iron
Was this page helpful?
At Storables.com, we guarantee accurate and reliable information. Our content, validated by Expert Board Contributors, is crafted following stringent Editorial Policies. We're committed to providing you with well-researched, expert-backed insights for all your informational needs.

0 thoughts on “How To Use Biscuit Dough In A Waffle Iron”