Articles
How To Use Ryobi Multi Surface Laser Level
Modified: March 1, 2024
Discover the best articles on how to effectively use the Ryobi Multi Surface Laser Level for precision and accuracy in your DIY projects.
(Many of the links in this article redirect to a specific reviewed product. Your purchase of these products through affiliate links helps to generate commission for Storables.com, at no extra cost. Learn more)
Introduction
Welcome to this comprehensive guide on how to use the Ryobi Multi Surface Laser Level. If you’ve ever struggled with getting precise and accurate measurements when working on home improvement projects or hanging decorations, this tool is going to be your new best friend.
The Ryobi Multi Surface Laser Level is a versatile and user-friendly device that allows you to easily achieve accurate and level surfaces. Whether you’re hanging picture frames, installing shelves, or aligning tiles, this laser level will make your projects a breeze.
In this guide, we’ll walk you through the step-by-step process of setting up and using the Ryobi Multi Surface Laser Level, as well as provide you with some additional tips and tricks to get the most out of this handy tool. By the end, you’ll be a pro at achieving perfectly level surfaces with ease.
So, let’s dive in and learn how to make the most of your Ryobi Multi Surface Laser Level!
Key Takeaways:
- Achieve precise and professional-level results in home improvement projects with the versatile Ryobi Multi Surface Laser Level. From initial setup to safety precautions, this guide provides a comprehensive understanding of using this user-friendly tool.
- Master the art of precise leveling and alignment with the Ryobi Multi Surface Laser Level. Explore its features, adjust the laser beam, and prioritize safety to ensure accurate measurements and professional results in your projects.
Read more: How To Use Ryobi Laser Level
Overview of the Ryobi Multi Surface Laser Level
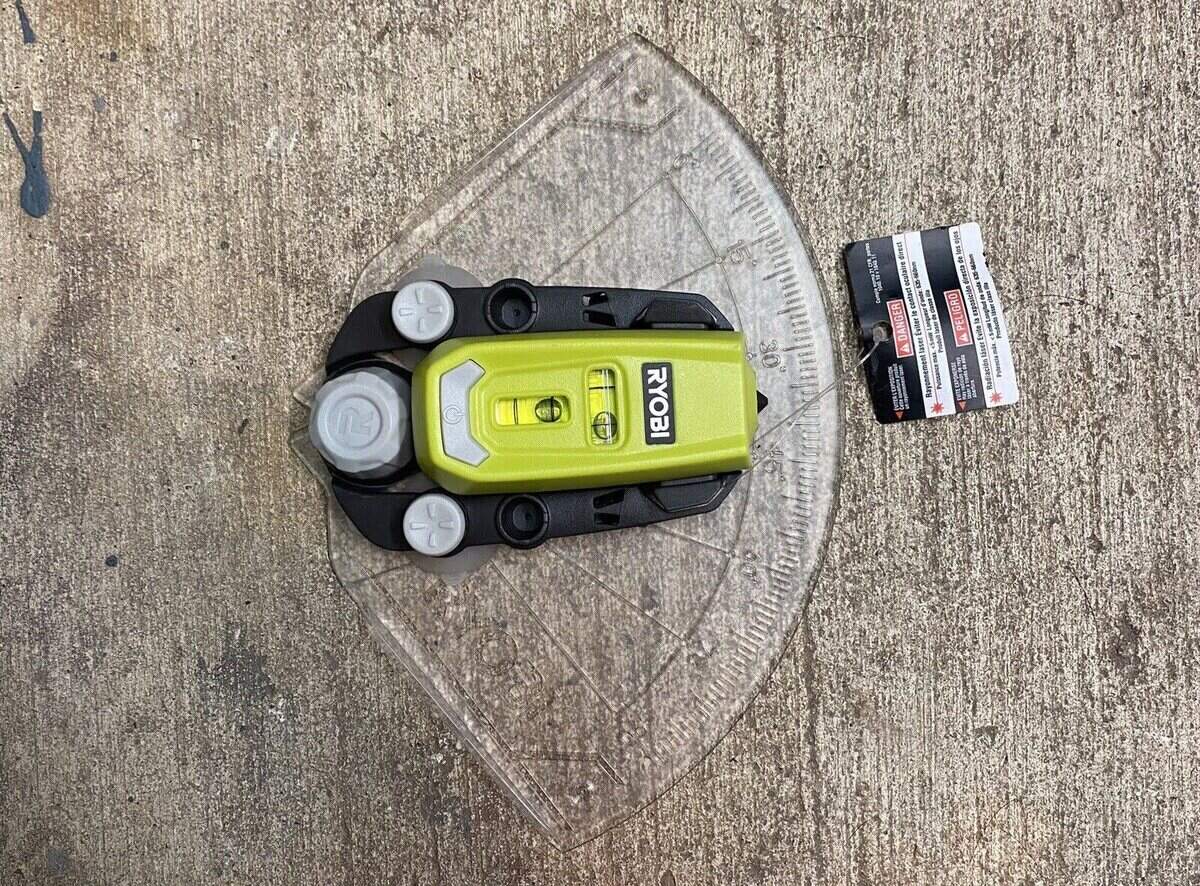
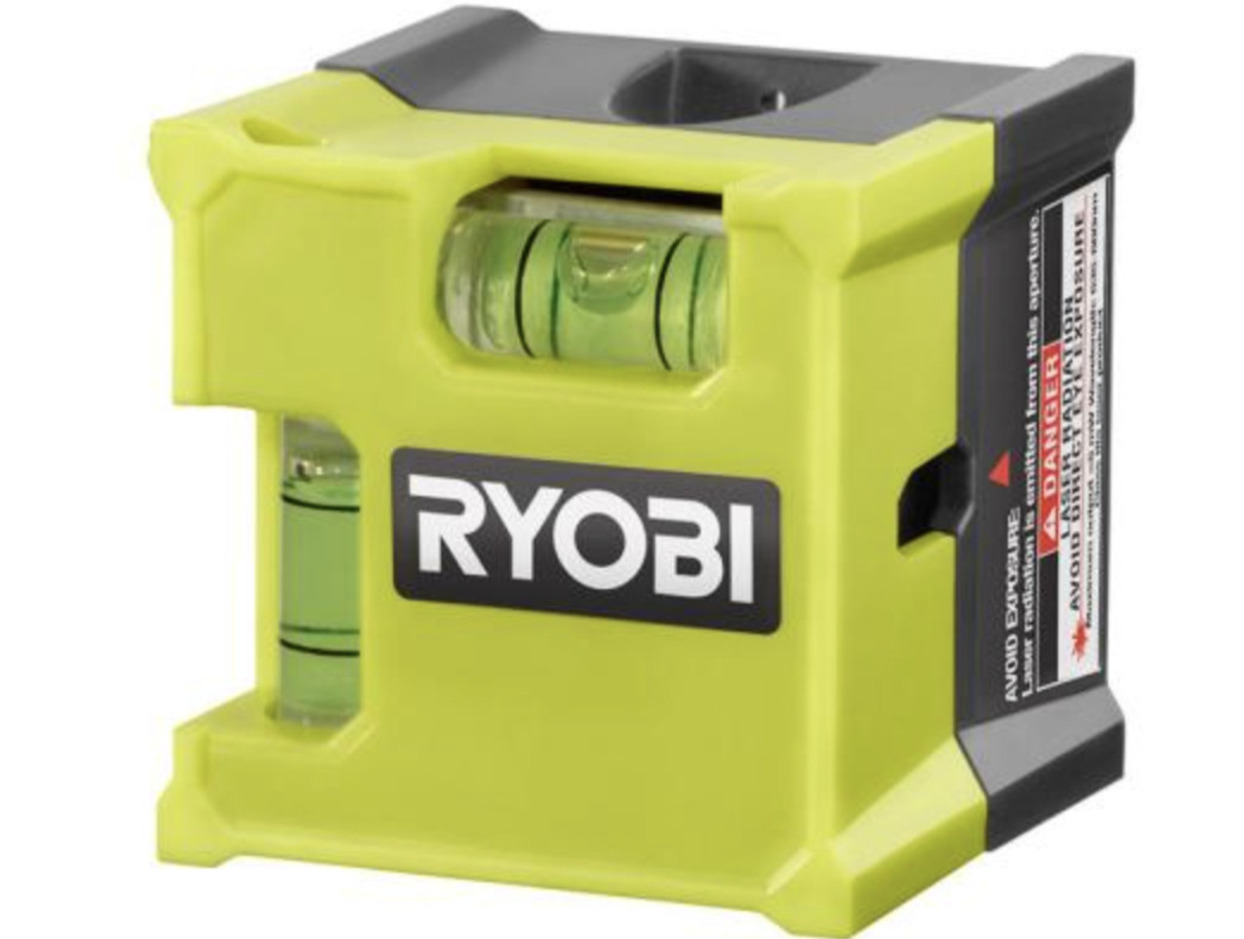
The Ryobi Multi Surface Laser Level is designed to provide accurate and precise leveling across various surfaces. It features a compact and handheld design, making it easy to handle and transport for both indoor and outdoor projects.
One of the standout features of the Ryobi Multi Surface Laser Level is its ability to project laser lines on different surfaces, including walls, floors, and ceilings. This makes it a versatile tool for a wide range of projects, such as hanging artwork, aligning tiles, and installing cabinetry.
The laser level features both horizontal and vertical leveling capabilities, allowing you to easily align objects in both directions. Additionally, it offers three different projection modes: vertical line, horizontal line, and cross-line, giving you more options depending on your specific project requirements.
Equipped with a highly accurate laser diode, the Ryobi Multi Surface Laser Level provides precise measurements with a working range of up to 20-30 feet, depending on the ambient lighting conditions. It also has a built-in leveling bubble for manual leveling calibration, ensuring accurate results every time.
For added convenience, the Ryobi Multi Surface Laser Level comes with a tripod mount and a wall mount bracket. This allows you to easily attach the laser level to a tripod or mount it directly onto a wall, providing stable and hands-free operation.
The laser level is powered by standard AA batteries, providing long-lasting performance. It also features an auto-shutoff function to help conserve battery life when not in use.
Overall, the Ryobi Multi Surface Laser Level offers a combination of accuracy, versatility, and ease of use. Whether you’re a DIY enthusiast or a professional contractor, this tool can greatly simplify your leveling tasks and help you achieve professional-looking results.
Step 1: Initial Setup
Before you get started with using the Ryobi Multi Surface Laser Level, it’s important to go through the initial setup process to ensure accurate and precise measurements. Here’s what you need to do:
- Insert the batteries: Start by opening the battery compartment of the laser level, located on the back or side of the device. Insert the required number of AA batteries and make sure they are properly aligned according to the polarity markings.
- Calibrate the level: To ensure accurate readings, it’s essential to calibrate the laser level. Start by placing the level on a stable and level surface, such as a table or countertop. Use the built-in leveling bubble to manually adjust the level until the bubble is centered. Once the level is properly calibrated, you can proceed to the next step.
- Attach the mounting bracket: The Ryobi Multi Surface Laser Level comes with a wall mount bracket for added convenience. If you plan to mount the laser level onto a wall, attach the bracket securely using the provided screws. Ensure that the bracket is level and aligned properly.
- Attach the tripod mount: If you prefer to use a tripod for stability and hands-free operation, attach the tripod mount to the bottom of the laser level. Simply twist it onto the threaded opening until it is securely in place. Make sure the tripod is stable and positioned at the desired height.
Once you have completed the initial setup steps, your Ryobi Multi Surface Laser Level is ready to be used. Now it’s time to move on to the next steps to learn how to choose the right surface and mount the laser level properly.
Step 2: Choosing the Right Surface
Choosing the right surface is crucial to ensure accurate and reliable measurements with your Ryobi Multi Surface Laser Level. Here are some factors to consider when selecting the surface:
- Stability: The surface should be stable and sturdy enough to support the weight of the laser level and any additional attachments, such as a mounting bracket. Avoid surfaces that are uneven or prone to vibrations, as this can affect the accuracy of the laser level.
- Reflectivity: The laser level relies on reflecting the laser beam to determine the level and alignment. Choose a surface that has sufficient reflectivity to ensure clear and visible laser lines. Smooth and light-colored surfaces tend to provide better reflectivity compared to rough and dark surfaces.
- Avoid obstructions: Make sure that the surface is free from any obstructions such as furniture, fixtures, or decorations that may interfere with the laser lines. Clearing the area will help you achieve more accurate and precise measurements.
- Ambient lighting: Consider the ambient lighting conditions in the room or outdoor space where you’ll be using the laser level. Excessive brightness from sunlight or artificial lighting can make it challenging to see the laser lines clearly. If possible, dim the lights or choose a location with moderate lighting.
- Accessibility: Ensure that the surface is easily accessible for you to work comfortably. If you’re using a tripod, make sure there’s enough space to set it up and adjust the height if necessary. For wall-mounted applications, ensure that the surface is within reach and easily visible.
By considering these factors and choosing the right surface, you’ll be setting yourself up for success when using the Ryobi Multi Surface Laser Level. Now, let’s move on to the next step to learn how to mount the laser level properly.
Step 3: Mounting the Level
Mounting the Ryobi Multi Surface Laser Level is essential to ensure stability and accuracy during your projects. Whether you’re using the wall mount bracket or a tripod, here are the steps to follow:
Using the Wall Mount Bracket:
- Position the wall mount bracket onto the desired location on the wall. Ensure that it is level and aligned properly.
- Using a screwdriver or drill, secure the bracket onto the wall by driving the screws through the designated holes. Ensure that the bracket is tightly secured to prevent any wobbling or movement.
- Once the bracket is securely mounted, place the Ryobi Multi Surface Laser Level onto the bracket, lining up the slots on the laser level with the tabs on the bracket.
- Slide the laser level downwards until it locks into place. Make sure it is secure and cannot easily be dislodged.
Using a Tripod:
- Extend the tripod legs to the desired height, ensuring stability and balance.
- Screw the tripod mount onto the threaded opening at the bottom of the Ryobi Multi Surface Laser Level. Rotate it until it is securely fastened.
- Place the laser level onto the tripod mount, making sure it is stable and seated properly.
- Adjust the tripod legs and the laser level position as needed to achieve the desired height and orientation.
Once you have properly mounted the Ryobi Multi Surface Laser Level, ensure that it is positioned at the appropriate height and angle for your project. Double-check the stability and adjust if necessary. Now you’re ready to move on to the next step and turn on the laser.
Step 4: Turning On the Laser
Now that your Ryobi Multi Surface Laser Level is securely mounted, it’s time to turn on the laser and start using it. Follow these steps to activate the laser:
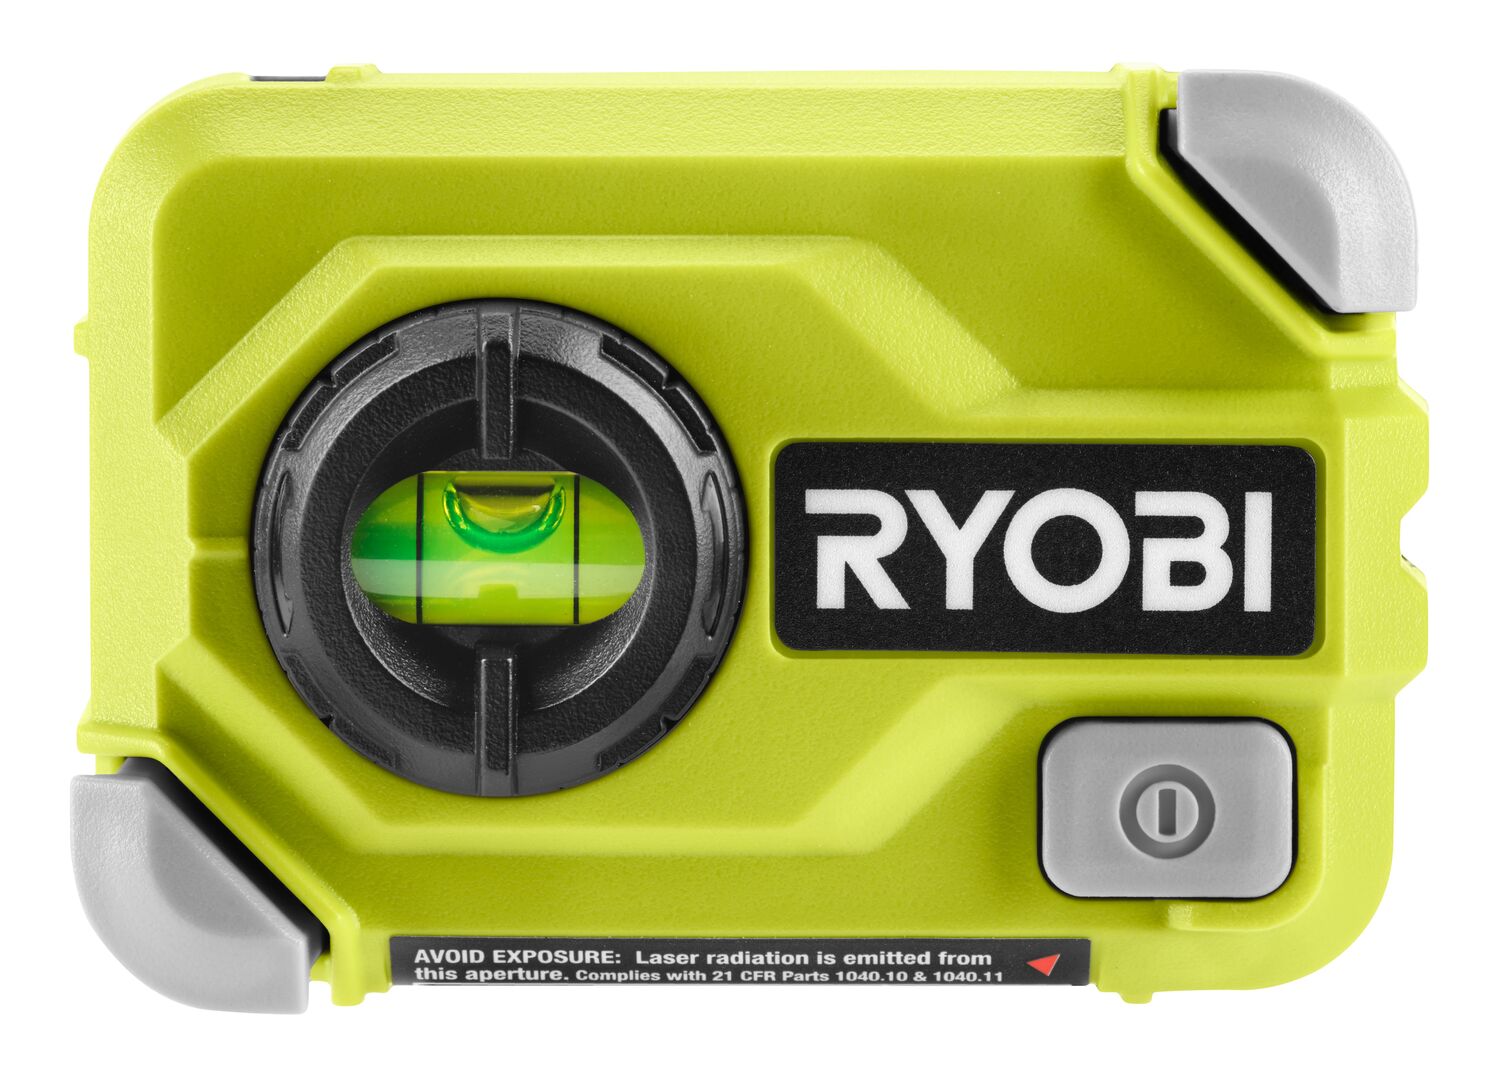
- Locate the power button on the laser level. It is usually located on the top or side of the device.
- Press and hold the power button for a few seconds until the laser turns on. You may hear a beep or see a light indicator to confirm that the laser is powered on.
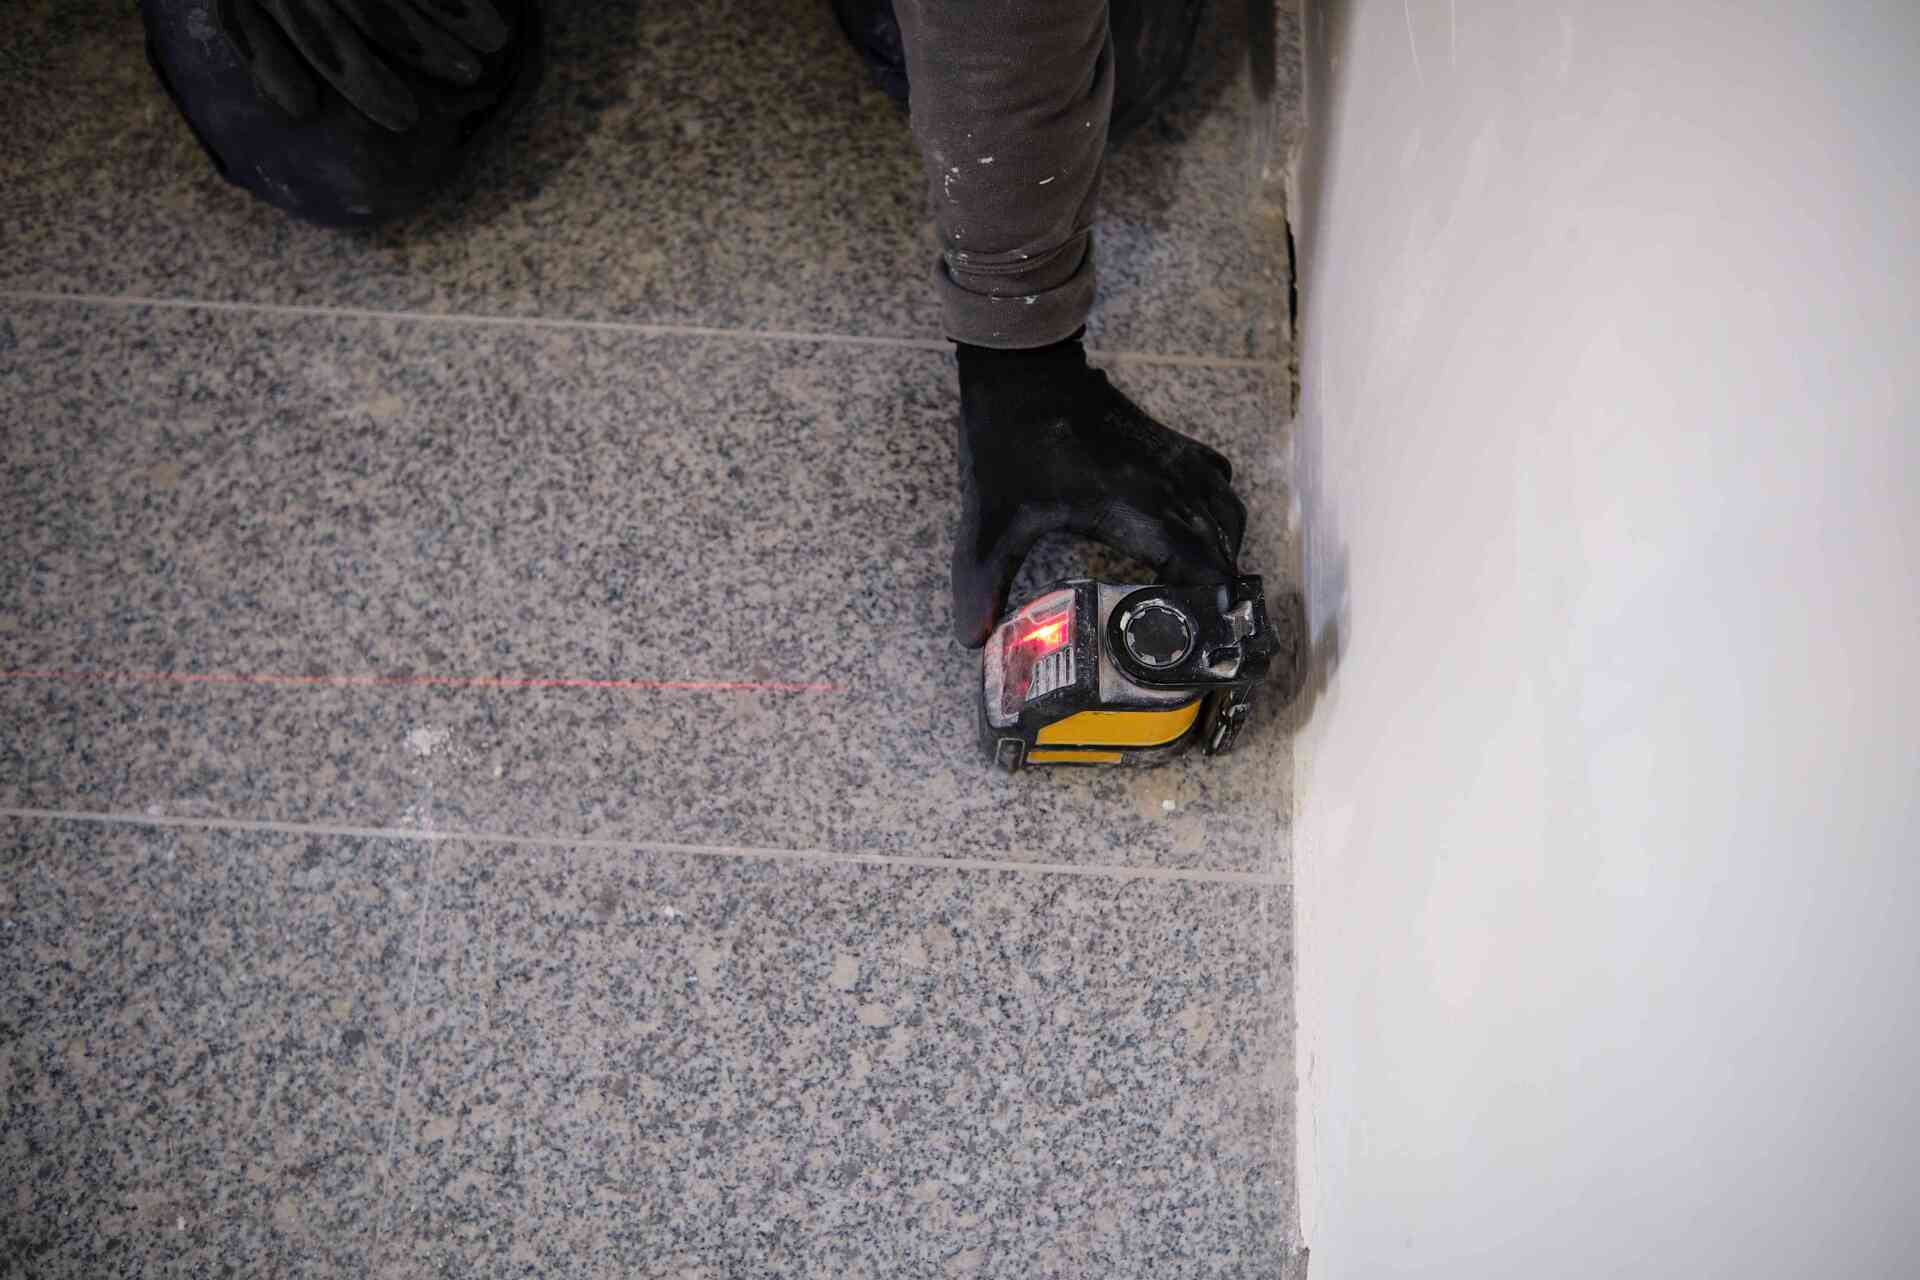
- Once the laser is activated, you should see a visible laser line projecting from the device onto the selected surface. The type of laser line projection (horizontal, vertical, or cross-line) will depend on the settings and mode of your laser level.
- Adjust the laser line as needed by rotating the laser level itself or using any adjustment knobs or buttons provided. This will allow you to position the laser line precisely where you need it for your project.
- If the laser line is difficult to see or not clearly visible, try adjusting the ambient lighting in the room. Dimming the lights or closing curtains can help enhance the visibility of the laser line.
- Take a moment to familiarize yourself with the controls and features of your particular model of the Ryobi Multi Surface Laser Level. This will allow you to make any necessary adjustments to ensure accuracy and ease of use.
Remember to always handle the laser level with caution and avoid pointing the laser directly at anyone’s eyes. It’s also a good practice to avoid looking directly into the laser beam yourself.
With the laser turned on and properly adjusted, you’re ready to move on to the next step to learn how to ensure the leveling accuracy of your Ryobi Multi Surface Laser Level.
When using the Ryobi Multi Surface Laser Level, make sure to carefully adjust the level to ensure accurate measurements. Take your time to set it up properly for the best results.
Step 5: Adjusting the Laser Beam
Adjusting the laser beam of your Ryobi Multi Surface Laser Level is crucial to ensure precise leveling and alignment. Here are the steps to follow:
- Rotating the Level: If you need to change the direction of the laser beam, you can rotate the laser level itself. Simply grip the device and rotate it until the laser line is projected in the desired direction. Keep in mind that some laser levels may have a locking mechanism to secure the position once you have adjusted the rotation.
- Using the Adjustment Knobs: Some models of the Ryobi Multi Surface Laser Level come equipped with adjustment knobs that allow you to fine-tune the laser beam. These knobs are typically located on the sides or top of the device. Use the appropriate knob to make horizontal or vertical adjustments to the laser line. Turn the knob in small increments until the laser line is exactly where you need it to be.
- Changing the Projection Mode: Depending on the project requirements, you may need to switch between different projection modes, such as horizontal line, vertical line, or cross-line. Refer to the user manual of your specific model to understand how to change the projection mode. This may involve pressing a button or using a switch on the device.
- Checking Alignment: Once you have made the necessary adjustments to the laser beam, it’s important to check the alignment to ensure accuracy. Use a level or a measuring tool to verify that the laser line is straight and aligned with your desired reference point. Make any additional adjustments as needed until you achieve the desired alignment.
- Double-Checking the Calibration: It’s a good practice to double-check the calibration of your Ryobi Multi Surface Laser Level after making any adjustments. Place the level on a flat surface and ensure that the built-in leveling bubble is centered. This will ensure that your laser level is accurately calibrated, resulting in precise measurements and leveling.
By following these steps and making the necessary adjustments, you can ensure that your Ryobi Multi Surface Laser Level is projecting a laser beam that is aligned and accurate for your specific project needs.
Now that you have adjusted the laser beam, let’s move on to the next step to learn how to test the leveling accuracy of your Ryobi Multi Surface Laser Level.
Step 6: Testing the Leveling Accuracy
Testing the leveling accuracy of your Ryobi Multi Surface Laser Level is an important step to ensure that your measurements and alignments are precise. Here’s how to test the accuracy of the laser level:
- Select a Reference Point: Choose a reference point on the surface where you want to achieve a level or aligned measurement. This can be a mark on the wall, a point on the floor, or any other designated spot.
- Position the Laser Level: Place the Ryobi Multi Surface Laser Level in a stable position, either mounted on a wall or secured on a tripod. Make sure it is firmly positioned and aligned with the reference point you selected.
- Measure the Distance: Use a measuring tool, such as a tape measure or a ruler, to measure the distance between the laser line emitted by the laser level and the reference point. Ensure that the measuring tool is aligned with the reference point and perpendicular to the laser line.
- Compare the Measurements: Compare the measured distance with the expected measurement or alignment. If the laser level is accurate, the measured distance should match the intended alignment or measurement. If there is a deviation, you may need to recalibrate or make further adjustments to the laser level.
- Repeat the Test: For more precise results, it is recommended to test the leveling accuracy at multiple points along the laser line. This will help identify any inconsistencies or variations in the laser level’s performance.
By conducting these tests, you can verify the accuracy of your Ryobi Multi Surface Laser Level and ensure that it is providing reliable measurements and alignments for your projects. If you find any discrepancies or inconsistencies, refer to the user manual for troubleshooting tips and recalibration instructions.
Now that you have tested the leveling accuracy of your Ryobi Multi Surface Laser Level, let’s explore some additional features and functions in the next step.
Step 7: Additional Features and Functions
The Ryobi Multi Surface Laser Level is equipped with several additional features and functions that can enhance your overall user experience. Here are some notable ones to explore:
- Pulse Mode: Some models of the Ryobi Multi Surface Laser Level offer a pulse mode feature. This allows the laser level to emit a pulsed laser beam that is compatible with a laser detector. The detector can be used to extend the working range of the laser level, making it ideal for outdoor applications or larger construction projects.
- Auto-Leveling: Certain models of the Ryobi Multi Surface Laser Level feature automatic leveling functionality. This means that the laser level can quickly self-level within a specified range of degrees. This can save time and effort when setting up the laser level, as it eliminates the need for manual calibration.
- Projection Modes and Line Visibility: Explore the different projection modes available on your specific model of the Ryobi Multi Surface Laser Level. This may include horizontal lines, vertical lines, or cross-line projections. Additionally, check the visibility of the laser lines in various lighting conditions to ensure optimal performance.
- Magnetic Mounting: Some models of the Ryobi Multi Surface Laser Level come with built-in magnets on the base or back of the device. This allows for easy attachment to metal surfaces, providing additional mounting options and flexibility during your projects.
- Locking Mechanism: Check if your laser level has a locking mechanism to secure the position of the laser beam once it is adjusted. This can help maintain consistent leveling and prevent accidental movement during use.
Take the time to familiarize yourself with the specific features and functions of your Ryobi Multi Surface Laser Level. Refer to the user manual for detailed instructions on how to utilize and maximize the benefits of these additional features.
Now that you are aware of the various features, let’s proceed to the next step to learn about the safety precautions you should follow when using the Ryobi Multi Surface Laser Level.
Step 8: Safety Precautions
While using the Ryobi Multi Surface Laser Level, it is important to prioritize safety. Here are some key safety precautions to keep in mind:
- Eye Protection: Never look directly into the laser beam or point it at anyone’s eyes. The laser can cause eye damage or injury. Always wear appropriate eye protection, such as safety goggles, when using the laser level.
- Stability and Balance: Ensure that the laser level is securely mounted either on the wall bracket or tripod. This will help prevent any accidental tipping or falling during use. Check the stability and balance of the setup before turning on the laser.
- Positioning: Be mindful of the position and height of the laser level. Avoid placing it at eye level or in a position where people can accidentally walk into the laser beam. Position the laser level in a way that minimizes the risk of accidental exposure to the laser beam.
- Power Source: Only use the specified batteries for the laser level and ensure they are inserted correctly according to the polarity markings. Avoid using damaged or expired batteries, as they may cause malfunctions or pose safety hazards.
- Environmental Considerations: Take into account the surrounding environment and any potential hazards that may affect the use of the laser level. Ensure that the work area is clear of obstacles and debris to prevent accidents or distortions in laser projections.
- Proper Handling: Handle the laser level with care and avoid any rough or careless movements that could damage the device. Store the laser level in a safe and secure location when not in use to prevent accidental damage or unauthorized use.
Remember to always refer to the user manual provided with your Ryobi Multi Surface Laser Level for specific safety guidelines and recommendations. Prioritize safety at all times to prevent accidents and ensure a safe working environment.
Now that you are aware of the safety precautions, let’s wrap up this guide.
Conclusion
Congratulations! You have successfully learned how to use the Ryobi Multi Surface Laser Level. This versatile and user-friendly tool will undoubtedly become a valuable asset in your home improvement projects, allowing you to achieve precise and accurate leveling with ease.
Throughout this guide, we covered the essential steps for using the Ryobi Multi Surface Laser Level effectively. We started with the initial setup, choosing the right surface, and mounting the level securely. We then explored how to turn on the laser, adjust the laser beam, and test the leveling accuracy.
We also discussed some additional features and functions that the Ryobi Multi Surface Laser Level may have, such as pulse mode, auto-leveling, and different projection modes. These features can further enhance your experience and provide more flexibility in various project scenarios.
It is crucial to always prioritize safety when using the laser level. Remember to protect your eyes by wearing appropriate eye protection, ensure stability and balance during setup, and follow proper handling and storage practices.
By following the steps and safety precautions outlined in this guide, you can confidently utilize the Ryobi Multi Surface Laser Level to achieve professional-level results in your projects.
Now, armed with the knowledge and understanding of this powerful tool, you are ready to tackle any leveling or alignment project with precision and ease. Enjoy using your Ryobi Multi Surface Laser Level, and may your projects be a success!
Frequently Asked Questions about How To Use Ryobi Multi Surface Laser Level
Was this page helpful?
At Storables.com, we guarantee accurate and reliable information. Our content, validated by Expert Board Contributors, is crafted following stringent Editorial Policies. We're committed to providing you with well-researched, expert-backed insights for all your informational needs.


0 thoughts on “How To Use Ryobi Multi Surface Laser Level”