Home>Articles>How To Vent A Pellet Stove Through An Existing Chimney
Articles
How To Vent A Pellet Stove Through An Existing Chimney
Modified: August 28, 2024
Learn how to properly vent a pellet stove through an existing chimney with our informative articles. Find step-by-step guides and expert tips to ensure a safe and efficient installation.
(Many of the links in this article redirect to a specific reviewed product. Your purchase of these products through affiliate links helps to generate commission for Storables.com, at no extra cost. Learn more)
Introduction
Welcome to this comprehensive guide on how to vent a pellet stove through an existing chimney. If you have recently purchased a pellet stove or are considering installing one, you may be wondering how to properly connect it to your existing chimney for safe and efficient operation. Venting a pellet stove through an existing chimney can be a cost-effective option that utilizes an already existing ventilation system. In this article, we will walk you through the step-by-step process of venting a pellet stove through your chimney, ensuring a successful installation.
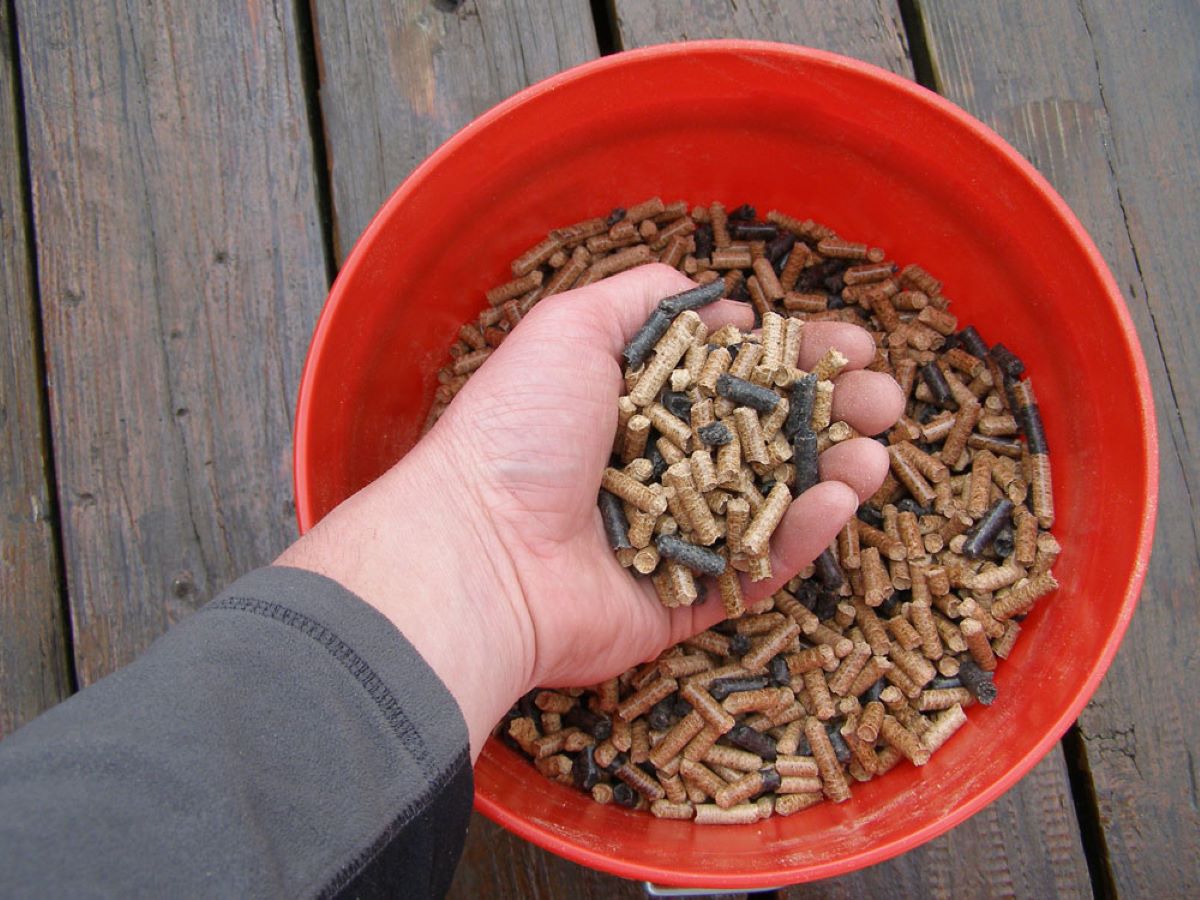
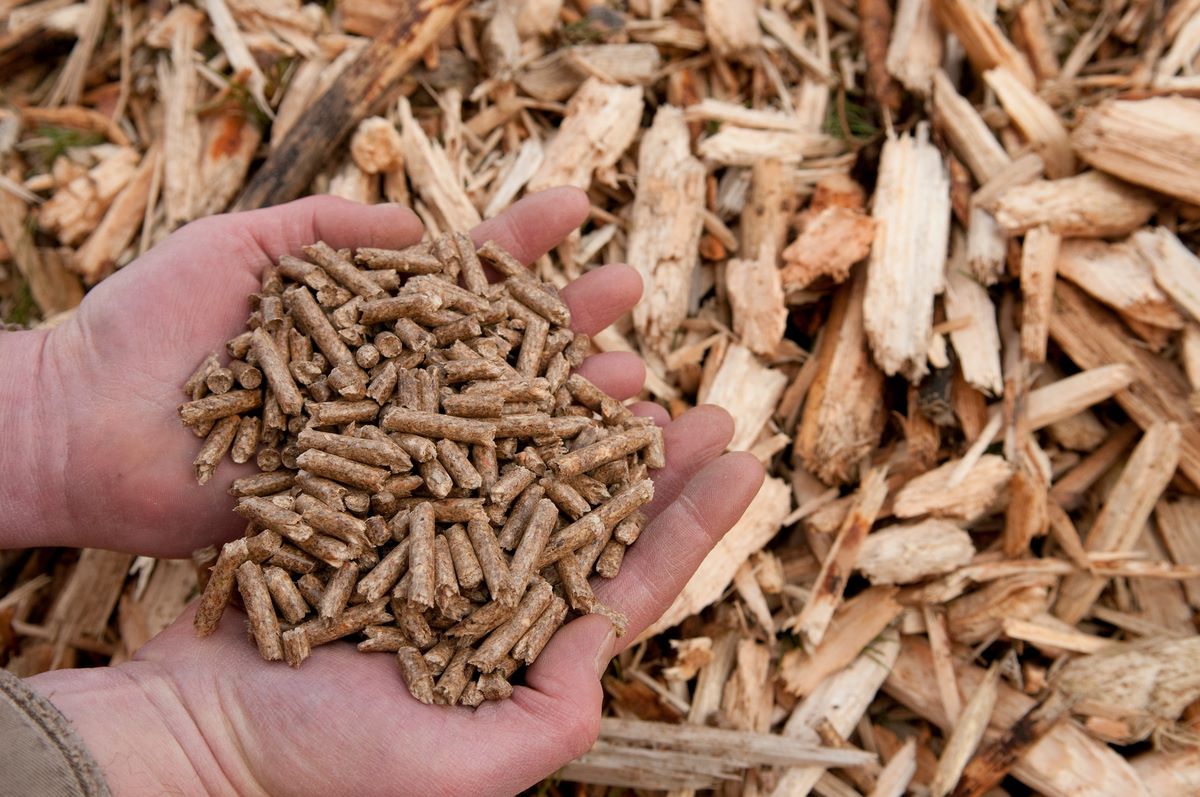
Pellet stoves have been gaining popularity as an alternative heating option due to their efficiency and environmentally friendly nature. Pellet stoves use compressed wood pellets as fuel, which are clean-burning and produce minimal smoke. Ventilation is crucial for these stoves to expel exhaust gases and maintain optimal airflow.
Before proceeding with venting your pellet stove through an existing chimney, it is essential to assess the condition and suitability of your chimney. The existing chimney should be structurally sound and in good condition to ensure proper ventilation. Any existing blockages, such as creosote buildup or debris, should be cleaned out before installation to prevent fire hazards.
In the following steps, we will guide you through the process of venting your pellet stove through an existing chimney, from assessing the chimney’s condition to securing the connection and testing the ventilation system. By the end of this guide, you will have the knowledge and confidence to successfully vent your pellet stove and enjoy its warmth and energy efficiency.
Key Takeaways:
- Venting a pellet stove through an existing chimney involves assessing, cleaning, and securing the connection. Prioritize safety, efficiency, and regular maintenance to enjoy the benefits of a clean-burning and eco-friendly heating option.
- Installing a chimney liner, connecting the pellet stove, and testing the ventilation system are crucial steps in ensuring proper functioning. Follow manufacturer’s instructions, conduct regular inspections, and prioritize safety for a successful and efficient installation.
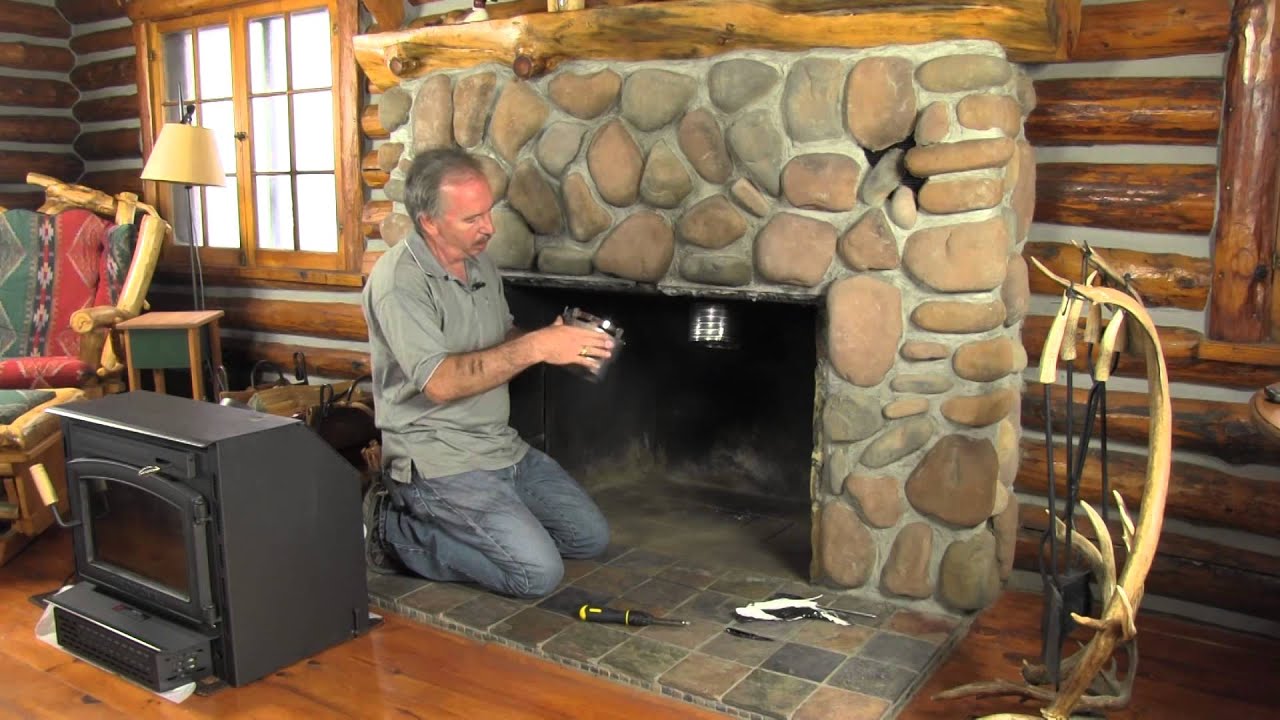
Step 1: Assessing the Existing Chimney
The first step in venting a pellet stove through an existing chimney is to assess the condition of the chimney. This is an important step as it ensures the safety and efficiency of your ventilation system.
Start by visually inspecting the chimney’s exterior. Look for any signs of damage, such as cracks, loose bricks, or deteriorating mortar. These issues can compromise the structural integrity of the chimney and may need to be addressed before venting your pellet stove.
Next, examine the interior of the chimney using a flashlight. Check for any blockages, such as creosote buildup, bird nests, or debris. These blockages can obstruct the airflow and create a fire hazard. If you notice any significant blockages, it is advisable to have your chimney professionally cleaned before proceeding with the installation.
Additionally, consider the size of the existing chimney in relation to the pellet stove’s venting requirements. Pellet stoves typically require a specific diameter for the venting system, and if your chimney does not meet those requirements, modifications may be necessary.
It is also important to determine if the existing chimney is compatible with pellet stove venting. Traditional masonry chimneys are not always suitable for pellet stove venting due to their larger size and lack of insulation. In such cases, you may need to install a stainless steel chimney liner to create a proper venting system for your pellet stove.
Lastly, consider the location of the chimney in relation to the pellet stove. Ideally, the chimney should be located near the stove for easier installation and more efficient operation. However, if this is not feasible, you may need to use additional venting material, such as stovepipe, to connect the stove to the chimney.
By thoroughly assessing the existing chimney, you can identify any potential issues and make the necessary preparations for venting your pellet stove. Addressing these considerations in the initial stages will save you time, effort, and potential complications during the installation process.
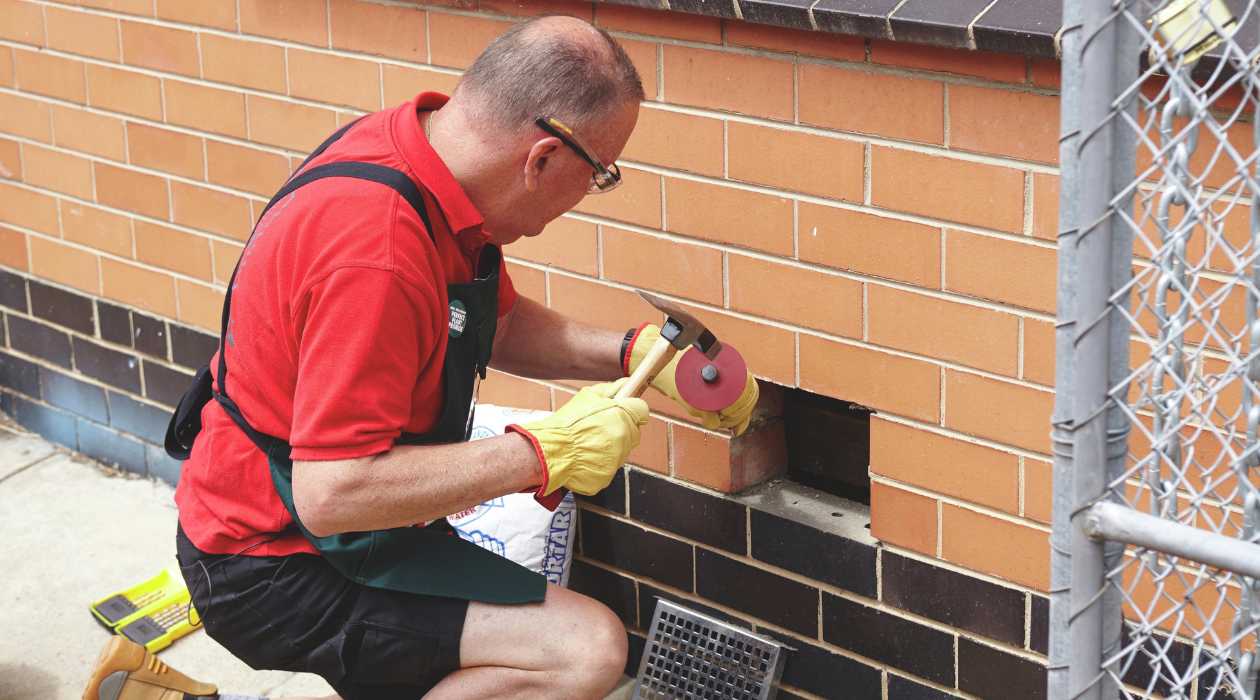
Step 2: Cleaning the Chimney
Once you have assessed the condition of the existing chimney, it’s time to clean it thoroughly. Cleaning the chimney is an important step to ensure proper airflow and prevent any potential fire hazards.
Start by gathering the necessary cleaning tools. You will need a chimney brush with the appropriate size for your chimney, along with extension rods to reach the full length of the chimney. Additionally, have a sturdy ladder and a drop cloth or tarp to protect the surrounding area from falling debris.
Before you begin the cleaning process, make sure the pellet stove is completely shut off and cool to avoid any accidental ignition while cleaning the chimney.
Begin by setting up the ladder near the chimney and securing it in place. Place the drop cloth or tarp on the floor beneath the area where you will be working to catch any debris that may fall.
With the chimney brush attached to the extension rods, carefully insert it into the chimney from the top. Use a back-and-forth motion to scrub the interior walls, making sure to cover the full length of the chimney. It may require multiple passes to thoroughly clean the chimney.
As you clean, be prepared for soot, creosote, and debris to fall down the chimney. This is why it is important to have the drop cloth or tarp in place to catch the mess. If any blockages or excessive amounts of creosote are encountered, it is recommended to contact a professional chimney sweep for assistance.
Once you have finished cleaning the chimney, carefully remove the chimney brush and extension rods from the top. Check the bottom of the chimney for any debris that may have accumulated during the cleaning process and remove it.
Dispose of the collected debris and clean up the surrounding area to ensure a safe and clean environment. Take this opportunity to inspect the chimney again for any additional damage or issues that may require further attention.
By cleaning the chimney thoroughly, you eliminate any obstructions and ensure proper ventilation for your pellet stove. This step is essential for the safe and efficient operation of your heating system.
Step 3: Installing a Chimney Liner
If your existing chimney is not suitable for venting a pellet stove, or if you want to ensure optimal performance, installing a chimney liner is a necessary step. A chimney liner provides a properly sized and insulated pathway for the exhaust gases to escape, improving efficiency and reducing the risk of chimney damage.
Before you begin the installation, make sure you have the necessary tools and materials. You will need a stainless steel chimney liner kit, which typically includes the liner, connector pipe, and necessary fittings. Additionally, have a measuring tape, tin snips, and high-temperature silicone sealant on hand.
Start by measuring the length of the chimney to determine the appropriate size of the liner. It should extend from the top of the chimney to the connection point at the pellet stove. Cut the liner to the correct length using tin snips and ensure a snug fit.
Carefully position the liner inside the chimney, starting from the top. Gently guide it down the chimney, making sure it stays centered and straight. If necessary, have someone assist you to ensure a smooth and controlled installation.
Once the liner is in place, attach the connector pipe to the bottom end of the liner. This pipe will connect the liner to the pellet stove. Use high-temperature silicone sealant to create a secure and airtight connection. Follow the manufacturer’s instructions for applying the sealant and allow it to cure properly.
Next, secure the liner in place using chimney liner clamps or brackets. These clamps or brackets will keep the liner stable and prevent it from shifting or sagging. Place them at suitable intervals along the length of the liner, following the manufacturer’s recommendations.
Finally, inspect the liner installation to ensure it is secure and properly aligned. Check for any gaps, leaks, or loose connections. Make any necessary adjustments or repairs before proceeding with connecting the pellet stove.
Installing a chimney liner is a crucial step in venting a pellet stove through an existing chimney. It provides a dedicated pathway for the exhaust gases, optimizing the efficiency and safety of your heating system. By following the manufacturer’s instructions and taking care during the installation process, you can ensure a successful and reliable chimney liner installation.
Make sure to clean and inspect the existing chimney before venting the pellet stove to ensure it is clear of any obstructions or damage. This will help prevent any potential safety hazards.
Step 4: Connecting the Pellet Stove to the Chimney Liner
With the chimney liner installed, it’s time to connect the pellet stove to the liner. This step ensures a proper and secure connection between the stove and the ventilation system.
Begin by positioning the pellet stove near the desired location of the connection point. It is important to follow the manufacturer’s instructions for the proper distance between the stove and the chimney. This distance ensures optimal airflow and efficiency.
Next, locate the vent opening on the back of the pellet stove. Measure the diameter of the vent opening to ensure that it matches the diameter of the connector pipe on the chimney liner. If the sizes do not match, you may need to use an adapter or transition piece to create a proper connection.
Once you have confirmed the compatibility of the vent opening and the connector pipe, carefully insert the connector pipe into the vent opening of the stove. Make sure it fits securely and is aligned correctly.
Using high-temperature silicone sealant, create an airtight seal around the connection between the vent opening and the connector pipe. This will prevent any exhaust gases from leaking into the surrounding area and ensure proper ventilation.
After applying the sealant, secure the connection with clamps or screws as specified by the manufacturer. These fasteners will keep the vent pipe in place and prevent it from disconnecting during operation.
Once the connection is secured, make sure there are no kinks or sharp bends in the vent pipe. The path should be as straight and direct as possible to facilitate proper airflow.
Now, check the entire ventilation system, from the pellet stove to the chimney liner, for any visible gaps or loose connections. Ensure that all joints are tightened and sealed properly.
It is recommended to refer to the manufacturer’s instructions for any additional steps or specific requirements for connecting the pellet stove to the chimney liner. Each stove model may have slight variations in the installation process.
By properly connecting the pellet stove to the chimney liner, you ensure a safe and efficient venting system for your heating setup. Take your time to ensure a secure and airtight connection, and double-check all components for any signs of damage or disconnection.
Read more: How Often To Clean Pellet Stove Chimney
Step 5: Securing the Connection
After connecting the pellet stove to the chimney liner, it is crucial to secure the connection to ensure the stability and efficiency of the ventilation system. This step will provide added peace of mind and prevent any potential issues down the line.
Start by examining the connection between the pellet stove and the connector pipe. Ensure that it is tightly secured and that there are no signs of movement or looseness. If necessary, use clamps or screws to reinforce the connection, following the manufacturer’s guidelines.
Next, inspect the connection between the connector pipe and the chimney liner. This junction should also be secure and free from any gaps or leaks. If you notice any issues, apply high-temperature silicone sealant to create a tight seal and prevent any air leakage.
In some cases, additional support may be needed to stabilize the connection. This can be achieved by installing support brackets or straps along the length of the connector pipe. These brackets will hold the pipe in place and prevent it from shifting or sagging over time.
Furthermore, ensure that the entire ventilation system is properly supported and aligned. Check for any signs of stress or strain on the connections or components. If needed, use additional brackets or supports to distribute the weight and provide added stability.
It is crucial to follow the manufacturer’s instructions and guidelines for securing the connection. Each pellet stove model and chimney liner may have specific requirements regarding support and stability.
Once you have secured the connection, give it a gentle tug to ensure that it is firmly in place. Avoid excessive force that could damage the components, but make sure there is no movement or disconnection.
Regularly inspect the connection and the entire ventilation system for any signs of wear, damage, or looseness. It is important to address any issues promptly to maintain the safety and efficiency of the pellet stove venting system.
By securely fastening and stabilizing the connection between the pellet stove and the chimney liner, you minimize the risk of malfunction or disconnection. Implement proper support measures and conduct regular inspections to ensure the continued performance of your venting system.
Step 6: Testing and Finalizing the Ventilation System
Once you have completed the installation and secured the connection, it is time to test the ventilation system to ensure its proper functioning. This final step is crucial for identifying any potential issues and making adjustments if necessary.
Start by lighting the pellet stove and allowing it to run for a sufficient period. This will allow the system to heat up and start producing exhaust gases. Observe the ventilation system for any signs of smoke leakage or unusual odors.
Check all the joints, connections, and seals for any signs of smoke escaping. It is essential to have a completely airtight system to ensure that all the exhaust gases are effectively removed from your home.
If you notice any smoke leakage, carefully inspect the affected area and determine the cause. Common issues can include loose connections, gaps in the seals, or improper installation. Address these issues promptly to rectify any problems and prevent potential hazards.
Additionally, monitor the performance of the pellet stove and the ventilation system over a period of time. Pay attention to factors such as heat output, fuel consumption, and the overall efficiency of the system. If you notice any significant fluctuations or discrepancies, it may indicate a problem that needs to be addressed.
Throughout the testing process, ensure that smoke detectors and carbon monoxide detectors are in place and functioning properly. These safety devices are critical for early detection and can help prevent any potential hazards associated with the pellet stove ventilation system.
If everything is working as expected and there are no signs of smoke leakage or performance issues, you can consider the ventilation system finalized and ready for regular use.
However, it is important to conduct regular maintenance and inspections of the ventilation system to ensure its ongoing effectiveness. This includes cleaning and inspecting the chimney, chimney liner, and the pellet stove itself according to the manufacturer’s recommendations.
Keep a record of maintenance activities and inspections to help you stay organized and ensure that you are regularly maintaining the ventilation system properly.
By thoroughly testing and finalizing the ventilation system, you can have confidence in the safe and efficient operation of your pellet stove. Regular maintenance and inspections will help to maintain the system’s performance and extend its lifespan.
Conclusion
Venting a pellet stove through an existing chimney can be a practical solution for homeowners looking to maximize the efficiency and cost-effectiveness of their heating system. By following the step-by-step process outlined in this guide, you can successfully vent a pellet stove through your existing chimney and enjoy the benefits of a clean-burning and environmentally friendly heating option.
Throughout the installation process, it is essential to prioritize safety and efficiency. Assessing the condition of your existing chimney, cleaning it thoroughly, and installing a chimney liner (if required) are crucial steps to ensure the proper functioning of the ventilation system.
Connecting the pellet stove to the chimney liner and securing the connection provide stability and prevent any potential risks associated with loose or faulty connections. Testing the ventilation system is the final step in ensuring its proper functioning and identifying any issues that need to be addressed.
Remember to adhere to the manufacturer’s instructions and guidelines throughout the entire process. Each pellet stove model and chimney liner may have specific requirements and recommendations that should be followed for optimal performance.
Regular maintenance and inspections are key to maintaining the longevity and efficiency of the pellet stove ventilation system. Clean the chimney, chimney liner, and pellet stove regularly, and ensure that all seals and connections are maintained properly.
By venting a pellet stove through an existing chimney, you not only benefit from the warmth and comfort provided by the stove but also contribute to a cleaner and more sustainable environment. Pellet stoves use renewable biomass fuel and produce minimal emissions, making them an eco-friendly heating option.
Remember, if you are unsure about any step of the venting process or encounter any challenges, it is always advisable to seek professional assistance. A certified technician or chimney sweep can ensure that the installation is completed safely and efficiently.
We hope that this comprehensive guide has provided valuable insights and guidance on how to vent a pellet stove through an existing chimney. Enjoy the warmth and efficiency of your pellet stove, and stay cozy throughout the colder months!
Once you've mastered venting a pellet stove through your existing chimney, taking the next step towards ensuring overall safety is crucial. Dive into our detailed guide on assessing chimney integrity and safety standards. This resource is perfect for homeowners seeking to maintain their chimneys in top condition, ensuring that every fire lit is both warm and worry-free.
Frequently Asked Questions about How To Vent A Pellet Stove Through An Existing Chimney
Was this page helpful?
At Storables.com, we guarantee accurate and reliable information. Our content, validated by Expert Board Contributors, is crafted following stringent Editorial Policies. We're committed to providing you with well-researched, expert-backed insights for all your informational needs.

0 thoughts on “How To Vent A Pellet Stove Through An Existing Chimney”