Home>Home Maintenance>How To Install A Dryer Vent Through Vinyl Siding
Home Maintenance
How To Install A Dryer Vent Through Vinyl Siding
Modified: August 28, 2024
Learn how to install a dryer vent through vinyl siding with this step-by-step guide. Ensure proper home maintenance and keep your laundry room properly ventilated.
(Many of the links in this article redirect to a specific reviewed product. Your purchase of these products through affiliate links helps to generate commission for Storables.com, at no extra cost. Learn more)
Introduction
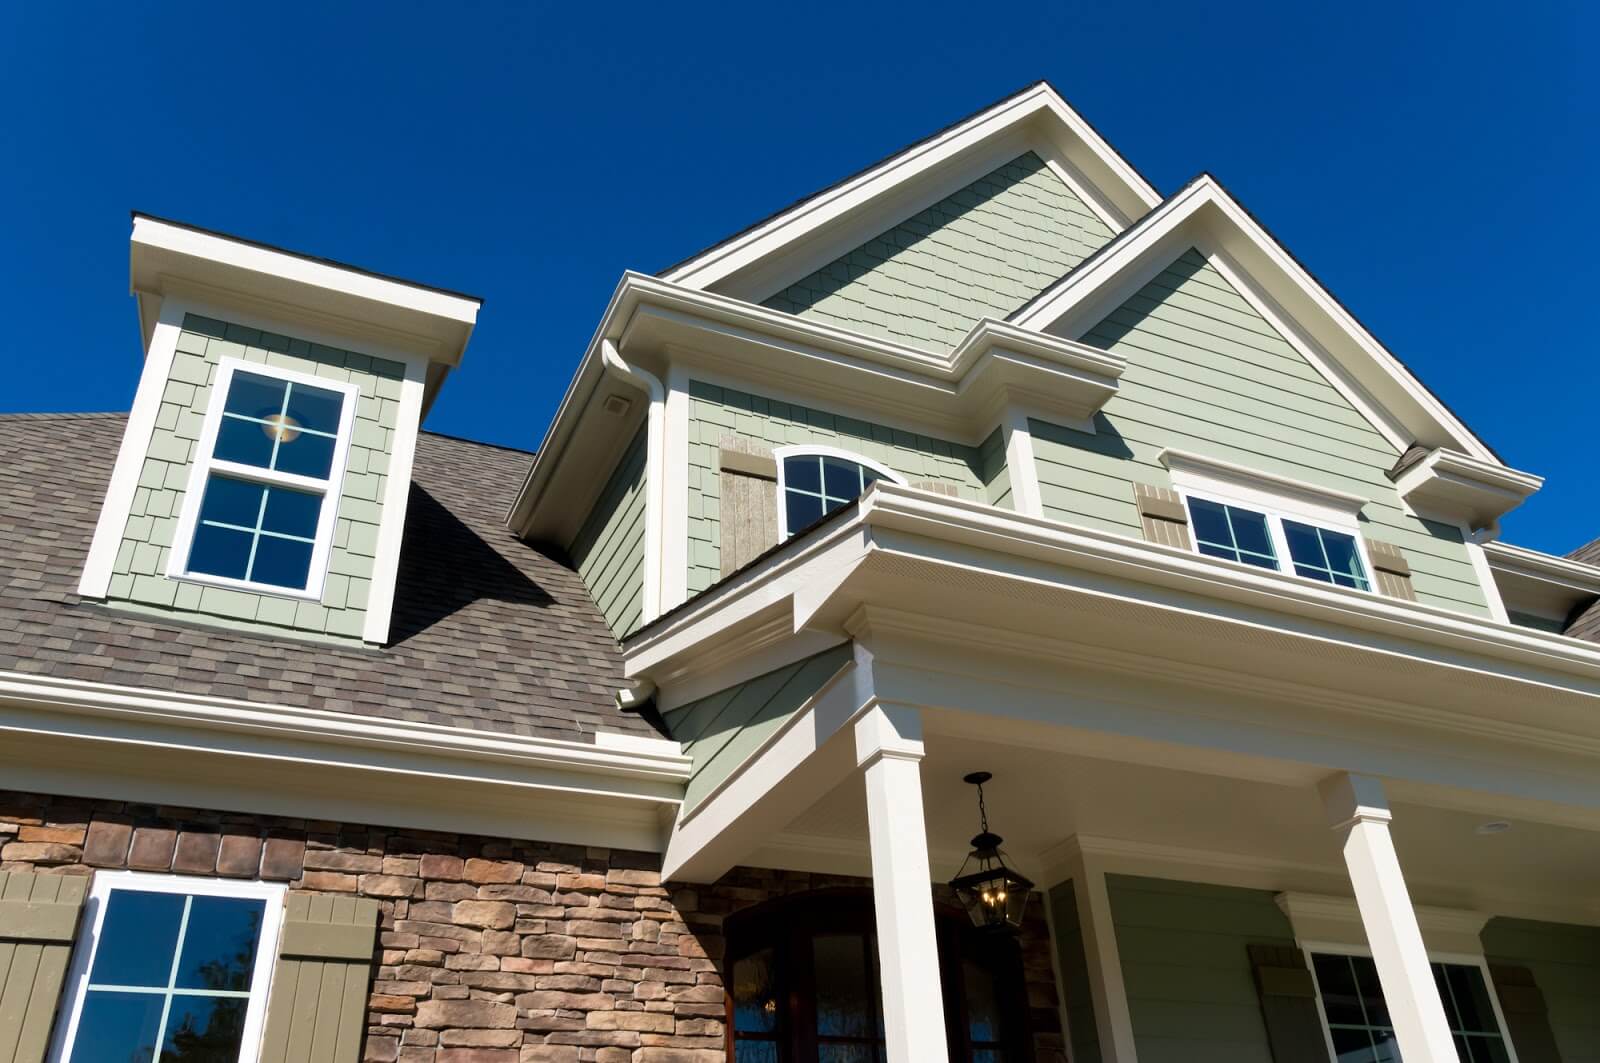
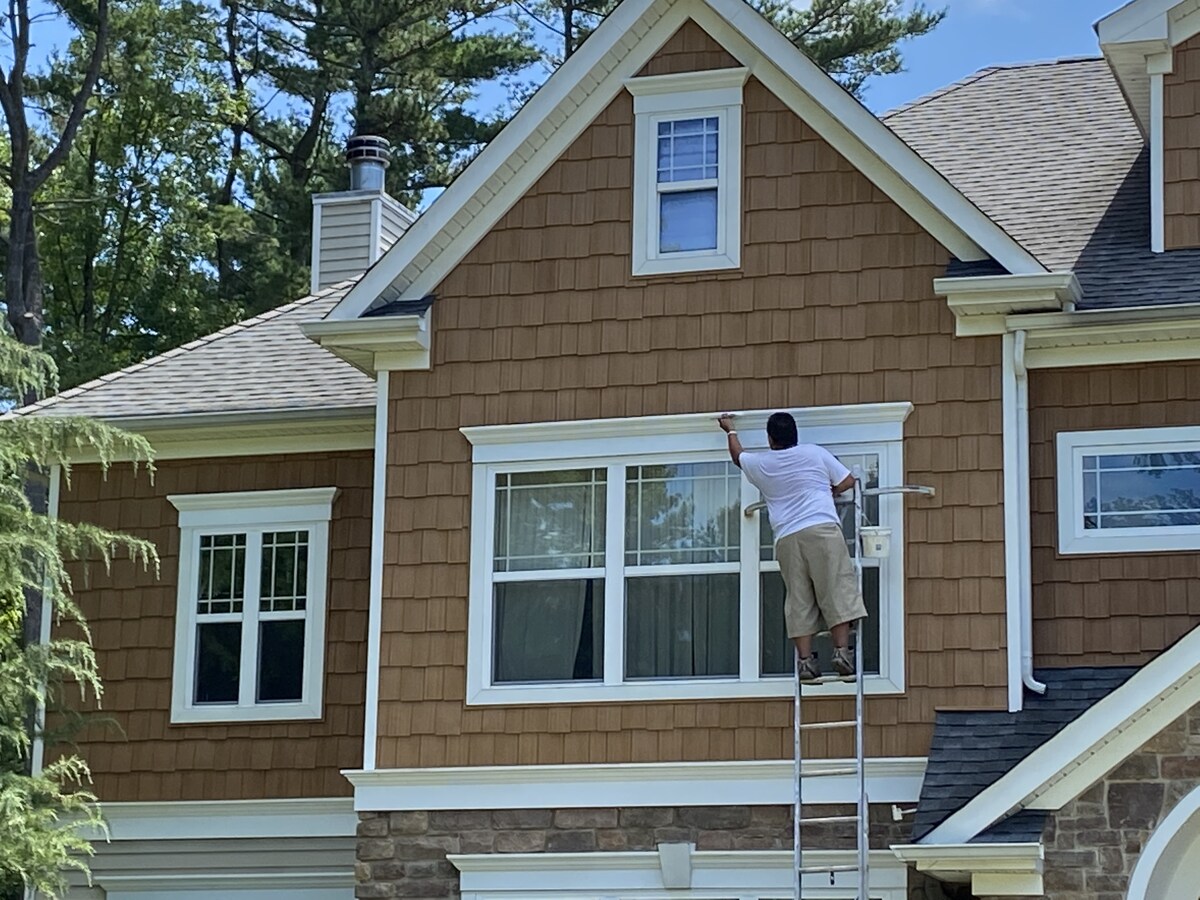
Welcome to the world of home maintenance! One important aspect of keeping your home running efficiently is ensuring proper ventilation, especially when it comes to your laundry room. Proper installation of a dryer vent is essential in preventing issues such as lint buildup and potential fire hazards. In this guide, we will walk you through the steps of installing a dryer vent through vinyl siding, providing you with the knowledge and confidence to tackle this project on your own.
Before we begin, it is important to note that safety should always be your top priority. If you are uncomfortable working with power tools or climbing ladders, it is recommended to hire a professional to complete the installation for you.
With that said, if you are ready to roll up your sleeves and take on this project, let’s dive in and get started!
Key Takeaways:
- Properly installing a dryer vent through vinyl siding is crucial for a safe and efficient laundry room. It involves planning, precise cutting, and secure connections to ensure optimal ventilation for your dryer.
- Testing the installation by running a test load in the dryer and checking for proper airflow from the vent hood is essential. It ensures that your dryer is functioning optimally and the vent is effectively removing hot air and moisture.
Read more: How To Install A Dryer Vent Through Brick
Step 1: Gather Supplies
Before you begin the installation process, it’s important to gather all the necessary supplies and tools. Here is a list of materials and tools you will need:
Materials Needed:
- Dryer vent kit: This typically includes a vent hood, duct, clamps, and other necessary components.
- Screws or nails: To attach the vent hood to the siding.
- Butyl tape: This waterproof tape will create a seal between the vent hood and the siding.
- Silicone caulk: You’ll need this to further seal any gaps or joints.
- Aluminum foil duct tape: This tape is heat resistant and will help secure the ductwork.
- Ladder: A sturdy ladder will be needed to reach the exterior wall where the vent will be installed.
Tools Needed:
- Tape measure: To accurately measure and mark the location for the vent hole.
- Pencil or marker: To mark the spot where the vent hole will be cut.
- Hole saw: This will be used to cut the hole in the vinyl siding.
- Power drill: To operate the hole saw.
- Screwdriver: To attach the vent hood to the siding.
- Tin snips: In case any ductwork needs to be trimmed or adjusted.
- Level: To ensure the vent hood is properly aligned.
Once you have gathered all the necessary supplies and tools, you are ready to move on to the next step: planning the location for the dryer vent.
Step 2: Plan the Location
Now that you have all the supplies and tools ready, it’s time to plan the location for your dryer vent. Choosing a suitable location and considering ventilation requirements are crucial for the proper functioning of your dryer. Here’s what you need to do:
Read more: How To Install A Dryer Vent Through The Roof
Choose a Suitable Location:
Firstly, assess your laundry room’s layout and select the most convenient location for the dryer vent. Ideally, it should be positioned near an exterior wall to minimize the distance and turns required for the ductwork. Additionally, ensure there are no obstacles such as windows, doors, or utility lines in the chosen location. This will help in avoiding any obstructions during the installation process.
Consider Ventilation Requirements:
It’s important to consider proper ventilation for your dryer to operate efficiently and reduce the risk of lint buildup or potential fire hazards. Check the manufacturer’s guidelines for your specific dryer model to determine the recommended venting requirements. This may include the type of duct material, maximum length of the duct, and any specifications regarding bends or turns.
Additionally, it’s crucial to check your local building codes regarding dryer vent installation. Some areas may have specific regulations that dictate the distance between the vent termination point and openings such as windows or doors.
By taking the time to choose a suitable location and considering ventilation requirements, you will ensure optimal performance and reduce the chances of any issues down the line. Once you have finalized the location, you can proceed to the next step: marking the hole on the vinyl siding.
Step 3: Mark the Hole
With the location for your dryer vent chosen, it’s time to mark the hole on the vinyl siding. Properly marking the hole will ensure accurate placement and a clean installation. Follow these steps to mark the hole:
1. Measure the Diameter: Start by measuring the diameter of the vent hood or the duct. Use this measurement to determine the size of the hole you need to cut in the vinyl siding. Make sure to account for any additional clearance required according to the manufacturer’s recommendations.
2. Mark the Center Point: Locate the center point for the hole and mark it with a pencil or marker. If your dryer vent kit includes a template, you can use it to trace the outline of the hole onto the siding. Otherwise, use a level to ensure the mark is straight and aligned with any existing features on the wall, such as windows or doors.
3. Check for Obstructions: Before proceeding, double-check for any obstructions behind the marked area, such as wiring, pipes, or insulation. Ensure that cutting the hole will not cause any damage to these elements.
4. Protective Measures: To prevent damage to the vinyl siding, you can place a piece of plywood behind the marked area. This will provide support when cutting the hole and prevent any accidental punctures or cracks in the wall.
5. Cut the Hole: Once you have confirmed the size and placed protective measures, you can proceed to cut the hole in the vinyl siding. Use a hole saw of the appropriate diameter to make a clean and precise cut. Be cautious and follow the manufacturer’s instructions for operating the hole saw, ensuring your safety throughout the process.
By carefully measuring and marking the hole, you will create a well-placed opening for the dryer vent. This brings us to the next step: cutting the hole through the vinyl siding.
Step 4: Cut the Hole
Now that you have successfully marked the location for the hole on the vinyl siding, it’s time to cut the hole. By following these steps, you will be able to create an opening that is perfectly sized for the dryer vent:
1. Prepare the Hole Saw: Ensure that you have the appropriate hole saw size for your dryer vent. Attach the hole saw to the power drill, making sure it is securely fastened. Take a moment to review the manufacturer’s instructions for operating the hole saw.
2. Position the Hole Saw: Position the hole saw on the marked center point of the vinyl siding. Hold the drill firmly and align the pilot bit of the hole saw with the marked spot. Check for any additional markings or guidelines on the hole saw itself to ensure proper alignment.
3. Start Cutting: Apply gentle pressure to the drill and slowly begin to cut through the vinyl siding. Start at a low speed, allowing the hole saw to create a clean and precise cut. Keep a steady hand and maintain control of the drill as you continue to cut through the siding.
4. Complete the Cut: As you progress, maintain a consistent speed to ensure an even and uniform cut. Be patient and avoid rushing through the process. Gradually increase the speed if necessary, following the guidelines provided by the manufacturer. Continue cutting until you have completely pierced through the vinyl siding, creating a neat and well-defined hole.
5. Inspect the Hole: Once the cut is complete, carefully inspect the hole to ensure it is free from any burrs or rough edges. Use a utility knife or sandpaper to smooth out any imperfections, ensuring a clean finish.
By using a hole saw and following these steps, you will be able to cut a precise hole through the vinyl siding for your dryer vent. Now that the hole is successfully made, it’s time to move on to the next step: installing the vent hood on the exterior wall.
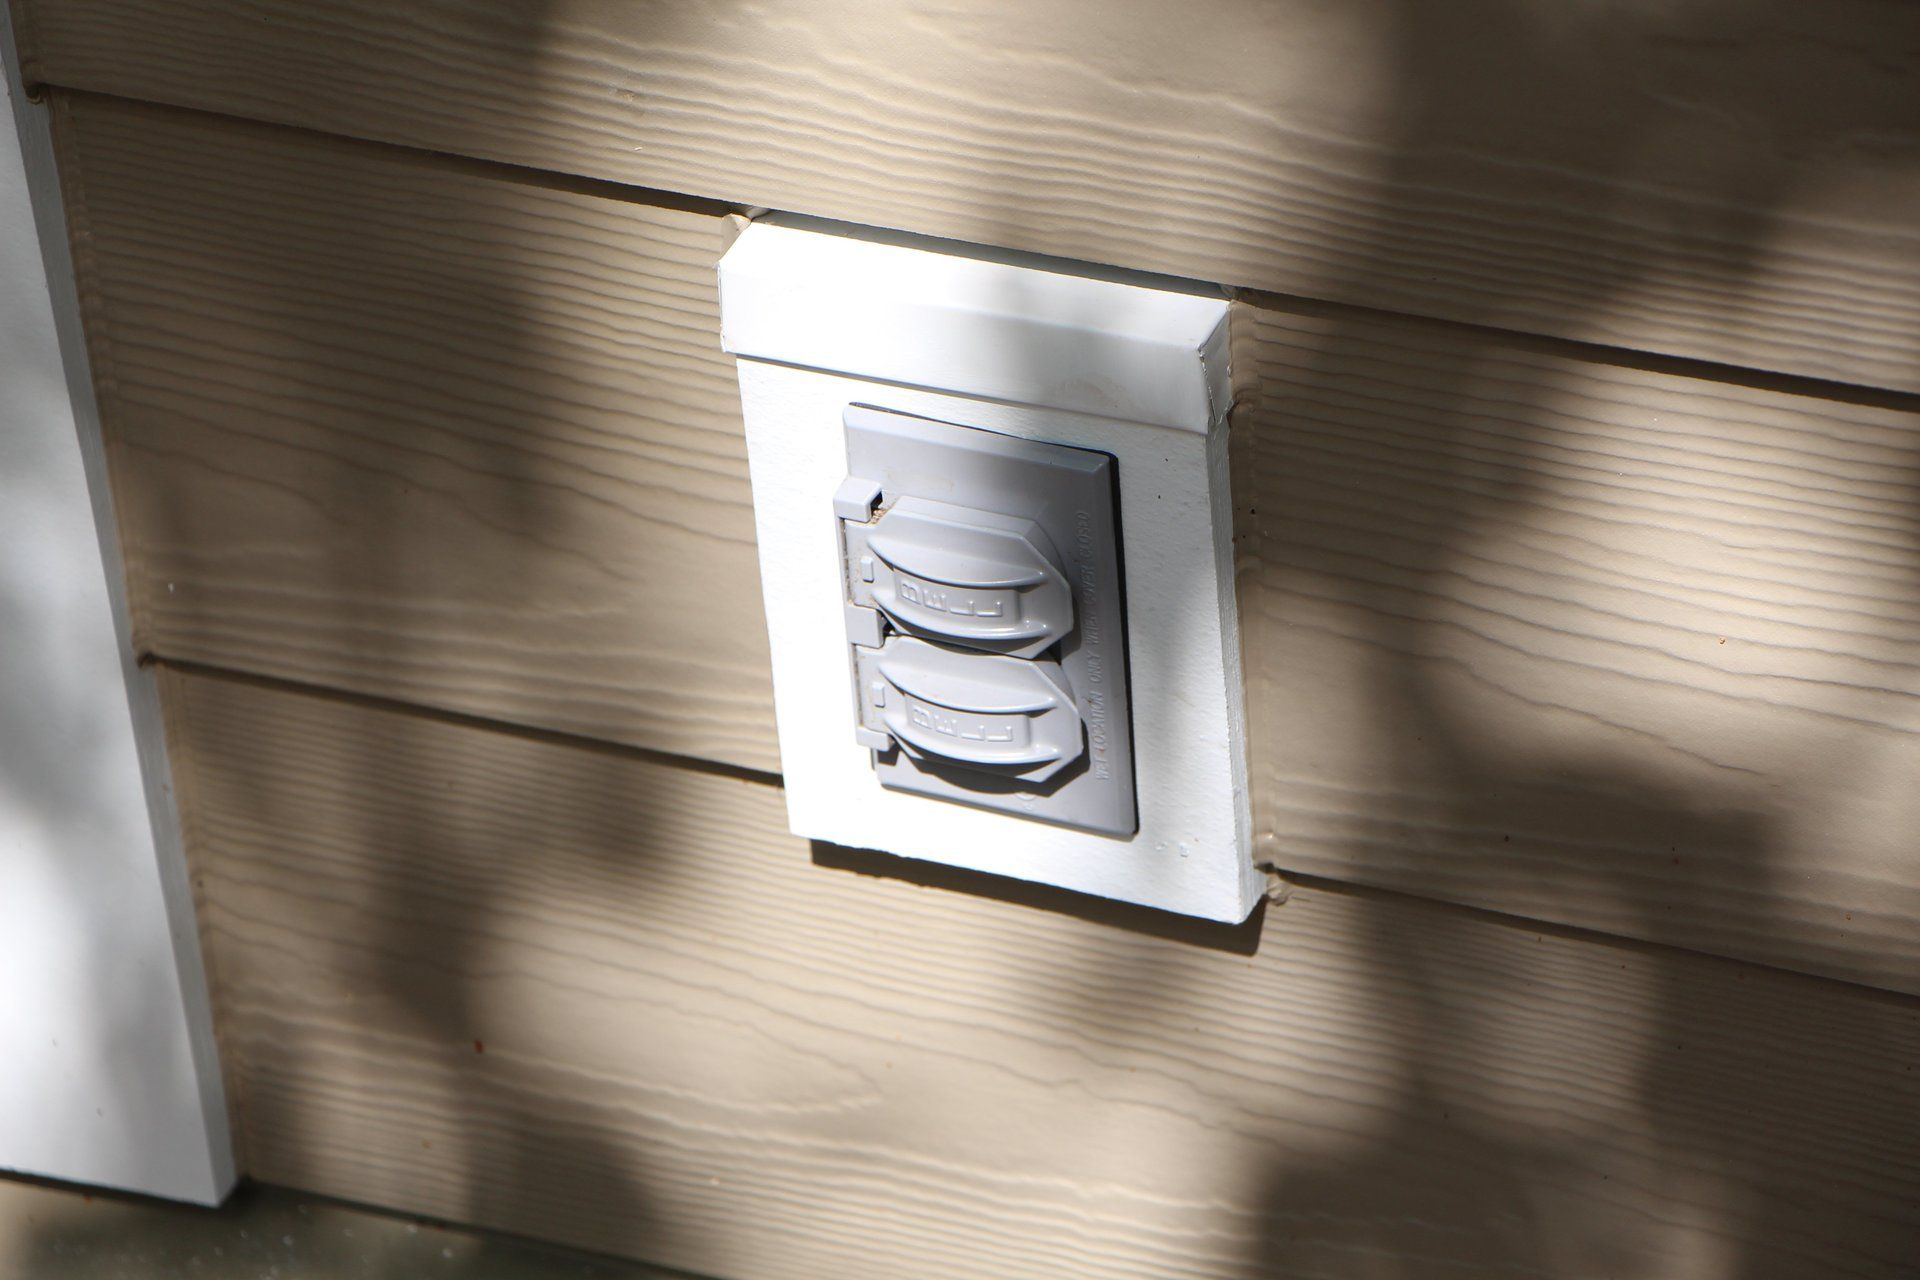
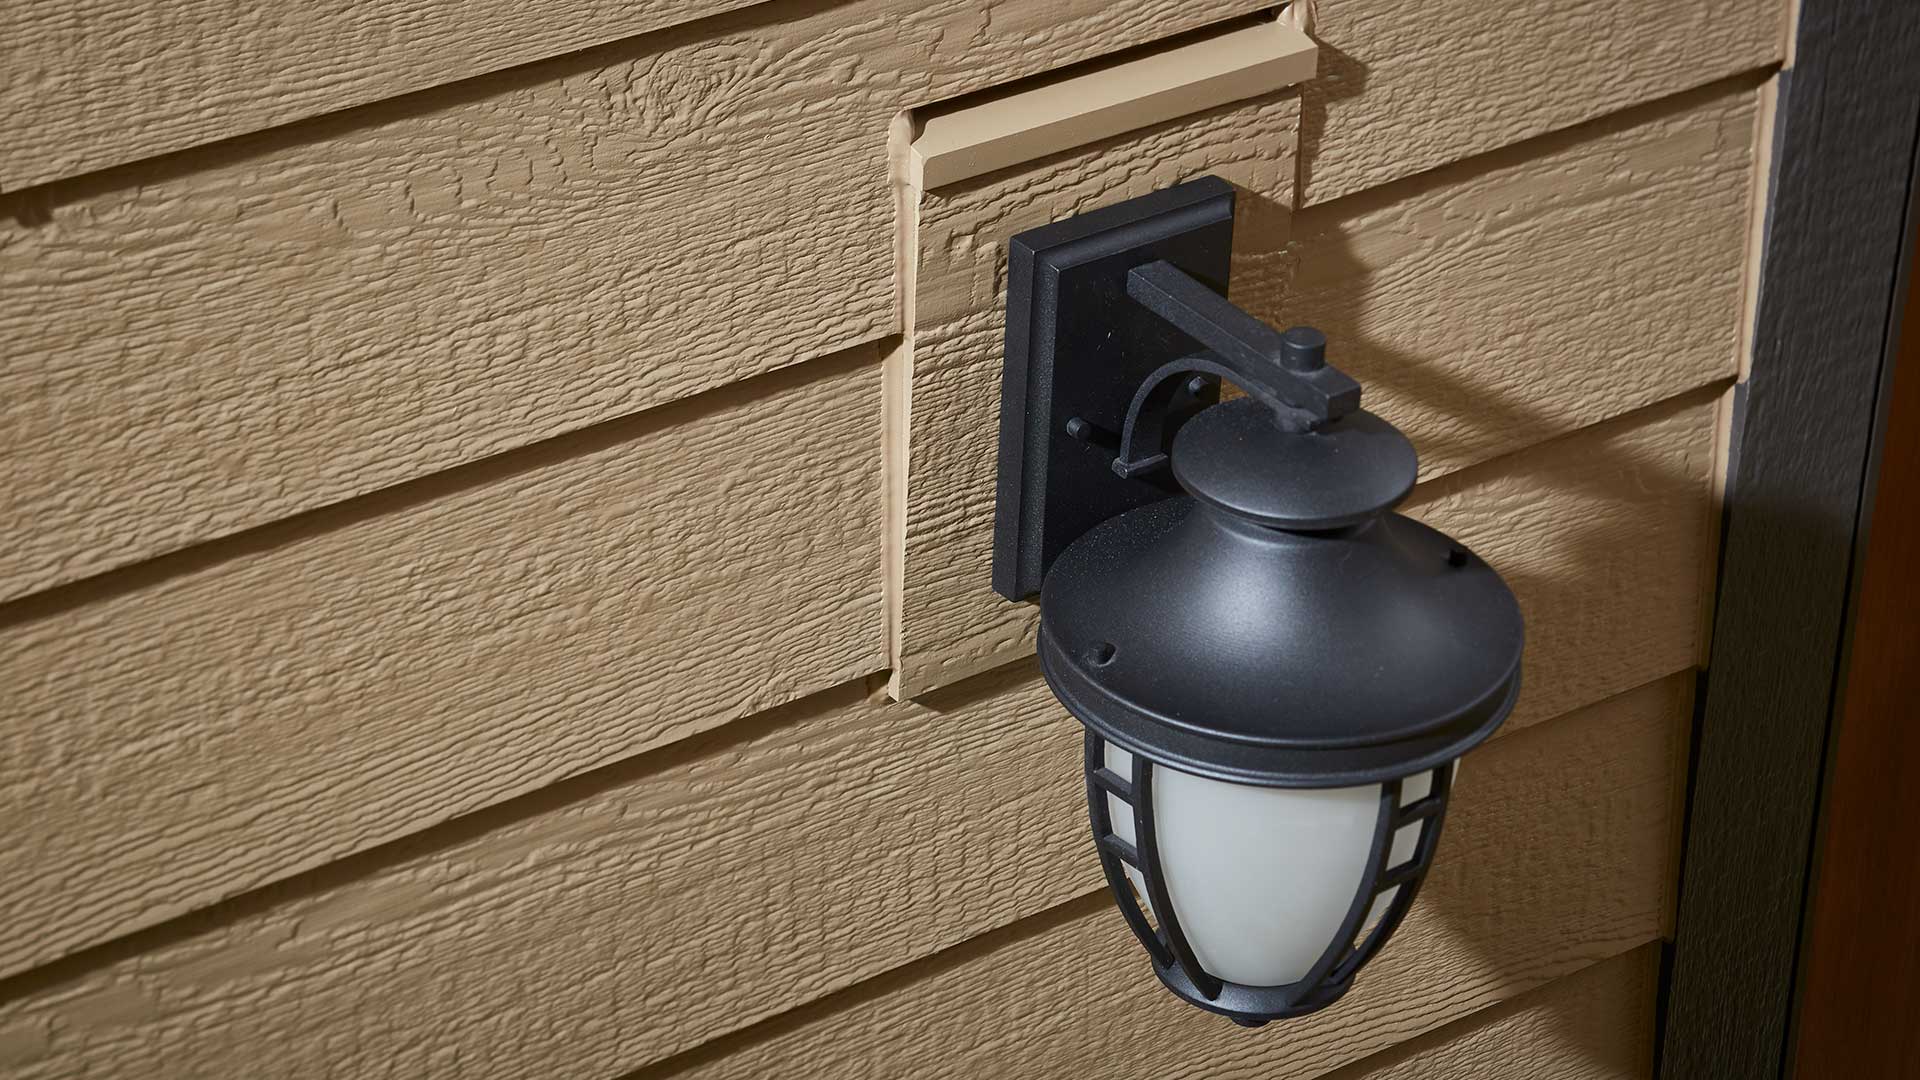
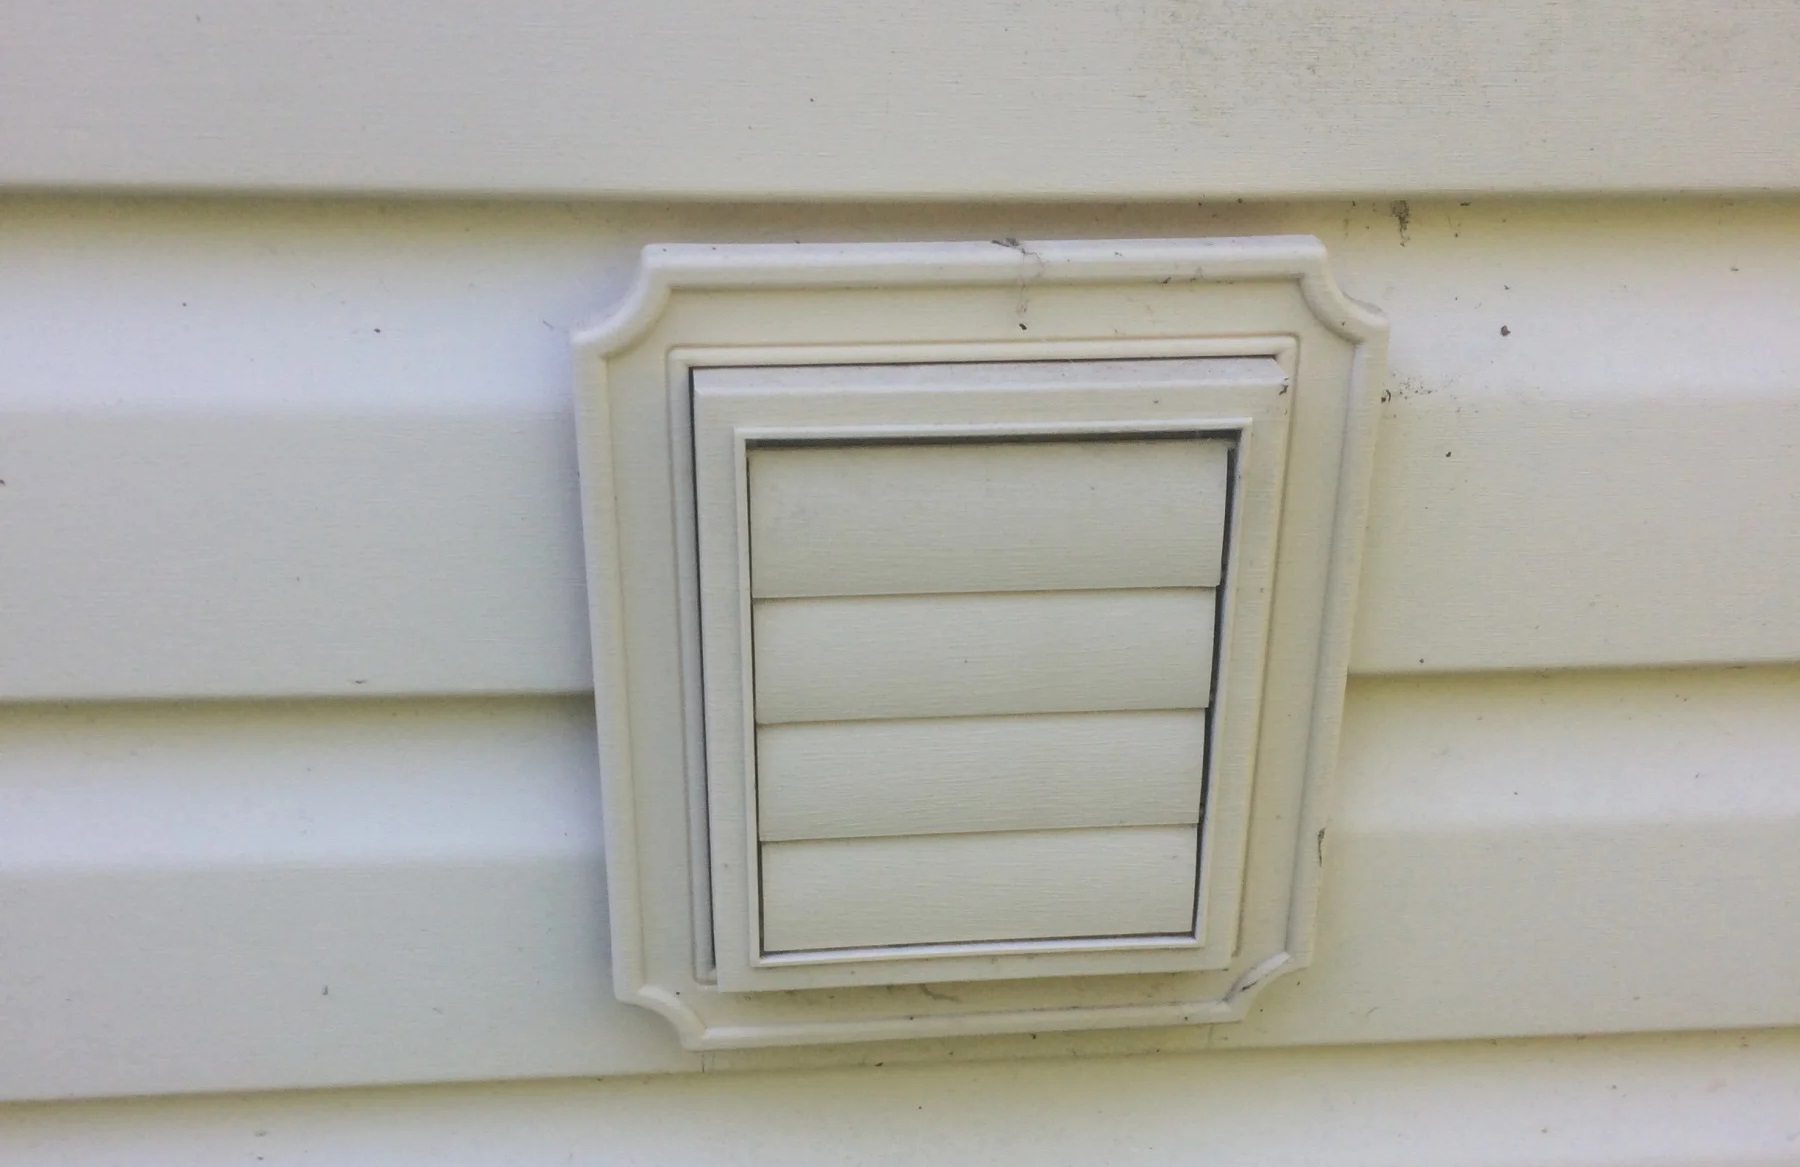
Step 5: Install the Vent Hood
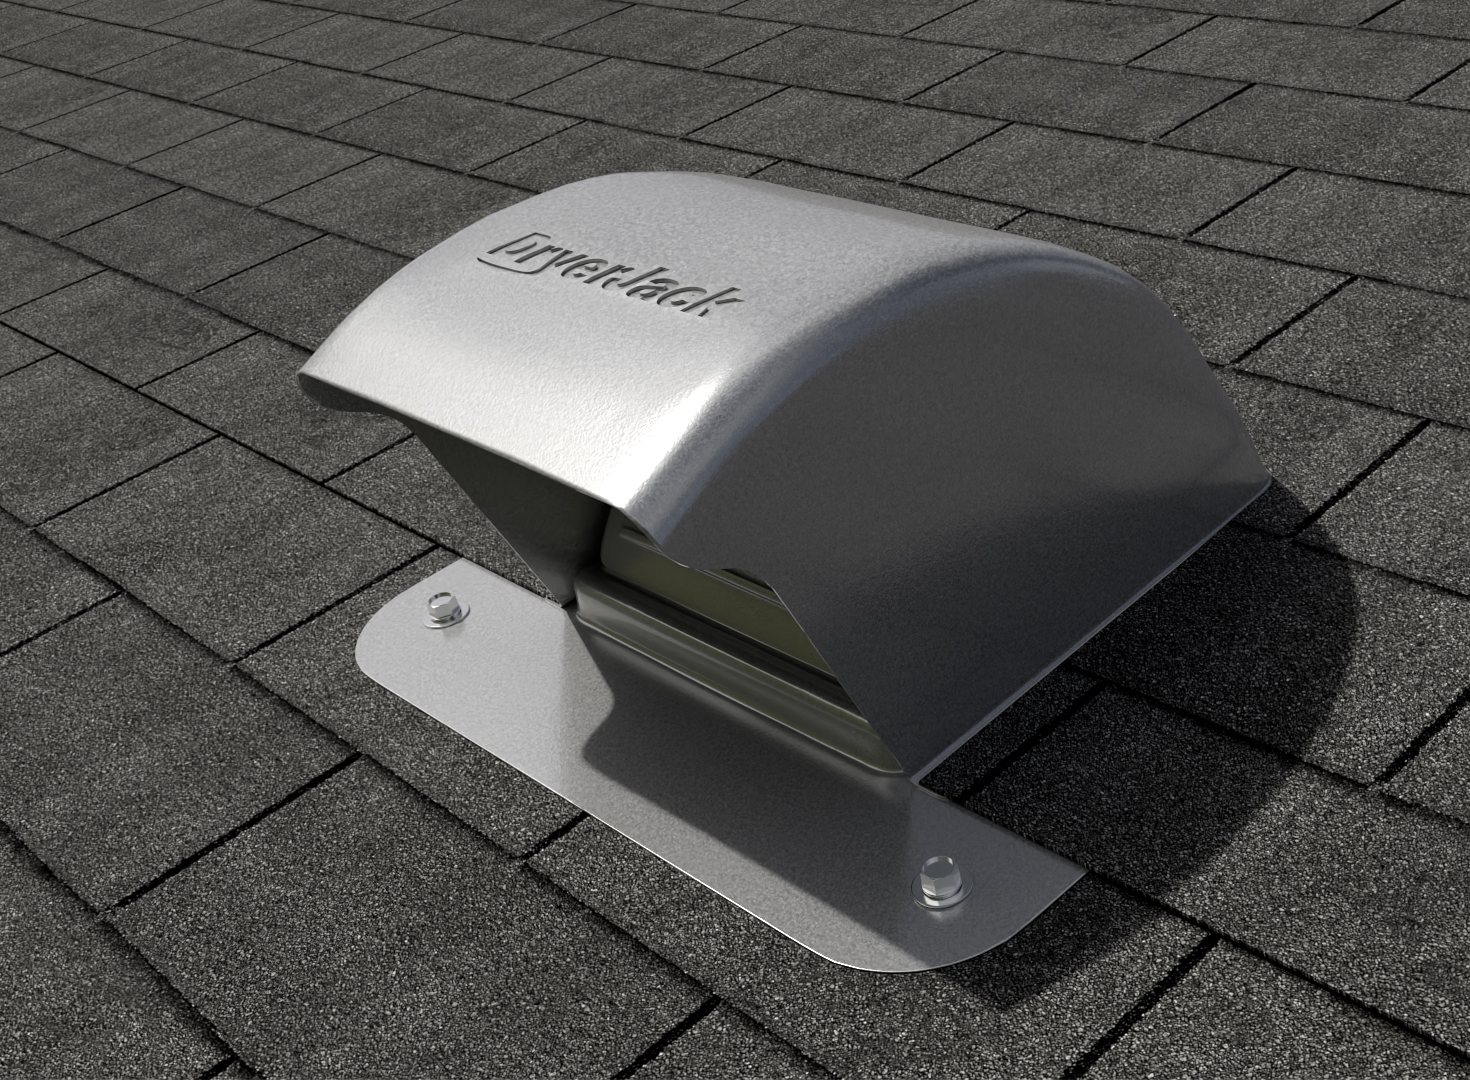
With the hole cut through the vinyl siding, it’s time to install the vent hood on the exterior wall. The vent hood acts as the point of termination for the dryer vent, allowing the hot air and moisture to escape while preventing pests and debris from entering. Follow these steps to properly attach the vent hood:
1. Position the Vent Hood: Take the vent hood and align it with the hole on the exterior wall. Ensure that it is centered and level, using a level to verify alignment. Double-check that the vent hood is positioned correctly before proceeding.
2. Mark the Screw Holes: Use a pencil or marker to mark the screw holes on the siding through the pre-drilled holes on the vent hood. Ensure that you have a clear and visible marking for each screw hole.
3. Pre-drill Screw Holes: With the marked screw holes in place, use an appropriately sized drill bit to pre-drill pilot holes on the marked spots. This will make it easier to attach the vent hood securely to the wall.
4. Attach the Vent Hood: Position the vent hood back over the hole and align the pre-drilled screw holes with the pilot holes on the siding. Using screws suitable for the exterior wall material, such as wood or masonry screws, secure the vent hood in place by driving the screws through the vent hood and into the pre-drilled holes. Ensure that the vent hood is tightly fastened to the wall.
5. Seal Around the Vent Hood: To provide additional protection against water infiltration, apply a bead of silicone caulk around the edges of the vent hood where it meets the vinyl siding. This will create a watertight seal and prevent any moisture from seeping into the wall.
By following these steps, you will successfully install the vent hood, securing it to the exterior wall. With the vent hood in place, it’s time to move on to the next step: connecting the ductwork to the vent hood.
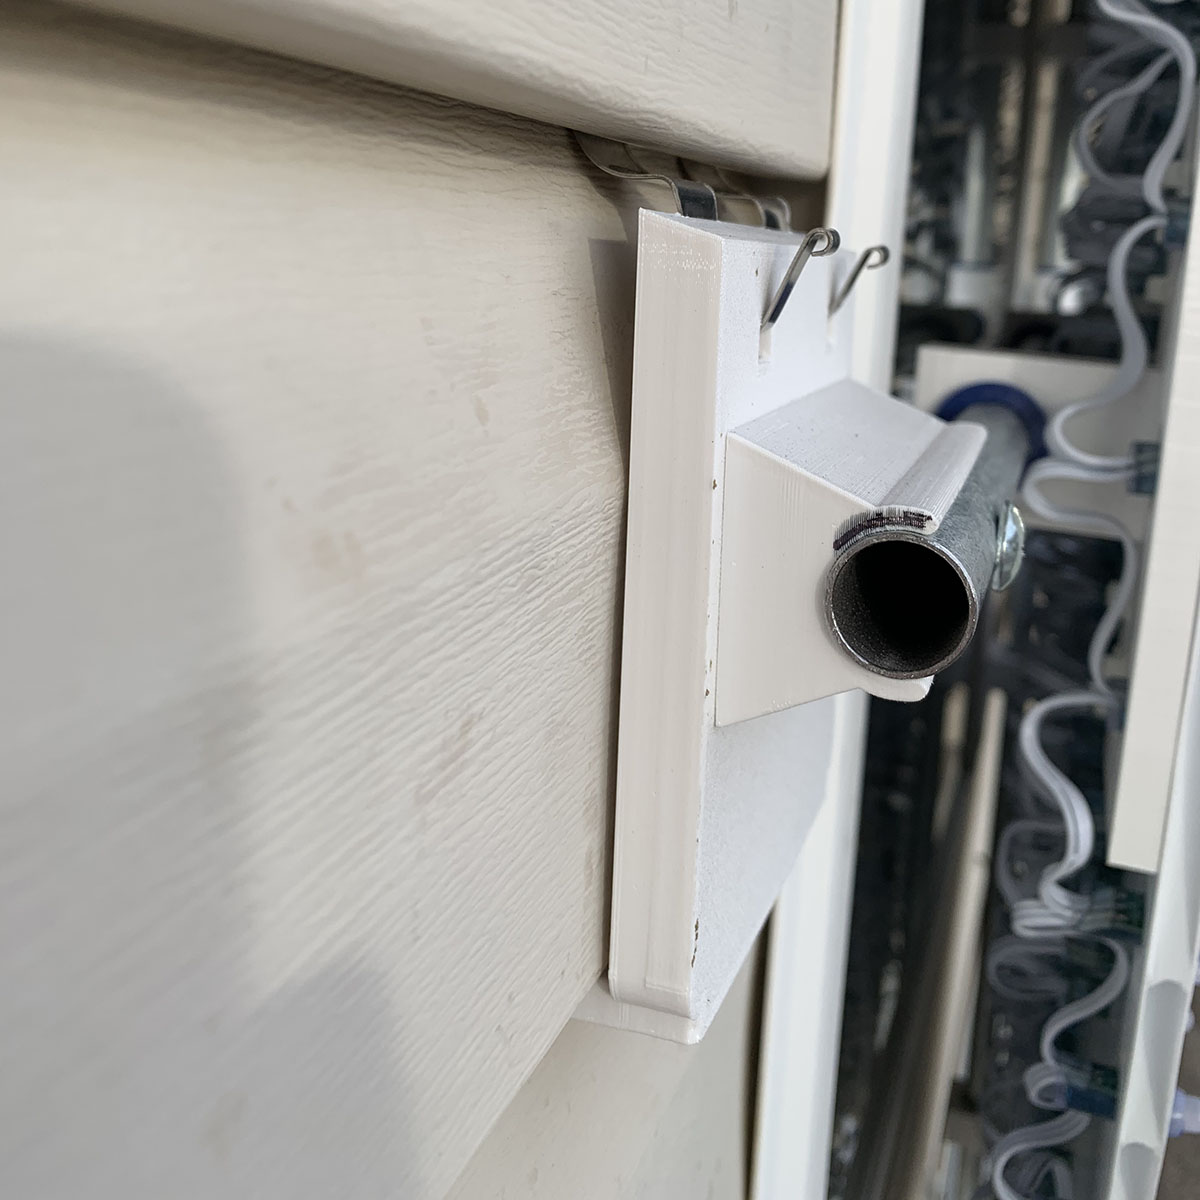
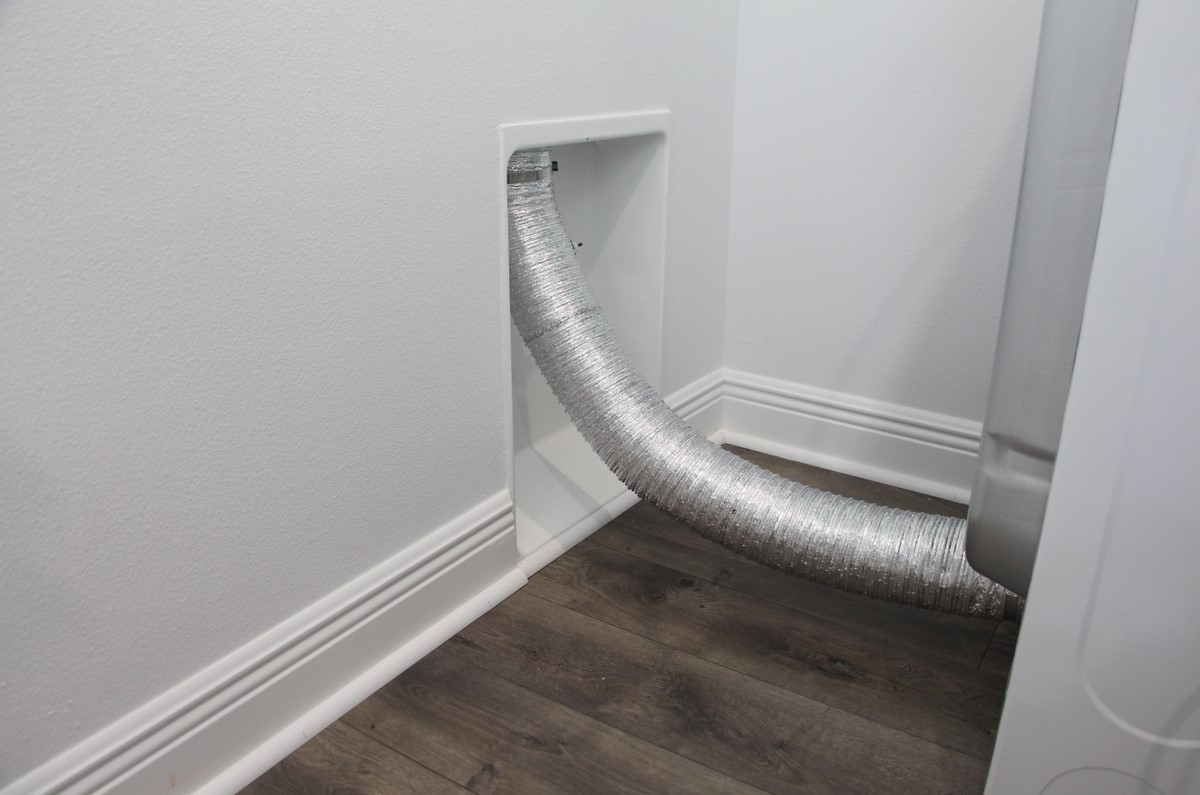
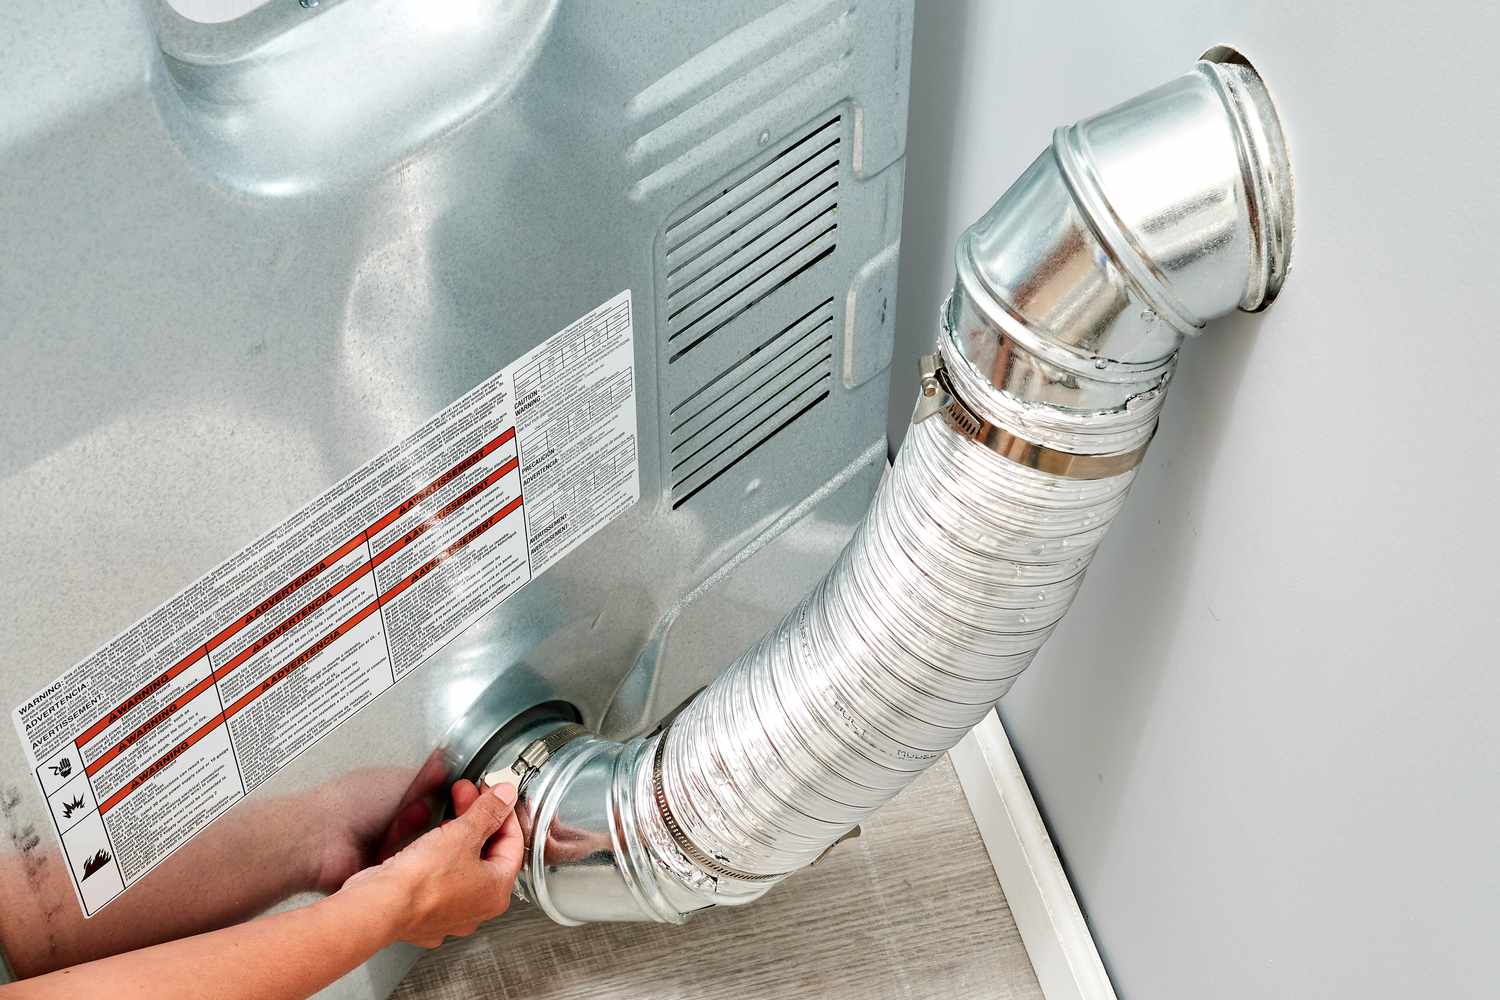
Step 6: Connect the Ductwork
With the vent hood securely installed, it’s time to connect the dryer vent duct to the vent hood. The ductwork will be responsible for carrying the hot air and moisture from your dryer to the exterior of your home. Follow these steps to properly connect the ductwork:
1. Prepare the Ductwork: Begin by ensuring that the dryer vent duct is clean and free from any debris or obstructions. If needed, trim the excess length from the duct using tin snips to fit the distance between the dryer and the vent hood.
2. Connect the Duct to the Vent Hood: Slide one end of the dryer vent duct into the opening on the back of the vent hood. Ensure a secure and snug fit, as this will prevent any air leaks or disconnections. If needed, use aluminum foil duct tape to secure the connection and provide additional support.
3. Ensure Proper Alignment: Confirm that the ductwork is aligned properly and runs in a straight line from the dryer to the vent hood. Avoid any excessive bends or twists that may restrict airflow. The duct should be as straight and smooth as possible to allow for efficient ventilation.
4. Secure the Connection: Once the ductwork is properly aligned, use metal straps or clamps to secure the connection between the vent hood and the dryer vent duct. Tighten the straps or clamps to ensure a firm and secure fit.
5. Inspect for Air Leaks: After securing the connection, inspect the ductwork and connections for any potential air leaks. Run your hand along the ductwork and connections, feeling for any escaping air. If any leaks are detected, use aluminum foil duct tape to seal them and ensure proper airflow.
By following these steps, you will be able to connect the dryer vent duct to the vent hood securely. With the ductwork connected, it’s time to move on to the next step: securing the ductwork in place to ensure its stability and functionality.
When installing a dryer vent through vinyl siding, make sure to use a vent kit designed for this purpose. Measure and mark the location, then carefully cut a hole through the siding. Install the vent according to the kit instructions, ensuring a tight seal to prevent leaks.
Step 7: Secure the Ductwork
With the dryer vent duct connected to the vent hood, the next step is to secure the ductwork in place. This will ensure that the duct remains stable and properly aligned, promoting efficient airflow and preventing any potential disconnections. Follow these steps to securely fasten the ductwork:
1. Determine Support Points: Inspect the length of the ductwork and identify areas where additional support is needed. Typically, it is recommended to provide support every 4 to 5 feet along the length of the duct. Pay special attention to areas where there are turns or bends in the ductwork.
2. Choose a Fastening Method: There are a few options to secure the ductwork in place, depending on your preferences and the materials available. Two common methods are using metal straps or clamps.
3. Metal Straps: If using metal straps, wrap the strap around the ductwork and secure it using screws or nails. Ensure that the strap is tight enough to hold the ductwork firmly in place without causing any damage. Repeat this process at each support point along the length of the duct.
4. Clamps: Alternatively, you can use clamps designed specifically for securing ductwork. Slide the clamp around the ductwork and tighten it using a screwdriver or the appropriate tool. Make sure the clamp is tightened enough to hold the ductwork securely in place.
5. Test the Stability: Once all the support points are secured, gently tug on the ductwork to ensure it is stable and firmly attached. Check for any movement or signs of disconnection. If necessary, make additional adjustments or tighten the fastenings as needed.
By using metal straps or clamps to secure the ductwork, you can be confident that it will remain in place and promote proper ventilation. With the ductwork securely fastened, it’s time to move on to the final step: testing the installation to ensure proper airflow and ventilation.
Step 8: Test the Installation
Congratulations! You’ve reached the final step of installing a dryer vent through vinyl siding. Now, it’s time to test the installation to ensure proper airflow and ventilation. By doing so, you can verify that your dryer is functioning optimally and the vent is effectively removing the hot air and moisture. Follow these steps to test the installation:
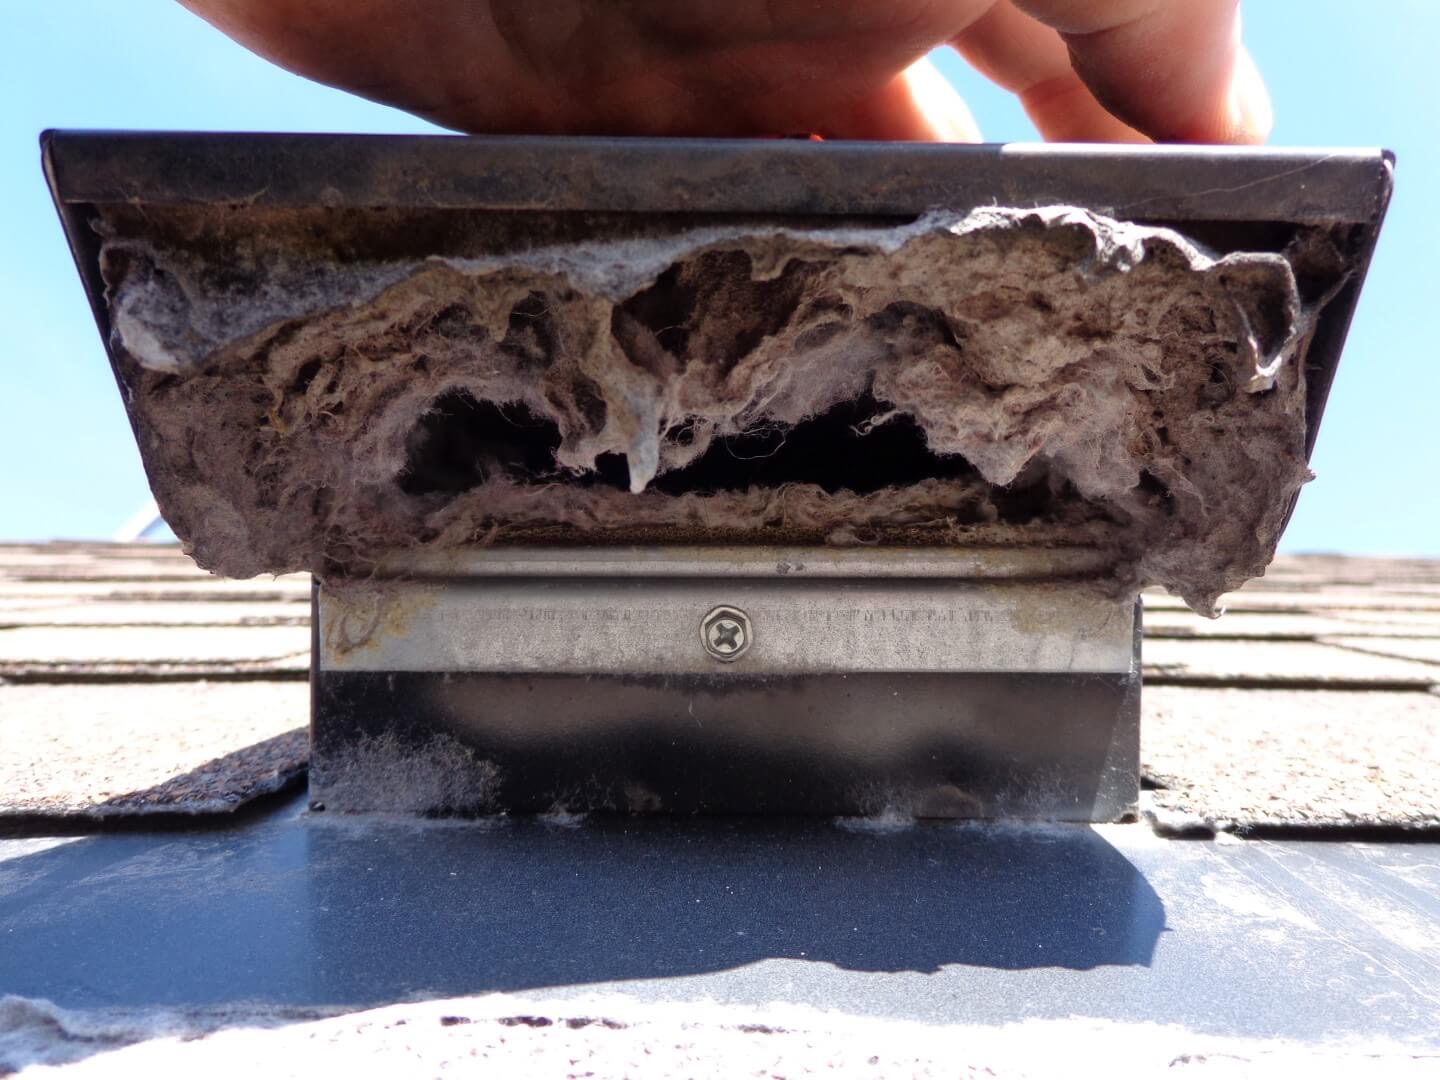
1. Remove any Obstructions: Before testing, make sure there are no obstructions blocking the airflow in the vent hood or within the ductwork. Clear any lint or debris that may have accumulated during the installation process or in the hose leading to the vent hood.
2. Run a Test Load: Place a few clean and damp items into your dryer and run a test load. Turn on the dryer and set it to a normal drying cycle. Allow the dryer to operate for a few minutes, giving it enough time to generate heat and produce hot air.
3. Check for Proper Airflow: While the dryer is running, go outside and inspect the vent hood. You should feel warm air being expelled from the vent hood. This indicates that the airflow is properly directed through the vent and out of your home. If you don’t feel any airflow or notice weak airflow, there may be a blockage or a problem with the installation that needs to be addressed.
4. Monitor the Dryer Operation: Keep an eye on the dryer operation during the test load. Ensure that the dryer is effectively drying the clothes without any issues such as overheating or extended drying times. If you notice any performance issues, it’s essential to troubleshoot the problem to ensure your dryer is functioning optimally.
5. Inspect the Vent Hood and Ductwork: After completing the test load, examine the vent hood and ductwork for any signs of air leaks, loose connections, or damage. Check that the vent hood is tightly attached to the exterior wall and sealed properly. Additionally, inspect the connections between the dryer vent duct and the vent hood to ensure they remain secure.
By testing the installation, you can confirm that your new dryer vent is working effectively and safely. It’s good practice to periodically check the vent hood and clean out any lint or debris to maintain proper airflow. With the installation successfully tested, you can now rest assured that your dryer is operating efficiently and your home is protected from potential issues caused by inadequate ventilation.
Well done on completing the installation of your dryer vent through vinyl siding! You’ve taken an important step in maintaining the safety and functionality of your laundry area. Remember to follow regular maintenance practices and consider professional cleaning services to keep your dryer vent in optimal condition.
If you encounter any concerns or uncertainties during the installation or testing process, it’s always best to consult with a qualified professional for assistance. Safety should be your top priority when working with electrical appliances and home maintenance projects.
Thank you for following this step-by-step guide. Enjoy the benefits of a properly vented dryer in your home!
Conclusion
Properly installing a dryer vent through vinyl siding is essential for maintaining a safe and efficient laundry room. By following the steps outlined in this guide, you can successfully install a dryer vent and ensure optimal ventilation for your dryer. Let’s recap the key points:
1. Gather all the necessary supplies and tools before starting the installation process. This includes materials like a dryer vent kit, screws, tape, and tools such as a tape measure, drill, and level.
2. Plan the location for your dryer vent, ensuring it is conveniently positioned near an exterior wall and meets ventilation requirements as per manufacturer guidelines and local building codes.
3. Mark the hole on the vinyl siding accurately, considering the diameter of the vent hood or duct and using a level to ensure proper alignment.
4. Use a hole saw to cut the hole through the vinyl siding, making clean and precise cuts. Inspect the hole for any rough edges or burrs and smooth them out for a neat finish.
5. Install the vent hood by attaching it to the exterior wall using screws or nails. Create a watertight seal around the vent hood using silicone caulk.
6. Connect the dryer vent duct to the vent hood, ensuring a secure and tight fit. Use aluminum foil duct tape if needed to further secure the connection.
7. Secure the ductwork by using metal straps or clamps to hold it in place at regular intervals along its length.
8. Test the installation by running a test load in the dryer and checking for proper airflow from the vent hood. Inspect the vent hood and ductwork for any signs of air leaks or damage.
Remember, safety should always be your top priority during the installation process. If you are uncertain or uncomfortable with any step, it is recommended to seek professional assistance.
By following these steps, you can confidently install a dryer vent through vinyl siding, ensuring effective ventilation and promoting optimal performance of your dryer. Properly vented dryers not only improve the efficiency of your laundry routine but also reduce the risk of lint buildup and potential fire hazards.
Thank you for reading this comprehensive guide. Enjoy the benefits of a well-ventilated laundry area and the peace of mind that comes with a safe and efficiently operating dryer vent!
Now that you've mastered installing a dryer vent through vinyl siding, why not tackle more home improvements yourself? Our guide on DIY home improvement offers practical tips to enhance your skills. If you're unsure about handling installations alone, our dryer vent installation article details professionals who can help. Additionally, refresh your home's exterior with our rundown on vinyl siding options available in 2024, showcasing durable and stylish choices.
Frequently Asked Questions about How To Install A Dryer Vent Through Vinyl Siding
Was this page helpful?
At Storables.com, we guarantee accurate and reliable information. Our content, validated by Expert Board Contributors, is crafted following stringent Editorial Policies. We're committed to providing you with well-researched, expert-backed insights for all your informational needs.